
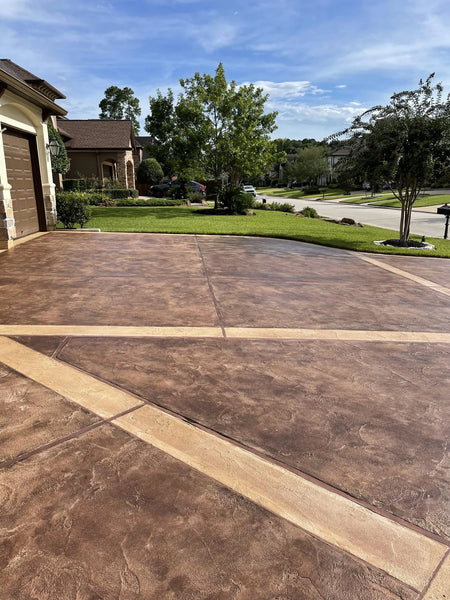
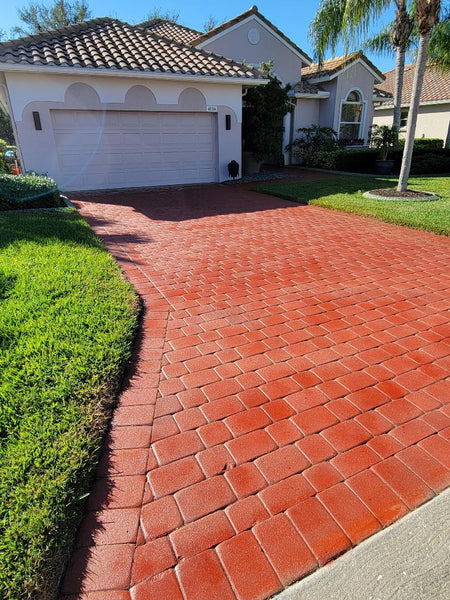
A worn, cracked, or faded concrete driveway is one of the biggest drags on a home’s curb appeal — and one of the easiest to fix. Concrete stain renews the surface itself (it won’t chip or peel like paint), and a DIY stain-and-seal job costs a fraction of replacement. This guide covers the whole process: choosing the right stain for your surface, prepping the concrete, and applying it — whatever product you use.
Shop Driveway Stains & Sealers →
Step 1: Choose the right driveway stain
The best product depends on your surface and the look you’re after. All concrete stains are semi-transparent — they enhance the surface rather than hiding it, and they won’t cover imperfections the way paint would, but with proper sealing the color lasts for decades.
- Antiquing™ — best for broomed and stamped driveways; gives a rich, mottled look.
- Portico™ — formulated for concrete pavers and porous surfaces.
- EasyTint™ — for an even, uniform color; colors and seals in one step (and can go over an existing solvent-based sealer).
- ColorWave® — a water-based, eco-friendly stain that’s durable and long-lasting.
- EverStain™ acid stain — for a bold, one-of-a-kind reactive finish (more intense and less forgiving — do your homework first).
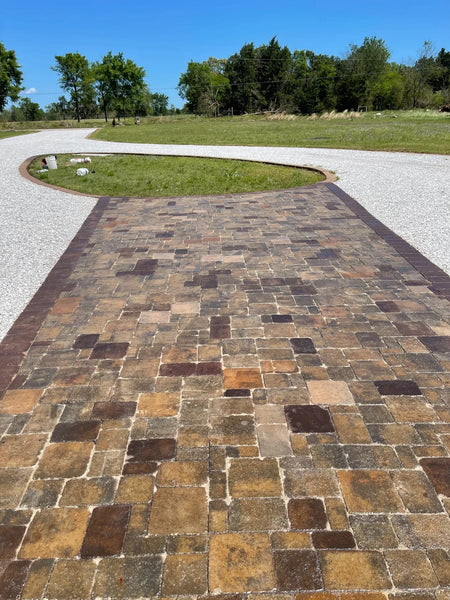
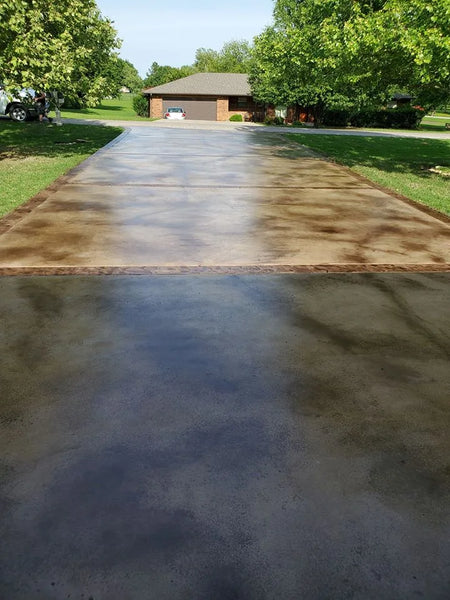
Step 2: Get the concrete ready
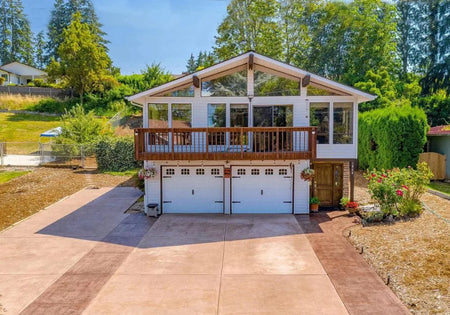
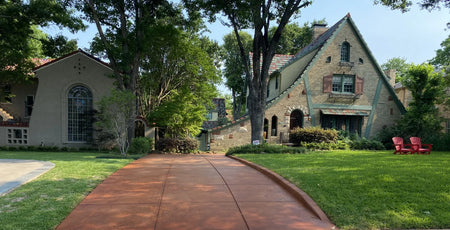
Let newly poured concrete cure 30 days before staining. Cover walls, landscaping, and nearby items with plastic or paper to protect them from over-spray.
Check for a previous sealer. If the driveway was sealed, you’ll usually need to strip it first (EasyTint™ is the exception — it can go over a solvent-based sealer). To tell which type is down, pour a little Xylene on the surface and wait 20 seconds: if it gets tacky, it’s solvent-based; if not, it’s water-based.
Clean and test. Remove dirt, oils, and debris with a scrub brush and ProClean Degreaser™. Then pour a cup of water in a few spots — if it isn’t absorbed within five minutes, etch with CitrusEtch™, neutralize with ProClean Neutralizer™, and rinse. Let the concrete dry completely before staining.
Step 3: Apply the stain
Antiquing™ and Portico™: remove the sprayer filters, shake well, and spray in circular motions with random overlaps. Wear spiked shoes so you don’t leave prints, shake the tank often for consistent color, and start from the far corner. A second coat can go on without waiting for the first to dry. The color looks faint until you seal it — the sealer brings it to full depth.
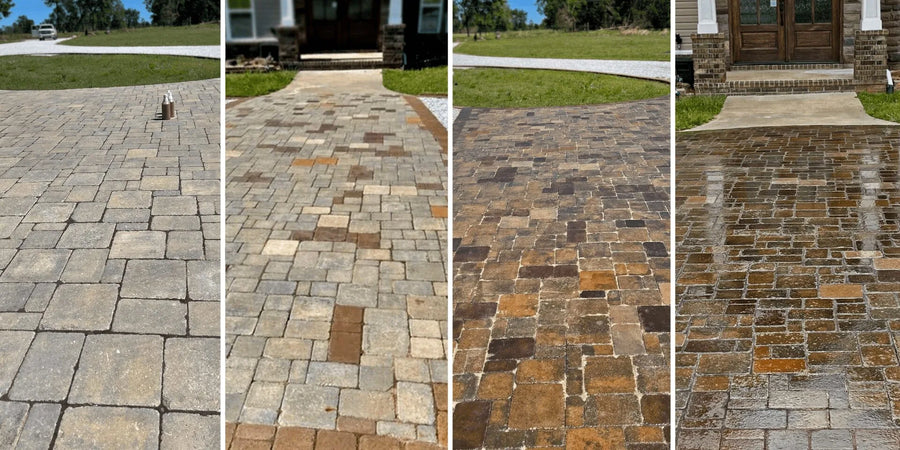
Portico™ driveway staining, step by step — prep, stain, and seal.
EasyTint™: spray in thin coats (or roll with a 3/8-inch nap roller in one direction, no pressure). Wait 8 hours between coats, two thin coats maximum, checking the cure with a thumbnail.
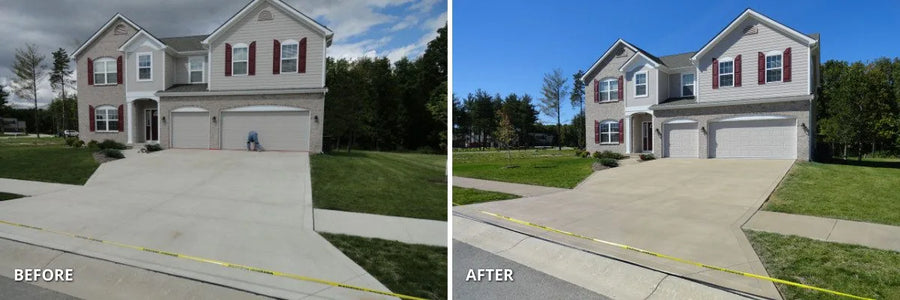
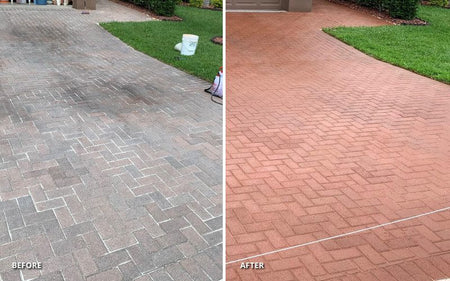
Broomed concrete refreshed with Buff EasyTint™, and a faded driveway brought back to life — before and after.
Vibrance™ dye is a cost-effective way to get a bolder, more solid color — but it’s diluted with acetone and needs an acetone-grade sprayer (standard deck sprayers can’t handle acetone). Spray thin layers north-to-south; the dye dries almost instantly, so build to the depth you want (about three coats). One contest winner used Stormy Gray and Light Slate Vibrance™ for a striped pattern.
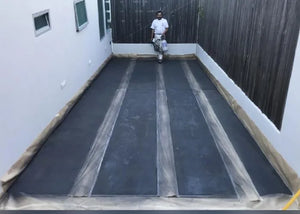
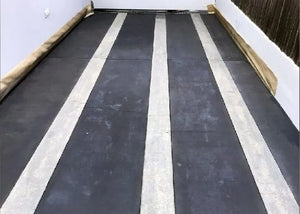
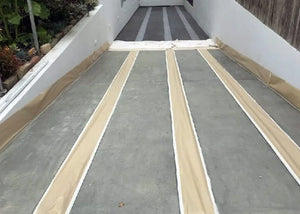
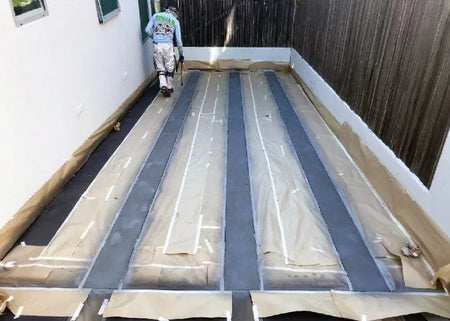
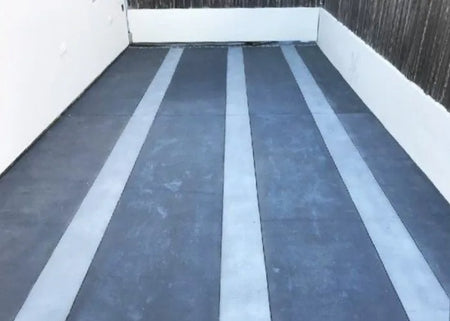
Caution: acetone is highly flammable. Never mix dye and acetone with an electrical mixer — stir by hand and work in a well-ventilated area away from heat, sparks, and flame.
EverStain™ acid stain: reacts chemically with the slab for a permanent, marbled finish — see the full brushed-driveway acid-stain walkthrough.
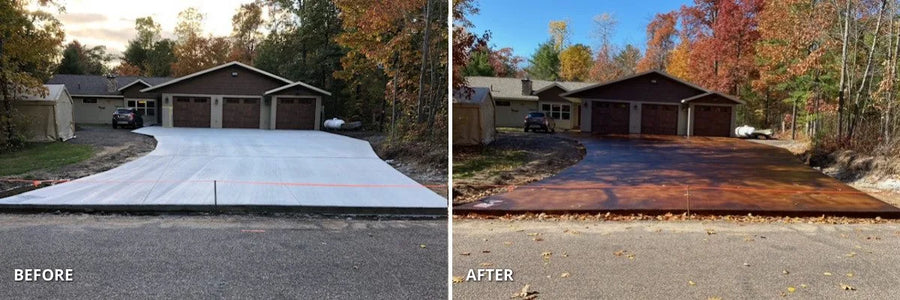
A broom-finish driveway acid-stained in Coffee Brown and Malayan Buff EverStain™ — before and after.
Driveway Stain: FAQs
Which stain should I use on a driveway?
It depends on the surface and the look. All concrete stains are semi-transparent — they enhance what is there rather than hiding it, so they will not cover damage. Antiquing™ and Portico™ suit textured and paver driveways, EasyTint™ gives color and sealer in one, and EverStain™ reacts into the slab for a one-off result.
How long does new concrete need to cure?
30 days before staining. Cover walls, landscaping and anything nearby with plastic or paper against over-spray, and check for a previous sealer before you start.
How do I apply it evenly on a big surface?
Remove the sprayer filters, shake well, and spray in circular motions with random overlaps. Wear spiked shoes so you do not leave prints, and shake the tank often — pigment settles, and an unshaken pour is a different color.
What’s Next
- Driveway color inspiration → Concrete Driveway Stain Ideas
- Real before & afters → Stained Concrete Driveway: Before & After
- Broom-finish acid staining → Staining a Brushed Concrete Driveway
- Walkways too → Stained Concrete Walkway Makeovers
- Shop → Driveway & Walkway Stains · Trial Kits
Direct Colors. Shawnee, OK. Manufacturing the full decorative concrete system since 1997.


