
Acid stain gives a concrete patio the mottled, variegated, natural-stone look nothing else can match — because it reacts chemically with the slab and becomes a permanent part of it. This is the full walkthrough: inspect, test, clean, apply, layer, neutralize, and seal. (For color ideas and real projects first, see our Stained Concrete Patio Ideas gallery.)
Prefer to listen? Shawna Turner covered coverage rates on rough outdoor concrete in a 6-minute podcast episode. The player is at the end of this article.
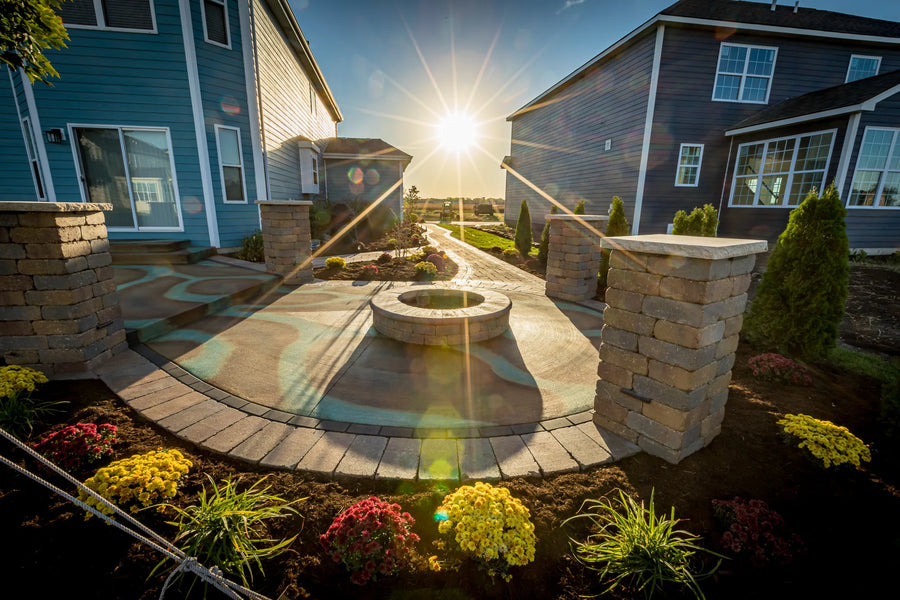
A round patio acid-stained in Seagrass, Blackish, and Malayan Buff EverStain™ — the multi-color depth acid stain is known for.
Step 1. Inspect the concrete before staining
Before you begin, inspect the patio for cracks, deformities, or excessive wear that could affect the result. If the surface is uneven or has exposed aggregate, sand it or resurface with a concrete overlay first, so the stain doesn’t pool or leave dark spots.
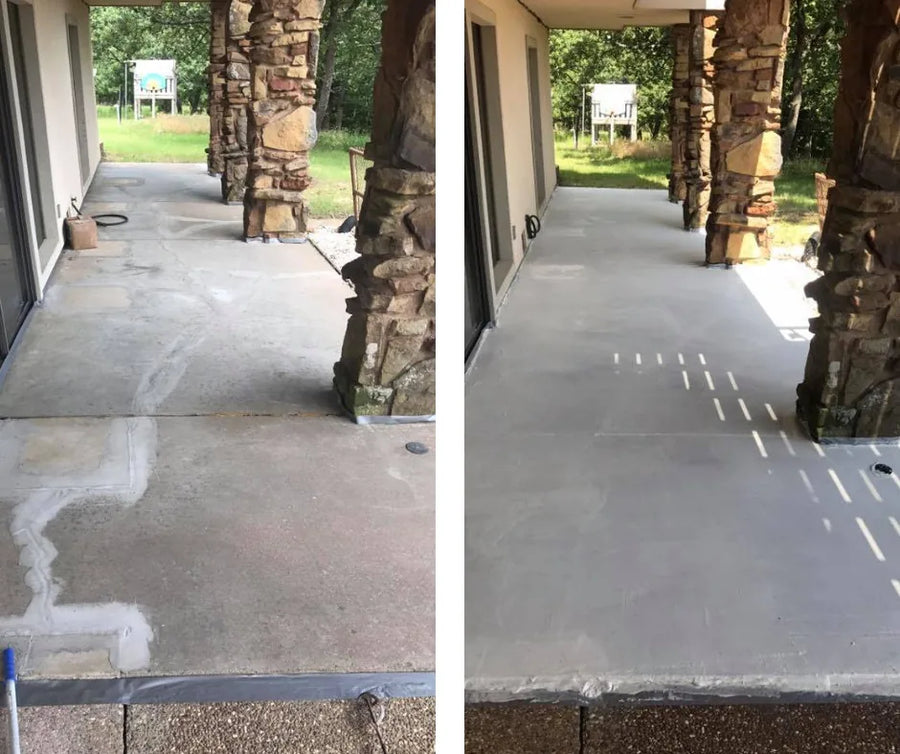
Resurfacing an uneven slab with an overlay before staining — this prevents pooling and dark spots.
Step 2. Test your acid stain colors
Test the stain on a small, inconspicuous area — a corner, or a spot that furniture will later cover — before committing to the whole patio. This shows how the color will actually read on your specific concrete and lets you adjust before it’s permanent.
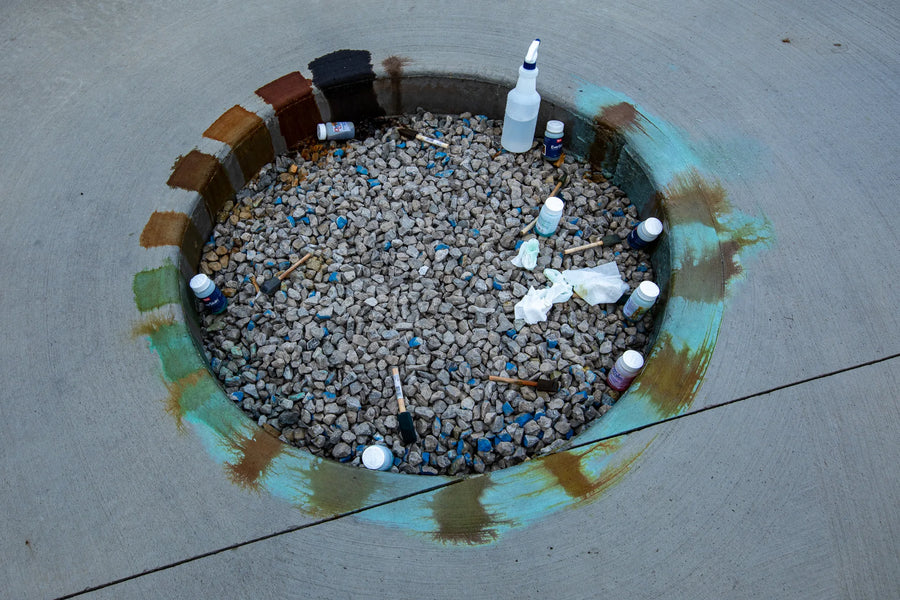
Testing EverStain™ colors on the slab before the full project.
To test the acid stain colors:
- Choose a small, inconspicuous area of the patio.
- Clean and prepare the test area exactly as you would the whole patio.
- Apply the stain with the same method you’ll use on the full surface.
- Let it dry completely and judge the color — is it the shade you wanted, and does it blend with the surrounding concrete?
- If you’re happy, proceed. If not, mix in a different shade or start over with a new color.
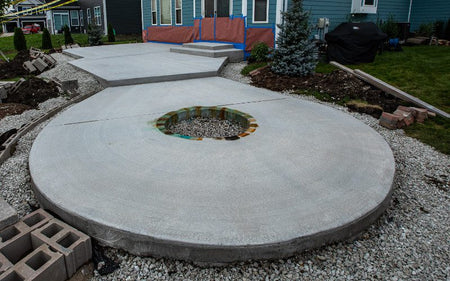
Color swatches tested directly on the round patio — Blackish, Malayan Buff, and Seagrass.
Step 3. Clean and prepare the concrete
Once your colors are chosen and tested, clean and prepare the entire patio. Thoroughly clean the concrete with an organic cleaner and degreaser to remove dirt, debris, and oils, and protect surrounding plants and surfaces from overspray. For exceptionally dirty or heavily soiled patios, follow additional surface-prep steps before staining.
Step 4. Apply the acid stain
Follow safety precautions — long sleeves, pants, goggles, and gloves. You can apply the stain with a pump-up sprayer, a brush, or a spray bottle. Wear spiked shoes so you don’t leave footprints or track stain where it isn’t wanted.
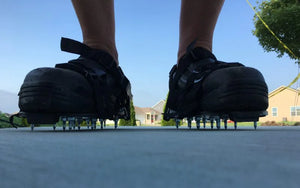
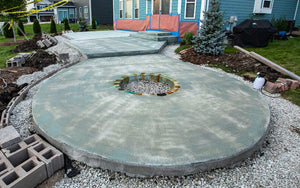
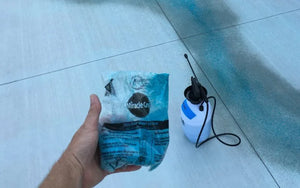
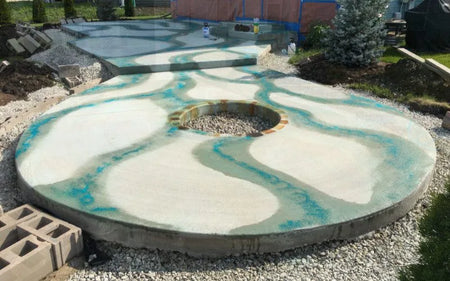
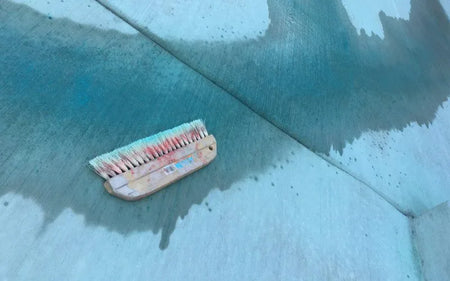
Tip: for added vibrancy in the blue hues, Miracle-Gro Plant Food works as an additive — it’s what pulls the turquoise out of a Seagrass base.
Step 5. Layer additional colors
A second coat adds depth and contrast. A few techniques to try:
- Wet-on-wet layering — apply a second coat while the first is still wet, for a gradient or a blend of multiple colors.
- Veining — apply the second coat in a pattern that mimics natural stone veins.
- Mottling — apply in a random, blotchy pattern for a natural, weathered look.
Step 6. Let the acid stain react
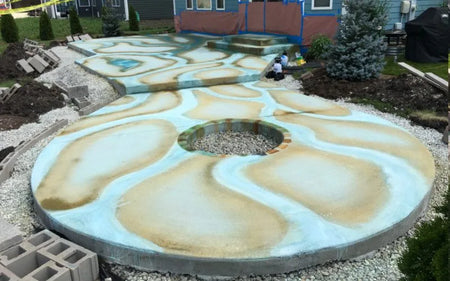
As the acid stain reacts with the minerals in the concrete, a chalky residue forms as it dries — that’s normal. To preview a layer’s color, wet the surface: the wet color is close to how the final result will look once sealed.
Step 7. Neutralize and rinse
After staining, neutralize the residual acid so it stops reacting with the concrete, then rinse. Be careful with runoff — keep it away from grass, plants, and storm drains.
Step 8. Seal the acid-stained patio
Sealing protects the color from weather, UV, and wear. Use an outdoor-rated concrete sealer — you can spray it (preferred) or roll it.
Option 1 — Spraying (preferred):
- Remove all filters from the pump-up sprayer.
- Begin at a far corner to keep a clear path to your exit.
- Spray in slightly circular motions with irregular overlaps.
- Shake the tank side to side often so color doesn’t settle.
- Spray thin coats to avoid puddling.
- Wait 8 hours before a second coat (two thin coats maximum). Check the cure with a thumbnail; if it dents or scratches, give it more time.
Option 2 — Rolling:
- Pour the sealer into a paint tray.
- Use a 3/8-inch nap roller for the first thin coat, rolling in one direction only. Don’t press — let the roller’s weight do the work (pressure causes streaking).
- Wait 8 hours, check the cure, then apply the second coat in the opposite direction.
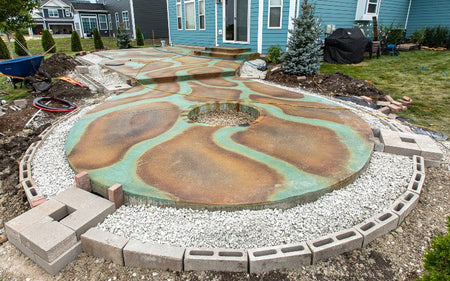
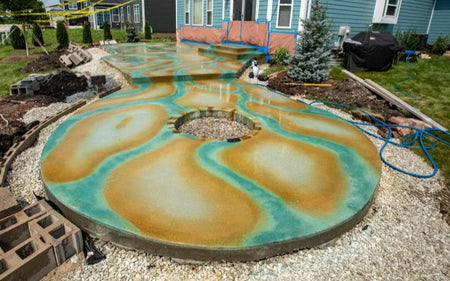
Sealed — the sealer brings the color to full depth.
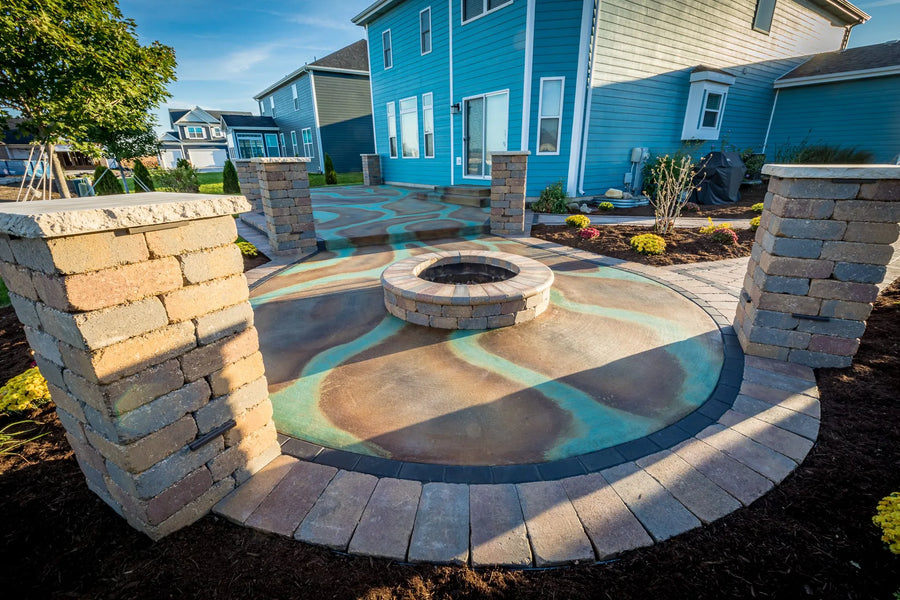
The finished round patio: Blackish and Malayan Buff acid stain add depth and contrast to the Seagrass streaks, for a stunning multi-color finish.
Outdoor acid-staining tips
- Apply during mild weather — not in direct hot sun.
- Don’t stain when rain is expected.
- Lightly dampen hot, dry concrete first so the stain doesn’t dry too fast.
- Protect grass, plants, siding, brick, metal, and nearby surfaces from overspray.
- Be careful with runoff when neutralizing and rinsing.
- Use an outdoor-rated sealer.
- Consider slip resistance near patios, pools, and outdoor kitchens — add OxiGrip™ to your topcoat.
Acid-Staining a Patio: FAQs
Can you acid stain an old concrete patio?
Yes — as long as the concrete is clean, porous, structurally sound, and free of sealers, paint, glue, or coatings.
Do I need to test acid stain on an outdoor patio?
Yes. Testing confirms how the stain reacts with your specific concrete before you commit to the full patio.
How long should acid stain sit on a concrete patio?
Most acid stains need several hours to react, but timing depends on the color, temperature, moisture, and concrete condition.
Do you have to seal an acid-stained patio?
Yes. Outdoor acid-stained concrete should be sealed to protect the color from weather, UV, moisture, and wear.
Can I acid stain a sealed patio?
No. Sealer blocks acid stain from reacting with the concrete — the sealer must be removed first.
How much acid stain do I need for a rough outdoor patio or driveway?
Start from the usual figure — about 200 sq ft per gallon — then buy an extra gallon. Outdoor slabs are deliberately finished rough so they are not slippery in the rain, and that roughness and porosity cuts the coverage a gallon actually achieves. The same applies to sealer: budget an extra gallon on a driveway, pool deck or patio.
Why does a porous slab need more sealer?
Because the first coat mostly disappears into the concrete. With an acrylic sealer the first coat is absorbed into the pores and leaves very little on the surface; it is the second coat that builds gloss and brings out the stain. A more porous slab simply swallows more on that first pass.
Can I thin acid stain with water?
Yes. All Direct Colors acid stains can be cut with water, and you should still get good reactivity across the color range — provided the concrete is in sound condition and has not eroded with age. Call the technicians at 877-255-2656 if you want to know how a specific color will shift when diluted.
When should I stain or seal in hot weather?
Early morning or late evening, chosen by when the sun actually hits that slab. Hot concrete off-gasses, which makes both products dry too fast and can leave bubbles in a sealer as they pop. Seal while the slab is in its cooling cycle. For staining in wind or heat, lightly dampen the slab with a hose first — damp, not drowned — to buy the stain more active time; it lightens the color very slightly.
Listen to this episode
Direct Colors DIY Home Improvement · Episode 2
Acid Stain and Sealer Coverage on Outdoor Concrete
Amie Nolen and Shawna Turner · 6 min 20 sec · read the full transcript
What’s Next
- Color ideas & real projects → Stained Concrete Patio Ideas
- Prefer one-step color? → How to Stain a Concrete Patio (Antiquing™)
- Shop → EverStain™ Acid Stain · Trial Kits
Direct Colors. Shawnee, OK. Manufacturing the full decorative concrete system since 1997.


