
A concrete overlay is a thin cement-based coat you trowel over a surface that already exists. That is the whole idea, and it is why it solves problems nothing else does: a tiled fireplace becomes a smooth monolithic one, a laminate countertop becomes concrete, and a worn slab gets a new surface without being torn out. You are not replacing anything, you are skimming over it.
What our customers reach for it most often is resurfacing — and the four projects below are all people who had never applied overlay before.
A fresh, modern fireplace in smooth white
Clean lines and a smooth white overlay, which together give the fireplace a crisp, almost classical look. The DIYer finished it with a penetrating sealer rather than an acrylic — the right instinct on a fireplace, because a penetrating sealer leaves a matte finish that reads as stone, while a gloss acrylic would have made it look coated.
The fireplace surround in smooth white overlay.
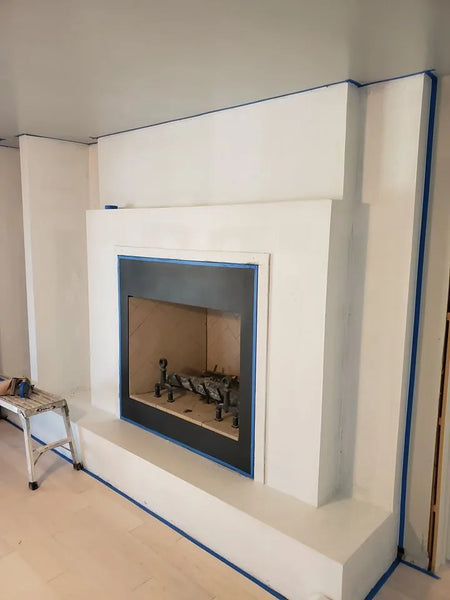
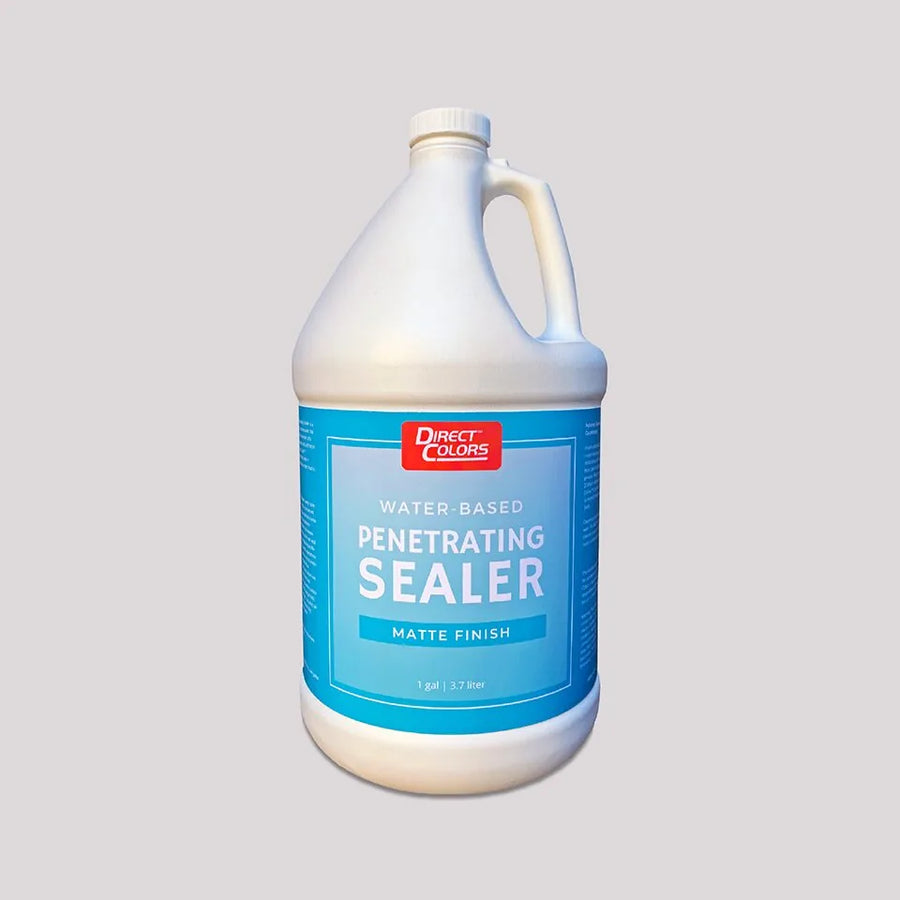
A penetrating sealer, which finishes matte rather than glossy.
A tiled fireplace, resurfaced in 13 steps
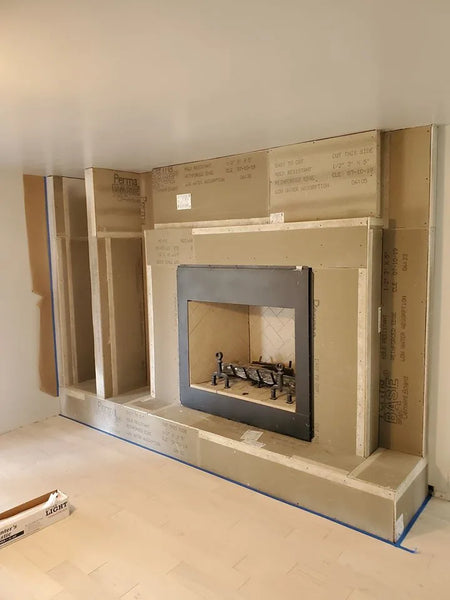
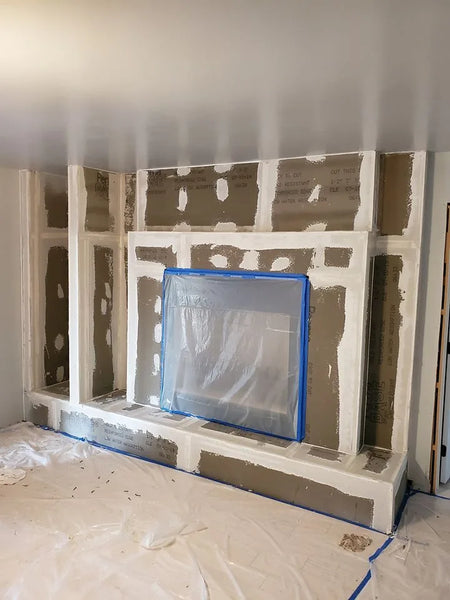
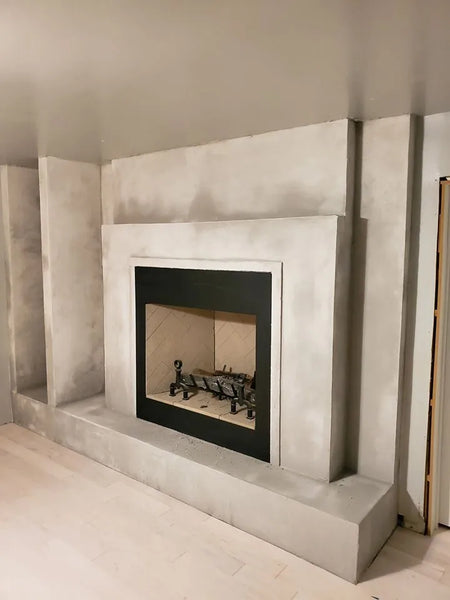
This is the most useful write-up on the page, because the customer documented every stage — including the parts that did not work. They had been quoted for the job, the contractor never came back, so they watched the videos, ordered a trial kit, and did it themselves. Fourteen days, 200 sq. ft.
- Ordered a sample kit, trialed it, then ordered the full amount.
- Taped off the surround and used plastic to protect the carpet and walls.
- Fixed cracks in the tile grout and leveled the edge of the surround with pre-mixed mortar. Waited 24 hours, then a second coat of mortar to get the surface genuinely level.
- Hand sanded the old tile and grout with 80 grit.
- Cleaned the surface extremely well, then wiped it with rubbing alcohol.
- The first layer was the hardest. After trying several recommended tools, an 8 in. drywall taping knife proved most effective.
- 24 hours dry time.
- Sanded down the high spots.
- Second coat, 24 hours, hand sanded the high spots again.
- Third coat — and here they hit a problem: they did not like how the sanded areas looked.
- The fix, and the best tip in this article: a fourth layer, left to dry for only one hour, then hand sanded the high spots while still damp. That worked. A magic trowel, the taping knife, and 150 grit white sandpaper.
- Once fully dry, removed the tape and plastic.
- Sealed, 24 hours, then a second coat of sealer.
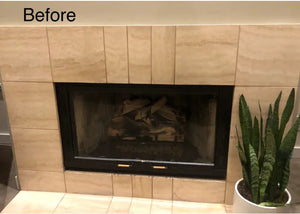
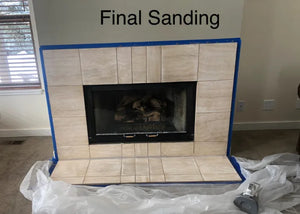
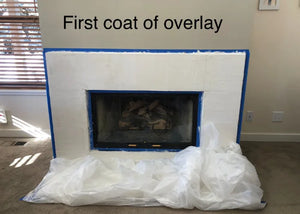
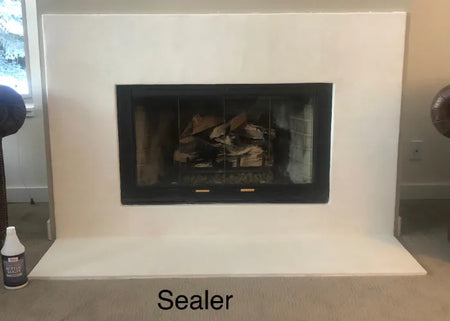
The sealed white overlay — a tiled surround now reading as solid concrete.
That sandpaper note is the kind of thing you only learn by ruining something. Red aluminum-oxide paper leaves color behind on a white surface. It is a two-dollar problem that costs you a coat.
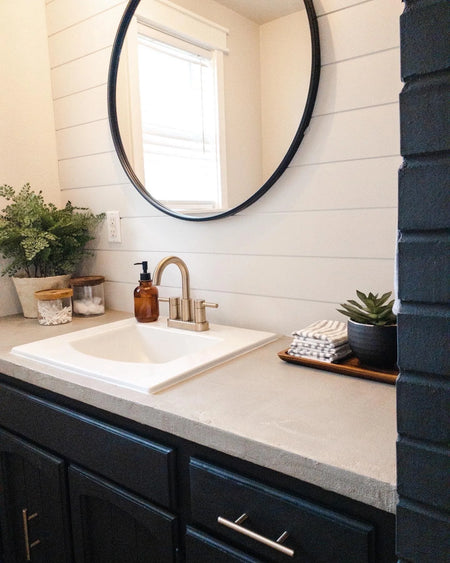
A laminate bathroom vanity, in one day
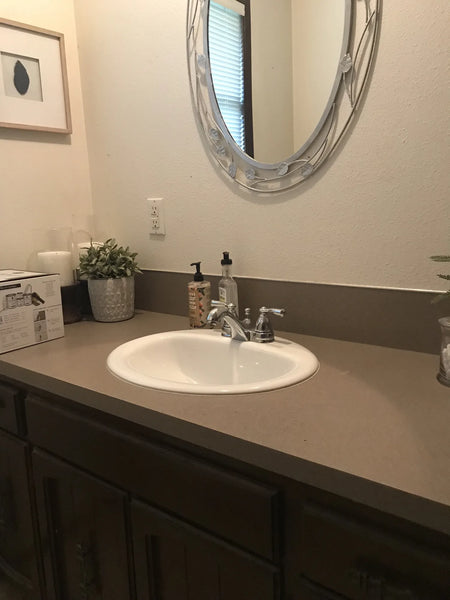
Ten square feet, one day, and a customer who had previously tried painting the same countertops. Ash gray overlay over the existing laminate, finished with a matte water-based sealer.
Their beginner tip: “I’m a beginner, so I had to do small patches at a time. I mixed smaller amounts at a time because the mix would dry out before I was able to finish my current patch.”
— DIY Customer
Mixing small is correct advice for a first attempt at anything cement-based. The pot life is short, and a batch that goes off in the bucket is wasted material and a rushed patch.
A laminate kitchen countertop, by someone who had never done it
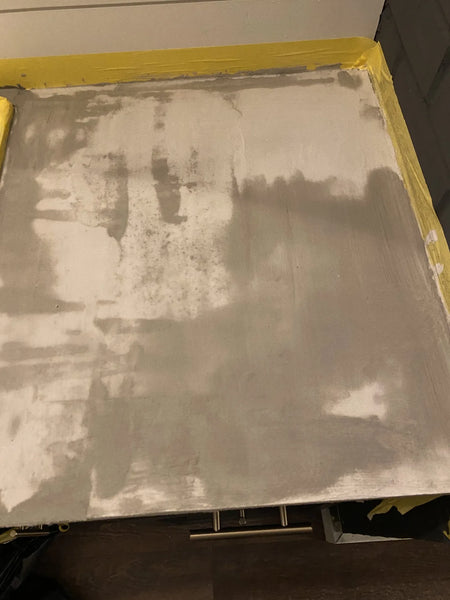
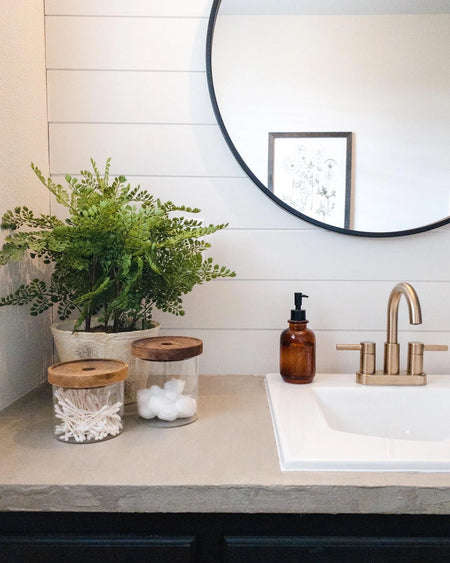
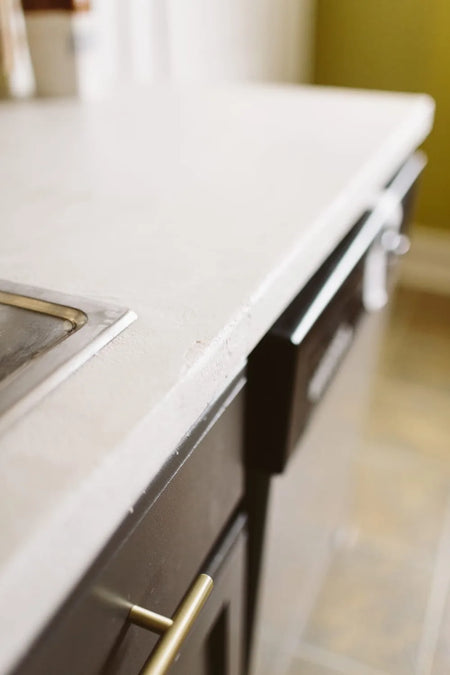
The same technique at kitchen scale — white skim-coat overlay straight over laminate, completed without any assistance and without knowing how to apply overlay beforehand. Worth seeing because kitchen counters are where the cost comparison bites hardest: this is a weekend and a few bags against a full countertop replacement.
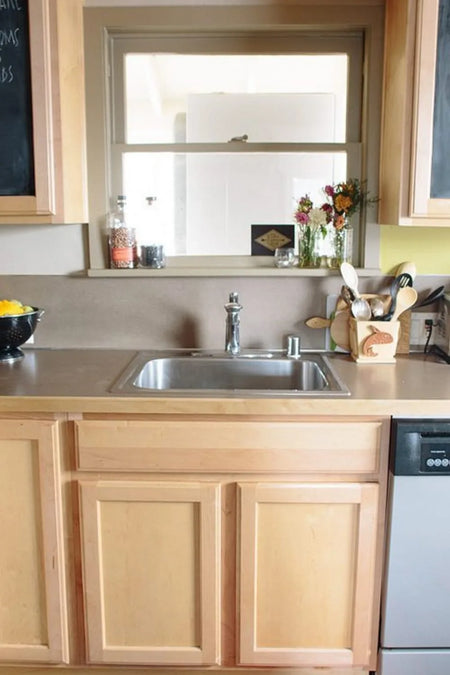
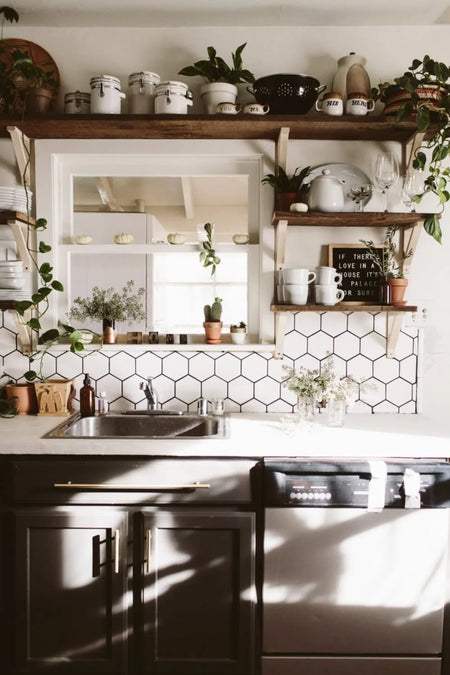
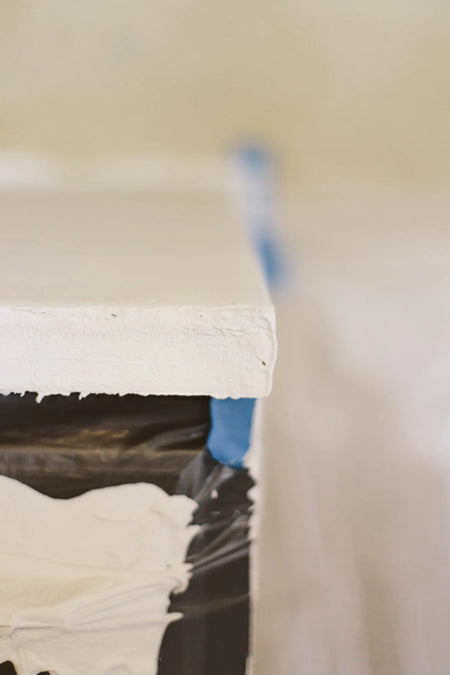
There is a full countertop build in refinishing an outdated countertop, and more cast-from-scratch work in DIY concrete countertops.
What the four projects agree on
- Thin layers, several of them. Nobody got there in one pass. Three or four coats with sanding between is the pattern.
- Mix small. Overlay goes off faster than beginners expect, and a stiffening batch produces a bad patch.
- Sand while slightly damp. The fireplace project’s breakthrough — a final thin layer sanded after one hour rather than 24 — is worth copying.
- Prep the substrate properly. Level the edges, fill the grout lines, sand the gloss off, degrease, then wipe with alcohol. Overlay bonds to what you leave it.
- Order more than you calculate. Said independently by more than one customer.
On products: the overlay itself is a cement-based resurfacing material — ours is not currently listed for sale, so source it from a decorative concrete supplier. The sealers are ours and they matter as much as the overlay: a penetrating sealer for a matte, stone-like fireplace, or AcquaSeal™ for a countertop that needs to be wiped down.
Concrete Overlay: FAQs
Can overlay go straight over laminate or tile?
Yes. The projects here cover Formica vanity tops, laminate kitchen counters, and existing tile and grout on a fireplace — overlay resurfaces what is already there rather than replacing it.
How many coats, and how thick?
Thin layers, several of them. Nobody got there in one pass — every project used three or four thin coats with sanding between each, and 24 hours of dry time per coat on the fireplace.
Which tool works best?
An 8 in. drywall taping knife, found by trial and error, beat everything else on the first coat.
Which sealer should I use over overlay?
A penetrating sealer for a matte stone look, or an acrylic such as AcquaSeal™ if you want sheen. Two coats, 24 hours apart.
How much should I order?
More than you calculate. Every customer here said so independently — and mix small batches, because overlay goes off faster than beginners expect.
What’s Next
- Countertops, resurfaced and cast → Refinish an Outdated Countertop · DIY Concrete Countertops
- Overlay with texture in it → Wood-Look Stamped Overlay · Swirl Finish Overlay
- Color it → Coloring Cement Overlays · Concrete Dye
- Shop → ProSeal Li™ · AcquaSeal™ · All Sealers


