
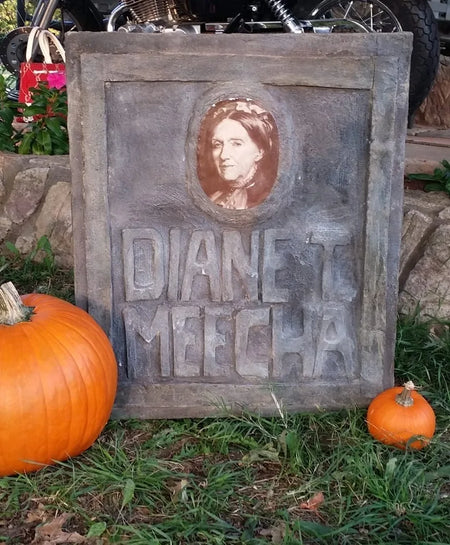
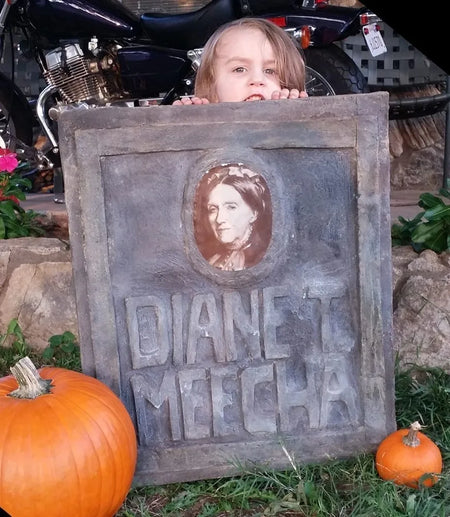
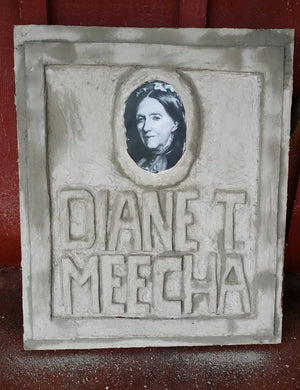
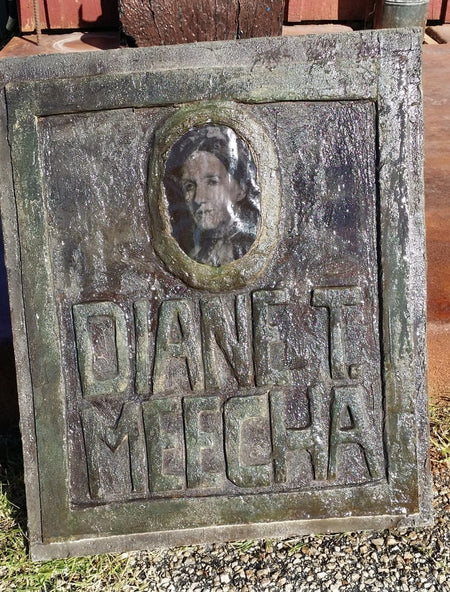
This is a cardboard box with concrete on it, and from six feet away it is a weathered granite headstone. Three days, most of which is waiting for sealer to dry. The technique is worth knowing beyond Halloween: sealed cardboard makes a perfectly good armature for a thin concrete overlay, which means you can build a hollow, liftable concrete-look object in any shape you can cut.
What you need
One note on materials before you start. The concrete overlay used here is a cement-based skim product; we do not currently sell it, so any thin cement overlay from a building supplier will do the same job. And the brown dye the original project used is no longer in our range — Vibrance™ Dye in Charcoal is still stocked, and Coffee Brown or Driftwood will get you the same warm gray-brown result.
Steps 1–2: build the box
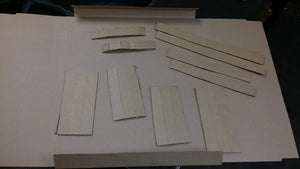
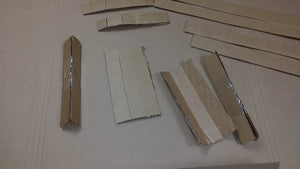
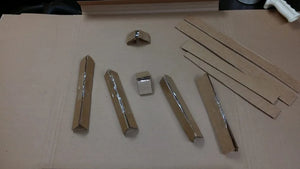
Cut the cardboard to size with a craft knife. To make a clean fold, score only the topmost layer of the cardboard and leave the rest intact, then bend it away from the score line — that is what gives you a crisp edge instead of a crumpled one. Cut extra pieces for interior supports and score and bend those the same way.
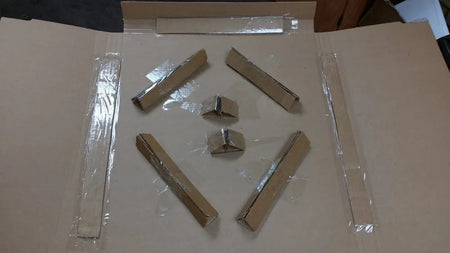
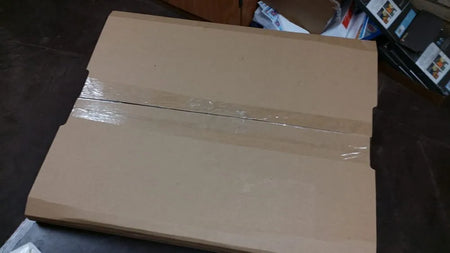
Tape the supports inside the box. They are not optional: they hold the shape and carry the weight of the overlay, and a 25 in. face with no supports behind it will bow as soon as you start troweling. Then tape the whole thing closed.
Step 3: cut the accents
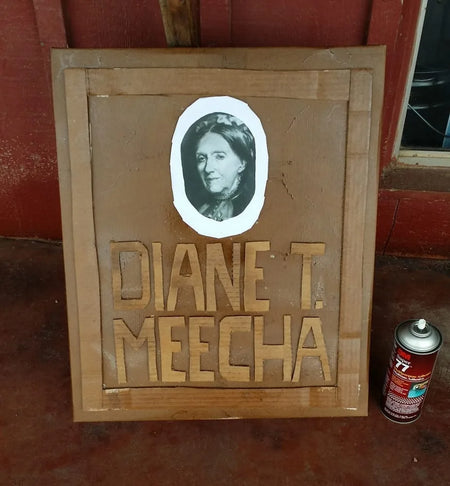
Draw the accents — the raised border, the arch, the panel — onto spare cardboard, cut them out and glue them on with spray adhesive. Anything with a raised edge will catch the colorant later and read as carved relief, which is where most of the realism comes from.
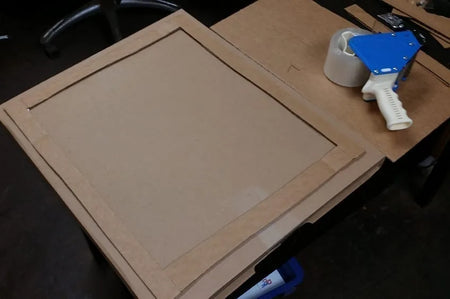
Cardboard accents cut and glued to the face.
Step 4: seal the cardboard
Seal the entire project — front, back and sides — with solvent-based acrylic satin sealer. This is the step that makes the whole thing work: unsealed cardboard drinks the water out of the overlay and goes soft, and the piece collapses. Let it dry at least 24 hours before going on.
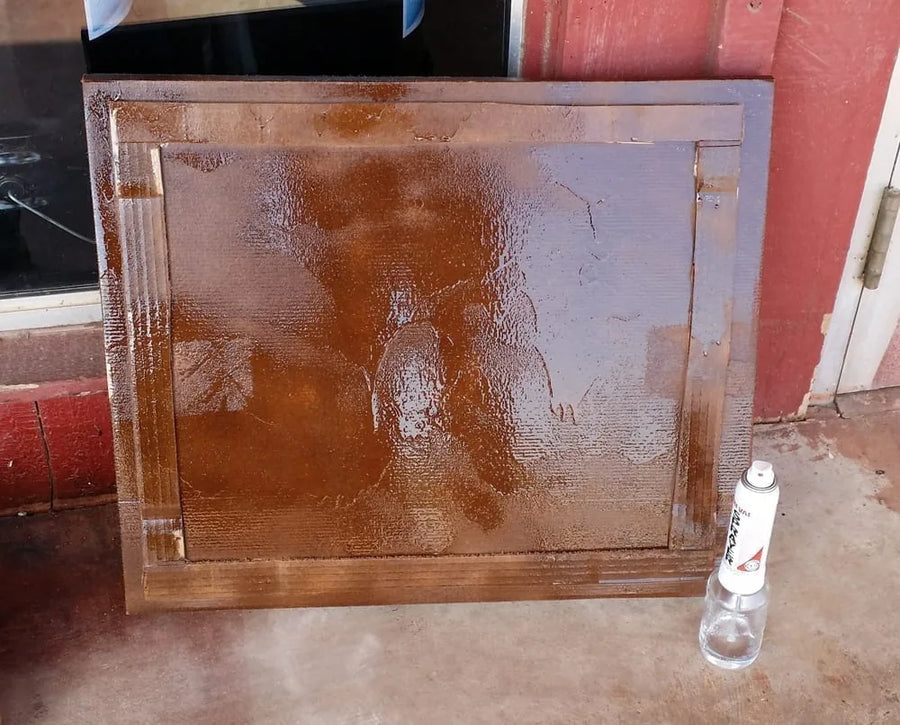
The sealed cardboard, ready for overlay.
Step 5: apply the overlay
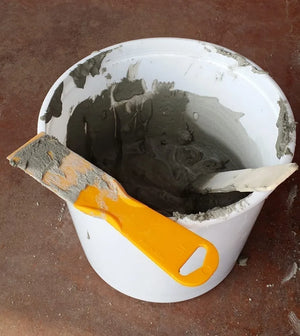
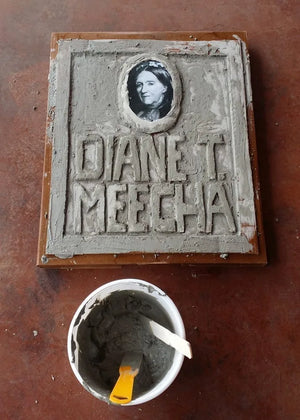
Mix the cement overlay and put it on with a small putty knife. Work it unevenly on purpose — trowel marks, thin spots and ridges are what make it look like weathered stone rather than a painted box. Let the overlay dry at least 6 hours before any colorant touches it.
Step 6: color it
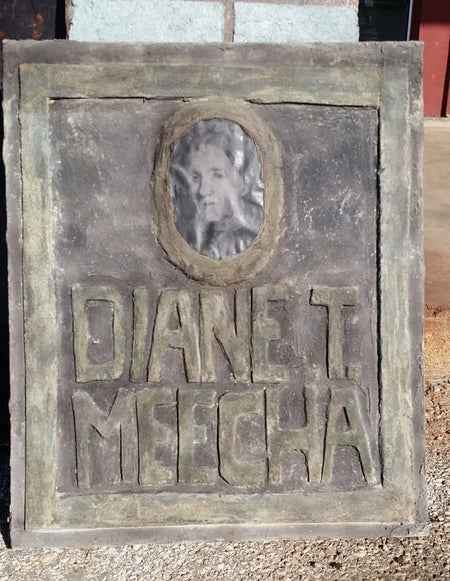
Two colorants, doing two different jobs. DecoGel™ in Shifting Sand goes on as the base stone color — gel because it stays where you put it on a vertical face. Then acetone-based dye in Charcoal for the shadows and grime in the recesses, sprayed on. If you use gel acid stain, follow the directions on application, activation time and neutralizing exactly as you would on a floor — see how to apply acid stain and how to neutralize it.
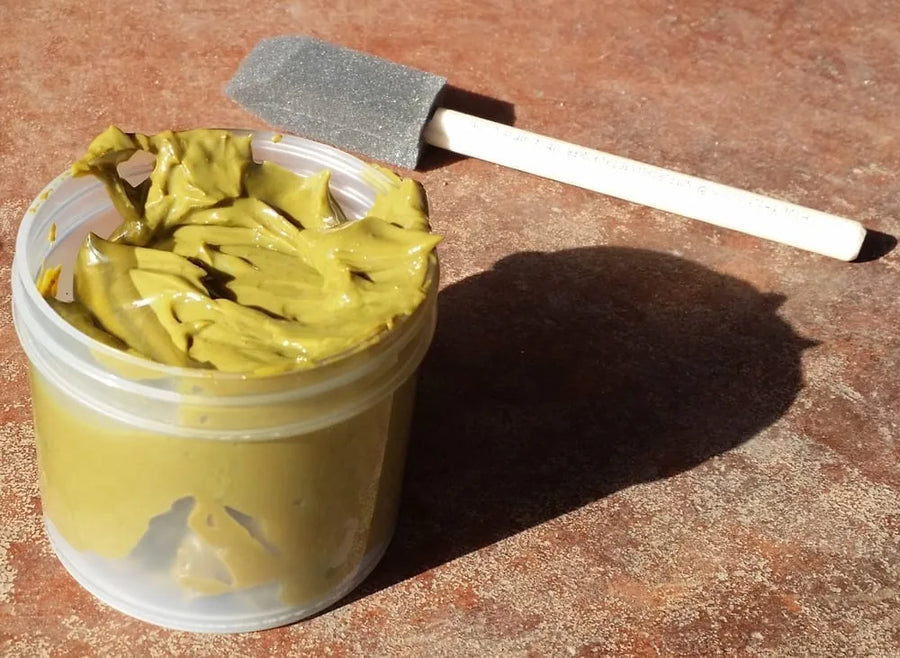
DecoGel™ going on as the base stone color.
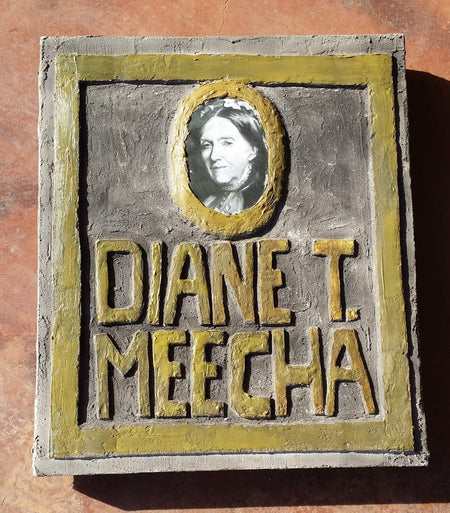
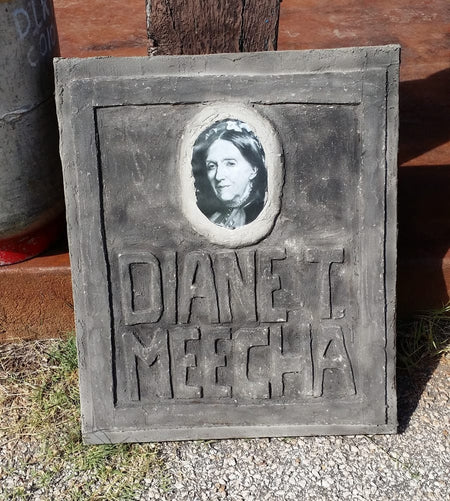
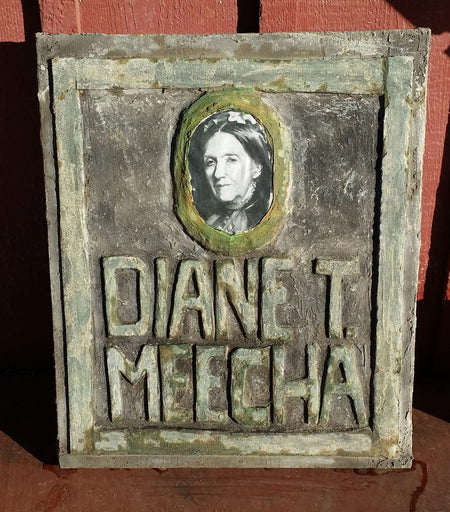
Step 7: seal it again
Another coat of acrylic satin sealer to lock the color in and keep the weather out. Again, 24 hours before you handle it properly. Satin is the right finish here — gloss on a headstone looks like a prop.
Steps 8–11: stake it and stand it up
Cut two metal stakes about 6 in. taller than the tombstone. Cut an X near each bottom corner of the box, drive the stakes into the ground where those Xs will land, then lower the tombstone onto them and press down until the stakes are fully inside and the base is sitting on the ground. Electrical conduit works; so does rebar.
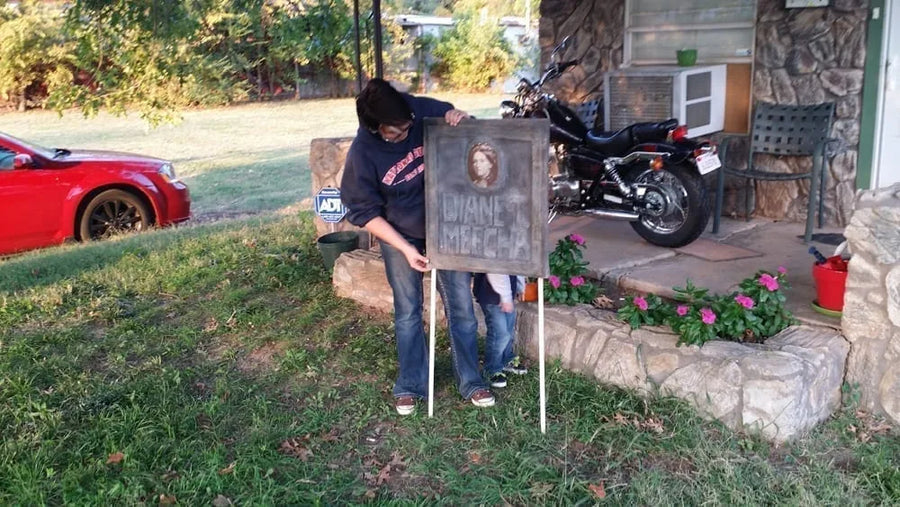
Stakes driven into the ground, ready for the tombstone to drop onto them.
Add the rest of the decor and you are done. The piece is hollow, so it lifts out and stores flat-ish for next year, and because it is sealed on both sides it will survive being left out in the rain.
Concrete Tombstone: FAQs
What is the step that makes or breaks it?
Sealing the cardboard. Seal the entire project — front, back and sides — before any overlay goes on, because unsealed cardboard will not survive wet overlay.
How do I get a clean fold in cardboard?
Score only the topmost layer and leave the rest intact, then fold.
Should the overlay be smooth?
No — work it unevenly on purpose. Trowel marks, thin spots and ridges are what make it read as weathered stone rather than a craft project.
Which colorants does it use, and why two?
They do different jobs. DecoGel™ in Shifting Sand is the base stone color — gel, because it stays where you put it on a vertical face — then acetone dye in Charcoal and a brown for depth.
How does it stand up outdoors?
Two metal stakes cut about 6 in. taller than the tombstone, driven through an X cut near each bottom corner. Rebar or metal conduit both work.
What’s Next
- The whole craft pillar → DIY Concrete Craft Projects
- Gel stain, in detail → How to Apply Acid Stain to Concrete
- Working with dye → Concrete Dye for Covering Imperfections
- Something to keep → How to Make Concrete Stepping Stones
- Shop → DecoGel™ · Vibrance™ Dye · EasySeal™


