
Concrete is a craft material. It costs almost nothing, it takes any shape you can build a mold for, and it holds color permanently — which is why our customers use it for bookends, planters, garden statuary, mosaic sculpture and a 28 sq. ft. celestial mural. This page is the starting point: one project you can finish this weekend, then the work of artisans who took the same materials a great deal further, with their own notes on how they did it.
Prefer to listen? Shawna Turner on concrete crafts, statuary and cast décor. The player is at the end of this article.
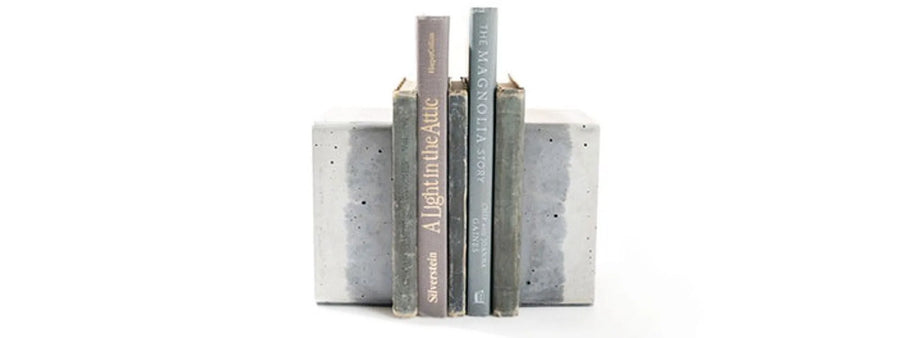
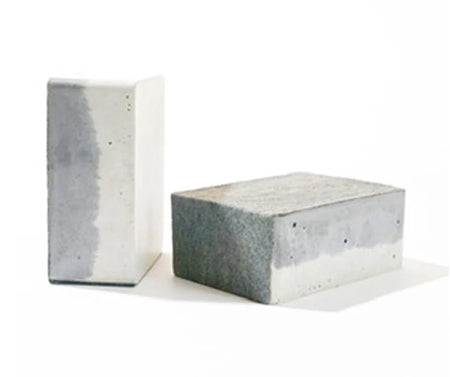
Concrete bookends, cast in a homemade mold and colored with concrete pigment.
Start here: concrete bookends
Thanks to Jessica Lugo, a Direct Colors customer, for this one. It is the cheapest possible introduction to casting: a mold you can cut out of recycled cardboard, a bag of quick-set concrete, and concrete pigment for the color. Six steps, an afternoon of work, and a pair of bookends that will outlive the shelf.
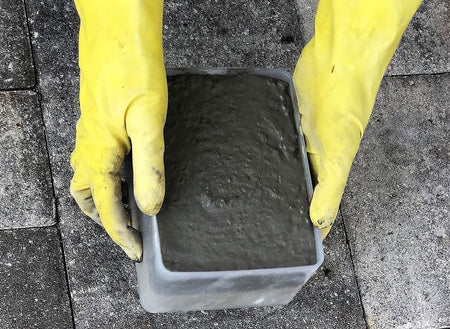
1. Build the mold
Buy one or cut your own out of recycled cardboard — at this size the cardboard version works fine and peels straight off afterwards. If you can see yourself making a lot of these, reusable molds are worth the money. We do not sell molds; a craft store or a concrete supply house will have them.
2. Mix the concrete
Look for a quick-dry, smooth mix rather than anything with large aggregate in it — you want the pieces to sand clean. Follow the water ratio on the bag; on a small pour it is easy to go wet, and wet concrete is weak concrete.
3. Pigment the mix
Add concrete pigment to the mix at least 20 minutes before you pour, and blend it for 3 to 5 minutes. That dwell time is what gets you even color instead of streaks. Working in a pigment sampler first is the cheap way to find the shade you want, and the full range of colors is in the pigment collection.
4. Fill the mold
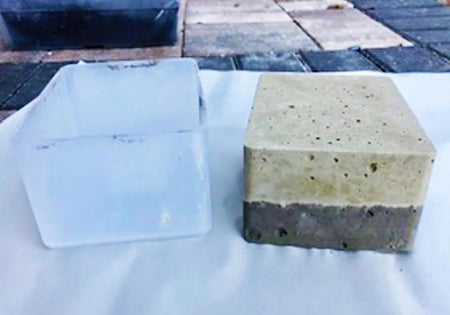
Tap or scrape every bit of concrete out of the mixing bowl so the mold fills evenly. If you are layering two colors, tap the mix down before each layer goes in. Leave a few air bubbles if you want the rustic look — on a bookend they read as character rather than as a defect.
5. Demold before it is fully cured
Let it set until it holds its shape but is not yet fully hard, then get it out. Cardboard molds peel away easily at that point and fight you later.
6. Sand the edges
Once dry, take the rough edges down with coarse sandpaper or a sanding block. That is the whole project.
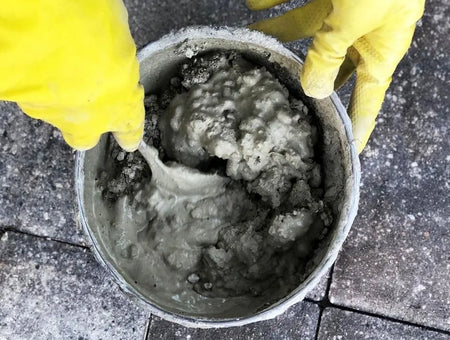
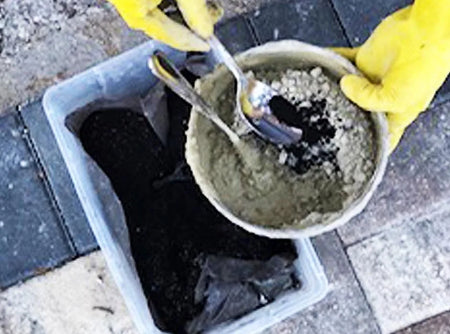
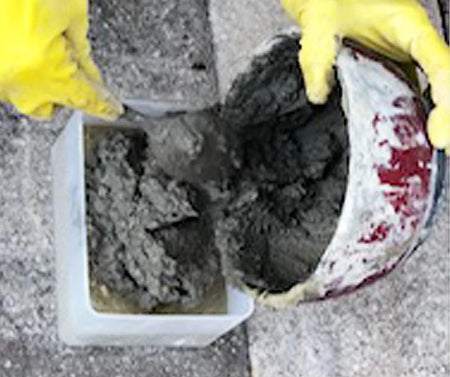
If you used our pigment the color is already permanent, so there is nothing else you have to do. Paint it if you want to, or leave it.
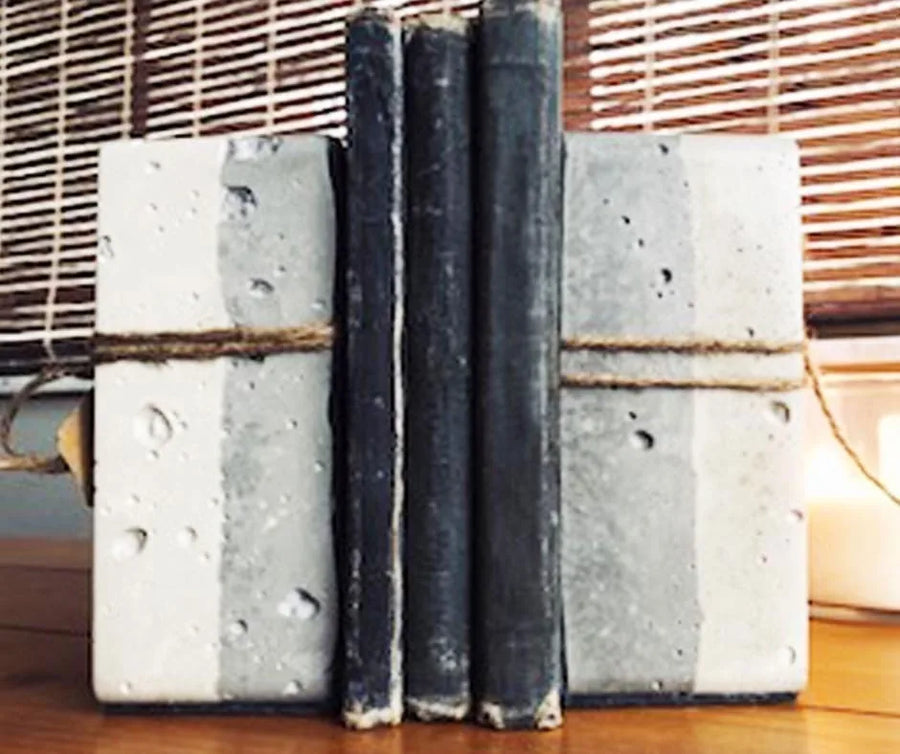
Styling variations — geometric shapes, layered colors, letters and stacked sets.
From here the ideas scale in every direction: stack smaller pieces, cast letters or words, mix shapes and colors into a set. Same six steps, different mold.
Then the artisans
Everything below is customer work, and it is where the material stops being a craft project and starts being a medium. We have kept their process notes in their own words, because the useful part is never the finished photo — it is the part where they tell you what went wrong.
A garden planter in two colors
Malayan Buff and Seagrass EverStain™ on a cast planter. Acid stain on a small piece gives you variation you could not get from pigment, because the reaction follows the cement rather than the shape. More of these colors in the Malayan Buff and Seagrass galleries.
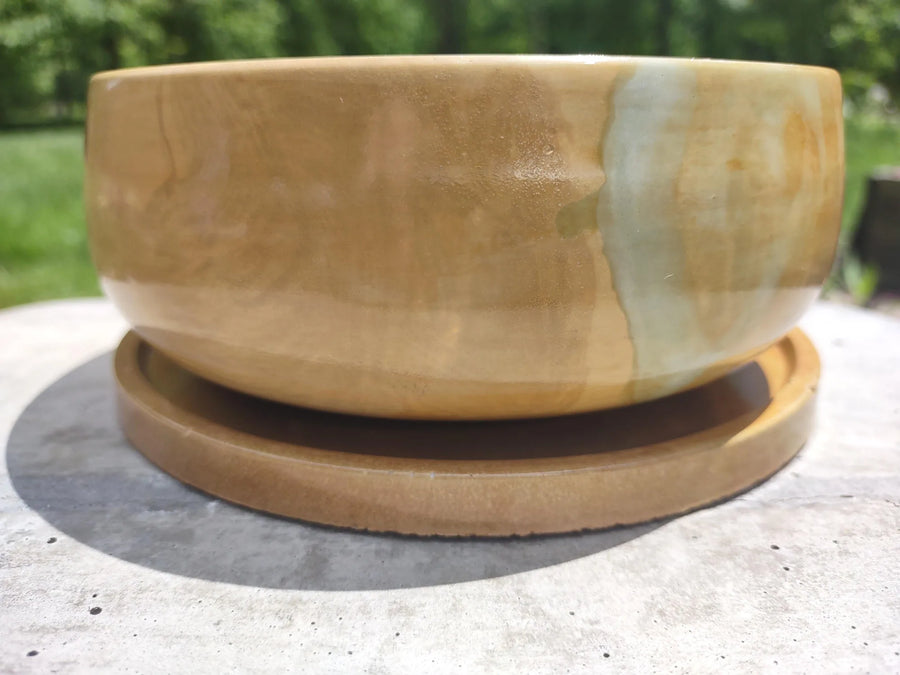
A cast concrete planter stained in Malayan Buff and Seagrass EverStain™.
Otters, in gel stain
Black, Coffee Brown and Malayan Buff DecoGel™ on a pair of garden otters. Gel is the right product for figurines: it has the consistency of oil paint, so it stays on the face of the piece instead of running down into the low spots, and you can put three colors on one animal without them meeting.

Concrete otters stained with Black, Coffee Brown and Malayan Buff DecoGel™.
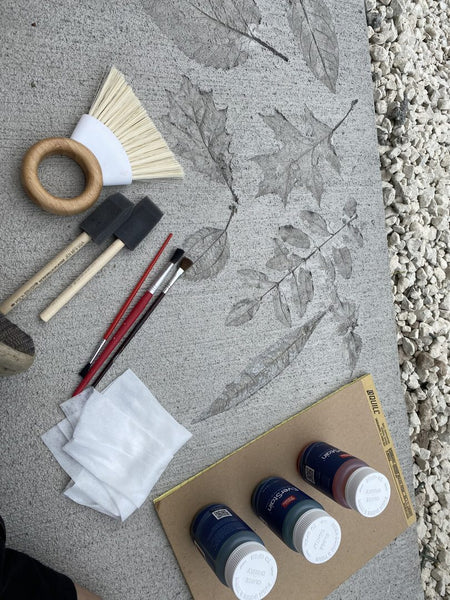
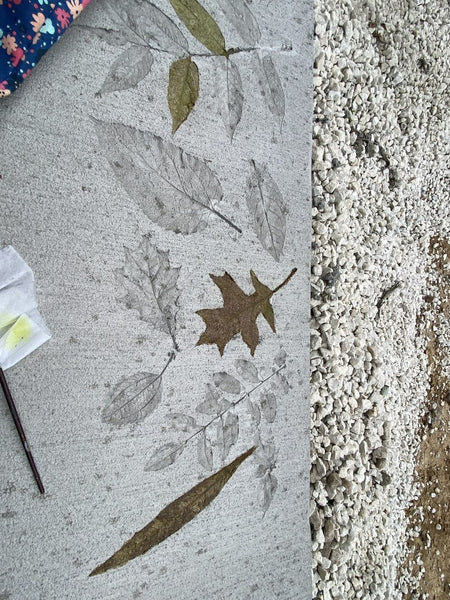
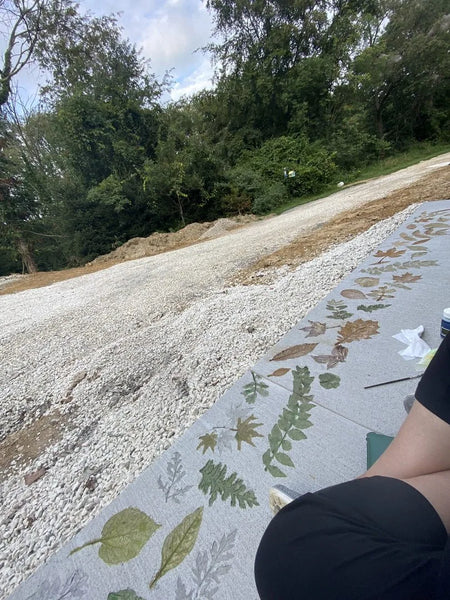
Leaf stencils, straight onto a walkway
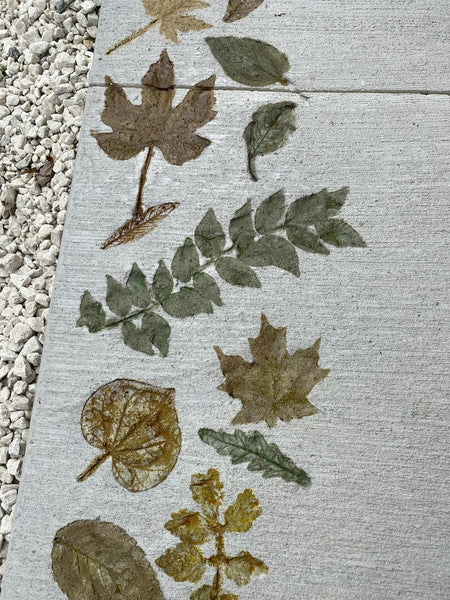
Not a cast piece at all — leaf stencils laid on an existing walkway and filled with Avocado, Desert Amber and English Red EverStain™, applied with brushes and foam applicators. Worth including here because it is the cheapest decorative concrete project on this whole site: a stencil, three 4 oz. bottles and an afternoon.
A Buddha, and why we told them not to use gloss
Azure Blue, Black and Coffee Brown on a cast concrete Buddha, with the brown and black diluted to get both subtle and pronounced highlights out of the same bottle. That dilution trick is the whole technique on a piece with fine detail. For sealing it we recommended our ProSeal Li™ Penetrating Sealer — a one-time application with a matte finish. A gloss sealer would have flattened the quiet of the piece, and on statuary that is a real risk: gloss makes cast concrete look like resin.
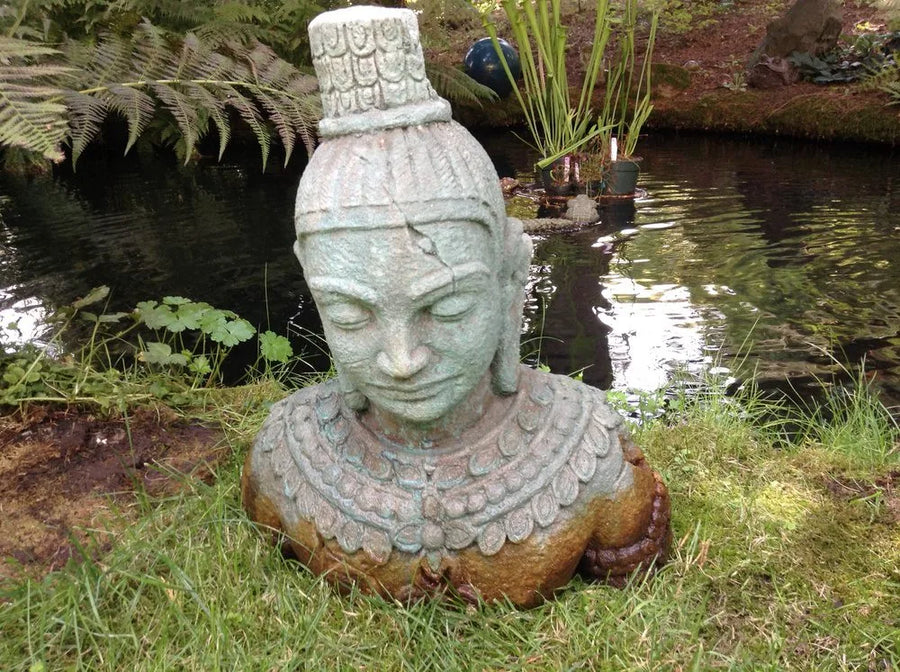
A concrete Buddha in Azure Blue, Black and Coffee Brown, sealed matte.
A cat, and a shelf of statuary
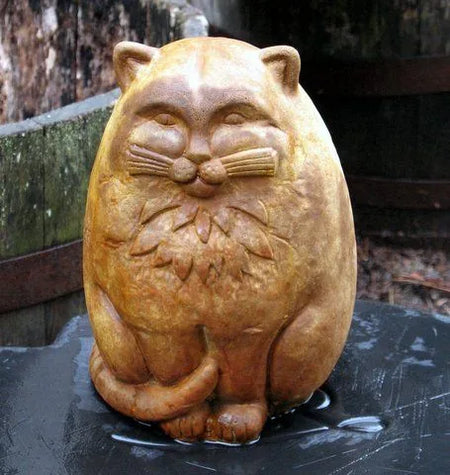
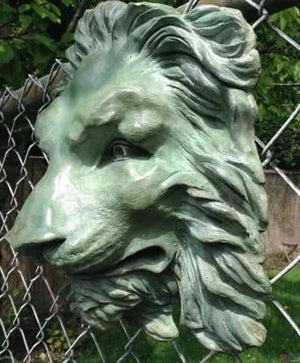
Malayan Buff DecoGel™ on a concrete cat, and Azure Blue with Avocado EverStain™ across a group of cast decor pieces. Both make the same point: on something this small, one bottle of colorant does the entire project.
Rustic anchors: the most complete recipe on this page
Patrick Gavin of Anchors A Weigh makes cast concrete anchors, and his write-up is the closest thing to a professional process document we have been sent. The interesting part is that his first attempt did not work — the color was not deep enough — and the fix was a color mix he arrived at by testing.
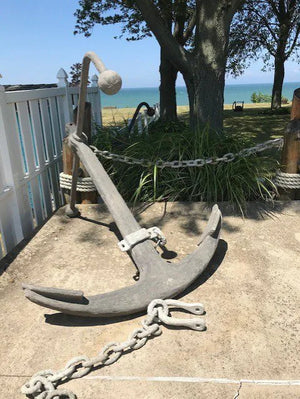
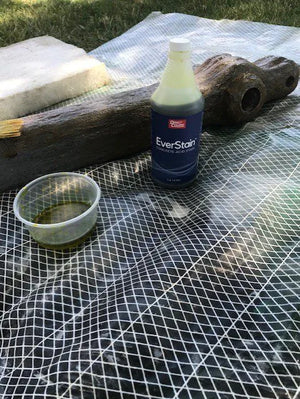

Anchor one — bare cast concrete, mid-stain, and finished in the Cola and English Red mix.
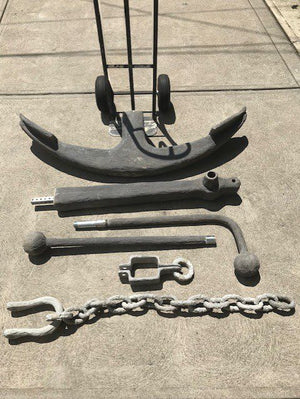
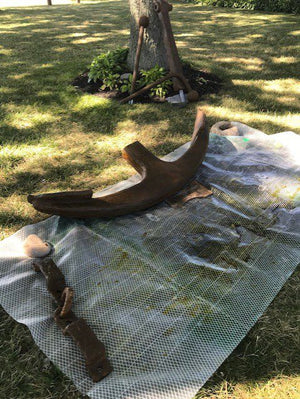
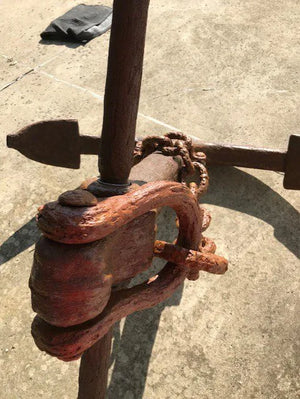
Anchor two, the same three stages.
His two tips. Run test strips to find the right mixture before you commit — that is how the 50/50 came about. And if the first coat has etched deeper into the concrete, let the second coat dry longer before you judge it.
Mosaic sculpture, 50 sq. ft. in two days
A studio artist in California working in found-object and neon art, using an acid stain trial kit to finish large-scale concrete mosaic sculpture: Azure Blue, Avocado, Sea Grass, Desert Amber and Coffee Brown, over a mix of concrete, sand, metakaolin and fiberglass that is loose enough to sculpt with. Thinset set the tile, grout completed the inlay, and a water-based satin acrylic sealer finished it.
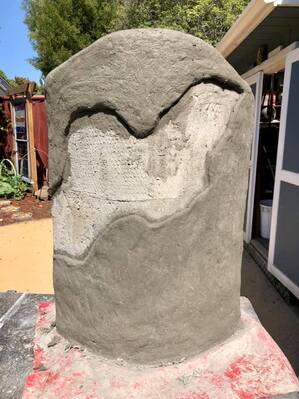
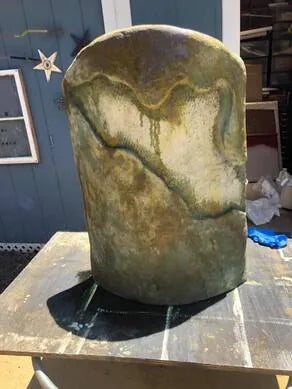
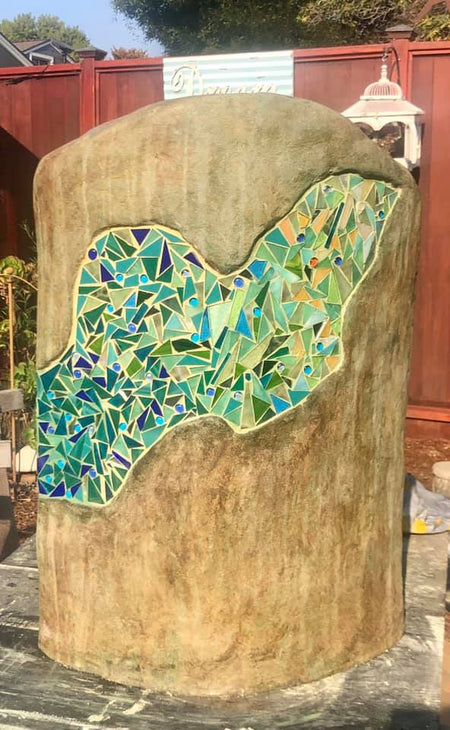
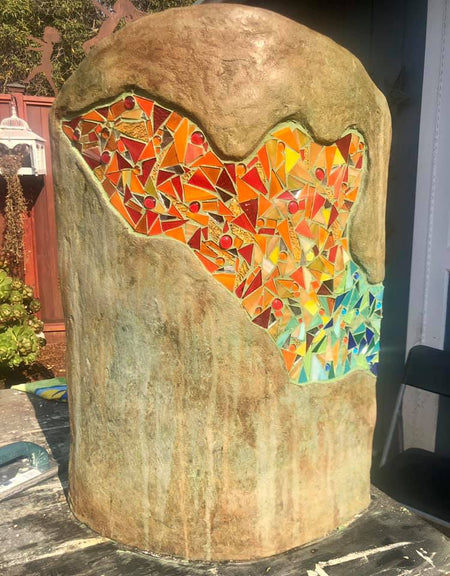
What they learned: on a vertical surface, drips are more prominent than you expect. Next time they plan to dab them out with a sponge — or use them deliberately. That is the recurring lesson on any vertical concrete work, and it is why we point people at gel stain for walls.
A celestial mural, 28 sq. ft. and 30 hours
Tom Vogelsong built this one out of cast tiles, and the technical detail is remarkable. White Portland cement, sand and perlite; tiles poured and vibrated together in a form built to the radius of the arch; the Earth cast in a bass drum head; the Moon carved on a CNC machine in foam. Coffee Brown, Malayan Buff and Azure Blue acid stains — the same three colors work over gray or white Portland, and white was chosen here specifically so the swirling would stand out.
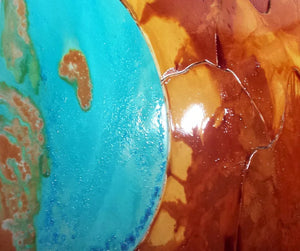
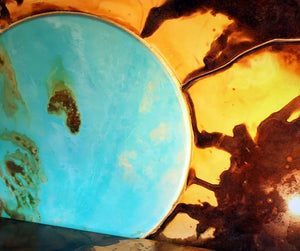
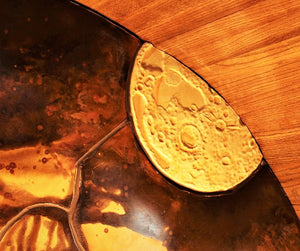
The celestial mural in progress and installed — cast tiles set into the arch.
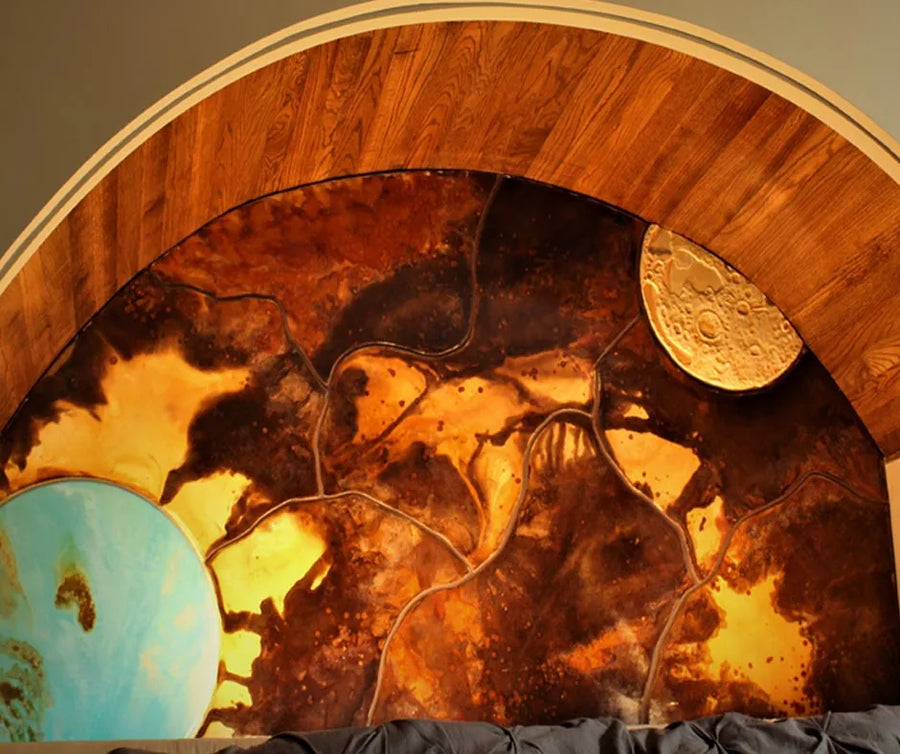
The finished mural, polished to gloss after staining.
His warnings. Perlite makes the tiles lighter, but there is a learning curve — experiment with it on other objects before you try tiles. Use traditional thinset to set them, and let them cure properly or they will warp. And be prepared for some frustration templating the arch.
More customer pieces
Statuary, leaves, decor and a bird bath, all cast and all colored with the same handful of products.
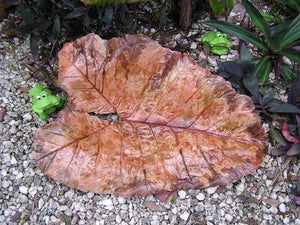
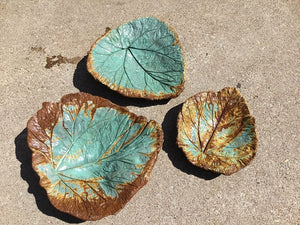
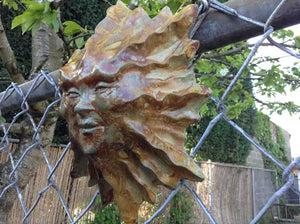
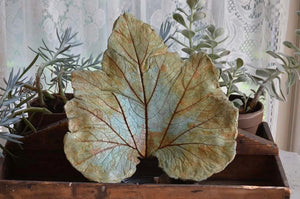
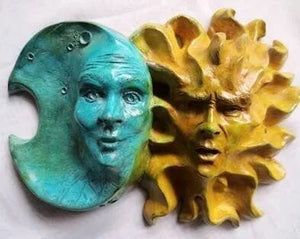
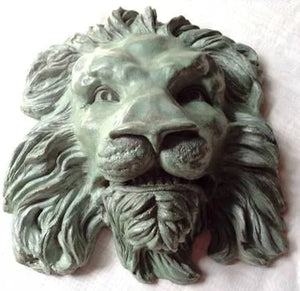
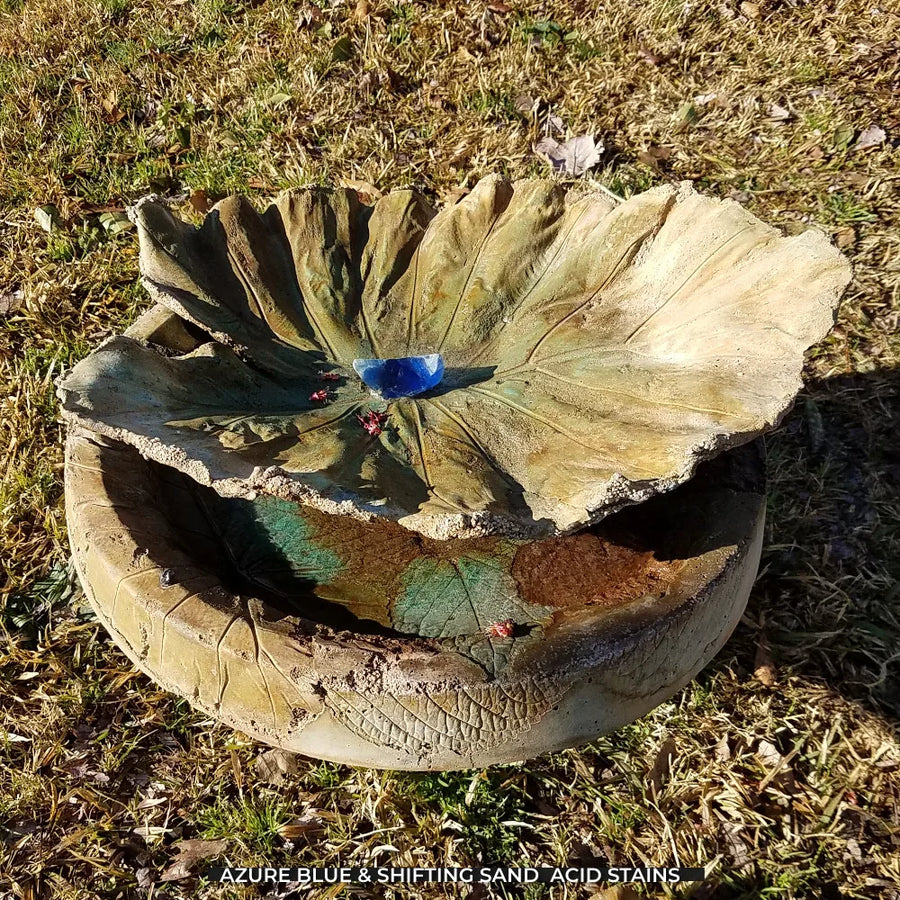
A bird bath in Shifting Sand with Azure Blue accents.
What the artisans do differently
Read all of it together and a short list separates the people making objects from the people making art out of them:
- They cure properly, then wait longer. Three days in a water bath and a month of drying before a drop of stain. Every failed small-piece project we hear about was colored too early.
- They test on offcuts. The 50/50 Cola and English Red mix that produced the rust color came out of test strips, not out of a catalog.
- They dilute. Diluting brown and black gave the Buddha both soft and hard highlights from the same bottle. Full-strength everywhere is the beginner move.
- They match the sealer to the object. Matte penetrating sealer on statuary, satin on the anchors, polished gloss on the mural tiles. Gloss on the wrong piece makes concrete look like plastic.
- They control drips instead of hoping. Gel stain on vertical work, a sponge on the drips, or make the drips part of the design.
- They add fiber or steel. Rebar, micro rebar, chopped fiberglass, fiberglass net — thin cast pieces crack from shrinkage, and reinforcement is cheaper than recasting.
Common questions
Can I acid stain a store-bought concrete statue or planter?
Often yes, but test the base first — this is the single most useful precaution in this episode. Shop-bought statuary varies enormously in concrete quality, and acid stain is a reaction, so a poor-quality casting may barely take color. Try a small area on the base where it will not show, then decide.
Which stain is best for a statue with a lot of detail?
DecoGel™, because it is gelled and stays where you put it. That matters on a statue, where almost every surface is curved or vertical and a liquid stain runs. Use EverStain™ on the broader flatter areas — plenty of projects use both.
How do I color stepping stones or pavers I'm casting myself?
Integrally, with powdered pigment added to the mix before you pour. The color runs right through, so a chipped edge still reads as color rather than gray, and you get to choose exact shades rather than take whatever the garden center stocks.
Can I get a marbled effect in a cast piece?
Yes — that is how the 2018 contest-winning vases were made, using black pigment worked unevenly through the mix rather than fully blended. The uneven dispersion is the effect. It is worth casting a few small test pieces to find how much mixing gives you the contrast you want before committing to a finished piece.
Listen to this episode
Direct Colors DIY Home Improvement · Episode 38
Concrete Crafts, Art and Decor
Tyler Thompson and Shawna Turner · 6 min 41 sec · read the full transcript
What’s Next
- Cast something for the garden → How to Make Concrete Stepping Stones
- The seasonal one → How to Make a DIY Halloween Tombstone
- Furniture → Concrete Fire Table · Concrete and Wood Dining Table
- Color in the mix instead of on top → Concrete Pigment Projects · How to Integrally Color Concrete
- Shop → Concrete Pigment · EverStain™ · DecoGel™ · Trial Kits


