
Learning how to acid stain concrete is one of the most rewarding ways to turn a plain slab into a marbled, variegated surface that looks completely unique. But before you plan colors or start spraying, ask the one question that matters most: will this concrete actually react with acid stain? Newer construction is becoming less predictable — many modern mixes replace part of the traditional cement, which can reduce how strongly a slab reacts. And most people staining after the pour have no way of knowing the exact mix. That’s why testing isn’t just a recommendation — it’s the single most important step.
Prefer to listen? Shawna Turner covered mix design, timing against the drywall trade, and protecting a new floor. The player is at the end of this article.
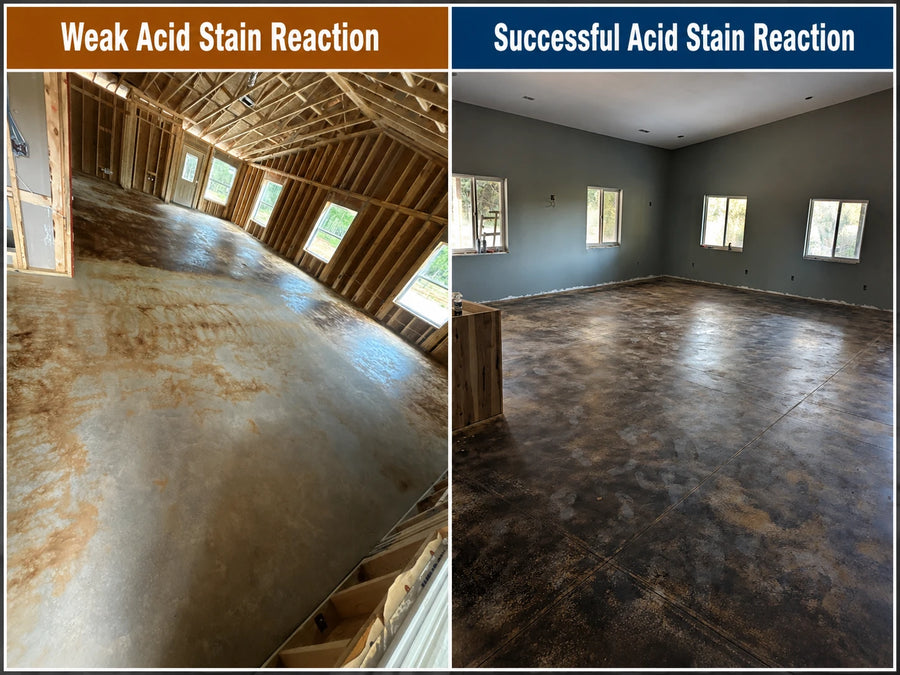
The same Coffee Brown EverStain™ on two slabs — a weak, barely-reactive result next to a strong one. Testing first is how you avoid the one on the left.
How to Acid Stain Concrete: Quick Steps
- Test a hidden spot first — confirm the slab reacts before you commit.
- Clean and prep the concrete — remove paint, oil, glue, and old sealer; let it dry.
- Gear up — goggles, acid-resistant gloves, a mask, and an all-plastic pump sprayer.
- Apply the acid stain in random, overlapping passes — the variation is the look.
- Let it react 4–8 hours — a chalky residue forming is normal.
- Neutralize and rinse — stop the reaction and clean off all residue.
- Seal — this protects the surface and brings the color to full depth.
Full detail on each step below.
Why modern concrete may not react like older concrete
Acid stain isn’t paint, dye, or a topical stain — it creates color through a chemical reaction with the minerals in the slab. When the concrete is reactive, the result is rich and one-of-a-kind. But not every slab reacts the same, and some modern mixes react weakly, unevenly, or barely at all. Acid stain may underperform if the concrete has:
- A high amount of cement-replacement material such as fly ash
- A modern mix with limited acid-stain reactivity
- Paint, glue, oil, grease, curing compounds, or old sealer on the surface
- Been treated with muriatic acid, TSP, or waterproofers
- Weak, sandy, crumbling, or heavily eroded areas
- New concrete that hasn’t cured long enough (give it 30 days; it should look a uniform light gray)
Step 1: Test the stain before you commit
This is the step that can save the whole project. Every slab reacts differently, even with the same color and method — and with today’s mixes, testing is the only reliable way to know what you’ll get. Choose a hidden or representative area, apply the stain, let it react for the full activation time, neutralize and clean it, then seal a small spot to preview the true color (acid stain looks dull and chalky before sealing, so don’t judge it early).
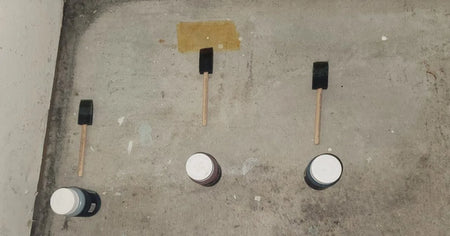
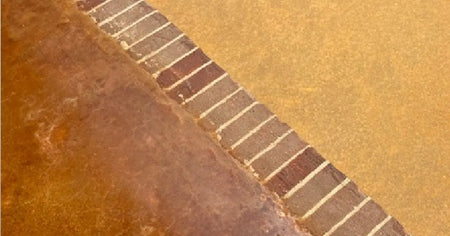
Test before you commit. Shop the EverStain™ Trial System →
Step 2: Clean and prepare the concrete
Surface prep is the most important physical step. Acid stain has to reach the minerals in the slab — anything in between causes light spots, blotchy color, or complete failure. Remove all contaminants: dirt and dust, paint or overspray, carpet glue or adhesive, oil and grease, old sealers or coatings, and drywall mud or caulk. After cleaning, let the concrete dry completely (outdoors in hot, dry weather, you may instead lightly dampen it so the stain doesn’t dry too fast).
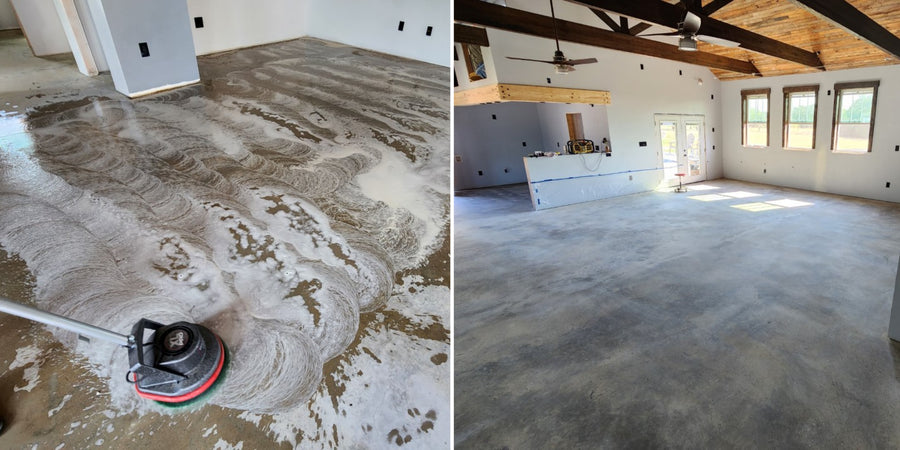
Cleaning and prepping the slab before staining — the difference between even color and blotches.
Step 3: Gather safety gear and supplies
Acid stain is a chemical product — set up your workspace and protect yourself. You’ll want safety goggles, acid-resistant gloves, long sleeves and pants, closed-toe shoes, spiked shoes for walking on wet stain, and a dust mask or respirator (especially indoors). Plus an all-plastic pump sprayer, a nylon scrub brush, ProClean Neutralizer™, clean rinse water, a wet/dry vacuum or mop, sealer, and floor wax for indoor floors. Work in a well-ventilated area and keep pets and children away until you’ve finished sealing.
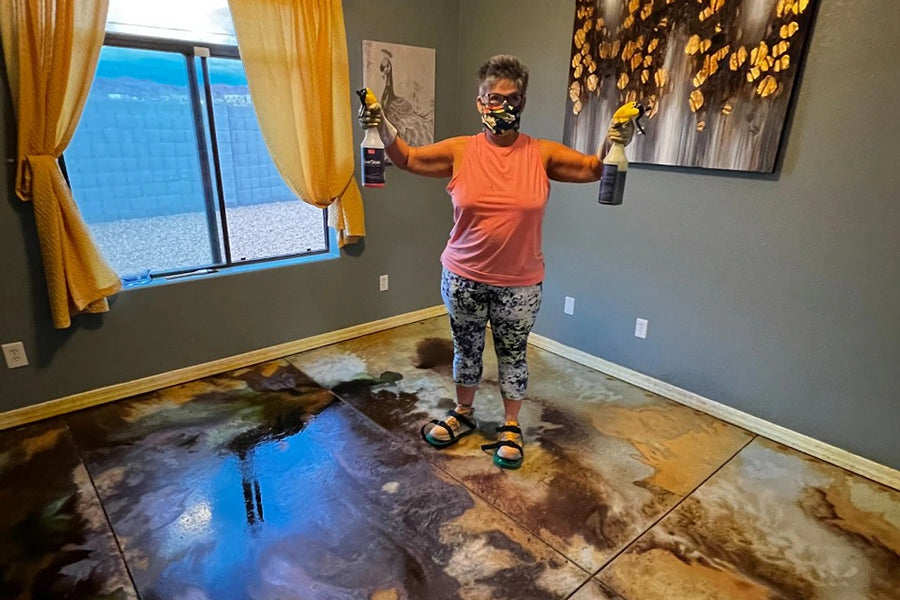
Goggles, gloves, and a mask — acid stain is a chemical product; gear up before you spray.
Everything on this list is in the EverStain™ 200 sq ft Complete Kit →
Step 4: Apply the acid stain
Use an all-plastic pump sprayer (avoid metal — acid reacts with it) and spray in random, overlapping motions. Don’t try to make it uniform; the variation is the look. Adjust the effect by method:
- Soft marbled: spray and let the stain move naturally.
- Darker, worked-in color: spray, then brush in circular motions.
- Veined: apply a secondary color first, then the main color around it while the first is still wet.
- Multi-color floor: start with the lighter color as a base, then add darker accents. See how to acid stain concrete with multiple colors for wet-on-wet and wet-on-dry techniques.
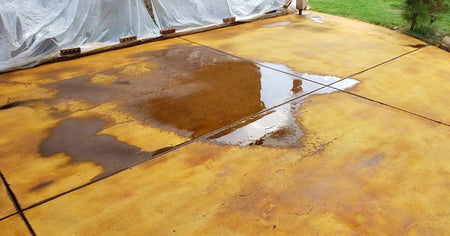
On outdoor or sloped concrete, watch for puddling — some pooling creates beautiful variation, but too much leaves overly dark areas and residue.
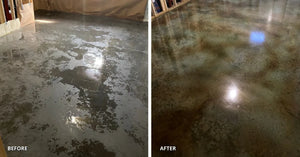
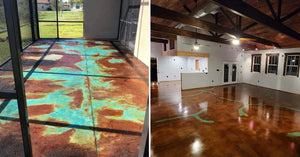
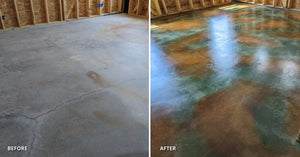
Shop EverStain™ Acid Stain by the gallon, 10 colors →
Step 5: Let the stain react and check the color
Most colors take about 4 to 8 hours to fully develop, though it varies by color, temperature, surface, and the depth you want. A chalky residue forms as it dries — that’s normal and comes off during neutralizing. To preview the color, lightly mist a small area with water; the wet color is close to the sealed result. If it looks too light, let it keep reacting — don’t neutralize before the recommended activation time or the reaction won’t fully develop.
Step 6: Neutralize and clean the residue
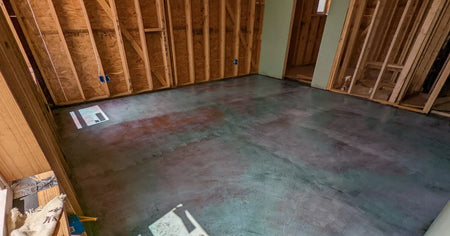
Once the stain has reacted, neutralize before sealing — this stops the acid reaction and removes the chalky residue. Use either 1–2 tablespoons of baking soda per gallon of water, or ProClean Neutralizer™. Scrub with a nylon brush, rinse thoroughly, and pull up the rinse water with a wet/dry vacuum or mop. Repeat until the floor is clean and no residue remains — it shouldn’t feel gritty, dusty, or chalky before you seal.
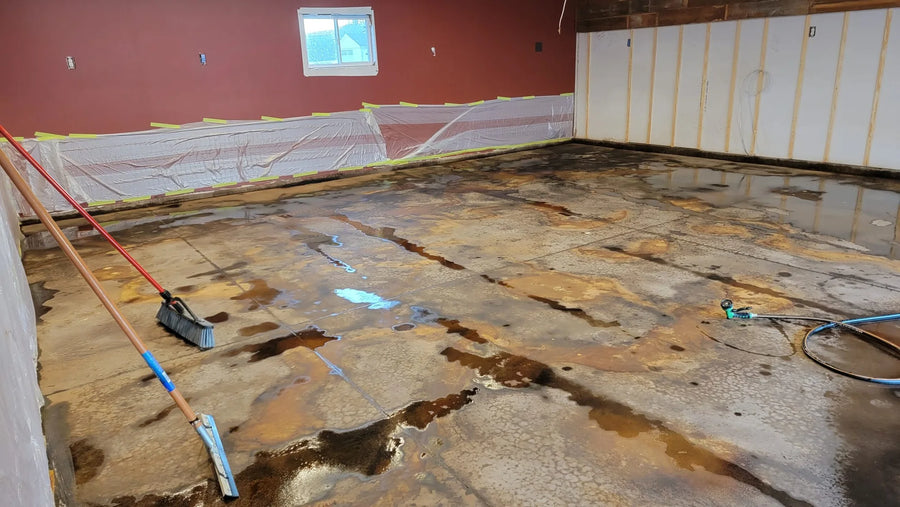
Neutralizing an English Red EverStain™ garage floor — scrub, rinse, and vacuum until the water runs clear.
Step 7: Seal the acid-stained concrete
Sealer protects the surface and brings out the final color — depth, contrast, and richness the dull, unsealed stain only hints at. Choose your sealer by indoor vs. outdoor use, sheen, traffic, and slip needs. Don’t seal above 90°F (outdoors, seal early or late when the slab is cooler). And never use duct or masking tape on a sealed floor — the adhesive can pull up the finish.
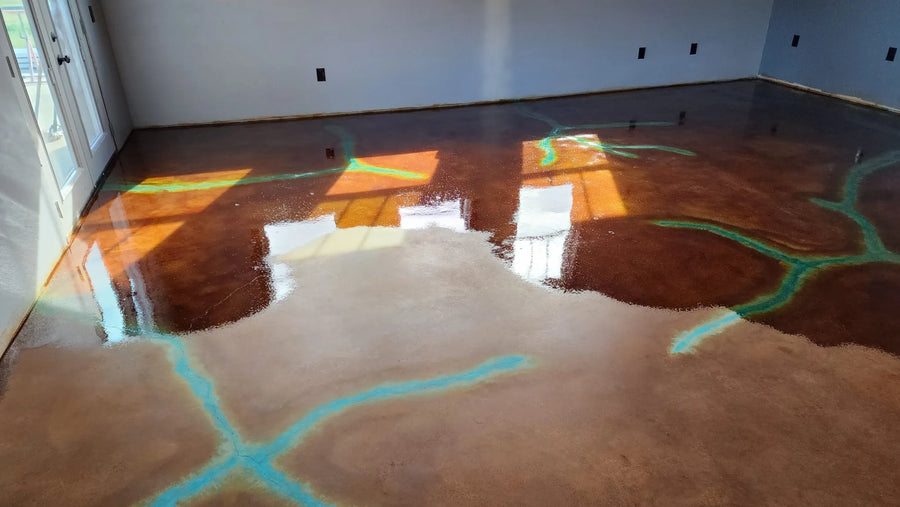
Applying the first coat of sealer — this is where the color comes to life.
Optional: add wax for indoor floors
For indoor floors, especially high-traffic areas, apply 2–3 coats of ProWax Polish™ after the sealer has cured. Wax protects the sealer from daily wear and is far easier to reapply than repairing damaged sealer. Use thin coats with a sponge mop or trim pad, alternating direction each coat, and let each dry fully.
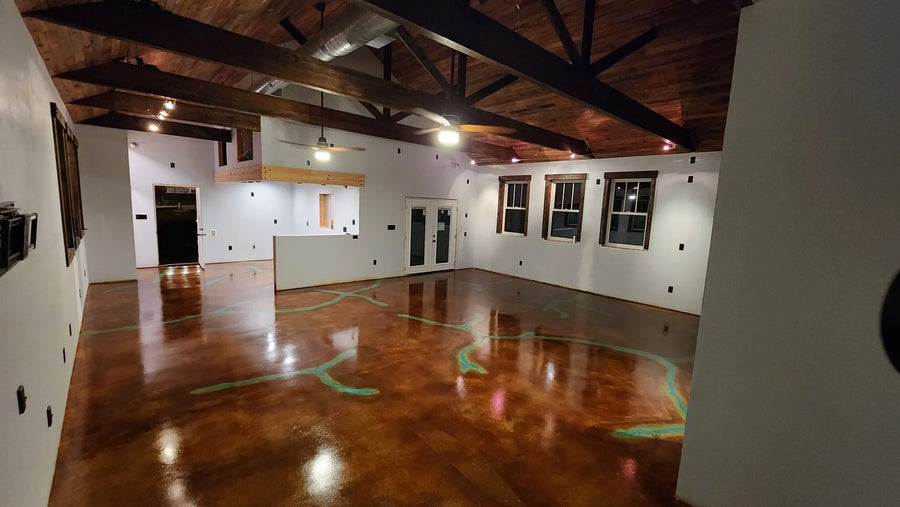
Two coats of floor wax, cured — the finished, protected indoor acid-stained floor.
How to Acid Stain Concrete Floors (Indoor, Basement & Garage)
The seven steps above apply to any slab, but interior concrete floors — basements, garages, and finished living spaces — are the most common acid-staining projects, and they come with a few extra considerations:
- Check a basement floor for moisture first. Tape a square of plastic to the slab for 24 hours; condensation underneath means moisture is moving through the concrete, which can affect both the stain reaction and the sealer. Address the moisture before you stain.
- Ventilate. Acid stain and solvent sealers need airflow. Open windows, run fans, and wear a respirator — especially in an enclosed basement.
- Watch for machine-troweled density. Many garage and interior floors are power-troweled smooth and closed, so they bead water even with no sealer on them. Those need profiling with CitrusEtch™ or grinding before they’ll take stain evenly.
- Seal for indoor wear, then wax. Choose an interior-rated sealer, and add 2–3 coats of ProWax Polish™ on high-traffic floors so daily wear hits the wax, not the finish.
For a full walkthrough focused on interior slabs, see how to acid stain concrete floors, step by step.
Cold-weather application tips
- Don’t apply sealer or wax below 65°F.
- Warm the room before application.
- Turn off fans and heaters while applying sealer or wax, then turn airflow back on afterward to help drying.
- Allow extra dry time in cooler temperatures.
Common acid-staining mistakes to avoid
- Skipping the test spot
- Staining over sealer, paint, glue, or oil
- Using a metal sprayer instead of all-plastic
- Neutralizing too soon
- Sealing before the residue is fully cleaned off, or before the slab is dry
- Sealing when the slab is too hot
- Walking on wet stain without spiked shoes
- Expecting acid stain to look perfectly uniform
Applying Acid Stain: FAQs
How long should acid stain stay on concrete?
Most acid stains need 4 to 8 hours to react, but timing depends on the color, concrete, temperature, and result you want. Always follow the recommended activation time for your color — see our activation times guide.
Why does acid stain leave chalky residue?
It’s normal — the residue forms during the chemical reaction and must be neutralized, scrubbed, and rinsed away before sealing.
Can I acid stain new concrete?
Yes, but let it cure at least 30 days (it should look a uniform light gray), and test first — some modern mixes are less reactive. See Can You Acid Stain New Concrete?
Why doesn’t some modern concrete react well with acid stain?
Some modern mixes replace part of the traditional cement with materials like fly ash. Because acid stain colors concrete through a chemical reaction with that cement content, a mix with less of it can react weakly or unevenly. Most homeowners and contractors don’t know their slab’s exact mix — which is why testing a hidden spot first is the only reliable way to know how your concrete will take the stain.
Can I acid stain sealed concrete?
No. Sealer blocks the reaction — it must be removed before staining.
What’s the difference between acid staining, acid etching, and acid washing concrete?
They get confused constantly. Acid staining adds permanent color through a chemical reaction with the slab — it’s a decorative finish. Acid etching uses a milder acid (like CitrusEtch™) to open the surface pores so a stain, sealer, or coating can bond — it prepares concrete, it doesn’t color it. Acid washing usually means cleaning or brightening masonry and concrete with diluted acid; it’s a cleaning step, not a decorative one. If your goal is color, you want acid staining.
Why does acid stain look dull before sealing?
Acid stain looks muted until sealed; the sealer brings out the final color, depth, and contrast.
Should I wax acid-stained concrete?
Wax is recommended for indoor floors, especially high-traffic areas — it protects the sealer and makes maintenance easier.
Do I need to test before staining the full floor?
Yes. Testing is the best way to confirm your concrete will react properly before you stain the entire surface.
What should I tell my builder if I want to acid stain the floors?
Tell them before the pour, not after. With advance notice the GC can direct the ready-mix supplier and the other trades accordingly, and it costs very little. Specifically: no more than 10% fly ash in the mix, rich in cement content, and only lightly machine troweled if at all — the pores need to stay open for the stain to absorb and react.
When in the build should the floor be stained?
After the drywall is hung, but before it is mudded. That is the whole answer, and it saves the most money of anything in this episode. Drywall mud is one of the hardest contaminants to get out of concrete once it is down. Let the slab cure 30 days first. Spray insulation is the same problem — it should only go in after the floors are covered with overlapping cardboard.
Why only one coat of sealer during construction?
Because the floor is going to take damage no matter how well you cover it. Apply one coat now, then a final coat after the trades are finished and the floor is cleaned — a solvent-based acrylic like EasySeal™ re-emulsifies the existing layer, so the second coat repairs the first and the floor comes up looking new.
How do I protect a newly stained floor during the rest of the build?
Overlapping cardboard, after at least 10 hours of dry time — and never tape the cardboard to the floor. Tape bonds with the sealer and ruins the finish where it sits. Leave the covering down until construction is done and the baseboards are ready, then clean, apply the final sealer coat, and allow 24–48 hours of ventilation and dry time before waxing.
Listen to this episode
Direct Colors DIY Home Improvement · Episode 24
Acid Staining Floors During Construction
Tommy Carter and Shawna Turner · 5 min 06 sec · read the full transcript
What’s Next
- How long to leave it on → Acid Stain Activation Times
- Blend colors → Layering Acid Stains: Wet-on-Wet vs. Wet-on-Dry
- Neutralizing, in detail → How to Neutralize Concrete Acid Stain
- Staining floors → How to Acid Stain Concrete Floors
- New concrete? → Can You Acid Stain New Concrete?
- Shop → EverStain™ Acid Stains · Trial Kits
Direct Colors. Shawnee, OK. Manufacturing the full decorative concrete system since 1997.


