
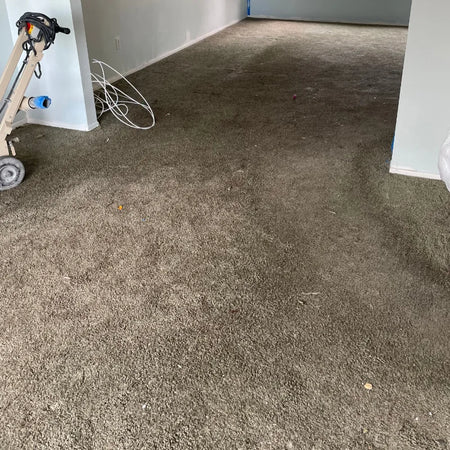
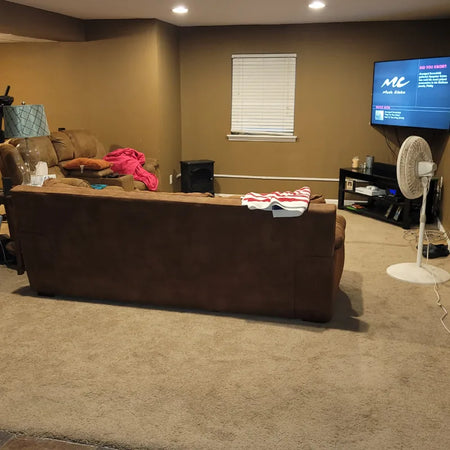
Pull up old carpet and the tack strips leave a line of small holes right around the perimeter of every room. They are easy to fix, and worth fixing before you stain rather than after, because there is one wrinkle: whatever you fill them with will not take stain the same way the slab does.
Prefer to listen? Shawna Turner explained why patched tack holes still show, and what to do instead, in a 4-minute episode. The player is at the end of this article.
The border trick, which is the whole point of this article
Spot-filling a line of holes leaves you with a line of slightly different-colored dots around the room once the stain goes down. Instead, run a thin layer of overlay or patch around the whole perimeter of the room, covering the tack holes as you go. Now the filled area is a continuous band, and when the floor is stained it reads as an intentional border framing the room rather than as a repair you can see.
Either material works — a cement-based concrete overlay or a concrete patching compound. Both are sold at building suppliers; we do not stock them. The choice is genuinely yours.
The five steps
- Pull the nails. Using pliers, carefully remove any nails still in the perimeter of the floor and throw them away.
- Clean out the holes. A wire brush to smooth them out and take away loose debris.
- Vacuum, twice. Vacuum the whole room, then go back with a thin attachment and hold it over each tack hole for 3 to 4 seconds to pull the remaining dust out of the hole itself. Filler will not bond to dust.
- Skim it. Mix your patching material per its instructions and apply a skim coat about 1/8 in. thick over the tack holes, following the product’s own application directions.
- Leave it overnight to dry. That is the job.
Test before you stain the whole floor
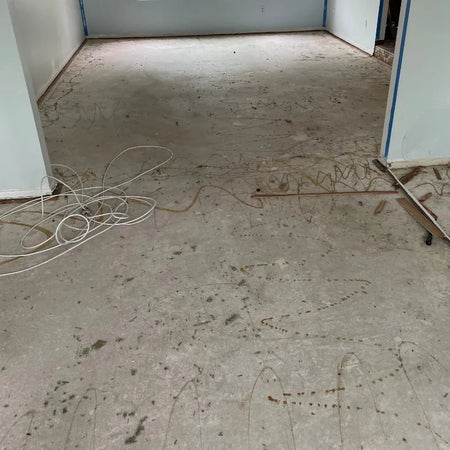
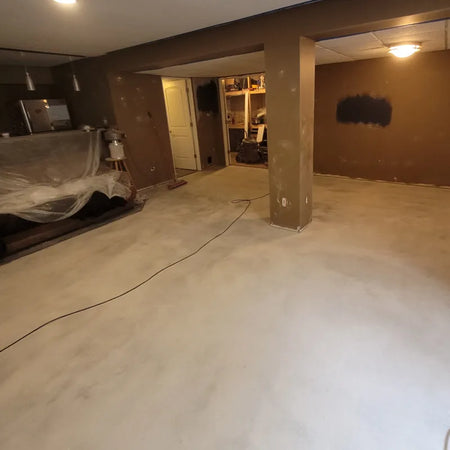
The patching material is new cement with no history, while the slab around it is old concrete with decades of mineral content in it — so acid stain, which works by reacting with that mineral content, will not treat the two the same. Test a small area first with an acid stain trial kit and see what you get.
If the contrast bothers you, a coating-type colorant is the fix: concrete dye or a tinted sealer sits on top of the surface rather than reacting with it, so it covers old concrete and fresh patch at the same value. Full reasoning in our surface preparation guide.
Once the patch is dry you are ready to stain, or to put down whatever finish you had planned. Patience and attention to detail on the perimeter is what makes the whole floor look seamless.
Common questions
Why do patched carpet tack holes still show after acid staining?
Because acid stain is a reaction, not a coating. It reacts with the minerals in the slab, and patching material has a different composition — so it takes the color differently and the repair ends up more visible than the hole was. Using the same stain color does not fix it; a variation will still occur.
What is the best way to hide tack holes around the perimeter of a room?
Stop hiding them and frame them. Run a thin concrete overlay as a deliberate border around the perimeter, roughly 1/8 inch deep, masked to a straight line. It buries the whole damaged strip at once and reads as a designed outline rather than a patch. For holes bigger than a dime to a quarter, fill with a patching compound and sand flush before the overlay goes down. Direct Colors no longer sells an overlay or a patching compound, but both are stocked by any concrete supplier.
How long does an overlay border need to cure before I stain it?
About 12 hours to fully cure before acid staining. Mixing matters too: it is an add-water-only mix, best mixed in a 5-gallon bucket with a birdcage paddle on a drill, and you should only mix what you can lay in about 50 minutes.
Can I use a different color on the border?
Yes, and that is often the point. You can add concrete pigment to the overlay before you lay it if you want a solid color, or stain the border a different shade from the field. If you stain it separately, DecoGel™ is the safer choice because it is gelled and will not run — apply it with a foam brush rather than a sprayer to avoid overspray onto the main floor.
Listen to this episode
Direct Colors DIY Home Improvement · Episode 10
What to Do About Carpet Tack Holes on Concrete Floors
Amie Nolen and Shawna Turner · 4 min 20 sec · read the full transcript
What’s Next
- The rest of the prep → Concrete Surface Preparation
- Getting the glue off too → removing carpet glue · etching without leaving footprints
- Basement floors → How to Stain a Basement Floor · Basement Floor Ideas
- A floor in worse shape than yours → Acid Staining Old and Damaged Concrete
- Shop → Surface Preparation · Trial Kits · Vibrance™ Dye


