
White is the hardest color to get right on concrete and the most transformative when you do. It is not a paint — used as a semi-transparent stain it lightens and veins the slab rather than hiding it, which is why the two projects below both end up looking like stone rather than like a painted floor. White is stocked as 601 ColorWave® water-based stain and 339 Vibrance™ Dye, and as 901 White in our PaveWave™ paver line. For a genuinely opaque white floor you want pigment in an overlay, which is what the second project here does.
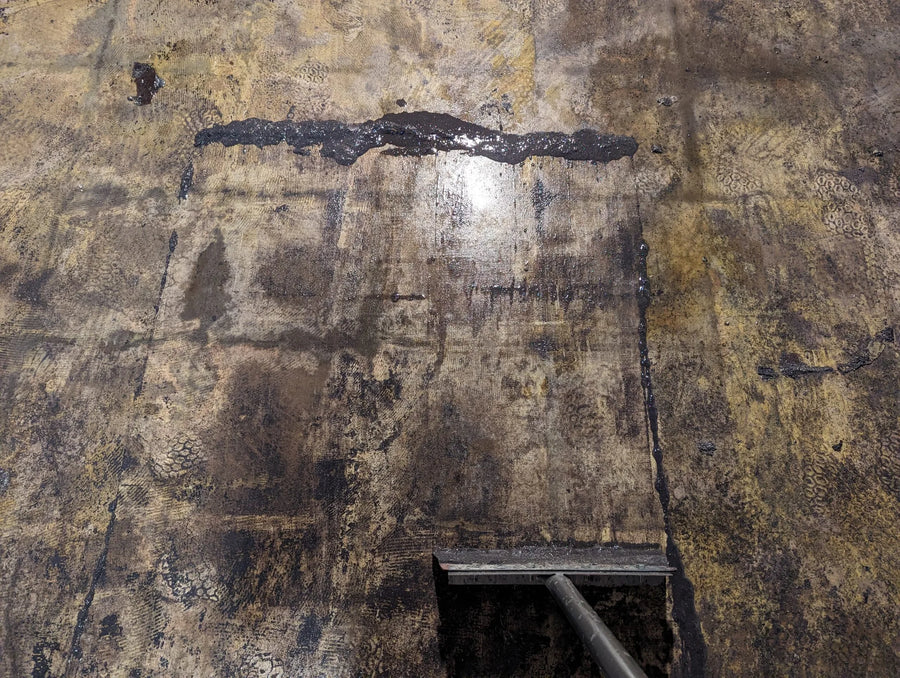
Stripping decades of black mastic off a basement slab before staining it white.
From mastic disaster to marble
This basement flooded five years before the project started. When it did, all the 1970s tile under the carpet lost adhesion and lifted, leaving roughly three-quarters of the slab covered in black asbestos mastic. The owner had already used our products on their countertops, so they took on the floor: strip the mastic, etch, then lay White and Steel ColorWave® down in a veined, marble-like pattern.
The interesting part is the middle of this sequence. Dry, before sealer, the old tile ghosting was still clearly visible and the floor looked like a failure. Sealer is what pulled it together — by the second coat it reads as a magnified slab of marble.
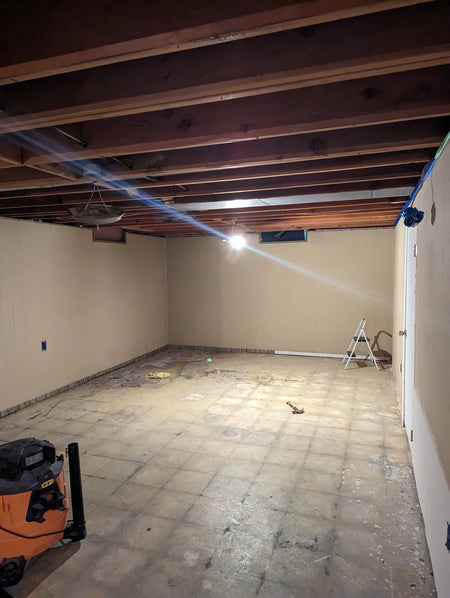
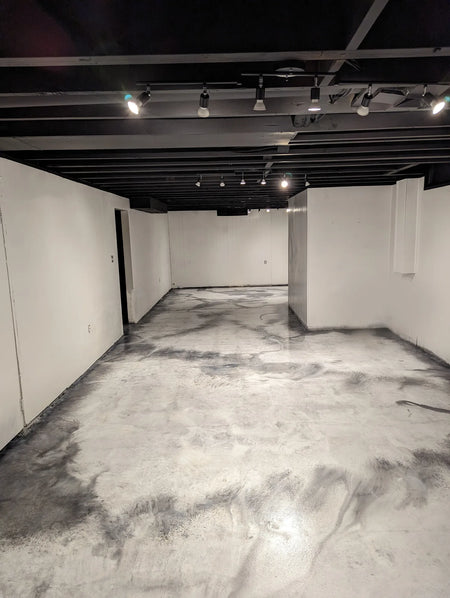
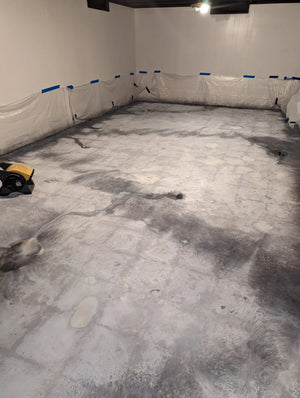
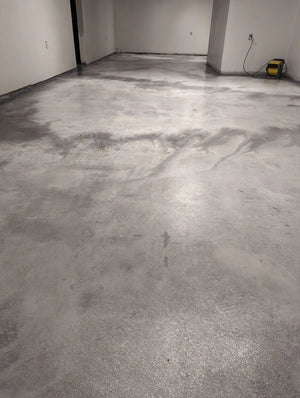
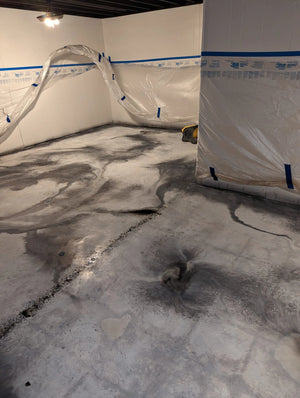
Tips: “BE PATIENT — it is worth doing right and letting the product dry and/or cure for the correct time. Also, I had a lot better luck using one of the twist mops when applying the polish and just going over it lightly.”
— DIY Customer
An 875 sq. ft. retail floor for about $600
A different route to white, and the one to use when you want opacity: white Portland cement mixed with cream-beige powder pigment, brushed on as a slurry rather than stained. Two layers, cured, then the top coat pulled with a trowel to smooth it and burnish the ridges — which is what produces the woodgrain.
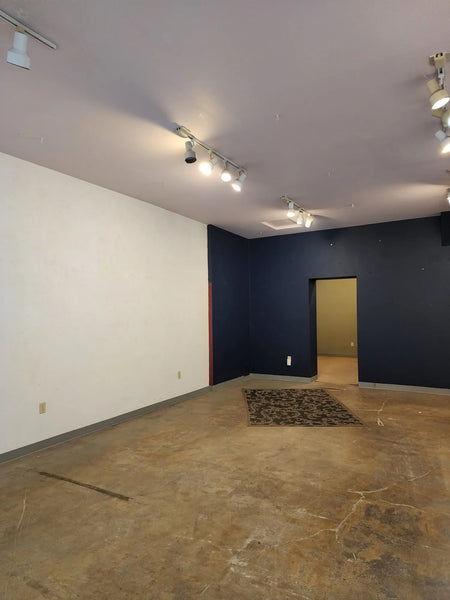
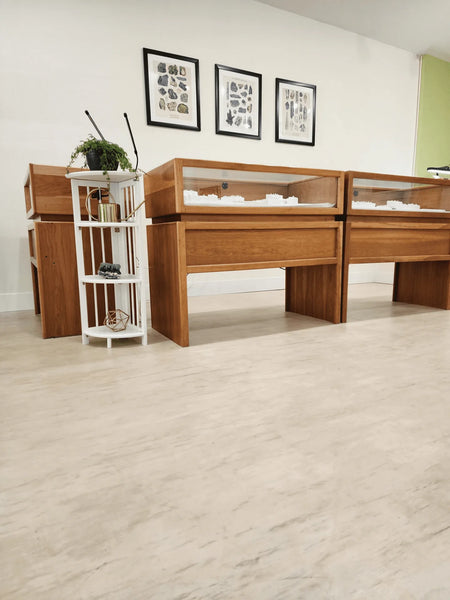
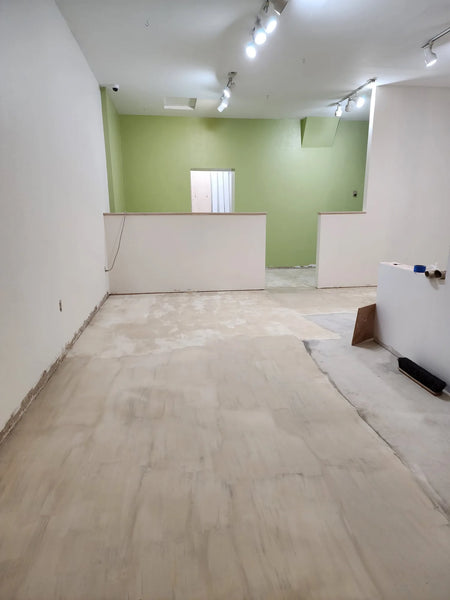
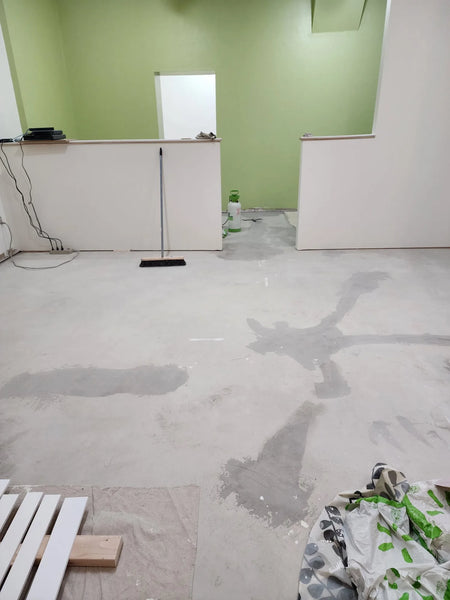
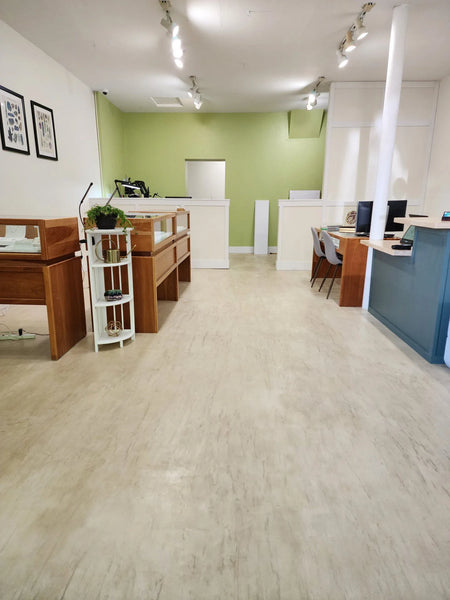
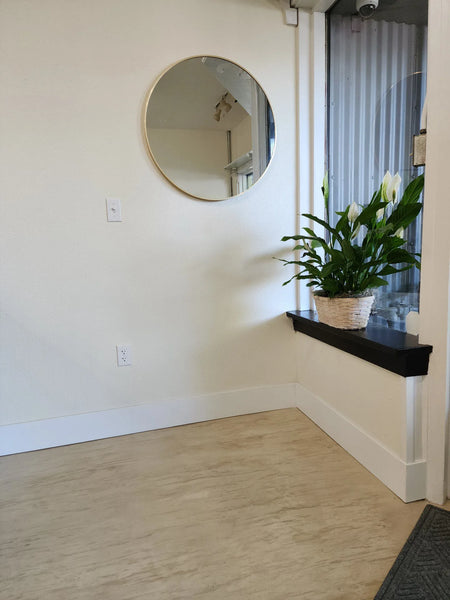
Tips: “If you have to work in sections like I did, finish each layer a little inside of the last layer so that when you add your next section you can blend them together seamlessly. Also the substrate needs to be perfect, because the paint doesn't hide any imperfections.”
— DIY Customer
Which white should you use?
Three different jobs, three different products. ColorWave® 601 White is the semi-transparent stain — best when you want to lighten and vein an existing slab, as in the basement above. Vibrance™ Dye 339 White is the most even and predictable, and is the right choice on a polished interior floor. Powder pigment in a cement overlay is the only route to a genuinely opaque white, and it is also the cheapest per square foot — at the cost of a lot more labor.
White Concrete: FAQs
Which white should I use?
Three jobs, three products. ColorWave® 601 White is the semi-transparent stain, best when you want to lighten and vein an existing slab. Vibrance™ 339 White is the most even and predictable. White is not offered in Antiquing™, Portico™, EasyTint™ or AcquaTint™, so those lines are not an option for it.
How do I get an opaque white rather than a stain?
Do not stain at all — coat it. The 875 sq. ft. retail floor in this gallery used white Portland cement mixed with cream-beige powder pigment, brushed on as a slurry at pancake consistency with a chip brush, two layers, cured, then the top coat pulled with a trowel to smooth and burnish it. About $600 and 30 days.
Will white look like these photos on my concrete?
Every photo here is a real customer project, but our stains are semi-transparent, so your concrete’s original tone and condition shape the final color. Always test on your own slab.
What's Next
- Grays and near-whites → Gray Gallery
- Basement floors → How to Stain a Basement Floor · White Basement Floors
- Applying stain outdoors → How to Apply Outdoor Concrete Stain
- Choosing a sealer → The Best Concrete Sealer
- Prefer a reactive, mottled look? → Acid Stain Colors Guide
- Shop → ColorWave® · Vibrance™ Dye · Trial Kits
Direct Colors. Shawnee, OK. Manufacturing the full decorative concrete system since 1997.


