
Limewash is not paint, and the difference matters more on brick than anywhere else. Brick is porous and needs to breathe. Paint it and you trap moisture between the surface and the brick — which gives you mold, peeling, and brick that can never be restored. Limewash lets the moisture through, which is why it has been used for centuries and why it is the safe option.

Limewashed brick.
Why not just paint it
Because brick needs to breathe. Painted brick traps moisture behind the film, and the result is mold, peeling paint, and brick that cannot be reused or restored afterwards. That is a permanent decision made with a temporary product.
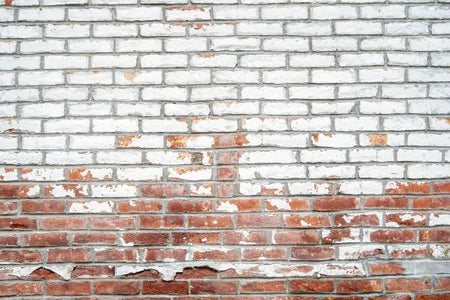
Paint on a brick wall, chipping and peeling.
Getting the lime right — the one thing people get wrong
Mixing
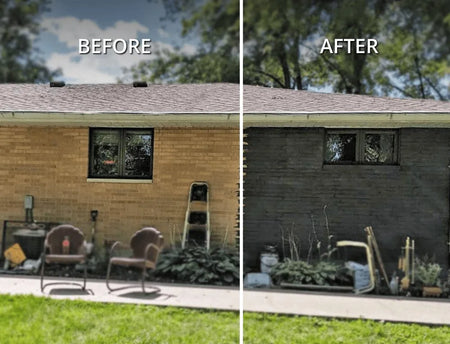
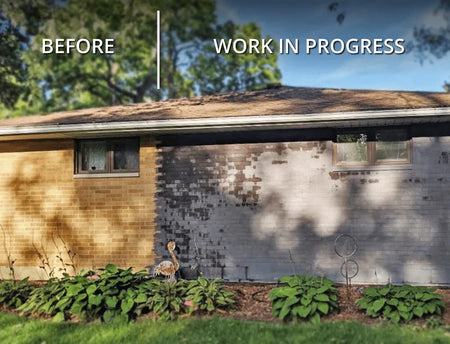
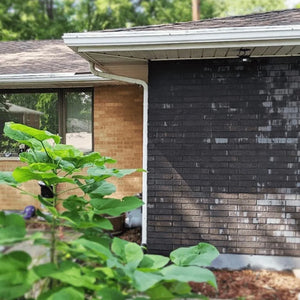
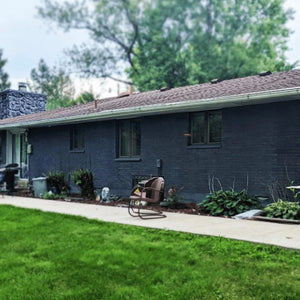
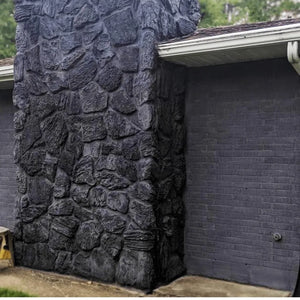
Jackie's black limewashed wall
Jackie P. had a brick wall to limewash and did not want white, so she pigmented it black instead. Three coats took her about six weeks — and her practical notes are the most useful part of this article.
“It's a very messy project. It splashes everywhere and drips on everything. If you need to be careful you will want to put up tape and put down drop cloths.”
“It's helpful to have a broom to knock down spiders, their webs, and other insects from the bricks before you wet them.”
“Lime-wash is a great way to update the outside of your house with something that is safe and lets the brick breathe.”
— Jackie P.
Weather matters
Limewash or stain?
They do genuinely different things, and neither is simply better.
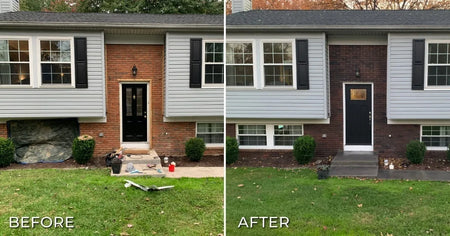
The staining route → Brick Staining: A Guide to Changing Your Brick Color.
Limewash: FAQs
Why not just paint brick?
Because brick needs to breathe. Painted brick traps moisture behind the film, and the result is mold, peeling paint, and brick that cannot be reused or restored afterwards.
Which lime do I need?
High-calcium hydrated lime, at least 95% calcium — in the US that is usually designated Type N. Avoid Type S, which has more magnesium than calcium. Do not slake quicklime yourself: it generates a lot of heat and a very caustic solution.
What are the mixing ratios?
Lime putty is one part lime to five parts water, and the limewash is one part putty to four parts water. The awkward part is that lime is measured by weight and water by volume — use 8.33 lb as the weight of a gallon of water, or work in metric, where a liter of water weighs a kilogram and the ratios come out directly.
Can limewash be a color other than white?
Yes — add concrete pigment. Jackie wanted black, and her batch was 24 lb water, 4.8 lb lime and iron oxide pigment mixed in a 5-gallon bucket. Three coats took her about six weeks.
Limewash or stain?
Genuinely different things, and neither is simply better. Limewash is traditional, breathable and chalky, and it changes the texture — less durable, so expect to redo it. Stain is more opaque, more consistent, more durable, and does not change the texture.
What's Next
- Stain instead → Brick Staining Guide
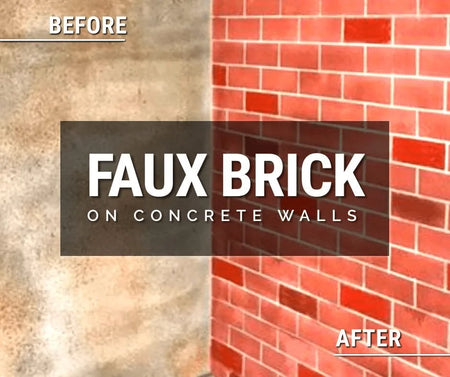
- Faux brick on concrete → Stencil a Faux Brick Wall
- Walls and facades → Walls & Facades Gallery
- Pigment basics → Integral Color Concrete
- Applying stain outdoors → How to Apply Outdoor Concrete Stain
- Choosing a sealer → The Best Concrete Sealer
- Prefer a reactive, mottled look? → Acid Stain Colors Guide
- Shop → Portico™ · Trial Kits
Direct Colors. Shawnee, OK. Manufacturing the full decorative concrete system since 1997.


