
Brick can be limewashed, painted or stained, and staining is the one that changes the color without changing the brick. It is semi-transparent, so the existing brick color comes through and shapes the result — which is why the test patch is not optional. Once sealed, the color is permanent.
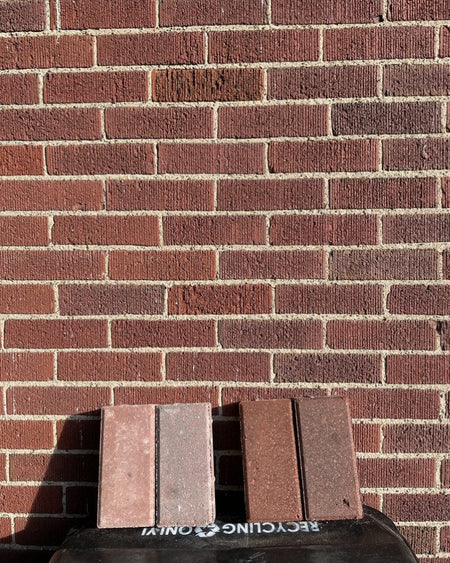
Brick stained with concrete stains.
Step 1 — will it even take stain?
Spray water on a section you intend to stain. If it soaks in, the brick can almost certainly be stained. If it beads and sits there, the brick is sealed or too dense and you have a different job on your hands.
Step 2 — clean it, top down
Dust, dirt and debris change how stain lands. Use a light concrete cleaner and degreaser solution and work from the top down; a power washer speeds it up considerably.
Step 3 — test the color
Stains are semi-transparent, so the final color depends on the base color of your brick. A stain trial kit lets you try several until one is right. Do this on the actual wall, not on a spare brick from a different batch.
Step 4 — apply, top to bottom
Step 5 — seal
Wait at least six hours for the stain to dry, then apply a solvent-based satin acrylic sealer in thin layers with a standard stain brush — again top down to avoid drips. Once sealed, the color is permanent.
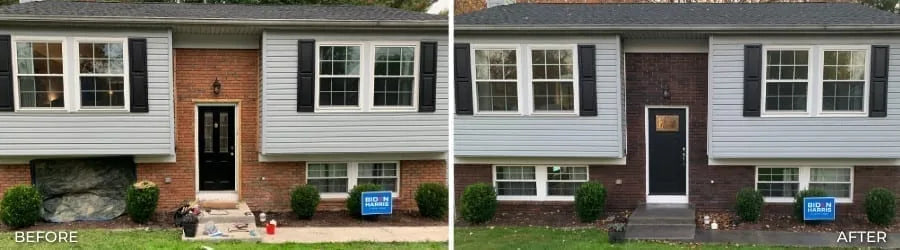
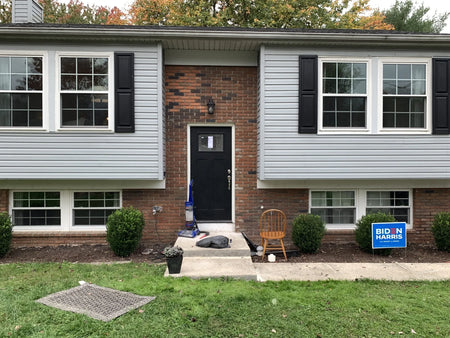
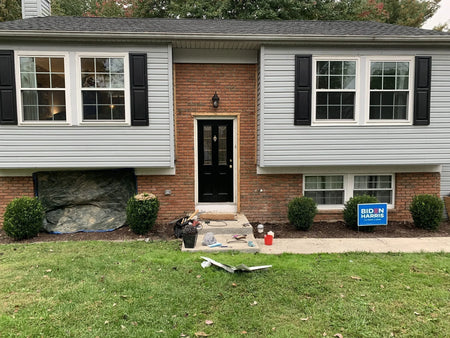
A brick home in Charcoal
Four weekends, 150 sq. ft., Charcoal Portico™ layered on the brick with Light Charcoal as the mortar base. The full account is in the walls gallery, but the two lessons are worth repeating: stain top to bottom on a vertical wall, and order considerably more than you expect to need.
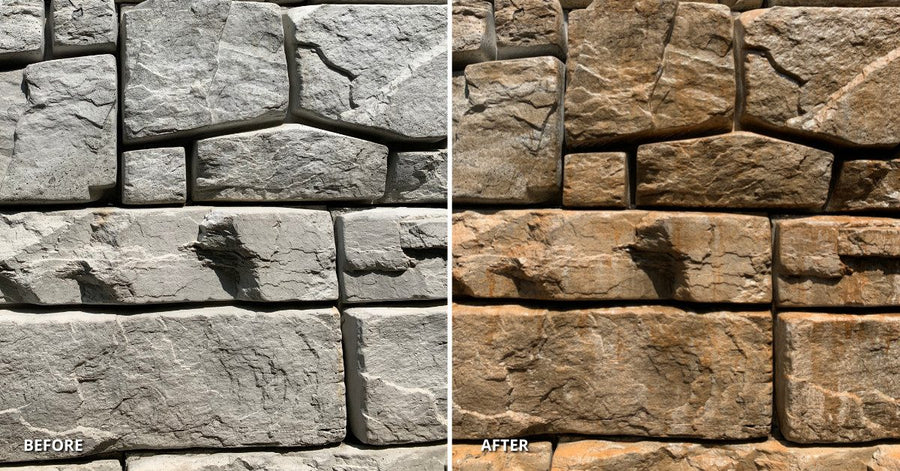
A plain gray retaining wall, and the same wall richly colored.
Staining Brick: FAQs
Can any brick be stained?
Test it with water first. Spray a section you intend to stain: if the water soaks in, the brick can almost certainly be stained. If it beads and sits on the surface, the brick is sealed or too dense and you have a different job on your hands.
Why stain brick instead of painting it?
Staining changes the color without changing the brick. It is semi-transparent, so the existing brick color comes through and shapes the result — which is also why the test patch is not optional. Once sealed, the color is permanent.
Which direction do I work on a wall?
Top to bottom, always, so drips are absorbed by the brick you have not stained yet. Work in thin coats and small sections, shake the stain constantly because the pigment settles, and if you can, have one person applying and one chasing drips — it dries fast on a wall.
How much stain should I buy for a brick wall?
More than the calculator says. Vertical work and multiple layers drink stain, and thirsty brick drinks more again.
Should I stain the mortar joints too?
Yes — a lighter base color on the mortar is what pulls the whole wall together. The Charcoal brick home in this article used Charcoal on the brick with Light Charcoal on the joints.
What's Next
- The full project → Walls & Facades Gallery
- The breathable alternative → Limewash vs Painted Brick
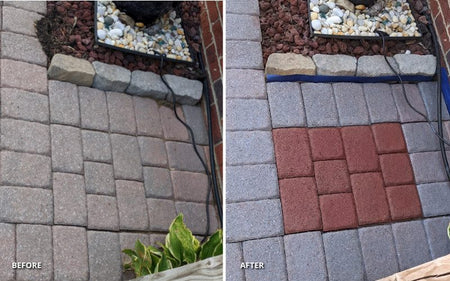
- Pavers → Cafe Royale · Crimson Red
- Faux brick → Stencil a Faux Brick Wall
- Applying stain outdoors → How to Apply Outdoor Concrete Stain
- Choosing a sealer → The Best Concrete Sealer
- Prefer a reactive, mottled look? → Acid Stain Colors Guide
- Shop → Portico™ · EasyTint™ · Trial Kits
Direct Colors. Shawnee, OK. Manufacturing the full decorative concrete system since 1997.


