
A big gray wall dominates a garden the way nothing else does, and a brick facade sets the character of a whole house. Both take stain, and both are cheaper to stain than to replace or render. The projects below run from a 150 sq. ft. brick facelift to a 7,200 sq. ft. riverbank wall — and every one of them was done by a customer, on a vertical surface, which is its own skill.
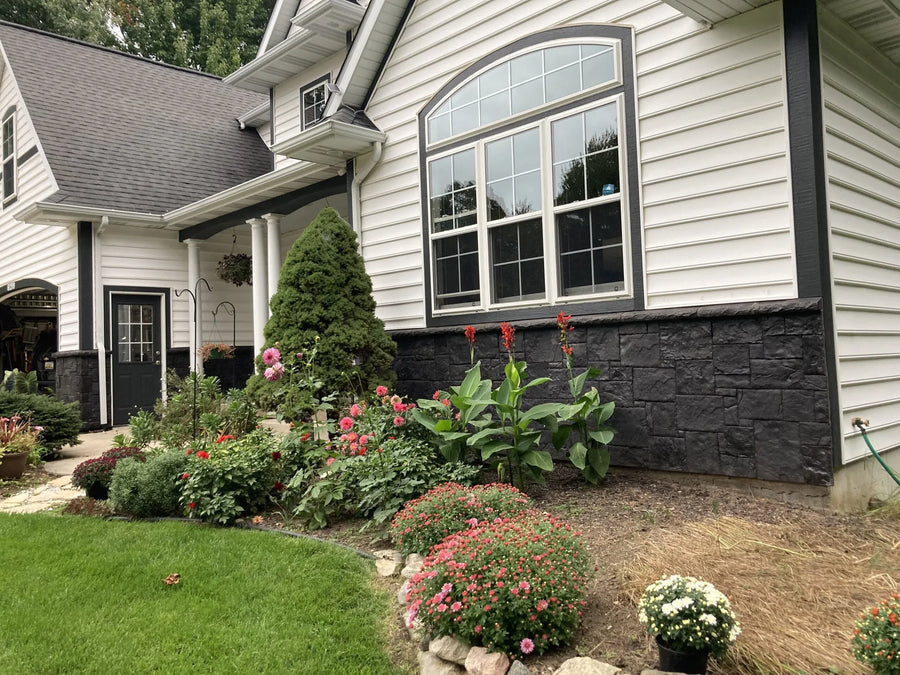
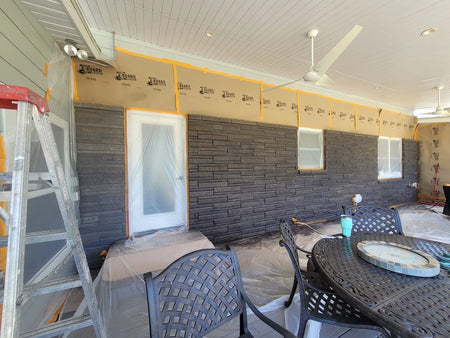
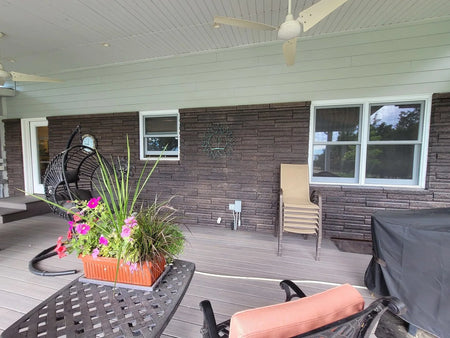
A stone facade taken from gray to charcoal with Black Portico™, deepened by satin sealer.
A stone facade, gray to charcoal
Four days, 400 sq. ft., and the wood trim painted to match the new stone color. The applicator note here is the single most useful thing in this article.
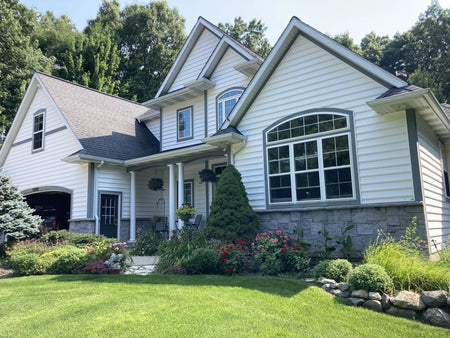
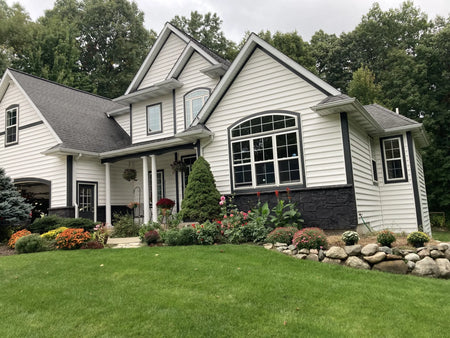
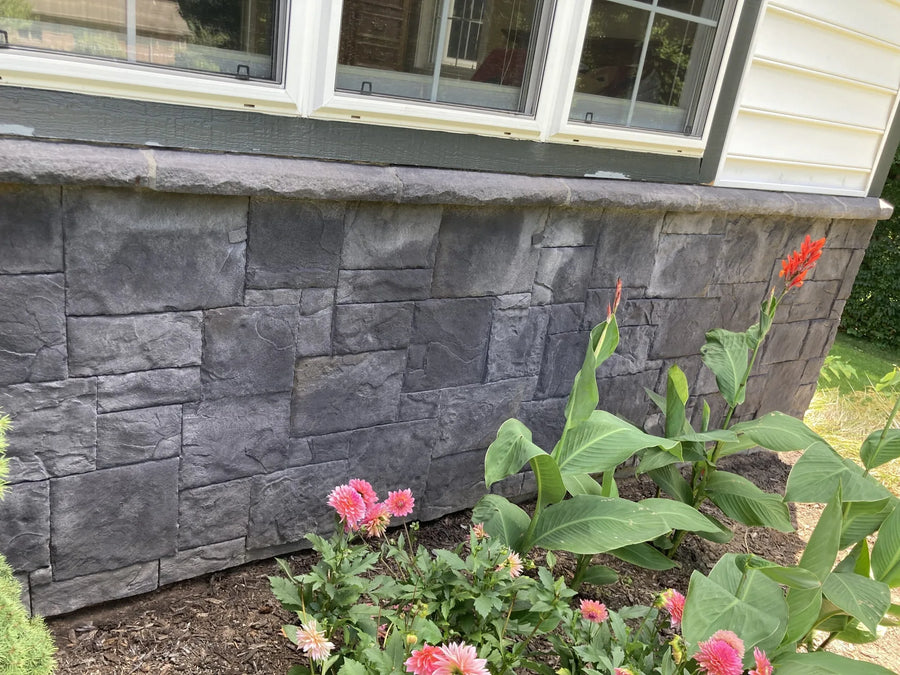
After the first coat — before the second and the sealer deepened it.
“I think the house really pops now — I've had several neighbors comment on it.”
— DIY Customer
A black retaining wall, restained three years on
This is the most instructive pairing in the cluster: the same wall, the same product, two different application methods three years apart — and the customer's verdict is the opposite of the facade project above. On a textured block wall with crevices, brush and roller beat the sprayer outright.
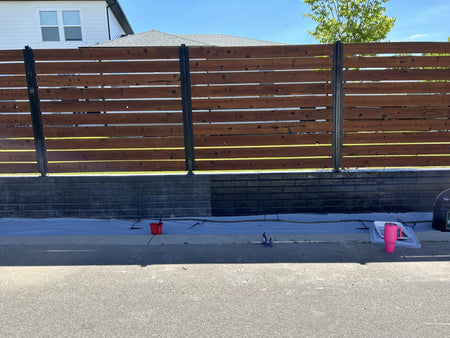
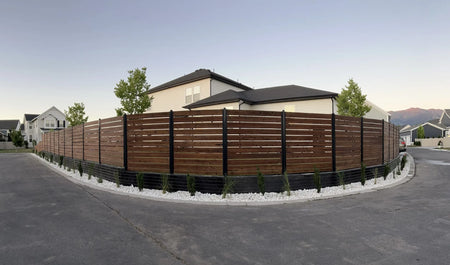
The warning: “It does dry quickly and gets sticky, at least in mid July, and it cannot be rolled or painted once that happens. Cover small sections at a time.”
— DIY Customer
So which is it, spray or brush? Flat or lightly textured surfaces spray well. Deeply textured block with crevices takes brush-and-roller, because a sprayer cannot get into the recesses and clogs trying.
Verti-Block walls in Cafe Royale
A thousand square feet of Verti-Block, and a customer who had wanted to stain it for years but found the scope intimidating. A stain-and-sealer-in-one is what made it feel possible.
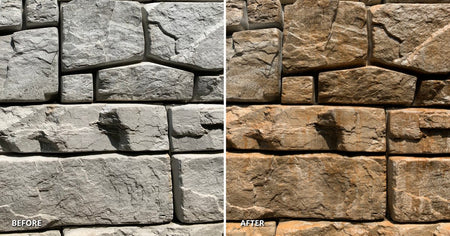
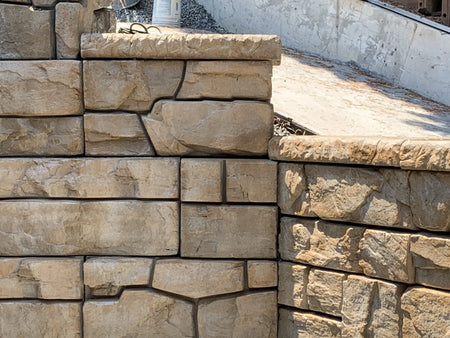
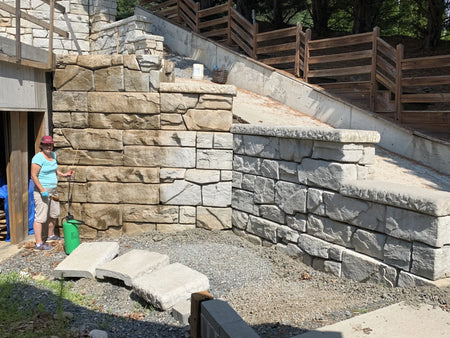
Tips: “Anyone can do it! Use a good sprayer and wait for a calm day. Less is more. Drips are your enemy. You can always come back and add more color to some areas.”
— DIY Customer
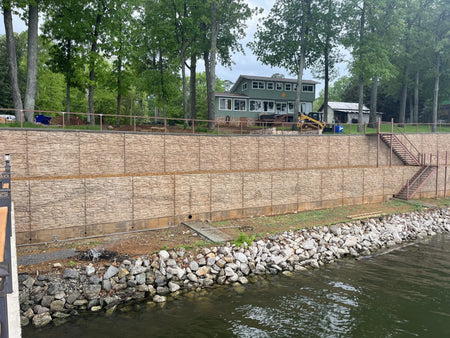
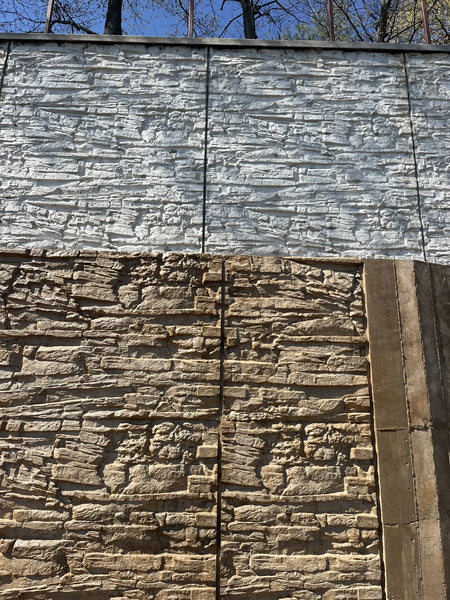
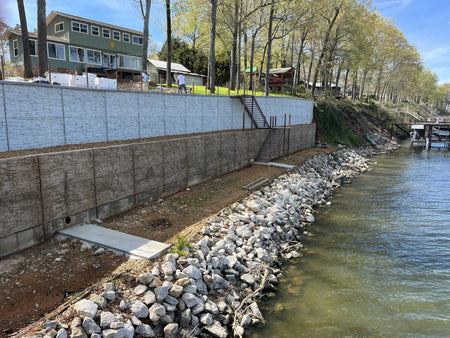
7,200 sq. ft. of riverbank wall
The largest wall project we have on record. A stark white concrete retaining wall along a riverbank, stained so it would stop announcing itself and start blending into the bank behind it.
Worth noting the tool choice at that scale: an electric garden sprayer for the stain, not a hand pump. On 7,200 sq. ft. the pump would have been the limiting factor.
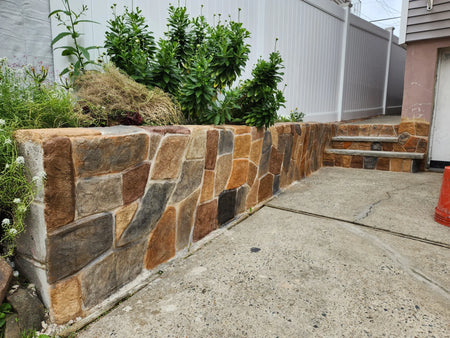
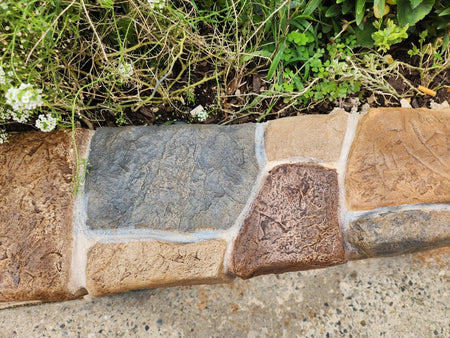
Faux stone on cinder block
A standard cinder block wall turned into convincing faux stone with four Antiquing™ colors — Aztec Brown, Cumin, Driftwood and Terracotta. Multiple colors are what make it read as stone rather than as painted block.
Reclaiming brick under siding
A bilevel home where the brick had been covered with lathing strips and siding since before the owner bought it in 2016. Pulling the nails left broken brick needing repointing, so the staining had to hide replacement mortar as well as darken the brick. Four weekends — stretched by having to reorder.
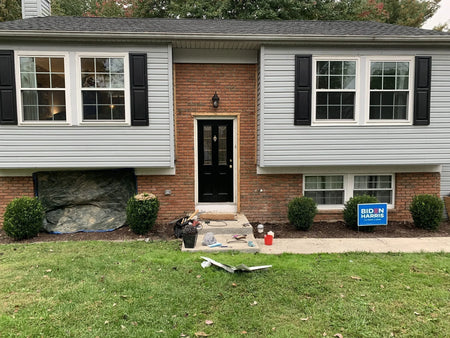
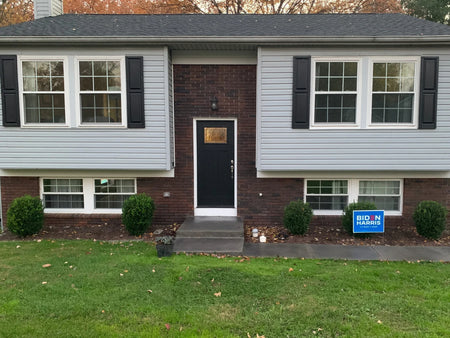
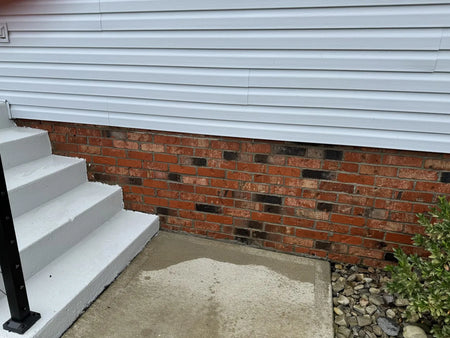
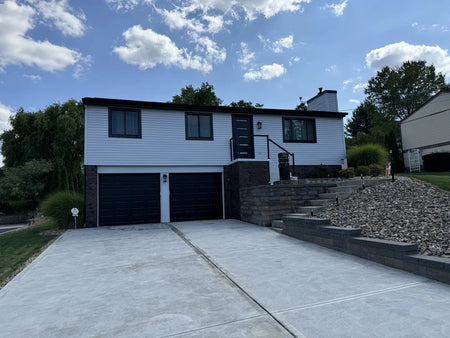
Tips: “Shake, shake, shake. Every time you pour more, shake again. There may be some separation and deeper dye as you go — I used this in my favor to create depth. I wasn't looking for a uniform look. If you are, shake even more! Order more than you think you will need — I used 3× more than I anticipated.”
— DIY Customer
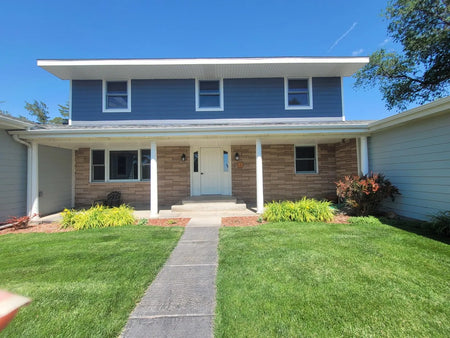
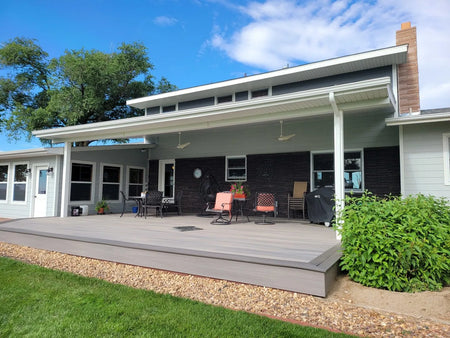
Two more facades
The same approach at whole-house scale — Black, Charcoal and Light Charcoal Portico™ layered for depth on one, and a traditional red brick wall taken to charcoal on the other.
Colored stucco: a wall in Barragán blue
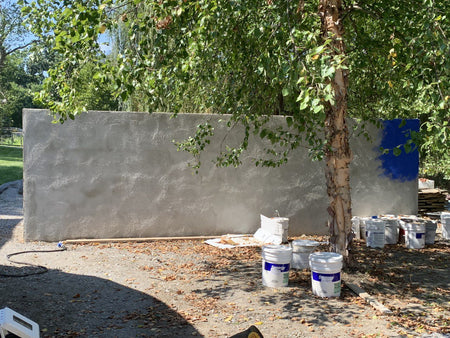
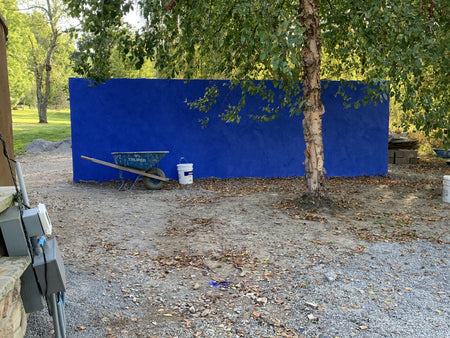
A different route to a colored wall — not stain, but pigment mixed into the stucco itself. Inspired by the Mexican architect Luis Barragán, the interior face of this masonry wall was coated in white stucco tinted with Pigment 202. One day, about 120 sq. ft., and only three pounds of pigment.
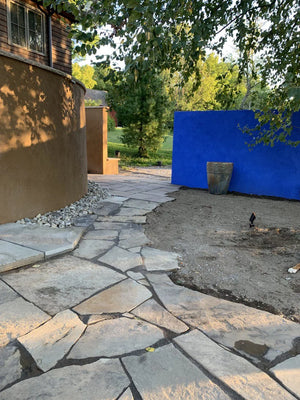
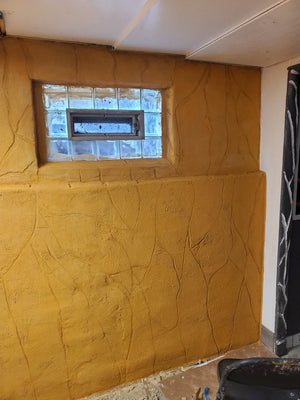
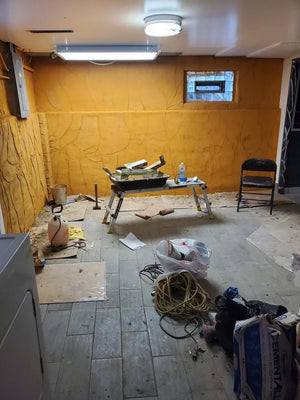
More on this route → coloring stucco and cement with pigment.
Staining Walls: FAQs
What is the rule for staining a vertical surface?
Work top to bottom, so drips get absorbed into what you have not done yet. Thin coats, small sections, and expect to come back rather than load it on. Two people helps — one applying, one chasing drips, because it dries fast on a wall.
Spray or brush a wall?
The most instructive project here is the same black retaining wall done twice, three years apart: sprayed and back-rolled in one coat in 2021, then brushed into the crevices with a roller on the flats in two coats in 2024. The customer’s verdict was the opposite of what you would expect, which is why it is worth reading before you choose.
How large a wall is realistic for a DIYer?
Larger than most people think. The biggest here is 7,200 sq. ft. of riverbank retaining wall — pressure washed days ahead, one coat by electric garden sprayer, sealer by pump sprayer, seven days.
How do I make a plain block wall look like stone?
Use several colors. A standard cinder block wall here became convincing faux stone with four Antiquing™ colors — Aztec Brown, Cumin, Driftwood and Terracotta. Multiple colors are what stop it reading as paint.
Should I stain the mortar as well as the brick?
Yes. The brick project here used Charcoal Portico™ on the brick with Light Charcoal as a base for the mortar — 150 sq. ft. over four weekends, sponge brushes for the stain.
What's Next
- Retaining walls specifically → Acid Staining Retaining Walls with DecoGel™
- Brick → Brick Staining Guide · Limewash vs Painted Brick
- Faux brick on concrete → Stencil a Faux Brick Wall
- Colored stucco → Stucco Colors With Integral Pigment
- Applying stain outdoors → How to Apply Outdoor Concrete Stain
- Choosing a sealer → The Best Concrete Sealer
- Prefer a reactive, mottled look? → Acid Stain Colors Guide
- Shop → Portico™ · EasyTint™ · Antiquing™ · Trial Kits
Direct Colors. Shawnee, OK. Manufacturing the full decorative concrete system since 1997.


