
Integral color is pigment batched into the concrete itself rather than applied to its surface, so the color goes all the way through. That is the whole argument for it: chip a stained slab and you see gray underneath; chip an integrally colored one and the color is identical inside. Most of the range is synthetic or natural iron oxide, though a few codes are other chemistries — the blues, the green and the white are not iron oxides. Whichever it is, it behaves like a dye for cement: you add it to the dry mix and let the mixing do the work.
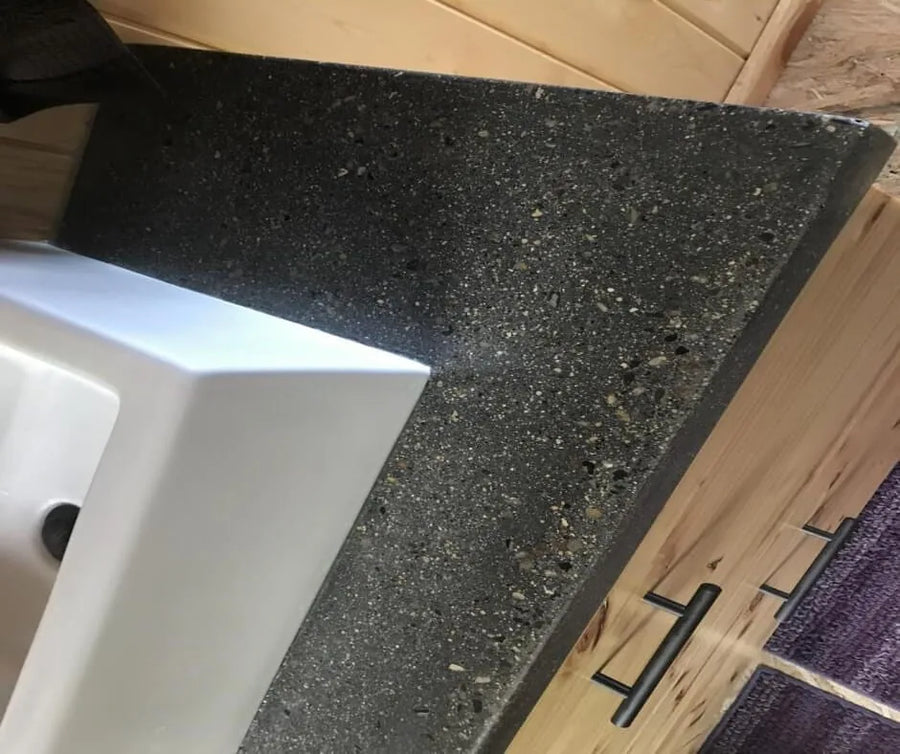
A master bathroom vanity cast in concrete colored with Smokestack pigment.
Five things to settle before you start
One more, for pre-bagged products: ready-mix, mortar, grout and plaster all contain different amounts of Portland cement, and some have hydrated lime added. Since only the cement and lime take color, you need the exact weight of each before you can calculate pigment. Most packaging states it.
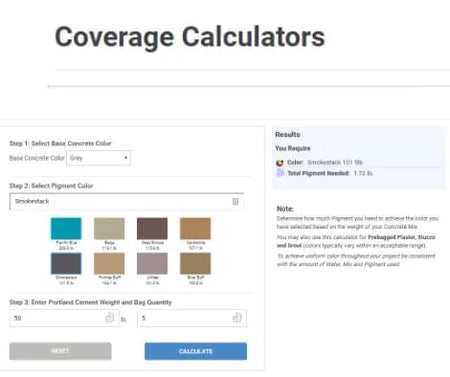
The pigment calculator — enter your base color, target color and cement weight.
A master bathroom vanity, start to finish
The Bottelberghes cast their own vanity in Smokestack — two days and six hours of work. The numbers below came straight out of the calculator, which is the part worth copying.
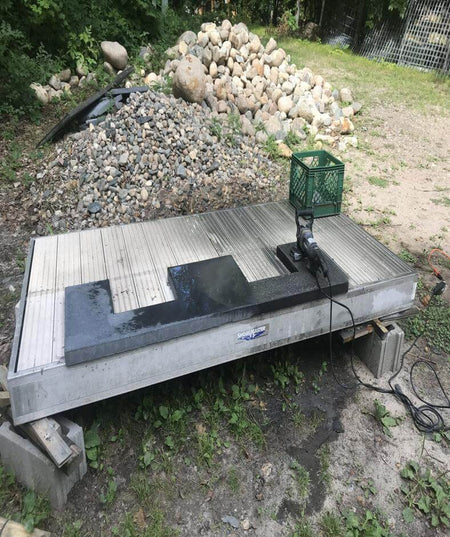
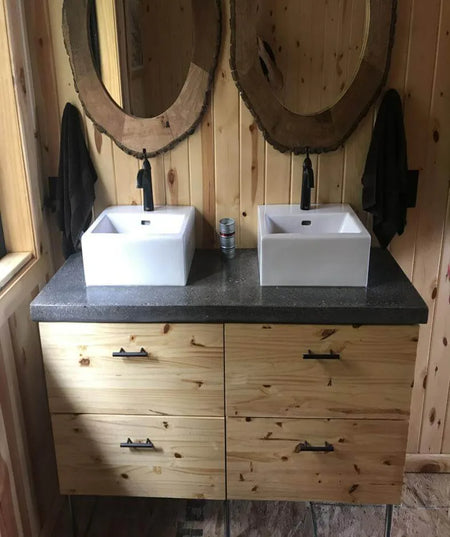
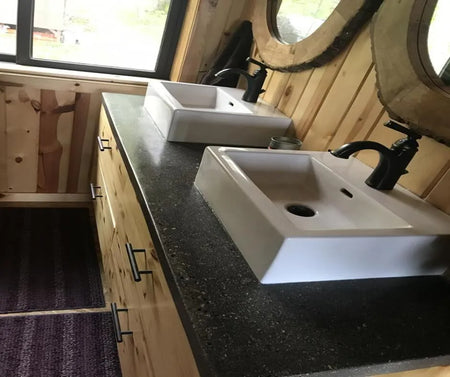
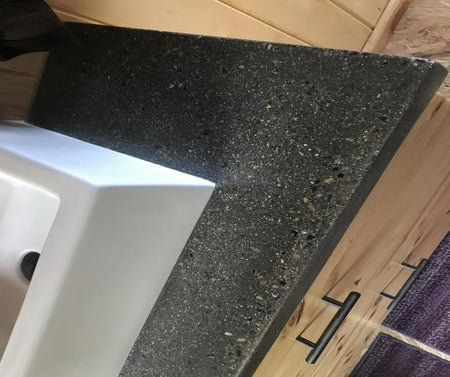
— Gary Bottelberghe
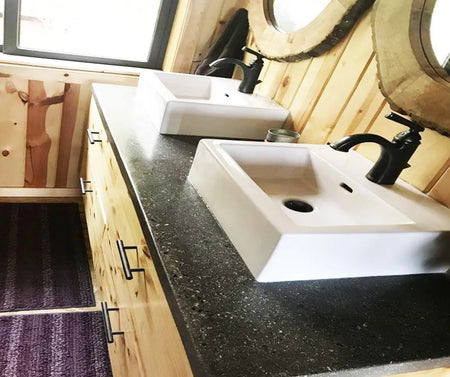
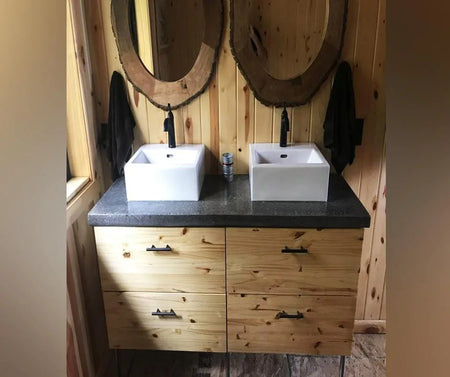
Two more views of the finished concrete vanity.
The method, in order
- Build the form — melamine gives the smoothest face
- Calculate the pigment with the coverage calculator
- Add pigment to the dry mix and stir until the color is completely uniform — this is what prevents streaking
- Add water slowly and mix; keep the water volume identical across batches
- Pour, work the bubbles out, and add surface aggregate now if you want it
- Cure, then demold carefully
- Seal and polish
Polishing, or not
If you are polishing: apply a penetrating sealer with a pump sprayer — enough to keep the surface uniformly damp for 20 minutes, adding more only where it looks dry. No membrane should form. Squeegee off any excess so none pools, let it dry 24 hours, then polish from 400-grit upward. For maximum durability go to 1500–3000 grit.
If you are not polishing: seal with a polyurethane or epoxy countertop sealer instead.
Integral Color: FAQs
What does the pigment actually color?
Cement and lime — nothing else in the mix takes color. That is why you work from the weight of those, not the weight of the bag.
How much does integral color add to a pour?
Roughly $0.60–$0.82 per cubic foot of concrete, depending on the color, across a range of 101 named shades from a gray or white Portland base.
What should I settle before the truck arrives?
Five things. Pick the ready-mix brand first and avoid an unidentifiable aggregate source, because an unknown aggregate can throw the color. Verify no calcium chloride in the mix. Control the water and hydrate identically batch to batch, because small changes in water content give off-color results. Sample against your actual mix. And keep other trades off the slab while it cures.
Is a pigment sampler worth it?
It is the cheapest insurance there is — test the color against your actual mix before committing a whole slab or a whole truck.
When do I add the pigment?
To the dry mix, stirred until the color is completely uniform. That is what prevents streaking.
What's Next
- Gray or white cement → White Cement vs Gray Cement: How the Base Changes Pigment Color
- Chemistry by code → Concrete Pigment Chemistry Explained
- Specifying it → How to Specify Concrete Pigment Under ASTM C979
- A shade between two → How to Develop a Custom Shade
- When it goes wrong → Concrete Pigment Troubleshooting: Streaks, Speckles and Uneven Color
- Approve the color first → How to Make and Approve a Concrete Pigment Test Panel
- Work out quantities → Pigment Calculator
- Truck pours → Calculating Pigment for a Truck Pour
- Beyond concrete → Coloring Cement, Stucco and Grout
- Project ideas → Planters, Vessels & Tables
- Countertops → DIY Concrete Countertop Ideas
- Applying stain outdoors → How to Apply Outdoor Concrete Stain
- Choosing a sealer → The Best Concrete Sealer
- Prefer a reactive, mottled look? → Acid Stain Colors Guide
- Mixing it evenly → How to Mix Concrete Pigment Powder Without Streaks · Liquid Pigment
- Shop → Concrete Powder Pigment · Pigment Sampler
Direct Colors. Shawnee, OK. Manufacturing the full decorative concrete system since 1997.


