
This one is worth reading for the project as much as the method. A mother and son built an entire cobblestone patio from mold-cast pavers, working around physical limitations, roughly an hour a day for several months. With more hands it could be done over a couple of energetic weekends — but the fact that it was done an hour at a time is the point. The stain is Light Charcoal Portico™.
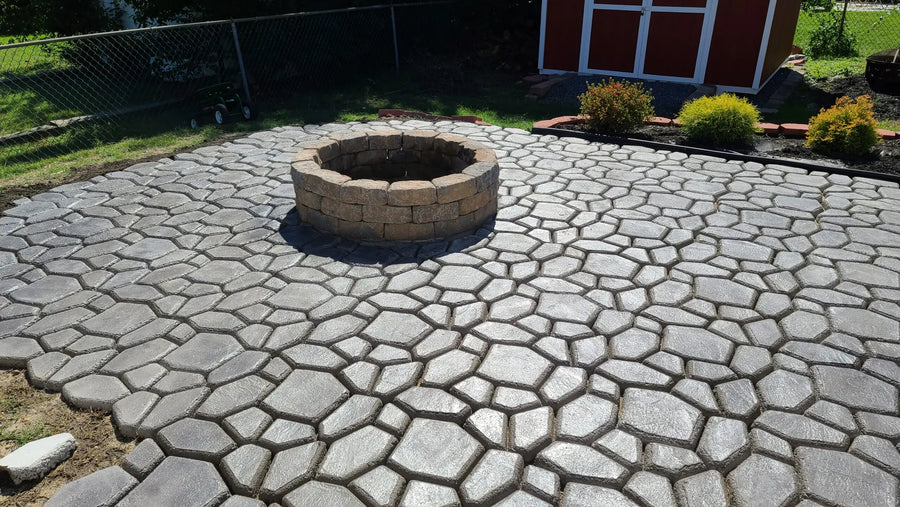
A patio of mold-cast cobblestone pavers, stained Light Charcoal Portico™, with a fire pit.
Step 1: preparation
New concrete gets a full 30 days to cure before any stain goes near it. Cast pavers are new concrete, so this applies to every one you pour. Cover anything nearby that could catch overspray with plastic drop cloths.
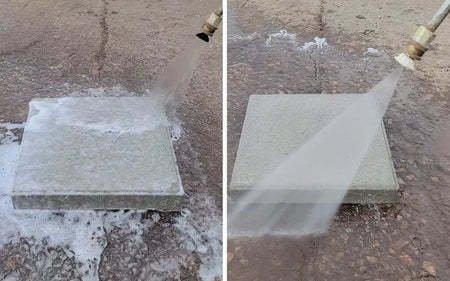
On older concrete, strip any paint or sealer first — a gel paint and sealer stripper, or Destiny™ Stripper for acrylic, urethane and epoxy coatings. The old sealer has to be gone before the new stain goes on; stain cannot penetrate a sealed surface. Then clean off the dirt, debris and any stripper residue with a scrub brush and ProClean Degreaser™, and let it dry thoroughly.
Step 2: applying the stain
Spraying it
- Remove all filters from your pump-up sprayer.
- Shake the stain well before pouring it in.
- Start from a far corner so you are always spraying away from yourself and your exit path stays clear. Simple, and it saves you walking across wet stain.
- Spray a generous coat in slightly circular motions with irregular overlaps — irregular is what keeps it from looking mechanically applied.
- Shake the sprayer often so the color does not settle in the bottom of the tank.
- Let it dry at least eight hours before sealing.
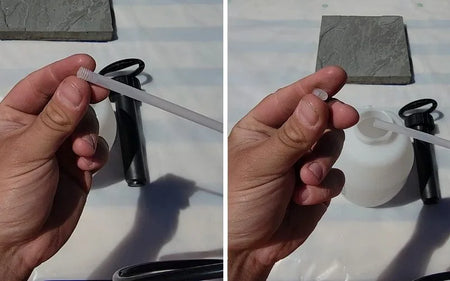
Removing the filter from a pump-up sprayer hose before loading paver stain.
Step 3: sealing and protecting
Two thin, even coats of sealer — either AcquaSeal™ water-based acrylic or EasySeal™ solvent-based acrylic. Keep a bucket handy to catch the sprayer tip before you release the trigger, so it does not drip onto the finished surface. Clean your tools and supplies afterwards with odorless mineral spirits.
Then reseal every two years, or as needed, with the same product. That is the whole maintenance schedule.
The build itself
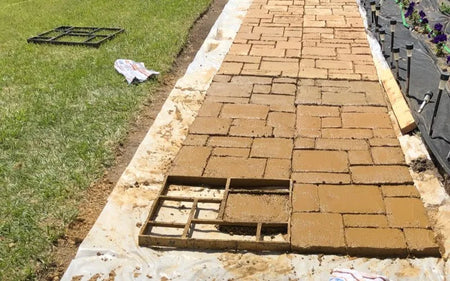
The groundwork came first: a retaining wall to deal with a 2-foot slope running 16 feet, then 15 yards of dirt to fill the space, leveled by towing a weighted pallet behind a riding mower. Then ten days of pouring concrete into individual cobblestone molds, and grinding and sanding each one smooth.
The finishing detail is the one to copy. After staining Light Charcoal and sealing with EasySeal™ Satin, they broomed dry mortar mix into the gaps between the pavers and gently sprinkled it with a hose every hour. That sets the mortar in place gradually without washing it out, and it is what gives the patio a genuine cobblestone look rather than the sand-filled joints of a kit patio.
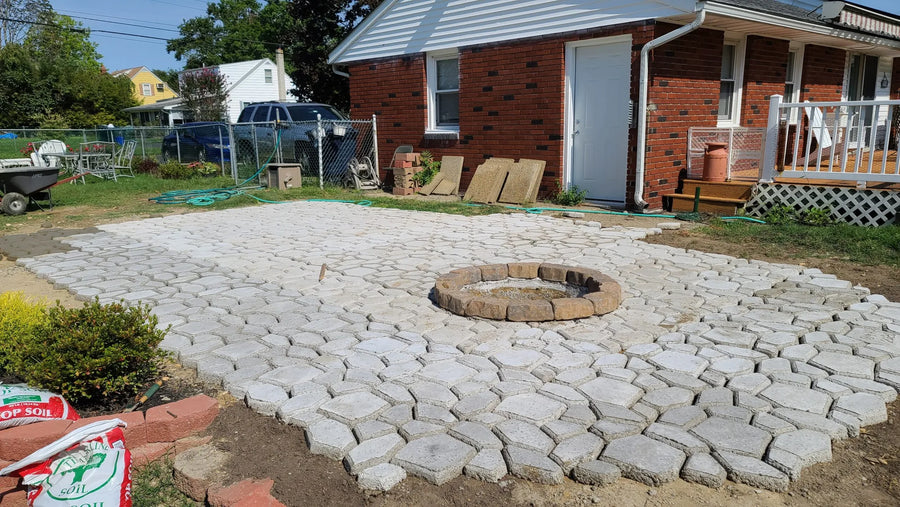
The mold-cast cobblestone patio, with dry mortar broomed into the joints.
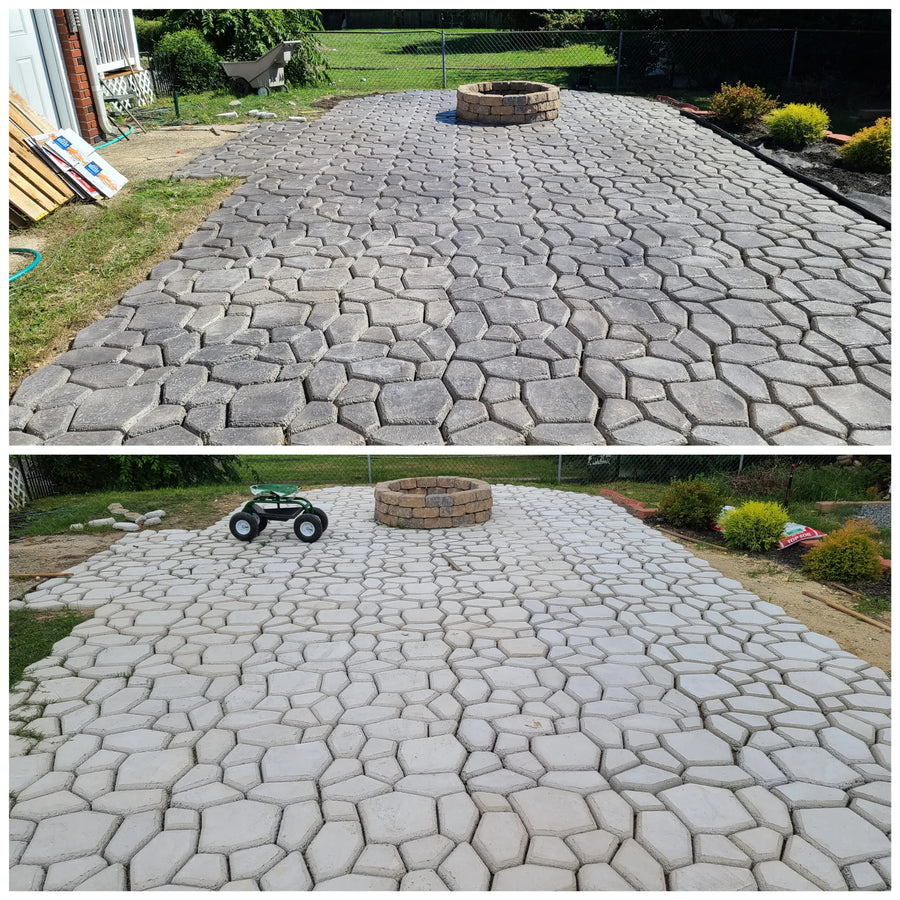
The finished Light Charcoal patio and fire pit.
Next on their list is replacing the temporary gazebo with a wood-beam, metal-roof pavilion.
WalkMaker Pavers: FAQs
Do cast pavers need to cure before staining?
Yes — a full 30 days. Cast pavers are new concrete, so that applies to every one you pour.
How far does Portico™ go, and in what conditions?
About 200 sq. ft. per gallon, varying with texture, porosity and how you apply it. Surface temperature between 40°F and 95°F. Portico™ is flammable and harmful if swallowed or inhaled, so keep it away from ignition sources and ventilate.
How do I fill the joints between cast pavers?
Dry mortar mix broomed into the gaps, then sprinkled with a hose every hour. Spiked shoes for working across the surface.
How long does a project like this take?
About an hour a day over several months — the pavers alone were poured into individual cobblestone molds over 10 days. The groundwork came first: a retaining wall for a 2 ft. slope across 16 ft., then 15 yards of dirt.
What’s Next
- Fifteen more paver projects → Stained Concrete Pavers: Before & After
- The general method → Staining Concrete Pavers
- Casting concrete yourself → DIY Concrete Craft Projects · Concrete Stepping Stones
- Fire features → How to Make a Concrete Fire Table
- Shop → Portico™ · EasySeal™ · Spiked Shoes · Trial System


