
A fire table is a concrete countertop with a hole in it, and that is genuinely most of what you need to know. Concrete holds heat better than the alternatives, costs a fraction of a bought fire table, and takes acid stain — so the finish is yours to decide rather than the manufacturer’s. Mr. Ferrara of Dover Plains, New York designed, built and stained the one below himself, and his own account of how he did it is the useful part of this page.
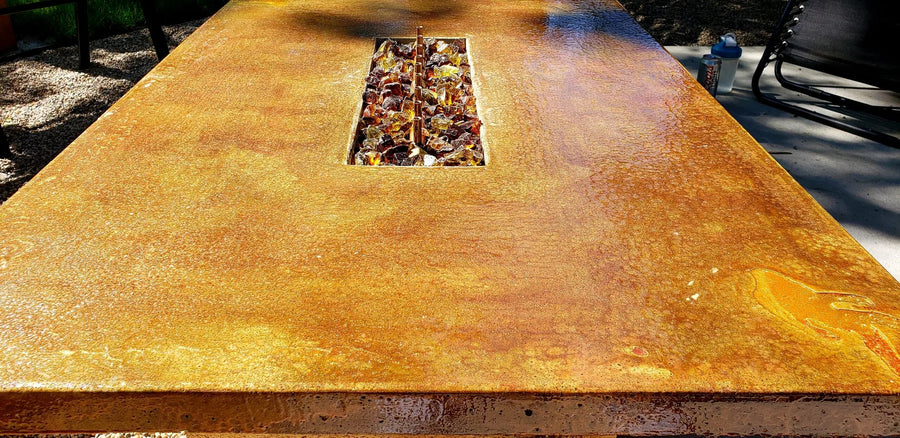
A Desert Amber acid-stained fire table with a crushed glass trough.
Step 1: build the form
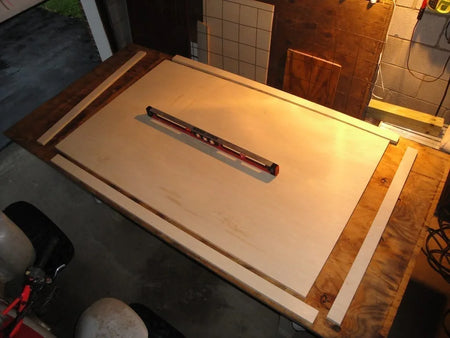
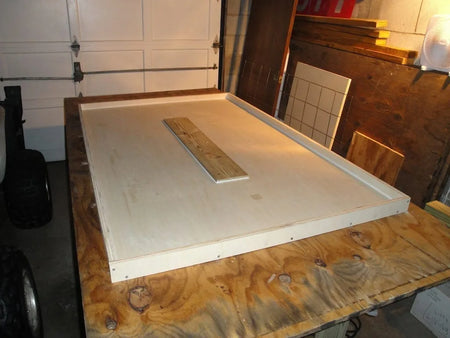
In his words: the form went together out of wood first, then a 2 x 6 was sanded and table-sawed down to half an inch thick and screwed to the center of the bottom of the form. That half-inch block is what creates the pocket in the finished top — the space you later fill with rocks, marbles, glass or fire.
— Mr. Ferrara, Dover Plains, NY
Two details there are worth repeating. Casting face-down against the smooth form is how you get a finished top without troweling one, and caulking the seams is a thirty-second job that decides whether the table has a sharp arris or a soft edge you can lean on.
Reinforcement
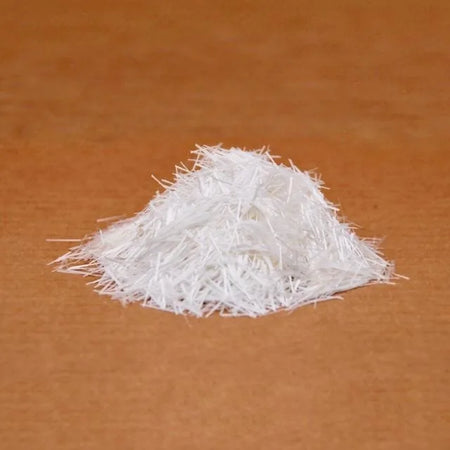
High-zirconia alkali-resistant chopped fiberglass strengthens concrete and helps stop shrinkage cracking. When chopped fiberglass and fiberglass net are both used in a concrete countertop, steel reinforcement is not necessary. We do not sell either — a concrete countertop supplier will have both, and on a 1½ in. slab they are what keeps it in one piece.
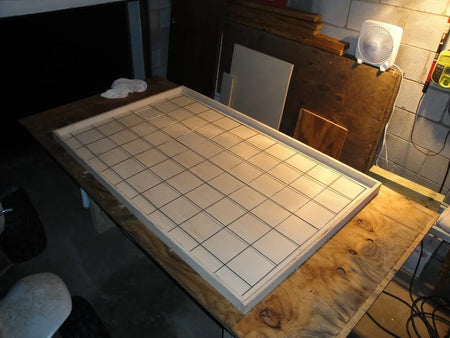
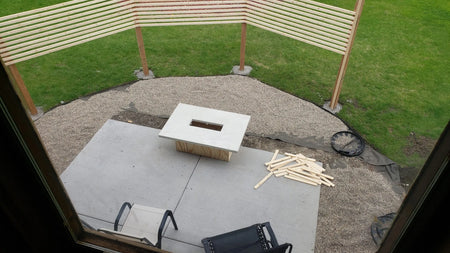
The 2 x 6 block that forms the fire trough, screwed to the base of the form.
Step 2: demold and prepare the surface
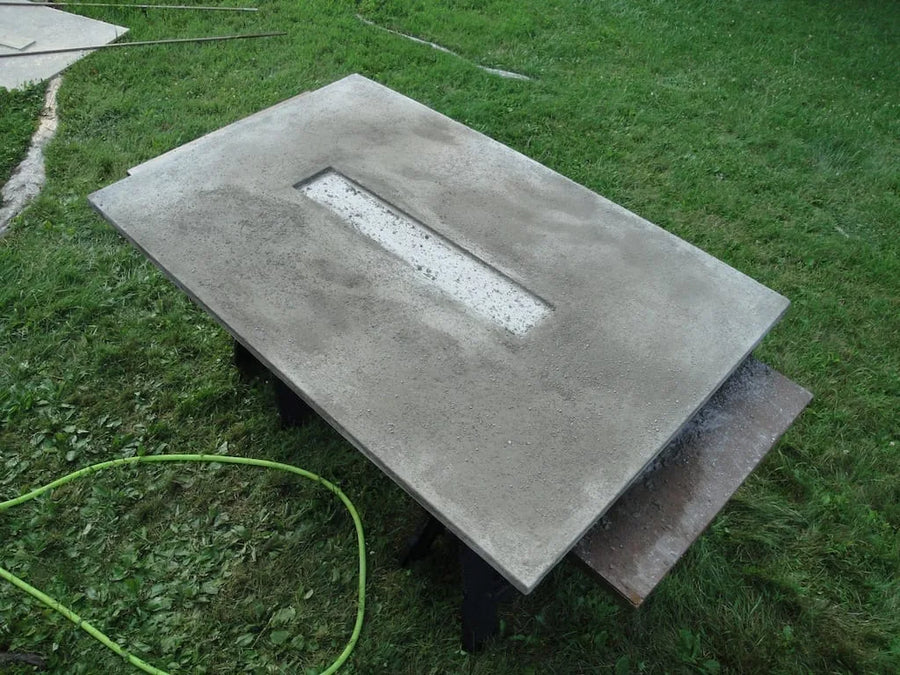
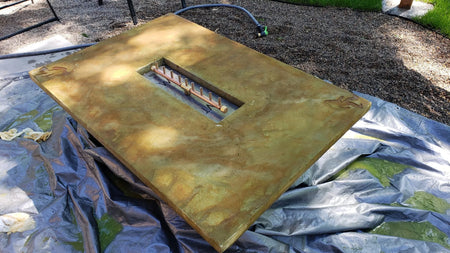
After curing he sealed the underside first with high gloss water-based acrylic sealer, then flipped the slab and pulled the 2 x 6 out to reveal the pocket. A cement slurry went over the top to fill pinholes and leave a rough but flat surface imitating raw stone, then the top and edges were sanded and left to dry fully.
— Mr. Ferrara
Slurry-and-sand is the standard countertop fix for pinholes, and it is worth doing even if you like the industrial look — open pinholes on a table hold crumbs and stain.
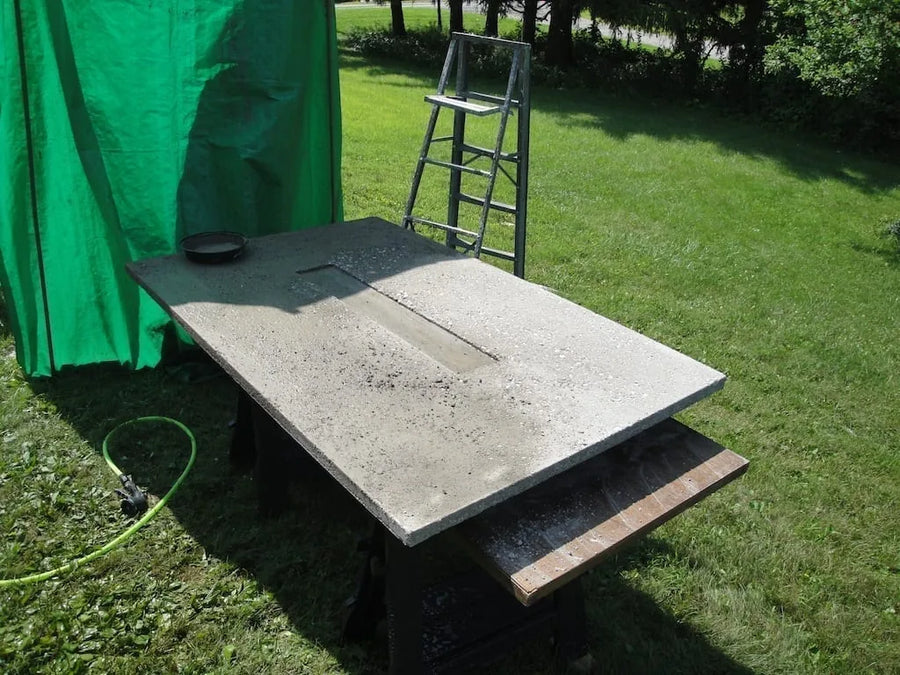
The cast slab, unpolished, with the trough revealed.
Step 3: acid stain and seal
Coffee Brown and Avocado EverStain™, sprayed in an oval pattern, allowed to dry somewhat, then repeated — that build-and-repeat is what gives the top its depth rather than a single flat pass. After the processing time he neutralized, cleaned with water, dried, and sealed with the high gloss water-based acrylic.
— Mr. Ferrara
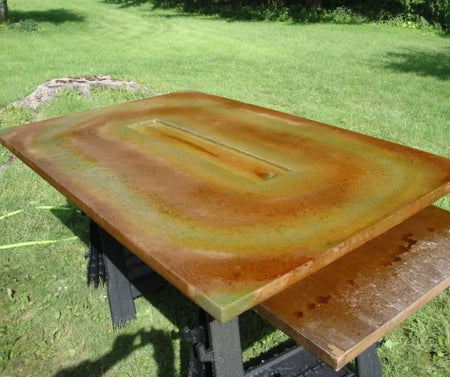
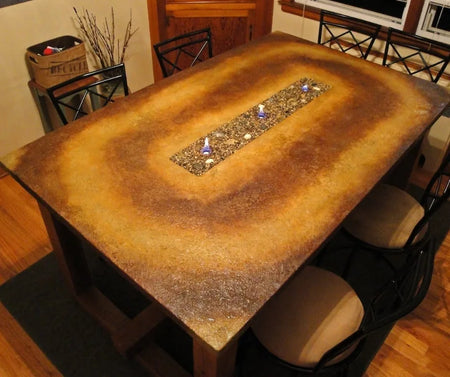
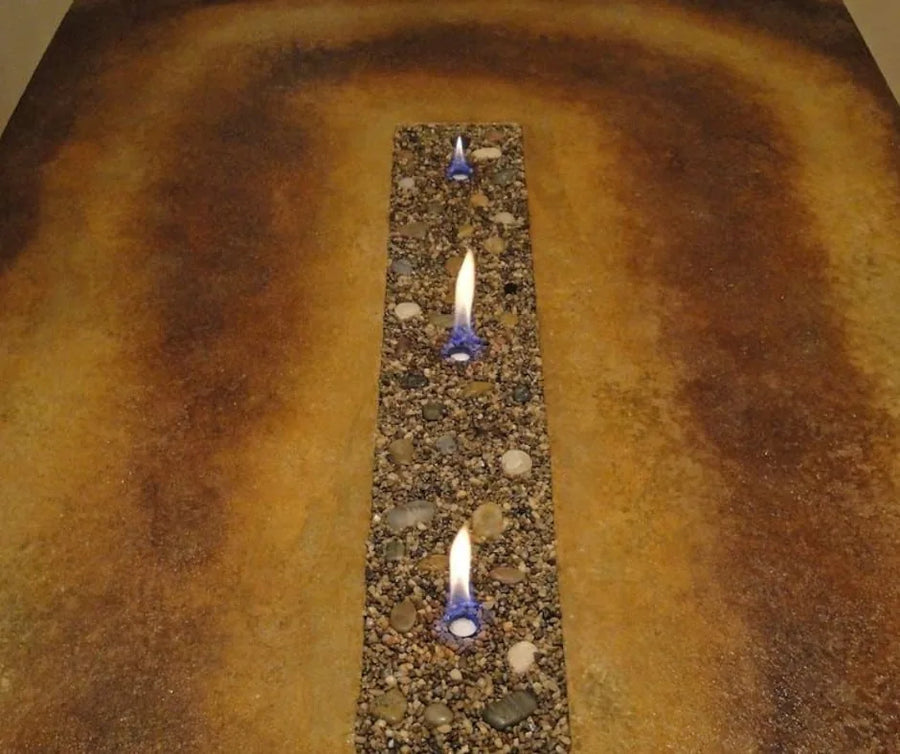
The finished fire table on its 4 x 4 base.
Another one, in three colors
A second customer table, stained with Desert Amber, Malayan Buff and Shifting Sand EverStain™ and sealed to a high gloss. Three warm colors layered on one top is the approach that suits a fire table — you want the surface to look like it has heat in it. Layering technique is covered in how to layer two acid stain colors.
Concrete Fire Table: FAQs
How do I get a glass-smooth top?
Cast it face down. The bottom of the form is the top of the table, so the face comes out as smooth as the form itself. Caulk the form seams if you want a rounded edge rather than a sharp one.
Does the slab need steel reinforcement?
No. When chopped fiberglass and fiberglass net are both used in a concrete countertop, steel is not needed — the high-zirconia alkali-resistant chopped fiber also helps stop shrinkage cracking.
How is the burner trough formed?
A 2 x 6 milled down to 1/2 in. thick and screwed to the center of the form bottom, then pulled out after demolding. It is filled with crushed glass aggregate before the burner goes in.
How do I get depth in the color rather than a flat tone?
Build and repeat. Coffee Brown and Avocado EverStain™ were sprayed in an oval pattern, allowed to dry somewhat, then repeated — that repetition is what gives the top its depth.
Can I move it on my own?
No. A 1 1/2 in. concrete top is a two-person lift at minimum.
What’s Next
- The same skills, applied indoors → DIY Concrete Countertops · Acid Staining Concrete Countertops
- Concrete and wood together → Concrete and Wood Dining Table
- The whole craft pillar → DIY Concrete Craft Projects
- Outdoor kitchens → Outdoor Concrete Kitchen Countertops
- Shop → EverStain™ · AcquaSeal™ · ProWax Polish™ · Trial Kits


