
Concrete dye is the fastest way to change the color of an interior concrete floor, and the most predictable. Unlike acid stain it does not react with the concrete — it is an acetone-soluble pigment that gets carried into the pores and left there as the acetone flashes off. That means it does not care how much lime is in your slab, it dries in hours rather than overnight, and it produces colors a reactive stain cannot reach. It also means the application is all about sprayer technique, because there is no chemistry to hide behind.
This guide follows Kiley Tate-Potts’ basement project, which won our February 2021 contest — Stormy Gray, White and Charcoal on a bare basement slab.
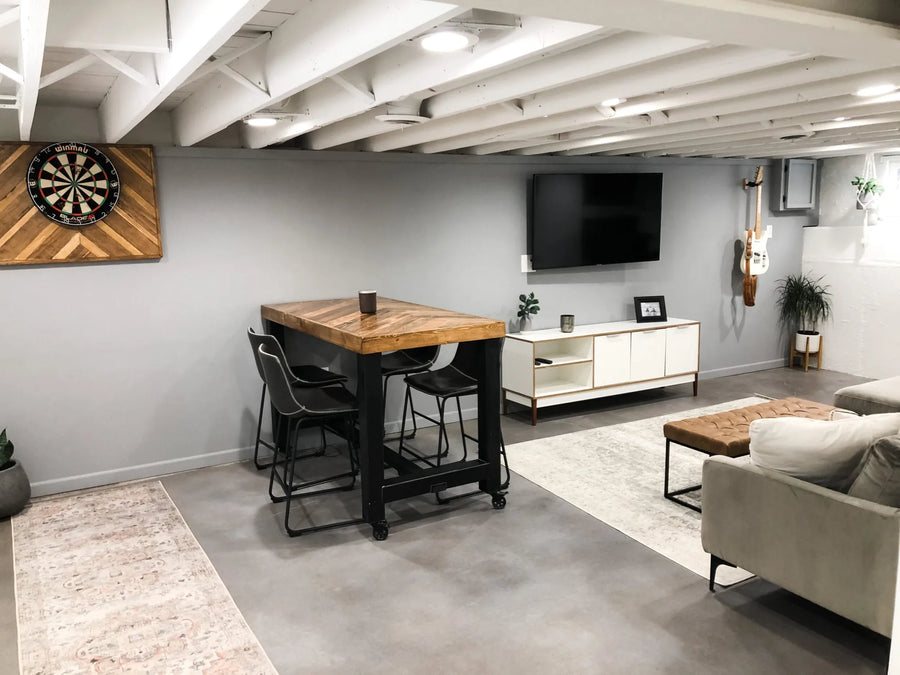
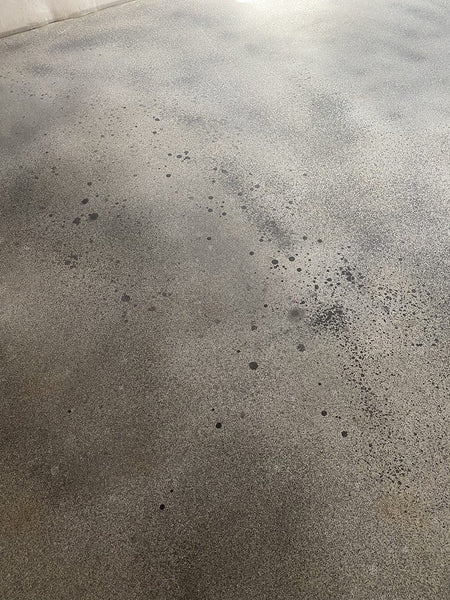
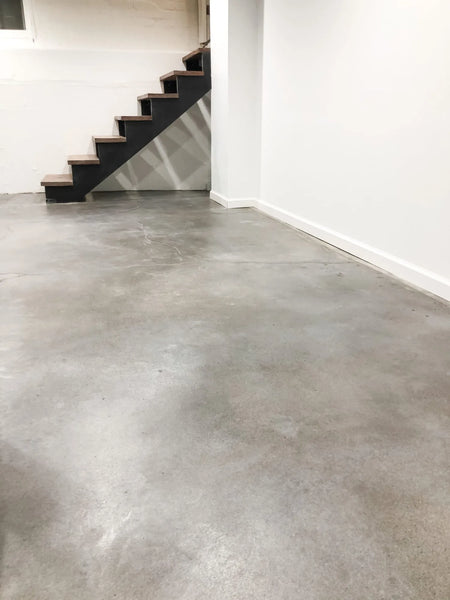
A basement floor dyed in Stormy Gray, White and Charcoal Vibrance™ Dye.
Step 1: get the surface ready
Dye needs to reach the pores, so anything sitting on top of the slab has to go — dust, dirt, oil, glue, old finishes. Use a strong organic cleaner like ProClean Degreaser™, scrub it in with a plastic brush, and rinse with water. Indoors, where you cannot just hose it off, pull the water back out with a wet/dry vacuum, a mop, or even a window squeegee — it dries faster and you are not leaving standing water on a floor you are about to color.
Old paint or stains are a different job. A concrete grinder removes them and gives you a clean, open surface to work on. Be ready for a great deal of dust, and be ready to clean it all up afterwards — see what happens when grinding dust gets left behind. The full diagnostic sequence is in our concrete surface preparation guide.
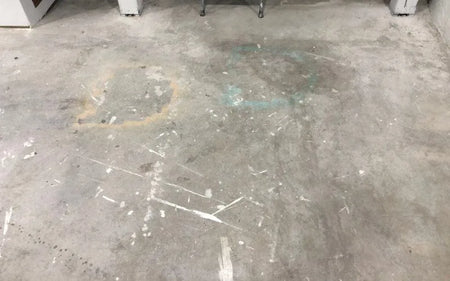
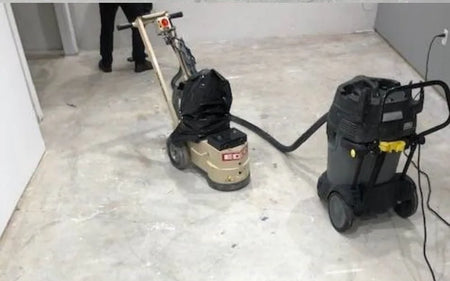
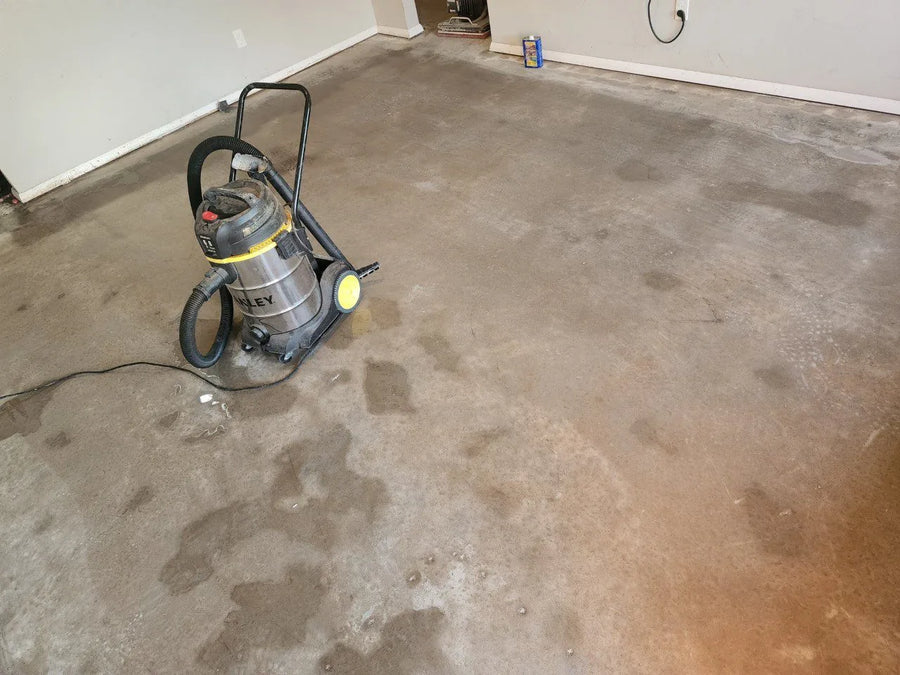
Pulling the rinse water back off an unfinished basement floor with a wet vac.
Step 2: fill the cracks, then check the temperature
Dye is thin and even, which means it will not hide a crack — it will follow one. Fill small cracks and rough spots with a patching compound made for concrete before you start, so the color lands on a continuous surface.
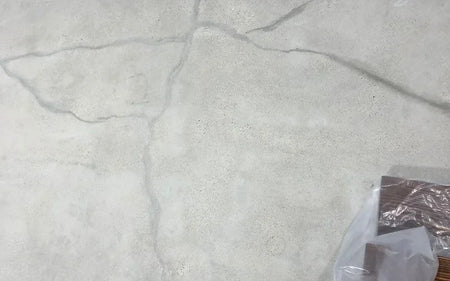
Hairline cracks filled with cement mix before any color goes down.
The temperature window is narrower than you think
Do not apply acetone-based dye to a floor colder than 40°F or hotter than 95°F. Check the floor temperature, not the air temperature — a slab on grade in winter runs well below room temperature. If it is too cold, run the central heating or space heaters to bring it up. If it is too hot, wait for it to cool; there is no shortcut.
Then, and this is the part people miss: turn the heating and any overhead fans off while you are actually spraying, and only turn them back on once the dye is dry. Moving air across wet acetone changes how fast it flashes off, and that changes the color you get. If you have in-floor heating, set it to 60–65°F before you start and switch it off for the application.
Step 3: mix the dye, then spray it
With that understood, the mixing is simple. Pour the Vibrance™ Dye into a can of acetone, close the lid tightly, and shake it hard for about 20 seconds. Then let it stand for about an hour before you use it. That hour is not optional — it is what fully dissolves the pigment, and skipping it is a common cause of blotchy color.
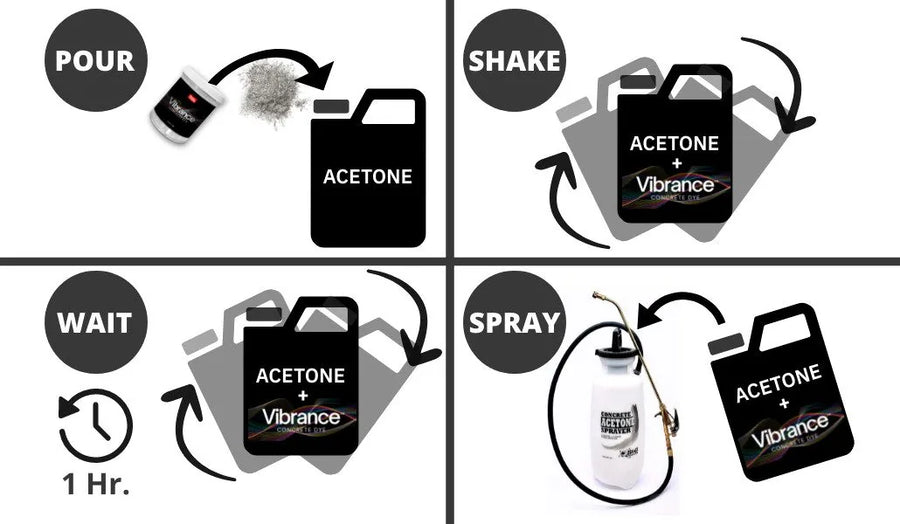
Vibrance™ Dye going into acetone — stirred or shaken, never mixed with an electric motor.
The sprayer matters more than the technique
Take every filter out of the sprayer before you pour the mix in, then shake it again. You need a sprayer rated for acetone — the ordinary pump sprayers sold for decks and fences are not, and acetone will attack the seals. If you are using a large sprayer, a 3-gallon or similar, do not carry it by the pump handle while you are spraying. Hold it by the strap and keep it tilted at 30 to 45 degrees.
Laying it down
Spray in a loose circular motion, overlapping each pass slightly, and shake the sprayer often so the dye does not separate in the tank. Thin layers. Do not let it puddle. If you want a deeper color, build it with up to four thin coats rather than one heavy one. Going onto the floor for a second layer or a second color means you need spiked shoes on.
Let it dry at least eight hours before you seal. Then go over the floor lightly with a dust mop or a microfiber mop to lift off any dye that never bonded — there will be some, and it will otherwise end up suspended in your first coat of sealer.
Steps 4 and 5: seal it, then wax it
Two coats of sealer once the dye is completely dry, each one fully dry before the next. For an occupied interior or a basement, use a water-based sealer such as AcquaSeal™ rather than a solvent-based one — ventilation indoors is rarely as good as you think it is. Then ProWax Polish™ on top: it is a sacrificial layer that takes the wear instead of the sealer, and it is what lets you avoid resealing for years. The Vibrance™ 2-Step Dye System pairs the dye with your choice of sealer in one order (acetone is sold separately).
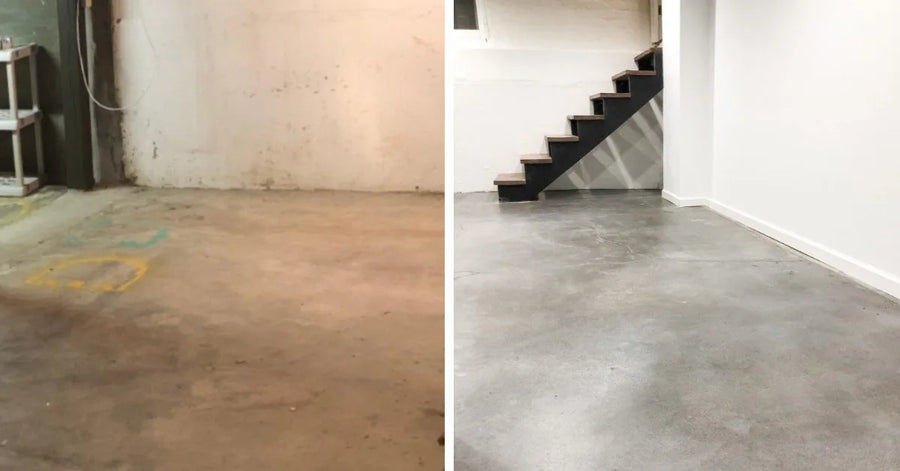
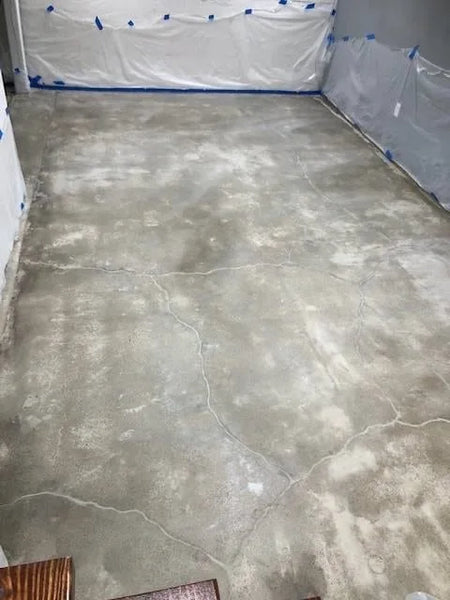
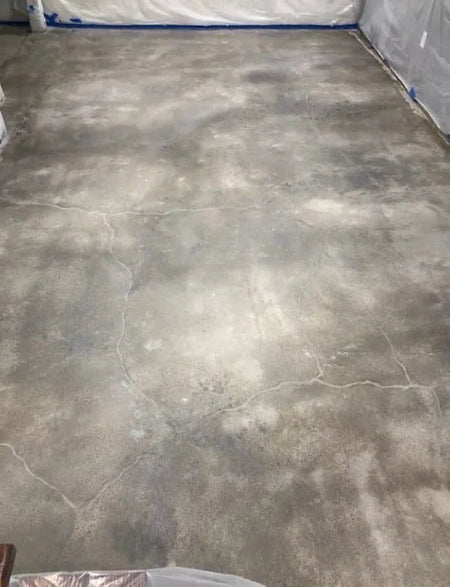
The same basement floor before and after — Stormy Gray, White and Charcoal, sealed.
Fixing uneven or blotchy dye
Almost every uneven-color problem with acetone dye traces back to the sprayer, not the dye. Work through it in this order.
- Confirm the sprayer is acetone rated. A sprayer that is not will not atomize the mix properly, and the dye cannot bond evenly if it arrives on the floor in droplets.
- If it is dripping, stop. Do not keep spraying and hope. Check that the seals on the sprayer tip are seated correctly and that the tank pressure is where it should be.
- Wait 4 to 6 hours after a drip before you touch the area. The dye needs that time to dry and bond, and working it wet makes it worse.
- Lift the excess with a cotton cloth and a little acetone, dabbing gently at the spot until it is less noticeable. The color in that patch will look odd afterwards — that is expected.
- Blend it back in. Once the sprayer is behaving, mist a light coat of dye over the odd-looking area and feather it into the floor around it.
- Stay off it until it is hard. Walking on dye that is not dry lifts it onto your shoes, and dragging your feet smears the color.
Applying Concrete Dye: FAQs
What temperature does the floor need to be?
Warmer than 40°F and cooler than 95°F, measured at the floor rather than the air — a slab on grade in winter runs well below room temperature. In-floor heat goes to 60–65°F beforehand and then off during application, and heating and fans stay off while you spray. Turn them back on afterwards to speed drying.
Can I mix the dye and acetone with a drill or electric mixer?
No. Never mix dye and acetone with an electric mixer, and never inside the sprayer. Acetone is highly flammable and an electric motor is an ignition source sitting in the vapor. Stir with a stick, or seal the lid and shake for 20 seconds, then let it stand.
What kind of sprayer do I need?
One rated for acetone, with every filter removed before you pour the mix in. The ordinary pump sprayers sold for decks and fences are not rated for it, and acetone will attack the seals.
How many coats, and how heavy?
Thin ones. Spray in a loose circular motion, overlap each pass slightly, and shake the sprayer often so the dye does not separate in the tank. Build depth with up to four thin coats rather than one heavy one, and never let it puddle. Then 8 hours to dry, two coats of sealer, and wax if you want it.
Why is my dye blotchy or uneven?
Almost every uneven-color problem with acetone dye traces back to the sprayer, not the dye. Start by confirming the sprayer is acetone rated — one that is not will not atomize the mix properly, and the dye cannot bond evenly if it is not landing evenly.
What’s Next
- Prep it properly first → Concrete Surface Preparation
- A sunroom, step by step → Sunroom Flooring with Concrete Dye · Sunroom Floor Ideas
- Dye over a floor acid stain could not fix → How to Fix Concrete Ghosting · Fixing Acid Staining Problems
- See the Stormy Gray range → Gray Concrete Floor Gallery
- Basement floors → How to Stain a Basement Floor
- Shop → Concrete Dye · Dye Trial System · AcquaSeal™ · ProWax Polish™


