
Concrete overlay is a thin, high-strength layer laid over an existing laminate, Formica, wood or tile countertop. It gives you the look and feel of concrete without pouring a slab, at a fraction of the cost — and because it takes pigment, stain and dye, it can be colored to match whatever the room already is. Estimated product cost is around $1.15 per square foot, before design aggregate and finishes.
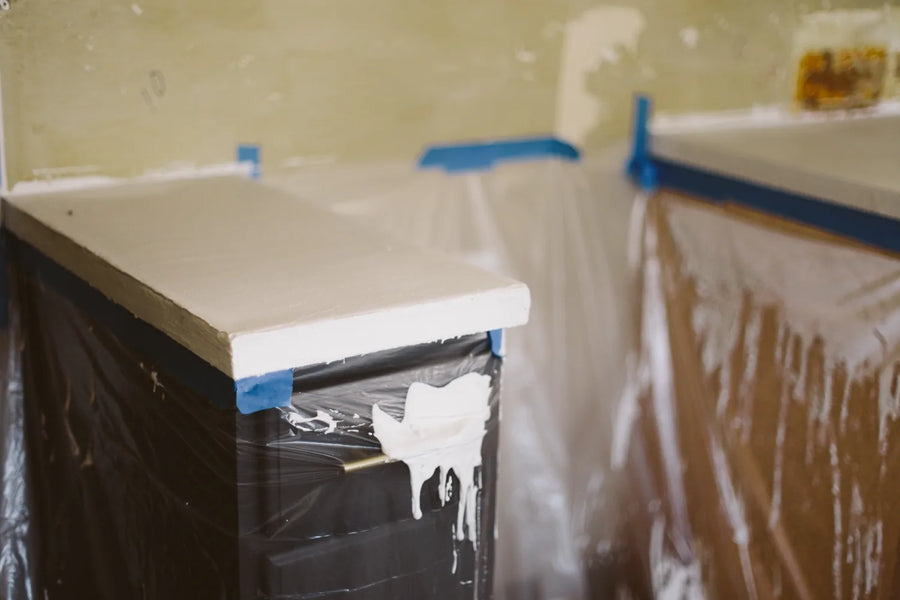
A kitchen countertop skim-coated in concrete overlay.
Shop Countertop Stains & Trial Kits →
Refinishing a laminate or Formica countertop
One day. The whole job depends on the substrate not flexing — overlay is strong but it is not elastic, and a bouncy counter will crack it.
- Make sure the existing laminate is reinforced and has no flex
- Scuff the surface with 120-grit non-loading sandpaper
- Wipe with a damp cloth to clear the dust, then let it dry
- Overlay the vertical edges first
- Overlay the top and let it dry 3–6 hours, or until it goes a uniform light gray
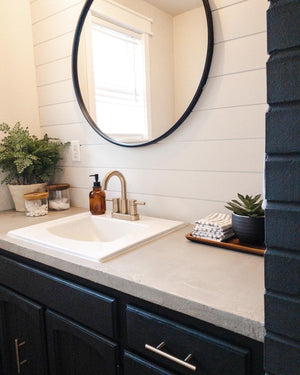
“Used the Ash color concrete overlay and a matte water-based polyurethane sealer to re-finish our bathroom vanity countertops. I had tried painting them in the past but it never looked as great as the concrete does!”
— Allison C.
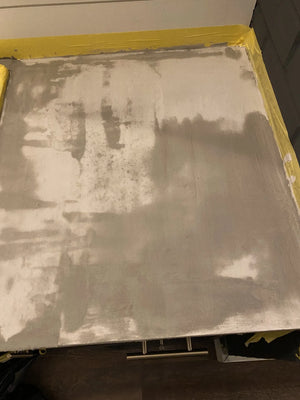
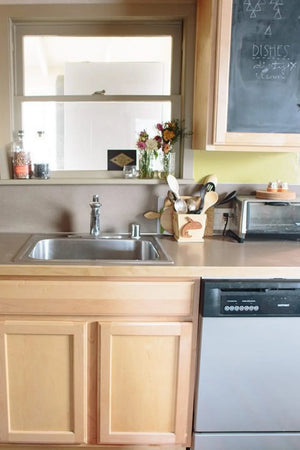
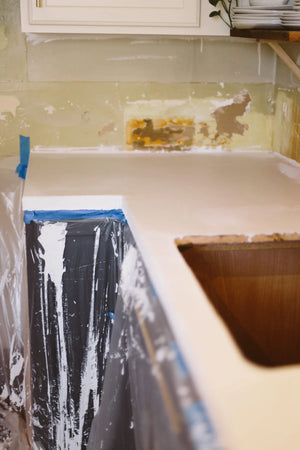
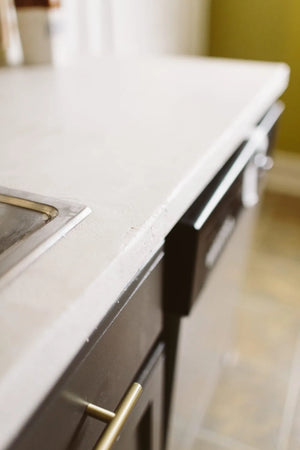
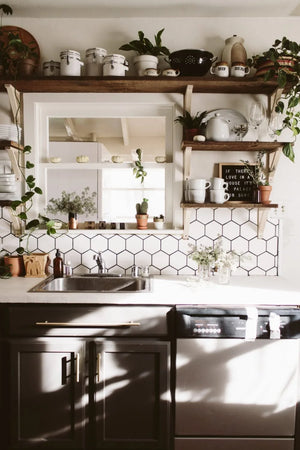
Overlaying a plywood countertop
Two days. The critical rule is at step 6: never put overlay straight onto unsealed plywood. It will draw water out of the mix and fail.
- Use ¾-inch plywood with a sturdy base and no flex
- Attach cement backer board with non-corrosive screws
- Fill all seams and screw holes with two-part epoxy — 16 hours to dry
- Sand the filled areas flush with 180-grit non-loading paper
- Clean off every trace of dust
- Seal the wood first with a urethane or solvent-based sealer and let it dry — never overlay directly onto unsealed plywood
- Wipe down, then overlay and let it dry 3–6 hours to a uniform light gray
- Apply a second skim coat, smoothed with a magic trowel, to prevent ghosting
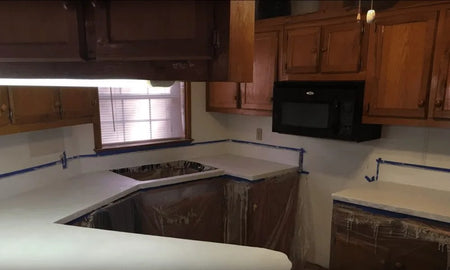
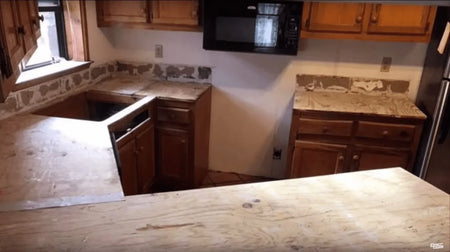
Refinishing a tile countertop
Two days. Same idea, but the grout lines are the enemy — if you do not fill and fair them, they will ghost through the finish.
- Check the existing tile is level
- Scuff with 120-grit non-loading sandpaper, wipe damp, dry
- Fill all seams with two-part epoxy — 16-hour cure
- Sand flush with 180-grit
- Clean thoroughly
- Overlay the vertical edges before the top
- Overlay, dry 3–6 hours to uniform light gray
- Second skim coat smoothed with a squeegee trowel to stop the tile ghosting — unless you want it
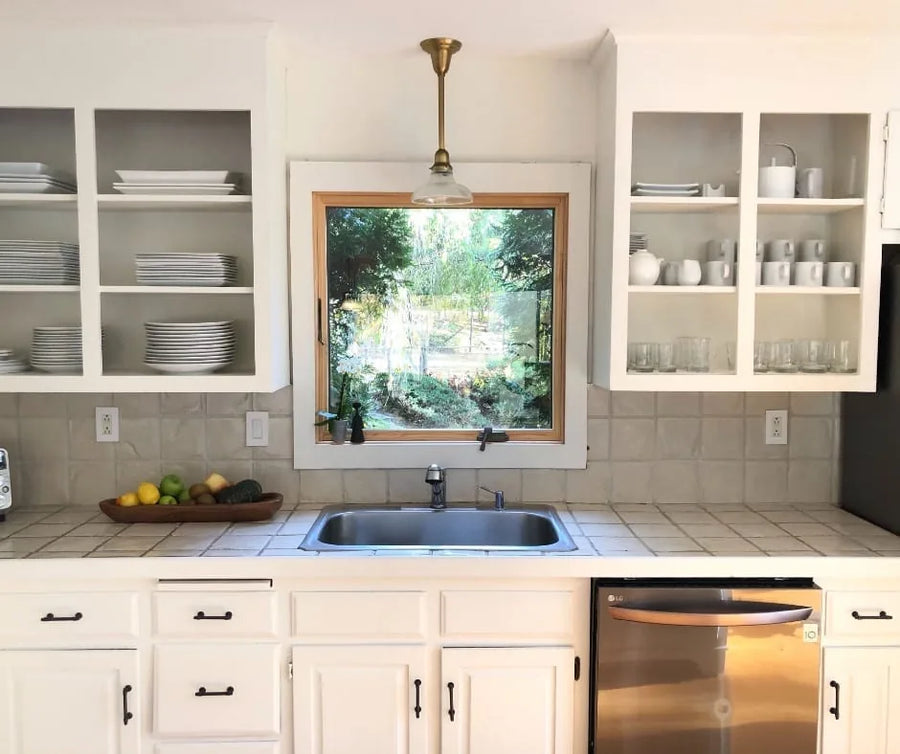
A tiled countertop resurfaced with overlay.
Design tip: add concrete pigment to the slurry mix for an extra note of color in the final coat.
Making a terrazzo countertop
Two days. The showpiece version — natural stone or recycled glass set into the overlay and polished back to reveal it.
- Lay a ¼-inch overlay coat and press the aggregate into place, leaving the spacing you want
- Let it dry a minimum of 14 hours
- Mix overlay and water to a thin pancake-batter consistency — the slurry
- Work the slurry across the surface to fill every void and pinhole, and let it dry
- After 24 hours, polish back to reveal the stone or glass
Shortcut Aggregate under 10 mm can be mixed straight into the overlay, dried and polished
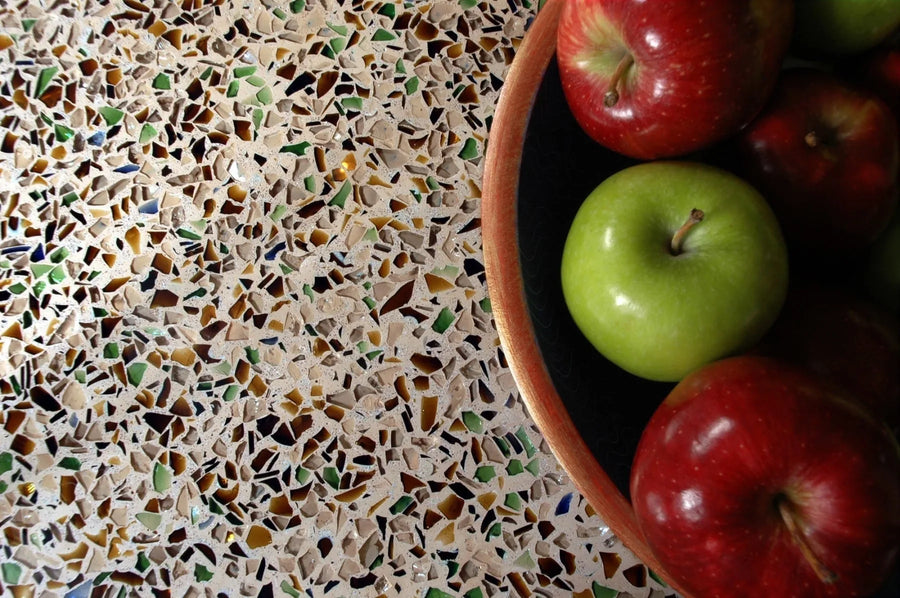
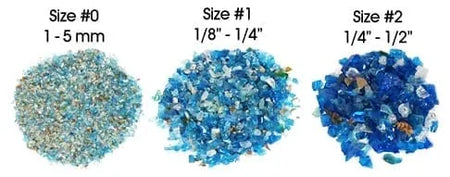
Glass aggregate set into a countertop, and decorative aggregate sized against a ruler.
Mixing, pot life and coverage
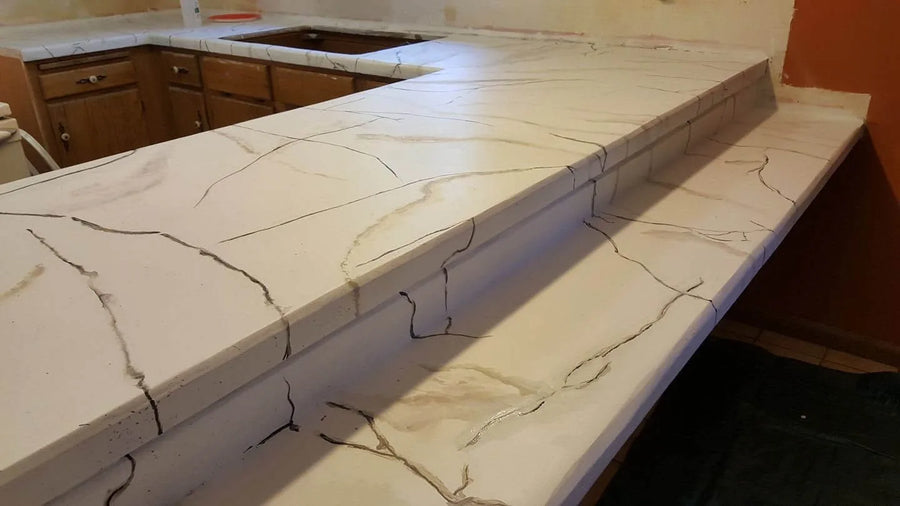
A white marble-look countertop finished over an existing substrate.
Shop Countertop Stains & Trial Kits →
Overlay Countertops: FAQs
How do I mix concrete overlay?
Water first: one gallon into a five-gallon construction bucket, then pour a 50 lb box in slowly while mixing with a drill and a birdcage high-shear paddle. Less water for a thicker mix; thin during application by up to one extra gallon.
How long do I have to work with it?
About 45 minutes of pot life. Ice-cold mixing water buys roughly 15 minutes more; heat shortens it.
How far does a bag go?
At ¼ inch, a 50 lb bag covers 20–25 sq. ft. As a skim coat at ⅛ inch or less it goes considerably further.
Can I overlay straight onto plywood or tile?
Not unsealed plywood — it draws water out of the mix and the overlay fails. Seal it first. On tile, the grout lines are the enemy: fill and fair them or they will ghost through the finish.
Does the counter need to be rigid?
Yes — the whole job depends on the substrate not flexing. Overlay is strong but it is not elastic, and a bouncy counter will crack it.
What's Next
- All countertop projects → DIY Concrete Countertop Ideas
- Color it → Acid Stain Countertops
- Other finishes → White · Marble Look · Faux Wood
- Applying stain outdoors → How to Apply Outdoor Concrete Stain
- Choosing a sealer → The Best Concrete Sealer
- Prefer a reactive, mottled look? → Acid Stain Colors Guide
- Shop → EverStain™ Kits · ColorWave® · Trial Kits
Direct Colors. Shawnee, OK. Manufacturing the full decorative concrete system since 1997.


