
Veining is what turns stained concrete into something that reads as marble or natural stone rather than as colored concrete. The whole trick is that you are not drawing the veins — you are masking the floor so the stain finds its own irregular edges. Six methods below, all of them using something you already have: cardboard, toilet paper, plastic wrap, water.
Prefer to listen? Ken Lazenby on how he marbles and veins concrete countertops. The player is at the end of this article.
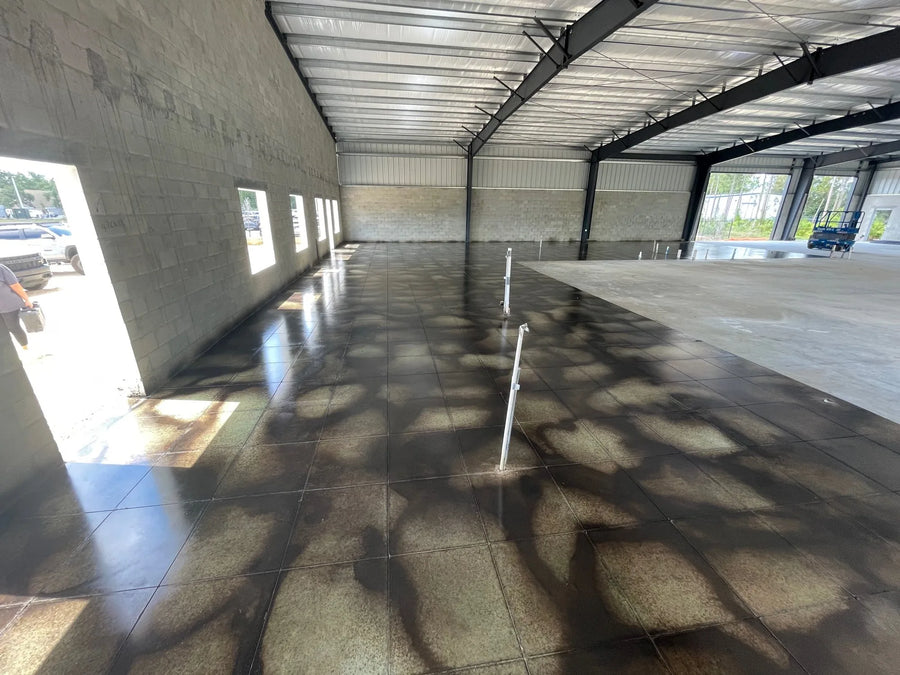
An Azure Blue base with a completed Black veining design.
Step 1: clean and prepare the surface
Clean the concrete with a cleaner or degreaser to remove dirt, oil and contaminants, etch it if the stain needs help penetrating, then rinse thoroughly and let it dry. Detail in preparing a concrete surface for staining.
Step 2: decide the order — base first, or veins first
This choice changes the character of the result more than the vein method does.
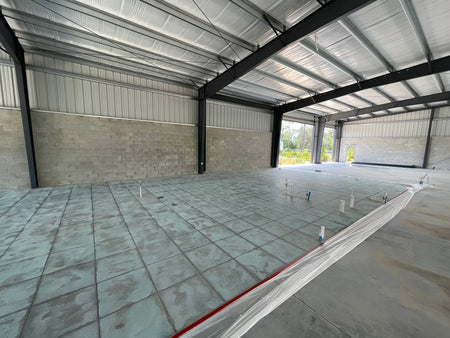
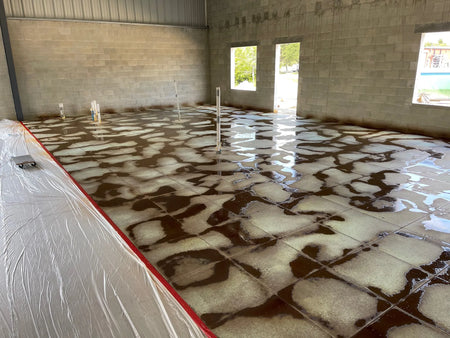
Light base color first
Apply a light base coat with a pump sprayer to create a background, let it dry or neutralize it, then add the darker veining over the top. The veins sit clearly on the base and you get crisp, legible pattern.
Veins first, then stain around them
Apply the veining pattern directly onto raw concrete, let the veins dry, then apply the lighter color around the design. This produces a more organic blend, with the veins appearing to emerge from the base rather than sit on it. Choose this one if you want it to look geological rather than drawn.
Step 3: six ways to make a vein
Free hand
A pump sprayer set to a narrow stream, and a darker acid stain. Total control over the design and the most artistic approach — and the hardest to undo, so practice the movement before you commit.
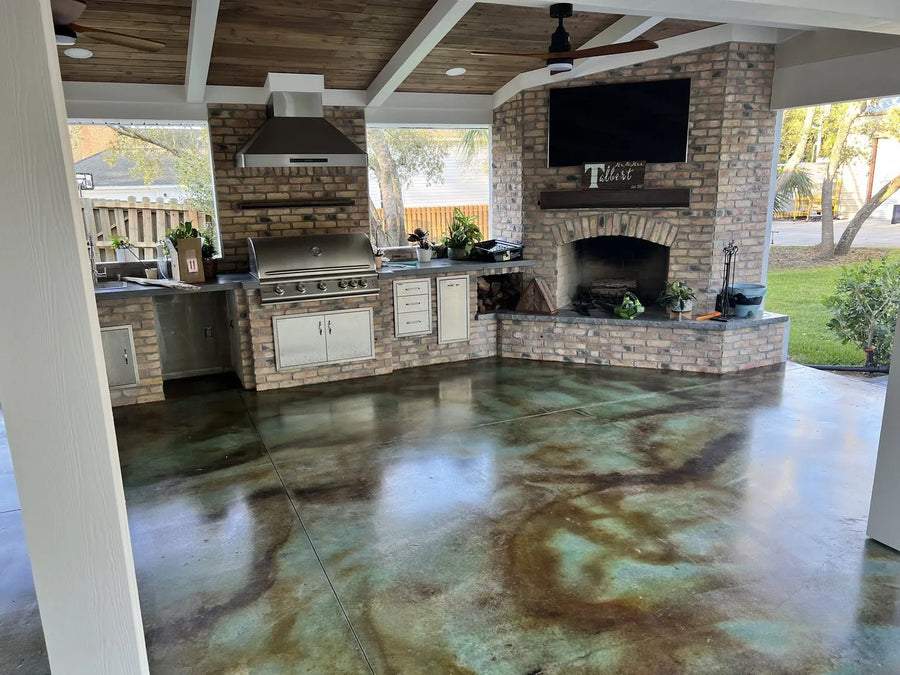
An outdoor kitchen floor with freehand veining — a Seagrass base with Coffee Brown veins.
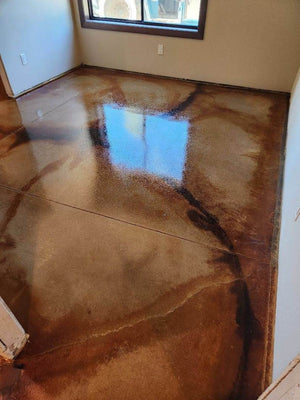
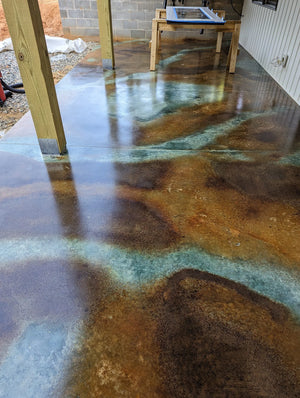
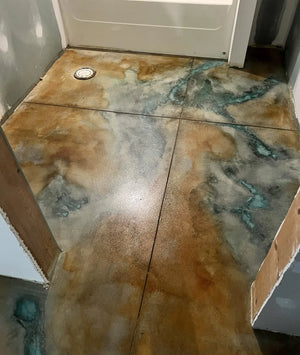
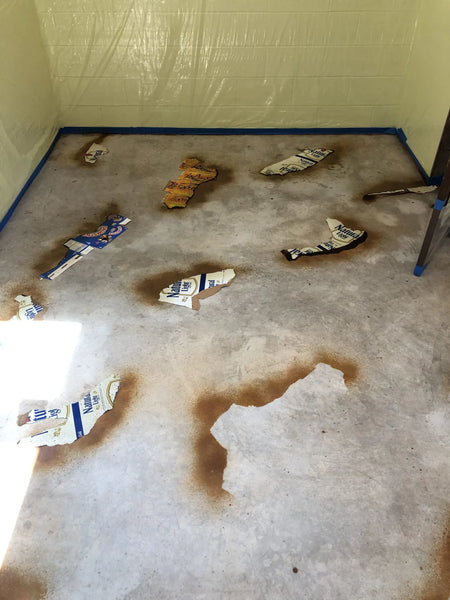
Torn cardboard
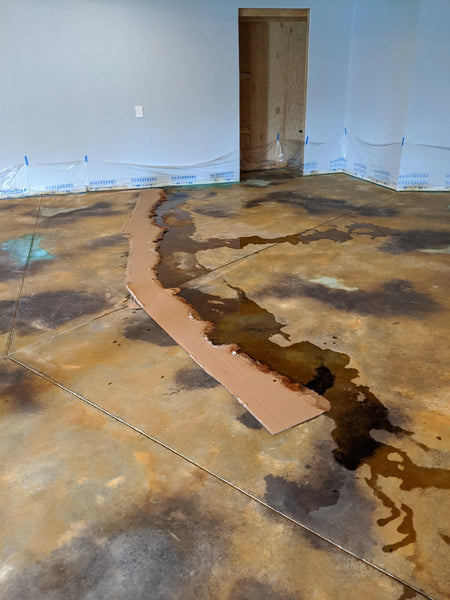
Arrange torn pieces of cardboard on the concrete and apply the stain from 6 to 8 inches away. The stain spreads unevenly past the torn edge and produces natural-looking veins. Remove the cardboard only after the stain has dried — lift it while wet and it drips across your pattern.
Toilet paper
Twist or bunch up toilet paper, lay it on the surface, and lightly wet it. Then drip acid stain over the paper to create wrinkled, custom veins, adjusting the paper with your fingers as you go for a more organic line. It is the cheapest and most forgiving of the six, and it is what several of the best floors on this site were made with.
Plastic wrap
Crinkle plastic wrap into long tubes, lay them on the concrete, and apply the stain around the plastic. The plastic collects stain along its length and leaves thin, natural veins where it sat.
Miracle-Gro, for blue and green
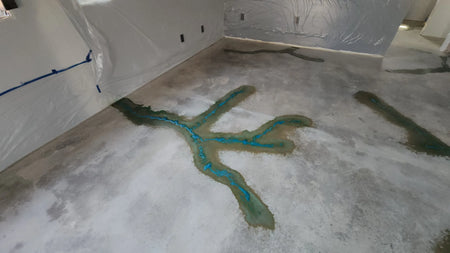
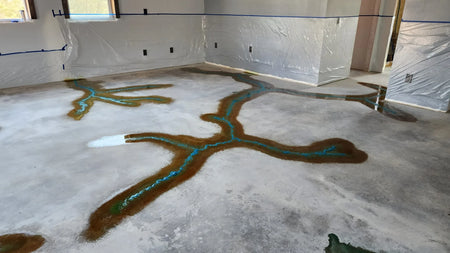
To intensify blue-green stains like Azure Blue or Seagrass, sprinkle Miracle-Gro in a vein-like pattern and apply the stain over it. The copper in the plant food drives the blue much harder than the stain does alone. Full method in using Miracle-Gro to enhance blue hues.
Flowing watercolor
Dribble water onto the surface first, then follow it with acid stain. The stain flows along the water and produces soft, organic veins with no hard edge anywhere. Add a little Miracle-Gro to a blue-green stain here and the flowing veins come out vivid.
Step 4: finish the staining process
The veins are only the design. The durability comes from completing the process properly.
- Neutralize with a neutralizing solution — usually water and baking soda — to stop the reaction and lock in the color.
- Rinse thoroughly to remove all residue from the staining process.
- Let it dry completely before any sealer goes near it.
- Seal it, which protects the design and deepens the colors.
Two pro fixes worth knowing
Large pits
Fill them with clear self-leveling epoxy for a smooth finish, using a toothpick or something similar to spread it evenly. Clear epoxy disappears into the stain rather than patching over it.
Cracks, filled with gold
For larger cracks, fill them with imitation gold leaf and then seal over the top. It is the most striking detail in this whole cluster — instead of hiding the crack you make it the feature, and on a marbled floor it reads as a vein of ore rather than as damage.
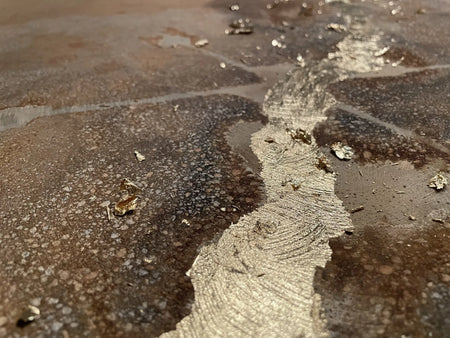
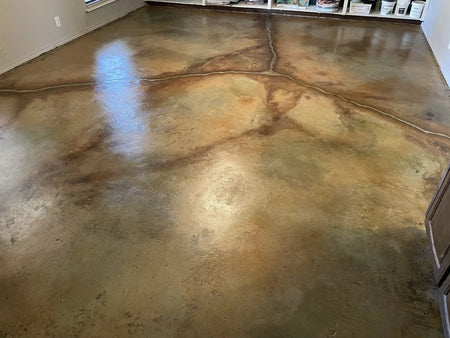
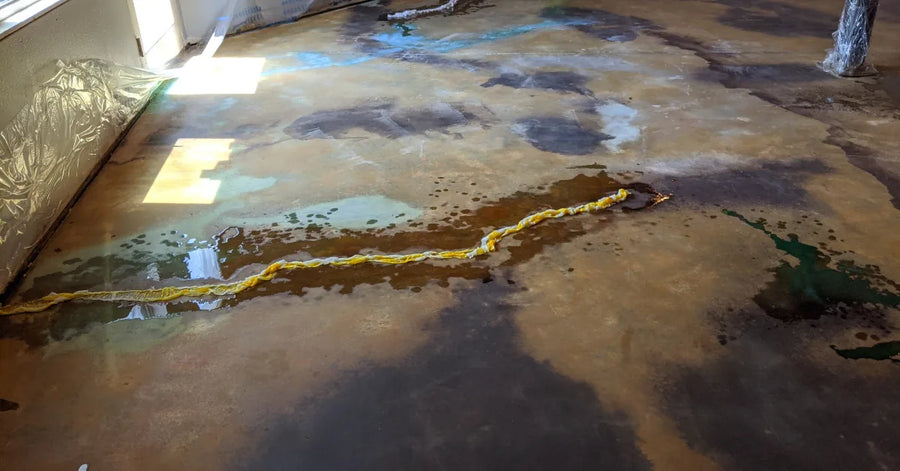
The veining technique on a garage concrete floor.
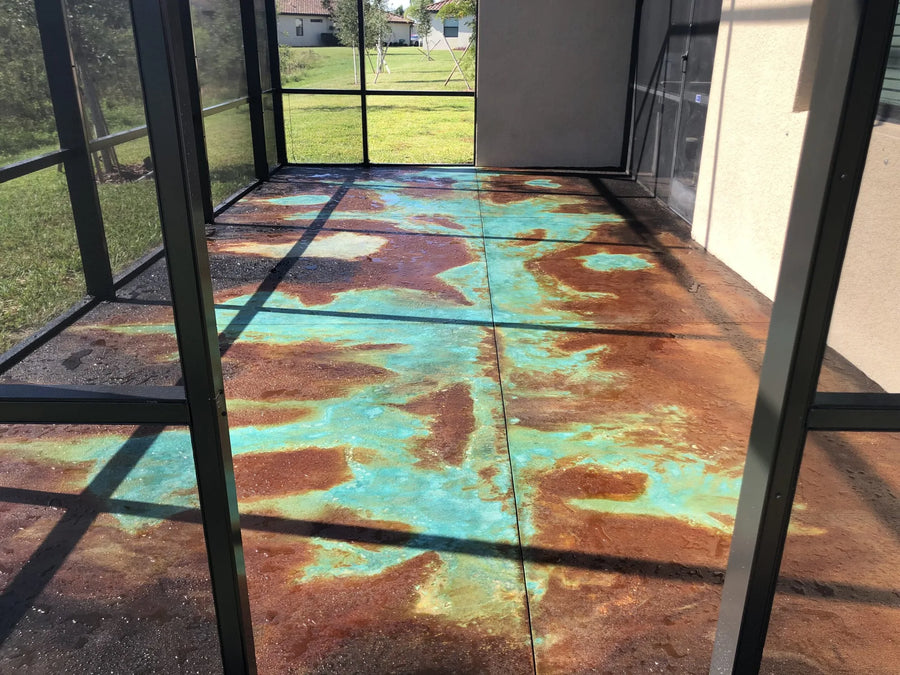
Azure Blue, Miracle-Gro, Black and English Red on an enclosed patio.
Common questions
How do you get a marbled effect with acid stain?
Three colors, sprayed in order, kept wet. Pick a base plus two complementary colors, spray the lightest first, fill in a spray pattern with the darkest, then the medium shade — and keep everything wet, because that is what lets the colors blend and take their own shape. Dry between coats and you get hard edges instead of marble.
How do I control the pattern?
With the spray bottle setting and your distance from the surface. Use the tightest misting position and vary how far back you hold it — closer for tighter figure, further for softer. For veins, switch to more of a stream in places rather than a mist. A second veining method is about a teaspoon of concrete pigment in a quart of water, applied while the surface is still wet.
What should I do before I start a countertop?
Mask everything, and Ken rates this as one of the most important steps in the whole job. Protect the floors, tape off the counters and the walls — this work is messy and concrete gets on surfaces you did not intend. Prep with an orbital sander and a 40 grit pad, then clean with ProClean Degreaser™ and water before anything else goes on.
Can I practice the marbling somewhere first?
Yes, and you should. A cheap box of ceramic tile makes excellent test pieces — you can try color combinations and spray patterns until you find something you like, before committing to the actual top. Given that a marbled finish is deliberately unpredictable, that hour of testing is the difference between a result you chose and one you got.
Listen to this episode
Direct Colors DIY Home Improvement · Episode 6
Marble Effects on Concrete Countertops
Shawna Turner and Ken Lazenby · 5 min 55 sec · read the full transcript
What’s Next
- Boost the blues → Miracle-Gro for Blue Hues
- The leather technique → Worn-Leather Look Floors
- Layering colors → Two or More Acid Stain Colors · Acid Stain Colors Guide
- Veining on a countertop → Acid Staining Countertops
- Shop → EverStain™ · DecoGel™ · ProClean Neutralizer™ · Trial Kits


