ColorWave® is our water-based stain. It is not reactive, so unlike acid stain it does not depend on what is in your slab — the color you choose is broadly the color you get, on new concrete or old, indoors or out. It is low-odor, it layers, and it can be worked wet-on-wet like an acid stain if you want mottling and movement rather than an even tone. Several projects below do exactly that.
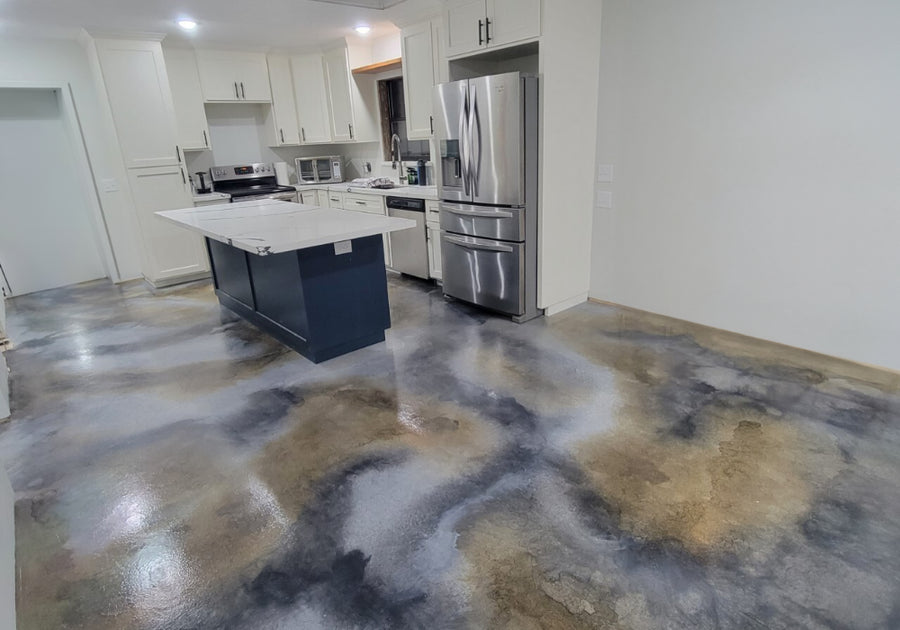
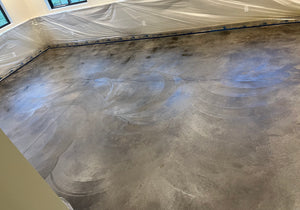
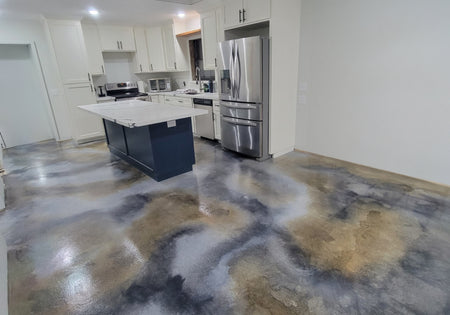
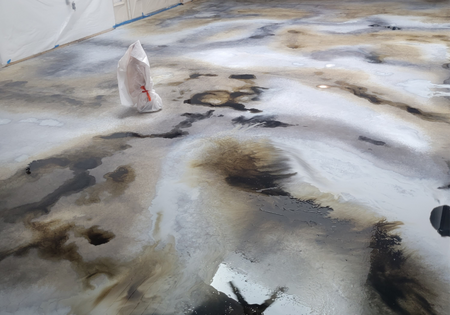
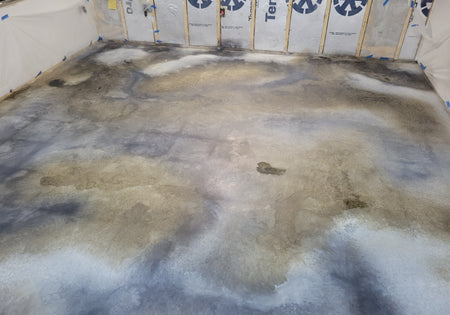
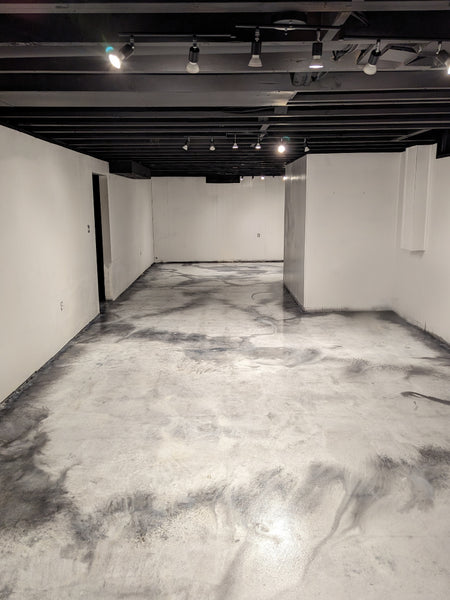
A marble-like floor built from Iron over Silver, White, and Stone ColorWave®.
ColorWave® has its own 6xx color range — Molasses, Steel, Stone, Iron Gray, Silver, White, Amber, Rust, Olive, Navy and more — which does not overlap with the Antiquing™/Portico™ numbering.
Note on results: every photo here is a real Direct Colors customer project. These products are semi-transparent, so your concrete's original tone and condition shape the final color — always test a small area before you commit to the whole surface.
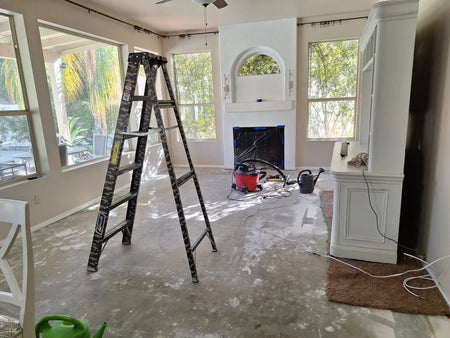
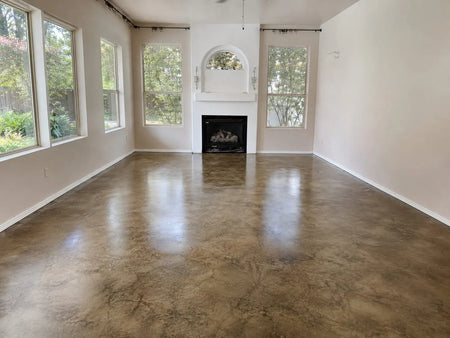
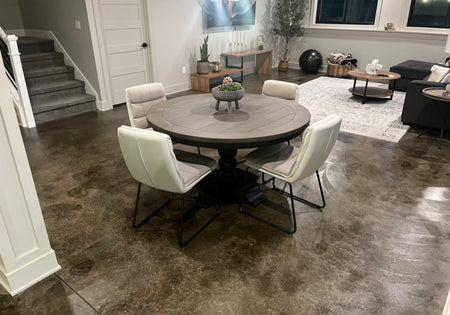
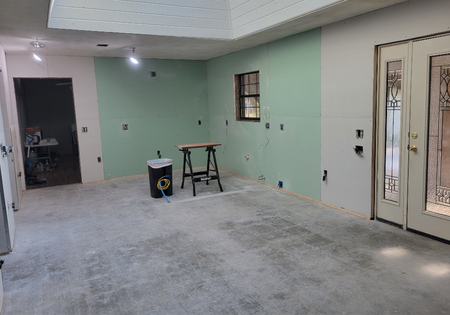
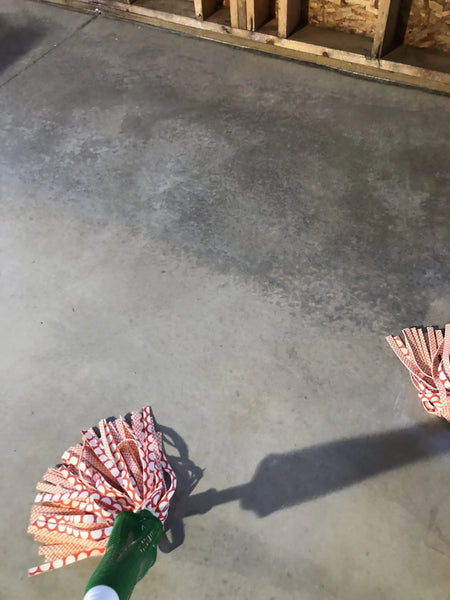
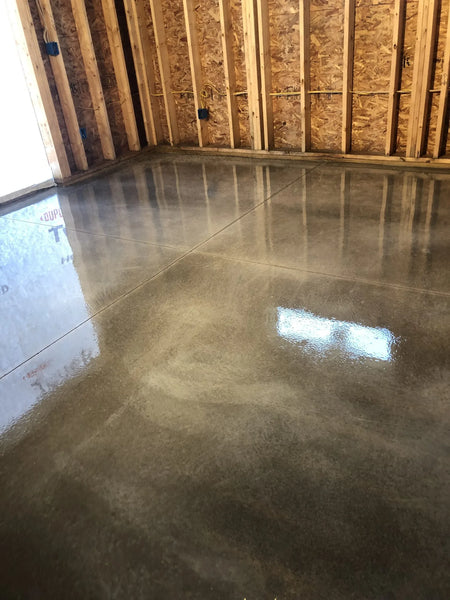
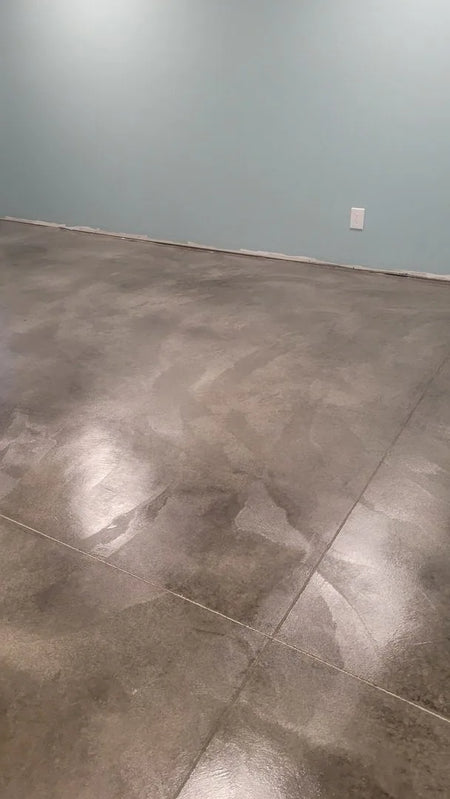
Carpet came up across a dining room, front room and living room. What went down instead was ColorWave® Stone with AcquaSeal™ Satin and ProWax Polish™ Satin — a warm, mottled stone look for a fraction of what laminate would have cost.
Before — carpet up, bare slab, prep underway.After — a glossy, mottled Stone floor.
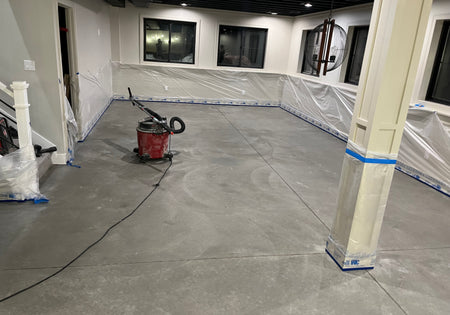
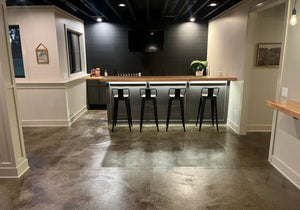
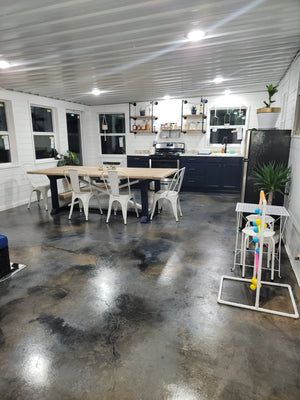
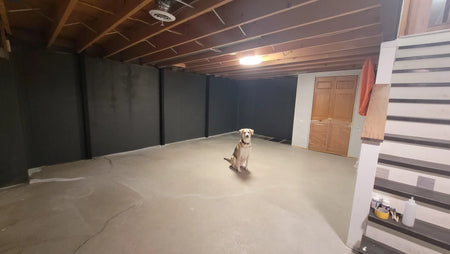
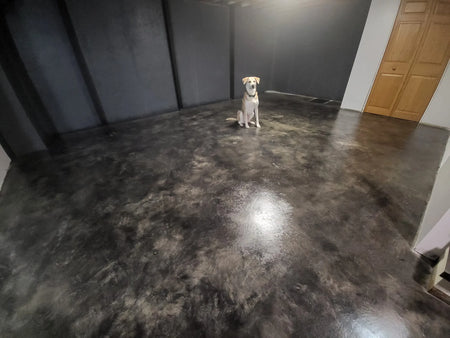
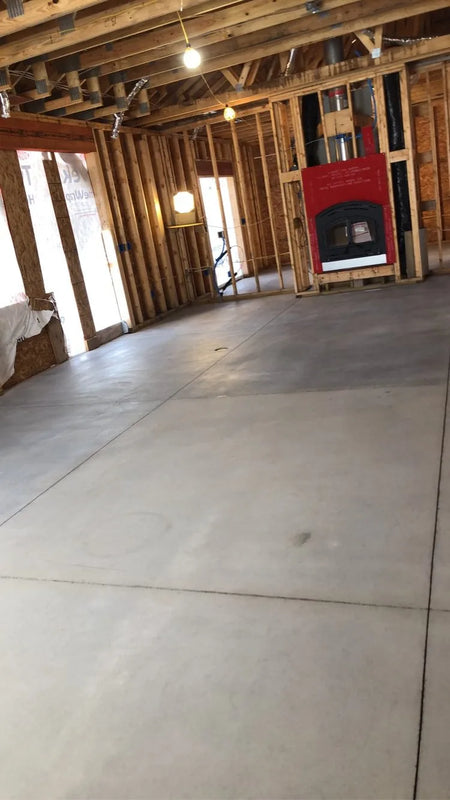
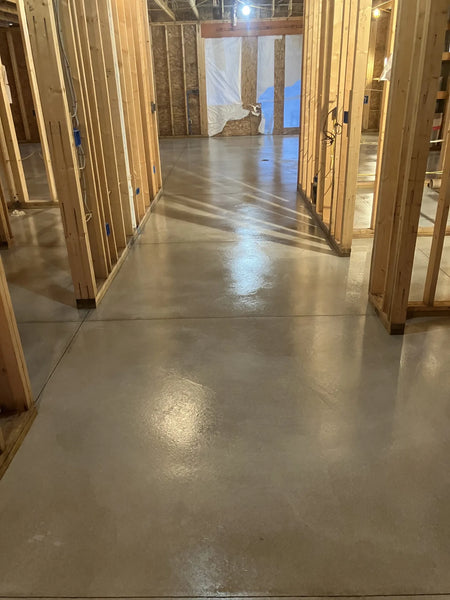
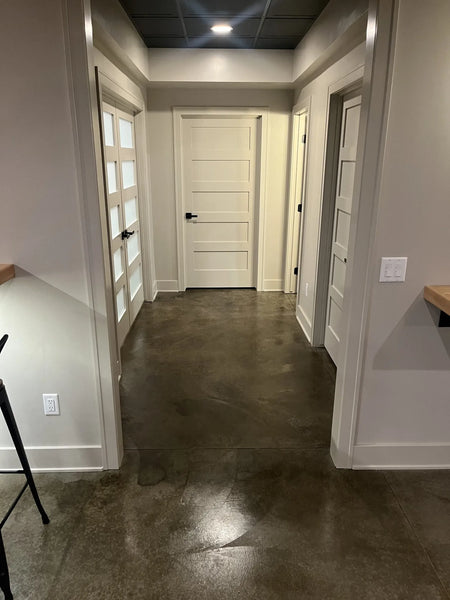
A basement in Molasses
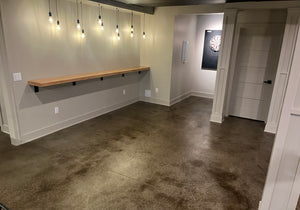
New concrete used as the finished floor rather than a subfloor. Molasses gives it enough warmth to read as a finished room rather than a basement.
Color
Molasses ColorWave®
Finish
AcquaSeal™ Satin + ProWax Polish™ Satin
Size
1,500 sq. ft.
Time
5 days
Before — the basement slab fully prepped.After — the living and dining area in Molasses.
The first coat going on.The stain dried with its natural brown variation.The finished bar area.
“The cleaning process is the most tedious and time consuming, but it is the most important part. Make sure you are using compatible products for removing stains or paint from the floor to avoid any potential issues between DC products and cleaners. Lastly, follow the directions and do not cut corners.” — DIY Customer
Wet-on-wet: a tri-room remodel
The most technically interesting project here. The owner wanted acid-stain character but chose ColorWave® for convenience — then applied it like an acid stain anyway, wet-on-wet in multiple layers. Their observation about Silver reacting with Iron Gray to read almost navy is the kind of thing you only learn by layering.
Colors
Silver, White, Stone, Iron ColorWave®, wet-on-wet
Layers
Three (two would have done)
Finish
EasySeal™ Satin then Gloss, plus high-gloss wax
Size
500 sq. ft.
Time
7 days
Before — prepped and clean.After — a marble-like blend of four colors.
“I originally was drawn to the acid stain floors but chose ColorWave for the convenience — but applied it somewhat like an acid stain, with the wet on wet multiple colors. I started out with a white only (which I would skip were I to do it again). I did 3 layers of color, but two would have worked well. I especially love the Silver, which in certain light is a baby blue and reacts with the Iron Gray to be similar to a dark Navy.” On sealer: “Due to the fumes in EasySeal Solvent Sealer, I would choose the water based sealer even though it is not as good for re-sealing.” — DIY Customer
Mastic to marble
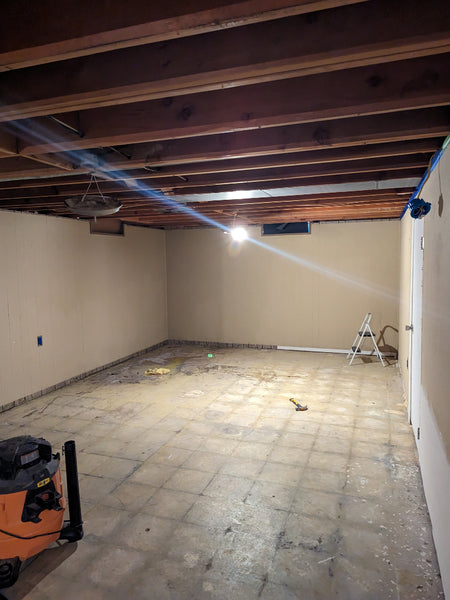
A basement three-quarters covered in black asbestos mastic after a flood took up the 1970s tile. White and Steel over it, and the sealer is what revealed the result — a floor that looks like a magnified slab of marble.
Before — mastic and the ghosting of removed tiles.After — White and Steel, marbled.
“BE PATIENT — it is worth doing right and letting the product dry and/or cure for the correct time. Also, I had a lot better luck using one of the twist mops when applying the polish and just going over it lightly.” — DIY Customer
The puddling method
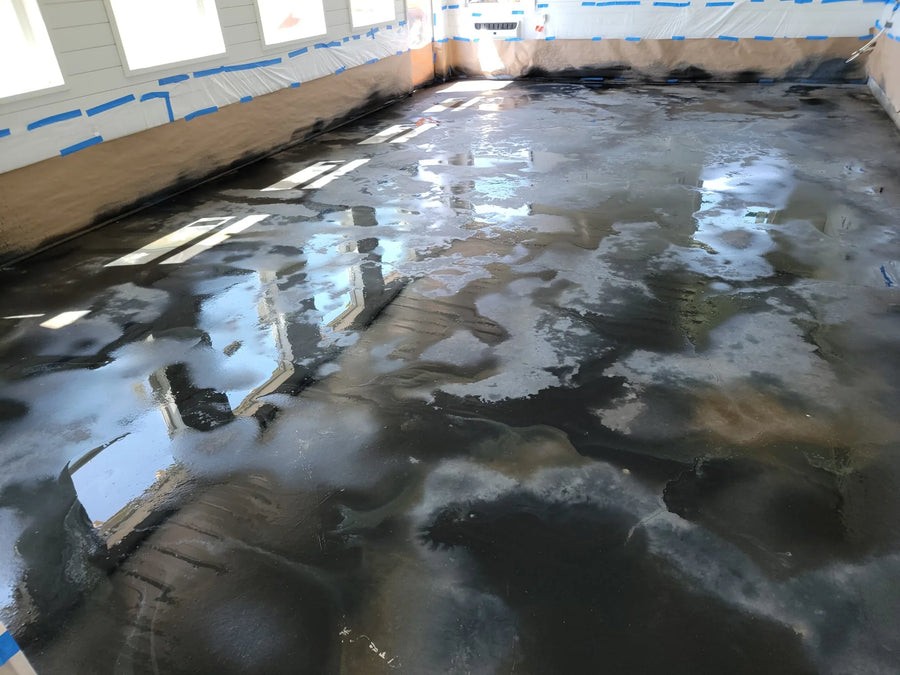
Black, Stone and Iron Gray, applied by letting the stain pool rather than spreading it evenly, then sealed high gloss and waxed twice. Three days for 430 sq. ft.
Prepped and Clean Concrete Floor Ready for Staining.Dry ColorWave Stains in Black, Stone, and Iron Gray on Concrete Floor.Sealed and polished Stone, Iron Gray and Black stained concrete floor.
Mid-application — the colors pooling and running together.
An industrial home office
An honest one. After the first coat every scrub-brush stroke from etching showed, and it looked bad. The fix was improvised: black and silver samples over the worst areas, then a Bissell spinwave mop used to swirl and buff the stain. That is what produced the stone-like finish.
Colors
Black, Silver, Stone + two gallons Steel ColorWave®
Finish
AcquaSeal™ Gloss
Size
210 sq. ft.
Time
4 days
Before — an etched basement floor, brush marks and all.After — buffed to a stone-like industrial finish.
“We had a lot of paint overspray and learned that vinegar works great to pull that up… Don't skimp on the prep. We etched our floors and after the first coat of stain, we could see all of our scrub brush strokes from etching — it looks really bad. When the brush marks didn't dry away we were left to problem-solve… we actually took our bissell spinwave mop and swirled/buffed the stain. This worked great! It hid the etching marks and made a really nice stone type of look with the three colors. It was a roller coaster but I love how it turned out.” — DIY Customer
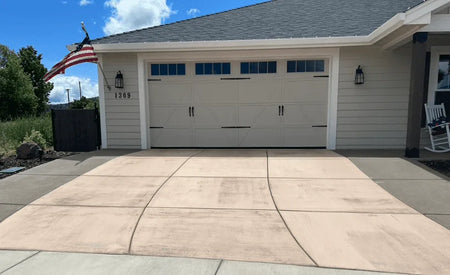
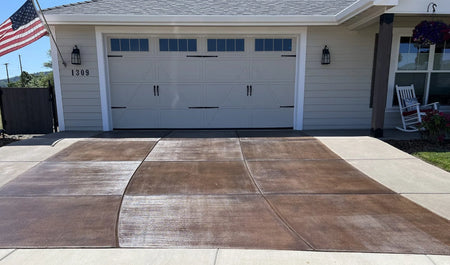
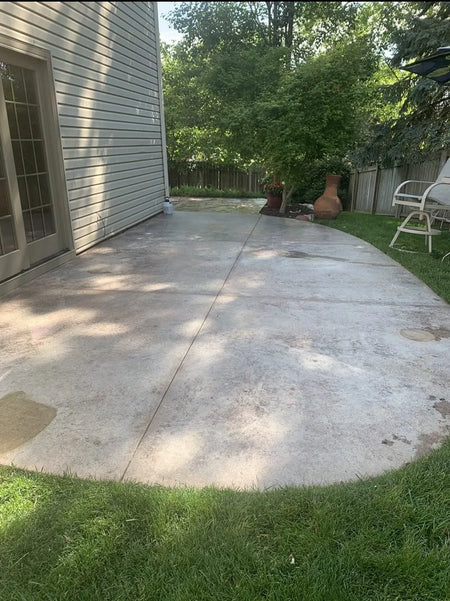
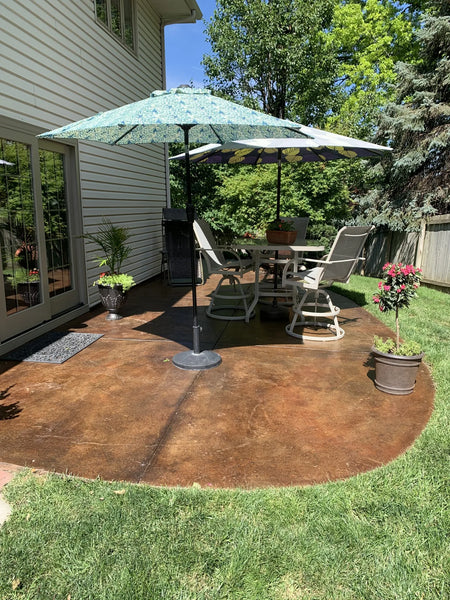
Fixing a pink driveway
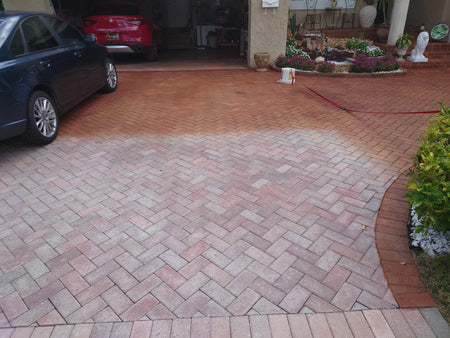
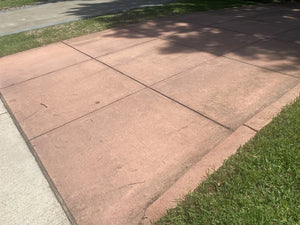
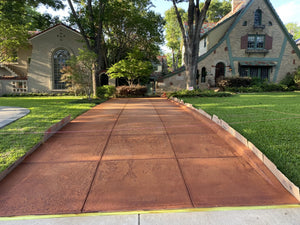
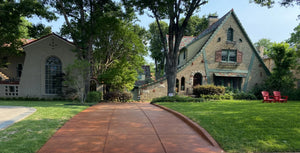
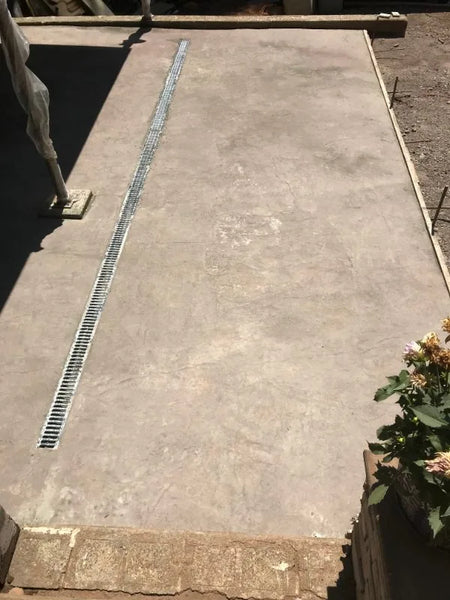
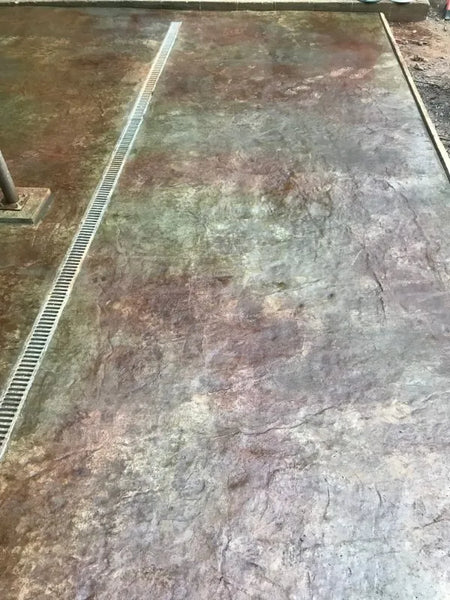
The concrete company's integral color was supposed to match the home's stained wood accents. It came out light peach. Years later, ColorWave® Molasses with Aztec Brown Antiquing™ got it to the rich brown originally wanted.
Before — a pale, pinkish driveway.After — rich Aztec Brown and Molasses tones.
Tip: “After the color, don't use the spiked sandals on your shoes — even walking very carefully, it left marks in the color. Since the color was dry and I was rolling the sealer, I simply wore an old pair of socks.” — DIY Customer
A whole house in White, with Blue in the wet rooms
2,300 sq. ft. of slab-on-grade used as the finished flooring throughout. White applied with a pump sprayer then worked in with a dry mop — deliberately, to get a cloudy look rather than a sprayed-on one. Blue in the laundry and walk-in shower.
Colors
White ColorWave® throughout + Blue in laundry and shower
Applied
Pump sprayer, then dry mop in circles
Finish
EasySeal™ Gloss ×2 + ProWax Polish™ Gloss
Size
2,300 sq. ft.
Time
3 days
Half the room done — the difference the White makes.After — sealed and waxed, with Blue in the laundry.
Working the White in with a dry mop.The first sealer coat over Blue.
“We used the dry mop because we wanted more of a cloudy look than a sprayed-on paint look. When rubbing the color in using the dry mop, use circular motions rather than side to side.” — DIY Customer
A Pre-K classroom, and a stamped patio
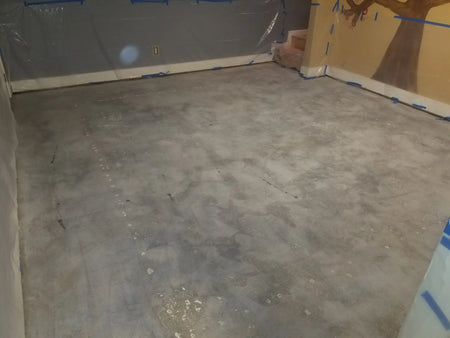
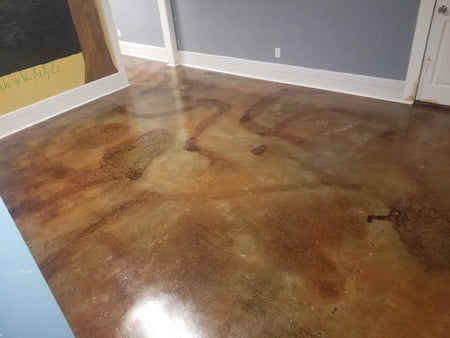
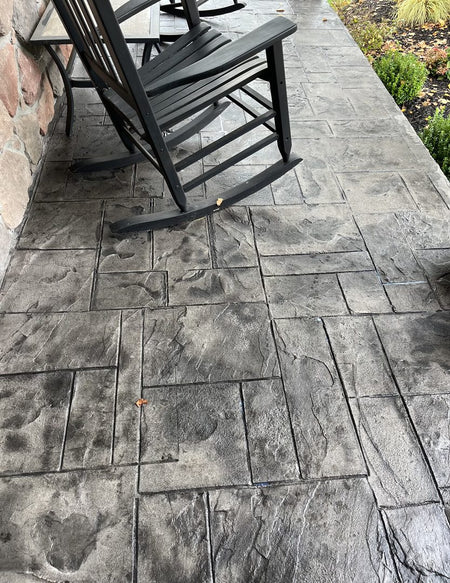
Molasses and Mahogany together, mottled, in two very different settings — a classroom floor and a ten-year-old faded stamped patio. On the patio the owner sprayed both colors then used an old broom to smear them into the stamp grooves.
Before — plain classroom flooring.After — a mottled Molasses and Mahogany finish.
Before — a faded stamped patio.After — restored in Molasses and Mahogany.
From the classroom job: “Never put paint or adhesive on concrete. It's hard to get off.” From the patio: “After I sprayed on the two ColorWave stains I used an old broom to blend and smear them into the concrete stamp grooves.” — DIY Customers
Countertops
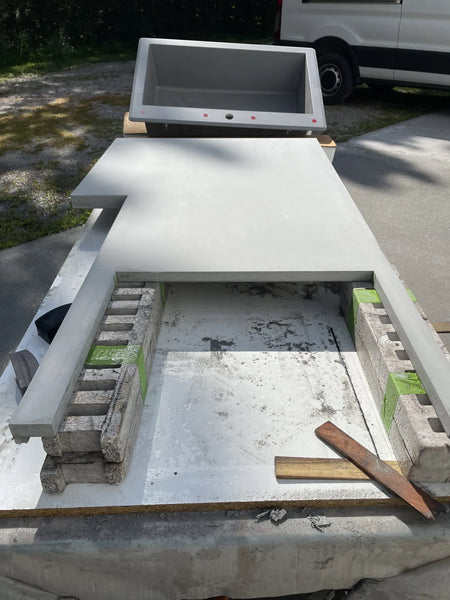
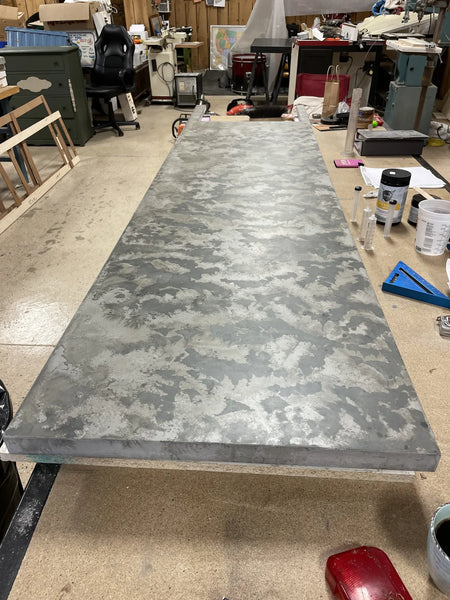
A custom concrete countertop by @cretewooddesigns, built up in layers with water used to blend the colors while still workable. Before sealing, ColorWave® moves easily — which makes countertops far more forgiving than they look.
Before — the bare countertop slab.After — Iron, Steel and White worked in layers.
“Work in layers until you get the look you want. The product runs off easily before being sealed, so it's easily manipulated to the finish you are wanting. Also, using water to help the colors come together well results in a unique look.” — DIY Customer
Gold in a sunroom
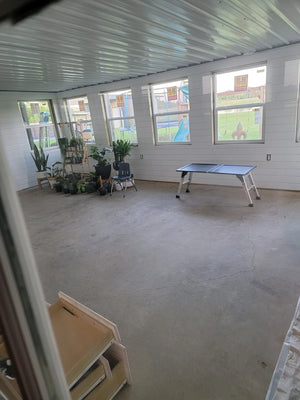
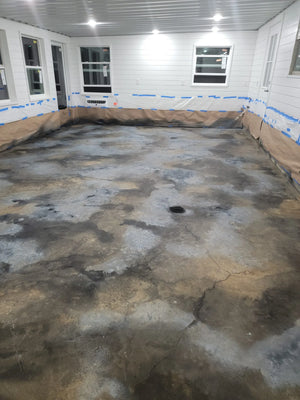
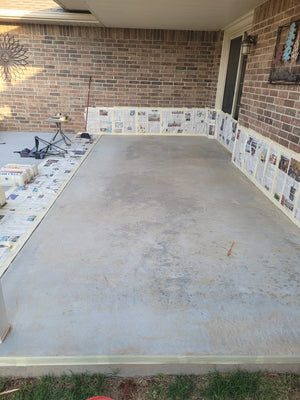
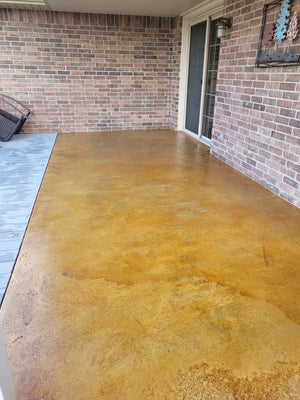
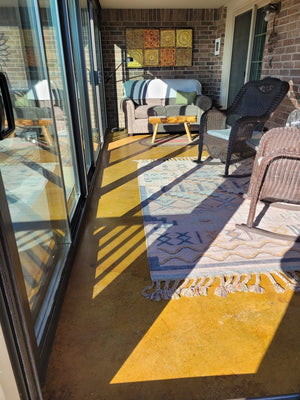
A small 8×20 sunroom patio, 160 sq. ft., finished in ColorWave® Gold with EasySeal™ Satin.
Concrete patio.Stained concrete patio with ColorWave gold water-based stain.Sunroom concrete floor stained with ColorWave water-based gold stain.
Driveways: Rust, and a discontinued orange
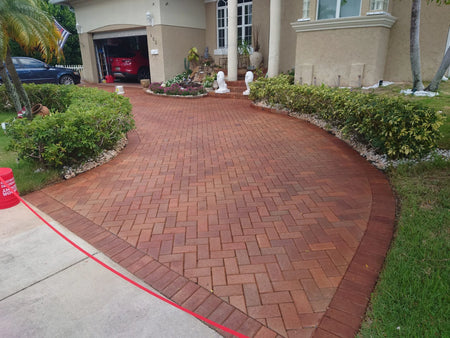
A front porch and driveway in Rust. Alongside it, a scored driveway whose archived photos are labelled with a warm orange ColorWave® shade we no longer stock — the nearest current equivalents in the line are Rust and Persimmon.
A front porch.Driveway going down in Rust ColorWave®.
Discolored concrete driveway.ColorWave Driveway Tangerine During.Breathing new life into a dull scored concrete driveway with the vibrant Tangerine ColorWave water-based stain.
Heated concrete, and a garage
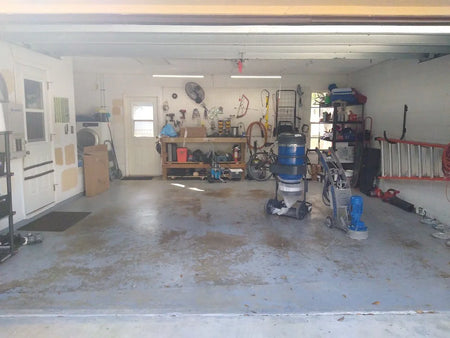
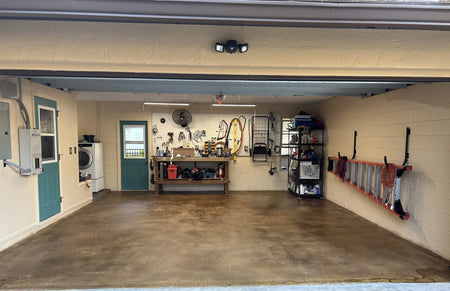
You can stain heated concrete safely — ColorWave® colors the surface without interfering with the heating elements cast into the slab, indoors or out. This heated driveway approach used Almond, Amber and Olive together. Below it, a garage where the previous owner's failing coating had to be ground off first.
Before — a garage with a failing coating.After — Amber ColorWave®, rolled and sealed.
From the garage: “I rented a concrete grinder to remove the coating. This took 2 days and was the hardest part of the project. On day 3 I applied 3 coats of ColorWave Amber — easy, only 15 minutes per coat with a pump sprayer… The real test was 3 days later when I put the cars back in the garage. I was worried the coating would peel up and leave hot tire marks, but it didn't! I saved thousands of dollars from the quotes I received.” Warning: “The directions say the sealer can be applied using a pump sprayer, but it is too thick — I had to go buy a roller and tray.” — DIY Customer
Black
The darkest ColorWave® goes on much like the others — the difference is that it shows every prep shortcut, so clean thoroughly before you start.
Before — a bare interior slab.After — Black ColorWave®.
More ColorWave®, indoors and out
A run of finished surfaces across the range — entryways, countertops, patios and driveways.
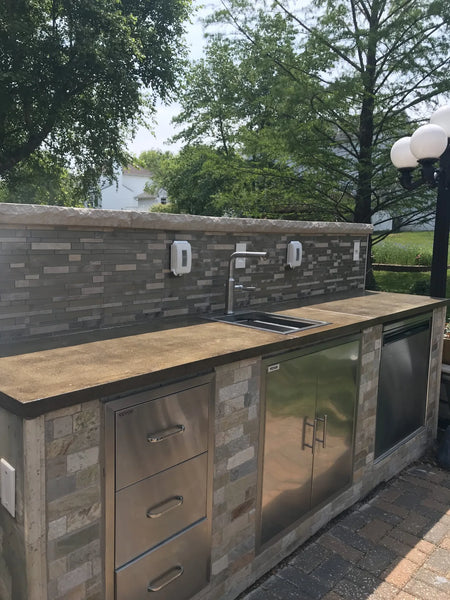
A concrete entryway in Molasses.An outdoor kitchen countertop in the same color.
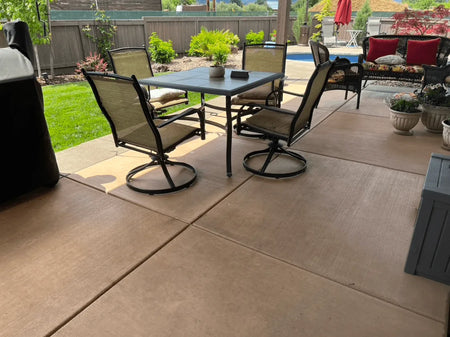
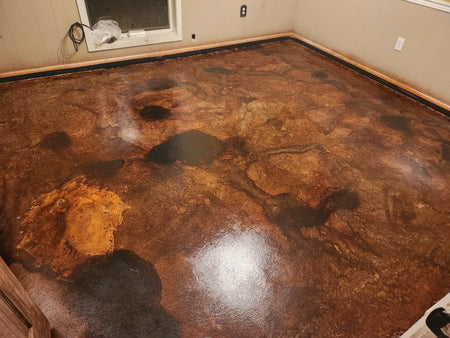
Patio with Molasses-stained concrete and outdoor seating area.A smooth indoor concrete floor stained with ColorWave Mahogany and Molasses, showcasing rich brown tones and a glossy, polished surface.
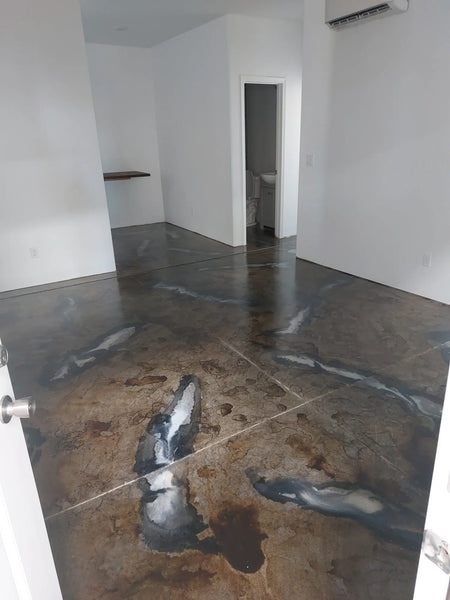
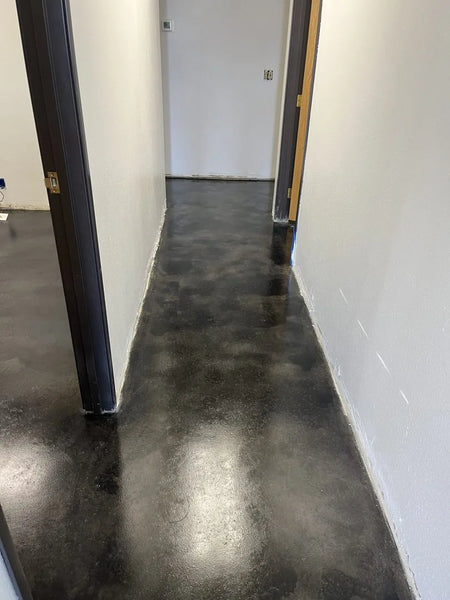
Residential floor stained with ColorWave water-based stain, showing white streaks with stone gray filled in with steel gray, sealed with gloss acquaseal.A smooth, polished concrete hallway floor stained in ColorWave Black and Steel, reflecting a sleek and modern look.
A basement floor in Steel.An outdoor stamped patio in the same color.
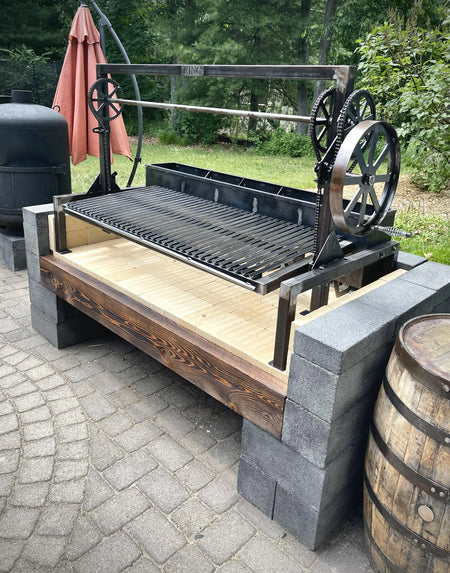
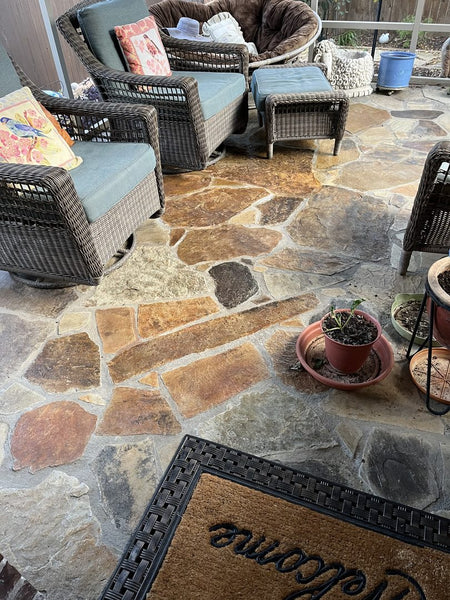
Stained concrete brick grill.A flagstone patio featuring ColorWave stains in Rust, Amber, and Tangerine, with wicker furniture and potted plants enhancing the cozy outdoor space.
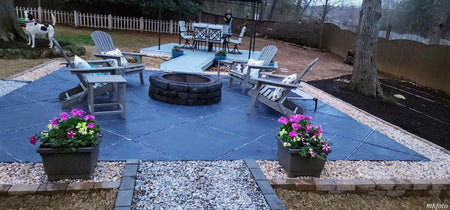
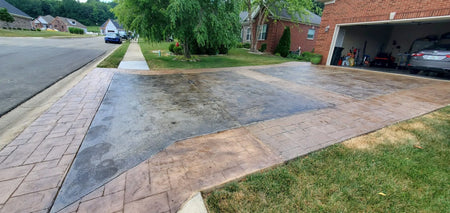
Iron Gray Stamped Patio with Fire Pit.A stamped concrete driveway with contrasting sections stained in Molasses and Steel, highlighting the textured surface with rich, complementary tones.
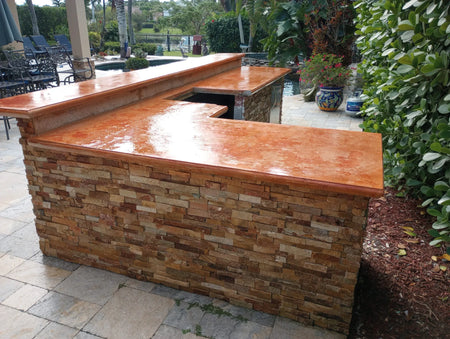
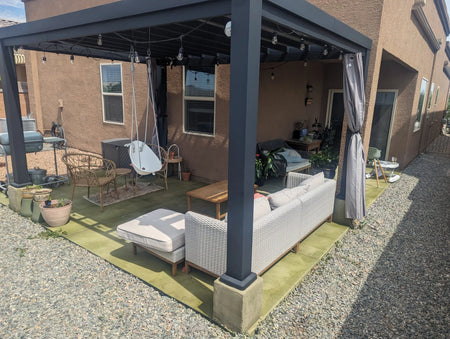
An outdoor countertop in Sunset.A covered patio in Olive.
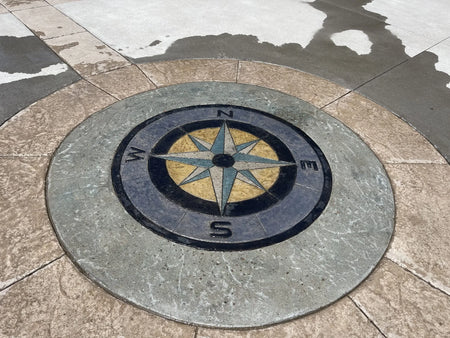
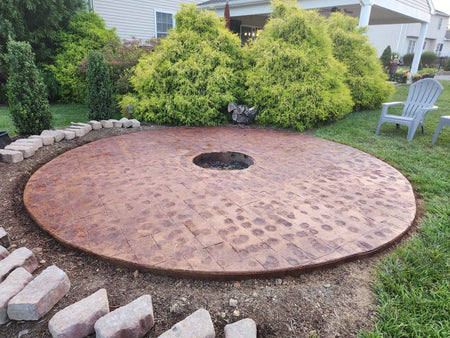
A decorative concrete compass stained in ColorWave Black, Iron Gray, Navy, and Yellow, with intricate detail and a weathered look.Circular concrete fire pit patio stained in ColorWave Rust.
Does ColorWave® use the same color names as your other stains?
No — it has its own 6xx range: Molasses, Steel, Stone, Iron Gray, Silver, White, Amber and the rest. Do not assume a name from EverStain™ or Antiquing™ exists here.
How do I get a marbled look with ColorWave®?
Two techniques appear here. Wet-on-wet layering — the tri-room remodel used Silver, White, Stone and Iron in three layers, and notes that two would have done. And the puddling method, which has its own section. Both rely on not working the color out flat.
How is ColorWave® applied?
By whatever suits the size. The 2,300 sq. ft. whole-house project used a pump sprayer, then a dry mop in circles, finished with EasySeal™ Gloss twice and ProWax Polish™ Gloss — three days for the lot.
You are eligible for free shipping.Spend $0.00 more to reach free shipping!
Product Comparison
Description
Price
Vendor
Type
Product variants
Choosing a selection results in a full page refresh.
Opens in a new window.
Before You Checkout
EasyTint™ and OxiGrip™ are not compatible when used together directly. For slip resistance, use EasyTint™ as the color layer and apply OxiGrip™ only with a clear solvent based sealer as the topcoat.
Before You Checkout
AcquaTint™ and OxiGrip™ are not compatible when used together directly. If you need added slip resistance, apply AcquaTint™ as your color layer first, then use OxiGrip™ in a clear topcoat with AcquaSeal™ or HydroCryl™.