
DecoGel™ is an acid stain that will not run. Same chemistry as liquid acid stain — metal salts in acid, reacting with the lime in the concrete to make permanent color — but bodied into a gel so it stays where you put it on a vertical surface. That is what makes retaining walls, columns, statuary, cultured rock and fine design work possible at all. On a project with both vertical and horizontal surfaces, use DecoGel™ on the walls and liquid EverStain™ on the floors.
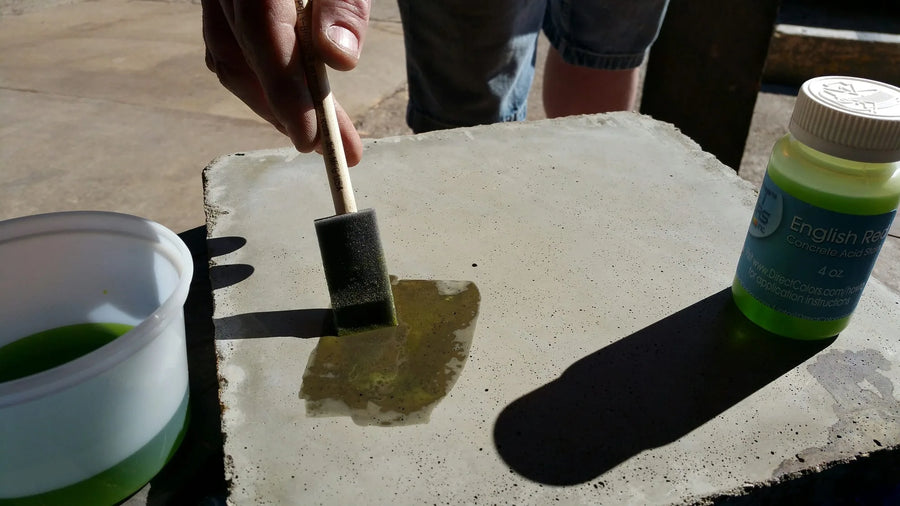
DecoGel™ being worked onto a sample — gel consistency, brushed rather than sprayed.
Step 1: surface preparation, and the two things that kill the reaction
Preparation matters more here than in almost any other application, because gel is opaque enough that people assume it will cover problems. It will not — it is a penetrating color, not an overcoat, and it permanently changes the concrete rather than sitting on it.
The concrete has to be free of debris, dirt, oils, sealers and waterproofing agents. Two specific histories will stop DecoGel™ dead:
- A waterproofing agent — the gel cannot get into pores that have been sealed against water.
- Cleaning with muriatic acid — it strips the lime the reaction depends on. Same warning we give for every acid stain, and the reason our prep guide tells you to use an organic degreaser like ProClean Degreaser™ instead.
If you do not know the history of the surface, make a test patch. That is the whole answer to an unknown wall.
Older or exposed concrete
The surface has to be completely intact with no exposed aggregate. DecoGel™ colors the cement portion of concrete only — not aggregate, not rocks, not sand particles. On a wall where the paste has worn back to expose stone, the stone will stay the color it already is.
Anything still stuck to the wall will show
Tile or carpet adhesive, paint, drywall mud and similar residues will not accept stain, and every patch of them becomes a color imperfection in the finished wall. Use an adhesive remover for mastics, and a gel paint and sealer stripper for epoxy, sealers, varnish or paint — or Destiny™ Stripper, which lifts acrylic, urethane and epoxy coatings including multi-layer buildup. Then clean the surface thoroughly with concrete cleaner and water, especially after using any stripping agent, rinse with clear water and let it dry.
Step 2: applying the gel
Material settles in transit, so stir it well before use. Thin with water only as needed — up to 1 oz. of water per quart of DecoGel™ — which gives you noticeably easier control with a brush. Gloves and a mask, both, the whole time.
Tool choice is the design decision
How you put it on decides how it looks, and that varies with the size, the design and the effect you want. Foam brushes are the default. Artist’s paint brushes handle fine work and get into hard-to-reach crevices, which is what you need on statuary. Foam rollers cover area quickly. For a more variegated effect, use a plastic drywall trowel. Avoid nap rollers — they hold and release far too much gel and you end up with a thick, uneven coat.
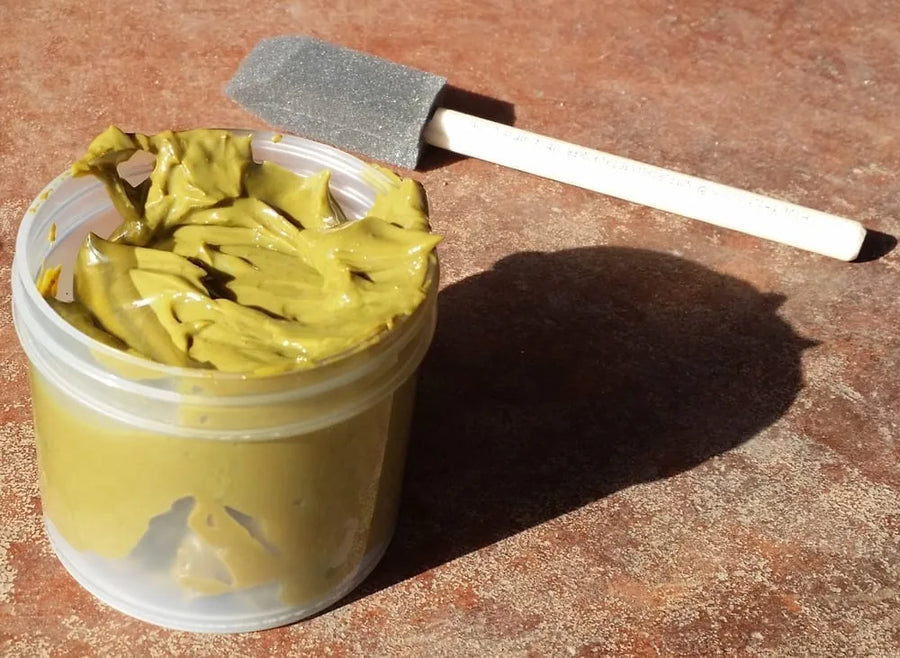
Gel brushed onto a small detailed piece — the consistency is what lets it hold an edge.
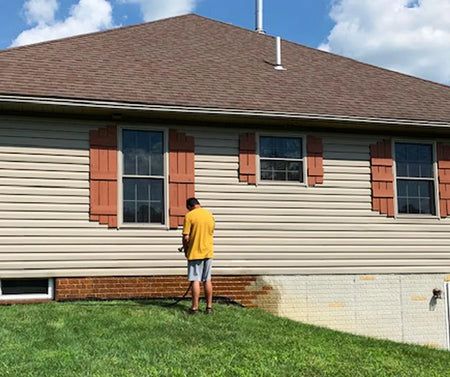
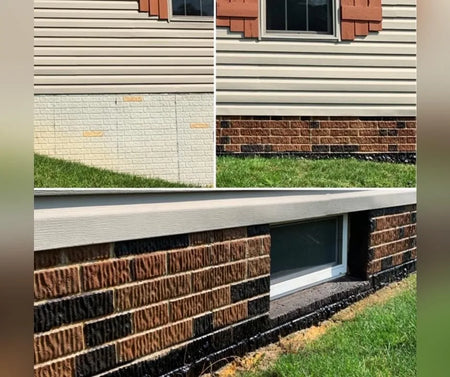
DecoGel™ going onto a stamped wall in Cola and Coffee Brown, and the finished result.
One coat, then leave it alone
You should see a light fizzing reaction as the gel meets the concrete — that is the acid working. Apply one thick, saturating coat and let it process for the full activation time. Stains can sit longer than the activation time if you want a darker result, but never less. Times vary by color, generally two to eight hours — check your color in our acid stain activation times table before you begin.
As the gel dries and processes, an alkali and mineral residue forms on the surface. That is completely normal and part of the reaction. If the gel flakes off as it dries, reapply to the exposed areas and let those process too.
Step 3: neutralizing and removing the residue
Once the residue has dried and the stain has had at least its minimum reaction time, neutralize it and get all the residue and excess stain off.
- Make a base solution: 2 tablespoons of baking soda per gallon of water. Slosh it onto the surface and work it with a mop, brush or hose, whichever suits the project. A shop vacuum handles the residue. ProClean Neutralizer™ does the same job pre-mixed, with less cleanup.
- Repeat with clean water. After this, everything but a light residue should be gone.
- For stubborn residue or porous surfaces, use a floor soap or organic degreaser with a brush.
- Let it dry completely, and then it is ready to seal.
Step 4: sealing
An acid-stained project has to be sealed. Both solvent-based and water-based sealers work, and the choice is about where the project is. Use a water-based sealer like AcquaSeal™ for occupied interiors and basements. For a wall, statuary or similar, the solvent-based satin acrylic is by far the easiest because it can be sprayed on. Take the solvent warnings seriously indoors: wear a mask, ventilate to the outside, and put out every open flame in the area.
Thin coats are stronger coats
This is counterintuitive and it matters: the thinner the application, the stronger and more durable the sealer becomes. A thick coat gives you an inconsistent finish with tacky areas that may never cure properly.
Cold temperature warning
Water-based sealers and all of our floor waxes need a surface warmer than 60°F, with an air-to-surface temperature difference of 5 degrees or less. Turn central heating, radiant and convection heaters off during application. In-floor heating goes to 60–65°F beforehand and off during the process.
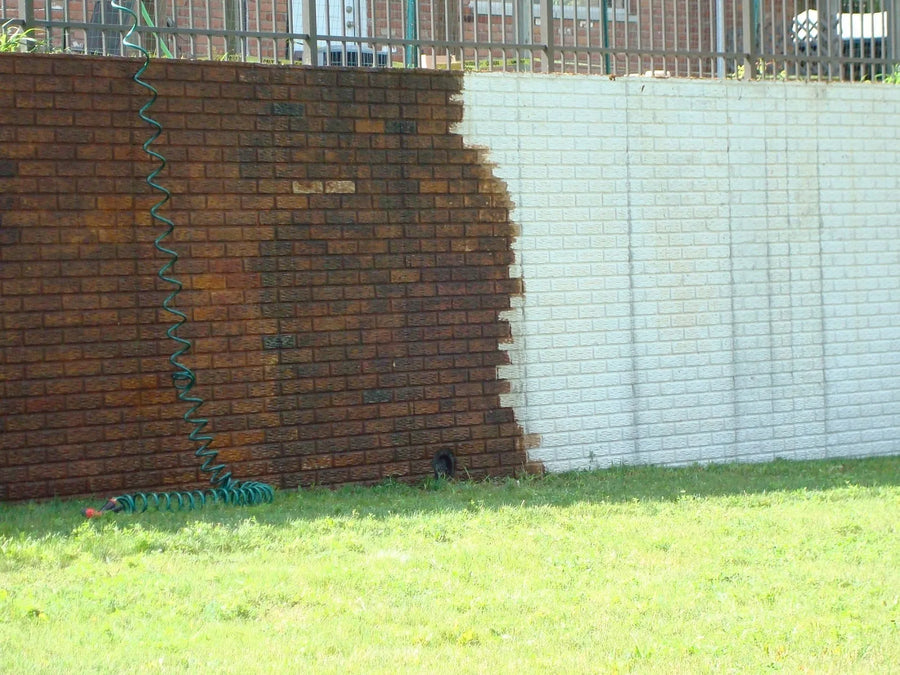
A retaining wall stained with DecoGel™ and sealed.
DecoGel™: FAQs
What is DecoGel™ for?
Vertical surfaces, garden decor, statuary, cultured rock and detail work — anywhere a liquid acid stain would simply run off. It is a penetrating color, not an overcoat: it permanently changes the concrete rather than sitting on it.
Which tools should I use, and which should I avoid?
Foam brushes are the default, artist’s brushes handle fine work and crevices on statuary, and foam rollers cover larger areas. Never use nap rollers — they lay the gel on far too thick. How you apply it is the design decision.
How long does DecoGel™ need to process?
Generally 2 to 8 hours per color. Longer is fine; shorter is not. Apply one thick, saturating coat and leave it alone — you should see a light fizzing as the acid meets the concrete, which is the reaction working.
How do I neutralize it?
Make a base solution of 2 tablespoons of baking soda per gallon of water, slosh it onto the surface, then rinse and get all the residue and excess stain off.
Will DecoGel™ cover exposed aggregate or old adhesive?
No, and this is the most common disappointment. DecoGel™ colors the cement portion of concrete only — not aggregate, rocks or sand, which will stay whatever color they already are. Tile or carpet adhesive, paint and drywall mud will not accept stain either, so every patch of residue becomes a color imperfection. Remove them first.
What’s Next
- The full vertical-surface project → Acid Staining Retaining Walls with DecoGel™
- Activation times by color → Acid Stain Activation Times
- Gel on detail work → Stenciled Concrete Designs · DIY Concrete Craft Projects
- Walls and brick → Concrete Wall Color Ideas
- Shop → DecoGel™ · DecoGel™ Trial System · Foam Brushes · Surface Prep


