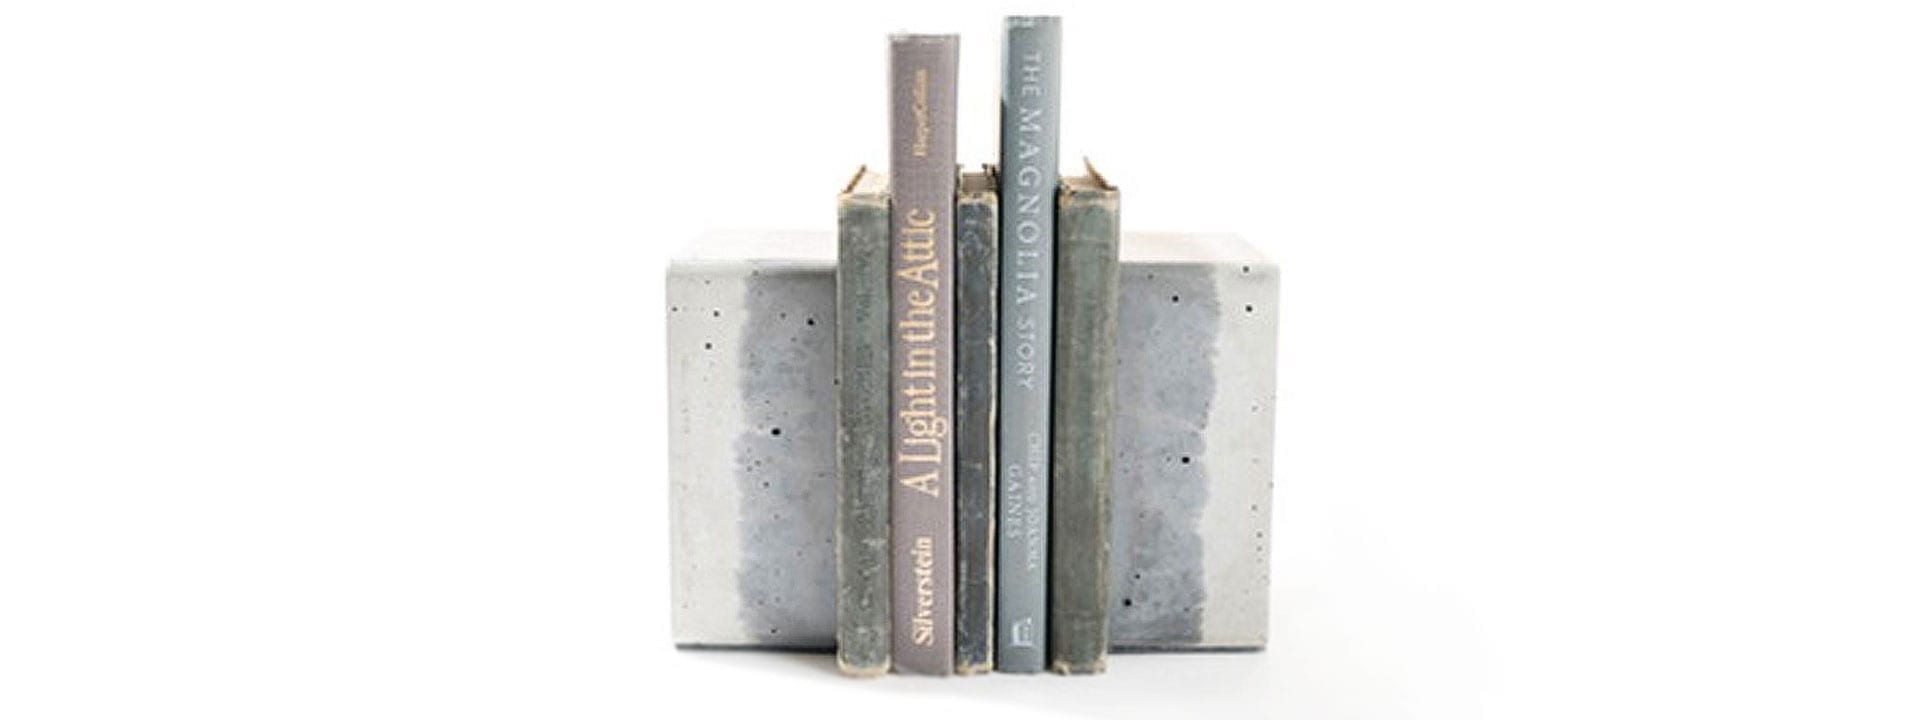
Handcrafted Concrete Bookends: A DIY Guide
Crafting with concrete is easier than you might think and offers endless possibilities for shapes, styles, and colors. These DIY Concrete Bookends are a prime example of how versatile this material can be! Our heartfelt thanks go out to Jessica Lugo, a customer at Direct Colors, who shared her creation with us.
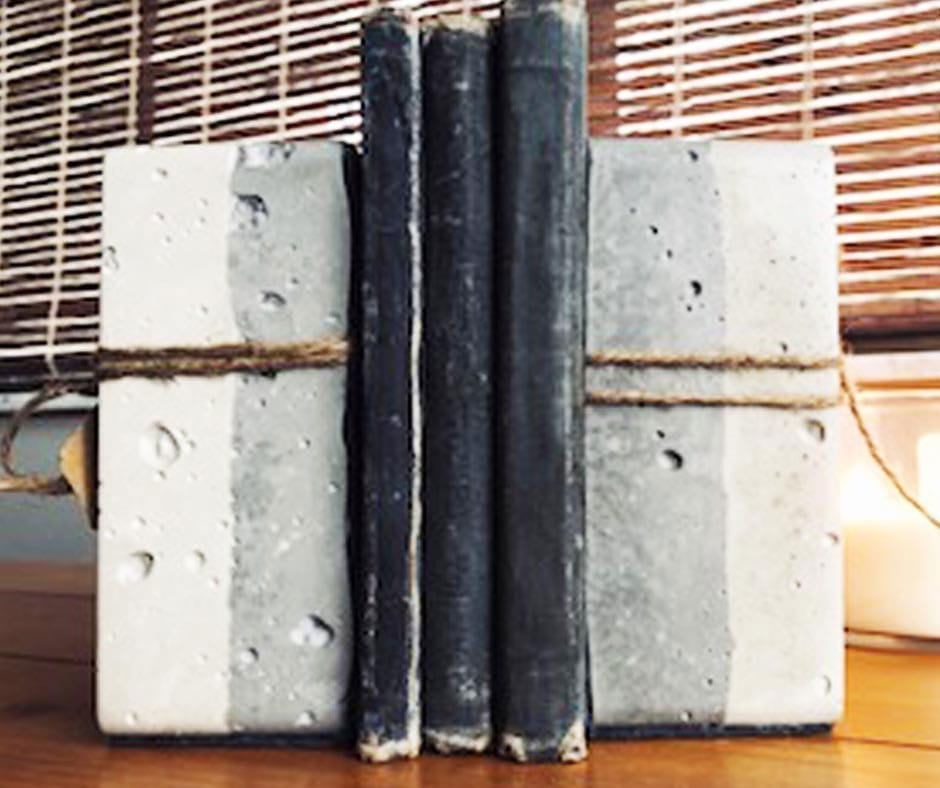
These bookends, colored with Direct Colors’ Concrete Pigment, are not only functional but also a stylish addition to your decor. They’re an affordable project and a great touch to your home library or decorative countertop display.
Ready to get your hands dirty? Let’s start crafting!
Materials You’ll Need:
- DIY Concrete Mix
- Direct Colors Concrete pigment
- A mold (DIY or purchased)
- Sandpaper or sanding block
- Tape & ruler
Step One: Molding Your Imagination
Begin by crafting a mold. Whether you purchase one or decide to use recycled cardboard to design your own shape, the sky’s the limit. If you foresee a lot of bookend-making in your future, consider investing in reusable molds. For a classic rectangular shape, consider dimensions around 4.25” (length), 2.5” (width), and 5.75” (height).
Step Two: The Art of Concrete Mixing
Once your mold is ready, it’s time to mix your concrete. Look for a quick-dry, smooth concrete for best results. Follow the instructions that come with your concrete mix, ensuring the right water to concrete ratio for a smooth set.
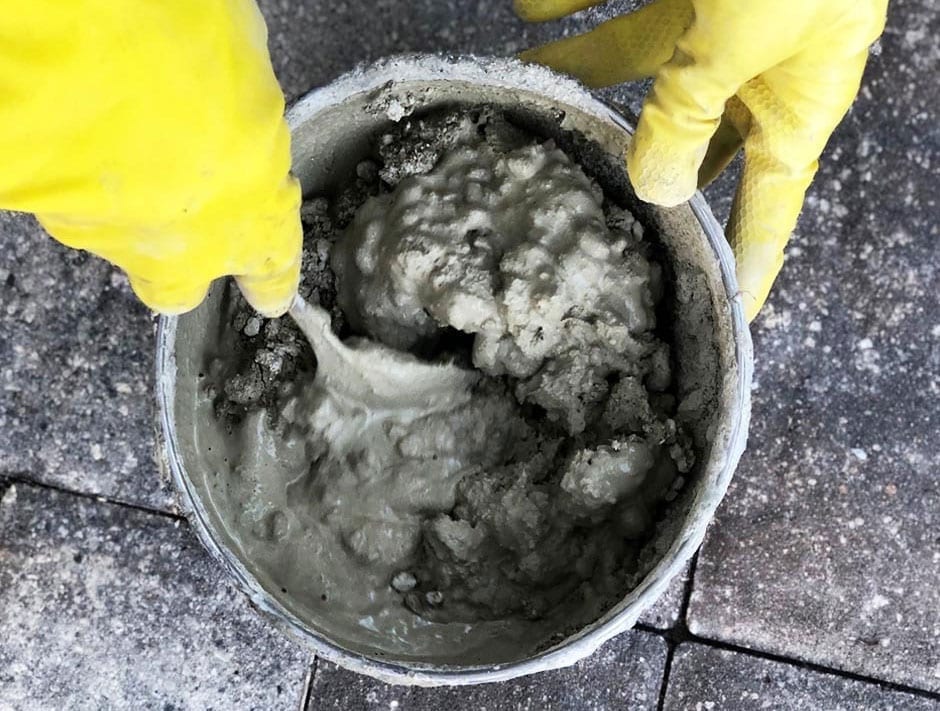
Step Three: Pigmenting Your Concrete
Here’s where the magic happens! Add Direct Colors’ concrete pigment to your mix. Incorporate it at least 20 minutes before pouring and blend for around 3-5 minutes. Want a burst of color or a sleek single hue? Direct Colors offers a variety of shades, enabling you to craft the perfect bookends for your decor style.
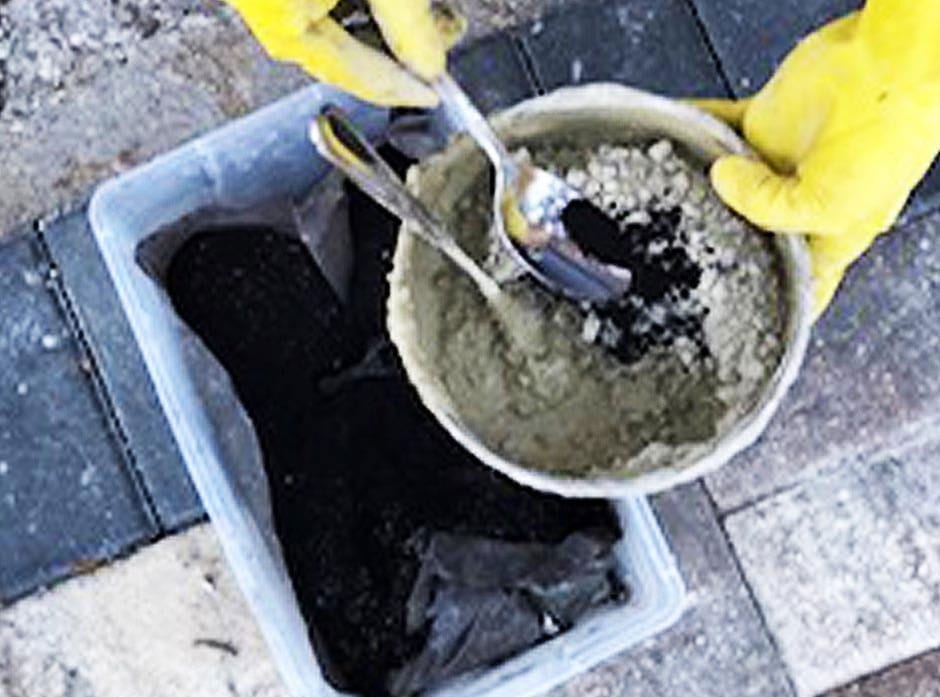
Step Four: Pouring Creativity into Molds
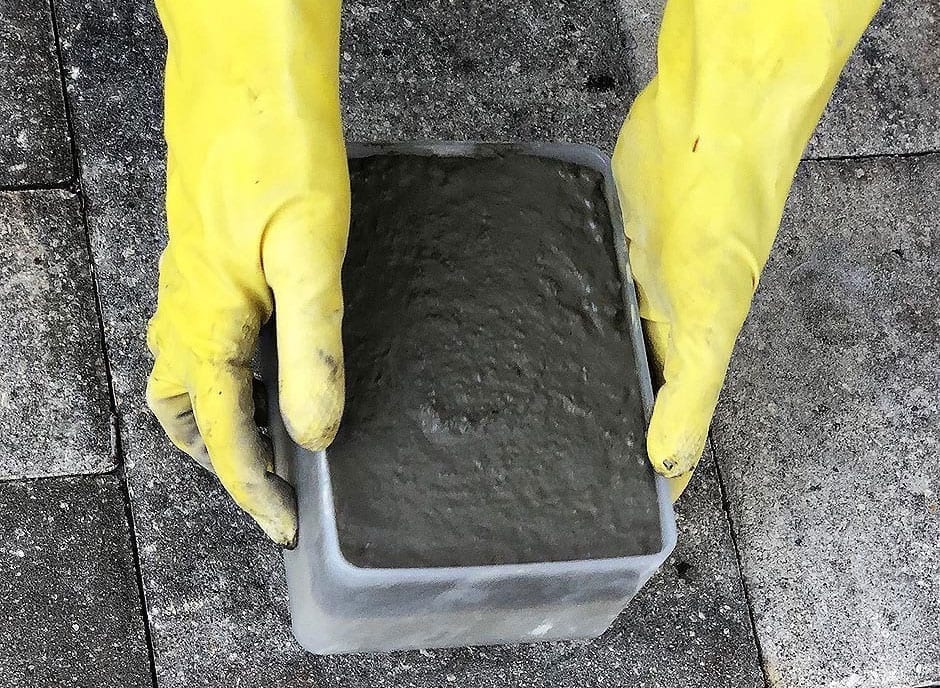
Now it’s time to fill the molds. Make sure to tap or scrape out all the concrete from your mixing bowl to ensure an even fill. If you’re layering colors, tap out the mix before each layer. Leaving a few air bubbles can add a rustic touch.
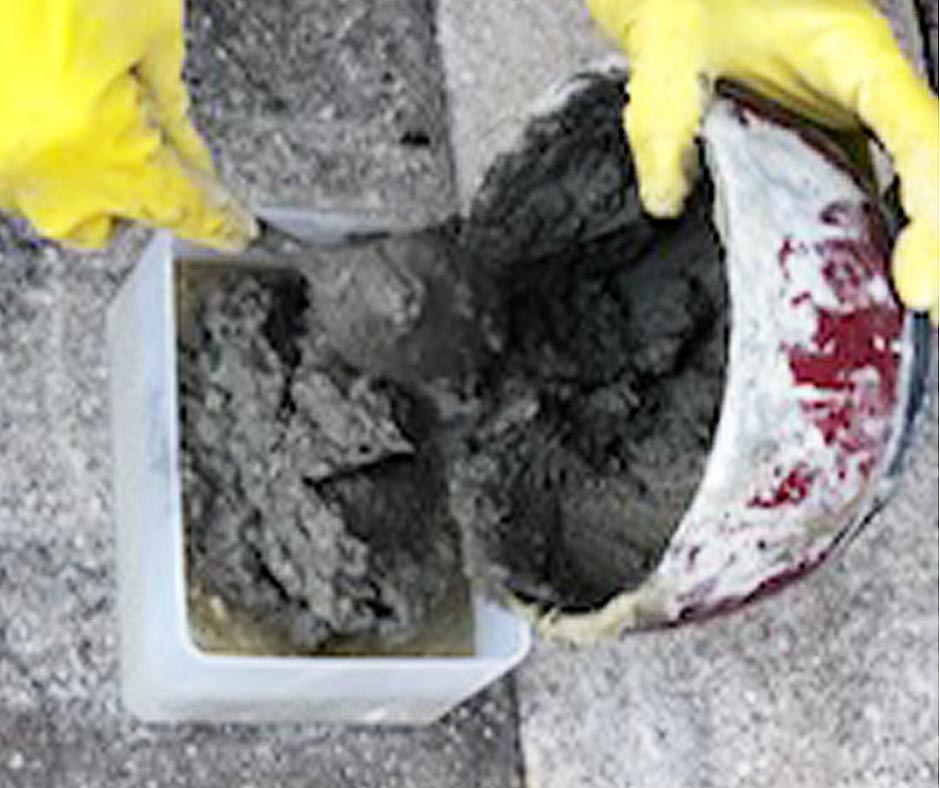
Step Five: Patience Pays Off
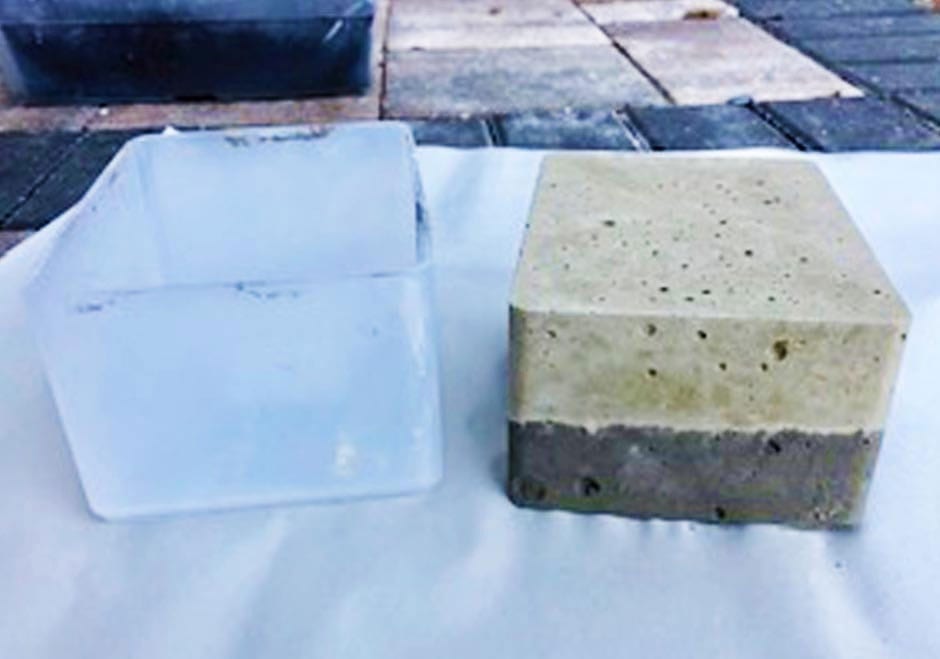
Let your creation set and cure. Once it’s set into shape but not fully settled, you can remove the bookend from the mold. Cardboard molds can be easily peeled away.
Step Six: Smooth Out the Edges
After your bookend is dry, sand down any rough edges using coarse sandpaper or a sanding block.
The Masterpiece
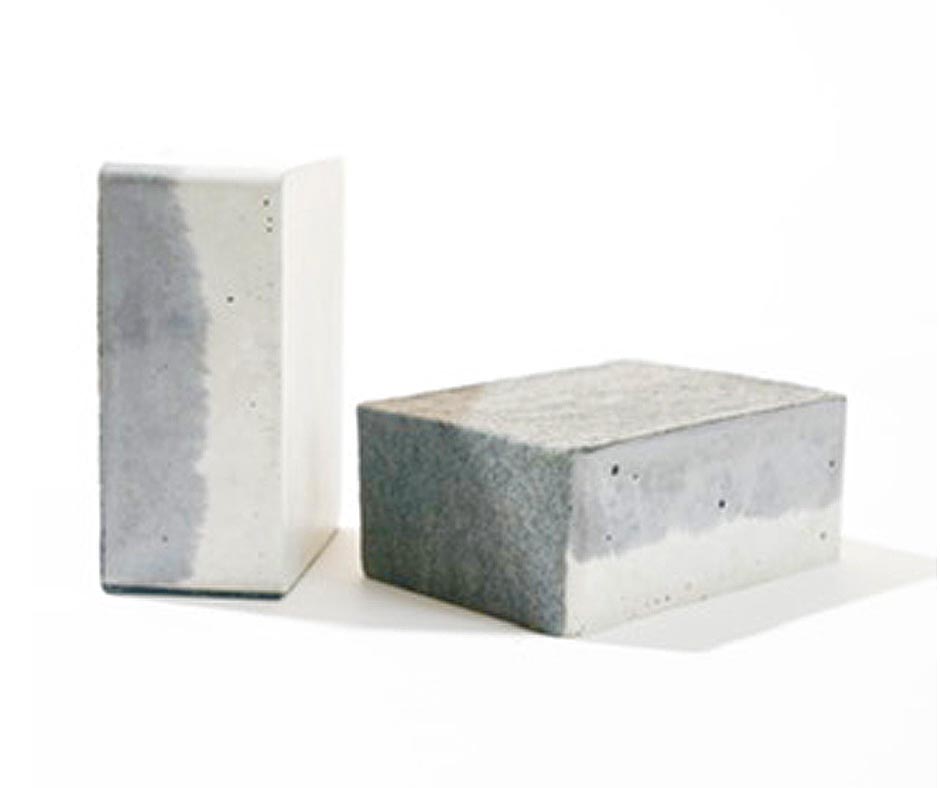
Behold! Your handcrafted, colorful bookend is ready to enliven your bookshelf or enhance your home decor. To take it a step further, consider painting your bookend or leaving it as it is if you’ve used the Direct Colors Concrete Pigment.
Bonus: Inspiring Bookend Styling Ideas
From geometric shapes to layered colors, the styling options are endless. Try stacking smaller bookends or create ones shaped as letters or words. Mix and match different shapes and colors to create a set of bookends that reflect your unique style.
Explore more DIY Guides and concrete coloring resources in our resource center. Enjoy your crafting journey!


