


Podcast: Play in new window | Download
Podcast: Applying Metallic Epoxy Countertop Sealer
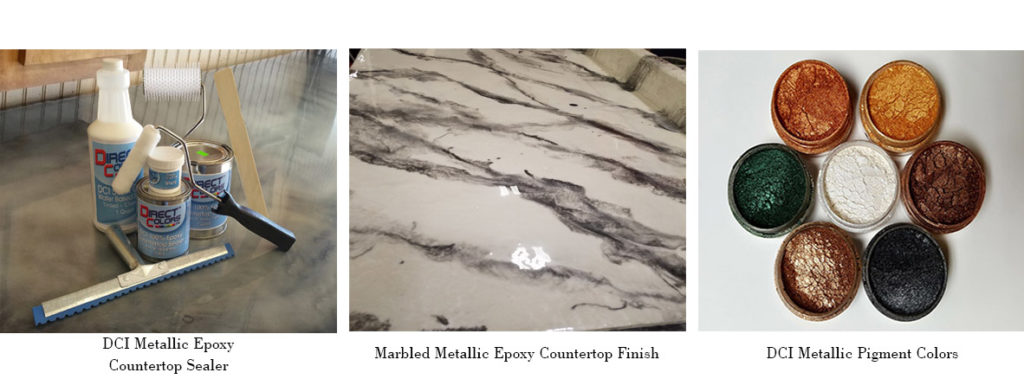
You’re listening to Direct Colors podcast Episode 7: Applying Metallic Epoxy Countertop Sealer. Metallic epoxy finishes are new to Direct Colors. There are so many color and technique possibilities with metallics we wanted to discuss the technical details of the product to help our customers better understand how to use metallic epoxy for their own countertops. Here’s Direct Colors Design Technician, Justin Richardson, to talk about applying Metallic Epoxy Countertop Sealer for indoor countertop projects.
TRANSCRIPT
Shawna Turner: You are listening to DIRECTCOLORS.COM/LISTEN podcast: Episode 7 Applying Metallic Epoxy Countertop Sealer. I’m Shawna Turner and today we’re talking with Justin Richardson about applying metallic epoxy countertop sealer. Let’s get started. If this is your first time listening, then thanks for coming.
Shawna Turner: Are there any differences in surface preparation between an epoxy and a metallic epoxy?
Justin Richardson: There really is no difference for surface prep. The bonding properties of epoxy are the same whether you use clear epoxy or with metallic pigments added to it. Prep your surface to 200 grit level, add your color base coat whether it is tinted sealer, acid stain etc…Once that process is complete you’re ready for the metallic epoxy.
ST: How do you mix the metallics into the epoxy? How much do you use?
JR: Direct Colors 100% Epoxy Countertop Sealer is a two component sealer, the resin is part A and the hardener is part B. First you will add the metallic to the resin and stir in with a paint stir stick. Once it’s mixed let it stand for 5 minutes or so. Then stir once again prior to adding the part B hardener.
Our metallic color packs are figured for an average load based on our epoxy mini kits. Because the metallic are the artistic part of this application, you can put in more or less than one color pack if you want to amp up or calm down the metallic results. If you want a real heavy metallic effect you can buy a second color pack to add to one epoxy mini kit. It is important to know metallic designs are very artistic in nature and are not an exact science.
ST: Do you use different tools for application? How do you create that “metallic look”?
JR: There are some tools that make your application process go smoothly:
- A 10 mil notched squeegee will help distribute a good even coat of metallic epoxy.
- A mini roller to use for a finish roll after the epoxy is spread over surface with the notched squeegee.
- A 4” spiked roller is a great tool to pop any bubbles that may sometimes appear in the sealer during and shortly after application.
ST: Any application tips you would offer our DIY listeners about their own countertop projects?
JR: There are a few things to be careful of. Most epoxies are not UV stable and will tend to discolor over time with regular exposure to direct sunlight. Be sure you are planning on indoor projects with this product. Make sure your surface is level. An un-level surface will cause the epoxy to drift toward to low side ultimately leaving an uneven coat.
Always be mindful of the time you’re taking to get the material down. All two component sealers, including 100% epoxy, have a limited amount of time before the sealer begins to set. Avoid the temptation to continue touching up or altering the sealer once it’s been down for 15 minutes or so (see epoxy manufacturers recommended work time).
There are some tricks you can do to make the metallic move for unique effects such as very lightly misting denatured alcohol on the surface. If you are thinking of doing something like this you may want to consider creating test pieces before applying to your countertop.
Like many artistic applications, there is a measure of unpredictability so relax and have fun with it.
ST: What is it you like best about the metallic epoxy?
JR: My favorite thing about metallic epoxy, aside from the unique decorative shimmer it provides, would be the versatility. This product lends itself beautifully to nearly all decorative themes from rustic to modern.
