
Genuinely polished concrete means grinding a slab through progressively finer diamond grits until it shines — days of machine time, and a result entirely dependent on what your particular slab looks like underneath. A faux polished floor gets you the same sleek, mottled gray look with concrete dye, in two days, for a fraction of the cost, and it gives you control over the color instead of accepting whatever the aggregate gives you.
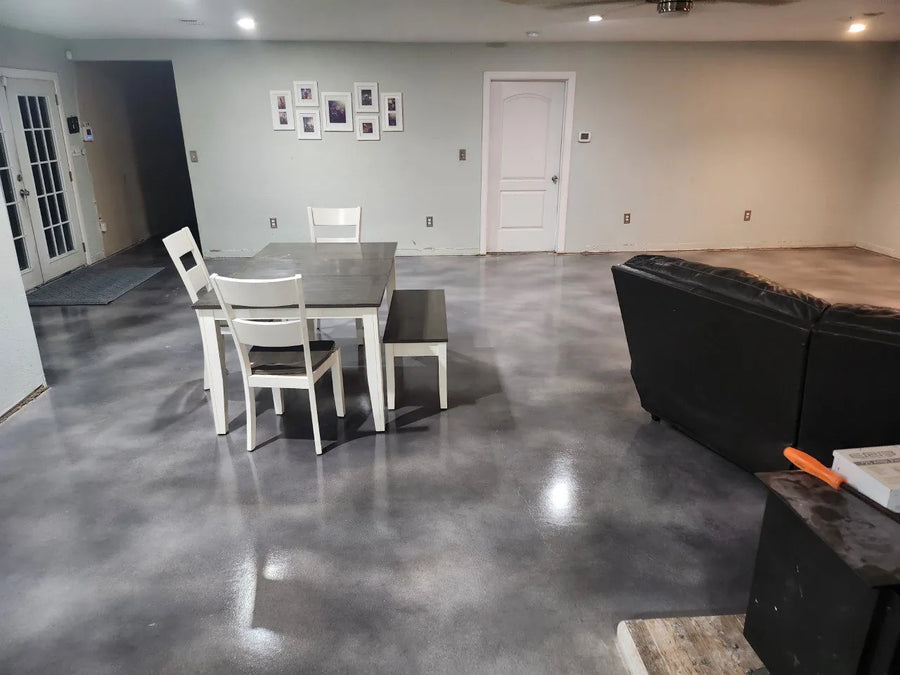
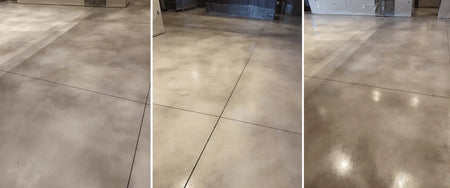
A faux polished floor in Stormy Gray, Charcoal and White Vibrance™ Dye.
The four colors that do the work
Customers converge on the same four Vibrance™ colors for this look, and the whole craft is in how you proportion and sequence them. Different combinations and different spraying orders give genuinely different floors from the same four bottles.

Prep, and why shortcuts show
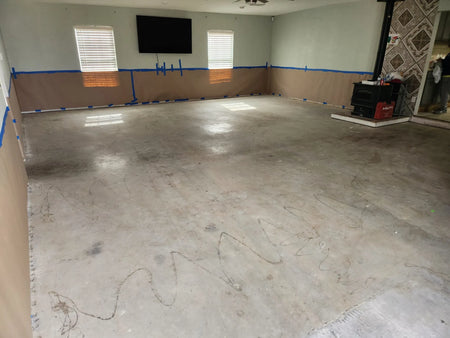
Surface preparation is critical here more than almost anywhere else, because dye is thin and even and hides nothing. Grinding and cleaning properly is what lets the dye adhere evenly and produce the polished effect; any shortcut turns into uneven coloring and a less durable finish. Grinding also opens the surface, which is exactly what you want a dye to soak into. Our surface preparation guide covers the full sequence.
Light to dark, or dark to light?
Both work, and they produce different floors.
Light to dark — the uniform route
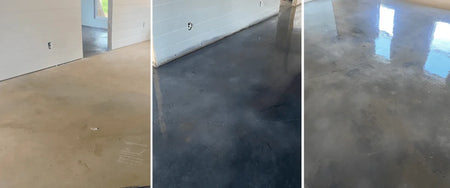
Start with the lighter shades and gradually add darker tones. This gives you a controlled buildup of color and shading and a subtle gradient, which lands closest to the even, mottled appearance of genuinely polished concrete.
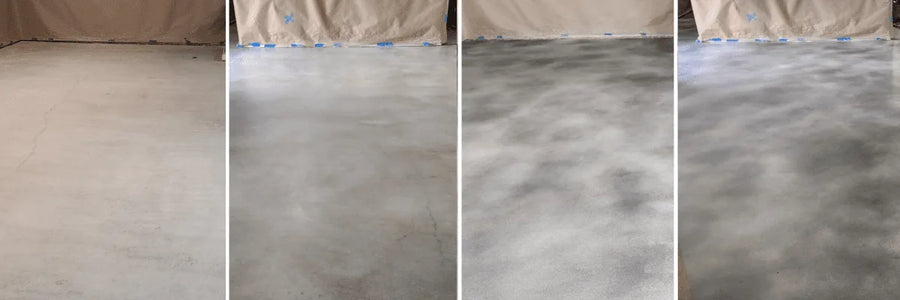
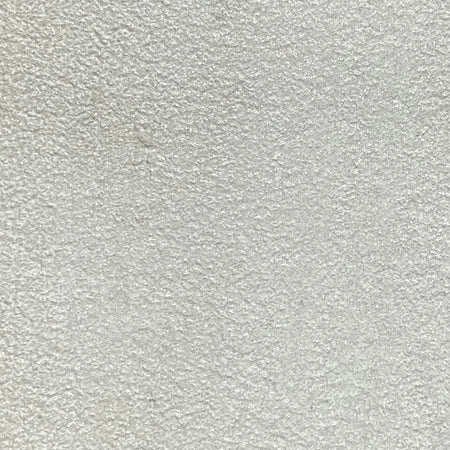
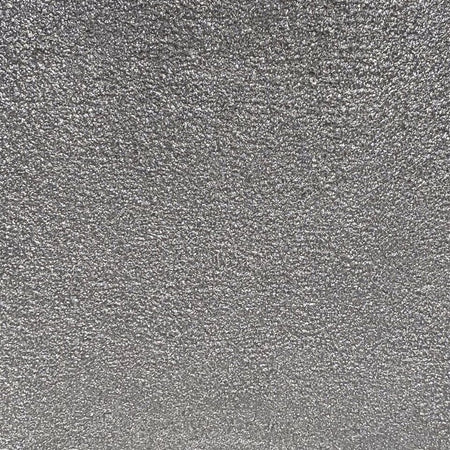
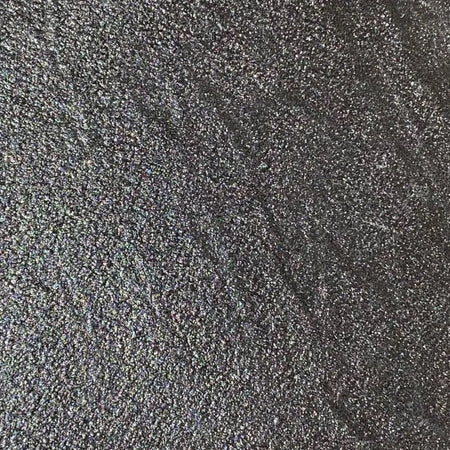
Light to dark in four stages — bare slab, White, Stormy Gray shading, then Charcoal to deepen it.
Dark to light — the dramatic route
Begin with the darker hues like Charcoal and layer lighter shades on top. This produces a more dramatic and varied finish with striking contrast and depth, and it is particularly effective with Light Slate and White going over the top.
The step-by-step, in seven moves
- Mix each color separately. One 1-gallon packet of White Vibrance™ powder to one gallon of acetone in an acetone sprayer. Repeat separately for Stormy Gray and Charcoal. Let each mixture stand for one hour so it is fully blended.
- Apply the White, spraying in a circular motion. Agitate the mix in the sprayer regularly to keep the color distributing evenly.
- Add depth with Stormy Gray, concentrating on shading and a lighter mottled effect to imitate a polished dark gray floor.
- Finish with Charcoal to deepen the color and pull the polished look together.
- Clean the sprayers out with acetone so they do not clog and are ready to reuse.
- Seal with AcquaSeal™ or EasySeal™, applied evenly, and let it dry thoroughly — 24 to 48 hours.
- Protect with two thin coats of ProWax Polish™, which takes the foot traffic and adds the subtle sheen that finishes the polished look.
Two floors, and what they actually bought
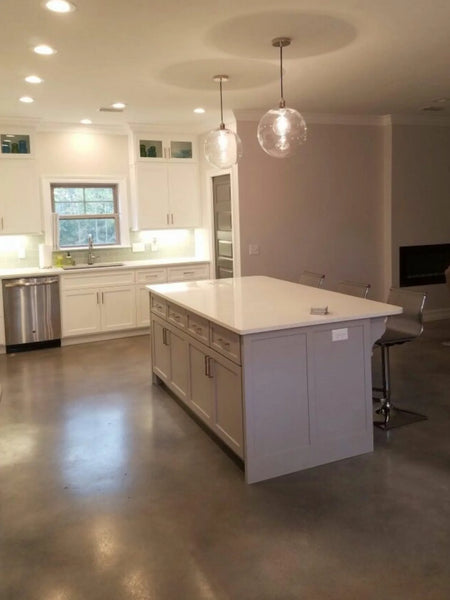
800 sq. ft., three colors
Two gallons each of White, Stormy Gray and Charcoal, layered for a rich, dynamic finish. Useful as a benchmark: at roughly 133 sq. ft. per gallon across three layered colors, that is a realistic order for a floor this size.
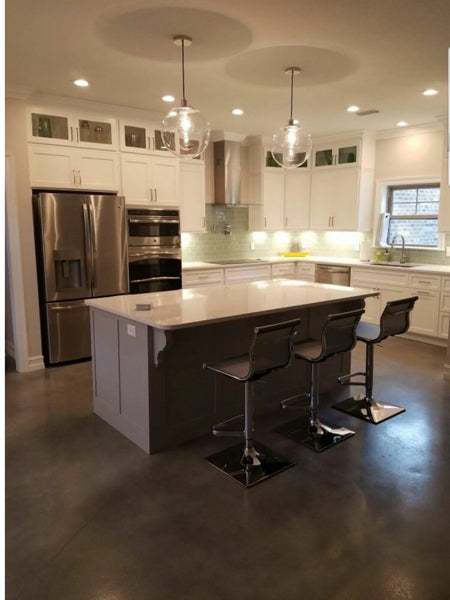
2,800 sq. ft., weighted heavily to one color
15 gallons of Light Slate, 5 gallons of Charcoal and 1 gallon of White — a very different ratio, and instructive. The dominant color carries the floor, the second shades it, and a single gallon of White does all the highlighting across 2,800 sq. ft. You do not need equal amounts of anything.
A garage floor, ground first
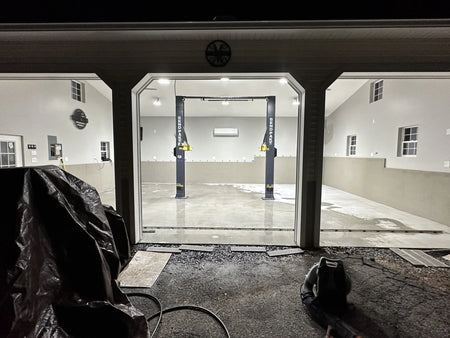
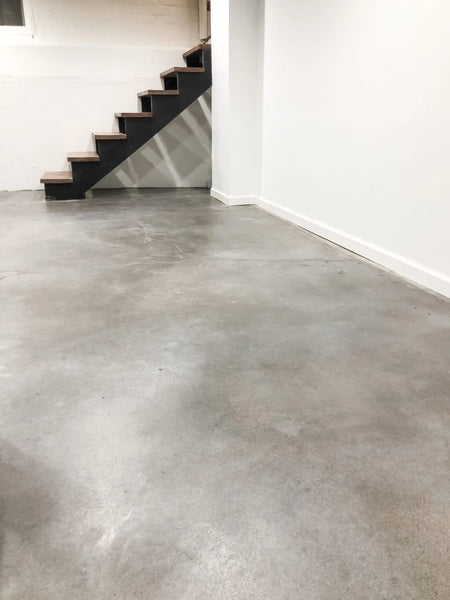
Equal amounts of Charcoal, Stormy Gray and White over a properly ground slab, finished with a polyaspartic clear coat for durability rather than an acrylic sealer — a sensible choice in a garage, where hot tires and solvents are in play. We do not currently sell a polyaspartic, so that coat came from elsewhere. More garage work in garage floor staining.
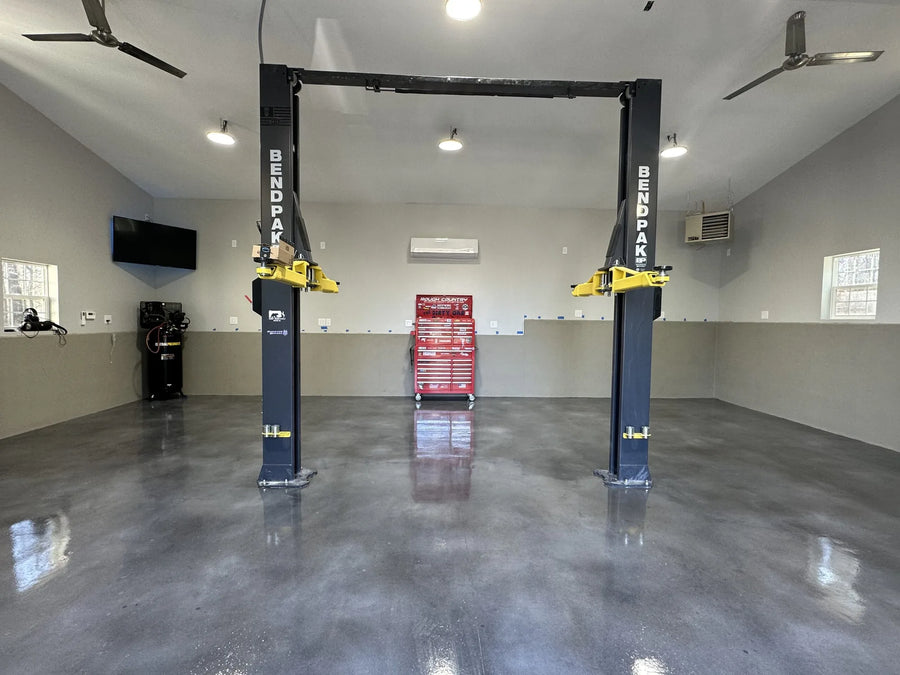
The finished garage floor — Charcoal, Stormy Gray and White under a clear coat.
Getting the best out of the sprayer
- Use a quality acetone-approved sprayer. A standard deck or fence sprayer cannot spray acetone.
- Thin coats. Three or more is enough for most floors; add more for a deeper color.
- Do not let the dye pool. If it does, wipe the excess away with a disposable rag straight away.
- Let it dry completely before sealing.
- Before sealing, take a soft cloth or a clean dust mop over the floor to lift clumps and residue.
- With a 3-gallon or similar large sprayer, carry it by the strap at a 30 to 45 degree angle — not by the pump handle while you are spraying.
Fixing uneven or blotchy dye
It is almost always the sprayer, not the dye.
- Confirm the sprayer is acetone rated — the dye cannot bond evenly if it is not atomizing properly.
- If it is dripping, stop and find out why: check the seals are seated in the tip, and check the tank pressure.
- Let the affected area sit 4 to 6 hours so the dye dries and the bonding agent solidifies.
- Lift the excess with a cotton cloth and a little acetone, dabbing until the spot diminishes. The color will look disturbed afterwards — expected.
- Once the sprayer behaves, mist light color over the affected area and blend it into the surrounding floor.
- Stay off unsealed dye until it has hardened. It lifts onto shoes, and dragging your feet displaces pigment.
Faux Polished Concrete: FAQs
Which colors give the polished-concrete look?
Customers converge on the same four Vibrance™ colors — White, Stormy Gray, Light Slate and Charcoal. The whole craft is in how you proportion and sequence them.
Should I go light to dark, or dark to light?
Both work and they give different floors. Light to dark is more uniform and subtly graded — closest to real polished concrete. Dark to light is more dramatic and varied, with striking contrast, and is particularly effective with Light Slate.
How much dye does a large floor take?
Two useful benchmarks. An 800 sq. ft. floor used two gallons each of White, Stormy Gray and Charcoal — roughly 133 sq. ft. per gallon across three layered colors. A 2,800 sq. ft. floor used a very different ratio: 15 gallons of Light Slate, 5 of Charcoal and 1 of White, with the dominant color carrying the floor.
How do I mix it?
Each color separately: one 1-gallon packet of powder to one gallon of acetone in an acetone sprayer, then let each mixture stand for an hour. A standard deck or fence sprayer cannot spray acetone.
Why is my dye blotchy?
It is almost always the sprayer, not the dye. Confirm it is acetone rated — the dye cannot bond evenly if it is not atomizing properly. If it is dripping, stop and fix that before you carry on.
What’s Next
- The full dye method → How to Apply Concrete Dye
- Dye on other floors → A Sunroom in Stormy Gray · Gray Floor Gallery
- Prep it properly → Concrete Surface Preparation
- Basements and garages → Basement Floors · Garage Floors
- Shop → Vibrance™ Dye · Dye & Sealer System · Trial System · ProWax Polish™


