DIY Guide: Staining Quikrete WalkMaker Pavers with Portico™ Paver Stain
by Justin Richardson
Alright, DIY rockstars! Time to add some oomph to your Quikrete WalkMaker pavers using our rockstar Portico™ Paver Stain. Here is a detailed, fun, and foolproof guide to make sure you knock this out of the park without any hiccup!
Step 1: Prep Like a Pro
If you’re dealing with brand-spanking-new concrete, give it a full 30-day rest to cure before you start the makeover. In the meantime, you can practice your artist strokes on paper!
Do take care to cover the innocent bystanders – nearby areas that are at risk of errant sprays – with protective plastic drop cloths.
And for those of you with a more mature, seasoned concrete:
Kick any paint or sealers to the curb with the mighty Soy Gel Stripper. And remember, you need a clean canvas to create your masterpiece, so make sure you remove any old sealer before applying the new stain.
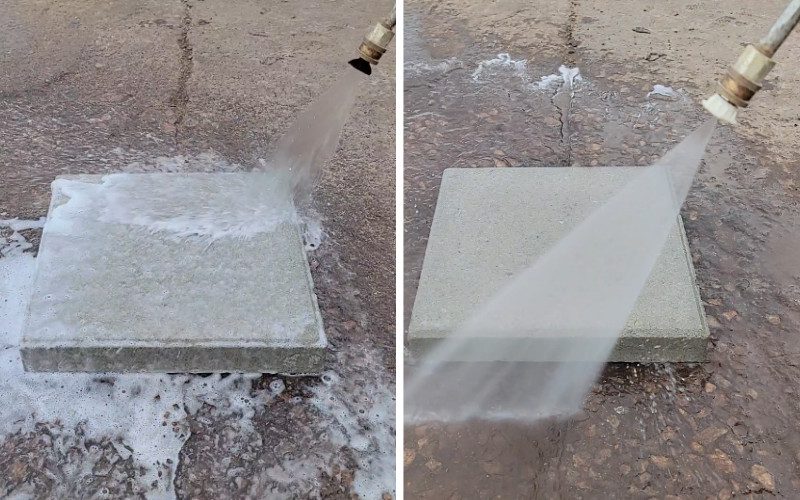
Once the old sealer is out of the way, it’s time to cleanse your canvas (that’s your concrete, folks!) of any dirt, debris, or remnants of the Soy Gel Stripper. Employ a sturdy scrub brush and the trusty ProClean Degreaser™ for this task.
And now, pause and pat yourself on the back. The prep stage is complete. Allow your canvas to dry thoroughly – it’s time for the creative magic to begin!
Step 2: Bring on the Colors
Our Portico™ Concrete Paver Stain can cover approximately 200 square feet per gallon. But, this might vary depending on the texture, surface porosity, and your application style.
A word of caution: Always apply Portico™ when the surface temperature is between a cool 40 °F (4 °C) and a warm 95 °F (35 °C).
Warning! Portico™ doesn’t like flames, it’s harmful if swallowed, or inhaled. So keep it away from any heat or sparks, and ensure you’ve got plenty of fresh air. Open windows, doors, and say no to open flames, smoking, or anything that could start a fire. Safety first!
For Spraying:
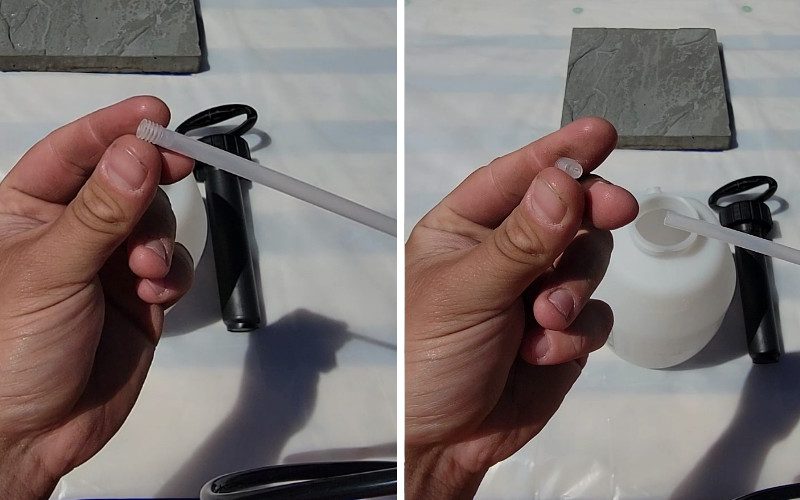
- Remove all filters from your pump-up sprayer.
- Give your Portico™ a good shake before you pour it into the sprayer.
- Start your spraying journey from a far corner to keep your exit path clear.
- Spray a generous coat of Portico™ in slightly circular motions with irregular overlaps for a natural look.
- Keep your sprayer on its toes – shake it often to prevent the color from settling at the bottom.
- Let your masterpiece dry for at least eight hours before you seal it.
Step 3: Seal & Protect Your Artwork
Apply two thin, even coats of sealer (either AcquaSeal™ Water-Based Acrylic Sealer or EasySeal™ Solvent-Based Acrylic Sealer).
To avoid any accidental droplets on your fresh canvas, keep a bucket handy to catch the sprayer tip before you let go of the trigger.
Post artwork: Clean your tools and supplies with odorless mineral spirits.
And finally, remember to pamper your creation every two years or as needed, using either AcquaSeal™ or EasySeal™ to keep it looking fresh and vibrant!
Happy DIYing, folks! Enjoy creating your masterpiece with Portico™ Paver Stain!
Project Deets:
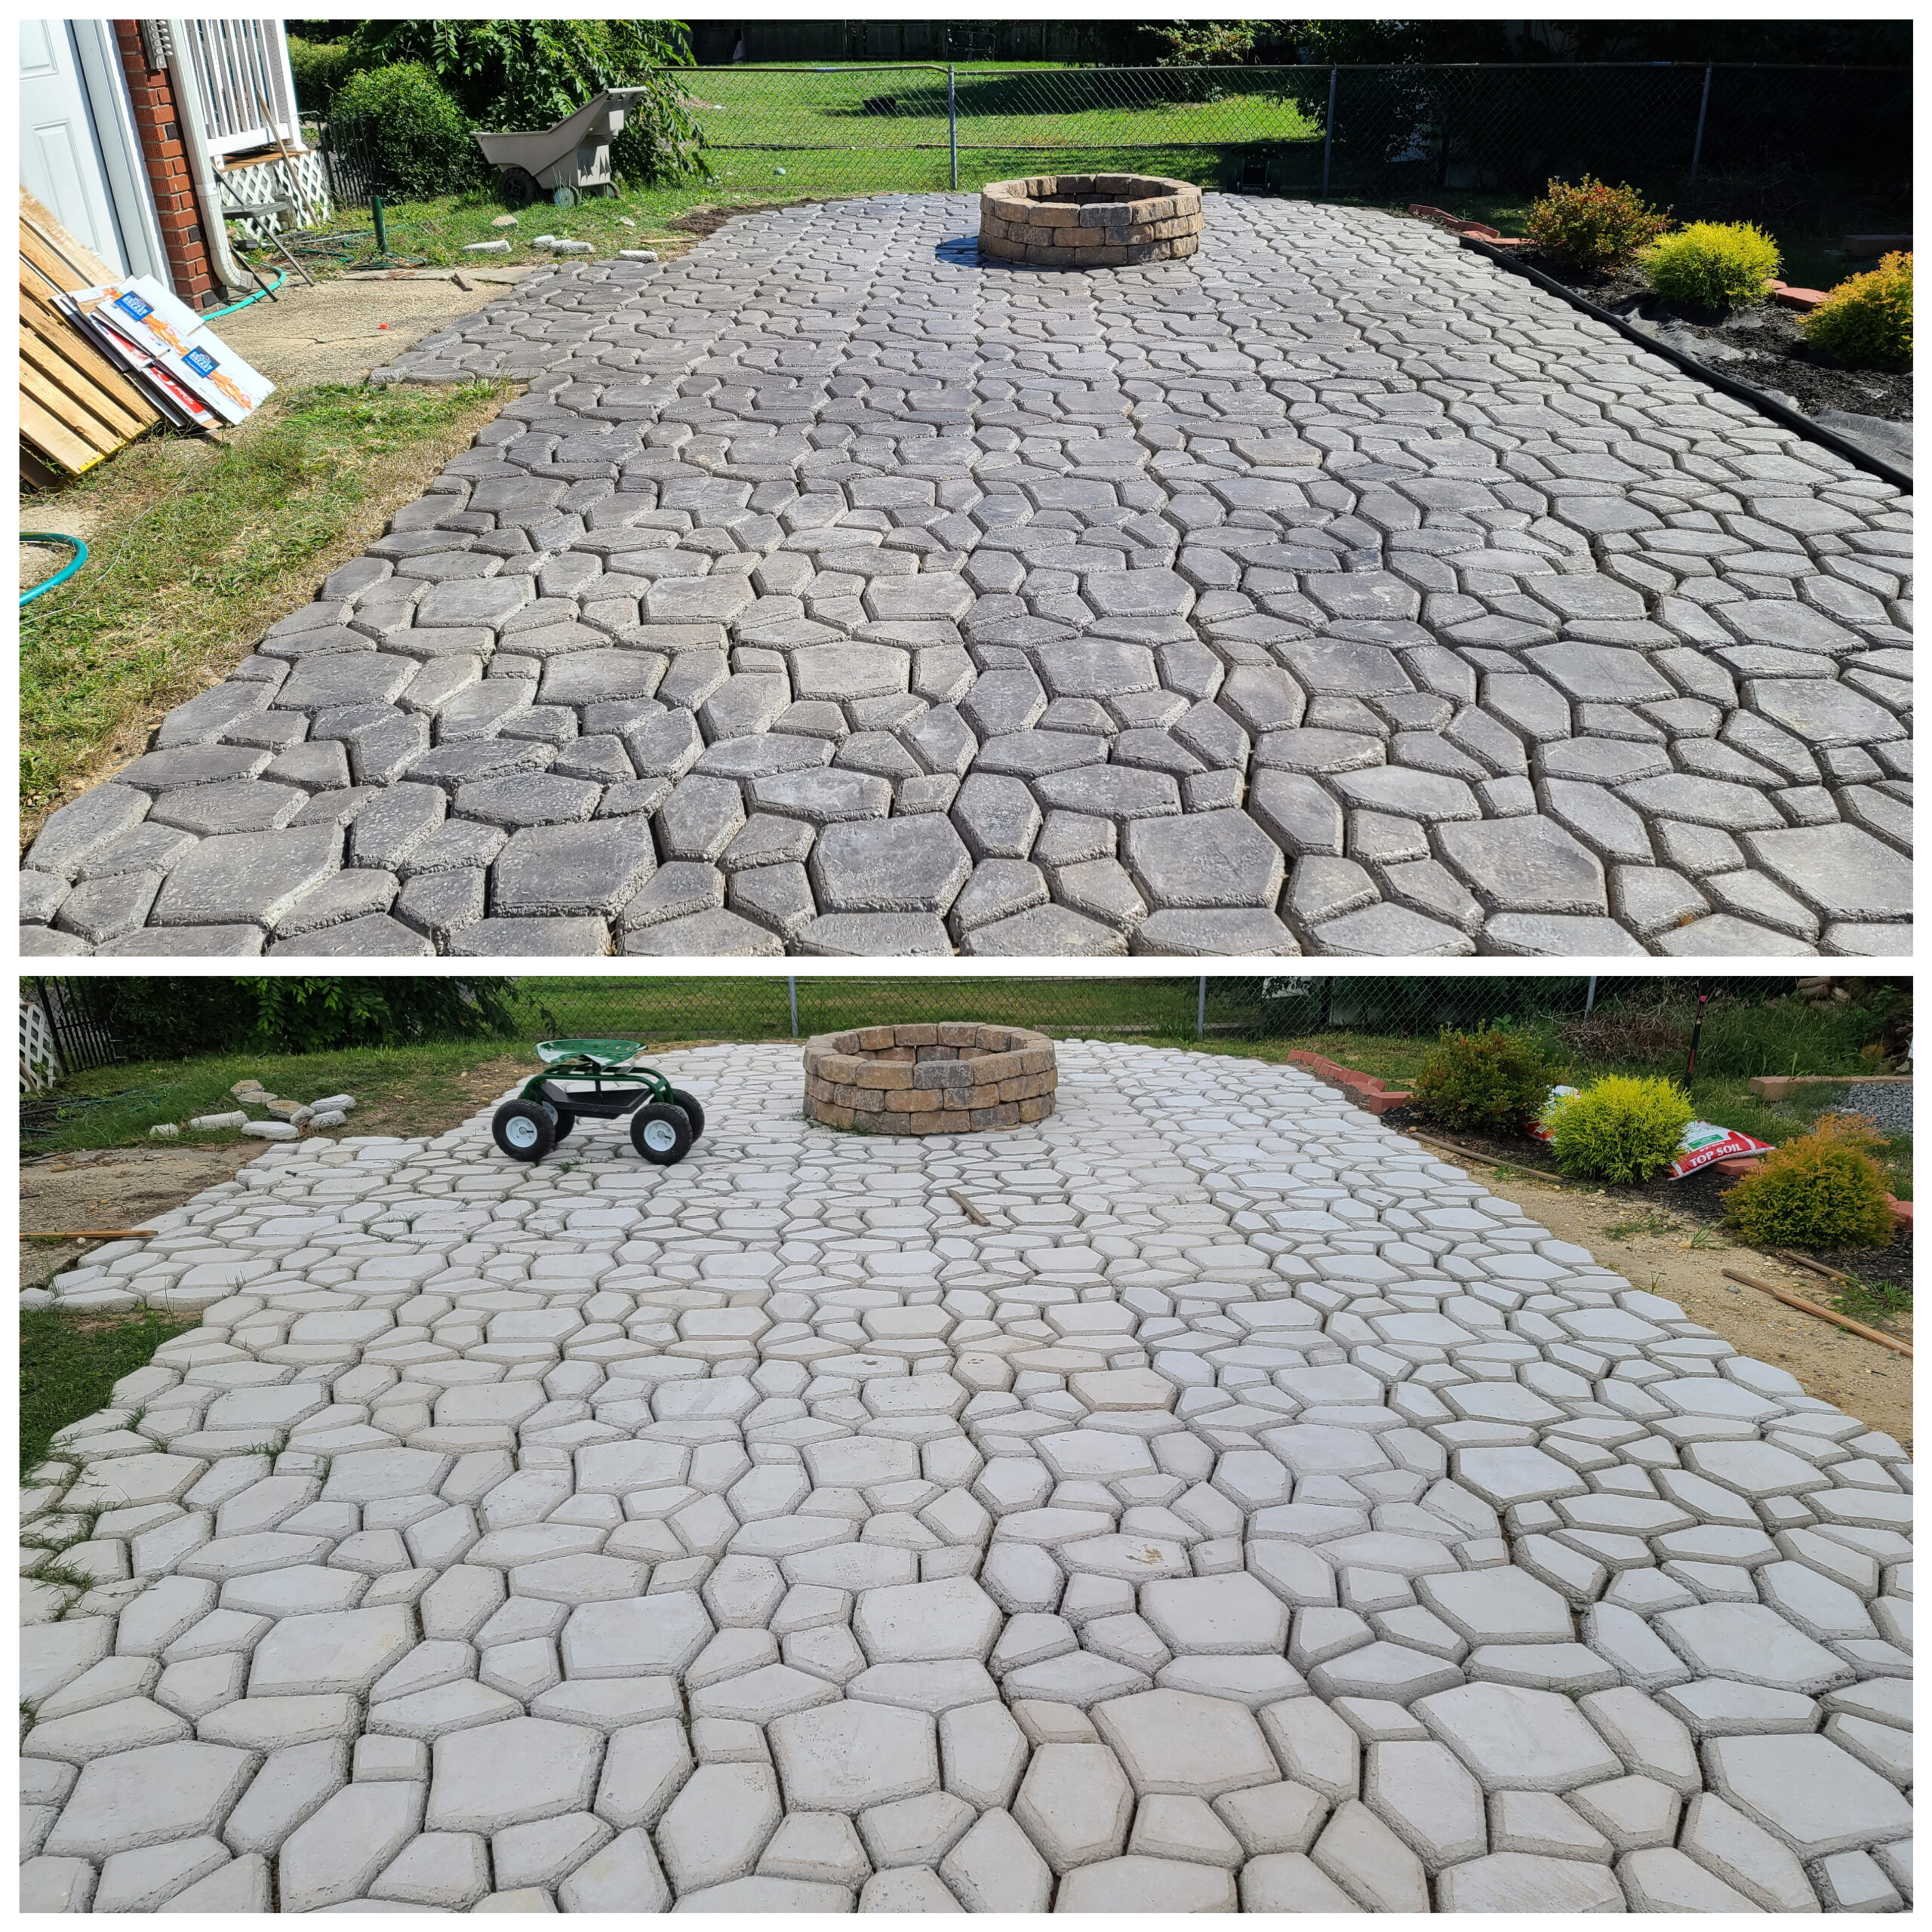
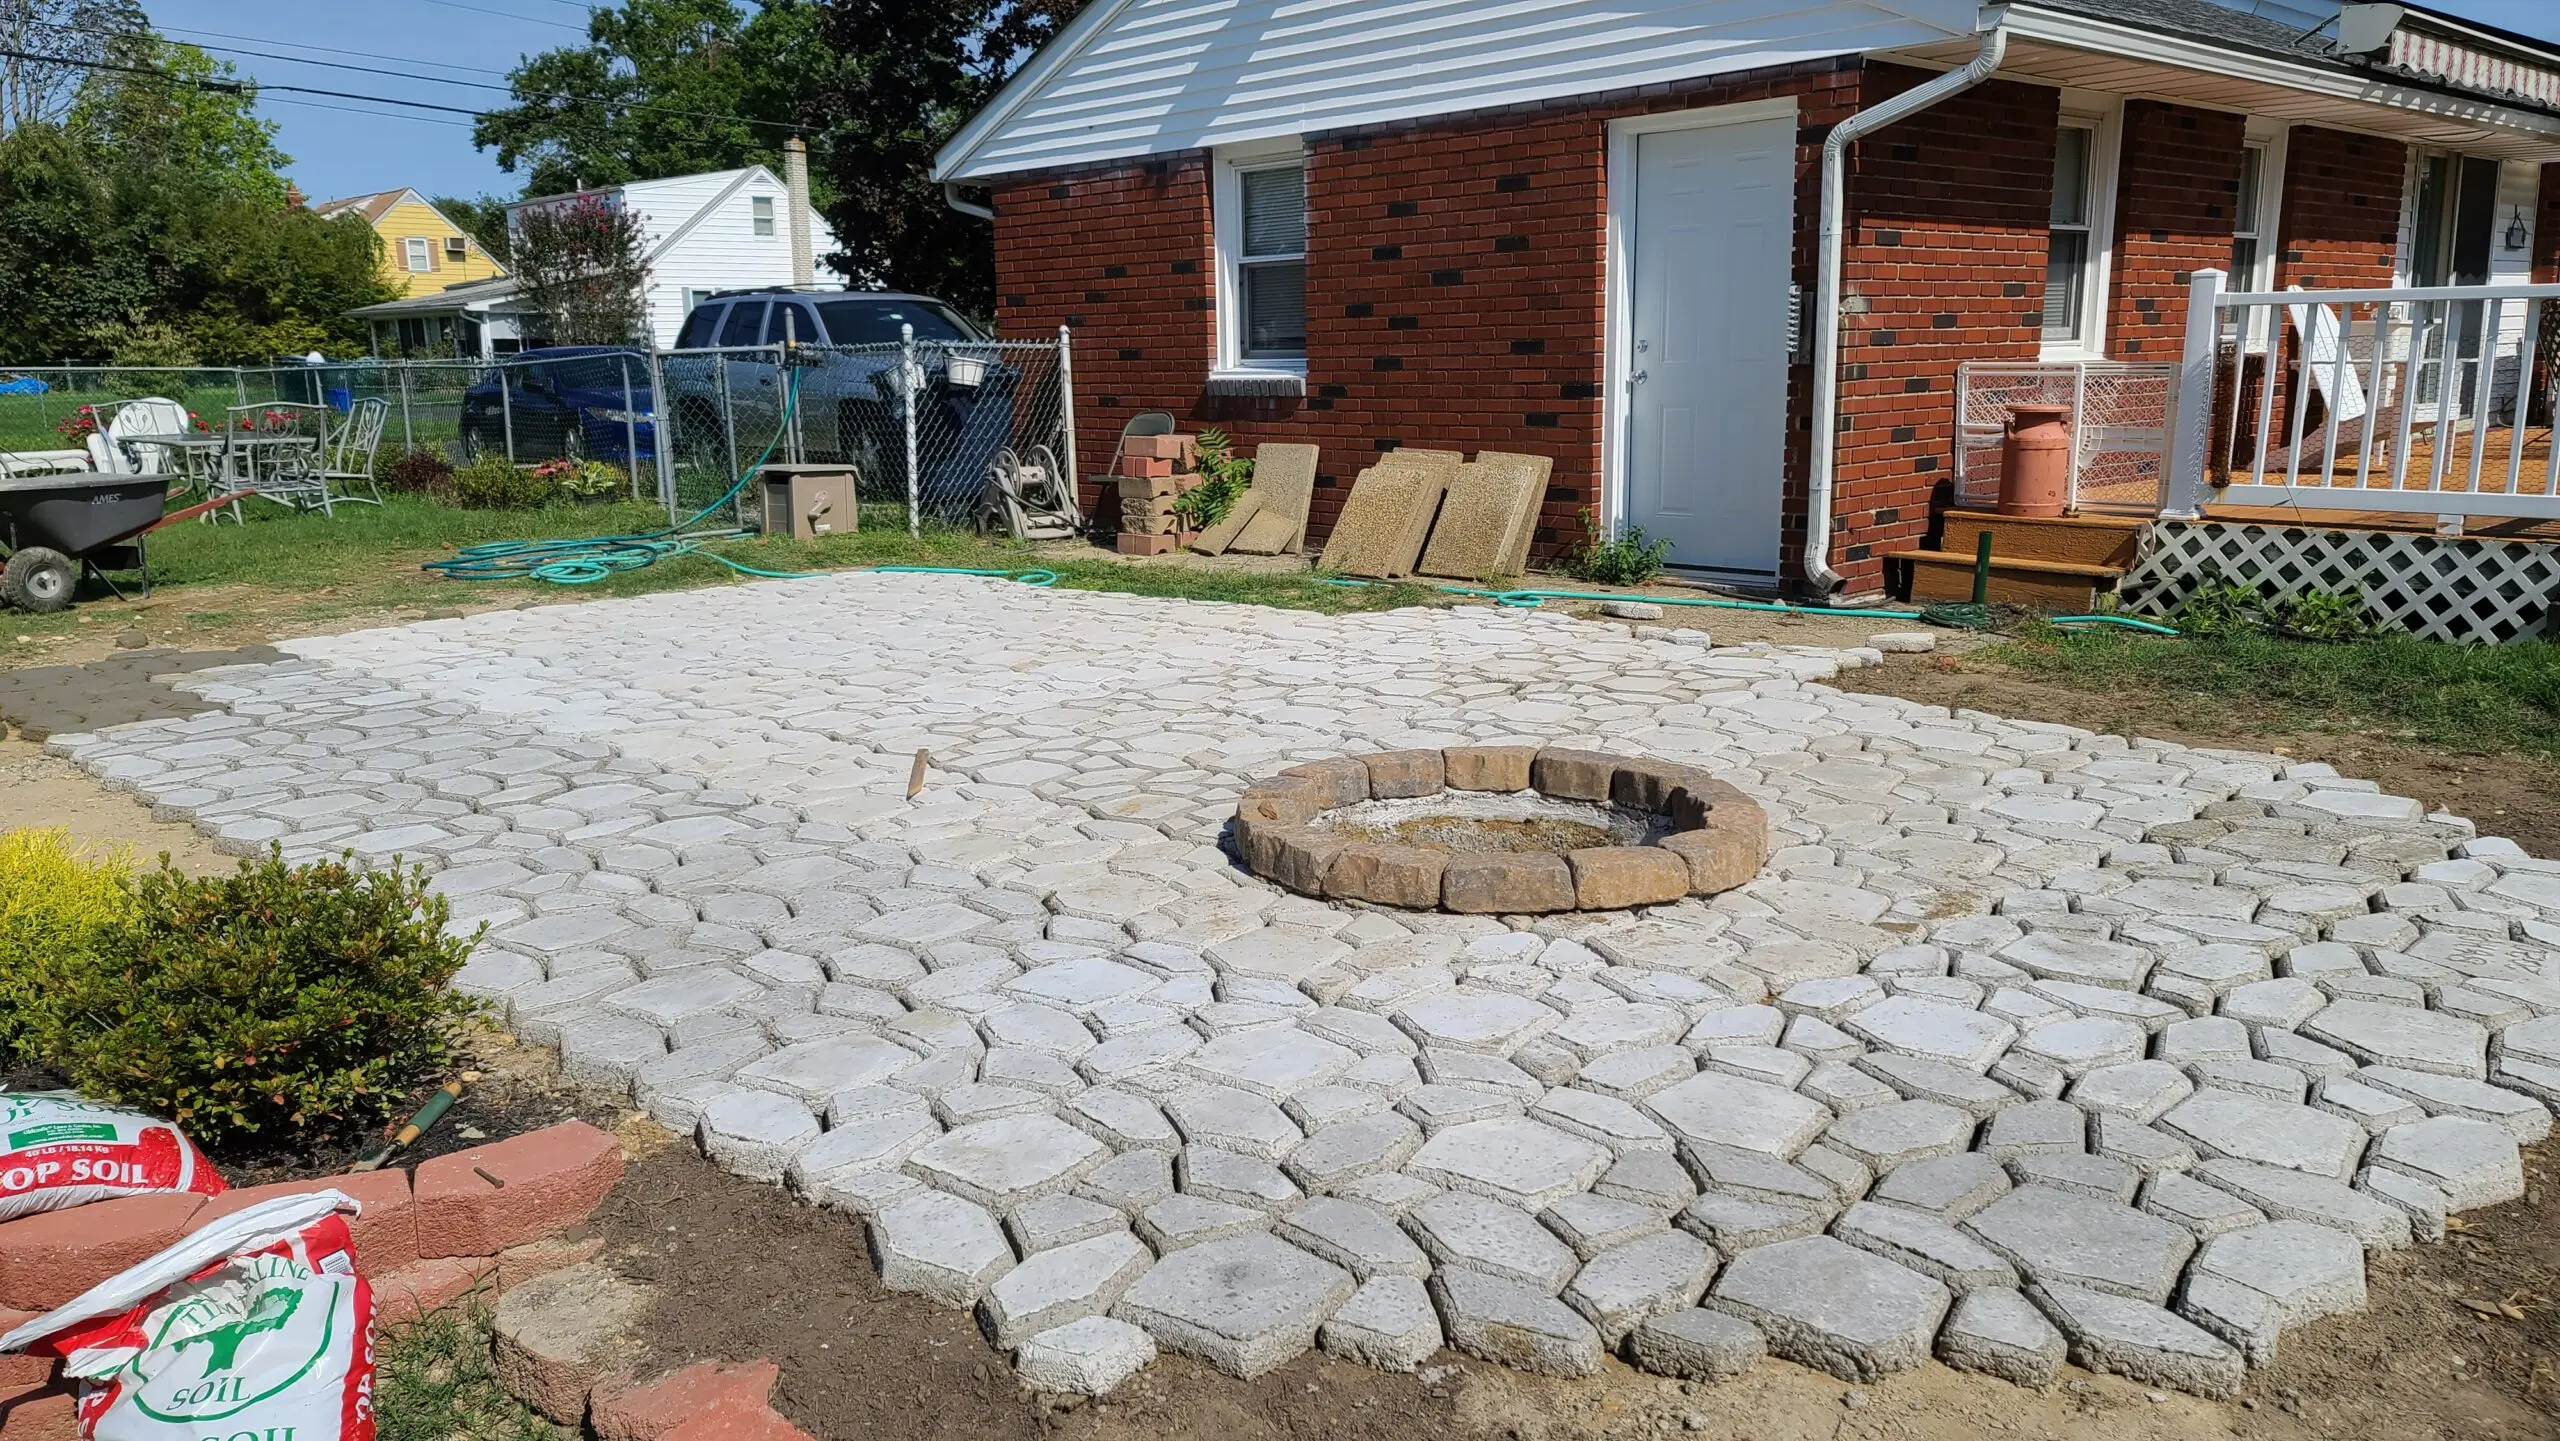
This is not just a backyard revamp – it’s a piece of DIY art, a symphony in concrete and stain, and guess what? We pulled it off with some physical limitations, proving that with a little patience and persistence, anyone can bring this masterpiece to life.
Yes, you heard it right! It took my mother and I several months, dedicating just about an hour each day, but trust me, every minute was a thrill! You could potentially smash this out over a couple of energetic weekends if you’ve got the cavalry.
The show started with us playing architect – we built a neat little retaining wall to deal with a 2-foot slope spanning 16 feet. Then, we played builders and filled up the space with a whopping 15 yards of dirt and leveled the ground with a weighty pallet fastened to a trusty riding mower.
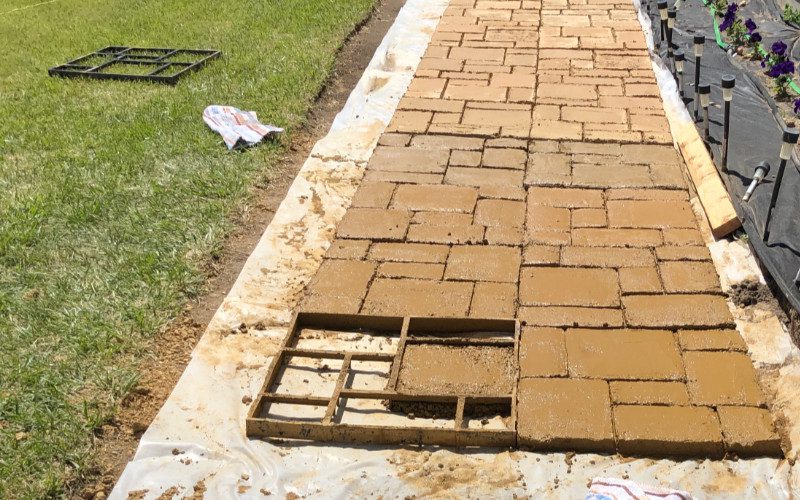
Next, we became sculptors, pouring concrete into individual cobblestone molds over 10 sweat-filled, joy-packed days. Our masterpieces needed some TLC, so we ground and sanded away any rough spots until they were smooth as silk.
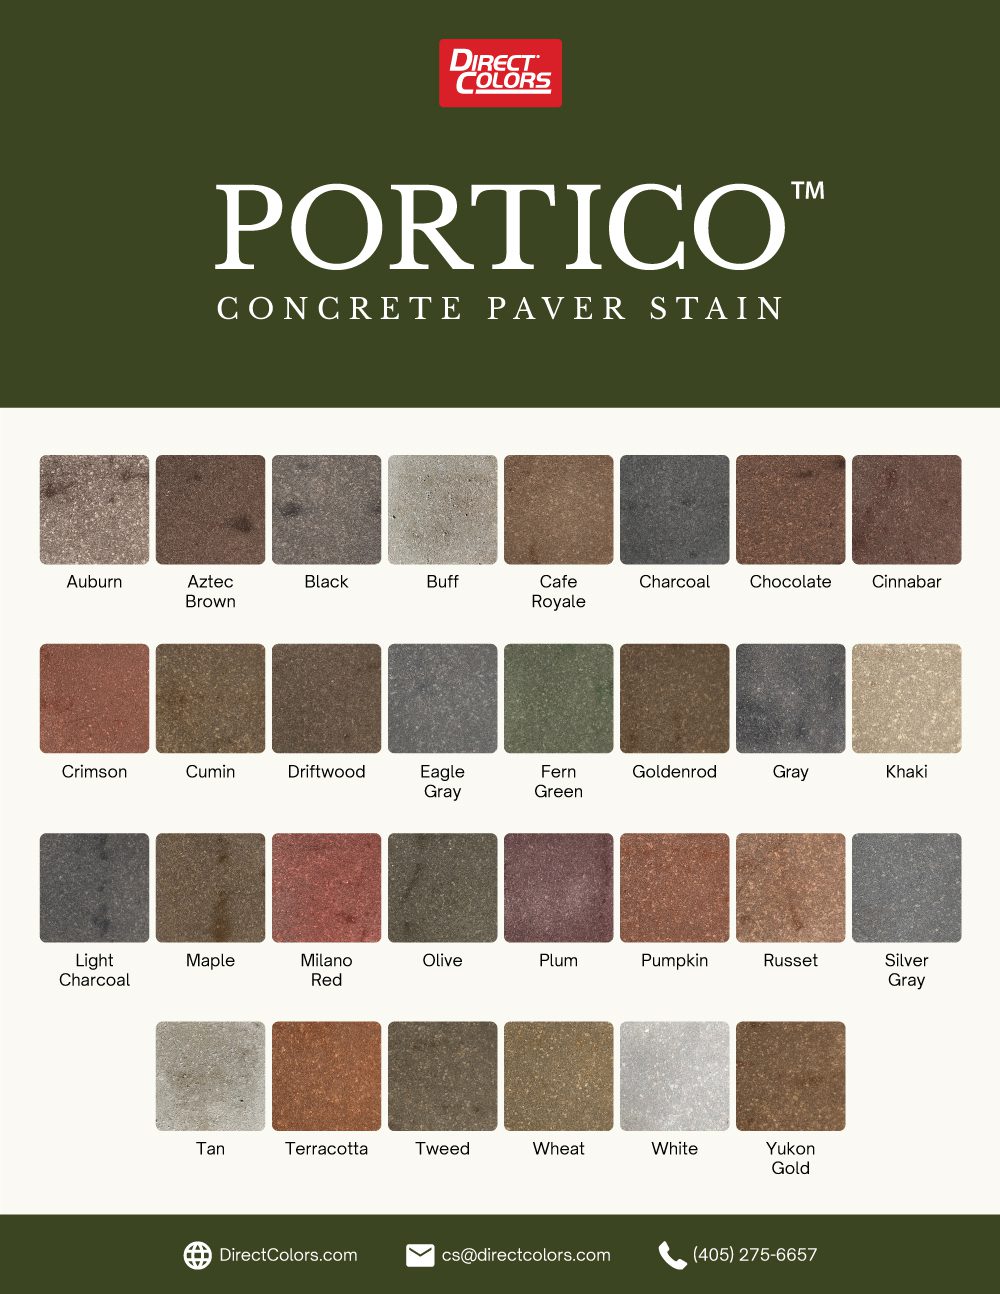
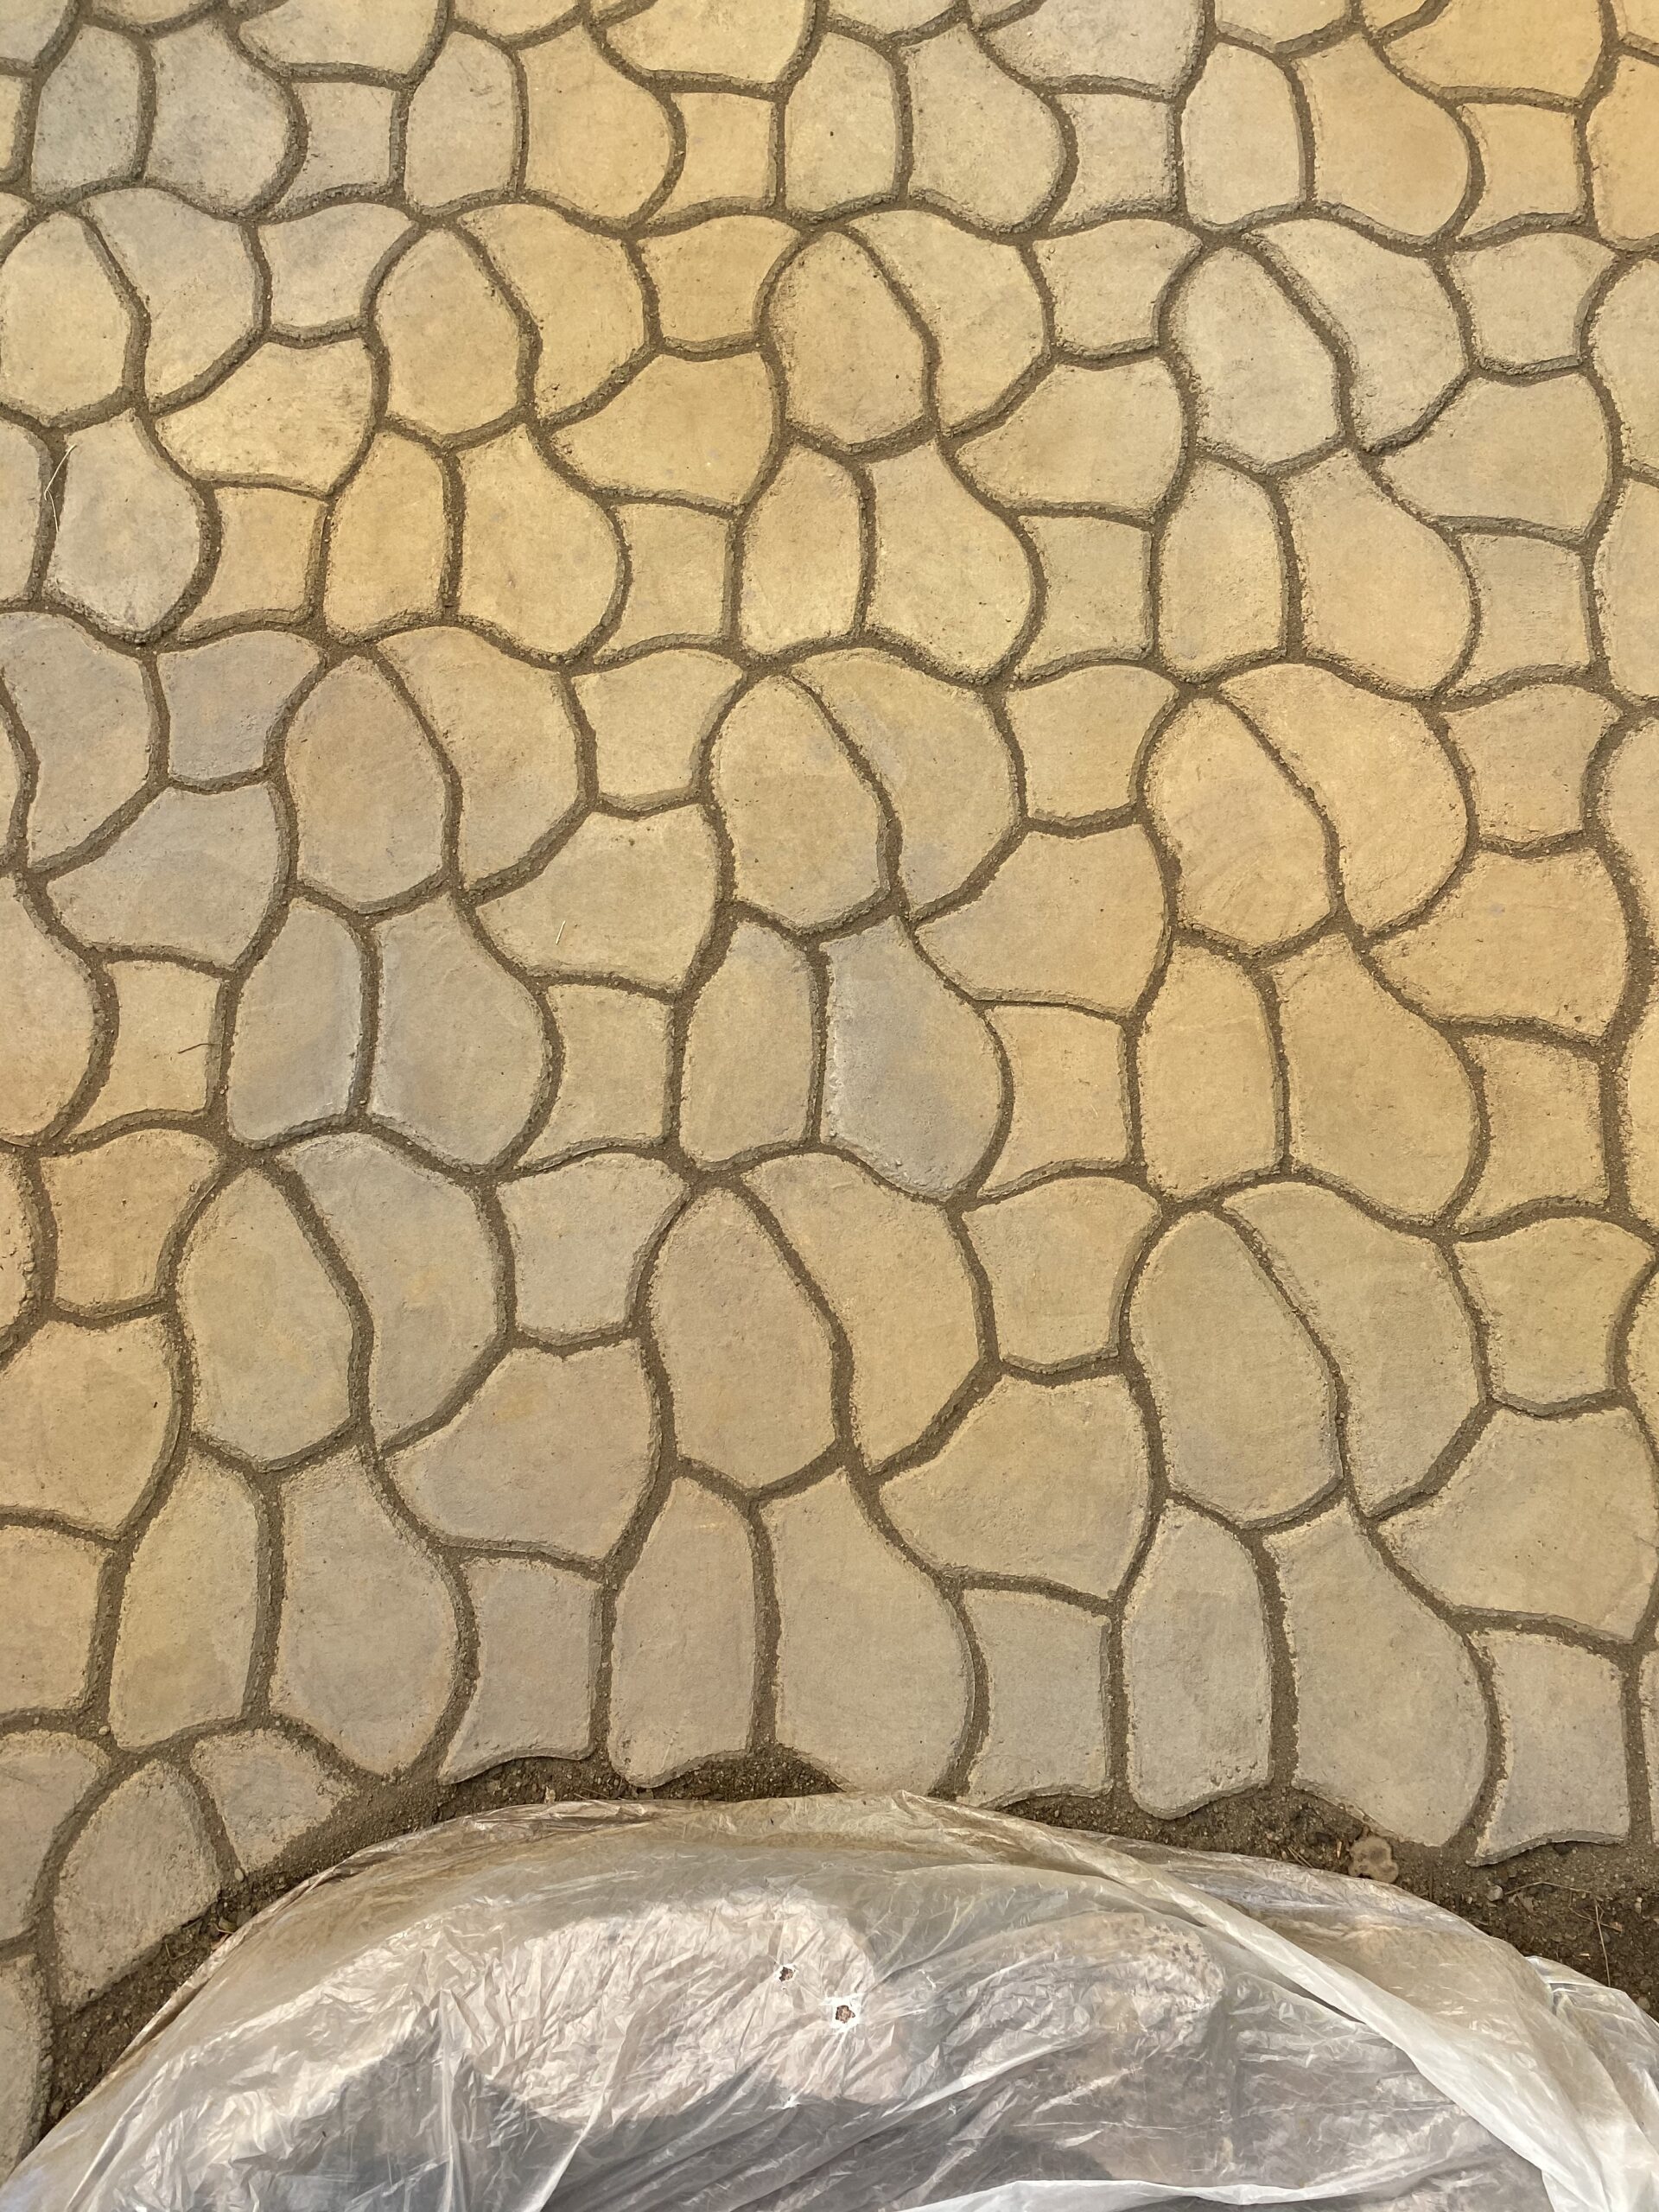
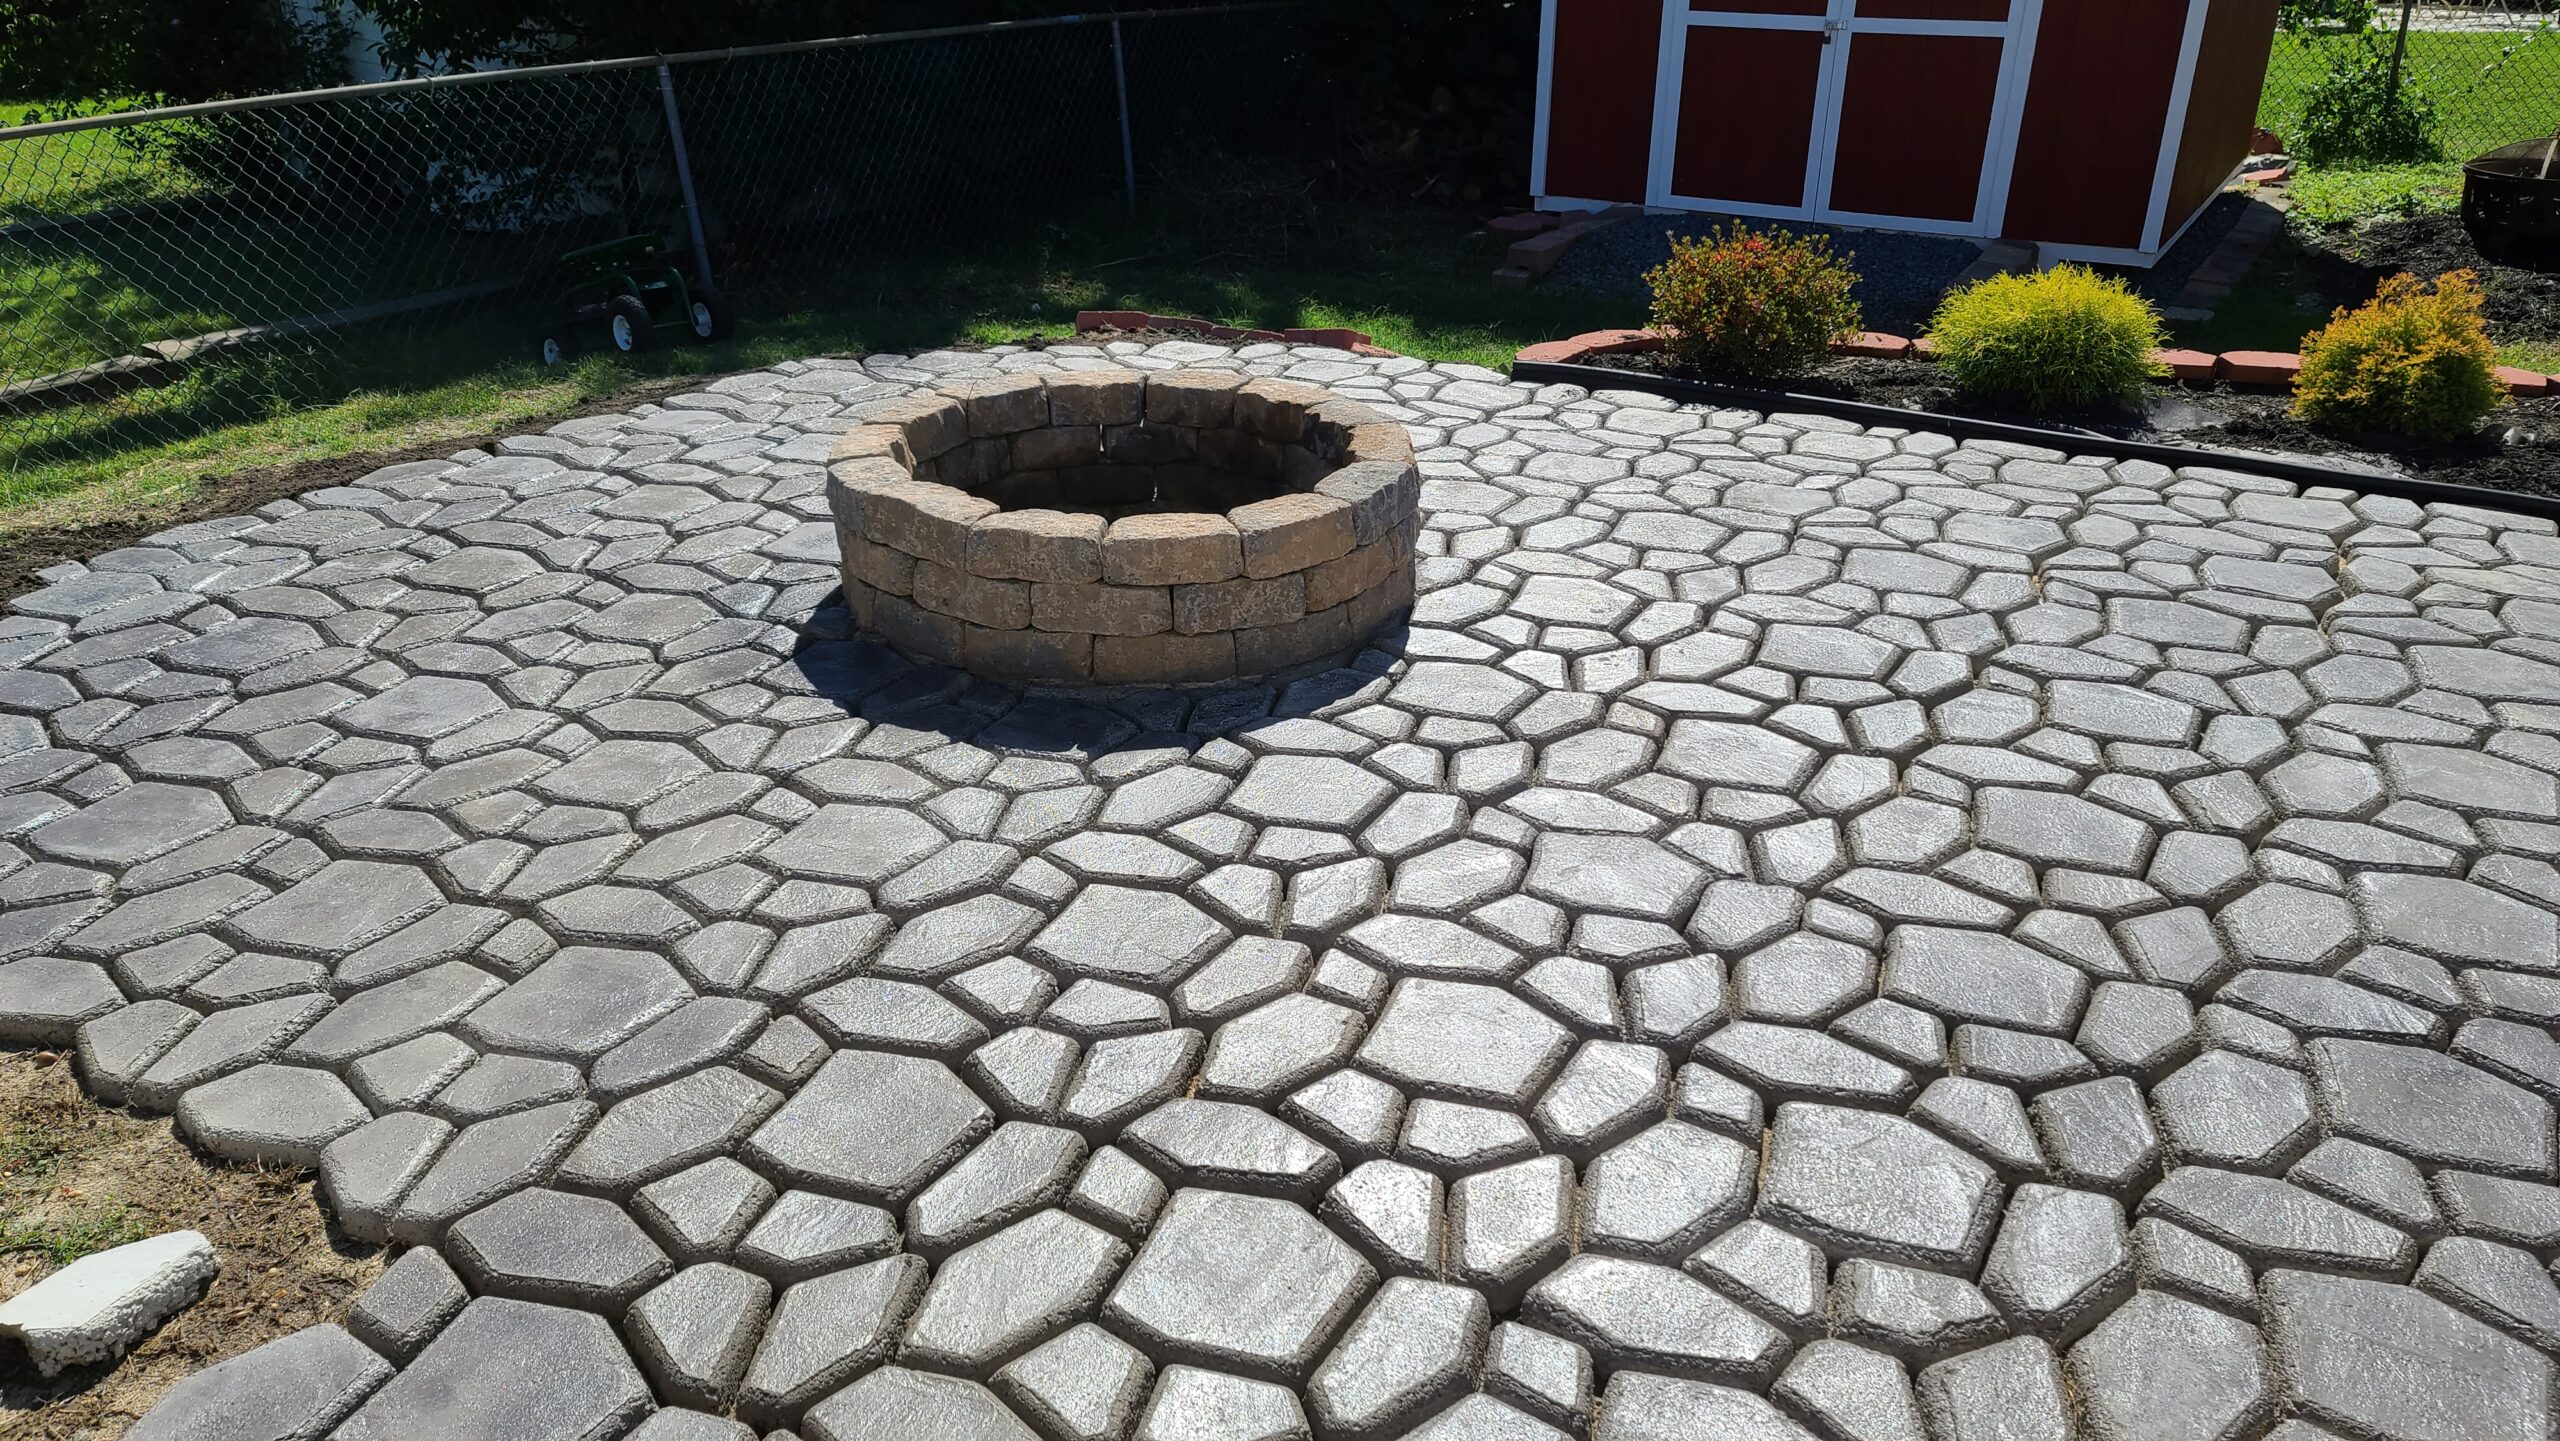
Then it was time to give our work of art its vibrant personality. We dressed it up with the chic light-charcoal shade of our superstar product – Portico Paver Stain, followed by the ever-dependable Satin EasySeal Paver Sealer. To give it that authentic cobblestone look, we broomed dry mortar mix into the gaps and gently sprinkled it with a hose every hour.
Voila! A Quikrete WalkMaker patio to rival the best out there! But we’re not done yet. In the near future, we’re swapping the temporary gazebo for a stylish wood beam metal roof pavilion. Stay tuned!
Insider’s Tips:
Dive in and dare to experiment – that’s how masterpieces are born! Be savvy and keep extra supplies handy – better safe than running out mid-project. Remember, it’s not about how quickly you finish, it’s about the journey and the fantastic outcome that awaits. So, enjoy every moment!
Products for DIY Brilliance:
Portico Paver Stain in light-charcoal – It’s like makeup for your pavers! EasySeal Satin – This is your paver’s new best friend, keeping it looking sharp and protected. And don’t forget the Spiked Shoes – because who says safety and style can’t go hand in hand?
Now, off you go! Enjoy the journey of creating your own Quikrete WalkMaker patio. Happy DIY-ing!
