
Etching is not difficult. It is unforgiving. The solution chemically alters whatever it touches, which means every mistake you make during those few minutes is recorded in the floor permanently. Below are two real customer projects that went wrong in the two most common ways, what each one cost to fix, and the checklist that prevents both.
Mistake #1: etching over grinding dust
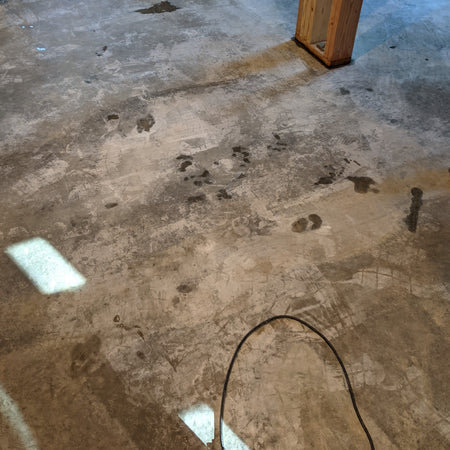
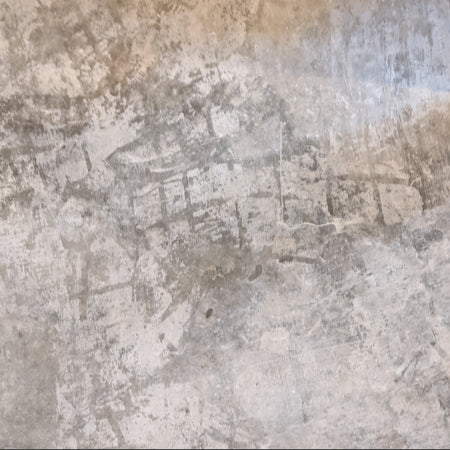
Eric’s 1,400 sq. ft. basement project was going well until his concrete grinding dust made a comeback. After etching, ghost-like footprints appeared all over the floor, permanently embedded in the surface.
What went wrong
Grinding created fine dust. The dust got tracked across the slab without him noticing. Then the etching solution reacted with the dust rather than with the concrete underneath it — locking the footprints in.
How he fixed it
Sanding worked, but slowly and messily. In the end he rented a floor scrubber, and it took four passes and eight hours of work to remove the etch marks.
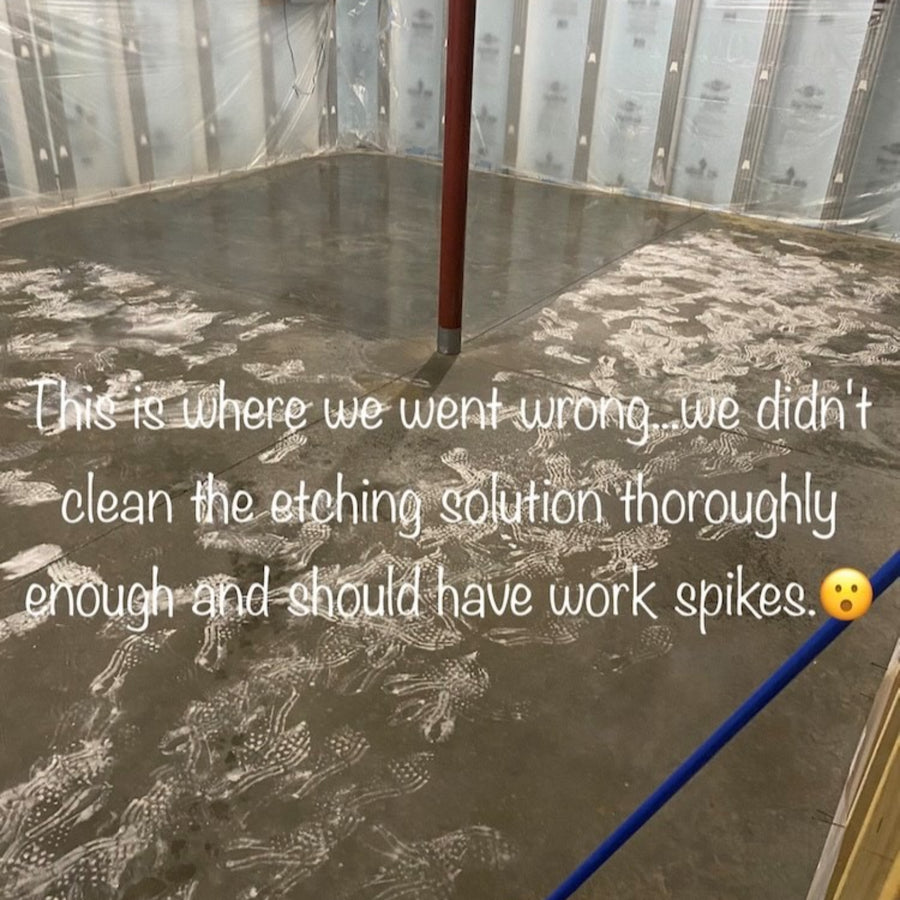
Footprints permanently etched into a concrete floor after improper cleaning.
Mistake #2: no spiked shoes on etching day
Another customer etching a machine-troweled slab made the classic mistake and skipped the spiked shoes. The result was a perfectly etched floor — with etched footprints stamped into the finish.
What went wrong
The slab was machine troweled, so it was very smooth and very dense. Walking on it during etching compressed the surface underfoot. Those compressed areas etched deeper than the rest of the floor, and the footprints appeared as the solution dried.
Why spiked shoes matter this much
Basement or garage, it makes no difference: spiked shoes stop your feet pressing into a soft, chemically reactive surface. They keep the contact area to a few spike tips and protect the floor from accidental marks. If a DIYer buys one accessory for a concrete project, it should be a pair of spiked shoes — or the slip-on CreteClogs™, which go over your shoes without straps. Both are also in the DIY Tools Kit alongside the sprayers.
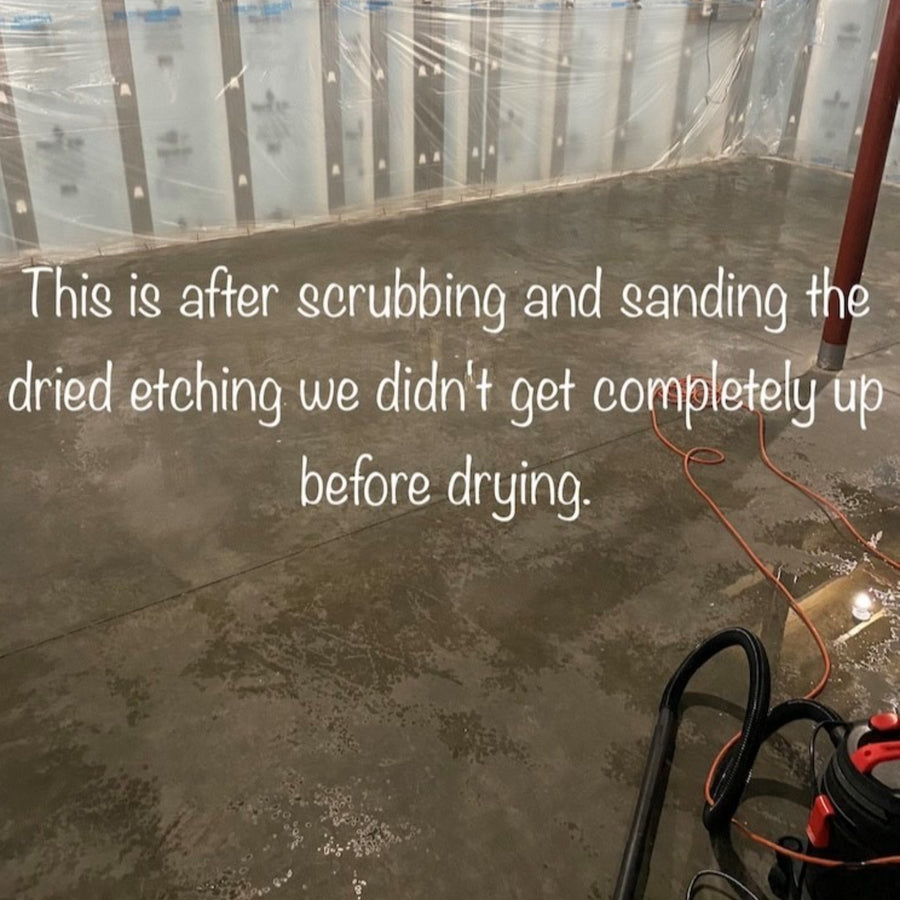
The same floor after scrubbing the etched footprints out — recoverable, but hours of work.
The checklist that prevents both
Before etching
- Do a water test. If water beads on the surface, you must etch.
- Vacuum and scrub thoroughly after any grinding or patching.
- Section off dirty work areas — a bathroom, a doorway — with tarps or plastic sheeting, so nothing gets tracked back onto the prepared slab.
During etching
- Wear spiked shoes. No exceptions.
- Apply the etch evenly with a pump sprayer.
- Watch for fizzing — that is the chemical reaction working.
After etching
- Neutralize completely, with a proper neutralizer such as ProClean Neutralizer™.
- Rinse and scrub again to remove all residue.
- Let the concrete dry fully — 24 to 48 hours — before staining or sealing.
What actually helps
The bottom line. Concrete etching is not hard, but it is unforgiving if you skip steps. Proper prep, clean tools and the right gear, and you get a finish you are proud of instead of a floor with your own footprints in it.
Etching Problems: FAQs
Why did footprints appear in my floor after etching?
Two different causes, and both are in this article. Either grinding dust was tracked across the slab and the etch reacted with the dust instead of the concrete, locking the prints in — or the slab was machine troweled and walking on it during etching compressed the surface underfoot, so those areas etched deeper than the rest.
What do both etching failures have in common?
Something was between the etching solution and the concrete it was meant to reach. The rule: etching solution alters whatever it touches, so everything follows from what is on the slab when you spray.
Are spiked shoes really necessary?
On etching day, yes. They keep the contact area down to a few spike tips instead of a whole footprint pressing into a soft, chemically reactive surface. If a DIYer buys one accessory for a concrete project, spiked shoes or CreteClogs™ are it — the alternative cost one customer four passes and eight hours with a rented floor scrubber.
How do I know whether I need to etch at all?
Do a water test. If water beads on the surface, you must etch. If it soaks in, the slab is already open. Then vacuum and scrub thoroughly after any grinding or patching, and section off dirty work areas with tarps so nothing gets tracked back.
How long after etching before I can stain?
Neutralize completely with ProClean Neutralizer™, rinse and scrub off all residue, then let the concrete dry fully — 24 to 48 hours — before staining or sealing.
What’s Next
- The full prep sequence → Concrete Surface Preparation
- Then stain it → How to Apply Acid Stain · How to Neutralize Acid Stain
- Basement floors specifically → How to Stain a Basement Floor
- When the stain still goes wrong → Fixing Acid Staining Problems
- Shop → Surface Preparation · Tools & Supplies


