Concrete Veining with Acid Stain: Step-by-Step Guide to Creating Marbled Vein Effects
By Justin Richardson
Want to enhance your concrete surfaces with a stunning marbled design? The concrete veining technique using acid stain colors is a popular method to create intricate, vein-like patterns on floors, patios, and countertops. With just a few easy steps, you can transform dull concrete into a beautiful focal point that mimics the elegance of natural stone. Whether you’re a DIY enthusiast or a seasoned contractor, this comprehensive guide will show you how to achieve professional-level veining effects on concrete using acid stain colors.
Step 1: Clean and Prepare the Concrete Surface
The first step in the veining process is cleaning and prepping your concrete surface. Use a concrete cleaner or degreaser to remove dirt, oil, or other contaminants. You may also need to etch the surface to help the acid stain penetrate. Rinse thoroughly and let the surface dry before moving to the next step.
Tip: For detailed instructions, check out our blog ong, check out our blog on “Preparing a Concrete Surface for Staining.”
Step 2: Choose Your Approach for the Base and Vein Design
At this stage, you have two options for how to proceed, depending on the effect you want to achieve:
1. Apply a Lighter Base Color First:
Start by applying a light base coat of acid stain using a pump sprayer. This will create a background for your veins to stand out against. Once the base coat has dried or been neutralized, you can move on to adding your darker veining design.
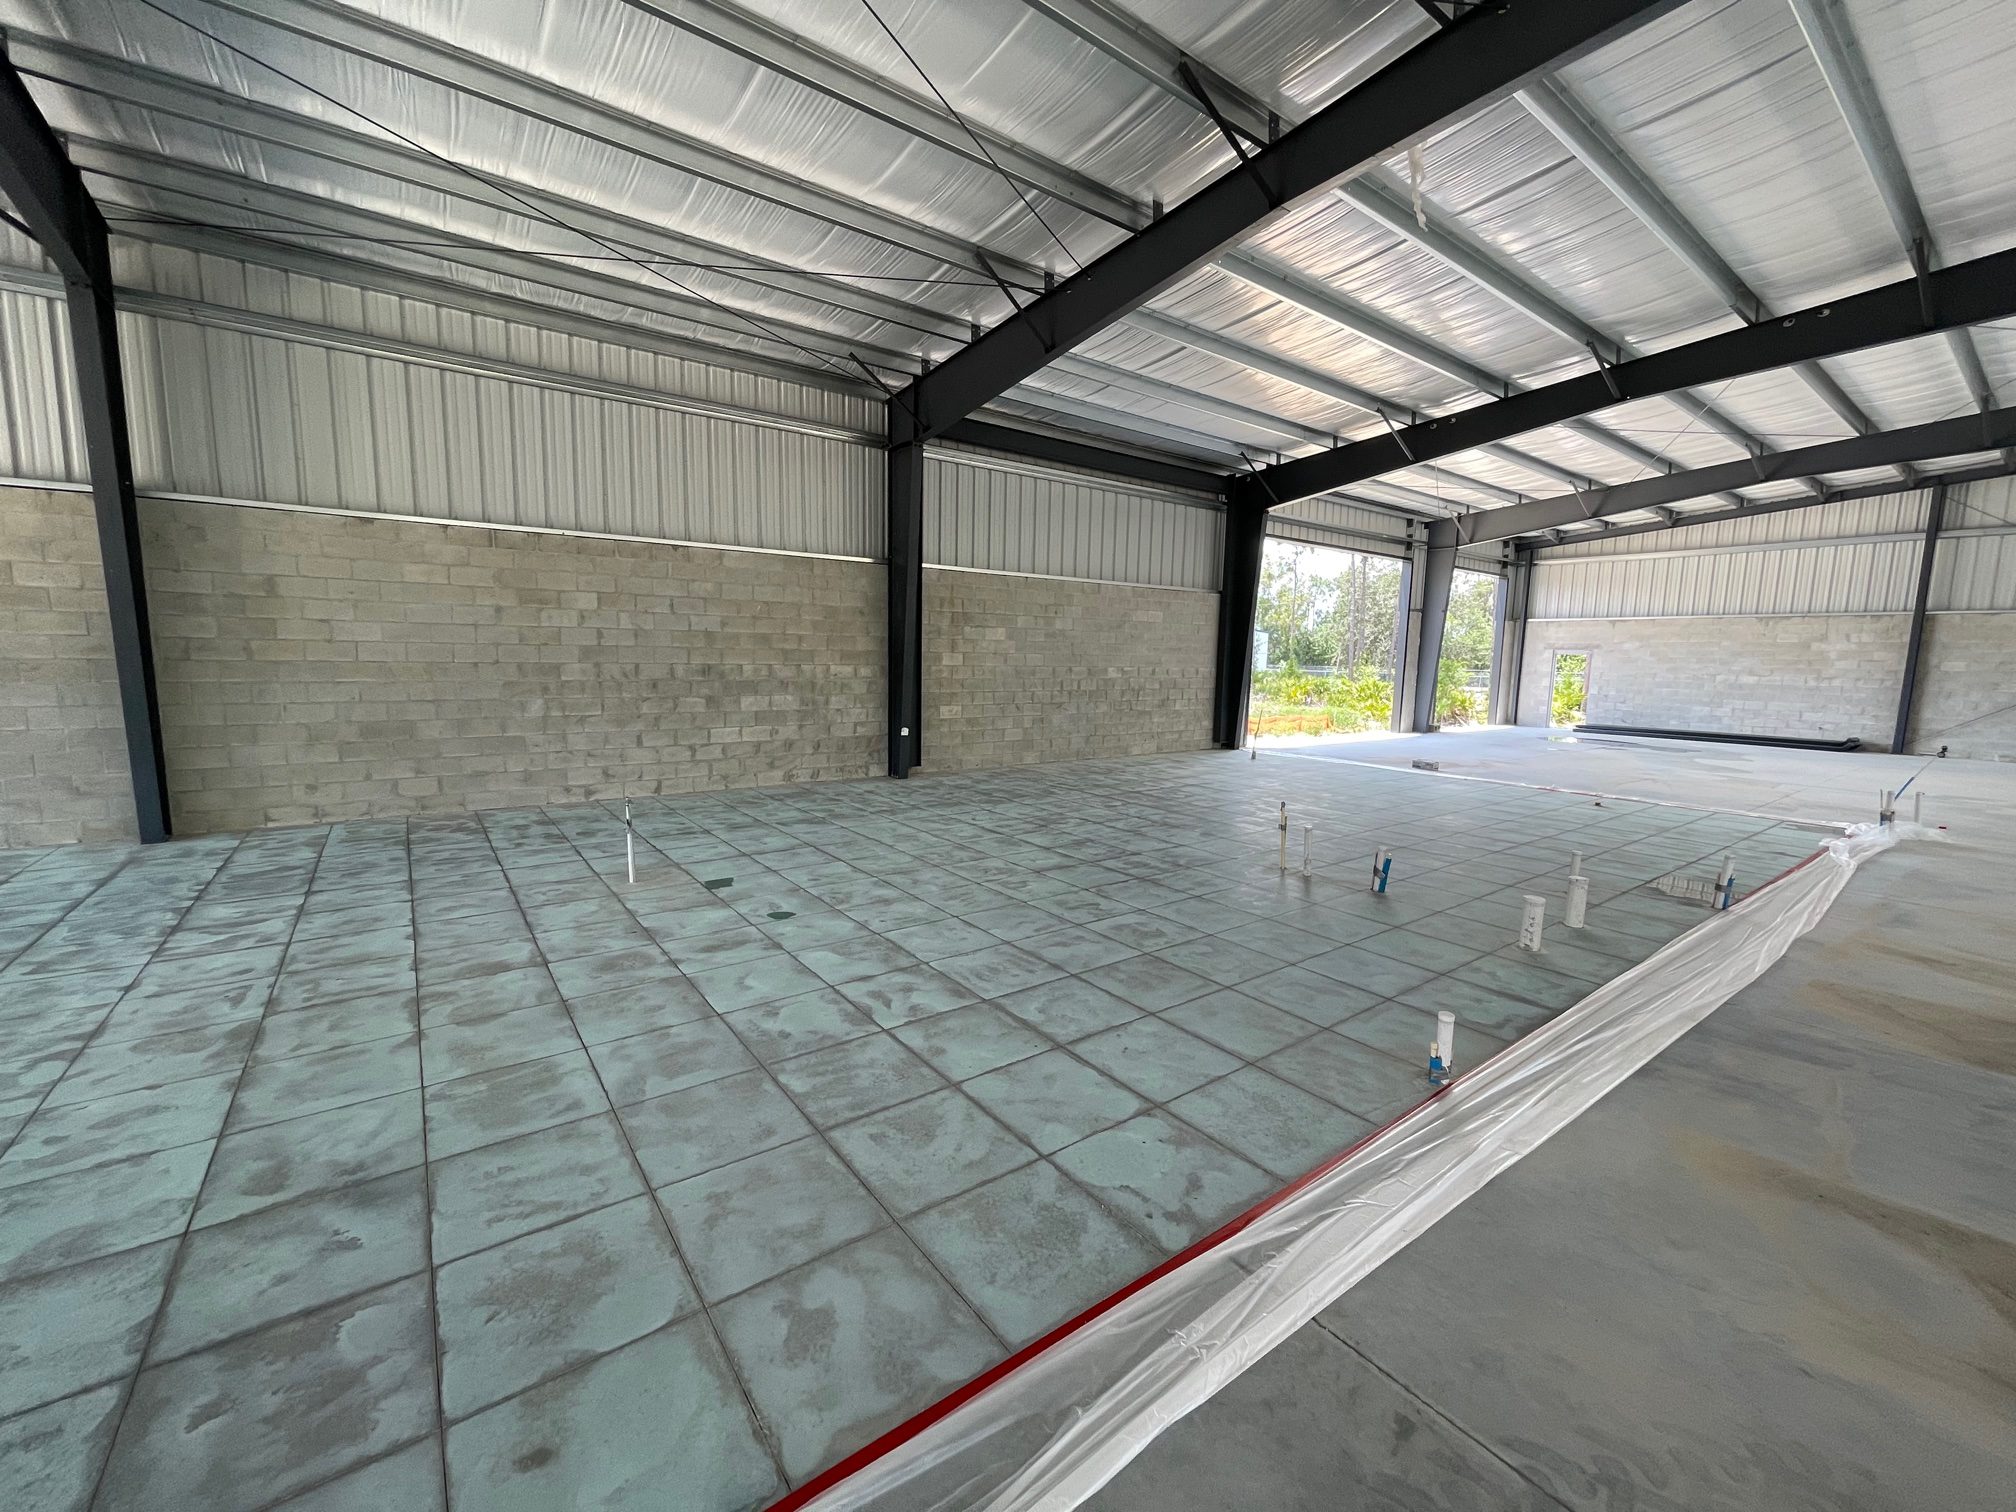
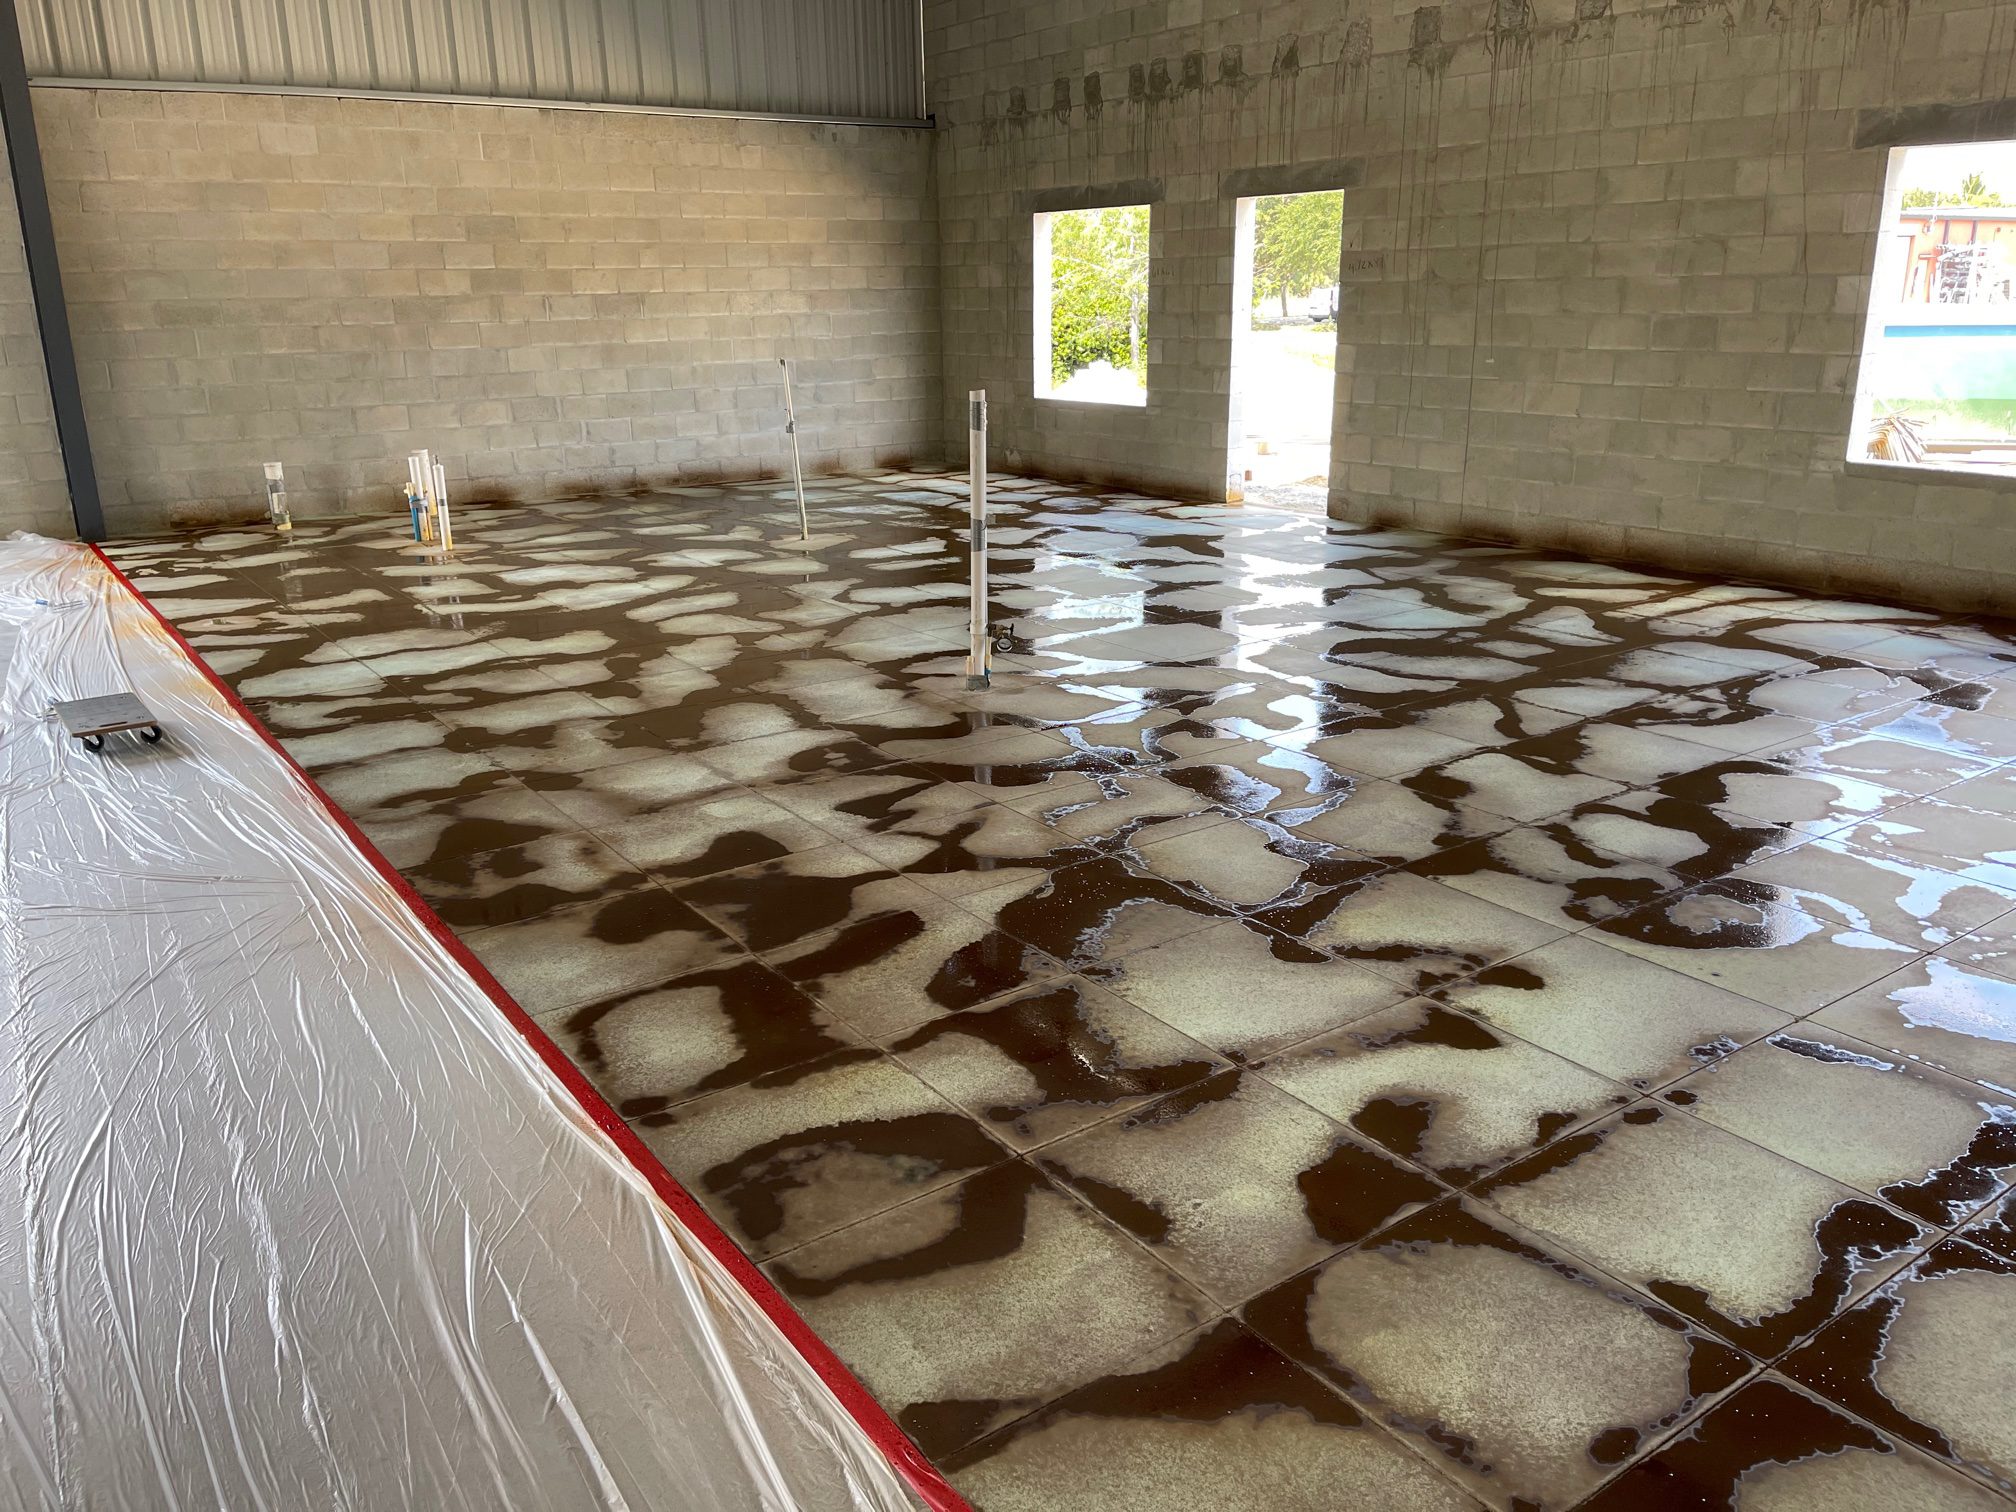
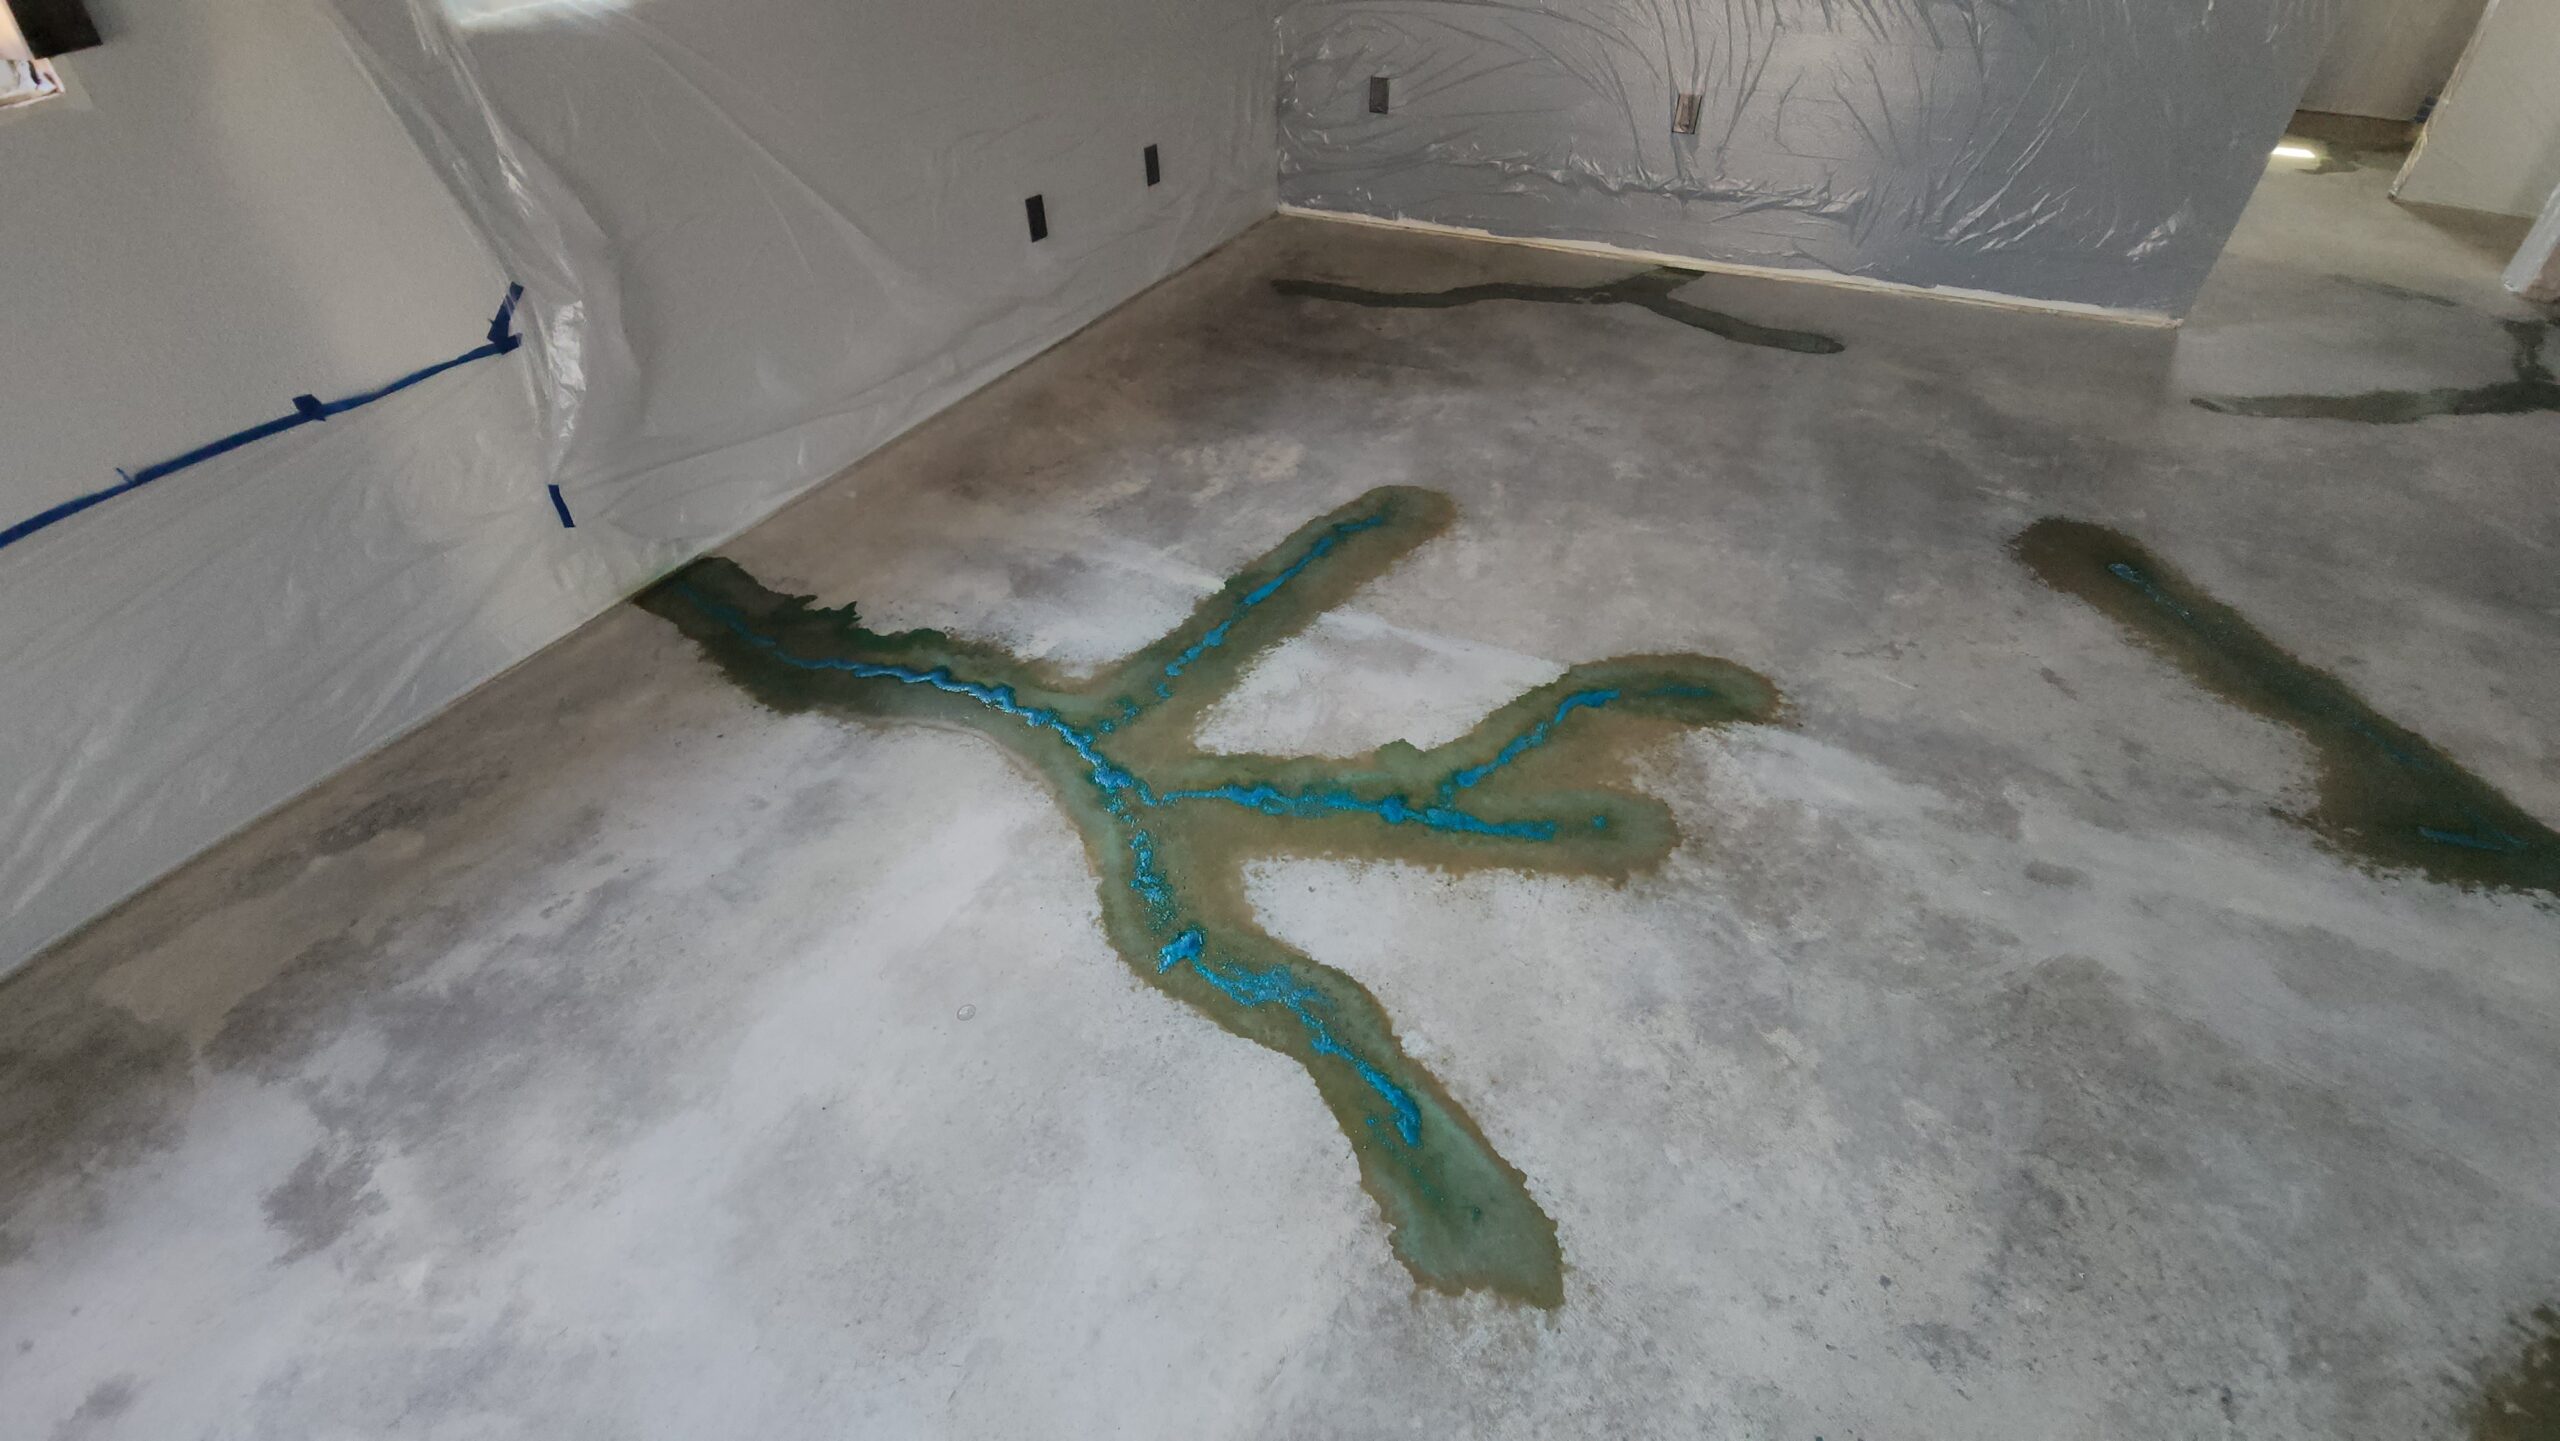
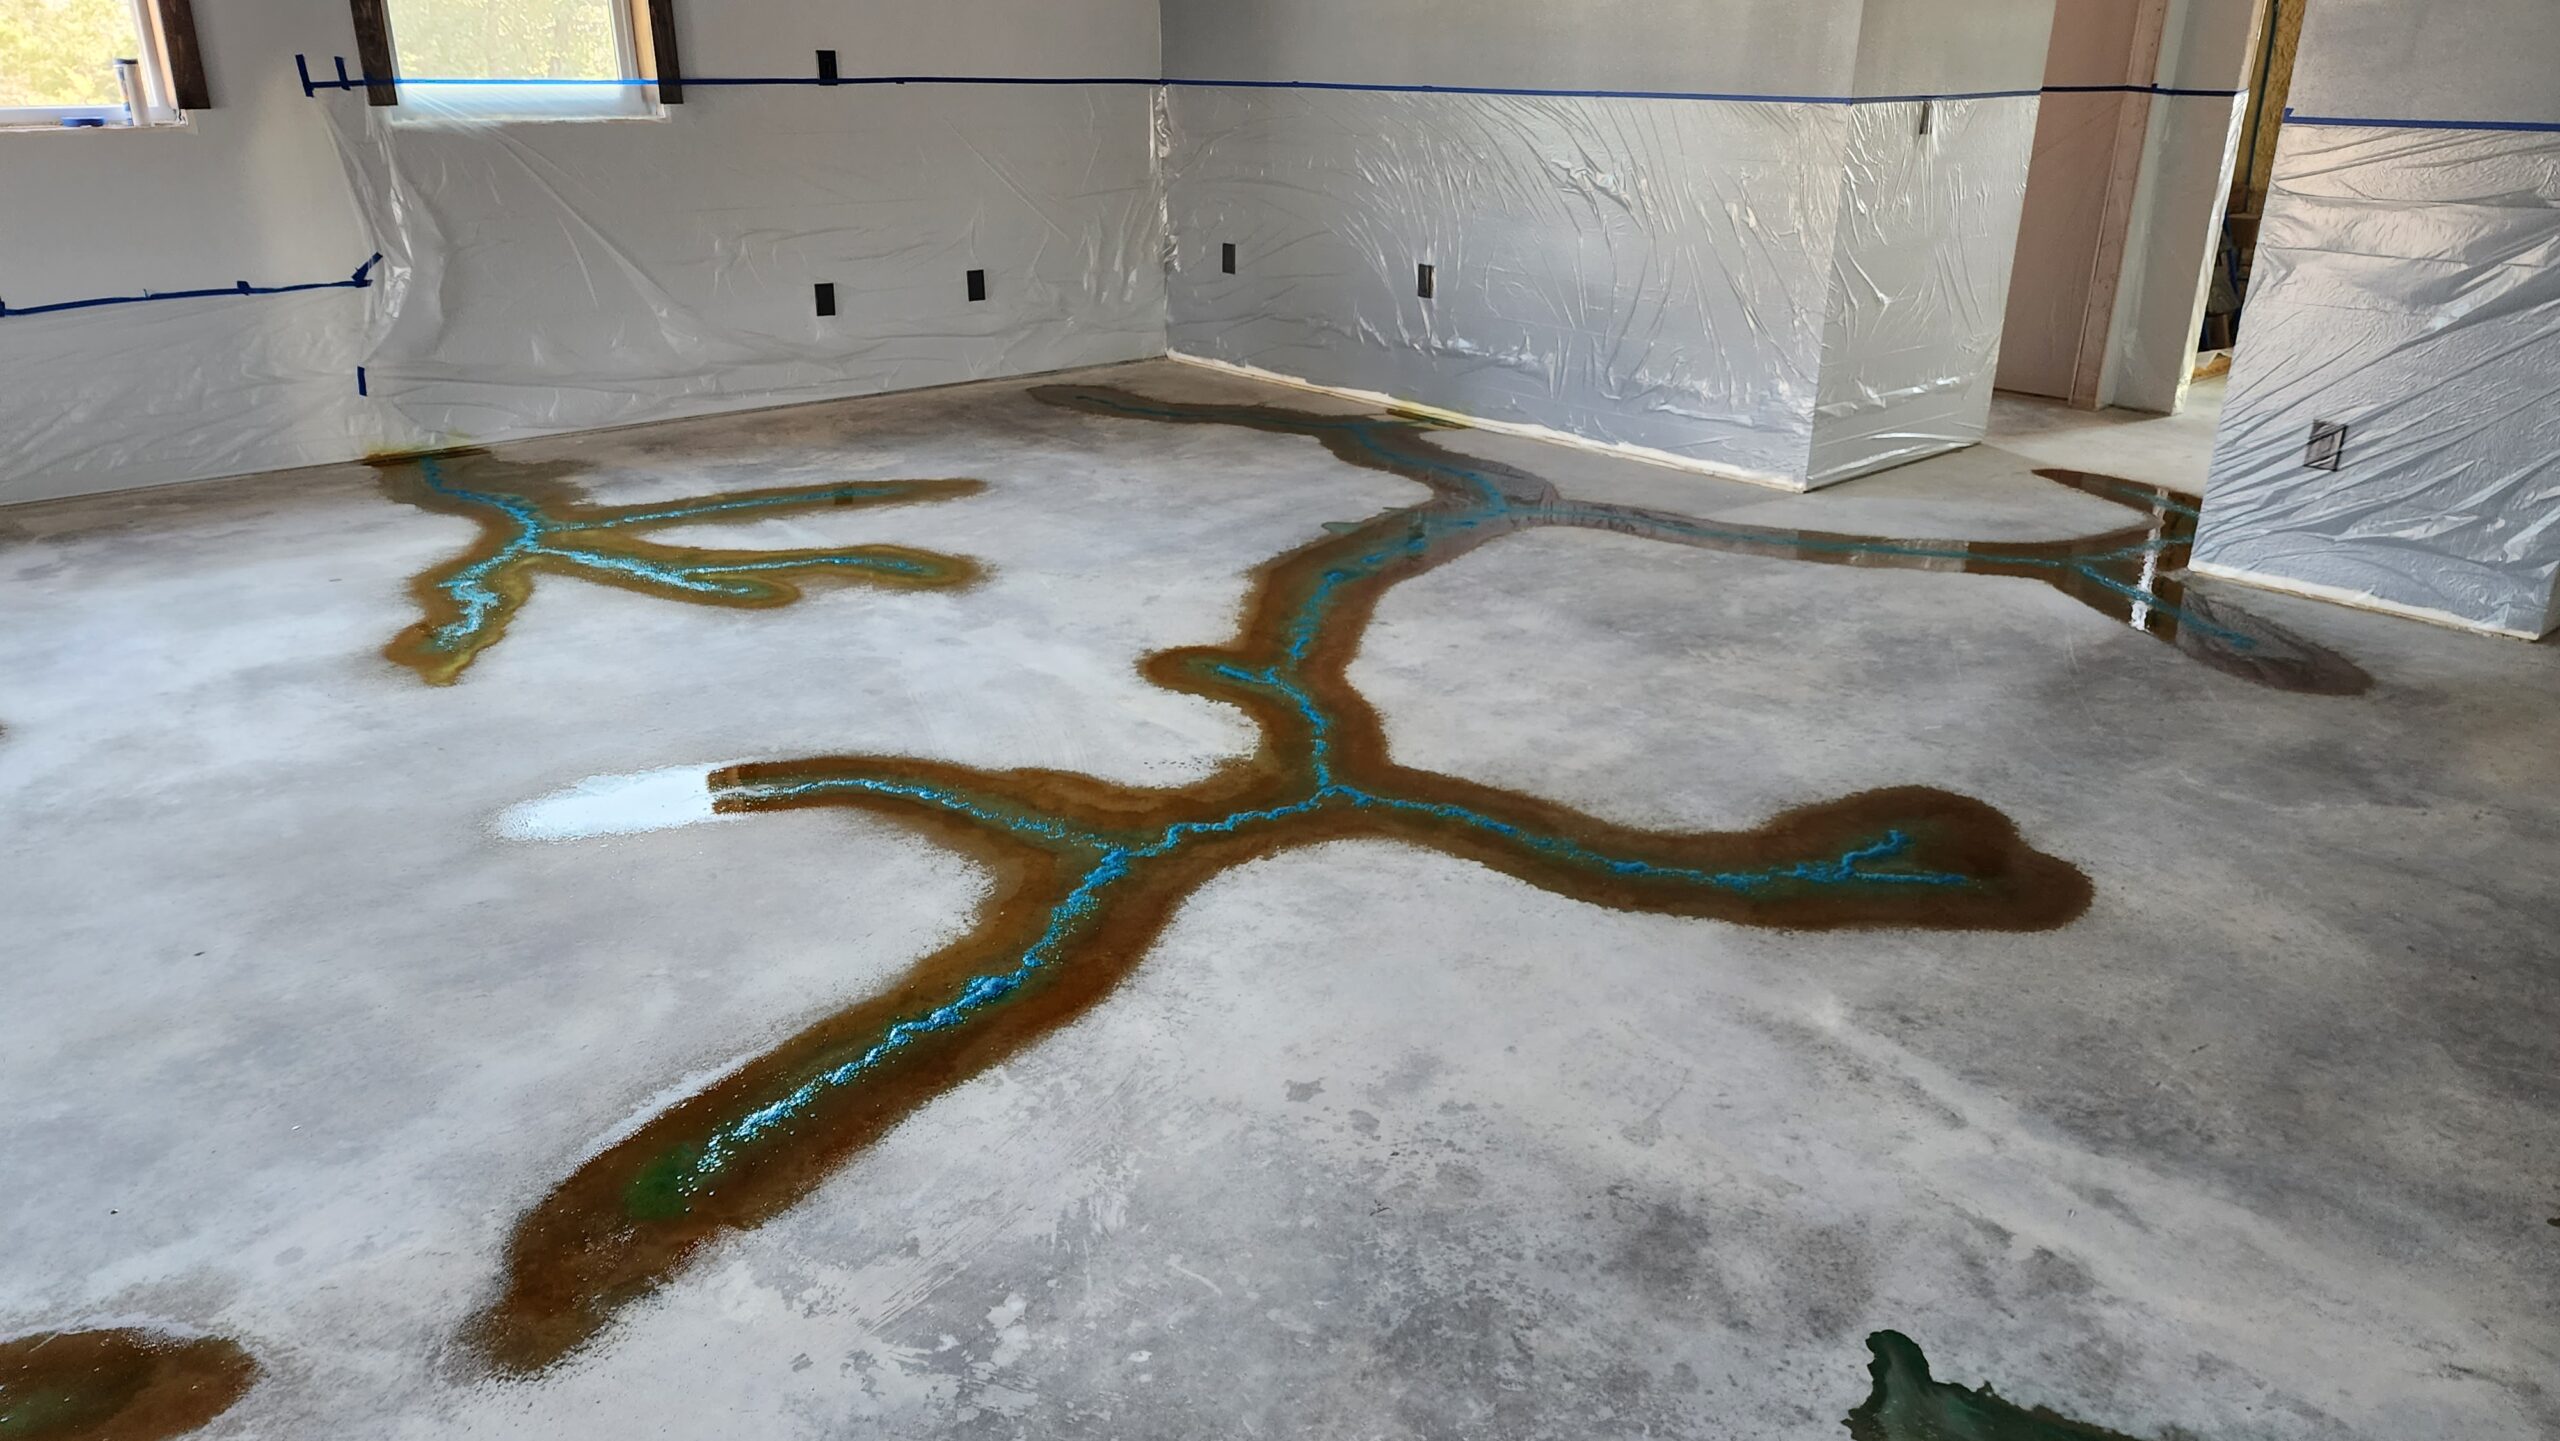
2. Create the Vein Design First, Then Stain Around It:
Alternatively, you can start by applying the veining pattern directly onto the raw concrete. After the veins are dry, apply a lighter color acid stain around the veining design. This method can create a more organic, natural blend of colors, with the veins appearing to emerge from the base.
Step 3: Create the Vein Design
There are various techniques to create a vein design. Here are a few popular methods:
Free Hand Veining Technique:
Using a pump sprayer with a narrow stream, create vein patterns with a darker acid stain. This gives you full control over the design and allows for a more artistic approach.
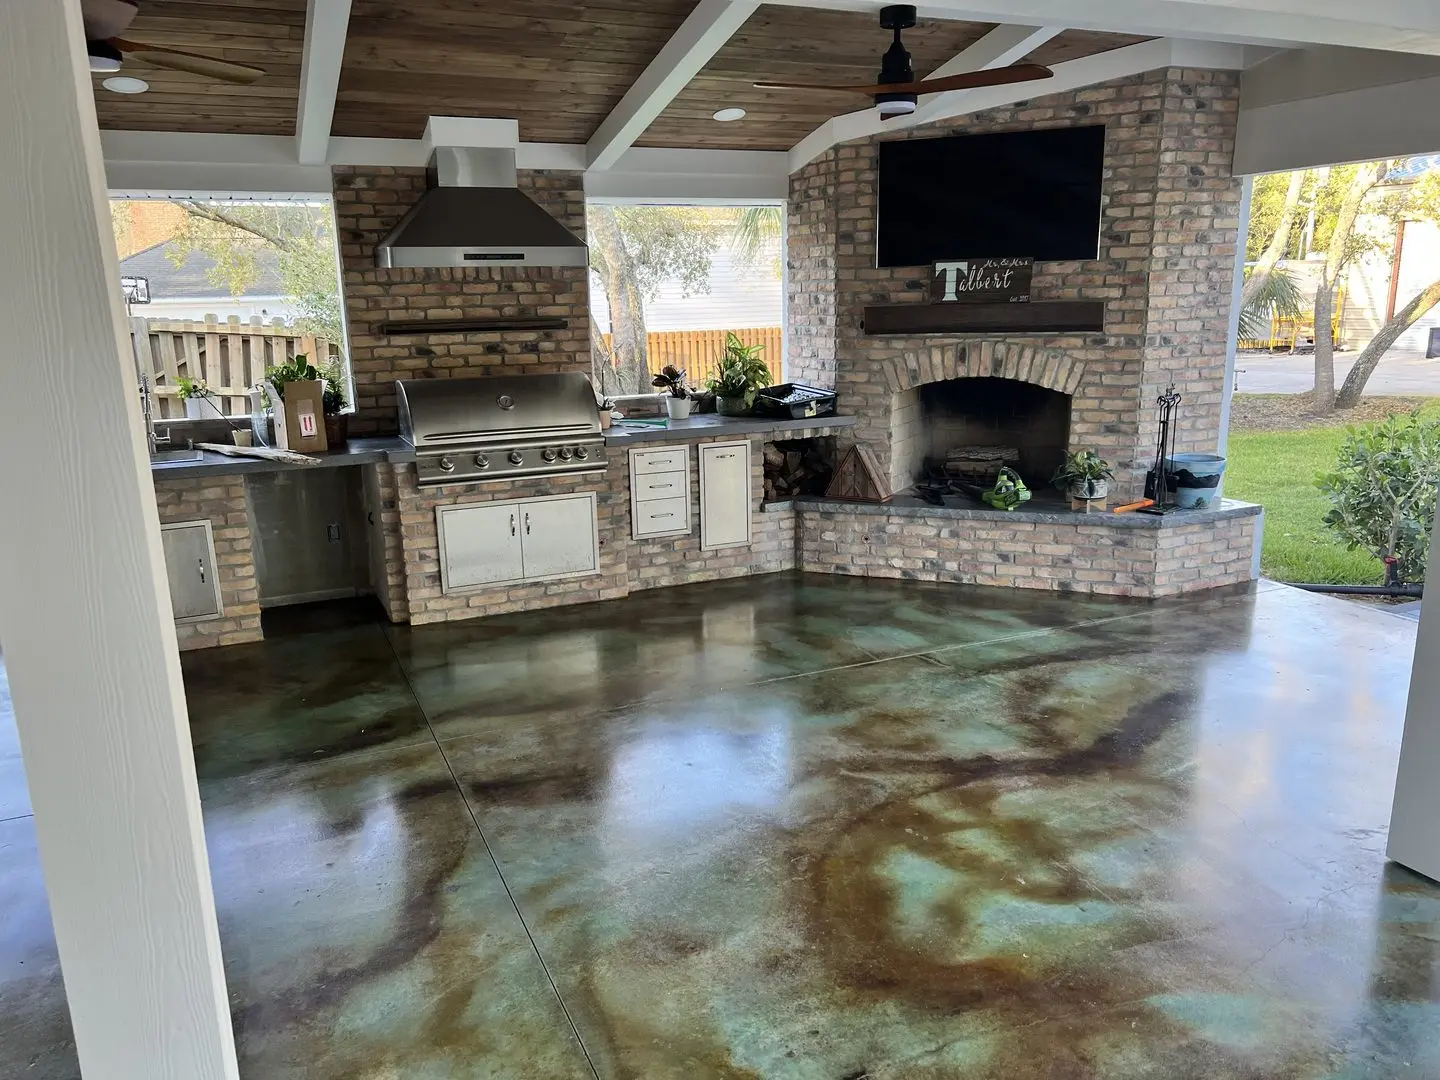
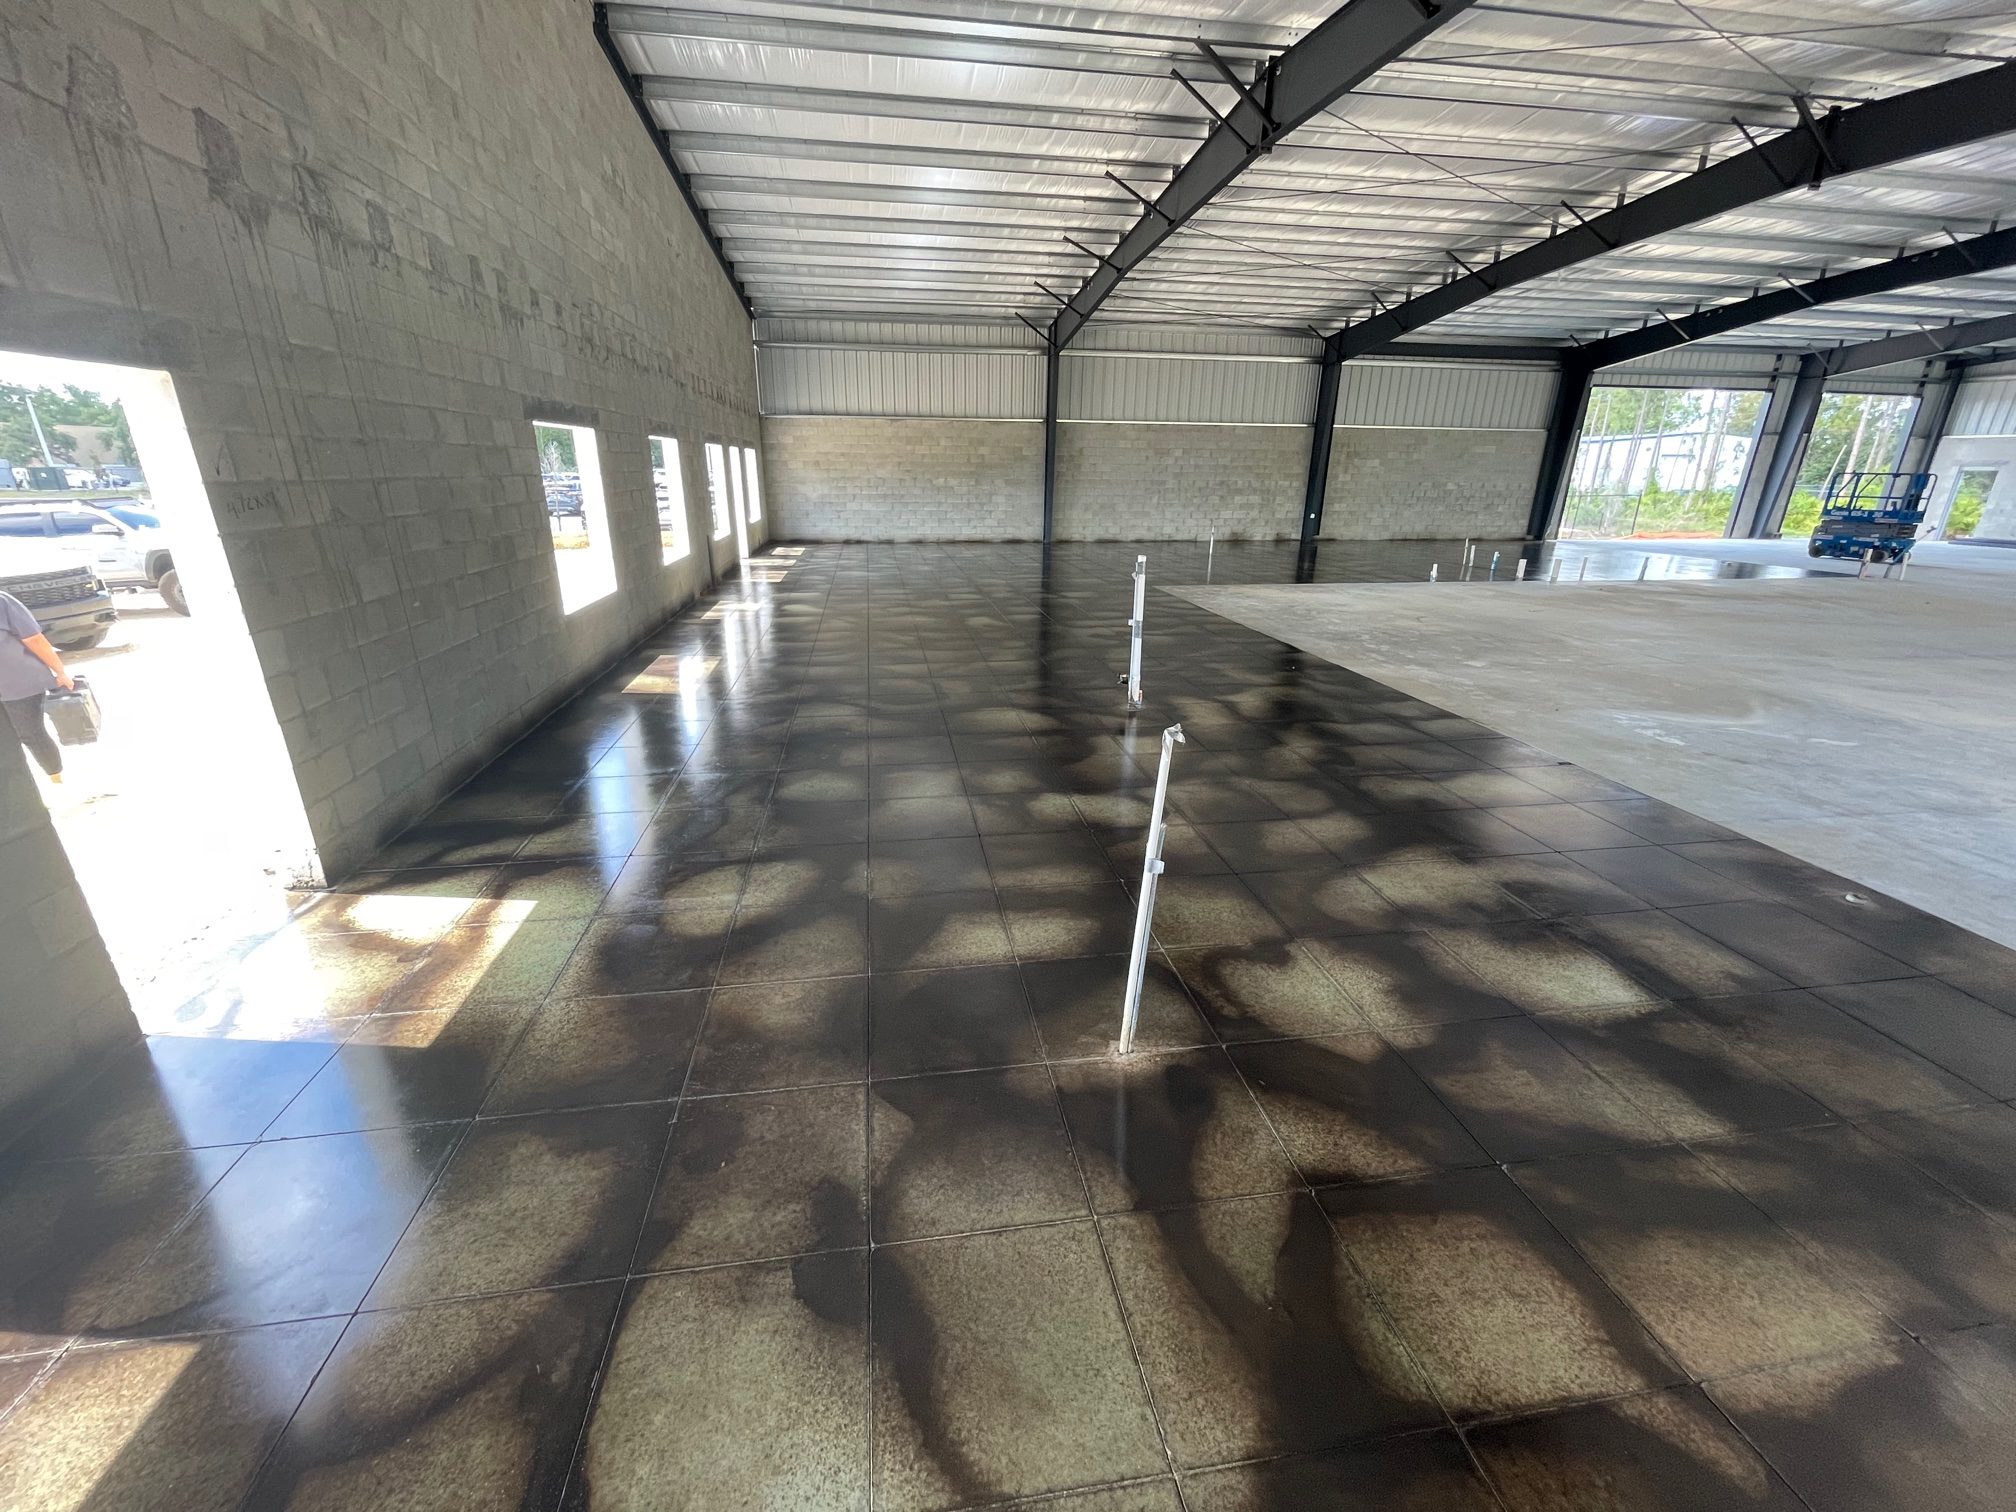
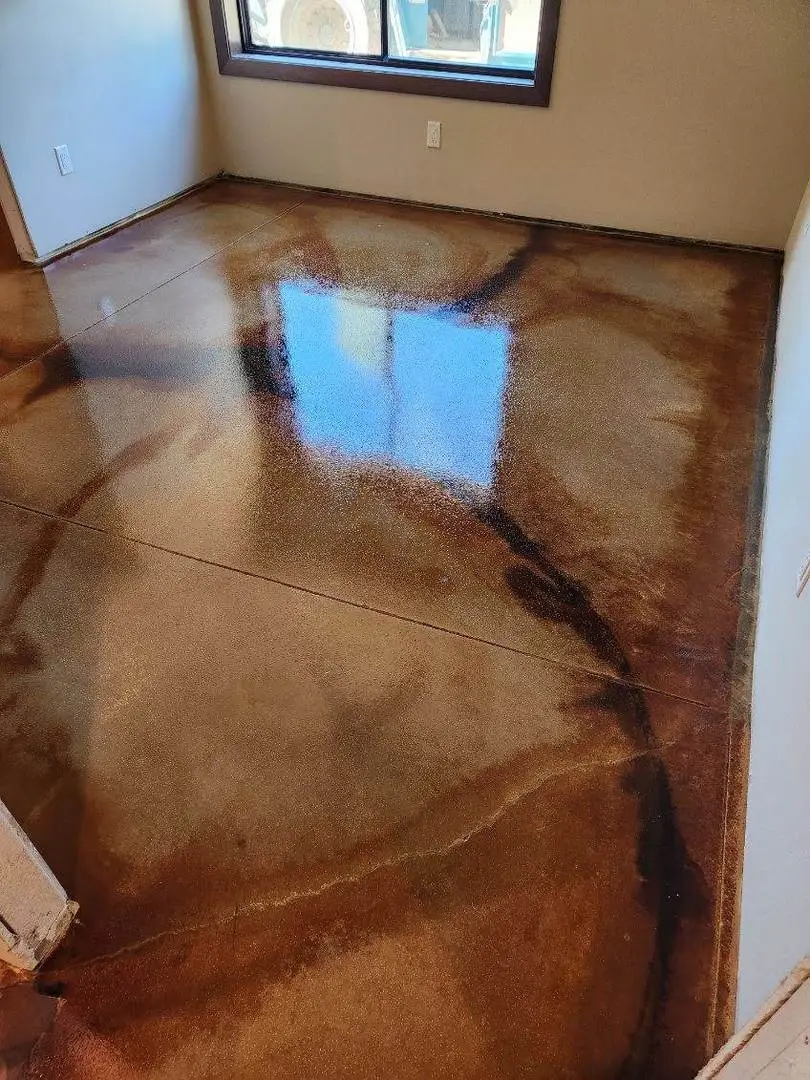
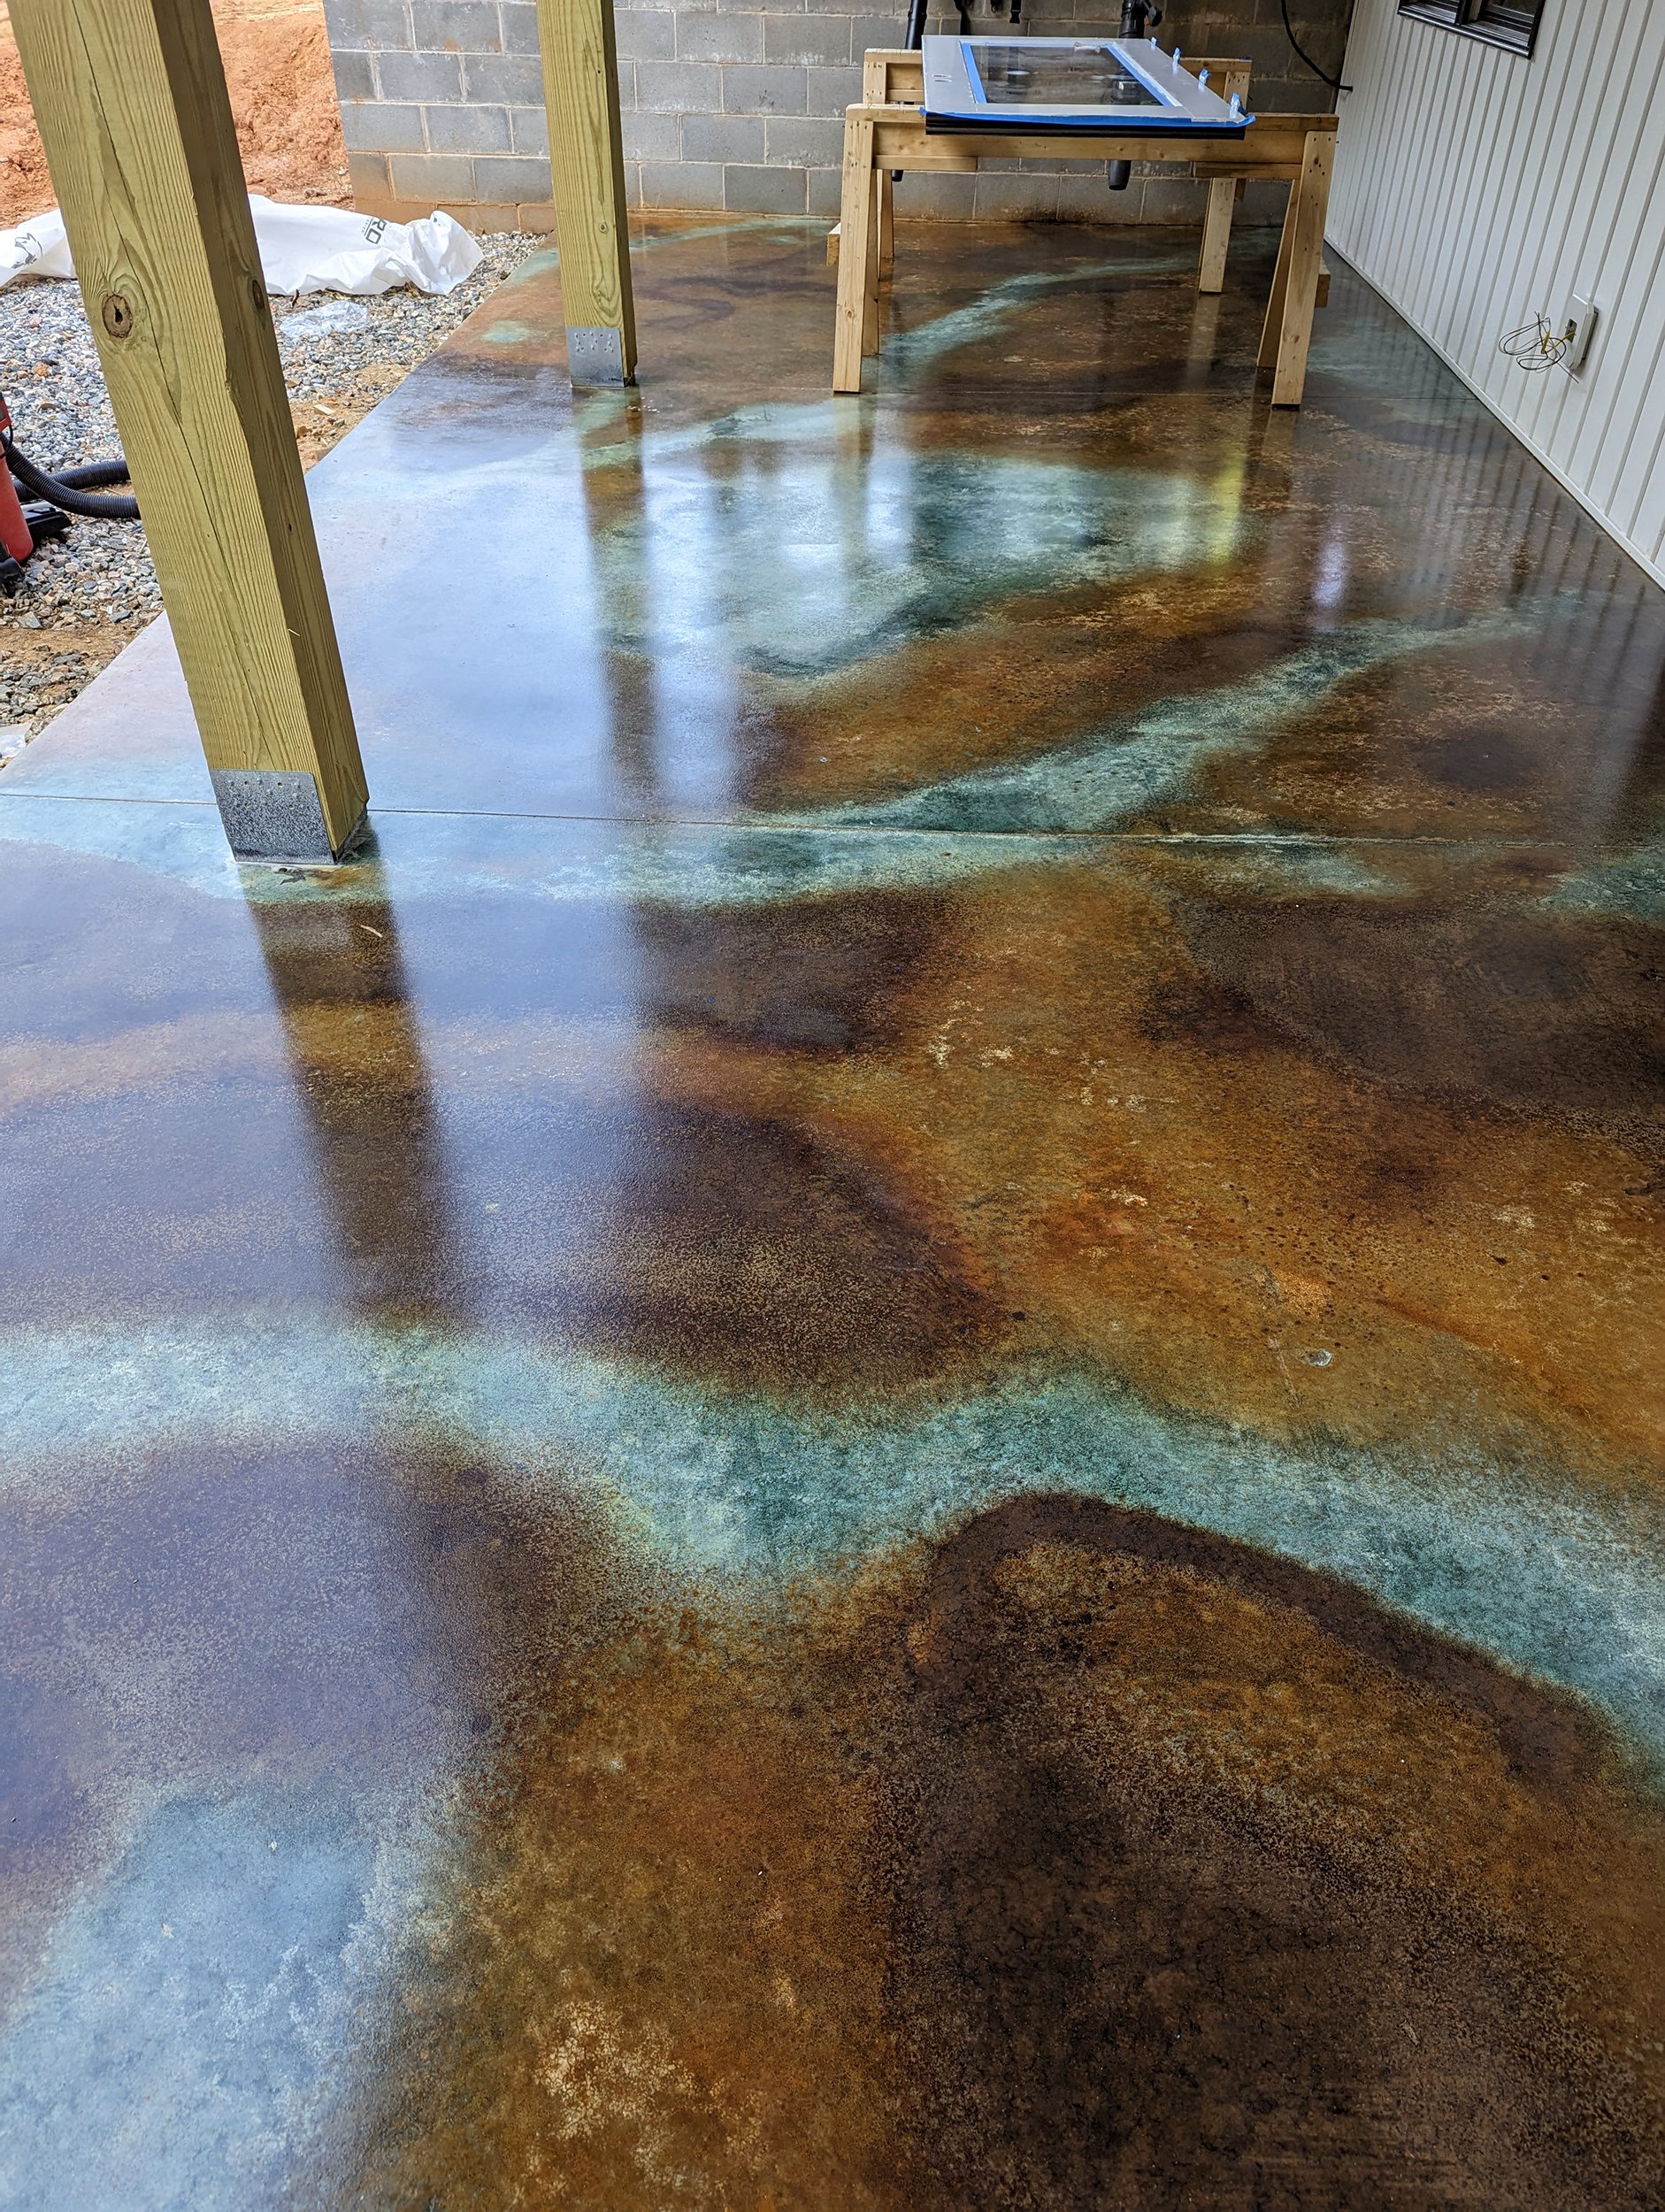
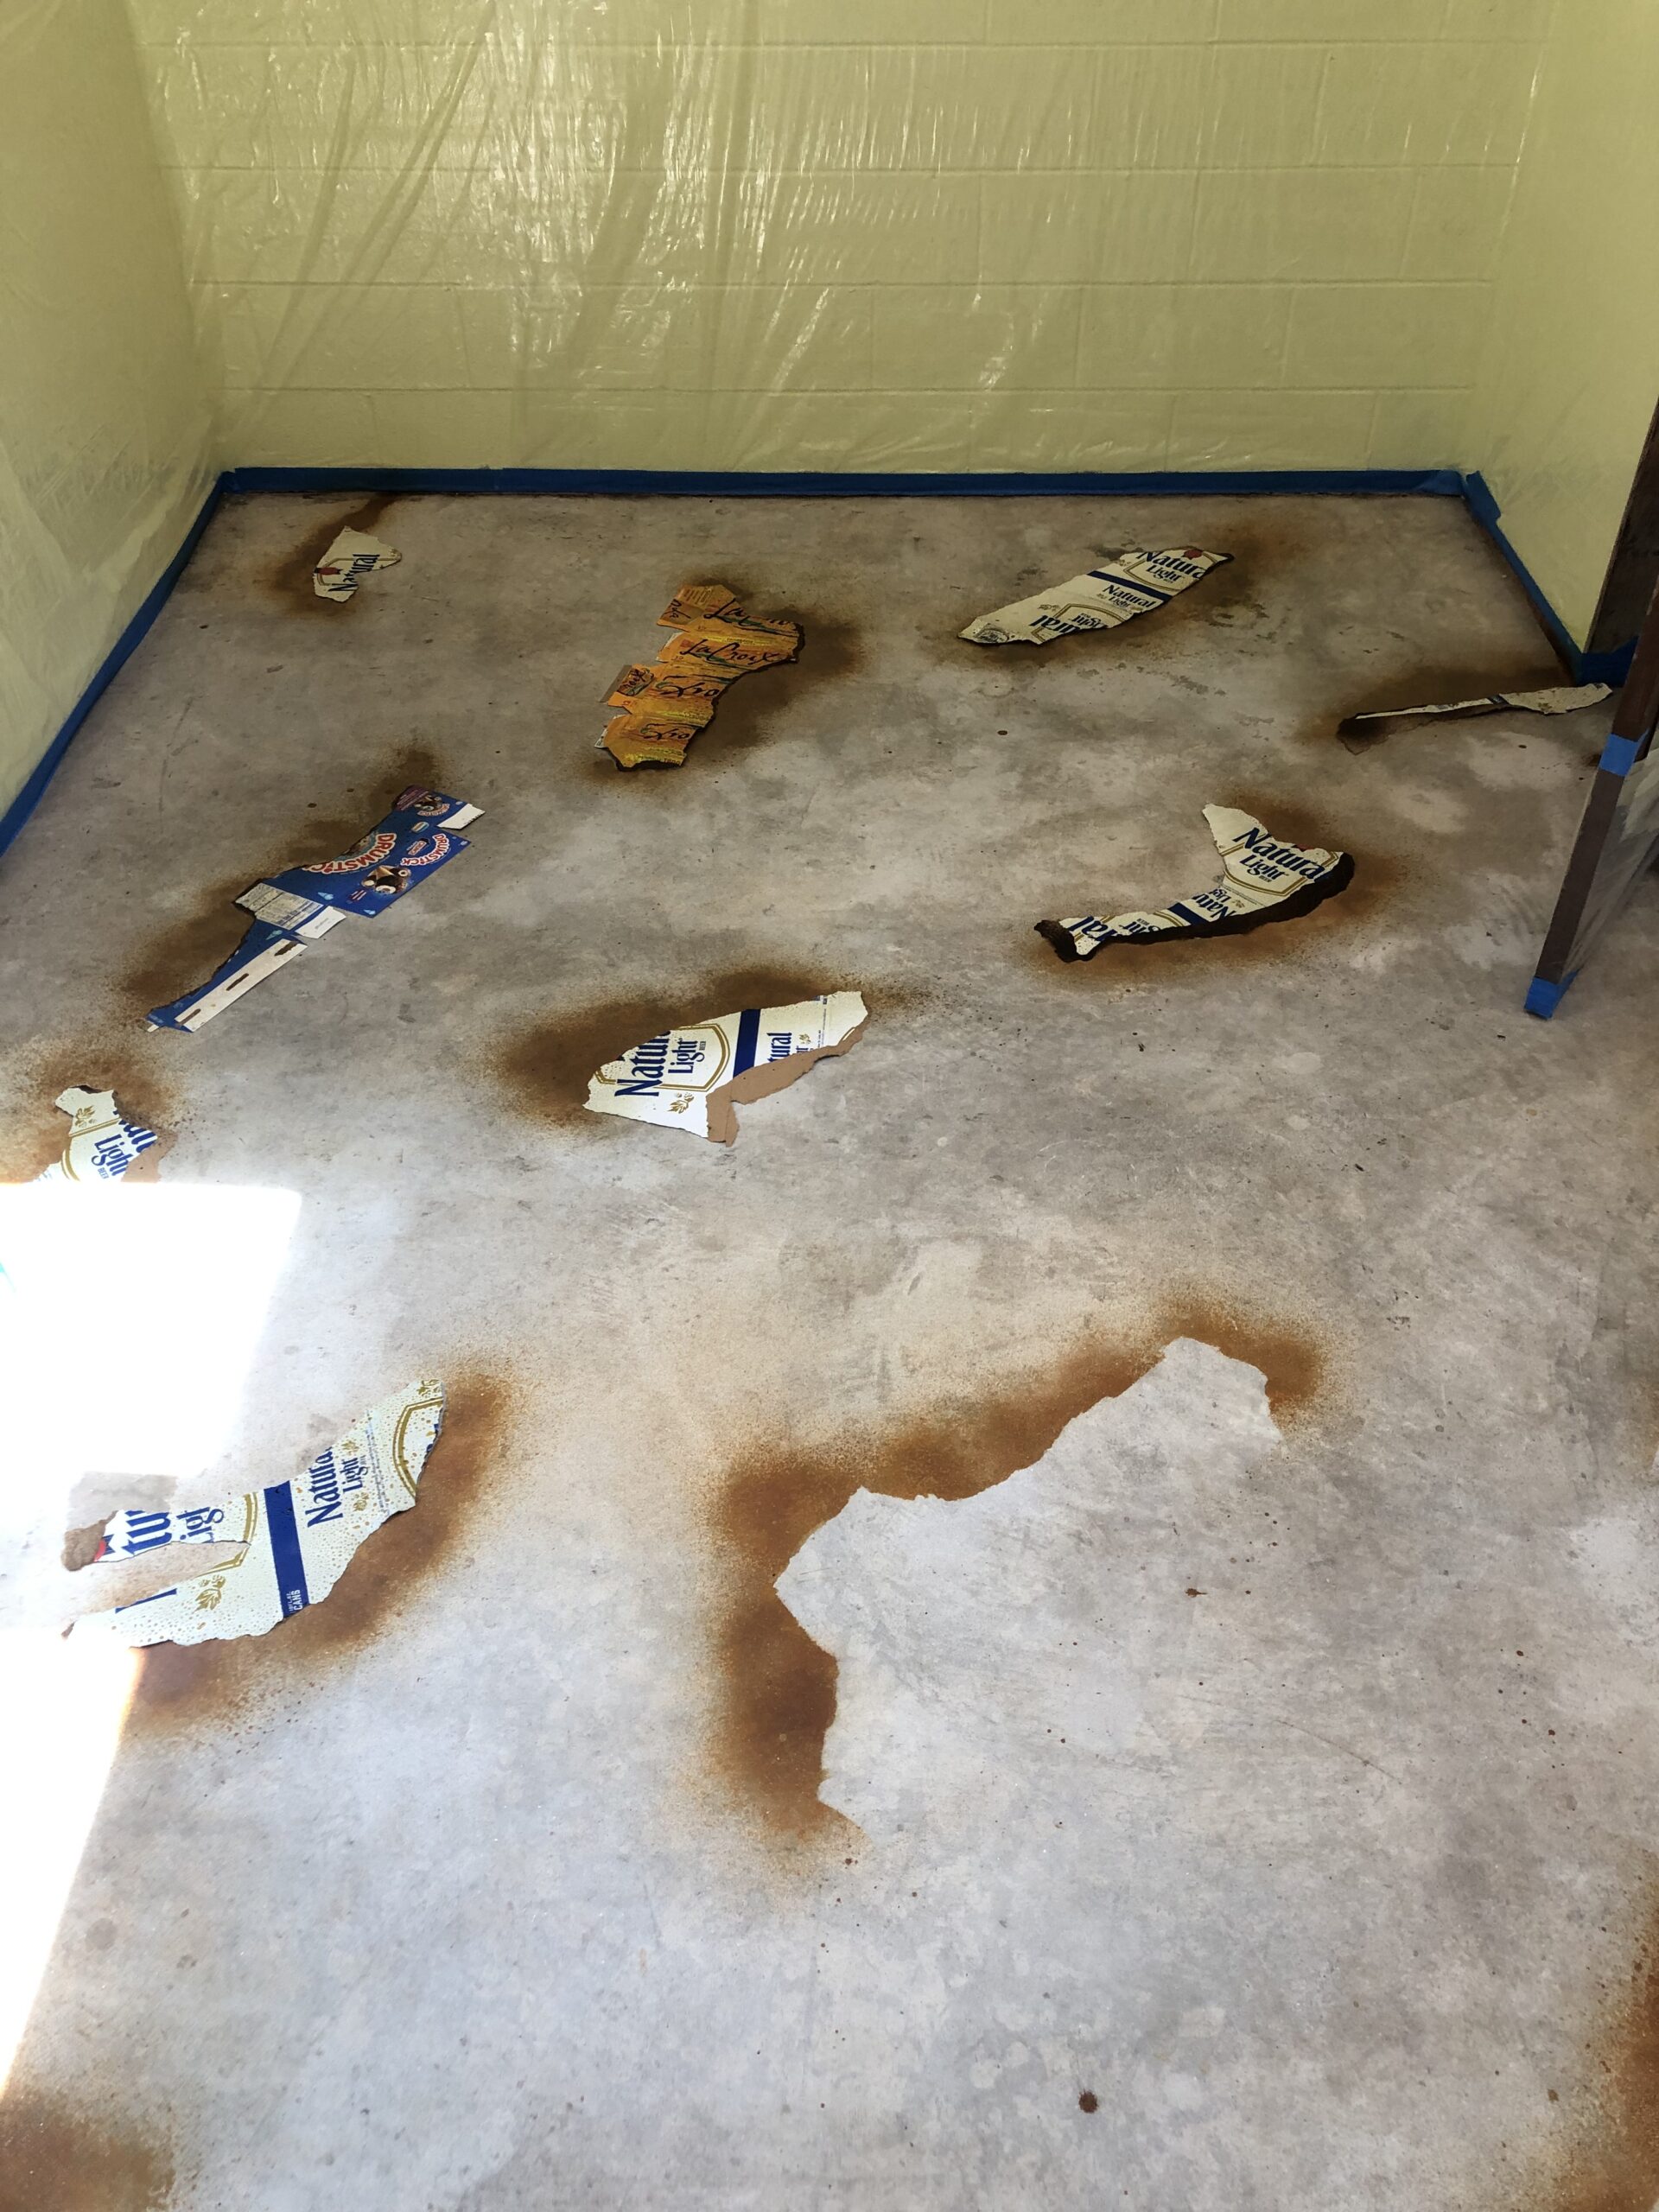
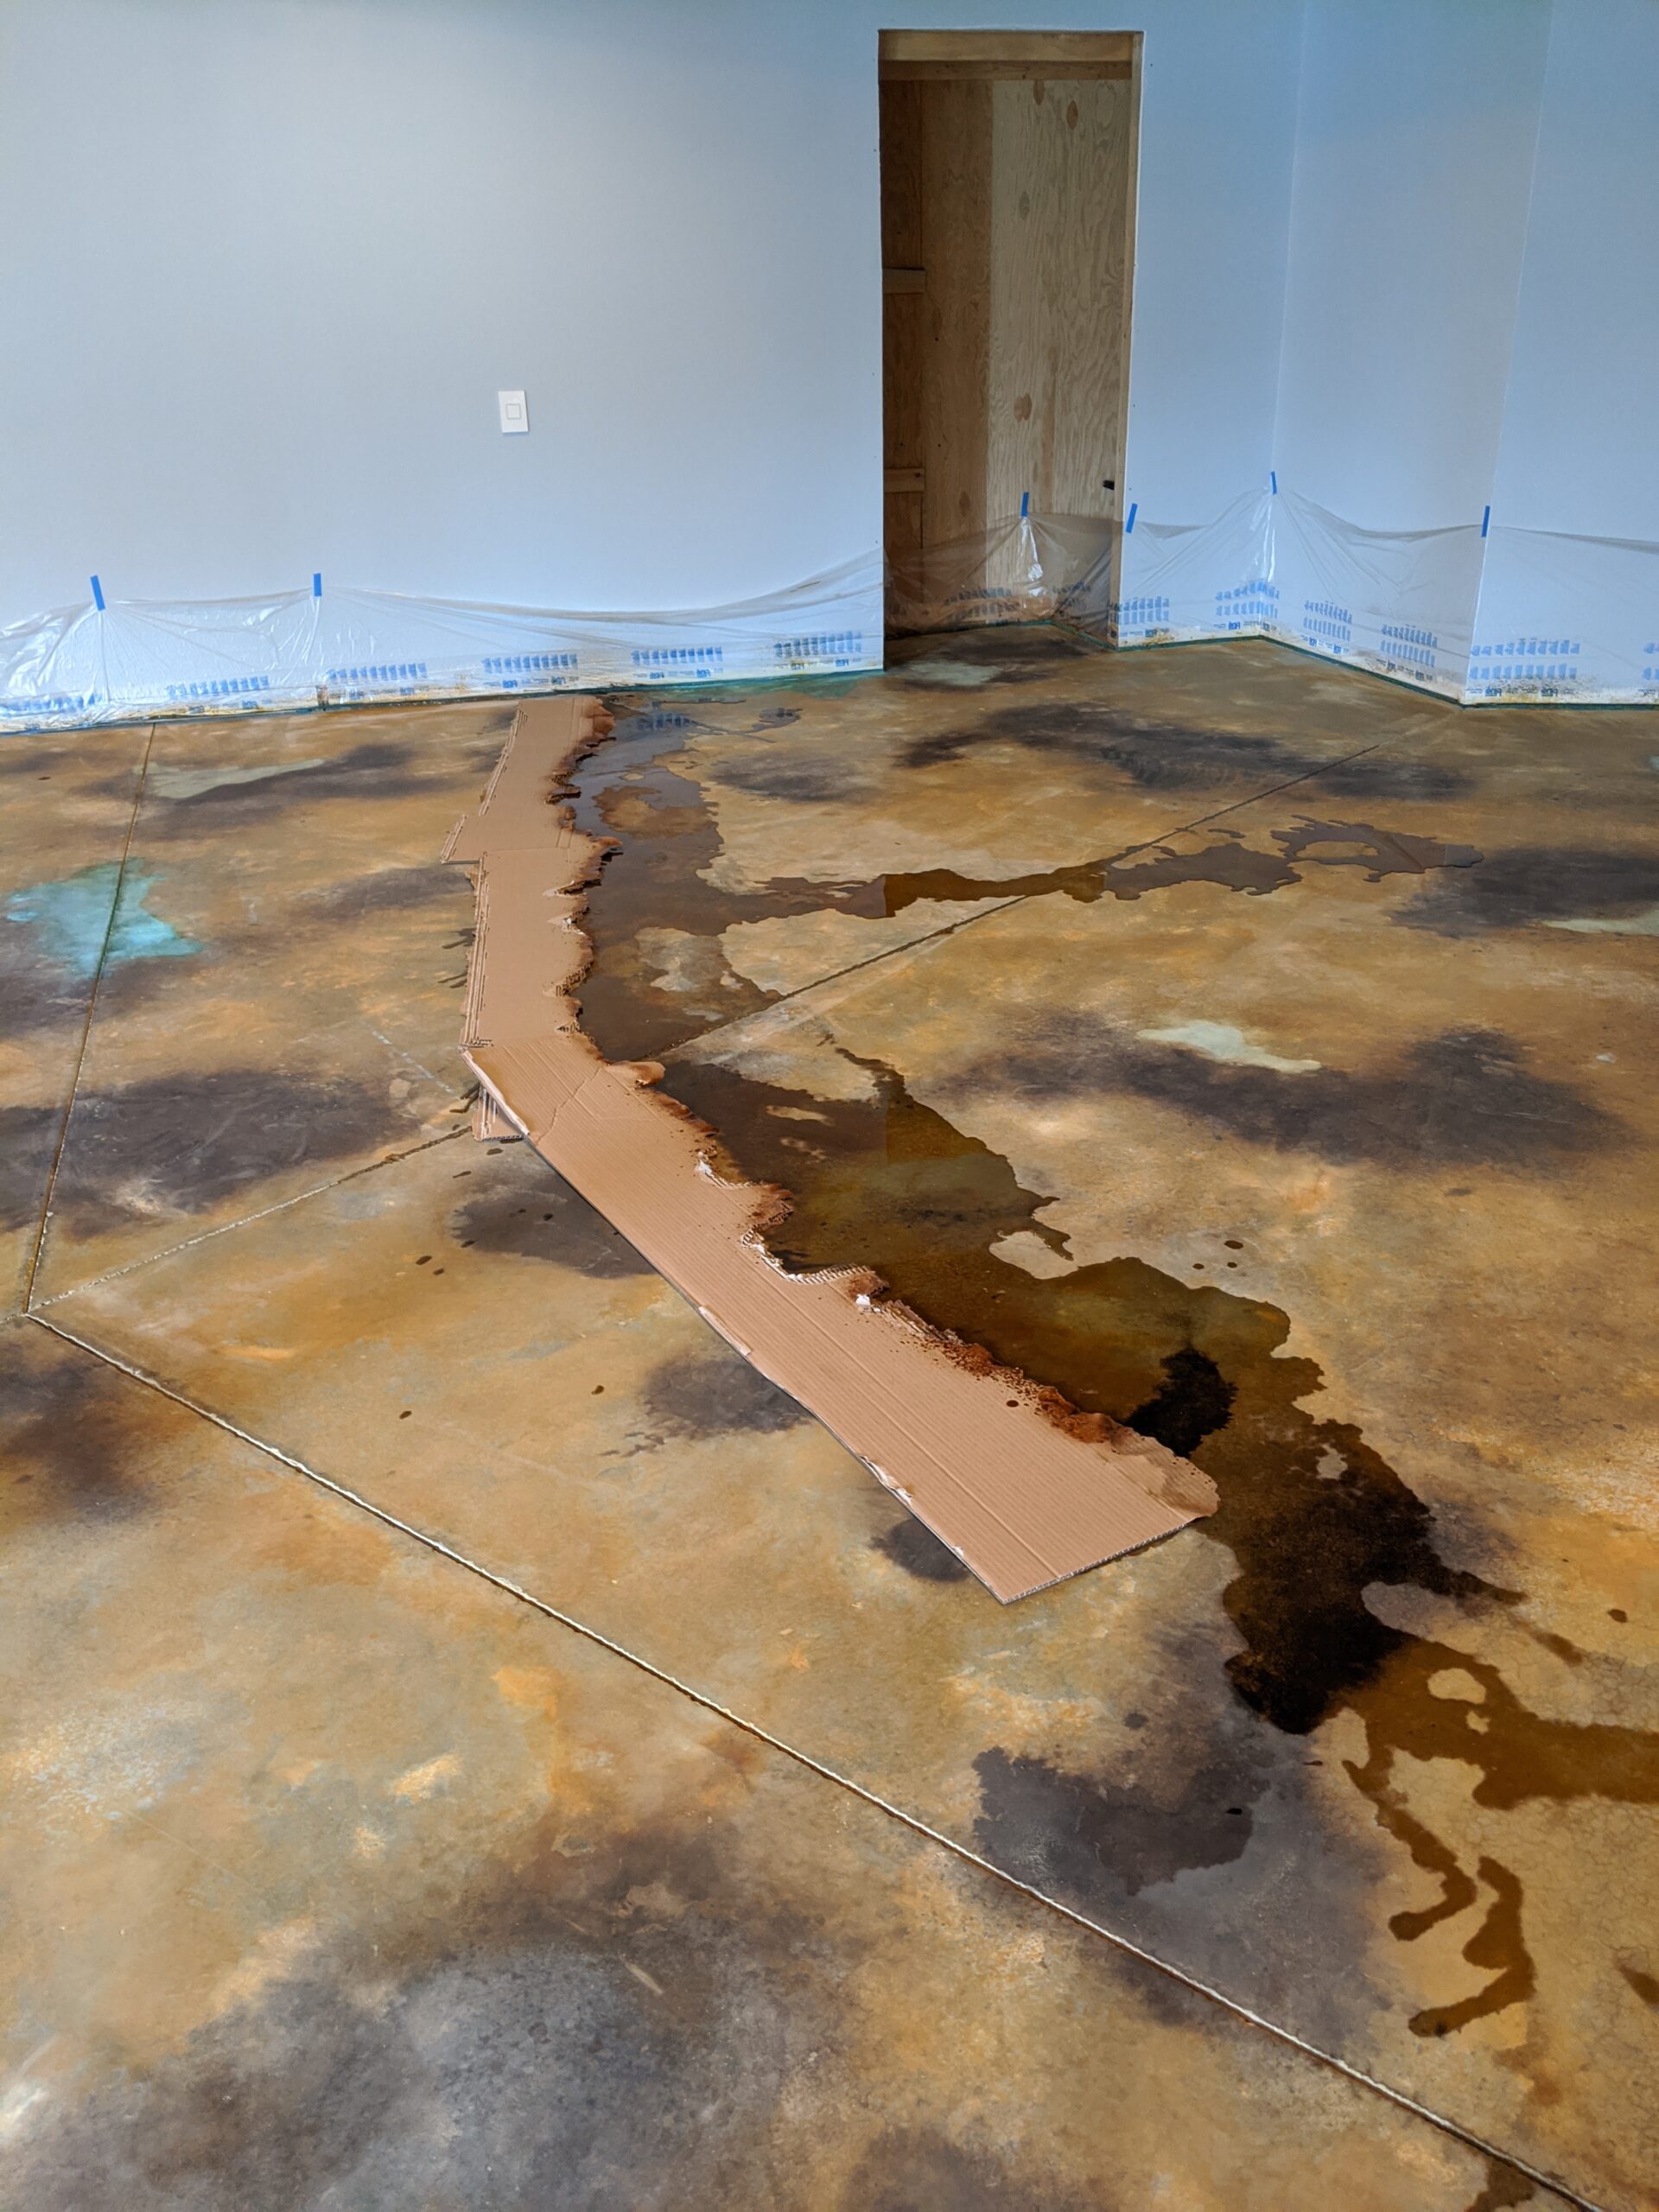
Torn Cardboard Concrete Veining Technique:
For a unique, irregular pattern, arrange torn pieces of cardboard on the concrete and apply the stain 6-8 inches away. The stain will spread unevenly, creating natural-looking veins. Be sure to remove the cardboard only after the stain dries to avoid drips.
Toilet Paper Veining Technique
Twist or bunch up toilet paper and lay it on the surface, then lightly wet it. Drip acid stain over the paper to create custom, wrinkled veins. You can use your fingers to adjust the paper for a more organic look.
Tip: Keep a spray bottle of neutralizer nearby in case you need to control any stray drips.
To avoid accidentally dripping some concrete acid stain onto an area you didn’t mean to, come prepared. Bring a spray bottle filled with concrete acid stain neutralizer on hand to spray on the stray droplets.
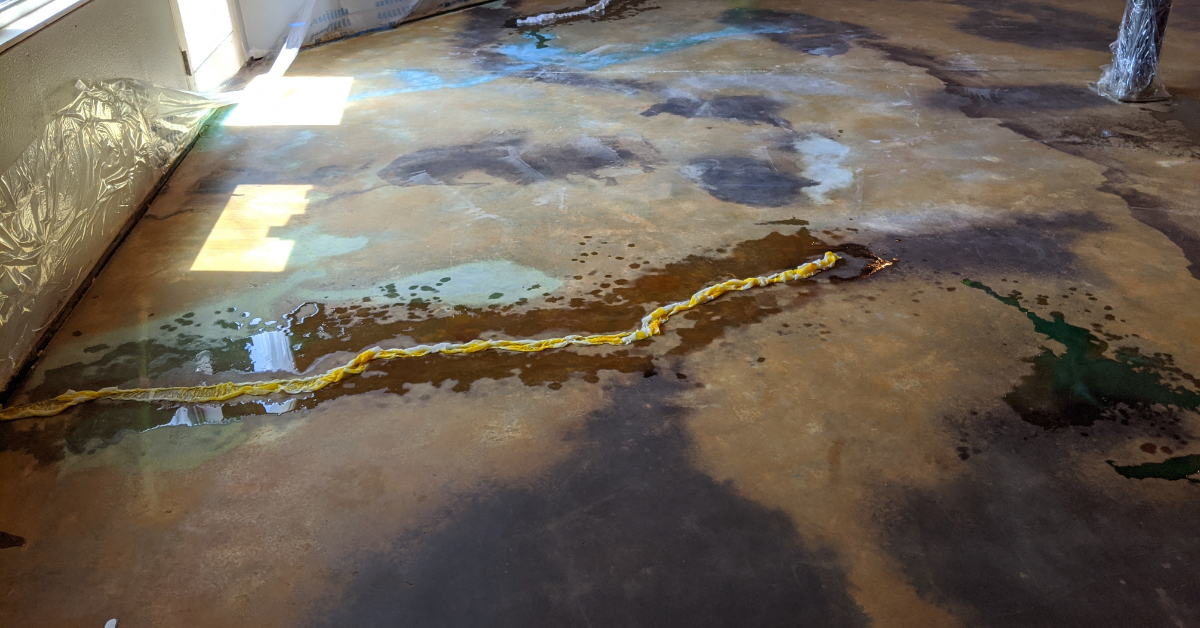
Plastic Wrap Veining Technique
Crinkle plastic wrap into long tubes and place them on the concrete. Apply acid stain around the plastic. This creates thin, natural veins where the plastic collects the stain.
Miracle-Gro Veining Technique
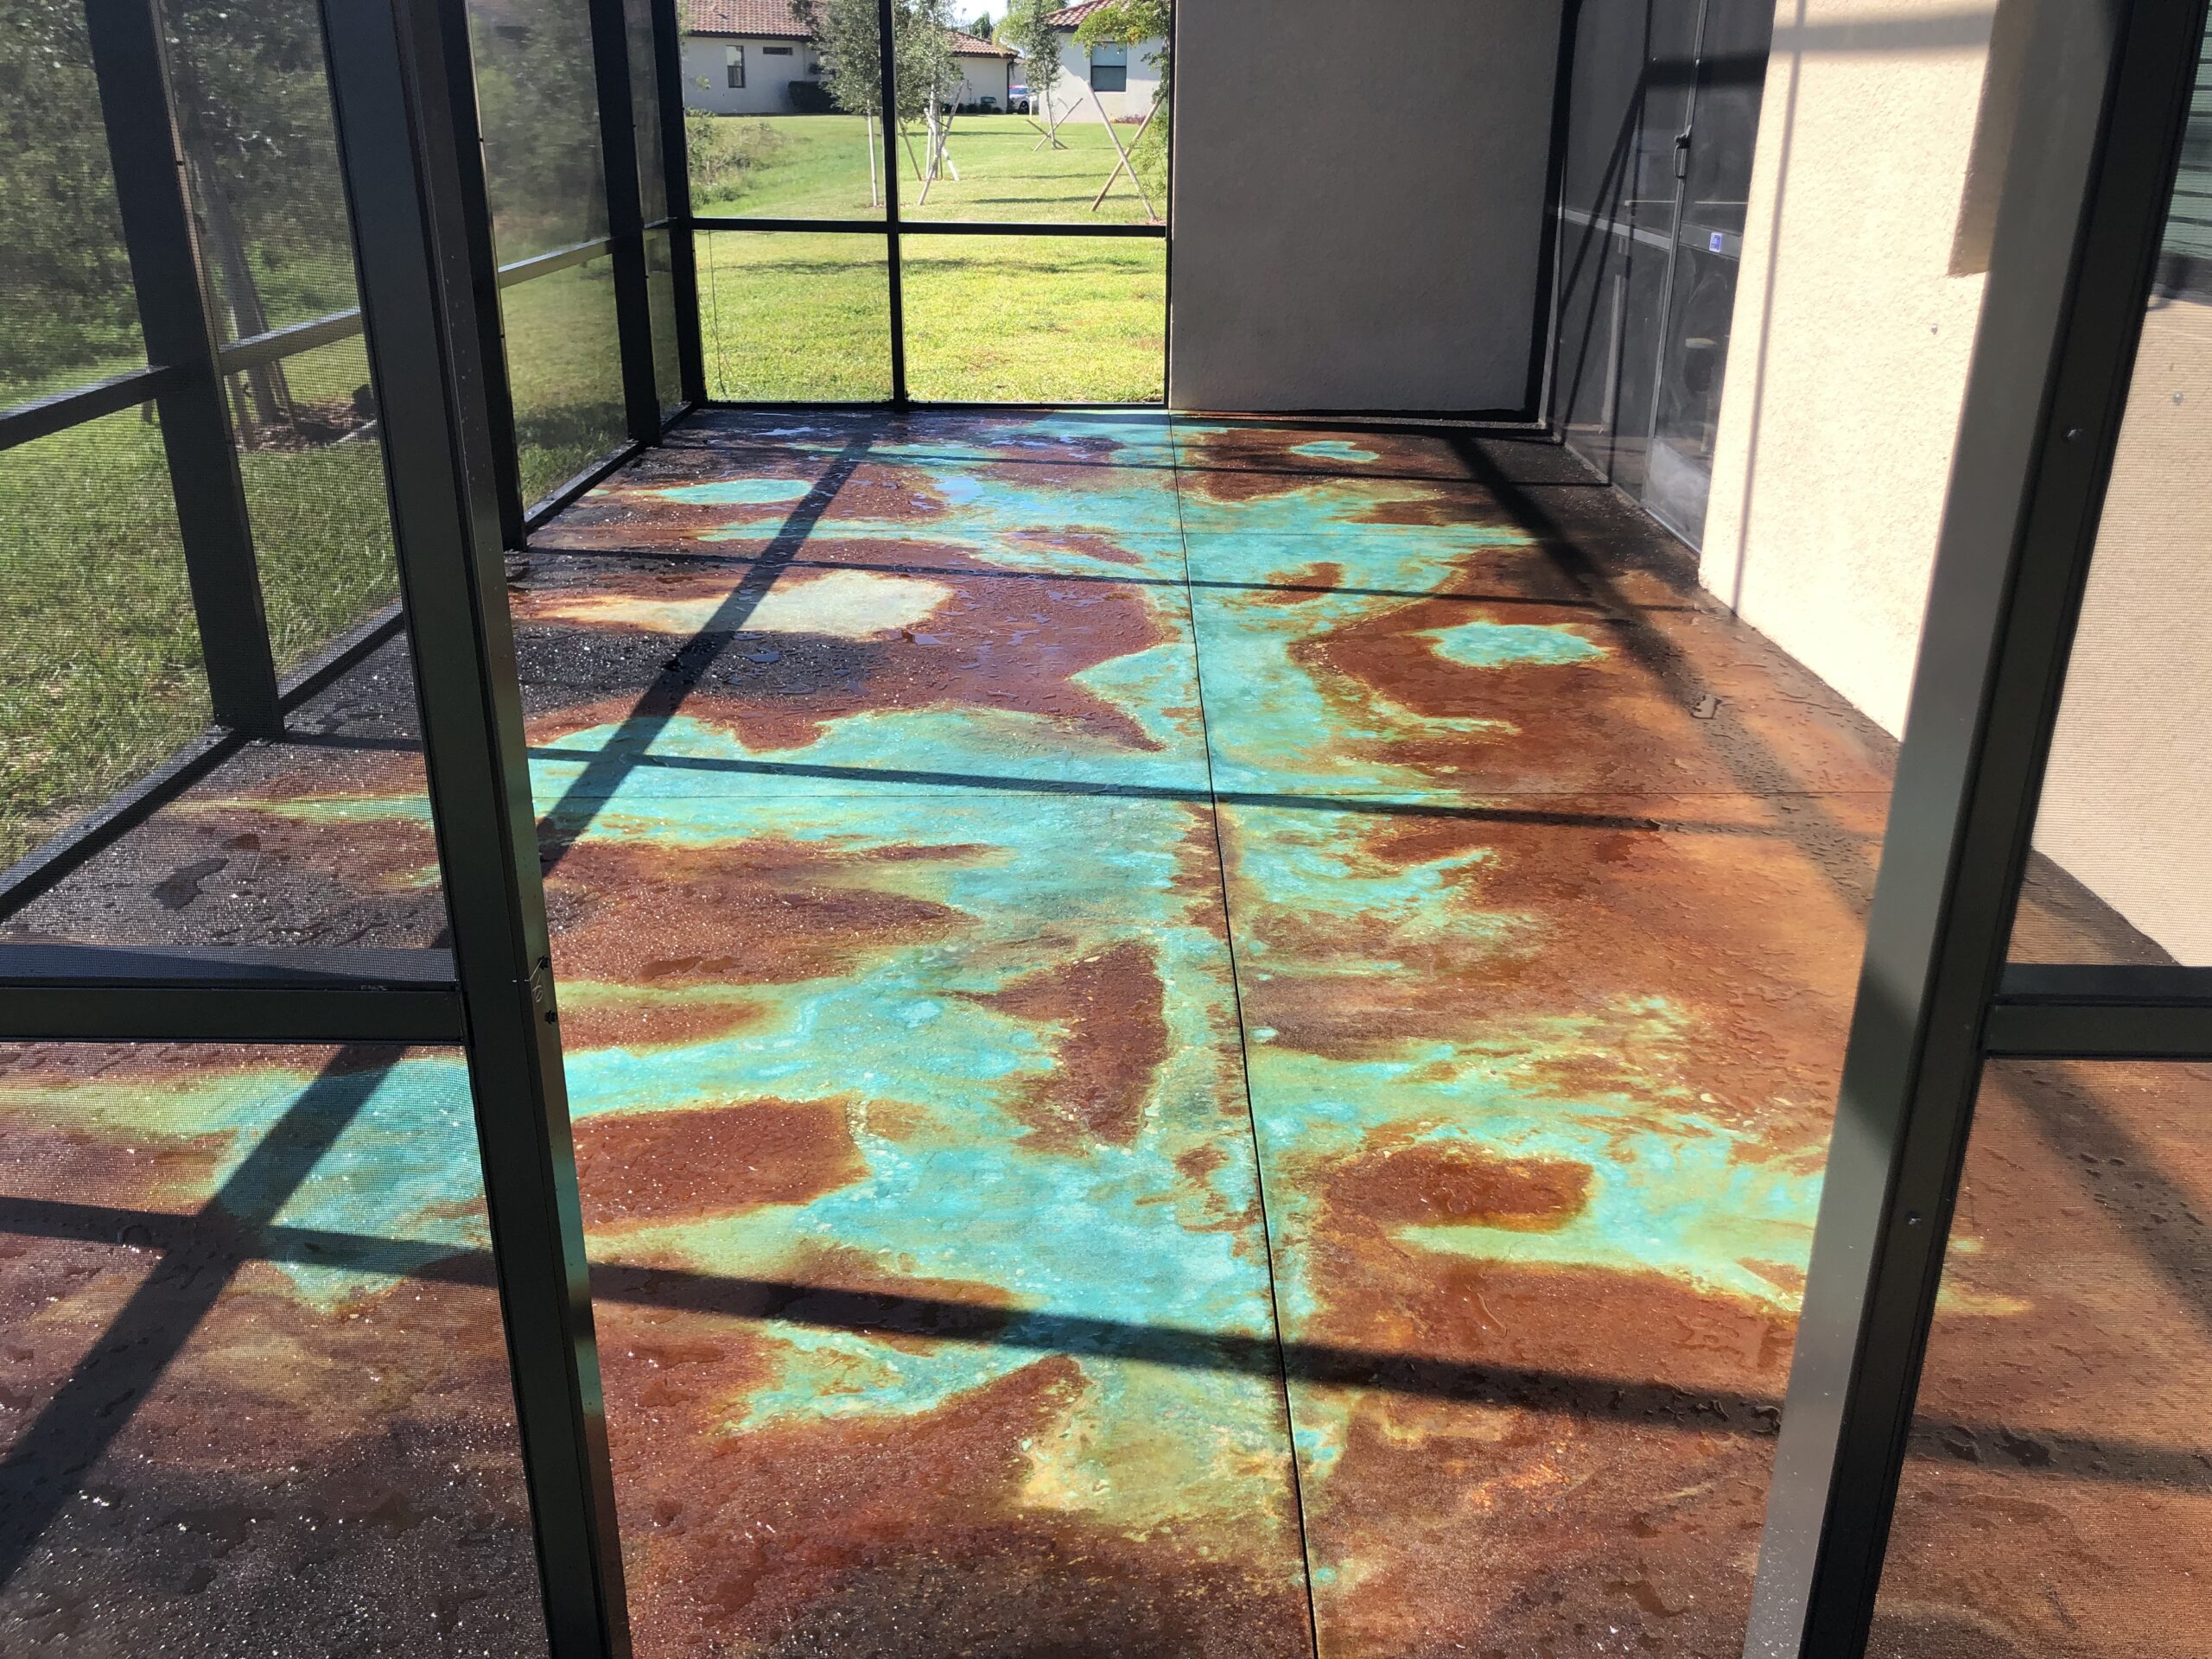
To enhance blue-green stains like Azure Blue or Seagrass, sprinkle Miracle-Gro in a vein-like pattern, then apply the stain over it. This helps intensify the blue tones for a more vibrant finish.
For more details, see our blog on “Using Miracle Gro To Enhance The Blue Hues Of Azure Blue Acid Stain On Concrete.“
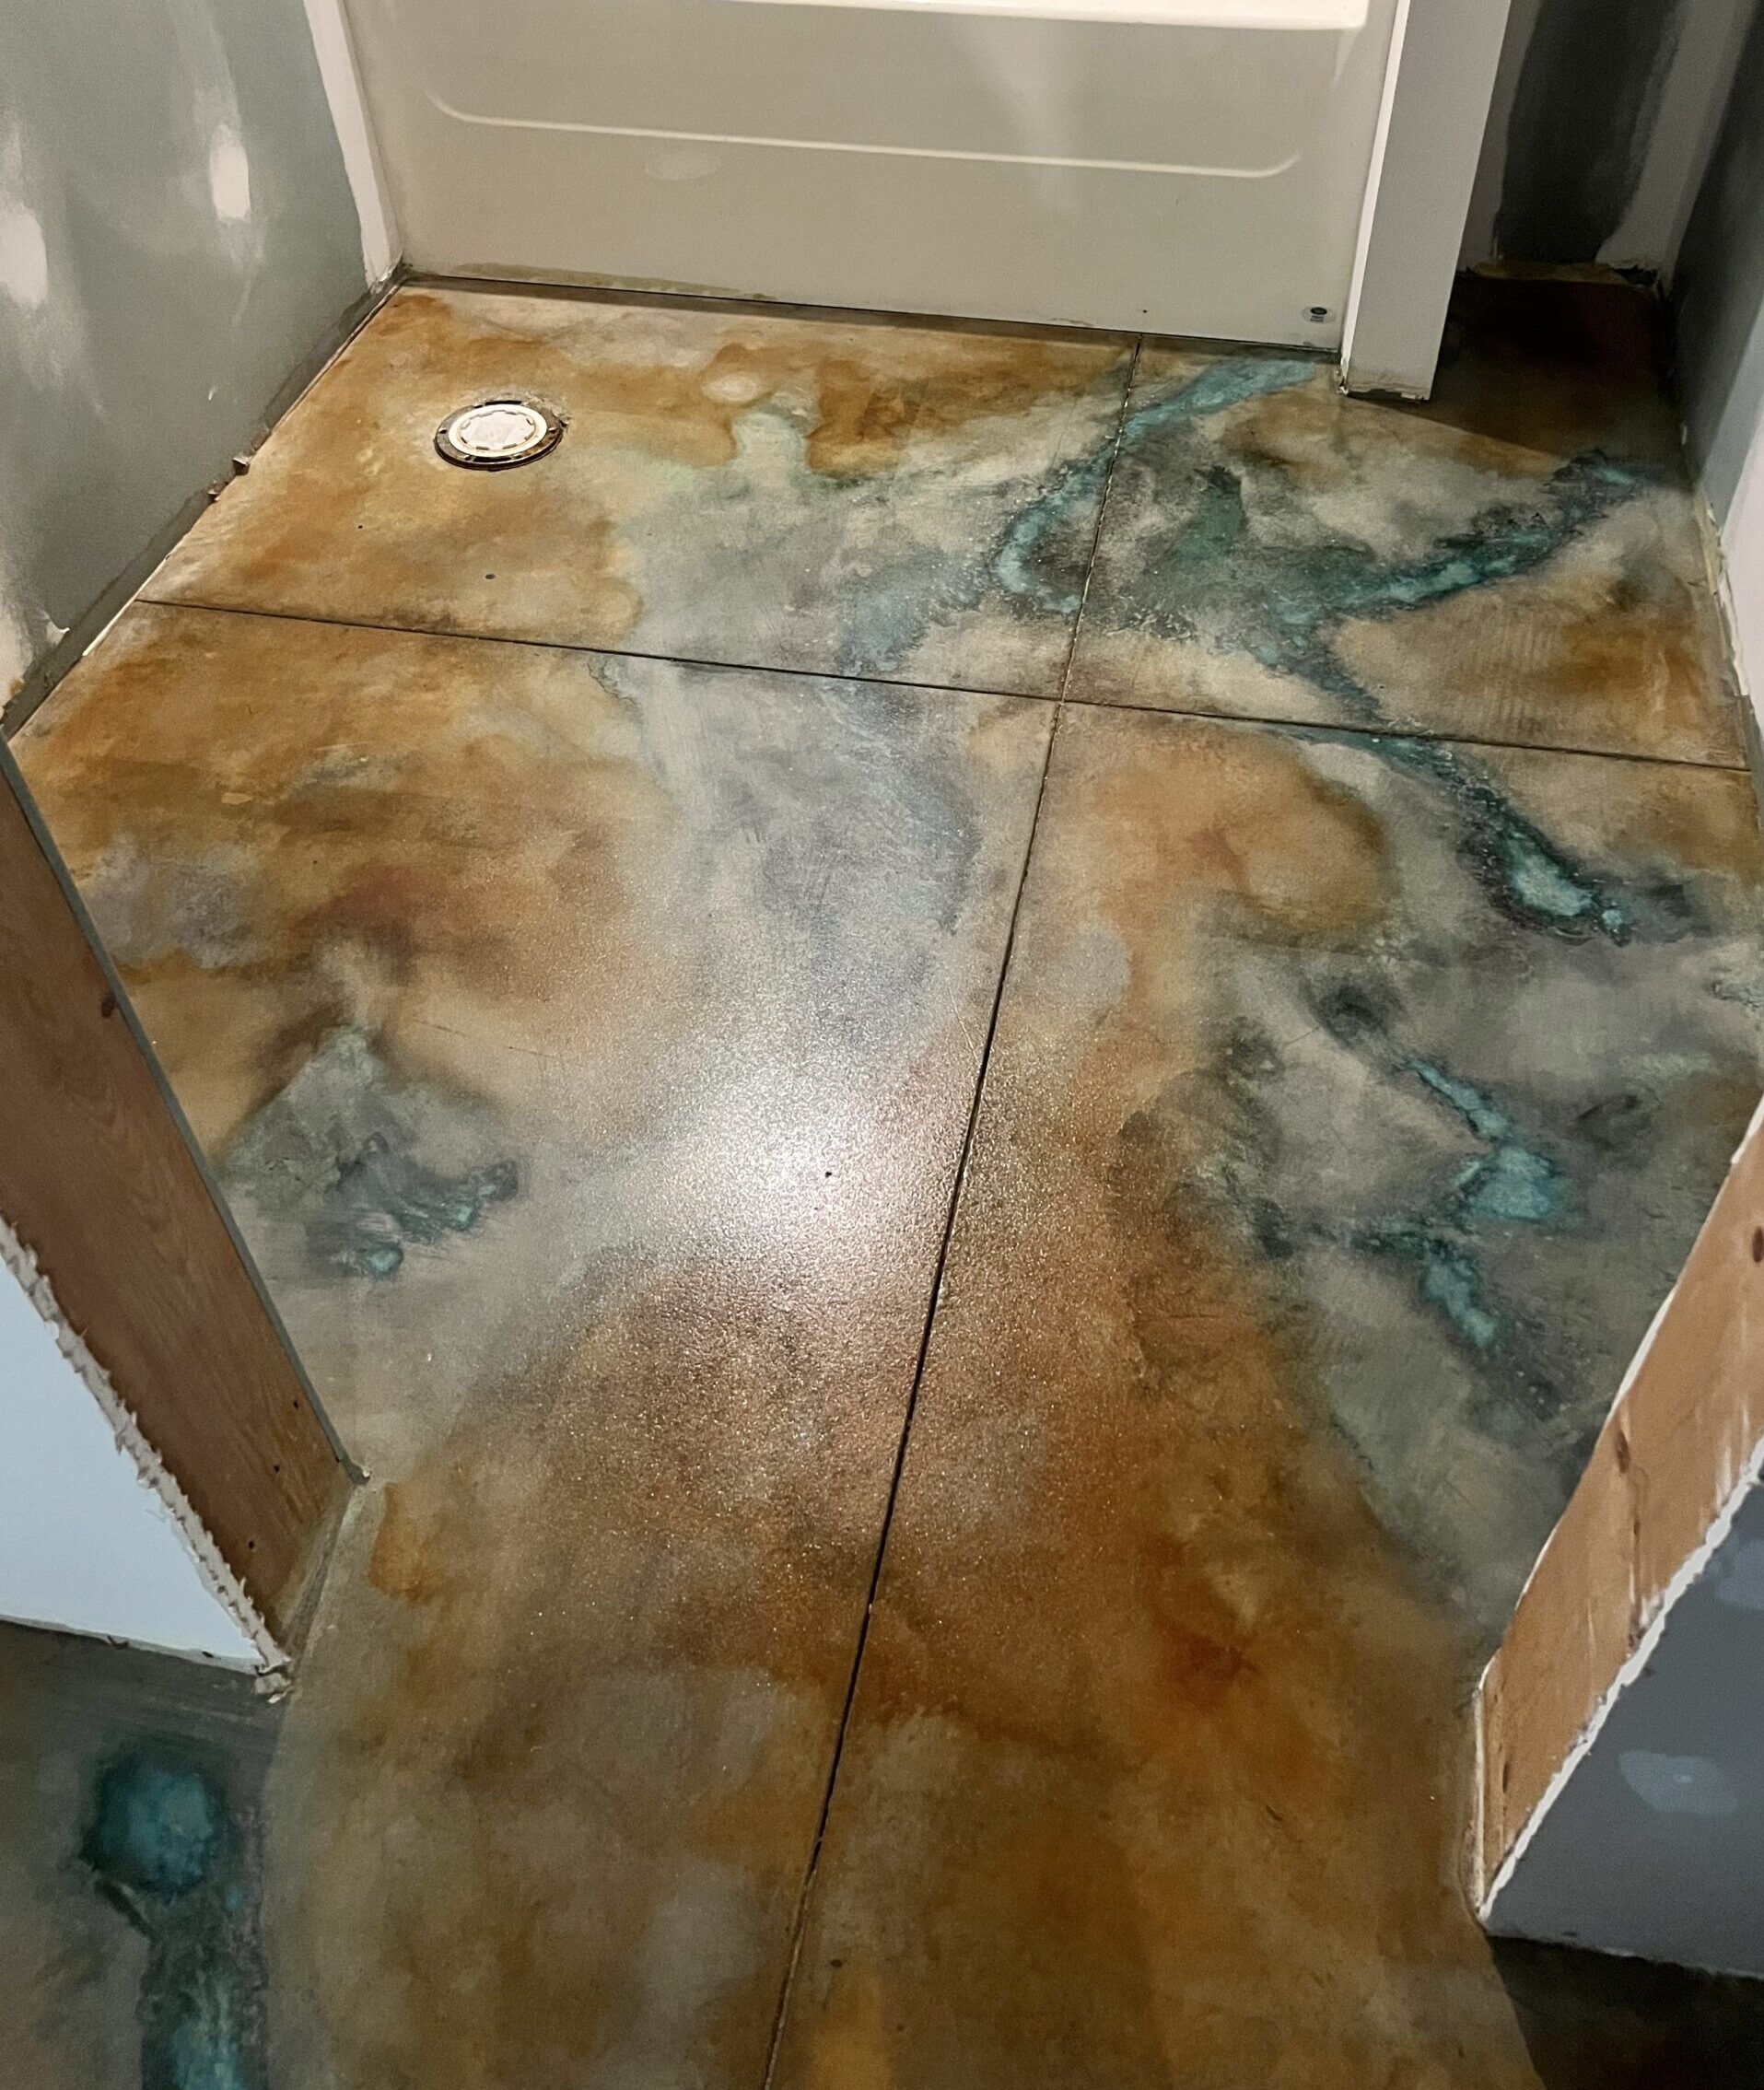
Flowing Watercolor Effect Veining Technique
For a fluid, watercolor-like effect, dribble water onto the surface and follow with acid stain. The stain will flow with the water, creating soft, organic veins. If you’re using blue-green acid stain colors such as Azure Blue or Seagrass, you can add a touch of Miracle-Gro to the stain mixture to make the blue tones more vibrant and pronounced. This will help the colors pop for a unique, flowing finish.
Step 4: Complete the Acid Staining Process
After creating your vein design, it’s important to follow the full acid staining process to ensure a long-lasting, durable finish:
1. Neutralize the acid stain using a neutralizing solution, usually a mixture of water and baking soda. This stops the reaction and locks in the color.
2. Rinse the concrete thoroughly to remove any residue left from the staining process.
3. Allow the surface to dry completely before applying any sealers.
4. Seal the surface using a concrete sealer of your choice. This will protect the design and enhance the colors, giving your floor a finished, polished look.
Pro Tips for a Flawless Finish:
Large Pits in the Floor: Fill them with clear self-leveling epoxy for a smooth finish. Use a toothpick or similar tool to spread the epoxy evenly.
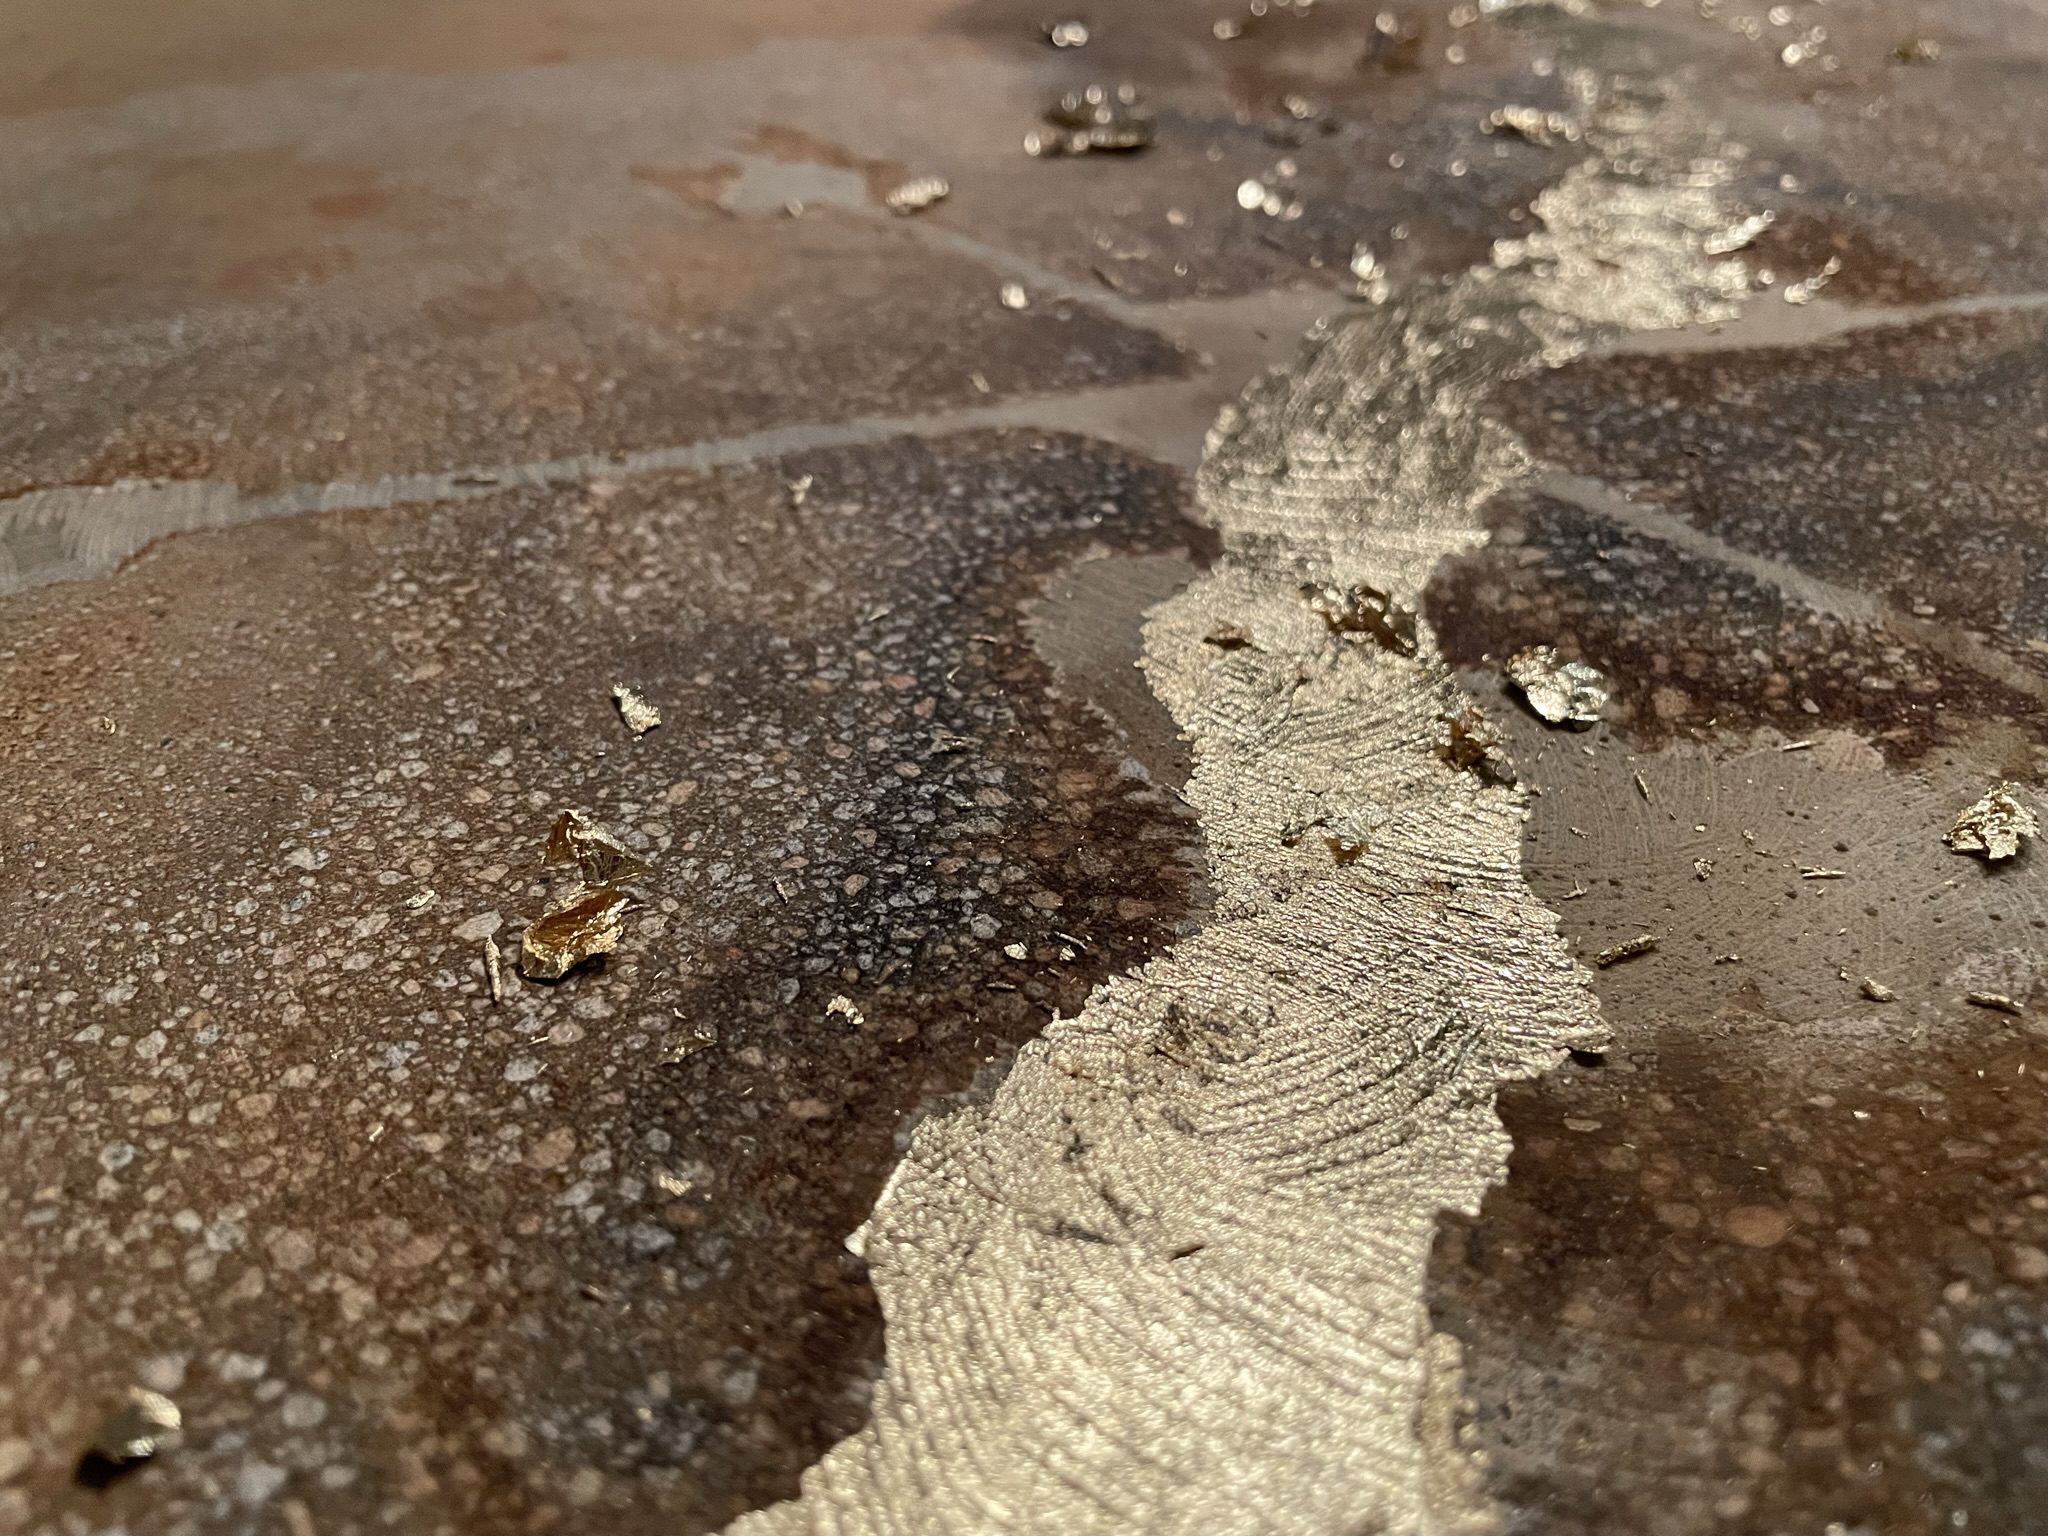
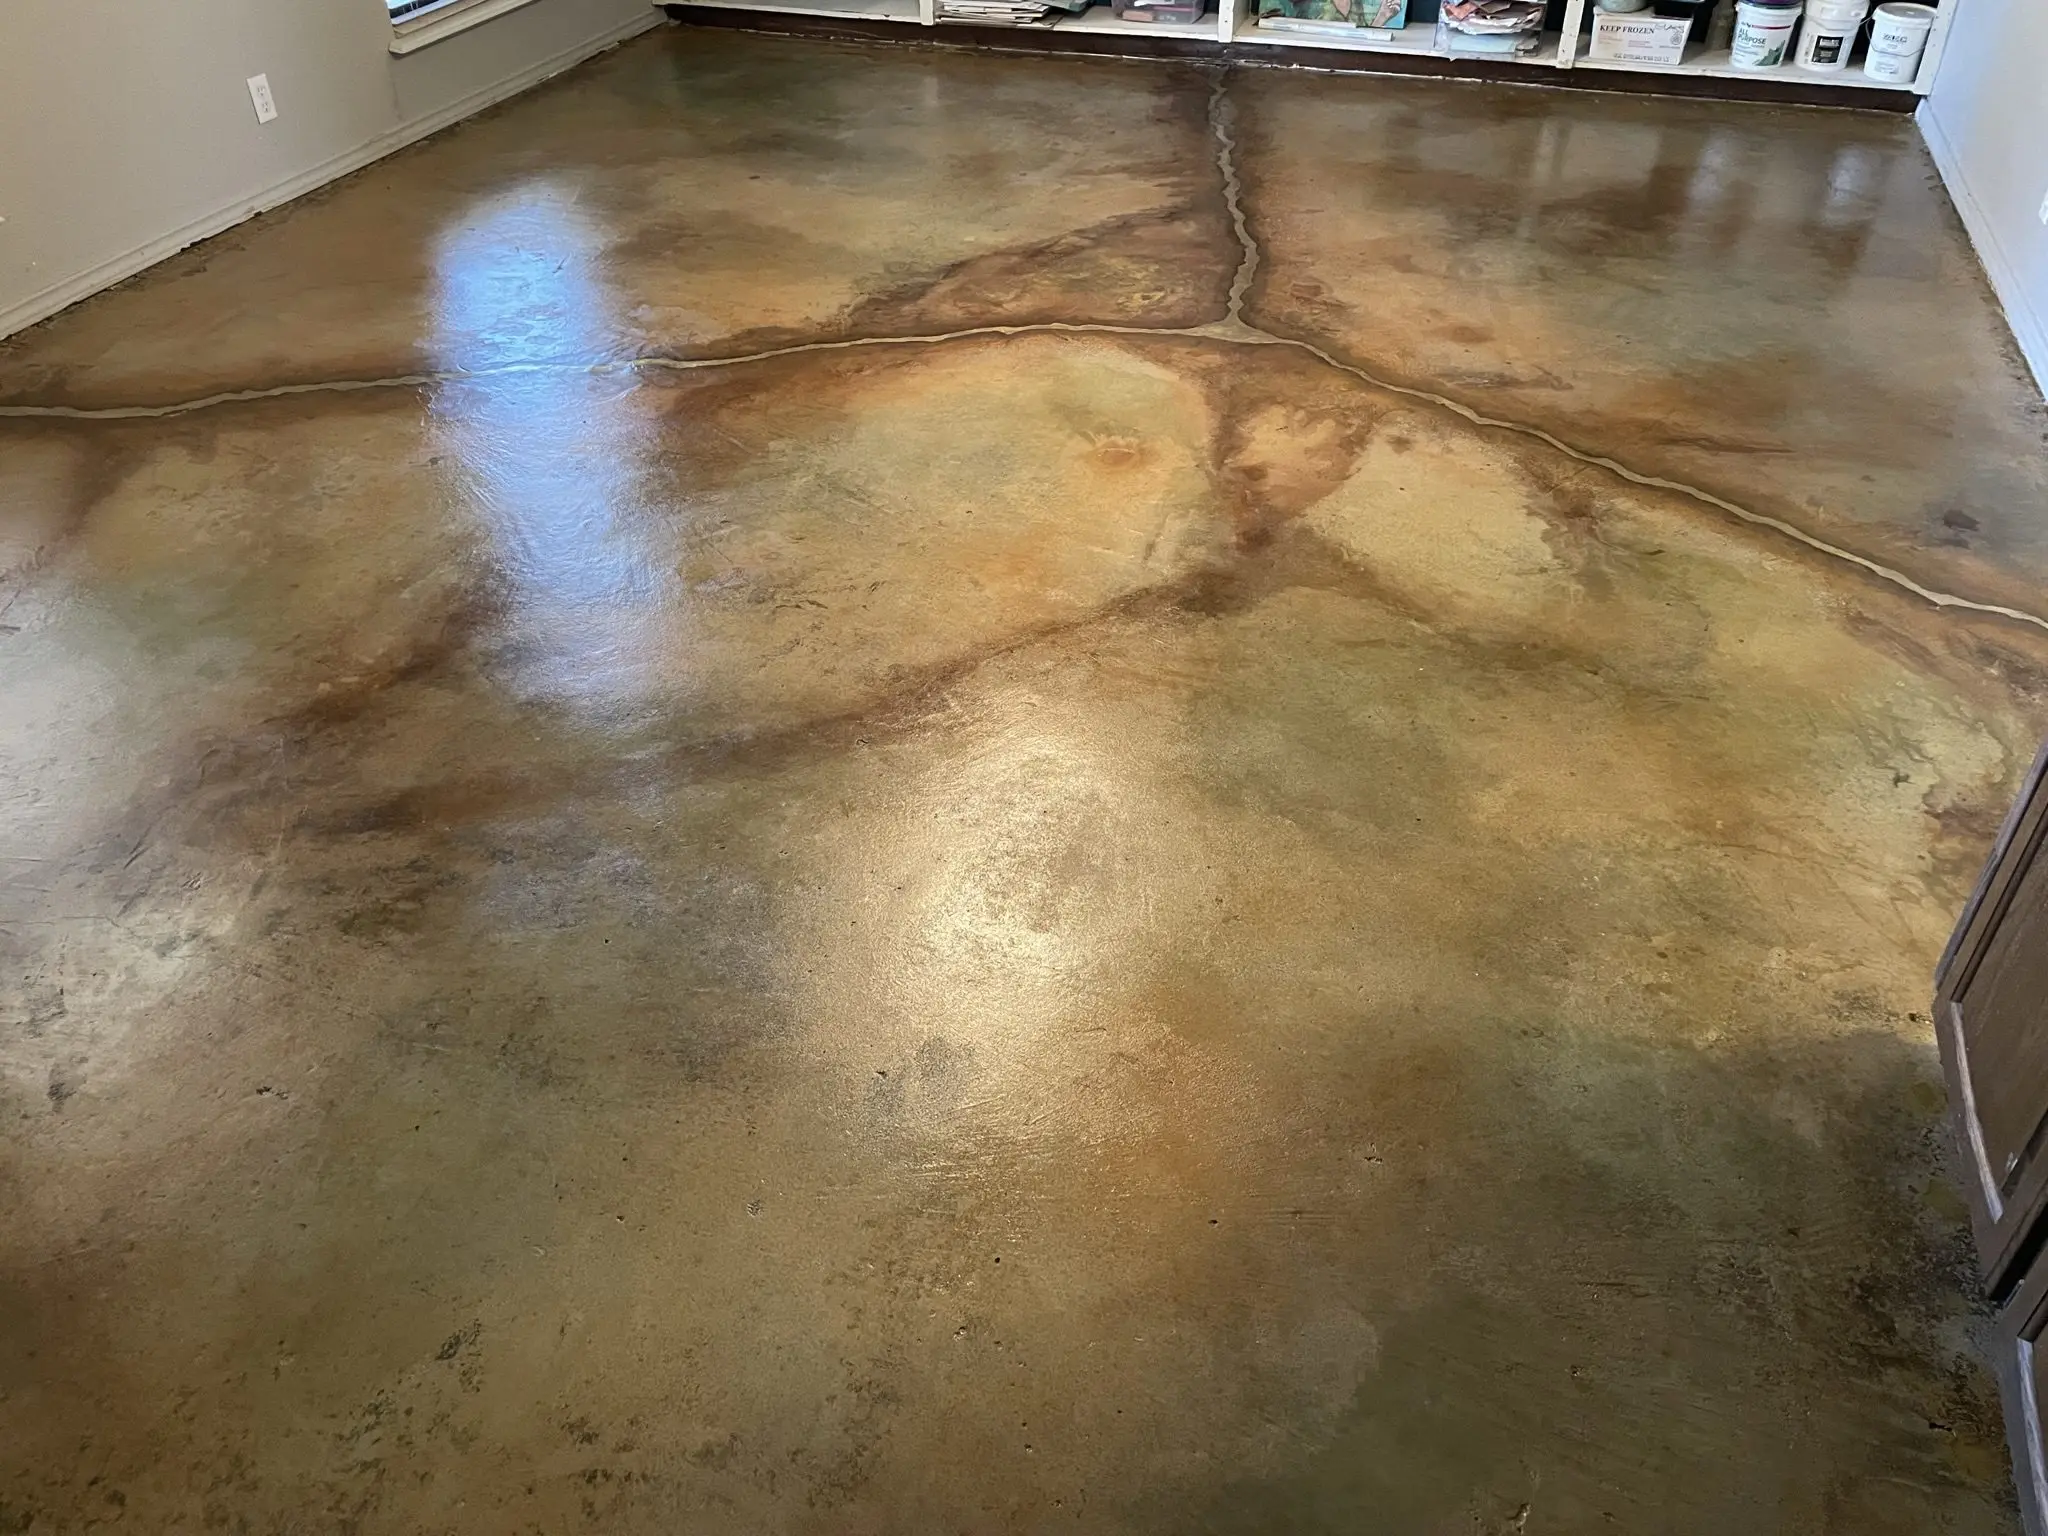
Cracks: For a luxurious touch, fill larger cracks with gold leaf, then seal them. This technique adds a unique, artistic flair.
For more inspiration on using acid stains, check out Concrete Acid Stain Colors: A Guide to Vibrant Options and Techniques.
If you want to use multiple colors of acid stain to create a more complex and layered effect, check out our blog on “Layering Techniques For Beautiful Concrete With Acid Stains: Wet On Wet Vs. Wet On Dry.” This will give you more information on the different techniques you can use to layer acid stains and achieve beautiful results.


