DIY Acid Stained Concrete Fire Table
Homeowners and designers love using concrete to build value-adding additions to their homes. Fire tables have become a favorite design for those looking to add some warmth to their exterior living spaces. Learn more about this easy process with Direct Colors today!
What Material are Fire Tables Made From?
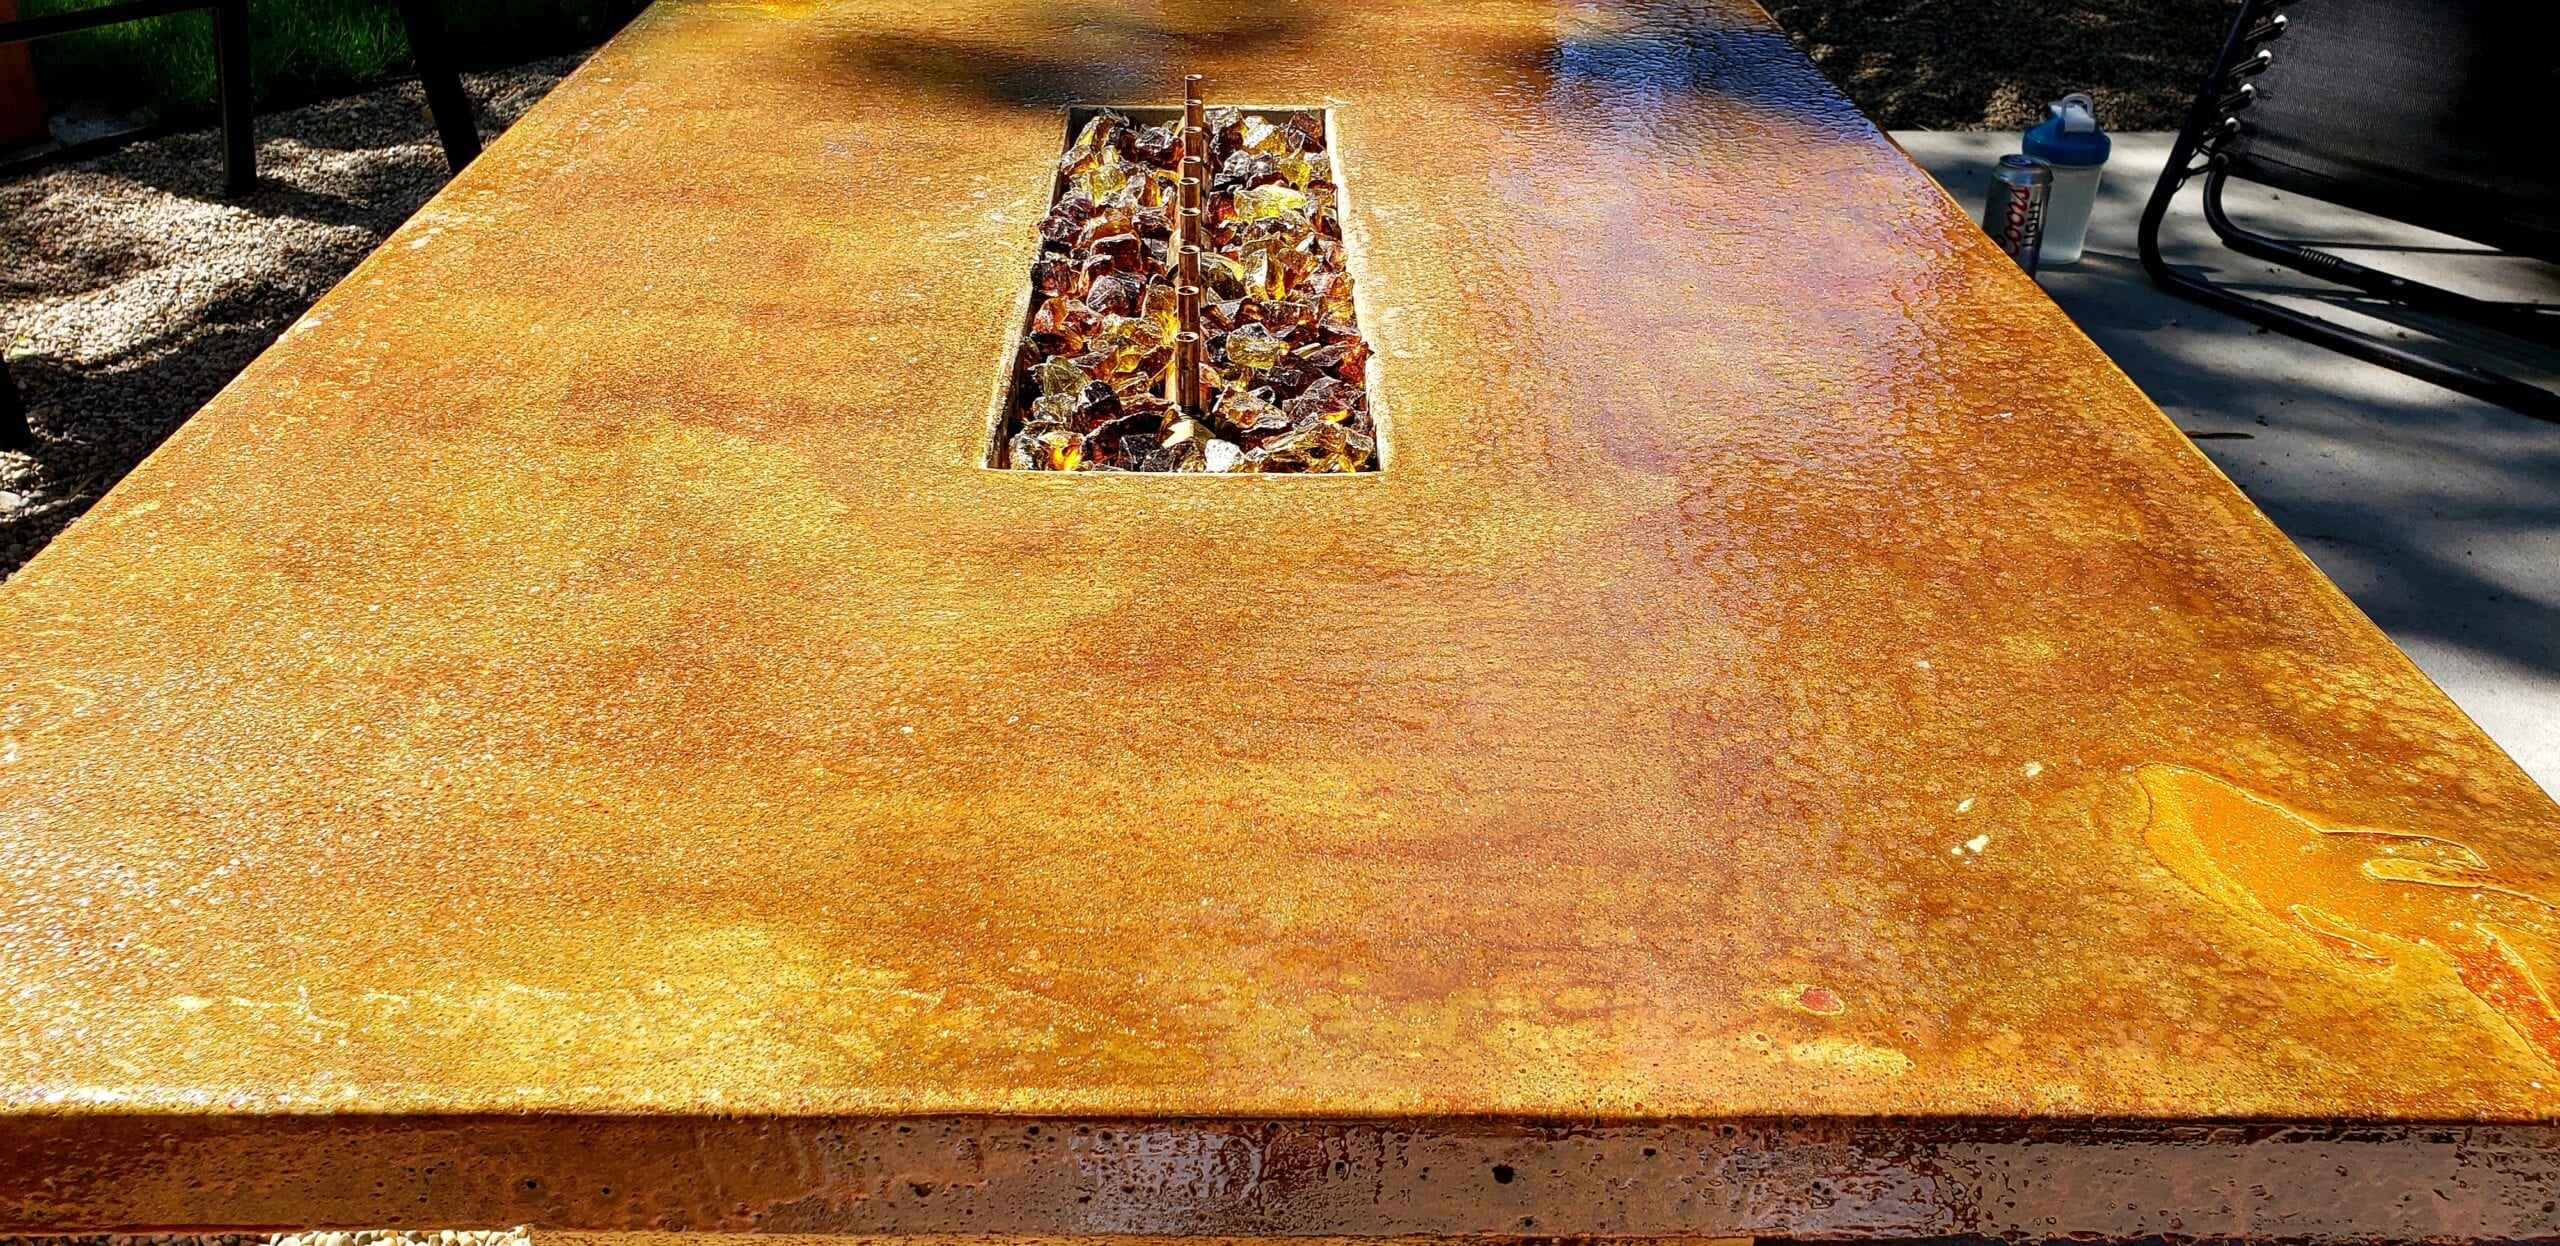
Concrete is an affordable and easy to use construction material commonly used to make a fire table. The sturdy nature of concrete provides the ideal base for permanent, or semi-permanent, construction and holds heat better than alternative materials. Further, concrete can be acid stained for a professional look and a high degree of customization.
How to Make a Concrete Fire Table
Among Direct Colors Customers, Acid Stained Countertops rank among the most popular and achievable concrete decor projects.
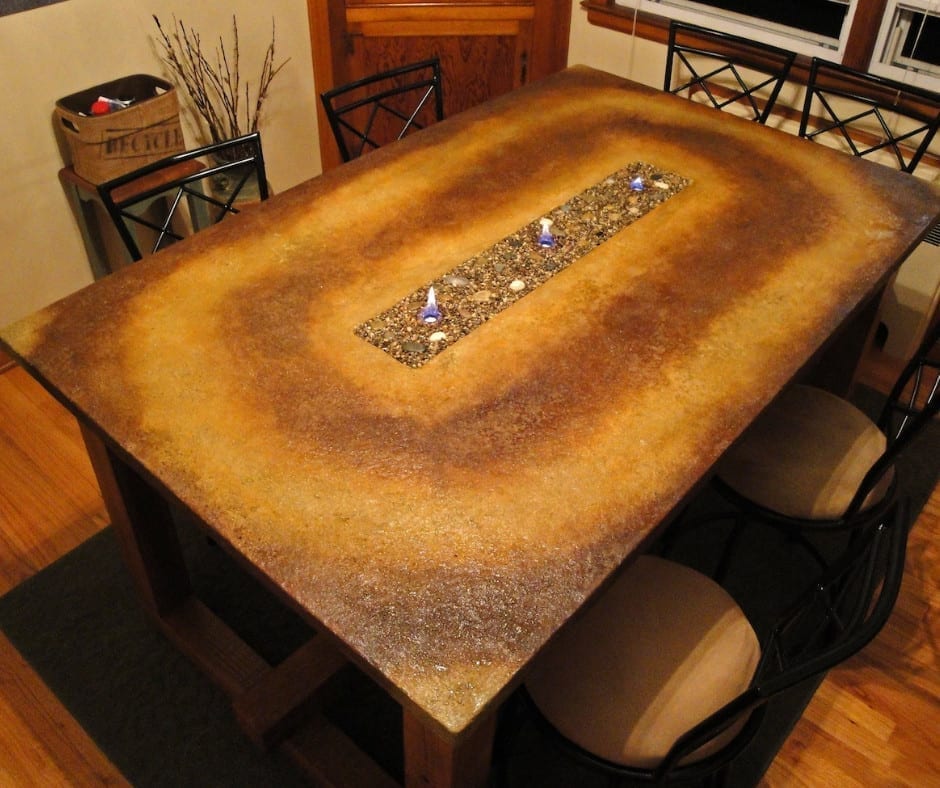
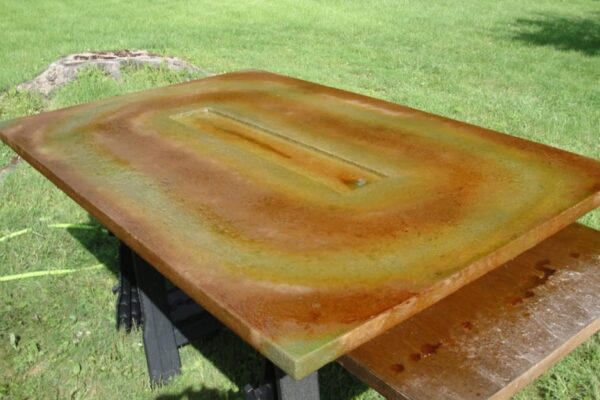
Increasingly, we are seeing a big upswing in interest for creative, low-cost projects particularly among entries from our End of Summer Contest. Mr. Ferrara of Dover Plains, NY designed, built and stained this extraordinary concrete fire pit and dining table himself.
What a fine job he did and we hope his work will inspire you to get started on your next concrete countertop project without delay!
Step 1: Construction
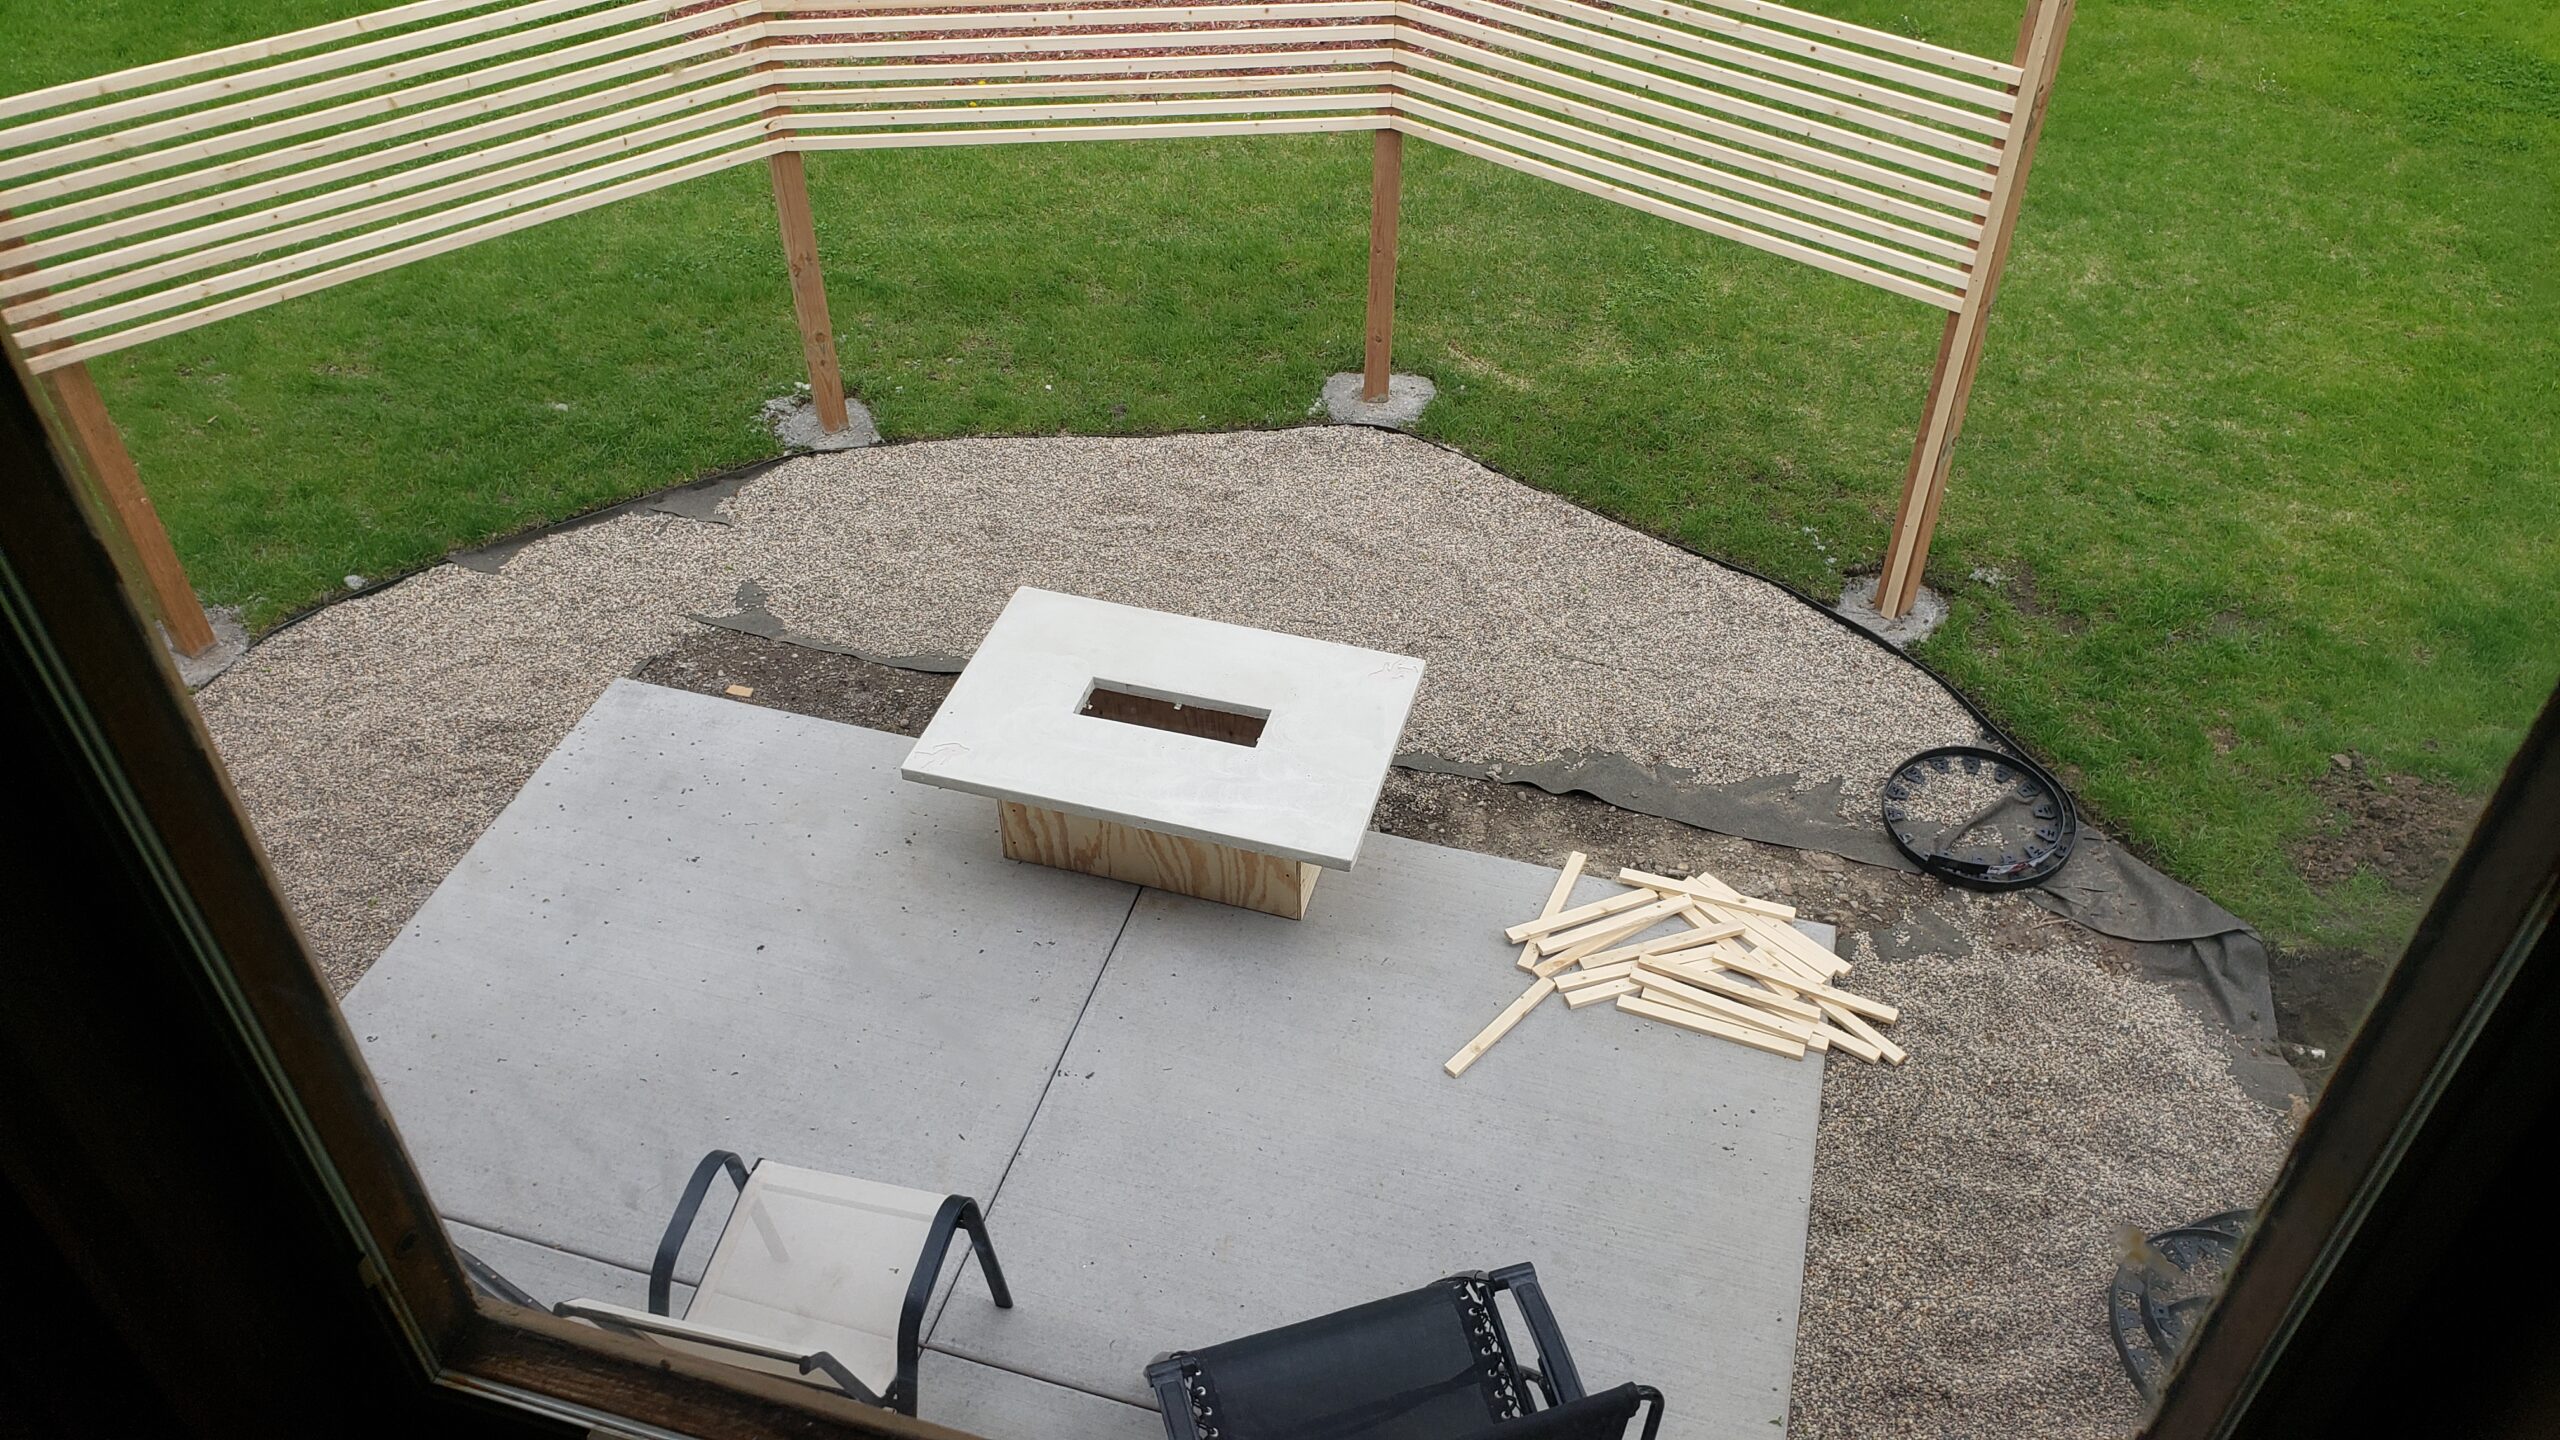
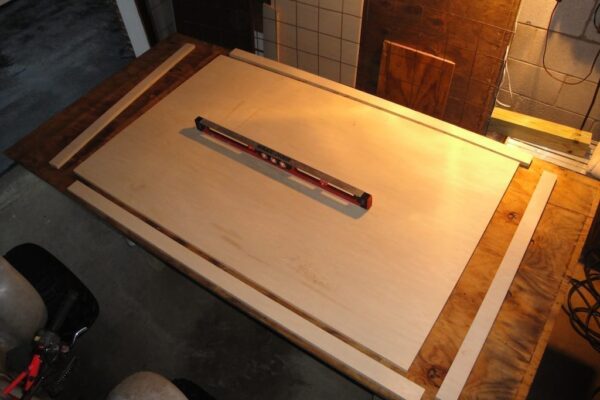
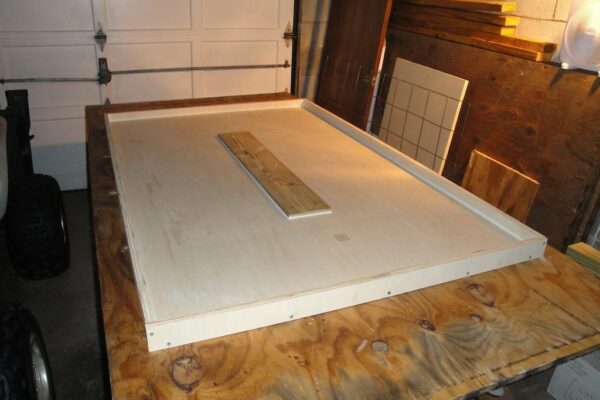
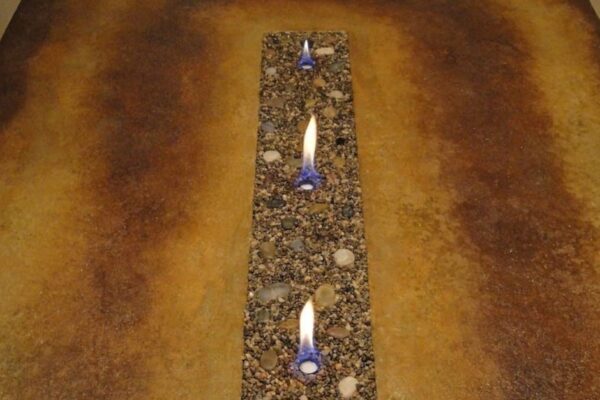
“The first thing I did was build the form out of wood. I then sanded and table sawed a piece of 2 x 6 to half an inch thick and screwed it to the center on the bottom of the form. This is how you get the cutout to add a rotating design to your table by creating a space where you can add rocks, marbles, glass, fire, etc.”
“The bottom of the form is actually the top of the table. The seams of the form and the centerpiece of wood were then caulked to give a more rounded edge. The form was poured around a metal grate using 5000 psi concrete countertop mix for a strong slab at 1 1/2 in. thickness.”
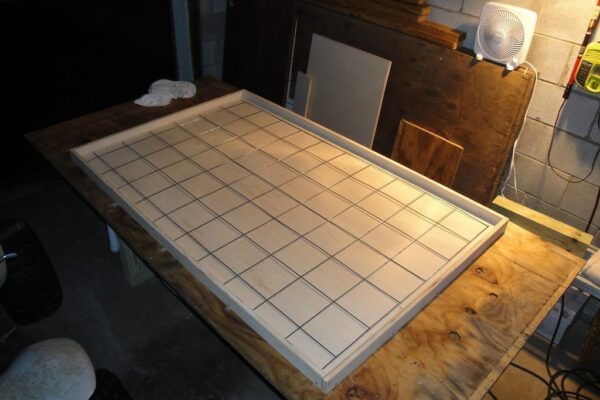
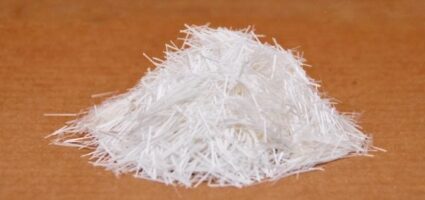
High Zirconia Alkali-Resistant Chopped Fiberglass strengthens concrete and helps prevent cracking from shrinkage. When both Chopped Fiberglass and Fiberglass Net are used together in a concrete countertop application, steel reinforcement is not necessary.
Step 2: Surface Preparation
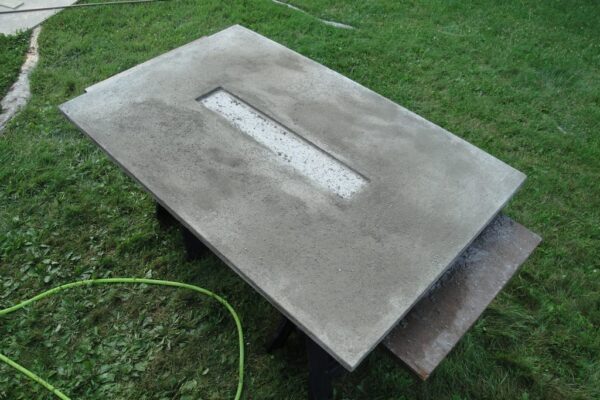
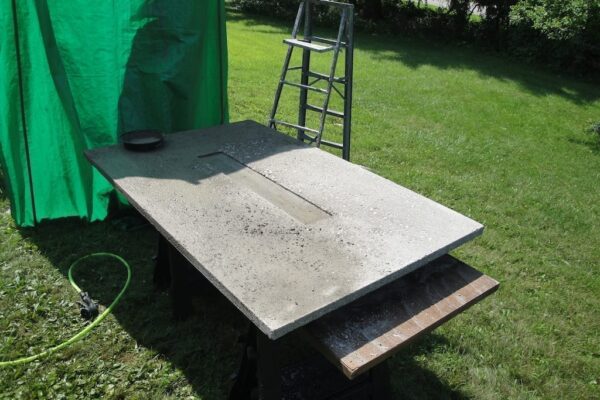
“After curing and removing the form, I applied Direct Colors High Gloss, Water Based Acrylic Sealer on the bottom of the tabletop. Once dry, I flipped the table over to the top side and removed the 2 x 6 wooden frame to reveal the pocket in the center of the table. I went over the table with a cement slurry to fill in the pinholes and create a rough but flat surface to imitate a raw stone finish. I finally sanded the top and edges and allowed to fully dry.”
Step 3: Acid Staining and Sealing
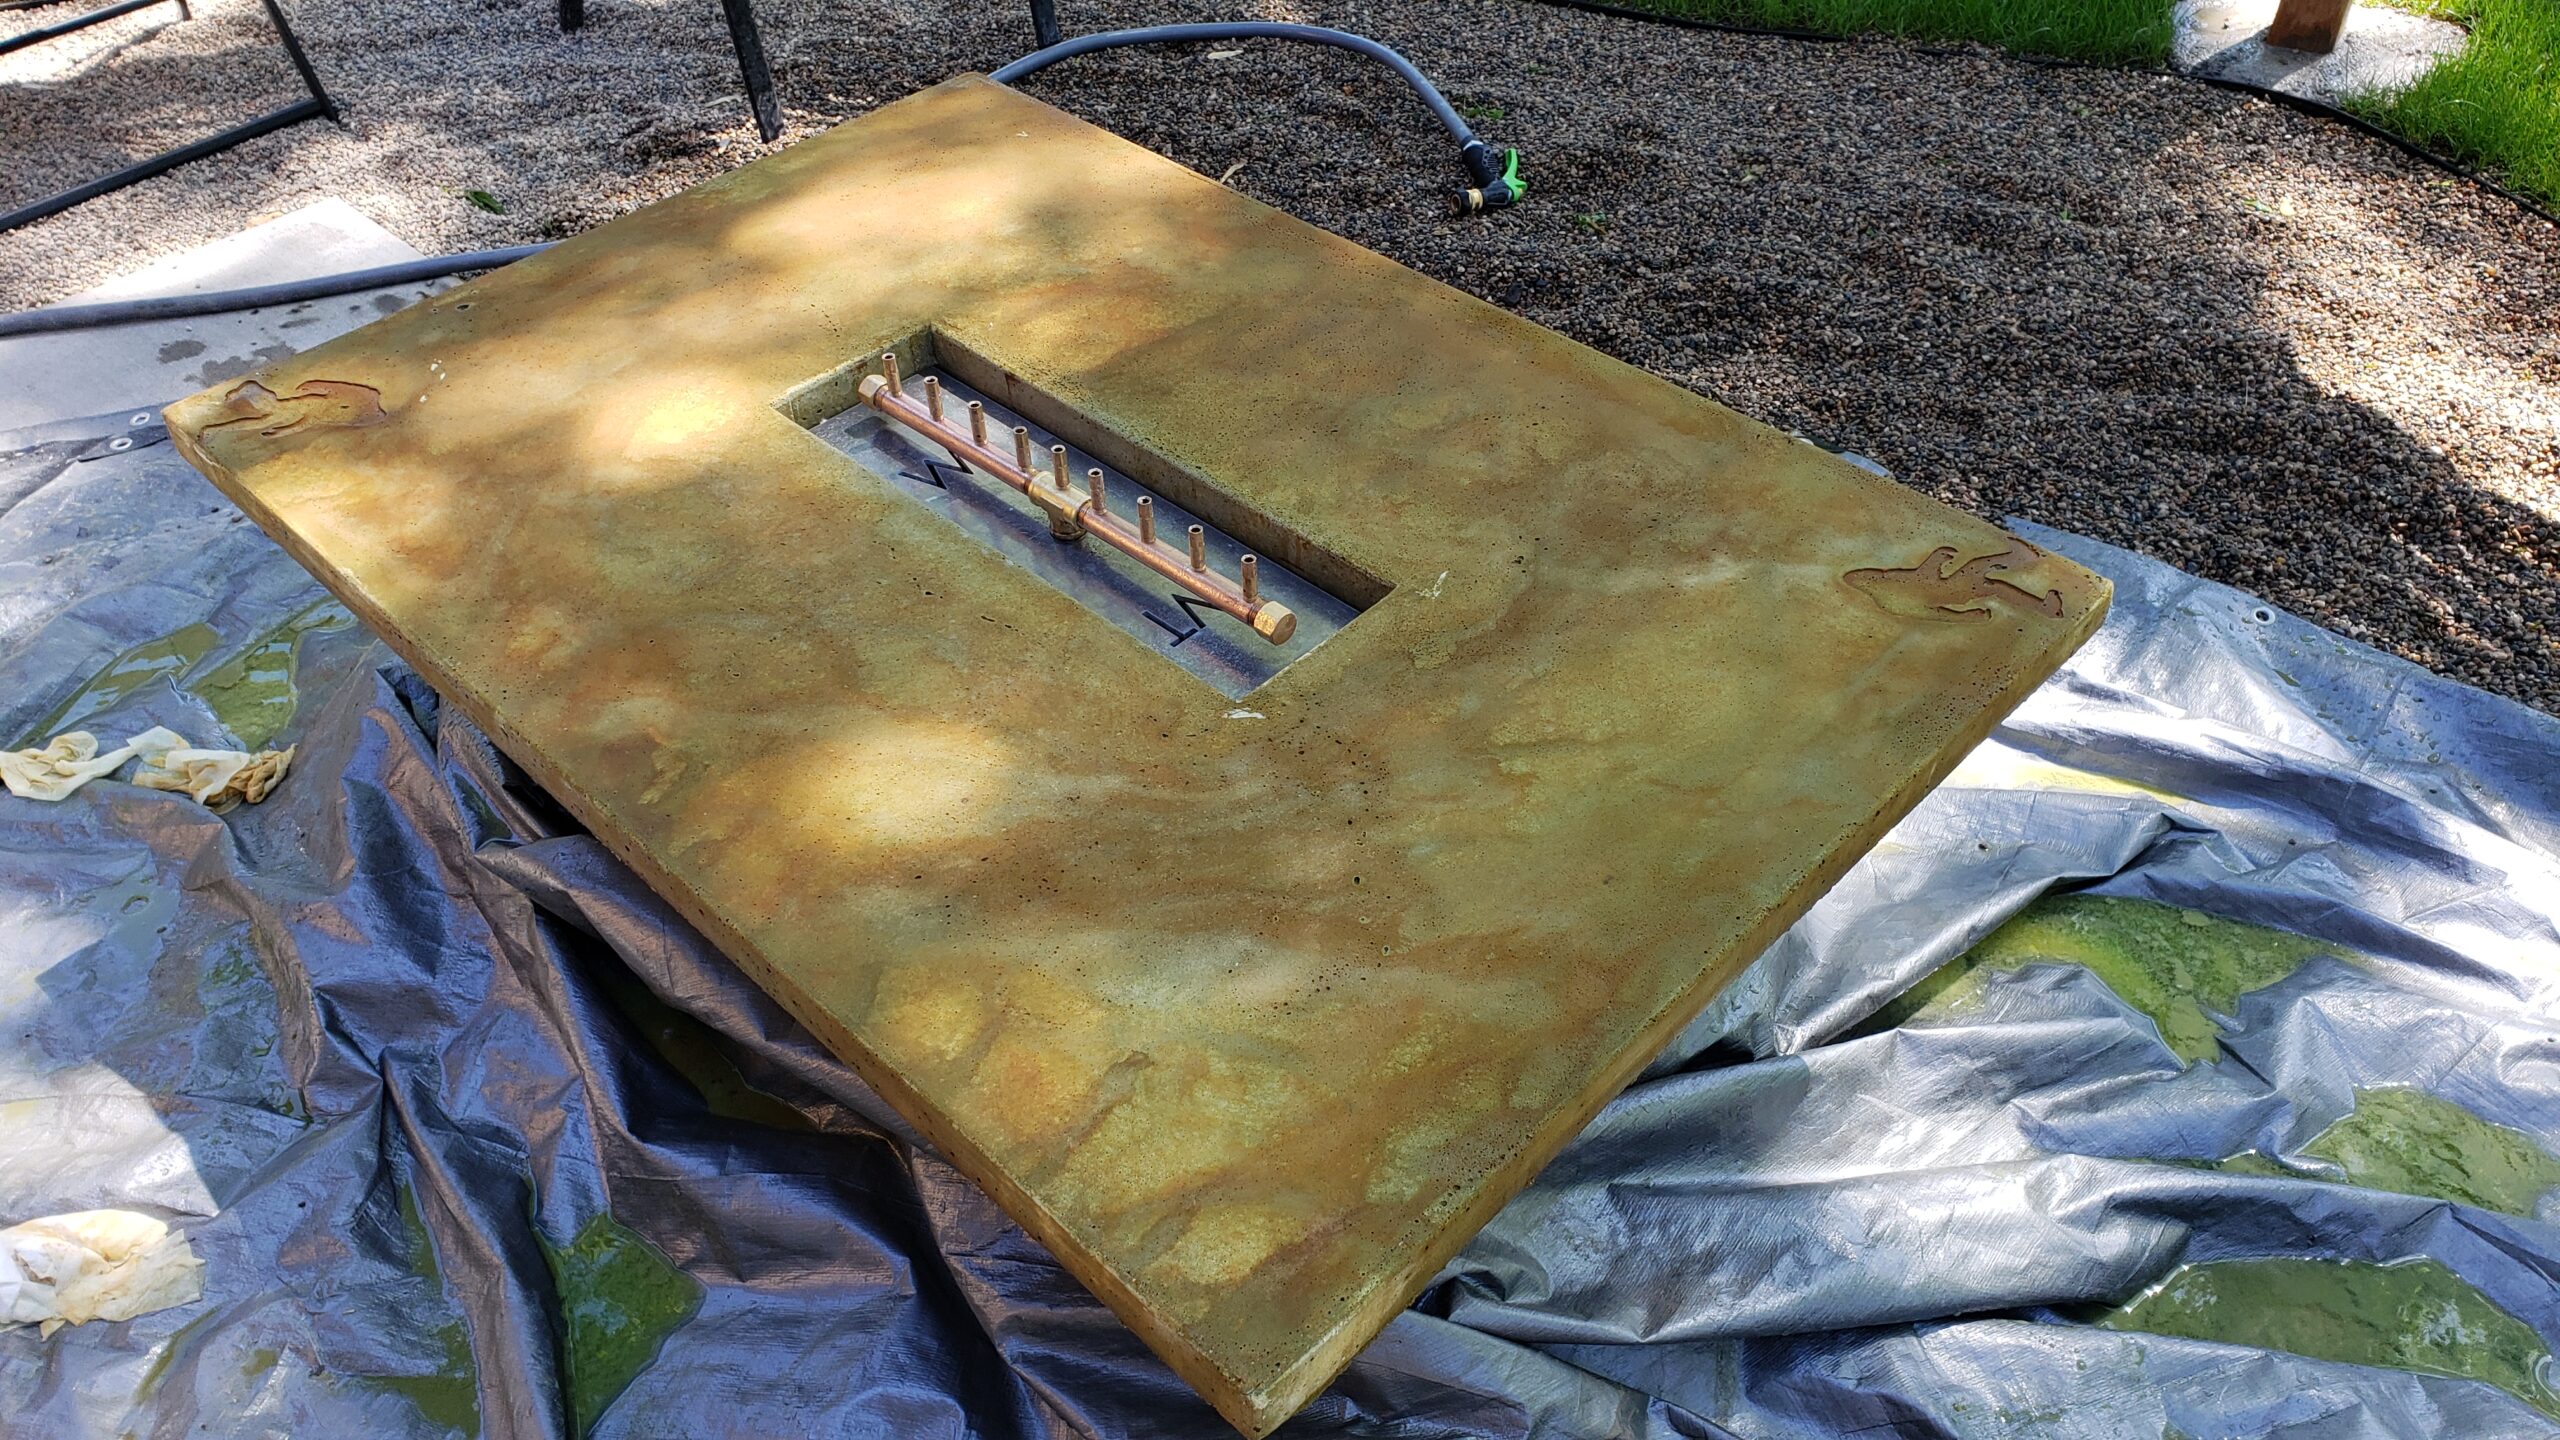
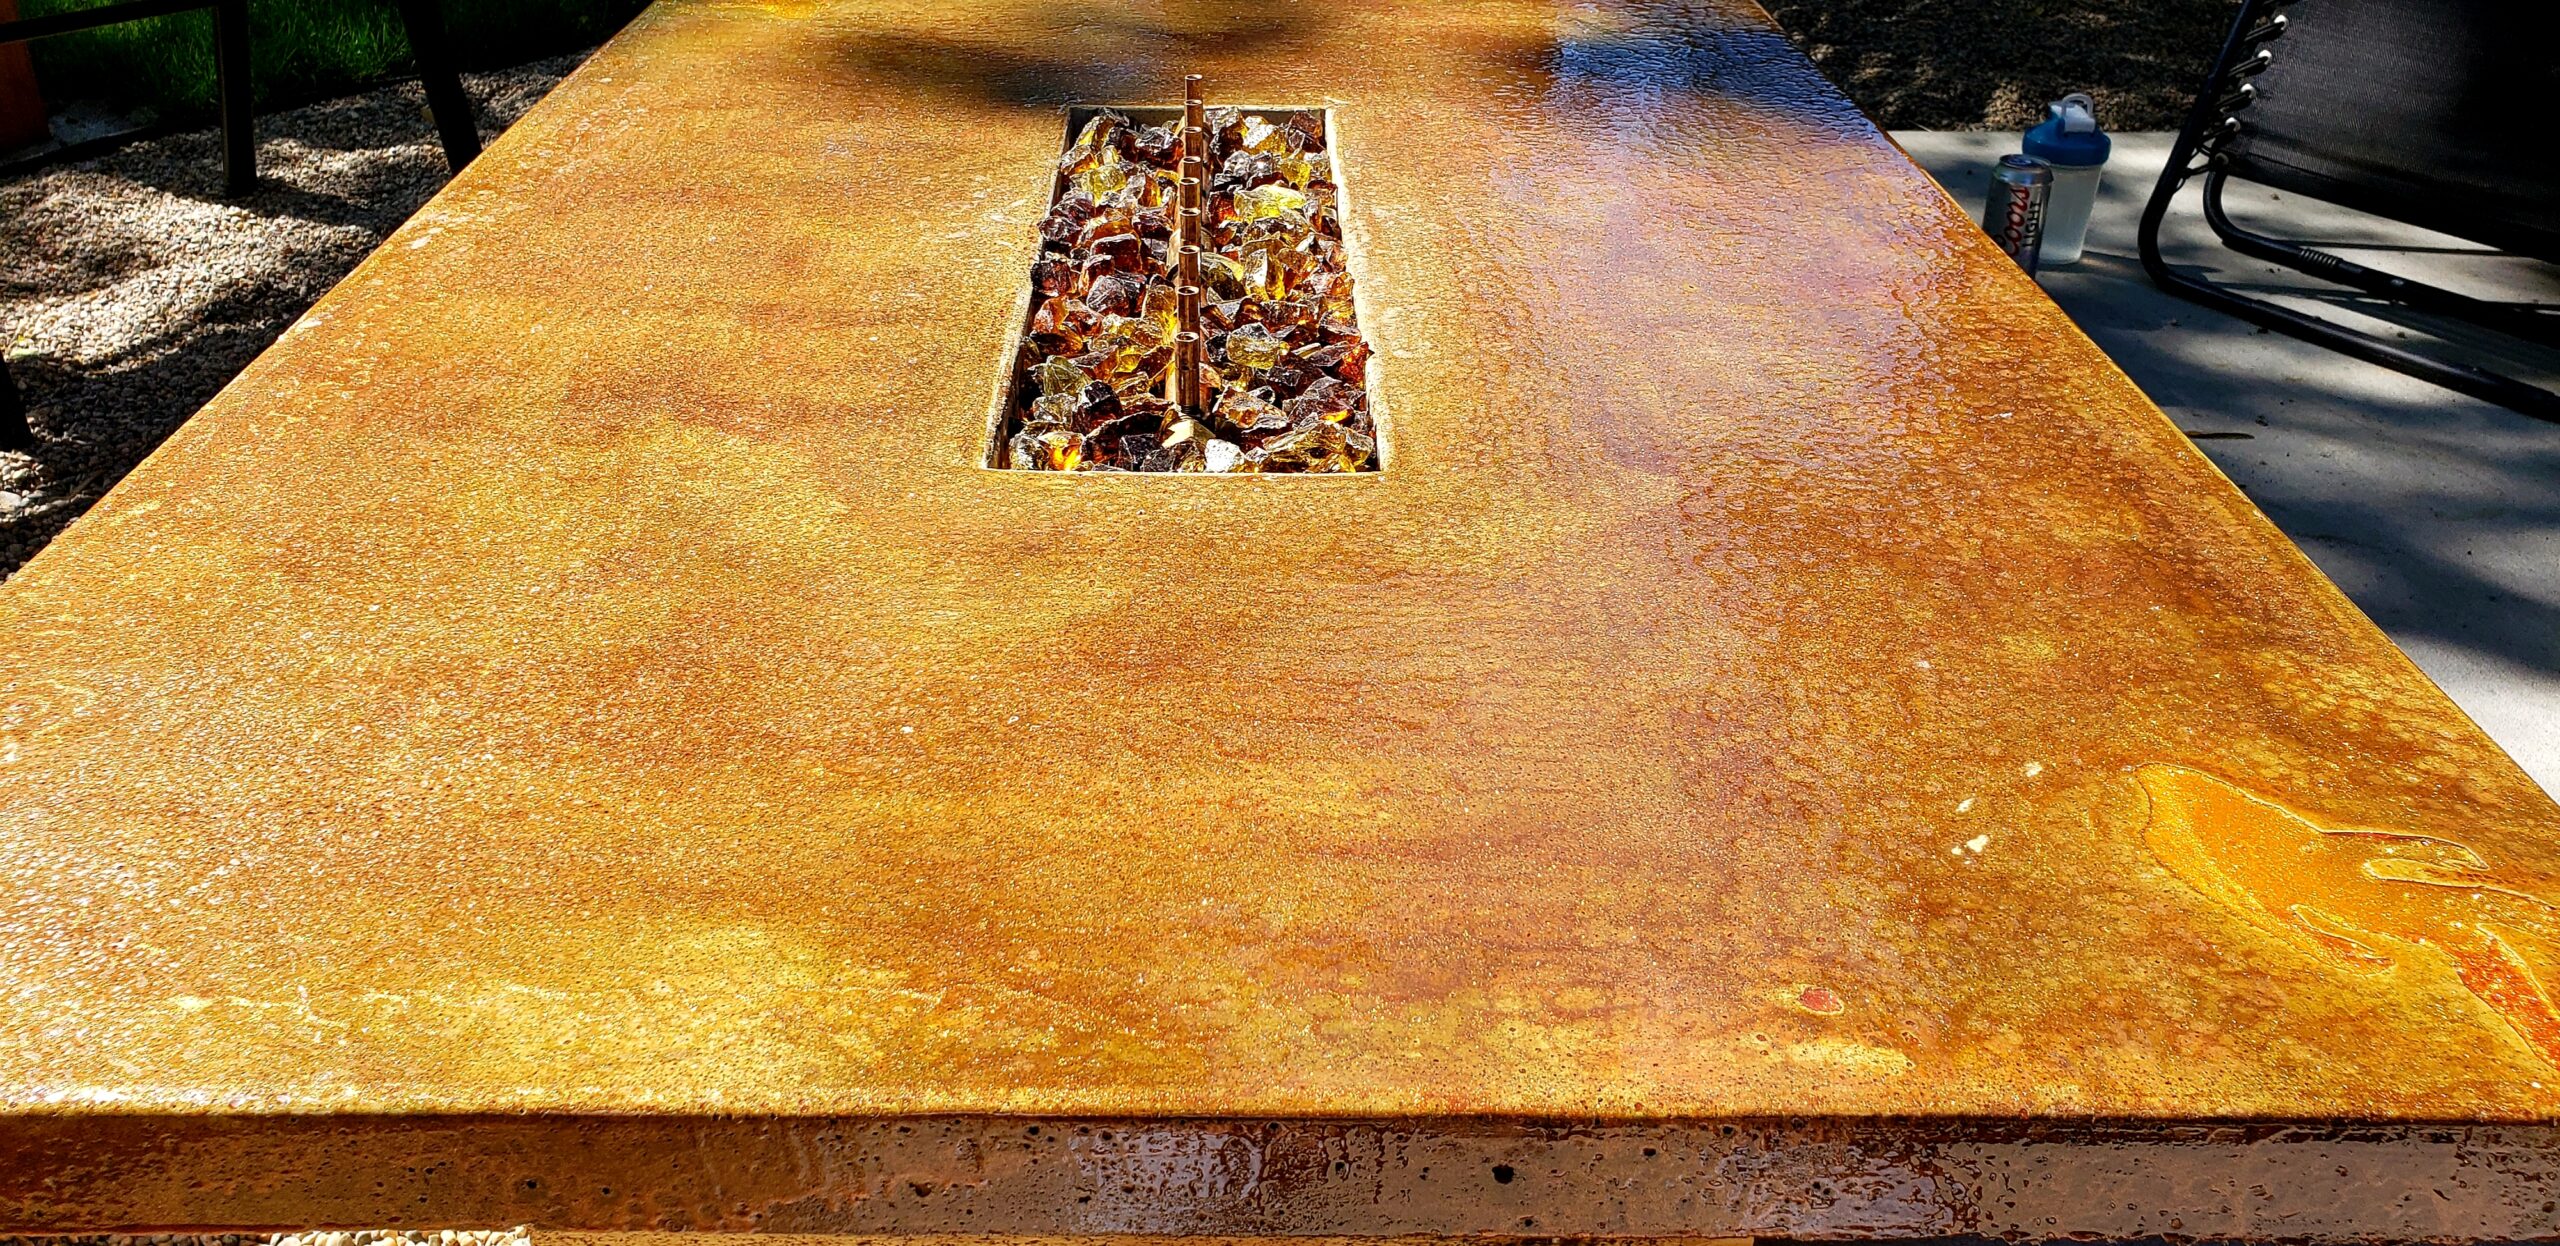
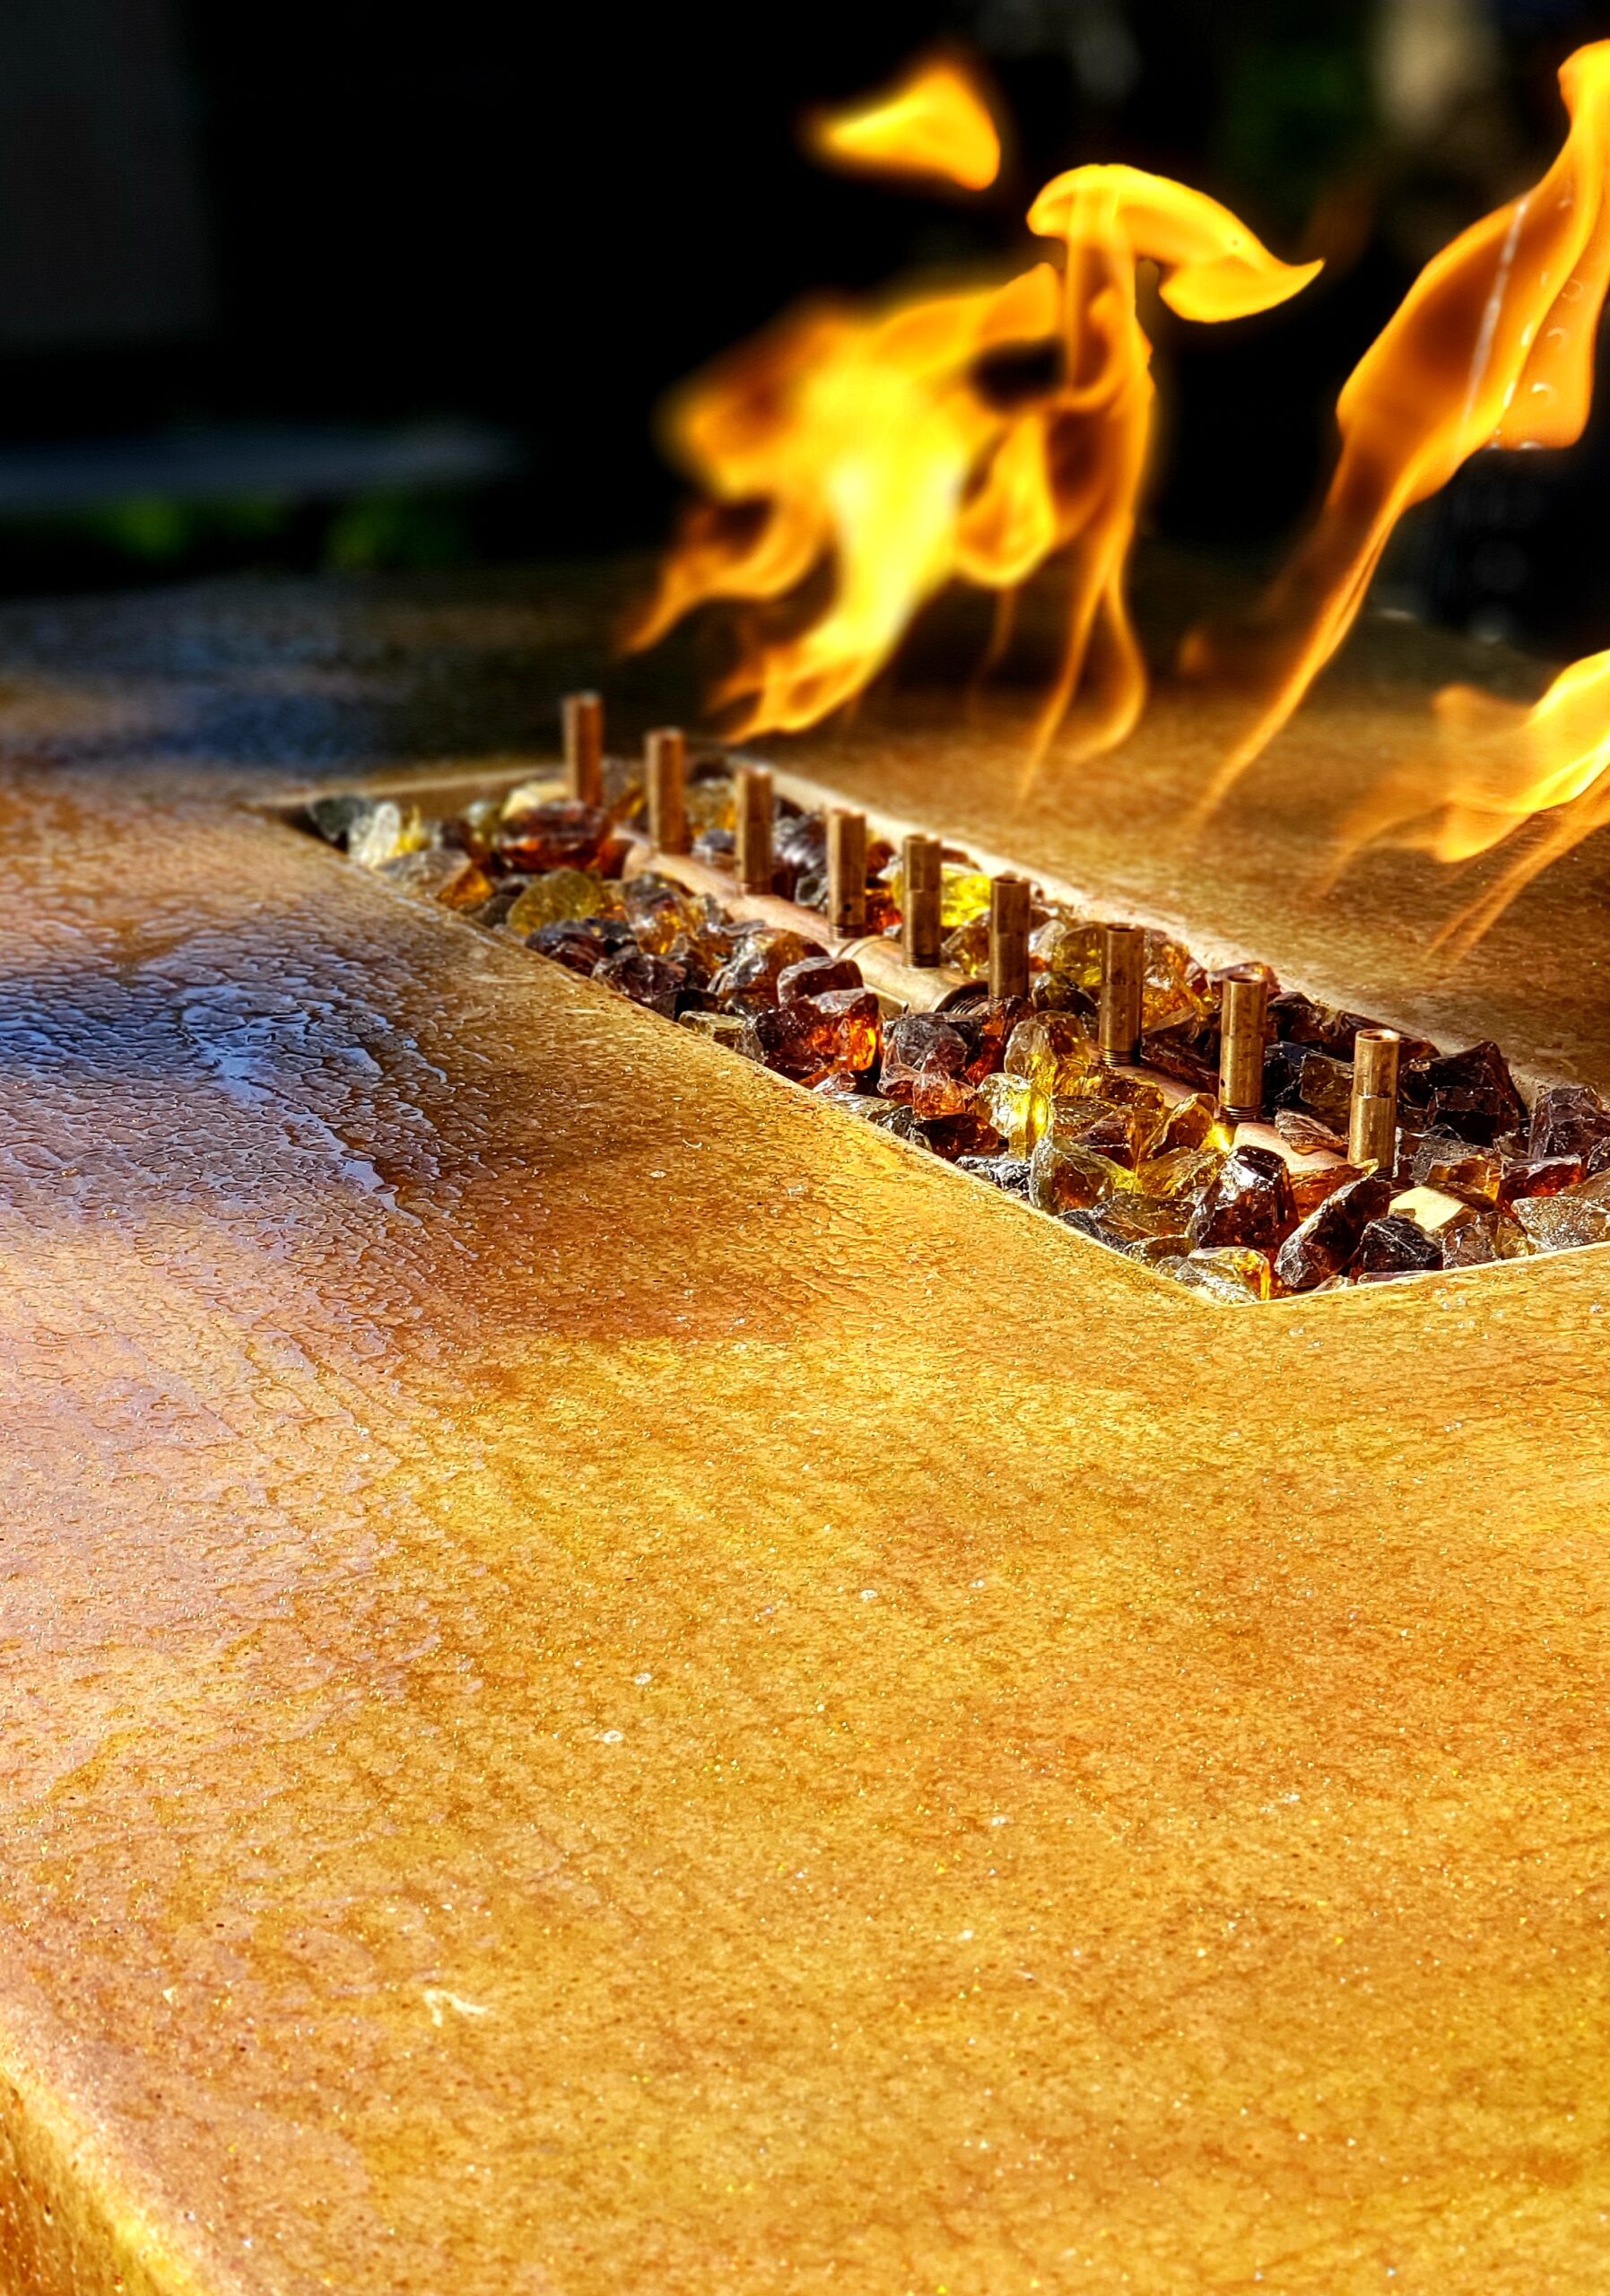
“Using the Coffee Brown and Avocado Acid Stains, I sprayed an oval pattern a few times, let dry somewhat and repeated. After the processing time was complete, I neutralized and cleaned with water, dried again, and applied the High Gloss Water-Based Acrylic Sealer. I then enlisted a strong friend who helped me finally place the table on its base in the dining room. The base was designed using stained and lacquered pressure treated 4 x 4’s. After centering the table on its base and breathing two sighs of relief, I used the Countertop Wax to finish the concrete. I then filled the pocket with Crushed Glass Aggregate and added the fire.”
More Stunning Concrete Fire Tables
