Concrete Overlay Ideas
Use concrete overlay for its resurfacing capabilities, or use it to add color to existing surfaces. The options are endless! Although we’ve seen overlay used in several different ways, our Direct Colors DIYers seem to gravitate towards the resurfacing option.
By applying thin layers of concrete overlay to bathroom or kitchen countertops, you can make a cost-effective upgrade. Or, utilize overlay to transform the look of your fireplace! We hope these concrete overlay projects get you thinking of all of the possibilities.
Fresh & Modern Concrete Overlay Fireplace
We love the fresh and modern look of this fireplace with concrete overlay added. Between the combination of smooth white overlay and clean lines, the fireplace has such a crisp, classic look! Our DIYer then followed up with Penetrating Sealer.
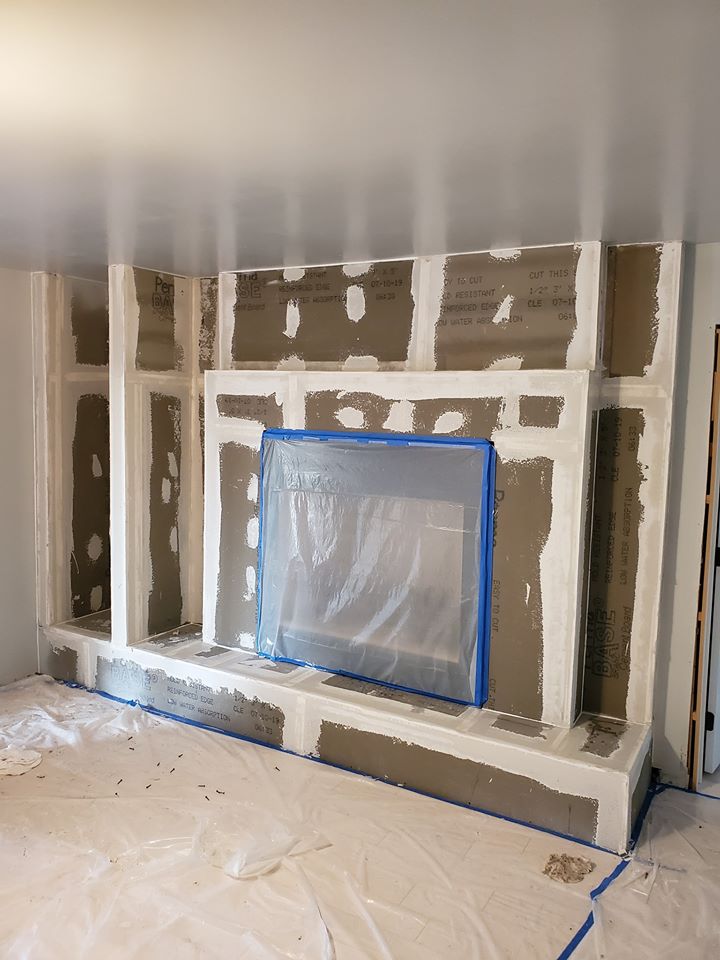
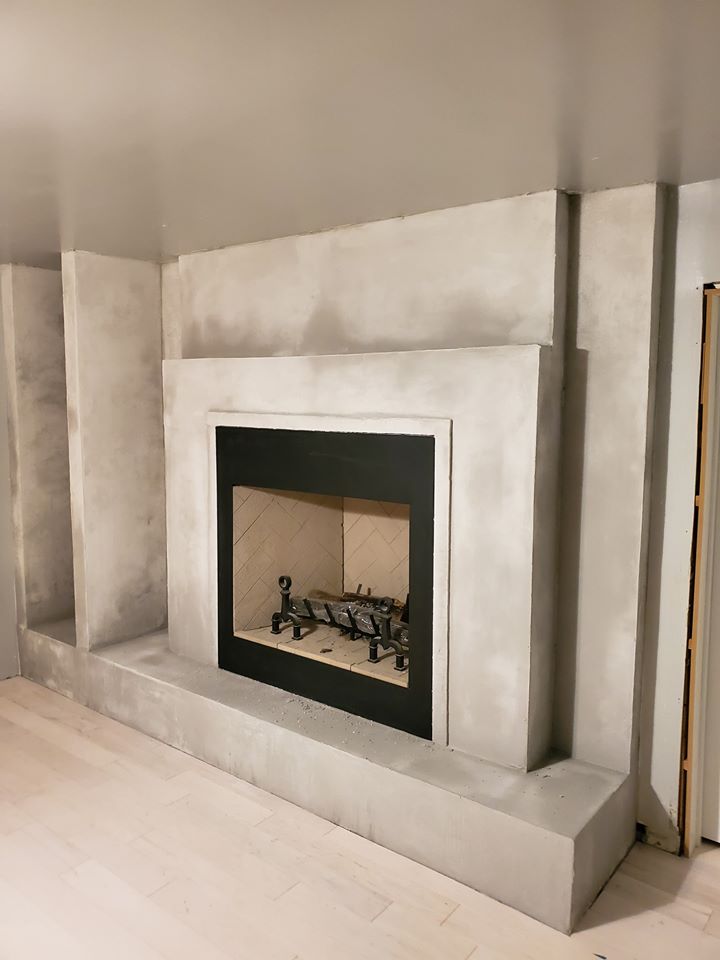
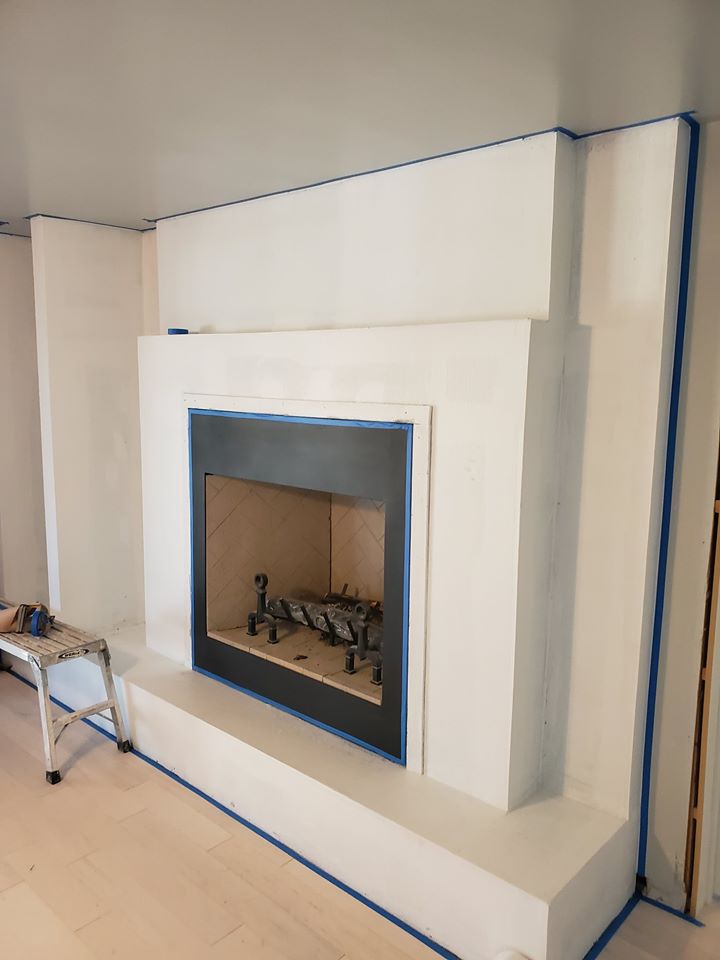
Fireplace Concrete Makeover with Overlay
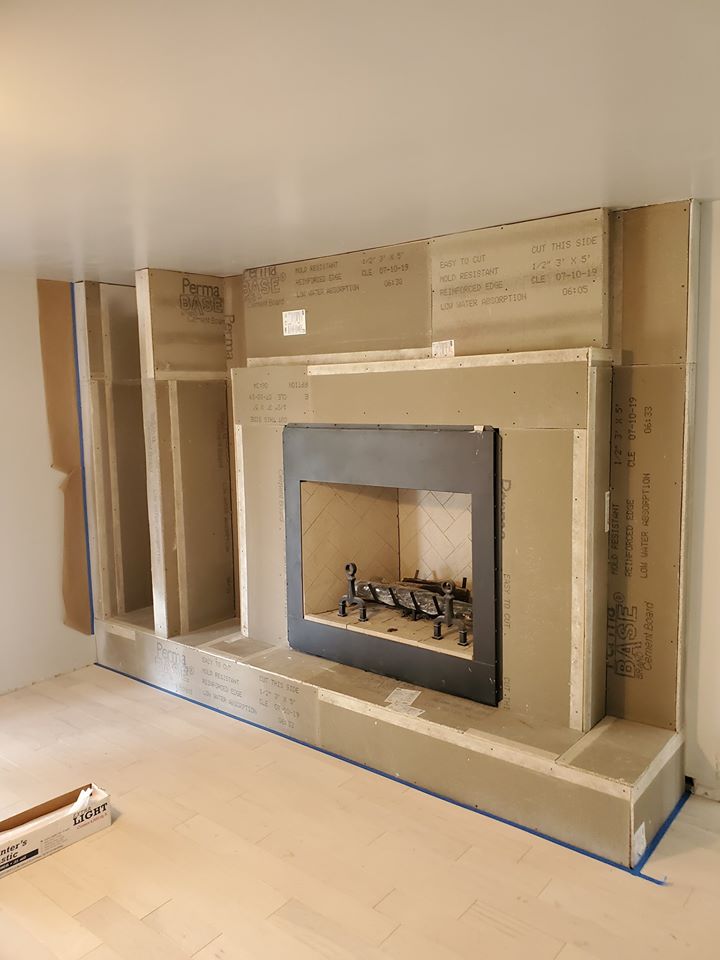
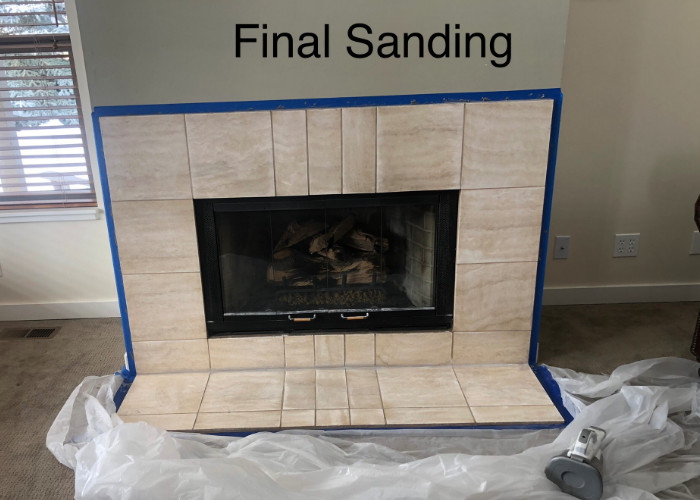
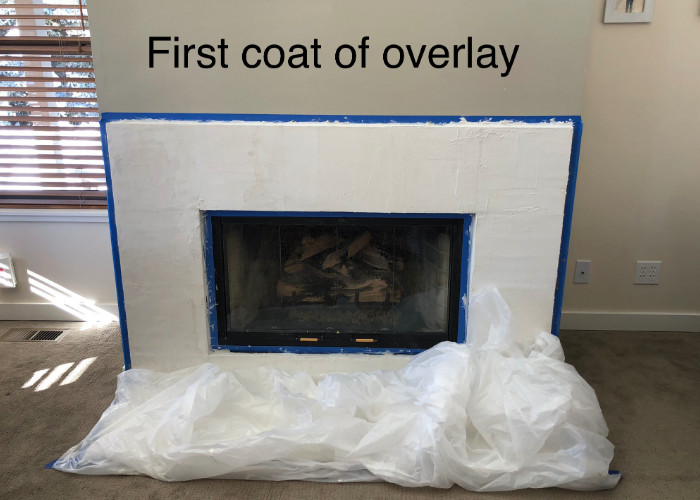
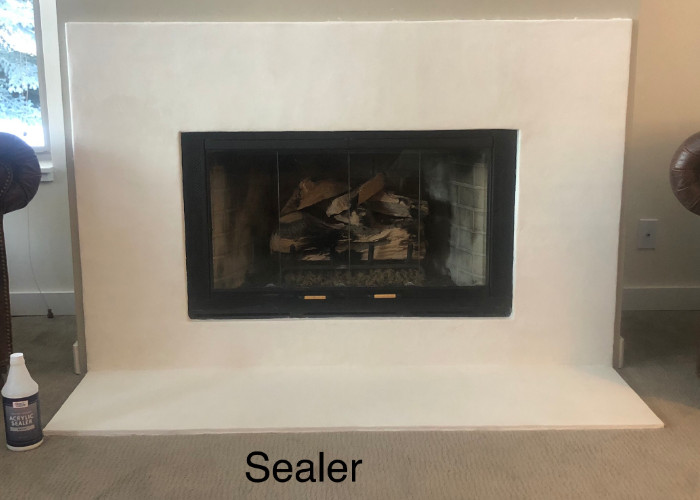
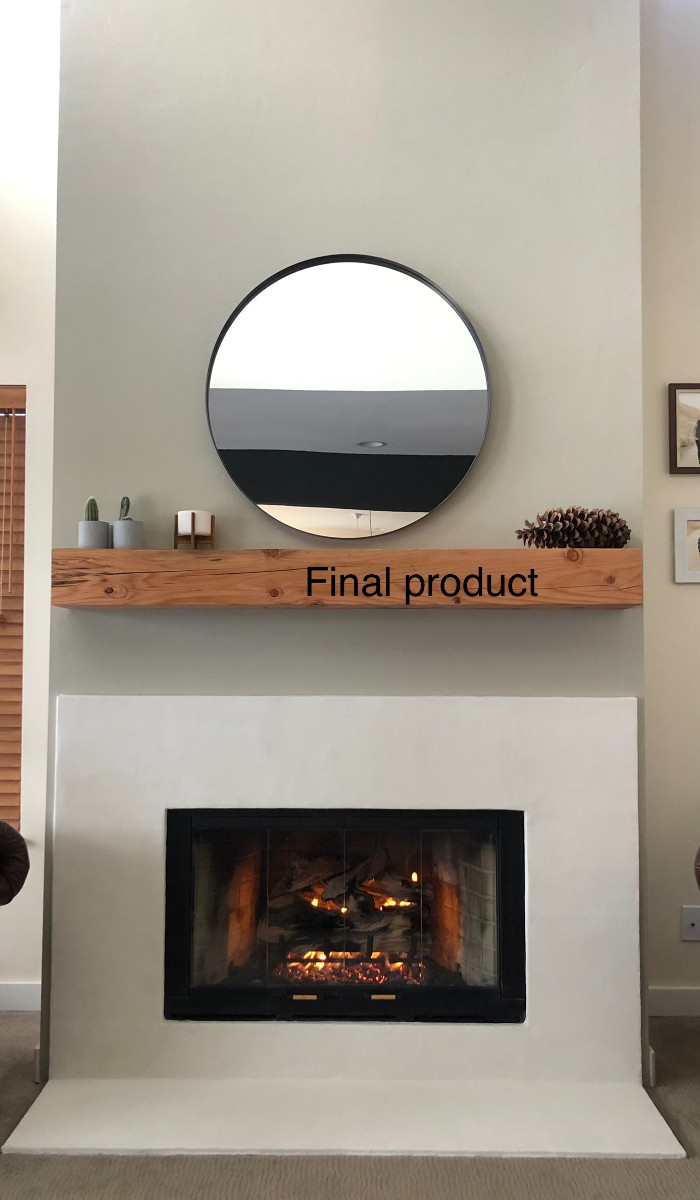
This Direct Colors DIYer originally planned to have their contractor finish their fireplace with overlay. They ended up diving in themselves, ordered a trial kit, and did this impeccable project! After a few layers of concrete overlay and a couple of coats of sealer, it was good to go. We think this transformation from a tiled fireplace to a smooth, sophisticated one is terrific!
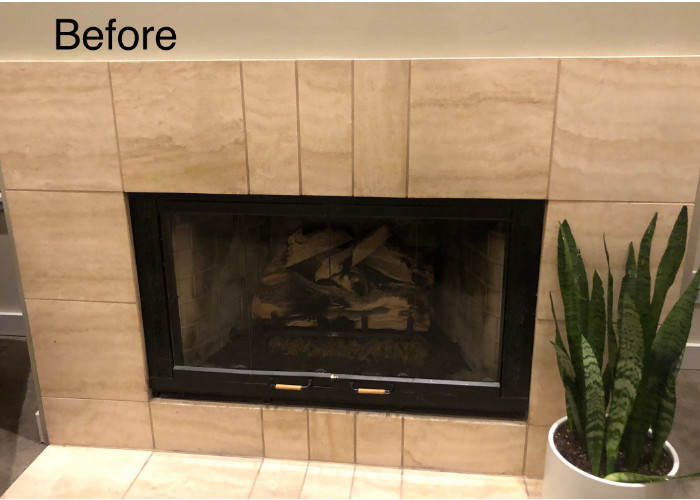
Project Info:
- Project Completed In: 14 day(s)
- Estimate of Square Footage: 200 sq. ft.
- Project Description:
Fireplace Overlay
1. We were quoted for concrete overlay on our fireplace surround, but the contractor never came back to do the job. After watching the Direct Color DIY videos and completing my research, we dove in. I ordered a sample kit. Trialed and ordered
2. Taped off surround and utilized plastic to cover and protect the carpet and walls.
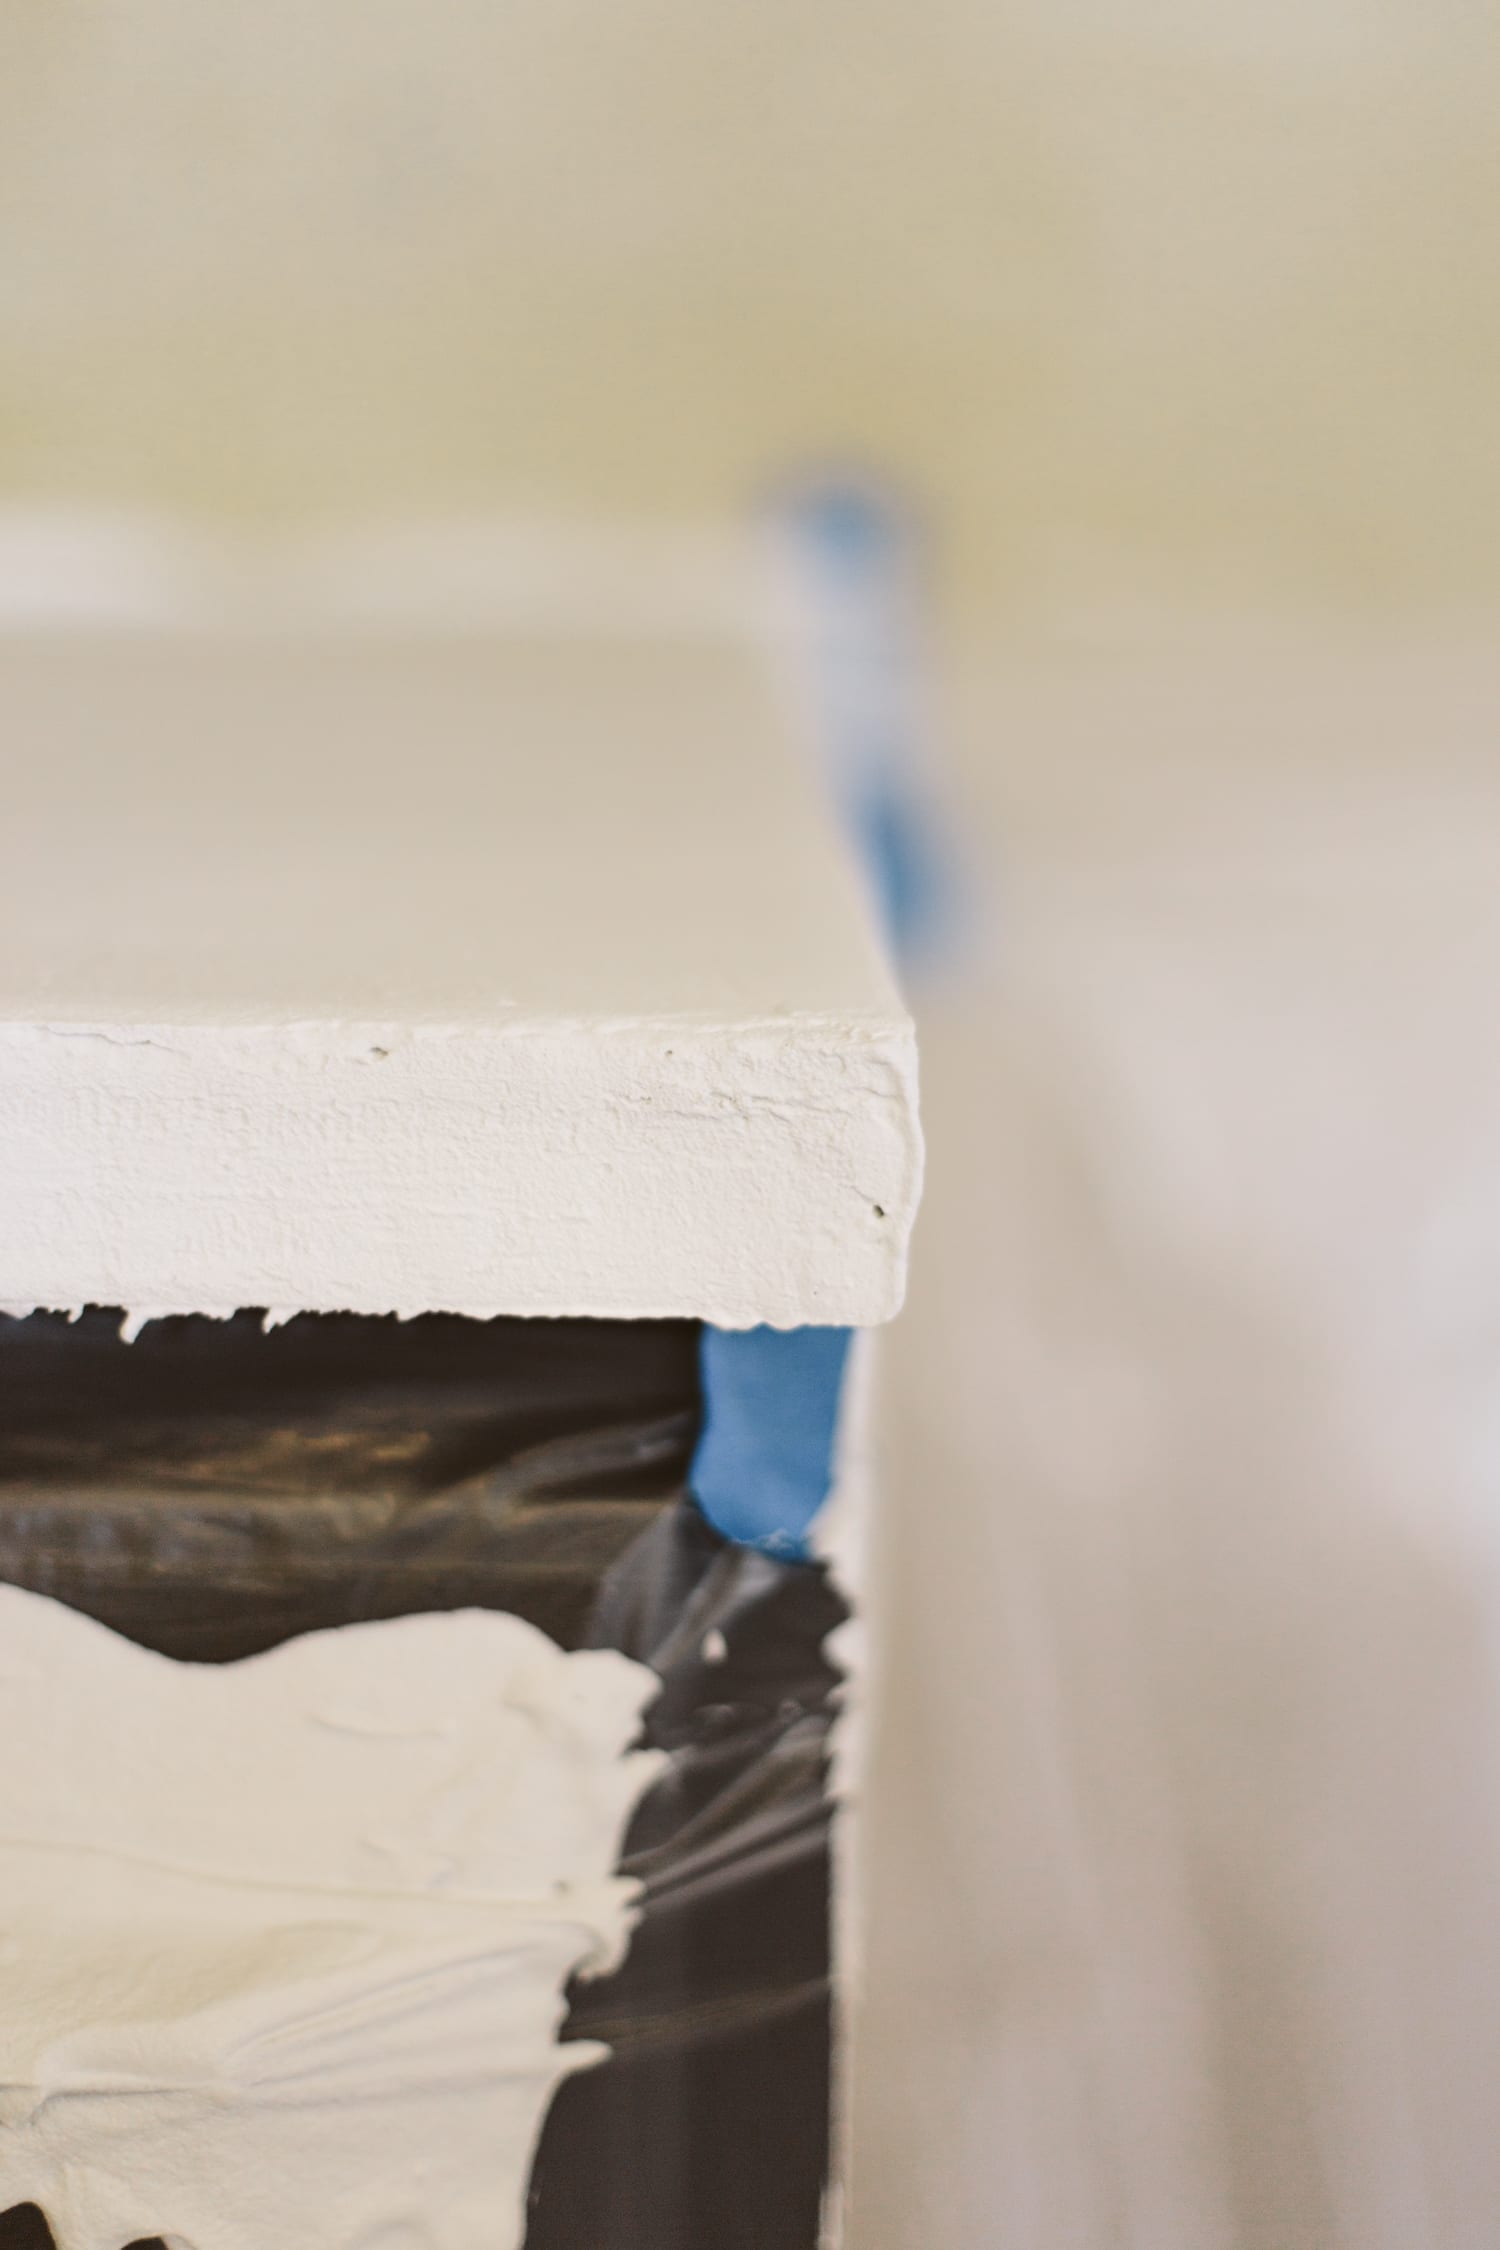
3. Fixed cracked in the tile grout and leveled the edge of the fireplace surround with pre-mixed mortar. Waited 24 hrs and completed second coat/layer of mortar to ensure surface was level.
4. Hand sanded old tiles/grout with 80 grit sandpaper.
5. Cleaned surface extremely well. Wiped with rubbing alcohol.
6. First layer was most challenging. After utilizing some of the recommended tools, through trial and error, I found an 8” drywall taping knife most effective.
7. Dry time 24hrs
8. Sanded down high spots.
9. Second coat. Dry 24 hrs. Hand sanded high spots.
10. Finished the third coat of overlay and planned to sand down any high points. I wasn’t liking the look of the sanded areas. * sandpaper had to be white not red.
11. Added a 4th layer of overlay and let dry for 1 hr. Hand sanded the high spots while still drying. It very successful. Utilized the magic trowel, drywall taping knife and 150 grit white sandpaper
12. After fully dry, removed painters tape and plastic
13. Sealed. Dry time 24hrs. Added, second coat of sealer.
- Personal Tips:
Order more than you calculate
White sandpaper for white concrete
Use exact measurements
Laminate Countertop Facelift for Bathroom
After attempting to paint their vanity countertops in the past, this Direct Colors customer chose to refinish. The ash gray concrete overlay really brightens up the room; it looks like a whole new bathroom! They sealed the deal with a matte, water based sealer.
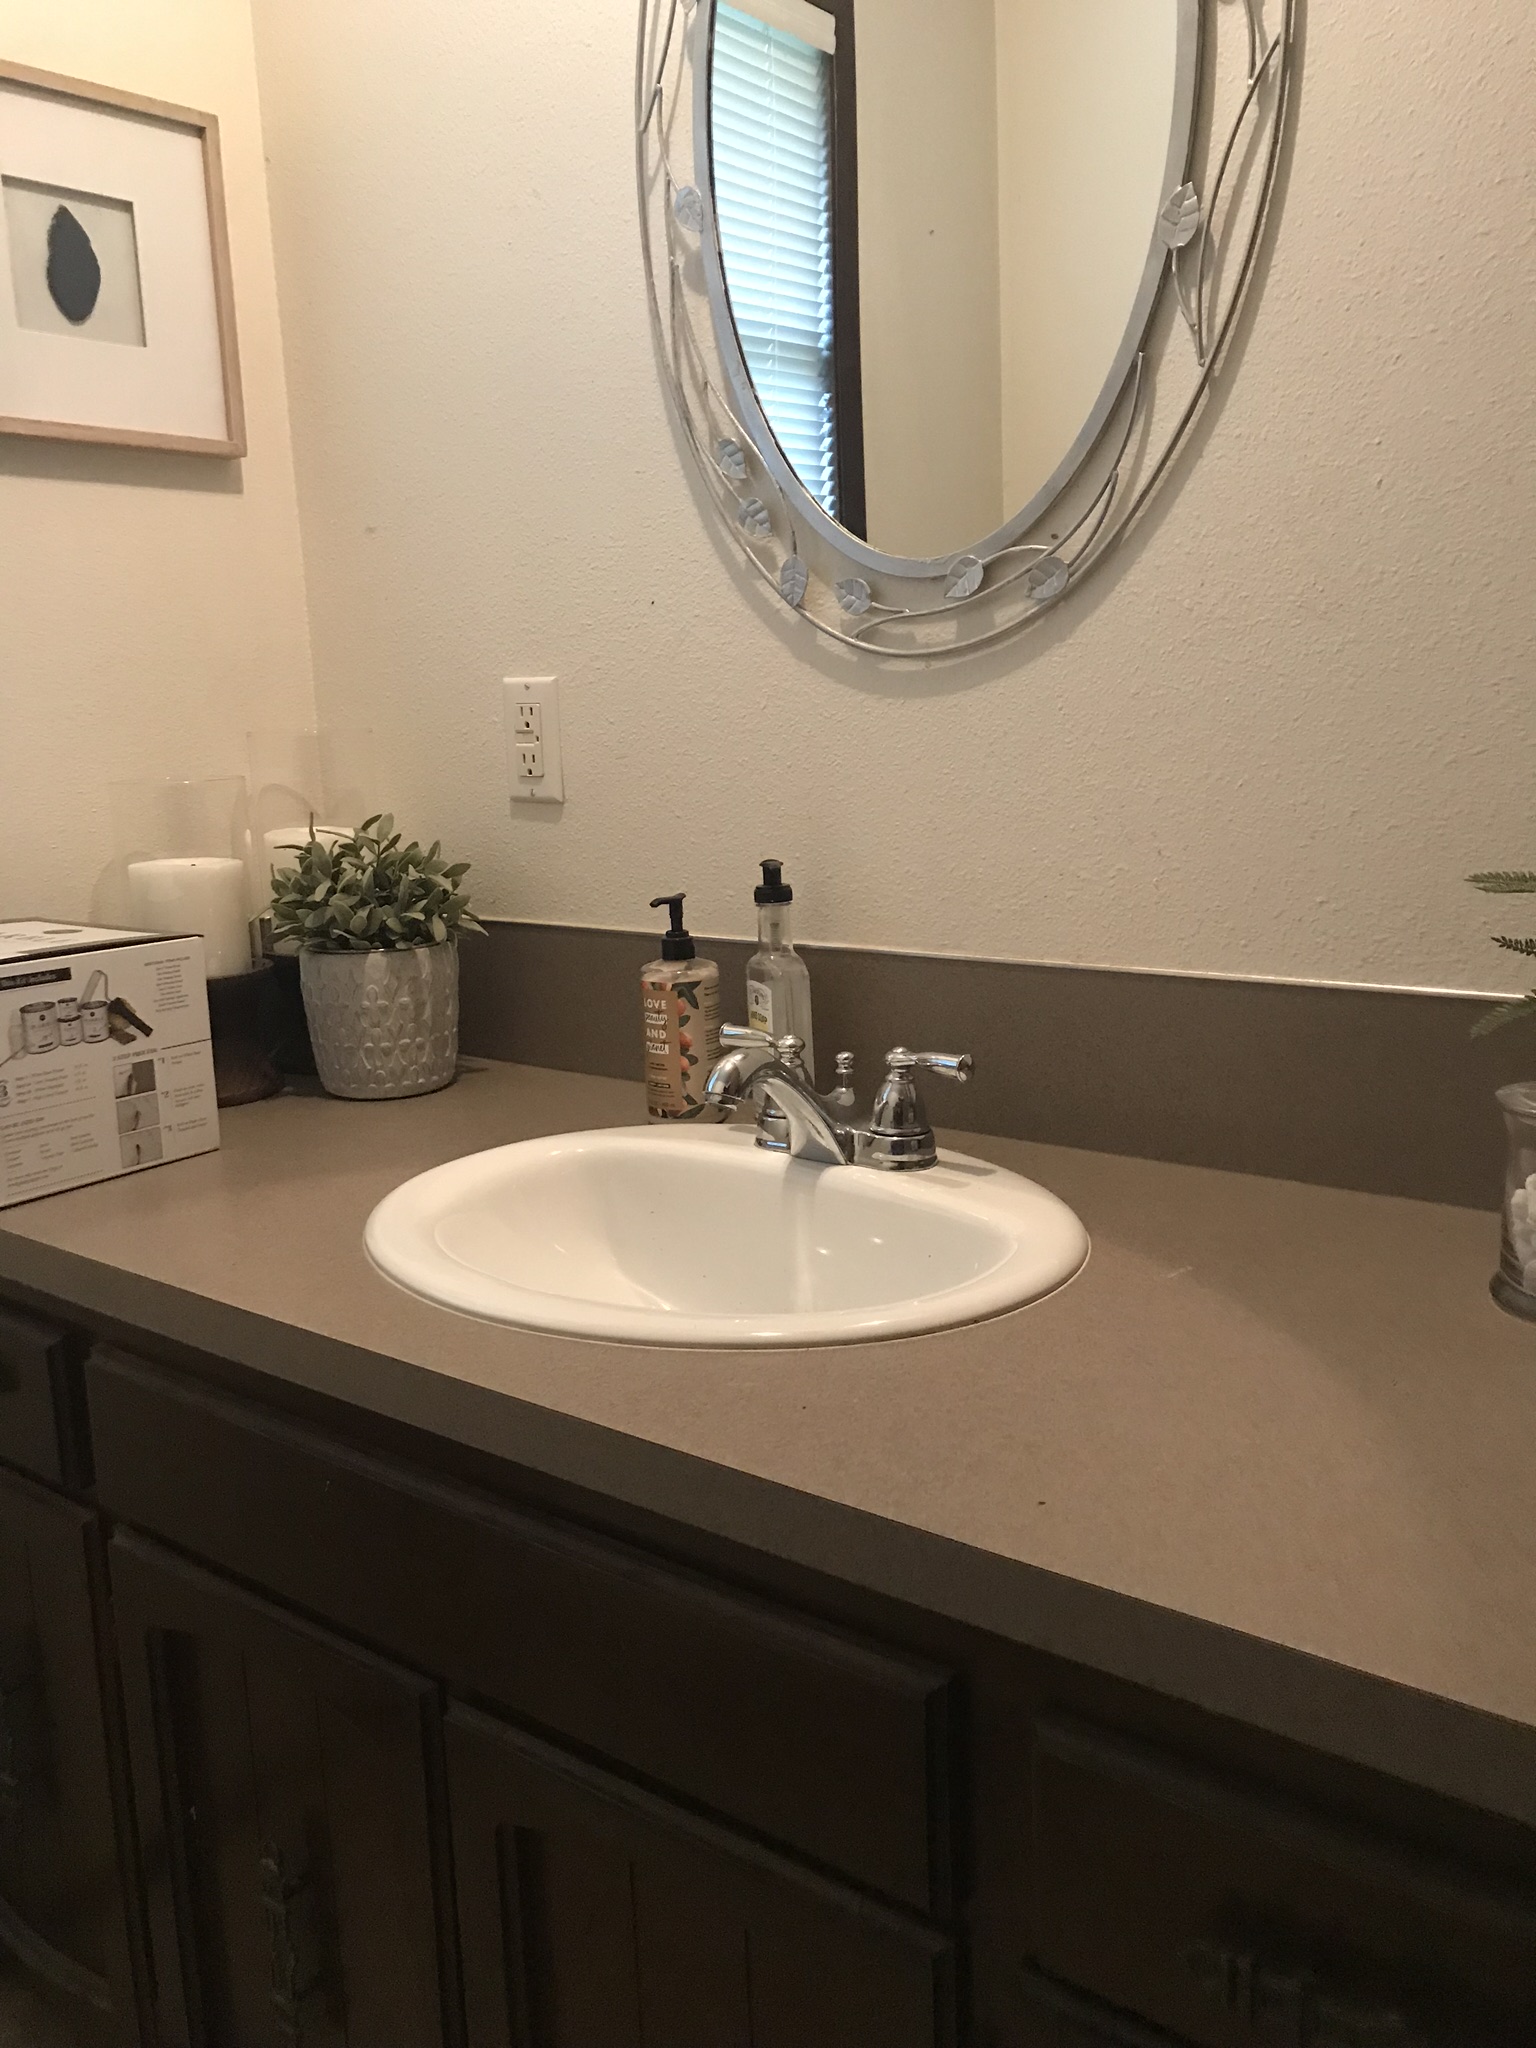
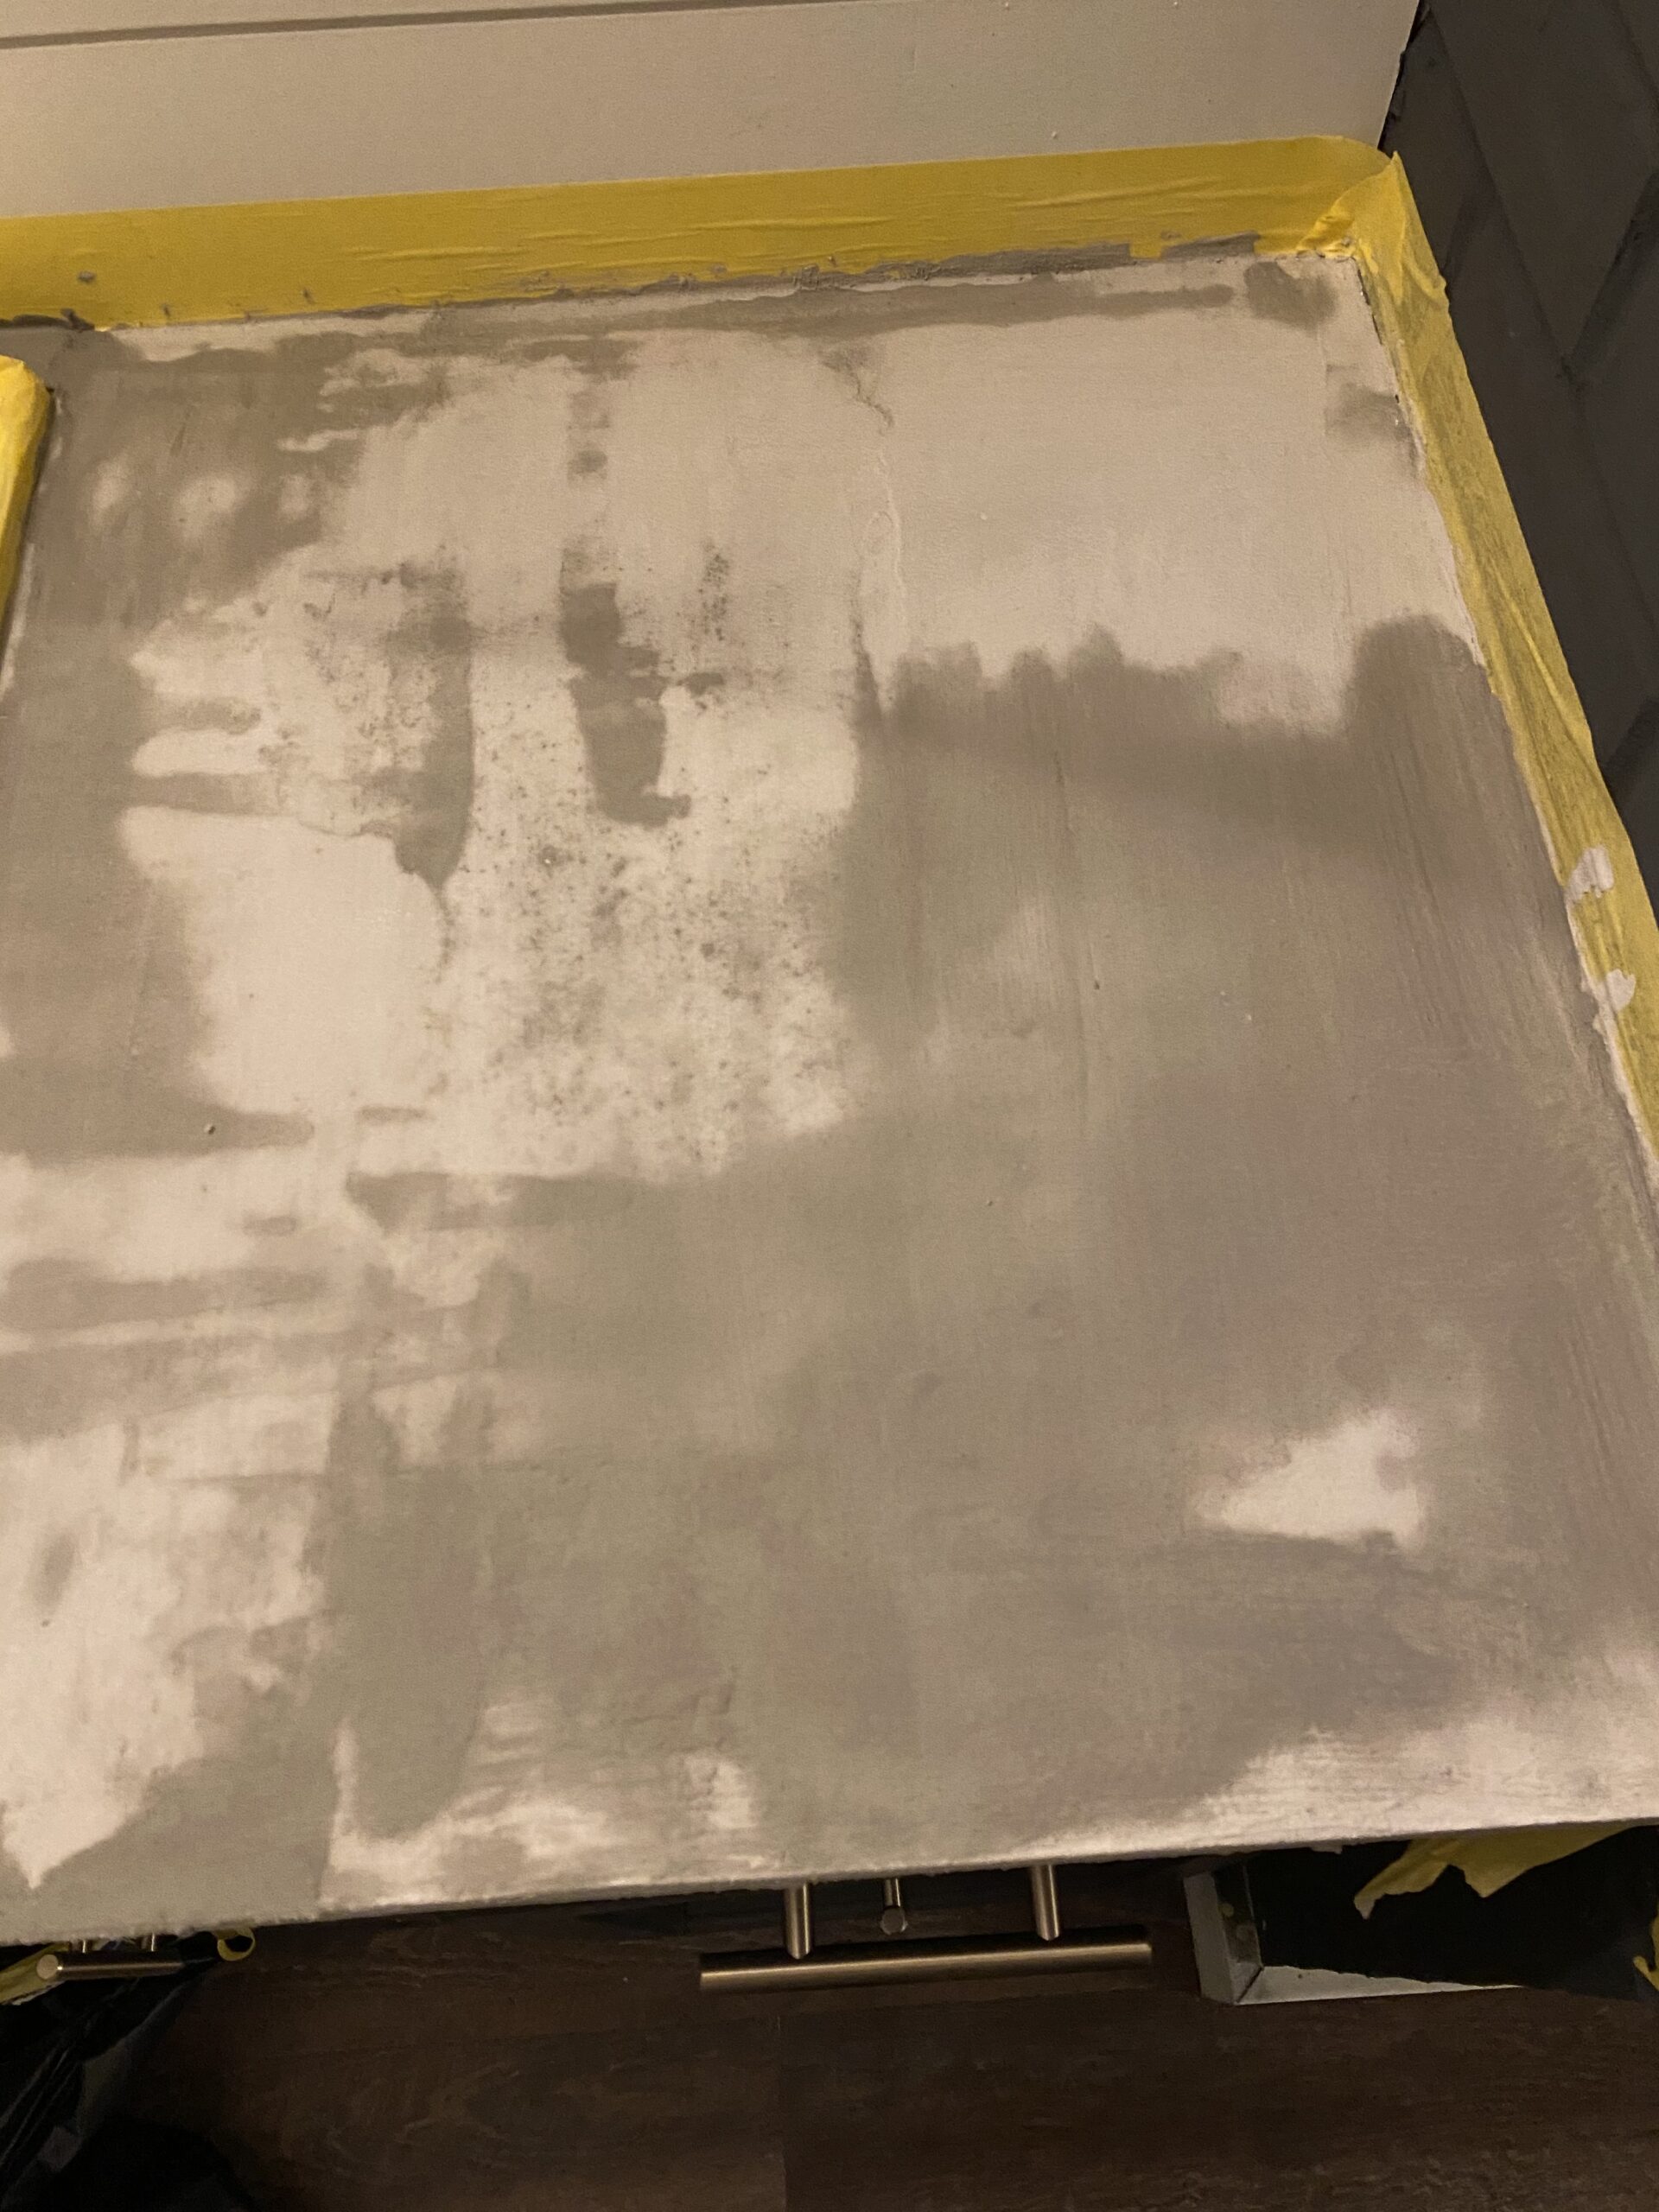
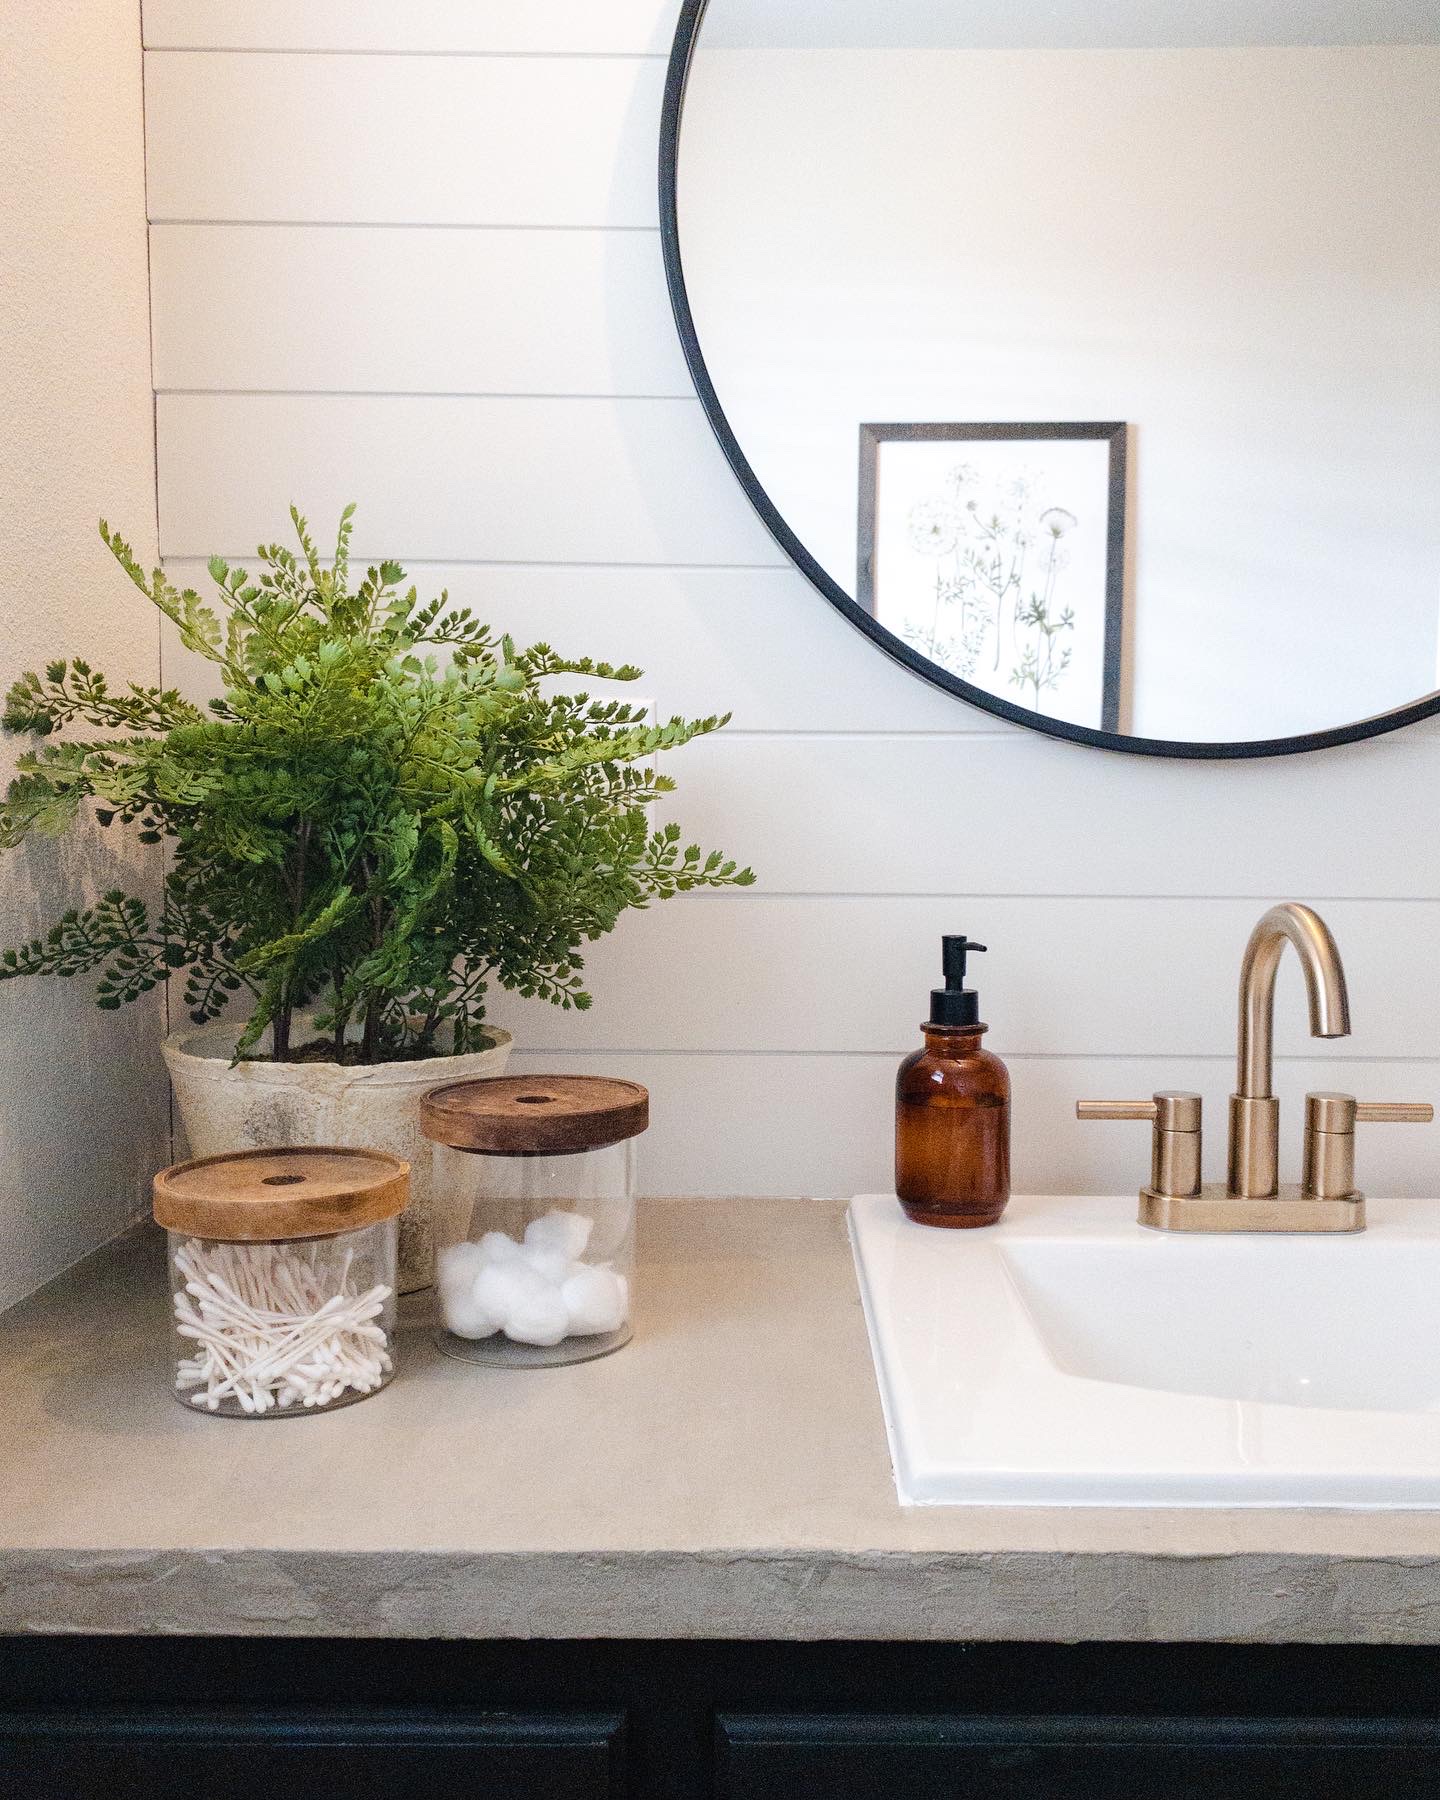
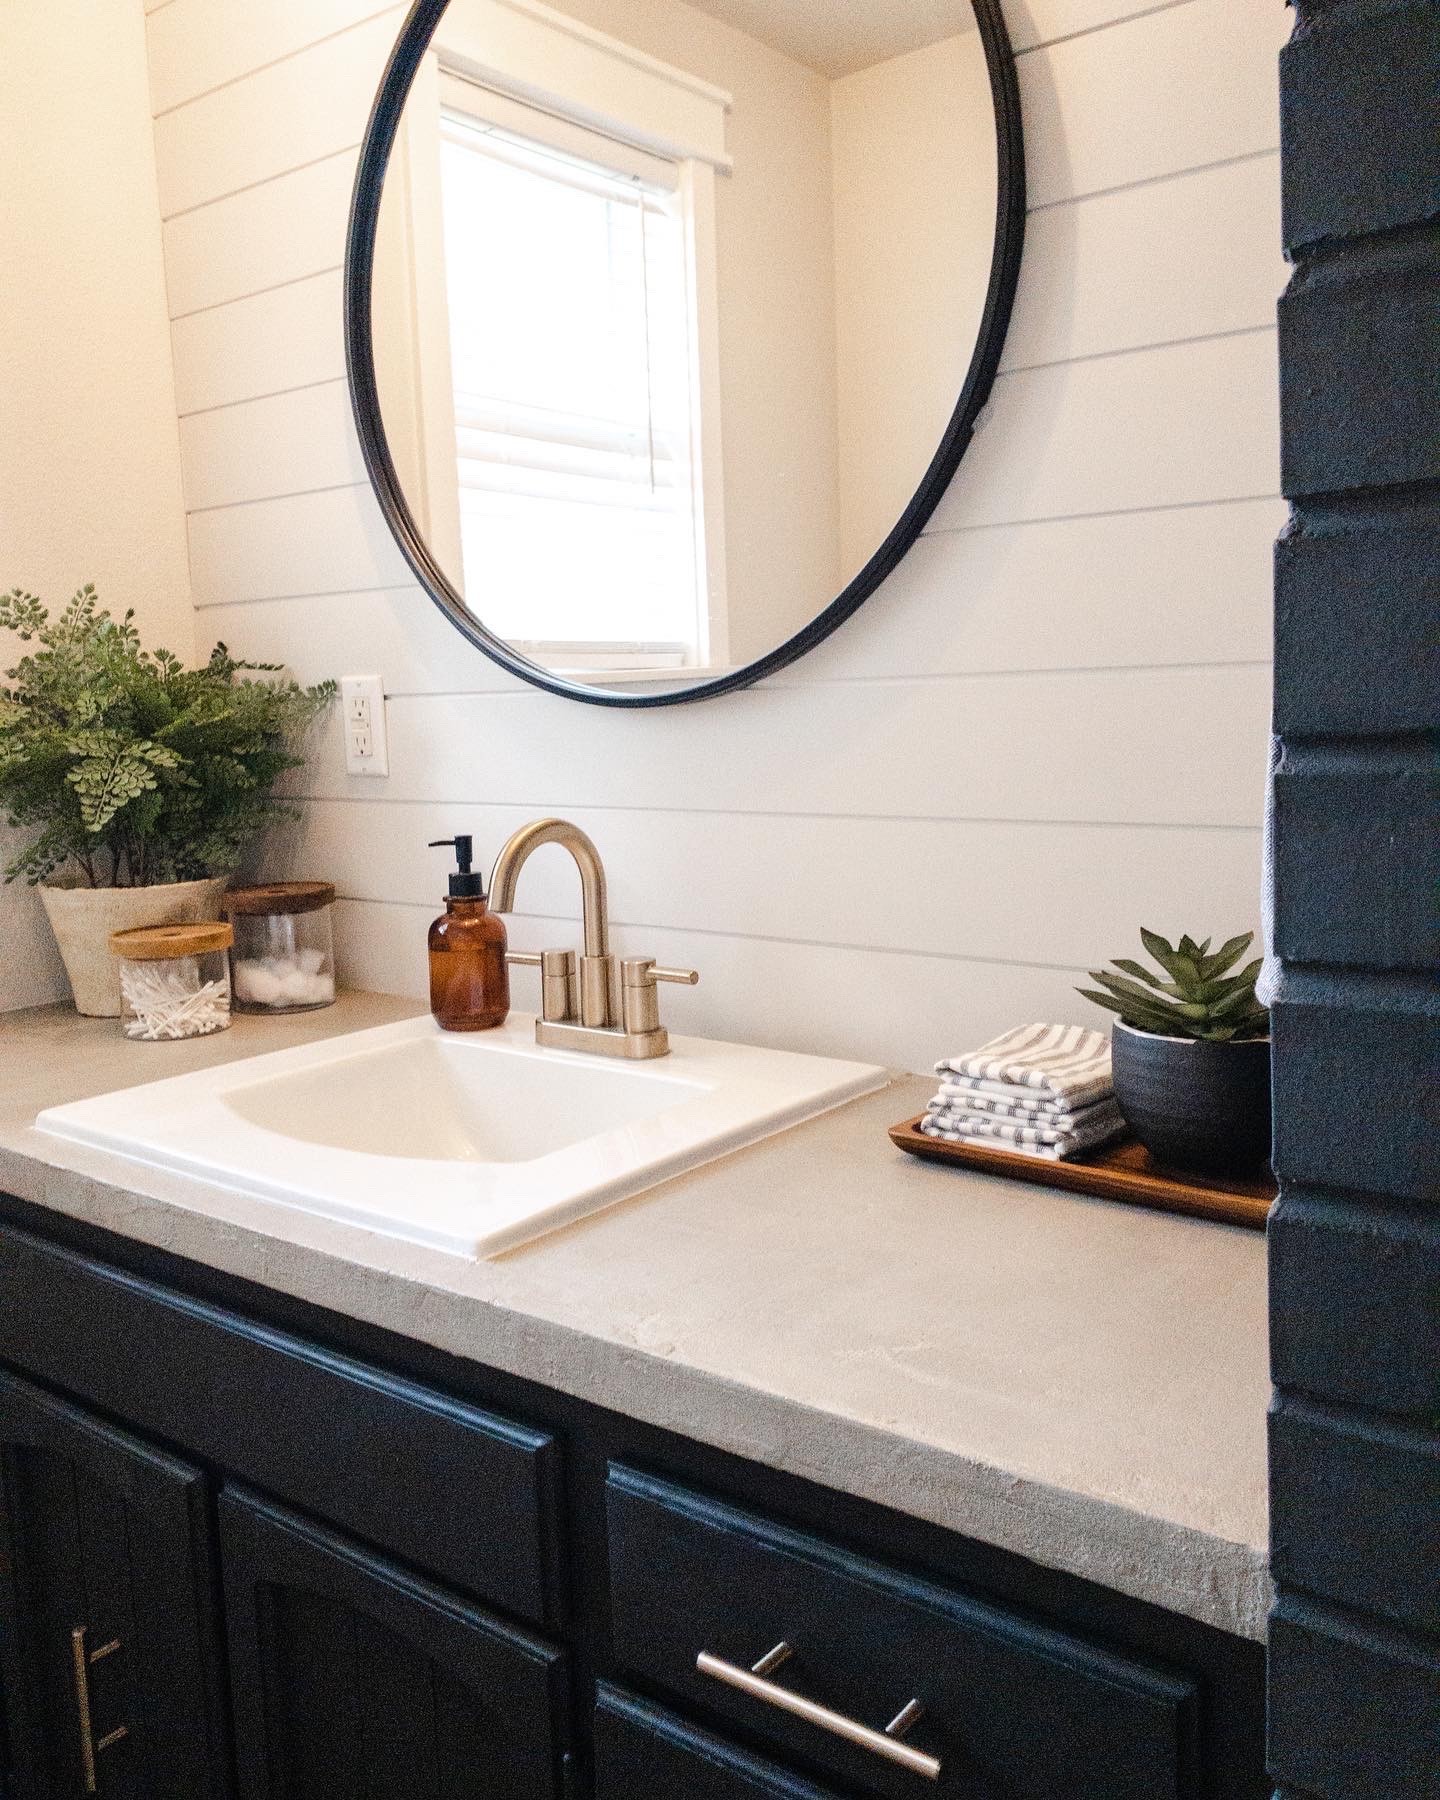
- Project Completed In: 1 day(s)
- Estimate of Square Footage: 10 sq. ft.
- Project Description:
Used the Ash color concrete overlay and matte acrylic sealer to re-finish our bathroom vanity countertops. I had tried painting them in the past but it never looked as great as the concrete does! - Personal Tips:
I’m a beginner, so I had to do small patches at a time, I mixed smaller amounts at a time because the mix would dry out before I was able to finish my current patch. - Direct Colors Products Used:
Ash concrete overlay, acrylic sealer
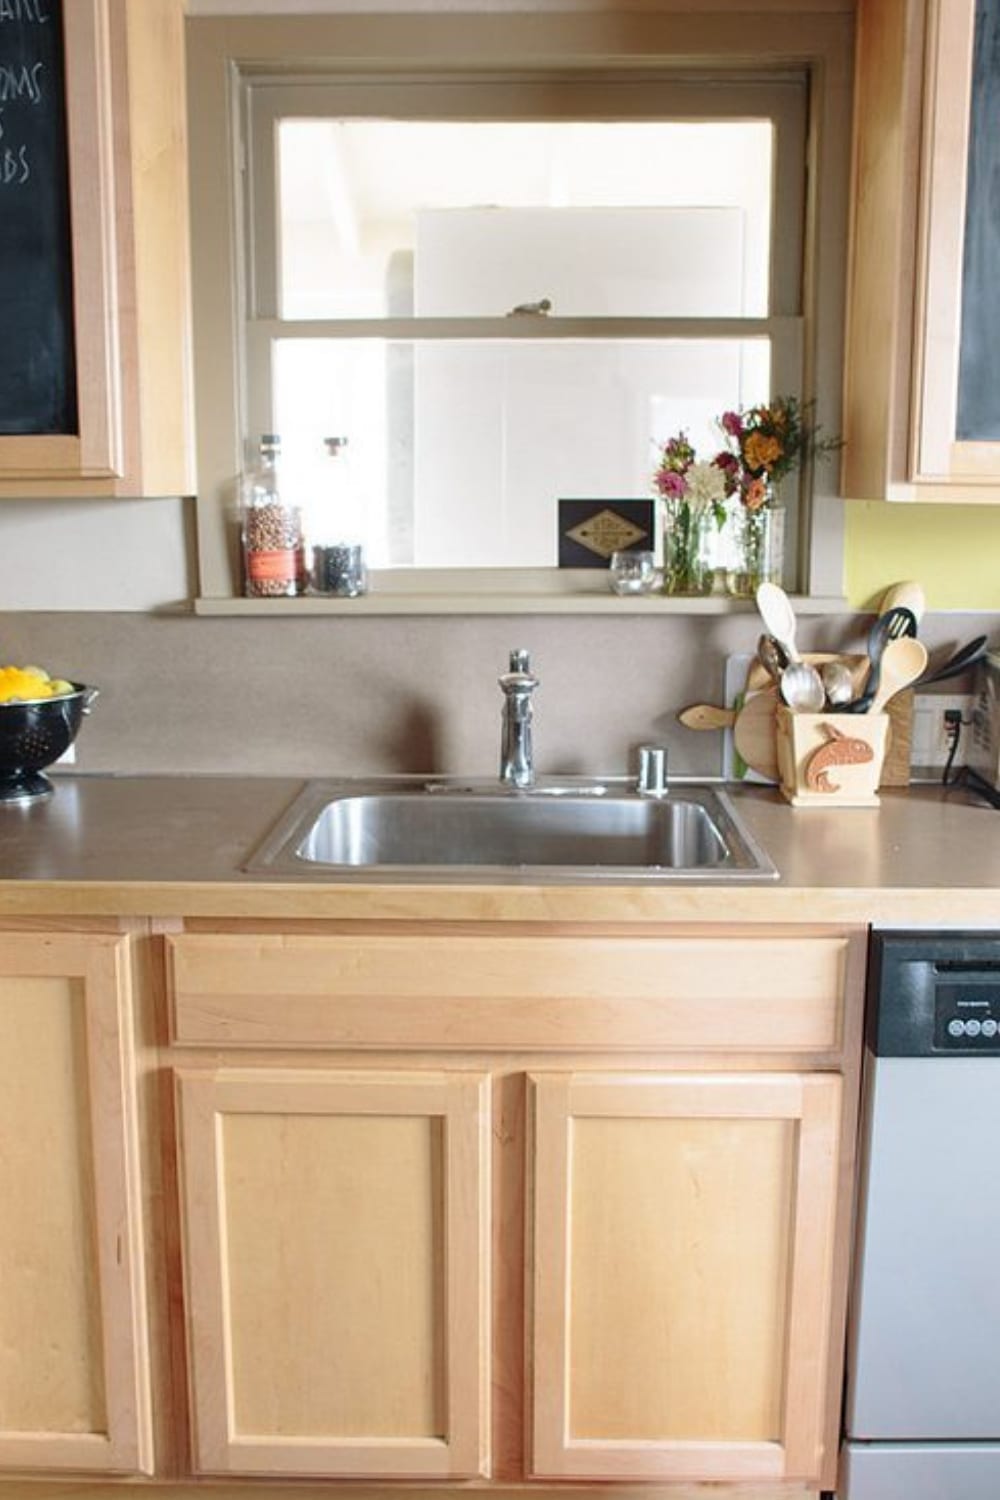
Laminate Kitchen Countertop Upgrade
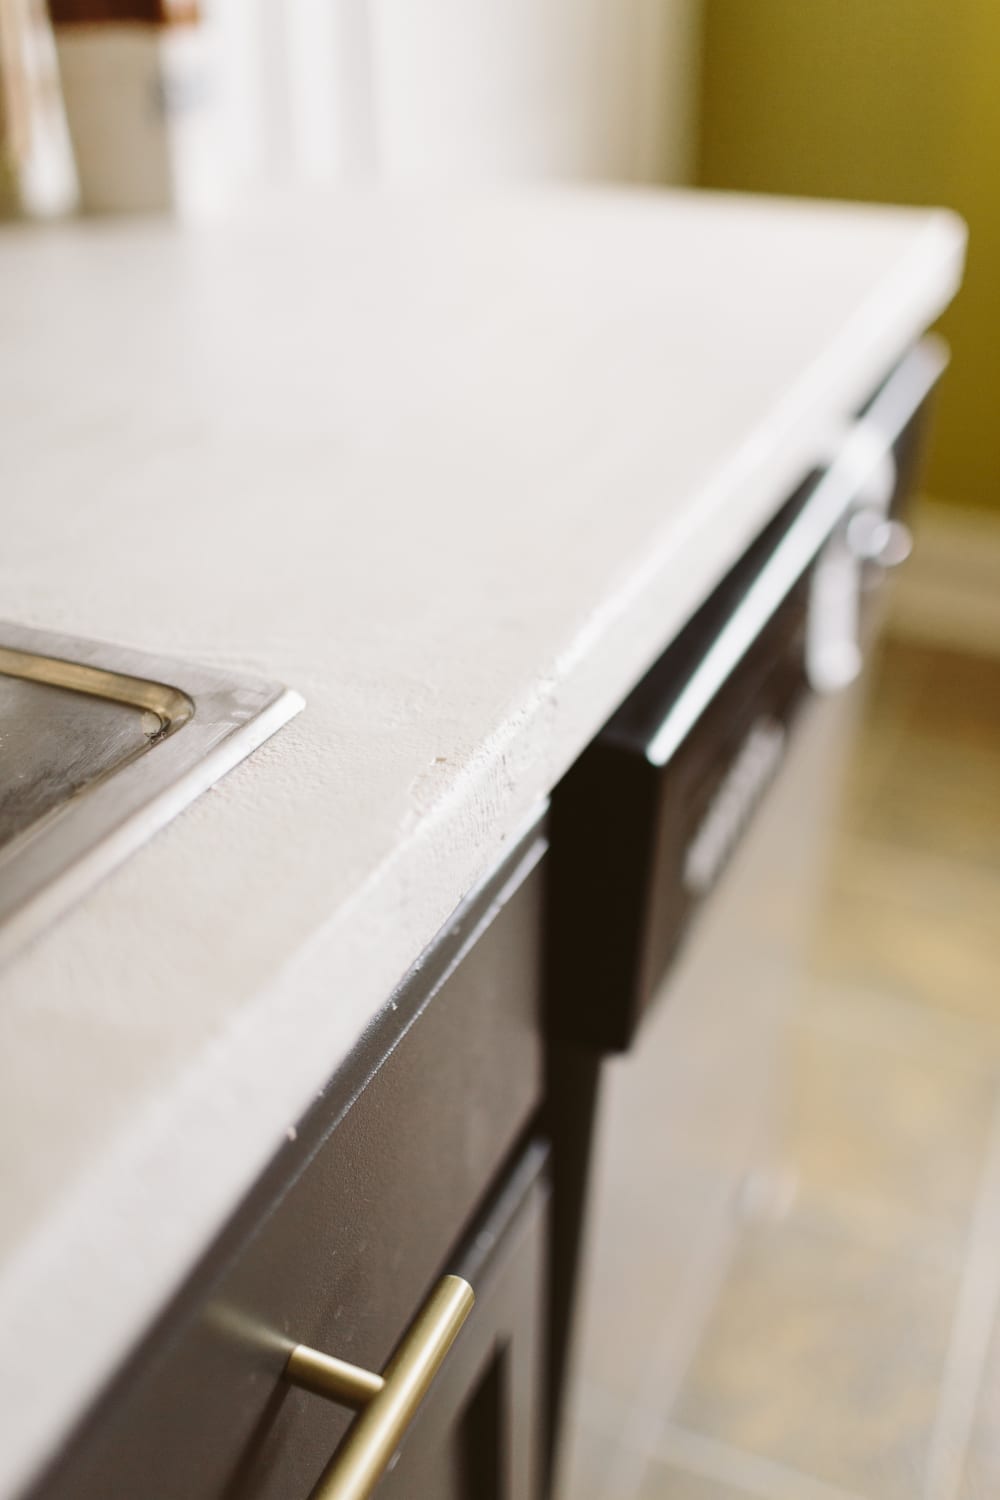
Our DIYer chose concrete overlay as an affordable option to answer all of their concerns. They completed the project without any assistance, and without knowing how to apply overlay beforehand! Learn more about this kitchen countertop project with white concrete overlay.
