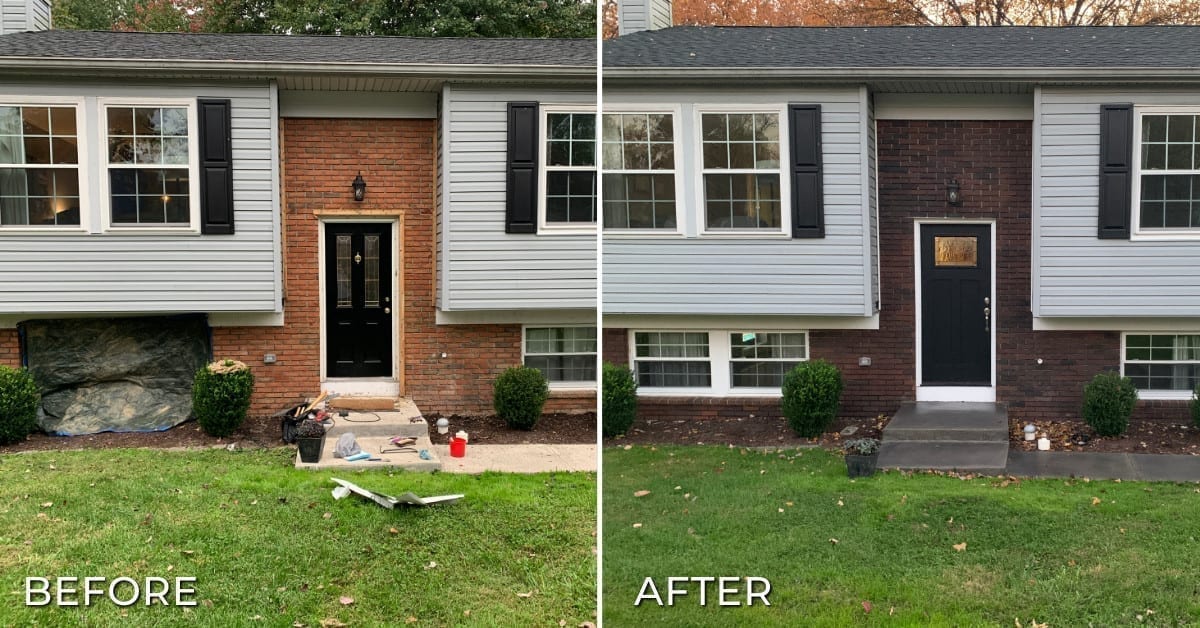
Limewash vs Painted Brick
By Jon Bastian
If you’ve never worked with limewash, you may only know it from Tom Sawyer, where the hero famously tricks his friends into whitewashing his Aunt Polly’s fence for him. You may also have assumed that whitewash is just some kind of paint and no big deal.
It’s actually far from that, and is also known as limewash because lime is a major ingredient. It’s been used for years to color houses white, and is actually much brighter and more durable than white paint.
Let it breathe
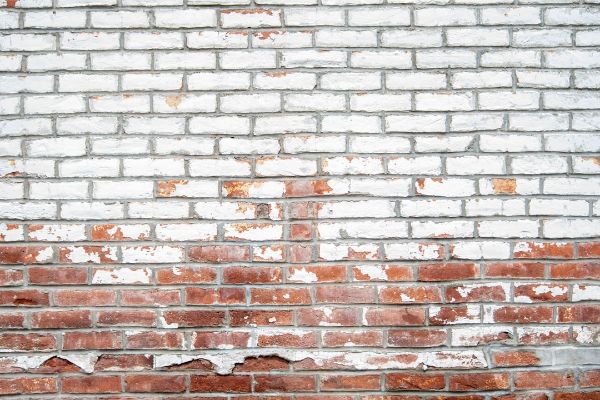
The main reason for this is that brick needs to breathe because it’s so porous. If you paint a brick wall, then you’ve just set yourself up to have moisture get trapped between the surface and the inner coat and you’ll end up with mold, peeling paint, and brick that can never be reused or restored.
Of course, a bright white brick wall or chimney may not be what you’re looking for, but you’re in luck. Using a combination of water, high-calcium hydrated lime and concrete pigment, you have a variety of color options available.
How to Limewash Brick
The process is fairly straightforward. You can either buy pre-mixed lime putty or make your own by adding one part lime to five parts water.
Using hydrated lime avoids the more dangerous parts of slaking quicklime directly, which creates a lot of heat and a very caustic solution. Limewash can damage skin, eyes, or other tissues, though, so do wear facial protection, especially goggles or a full shield, always wear long sleeves and pants, and use gloves.
After the lime and water have been thoroughly mixed, combine the lime putty and more water in a ratio of one part putty to four parts water.
Note that normally you’d be measuring the lime in pounds and the water in ounces or gallons. To approximate the ratios as closely as possible, use 8.33 pounds as the weight of a gallon of water. Yes, you will need a calculator, since you can’t easily convert the weight of the lime into the equivalent in fluid ounces.
Of course, if you use metric you have it easy, because you already know that a liter of water weighs one kilogram — and because of the ratios involved, it might actually be a good idea to measure that way for this project.
I can tell you that a kilogram is 2.2 pounds, but once you’ve converted, it’s a lot easier to divide the weight of water (1.833 liters) by five to get the weight of lime (367 grams) or by four to get the weight of the lime putty (458 grams) than it is to figure out the same thing in imperial measurements.
Gray Limewash Brick
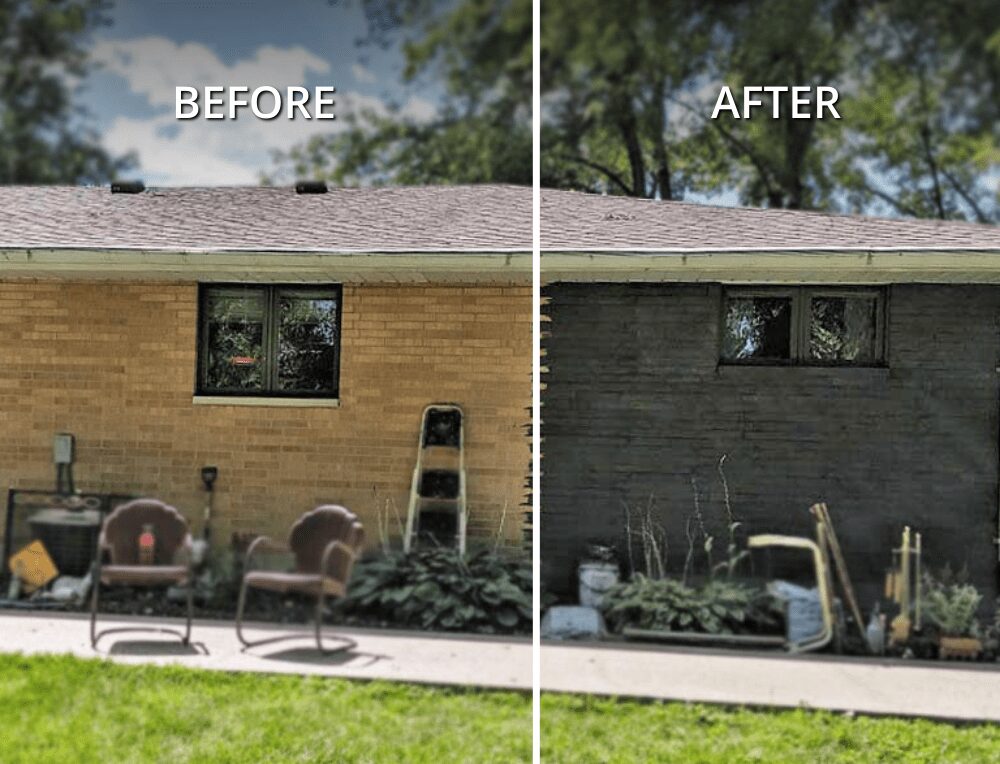
Direct Colors client Jackie P. had a brick wall to limewash, but didn’t want a white wall, so she turned to the concrete pigment options and decided to go with pigment in black.
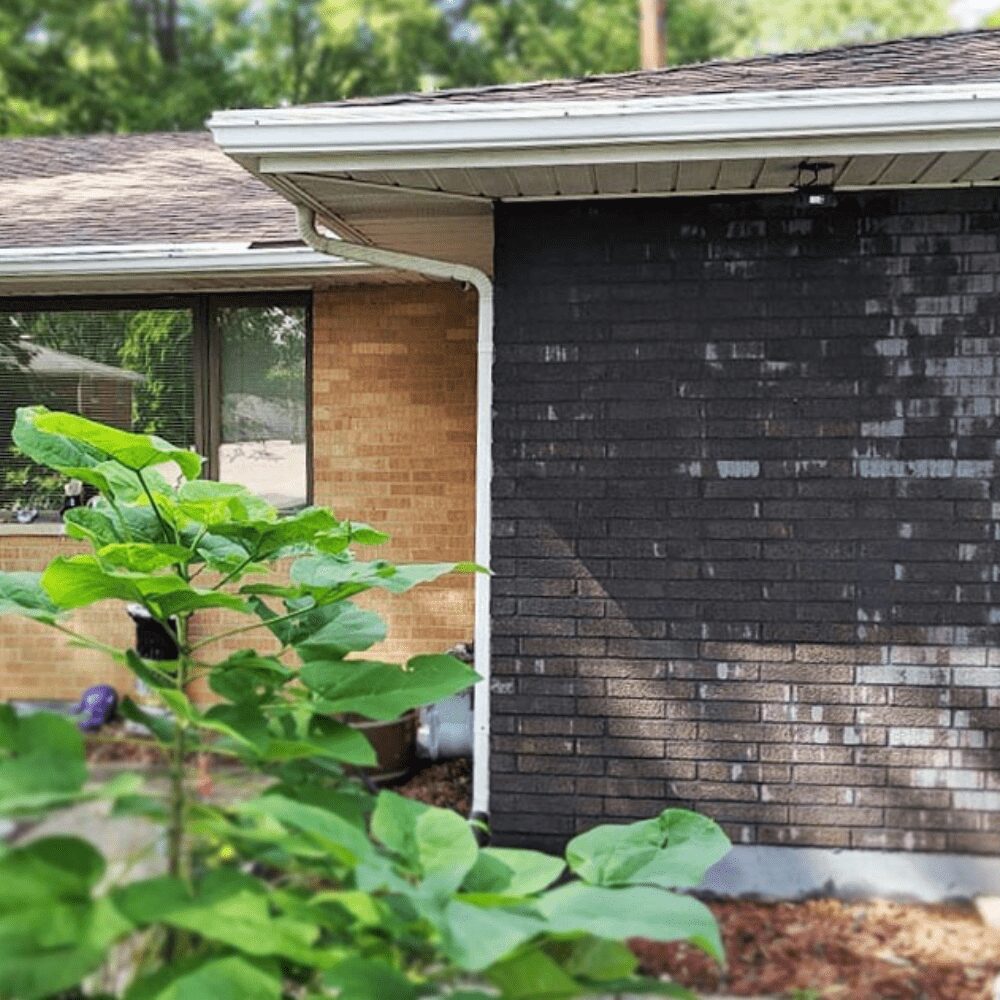
Jackie told us, “Lime-wash is a multi-coat process with at least three coats. So, to cover all the bricks three times has taken me about six weeks to complete. Fingers crossed I can stop at three, if I end up not loving the color I will do a fourth a tad darker. The nice thing about multiple coats means you can try different amounts of color to know what you want the final coat to be.”
In preparation, you’ll probably want to cover the area you’re not working on, whether you’re standing on an artificial surface, lawn, or dirt. “It’s a very messy project,” Jackie explained “It splashes everywhere and drips on everything. If you need to be careful you will want to put up tape and put down drop cloths.”
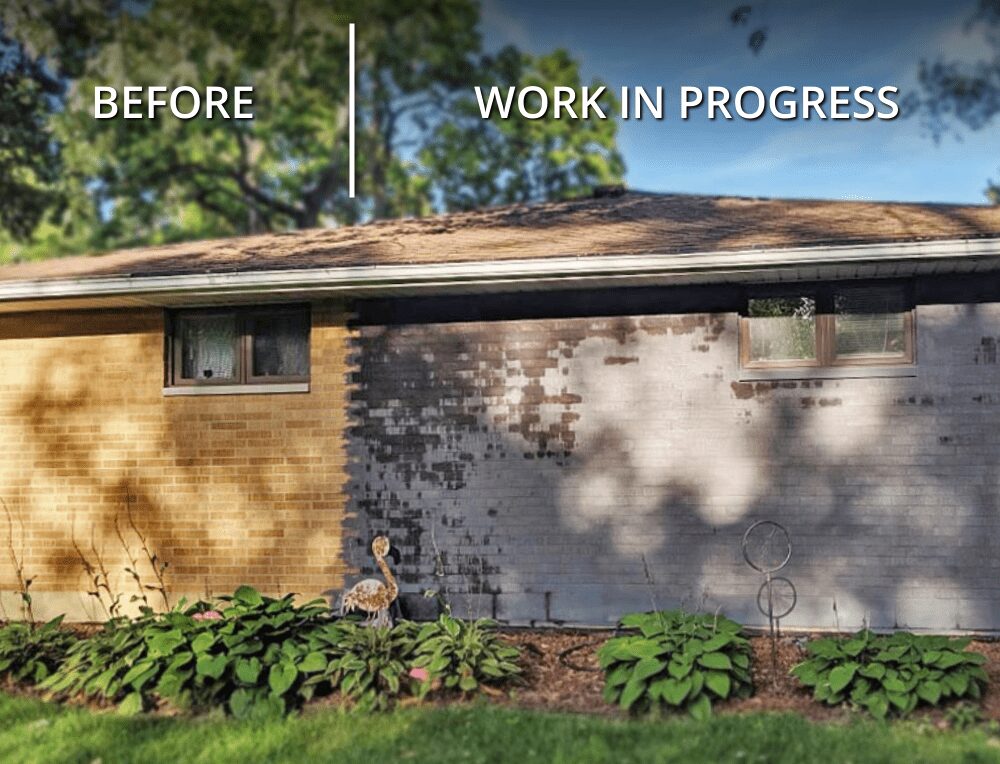
Also make sure the bricks are clean first. “It’s helpful to have a broom to knock down spiders, their webs, and other insects from the bricks before you wet them,” Jackie told us.
Climate counts
Weather also matters, and you should never apply the limewash in hot, direct sunlight because it will dry too fast. You should also avoid days that are too cold or wet, and definitely not start the project if there’s rain in the forecast in the next three days.
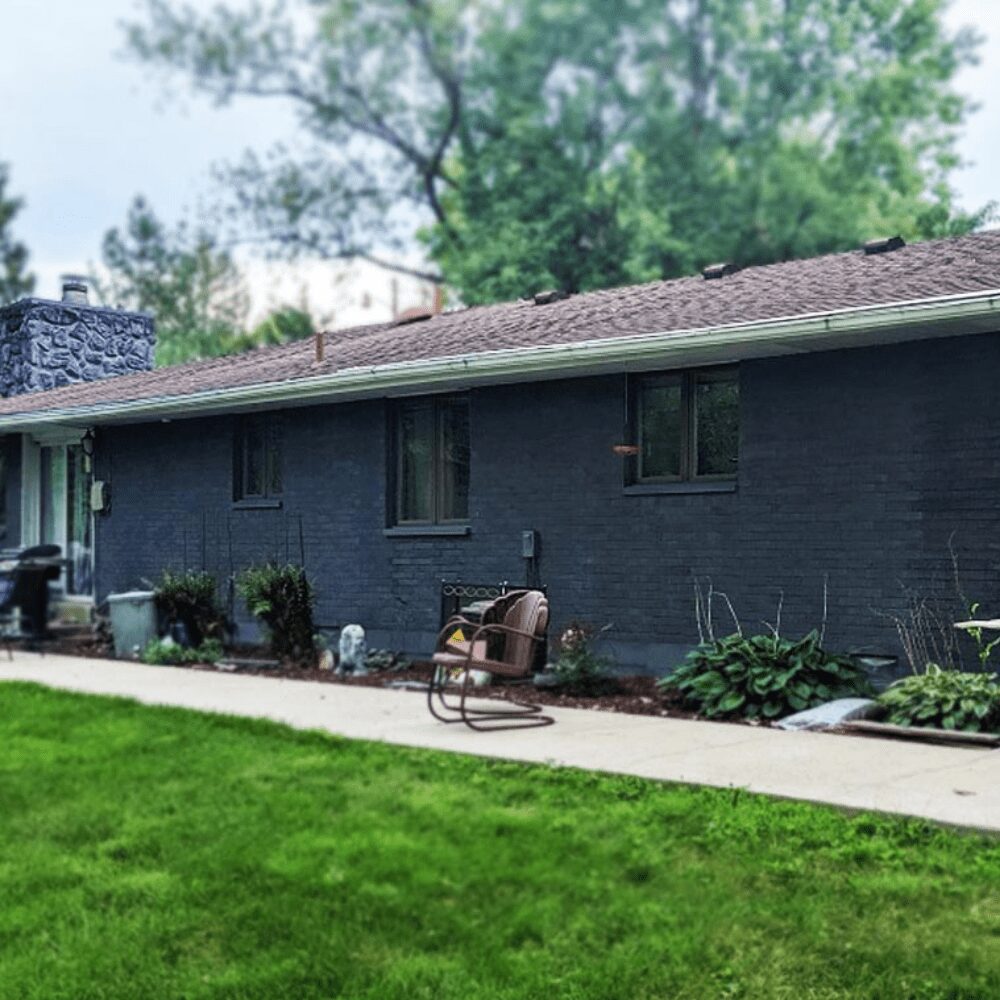
Mild, dry weather is the best, and Jackie concurs. “It really does help if it’s an overcast day and not hot.” She also advices, “Get a good scale to do your measurements with. Buy several pairs of rubber gloves. The kind that people wear to wash dishes work well.
“I used a five gallon bucket to mix my batches. I did 24 pounds (10.89 liters) of water, 4.8 pounds (2,178 grams) of lime, and then the iron oxide. Wear a dust mask when mixing. The lime is very fine and you do not want to breathe it in.”
While you can spray limewash on, you’ll get better results with a brush. Jackie says, “The brush needs to be natural bristle. I chose inexpensive 3-inch wooden handle brushes from Lowe’s.”
Which hydrated lime?
One very important thing to remember: you need to use the right kind of lime if you’re making the lime putty yourself, since there are a few types of lime, all of them referred to as hydrated. The one you want specifically has to be high-calcium hydrated lime, which has a calcium content of at least 95%.
In the U.S., this is often designated as Type N. What you want to avoid is Type S, which contains more magnesium than calcium, as well as anything classified for agricultural use.
If you want to use fewer coats to achieve opacity, you can add Portland cement to the limewash.
Conclusion
You cannot paint brick without ruining the brick and possibly causing moisture build-up or mold. You can whitewash brick, but you’re not limited to just white if you use concrete pigment.
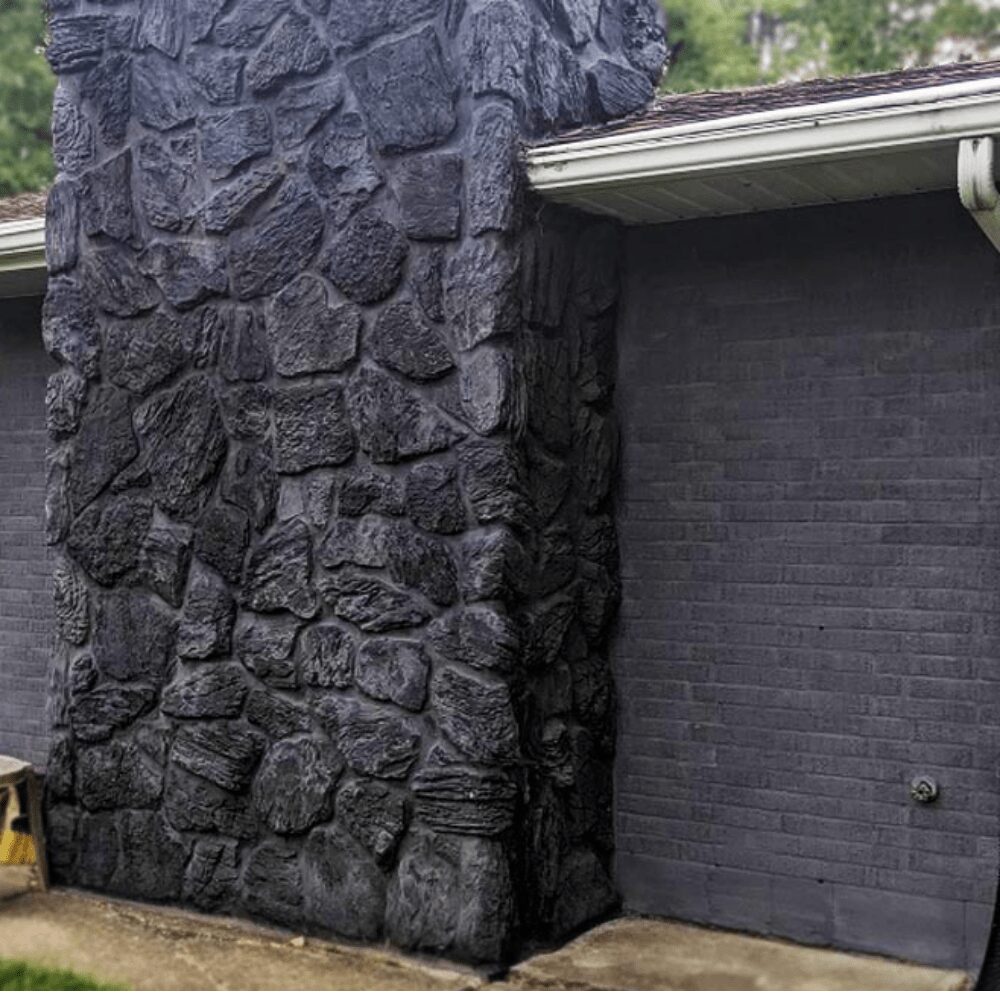
Jackie explains, “Lime-wash is a great way to update the outside of your house with something that is safe and lets the brick breathe.” It will also last a long time, and give your drab brick walls a vibrant makeover that will really stand out and impress.
Limewash vs Brick Stain
Limewash and staining are both popular options for updating the look of brick exteriors, but they achieve different effects. Limewash is a traditional, natural finish that is made from slaked lime and pigments. It is applied in thin layers to the brick, and it reacts with the brick to create a unique, chalky finish that can be tinted with pigments. Limewash is breathable, meaning it allows moisture to pass through the brick, which can help prevent damage to the brick and mortar.
Staining, on the other hand, is a more modern approach that involves applying a brick stain or gel to the brick to change its color. Stains are typically more opaque than limewash, and they do not change the texture of the brick.
Staining can be a good option if you want to change the color of your brick without altering its texture or if you want a more consistent color. It is important to note that Limewash is not as durable as staining, so it may require more frequent reapplication to maintain the desired look.
To learn more about brick staining, read our blog “Brick Staining: A Guide to Changing Your Brick Color“
