Shifting Sand Brown Acid Stain Photo Gallery
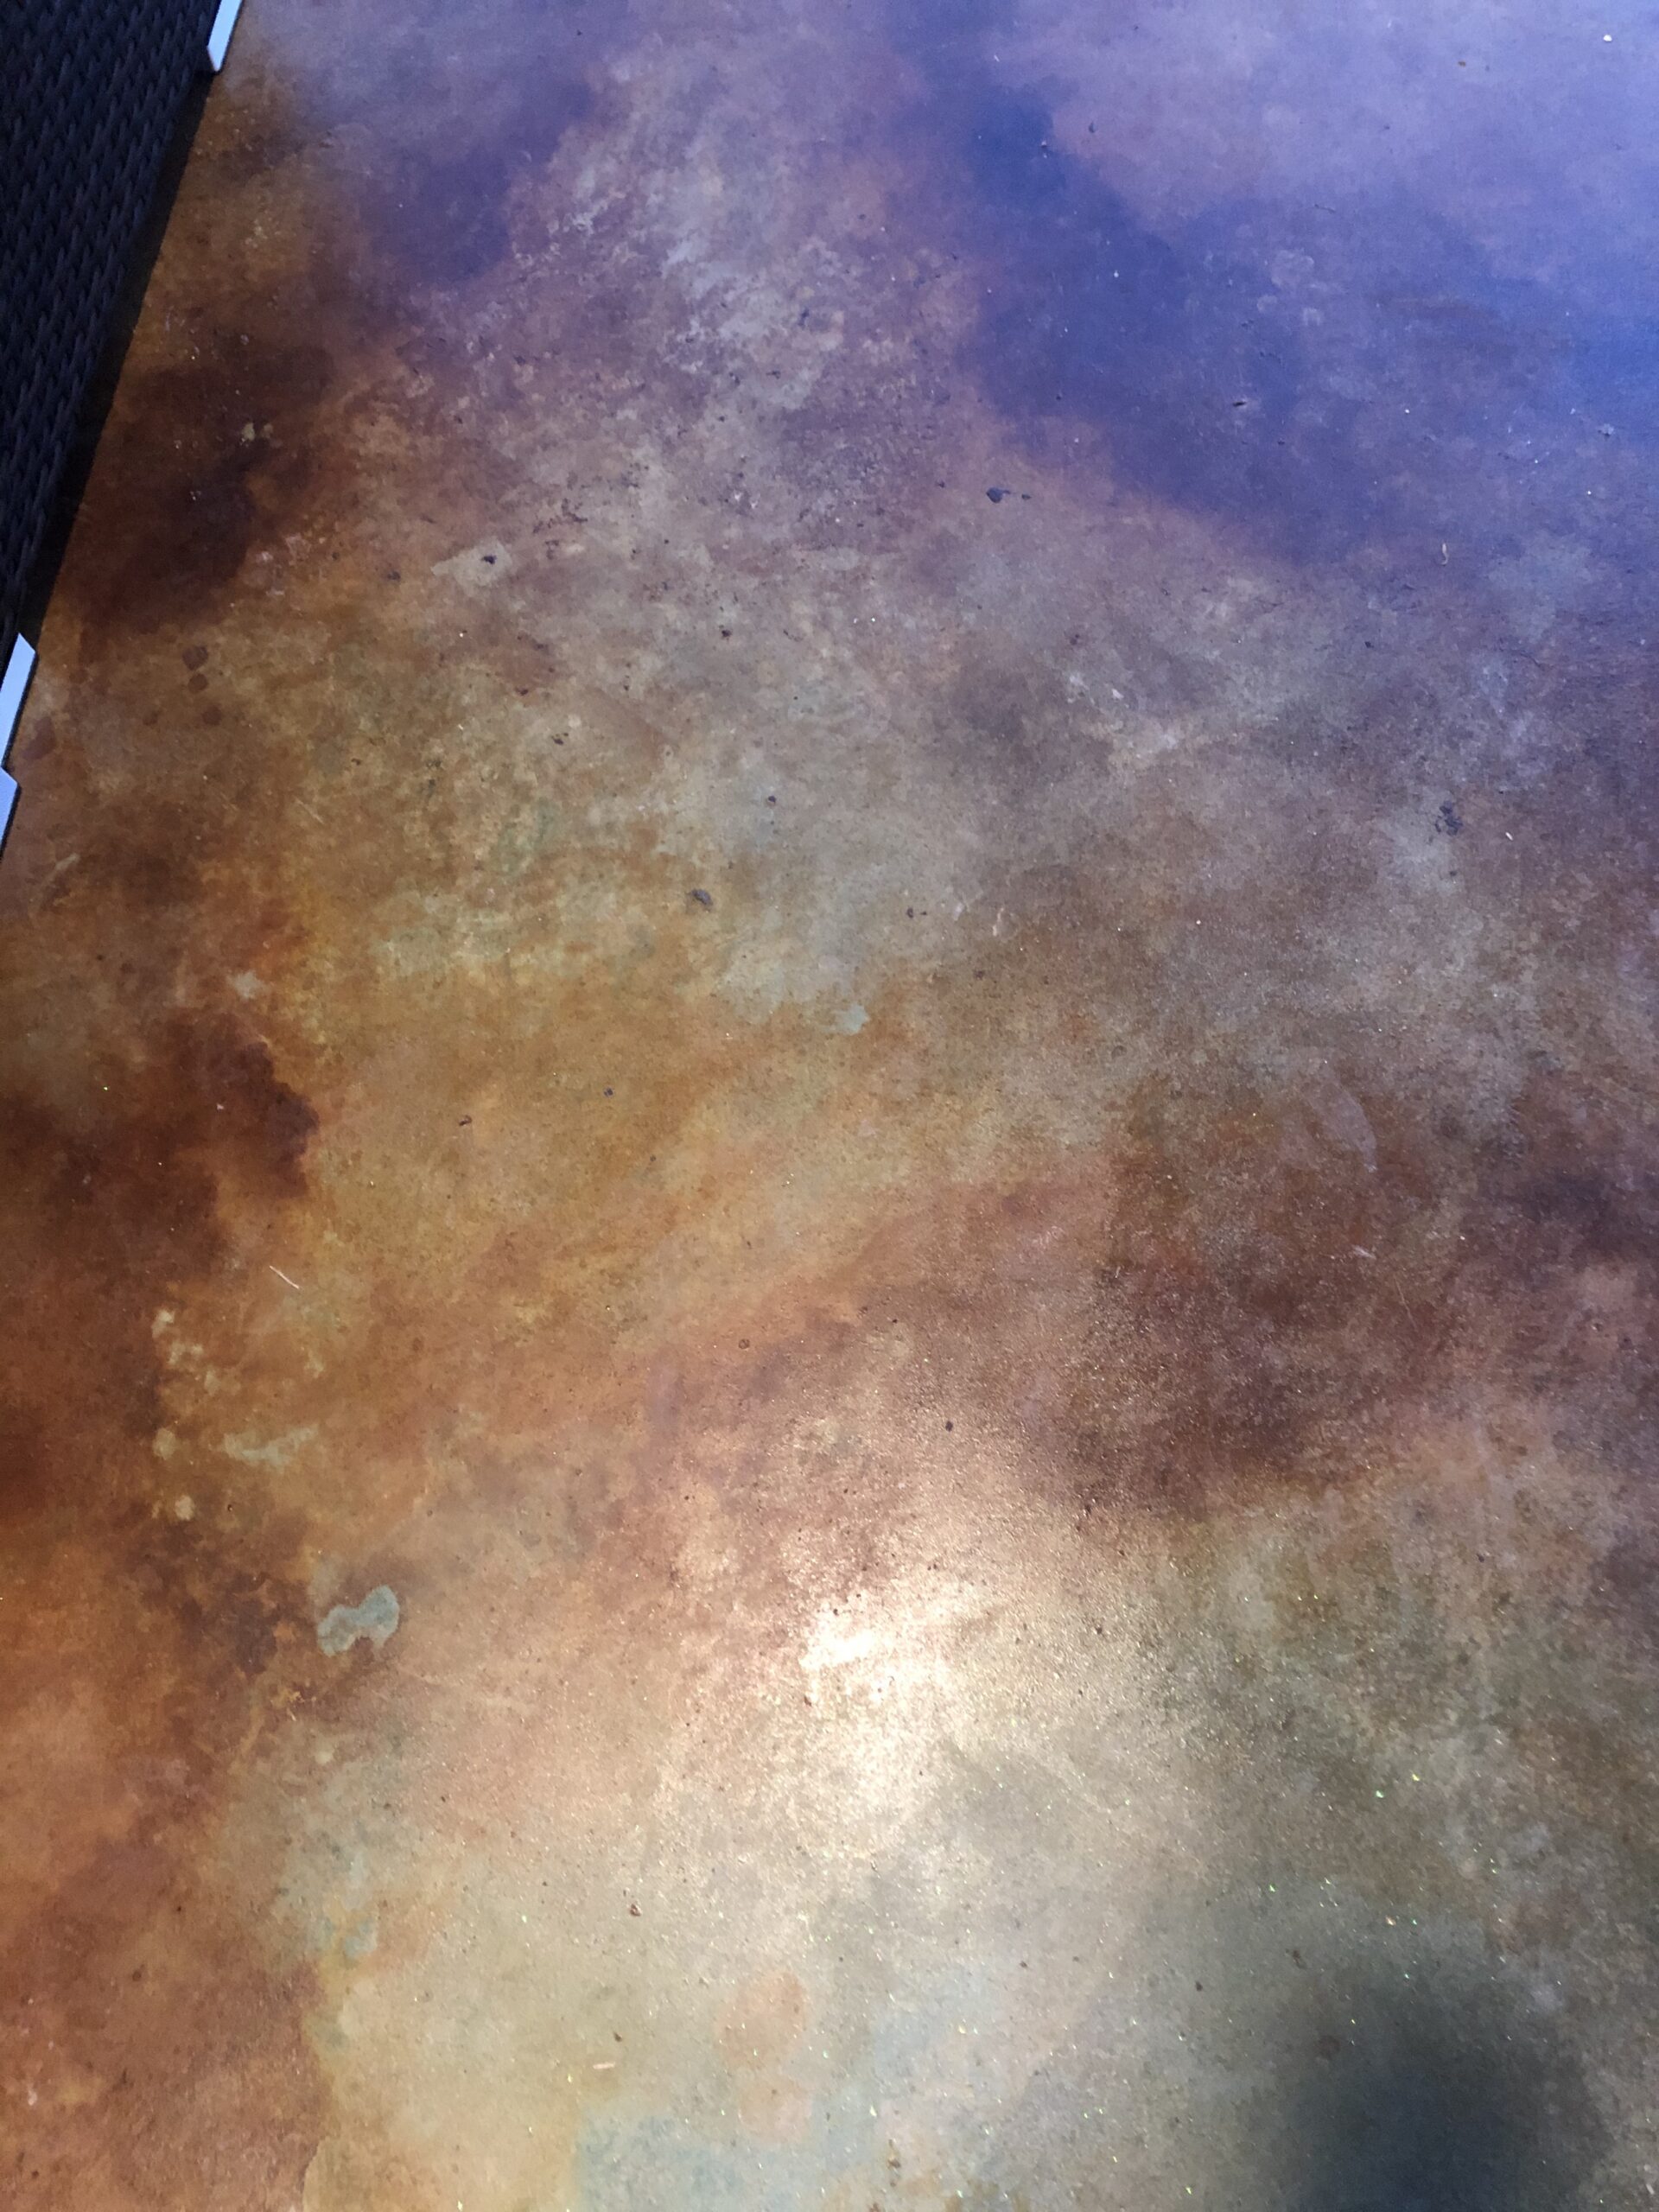
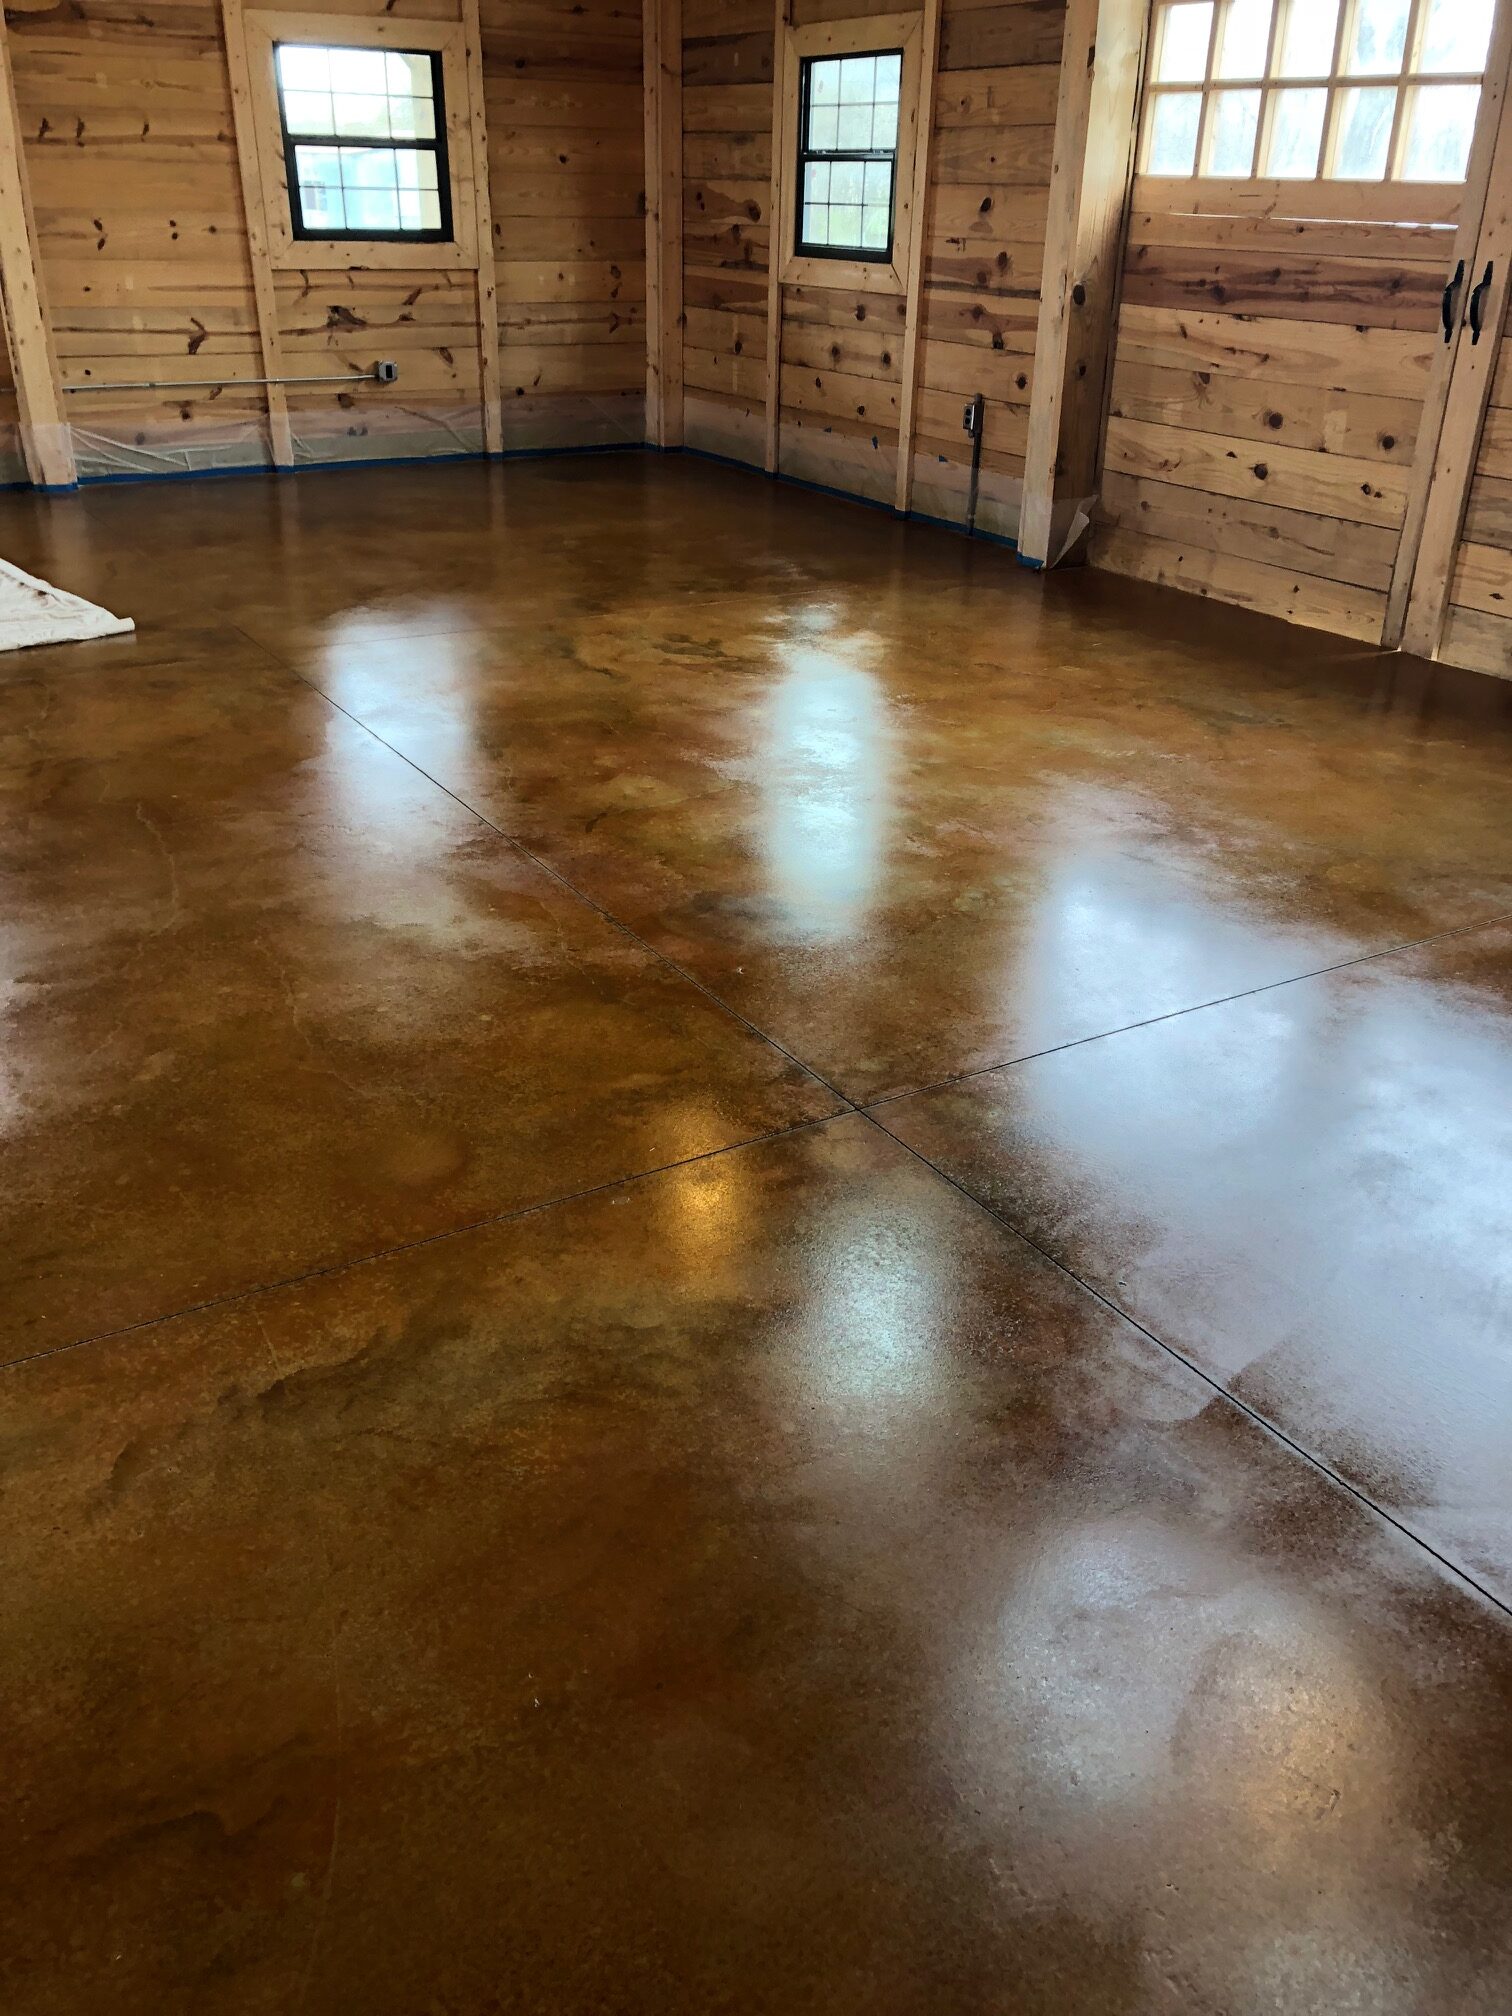
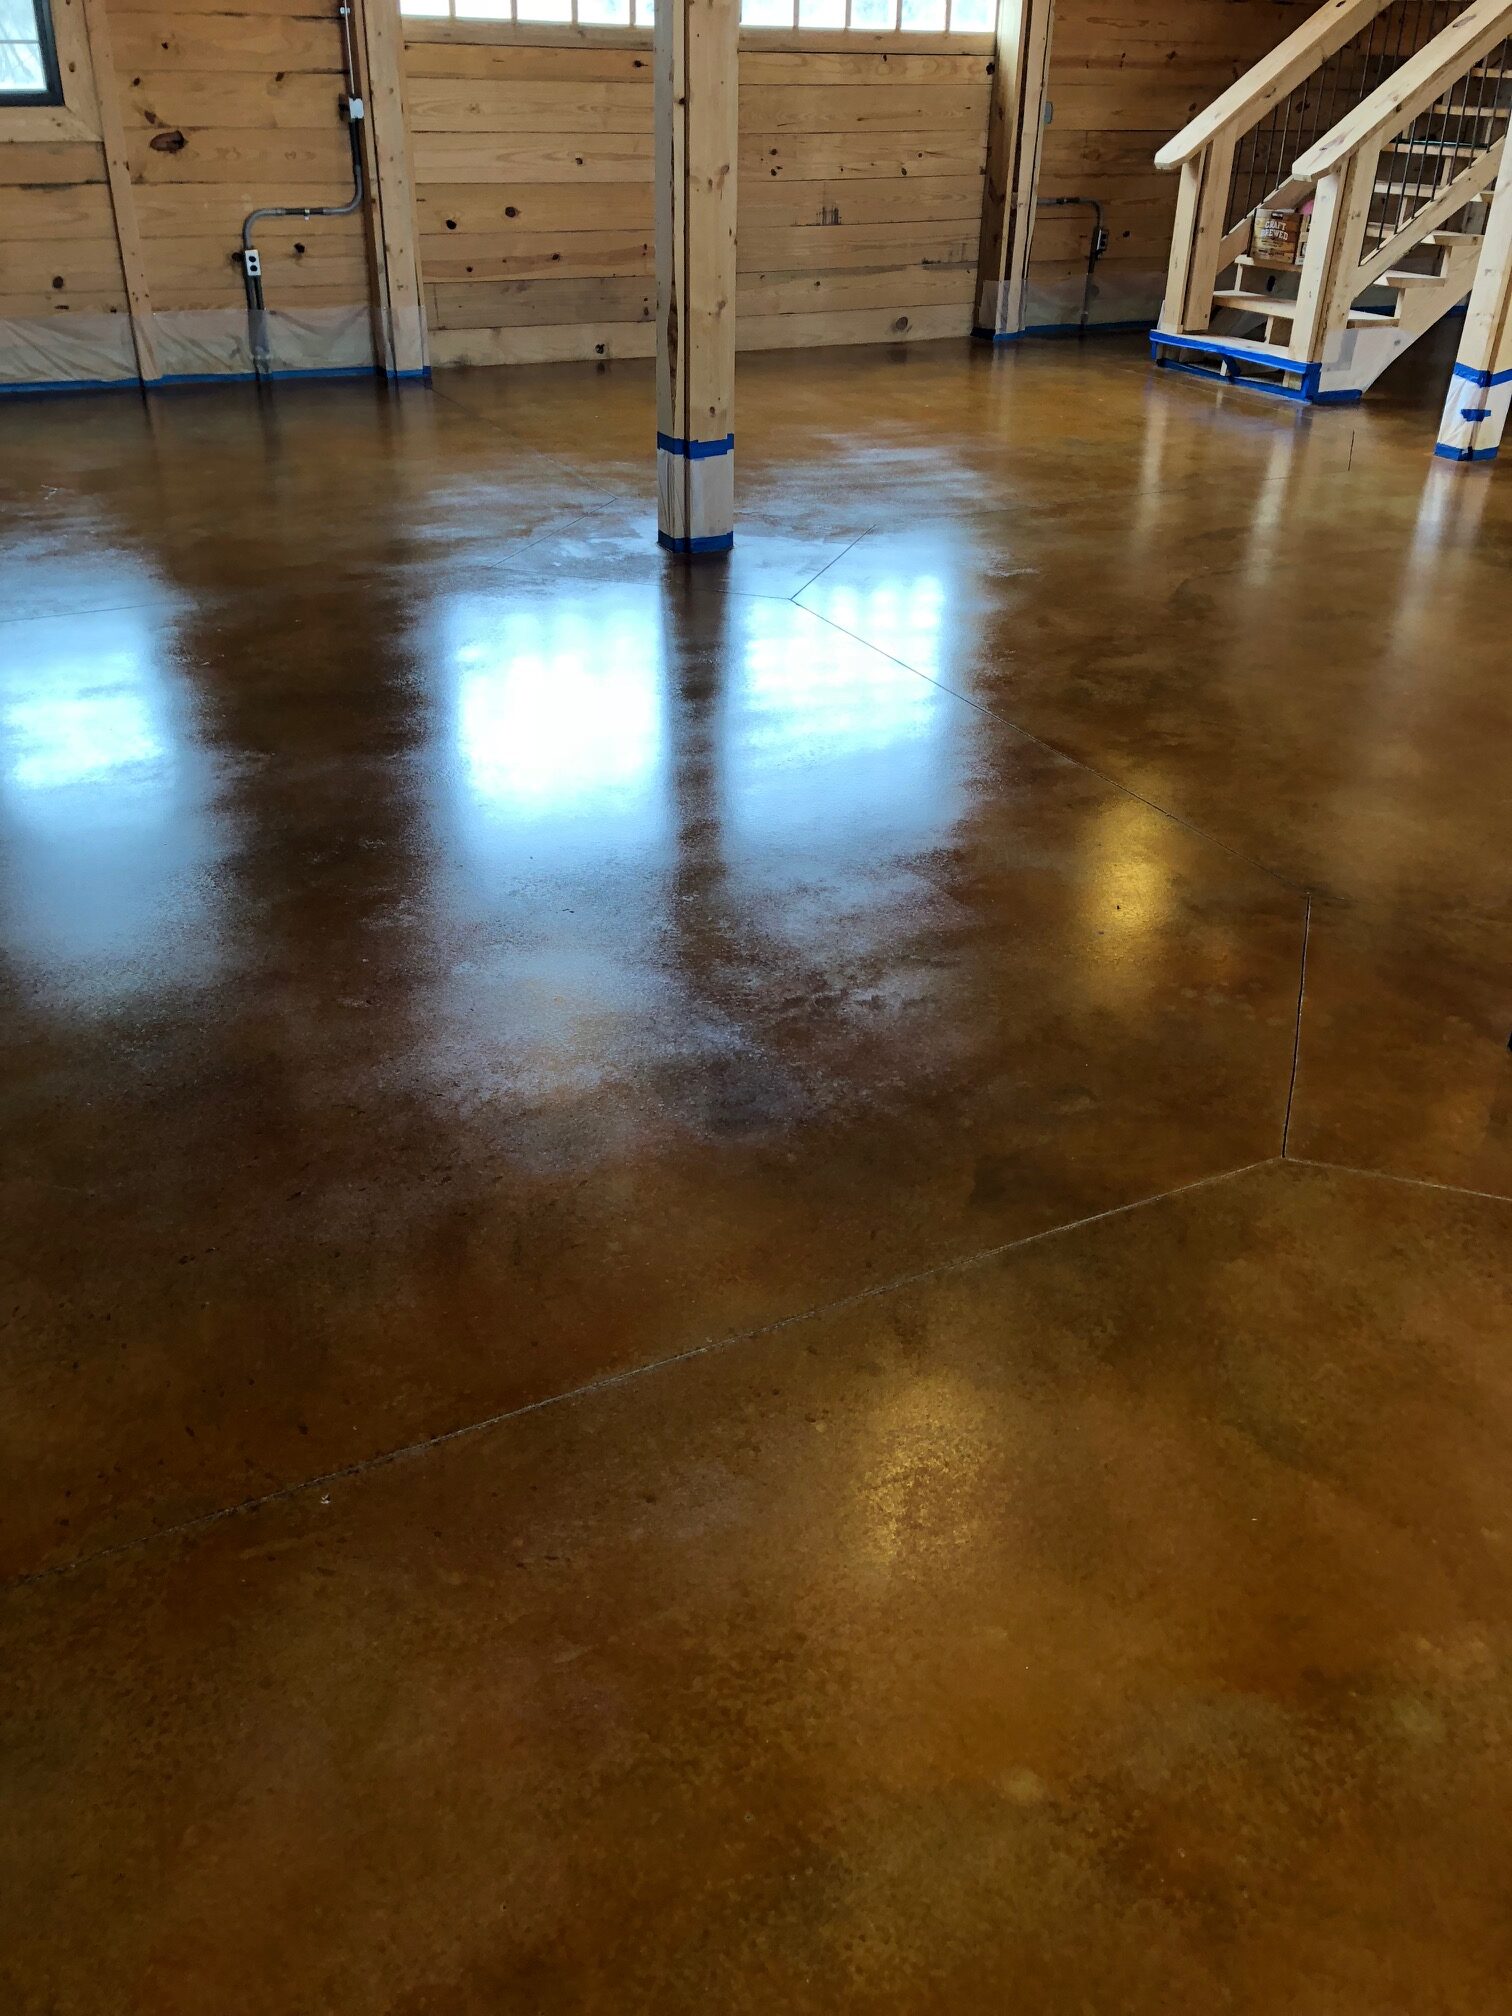
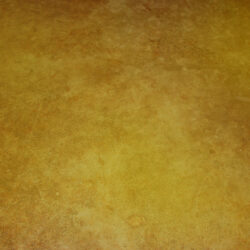
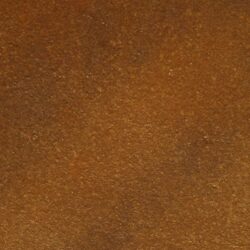
Shifting sand is a luscious brown color that brings simple sophistication to any concrete surface.
You can pair this medium brown concrete stain with a neutral color, or even a more earthy brown. Looking for a smidge of vivid color? Consider a blue or green acid stain combo!
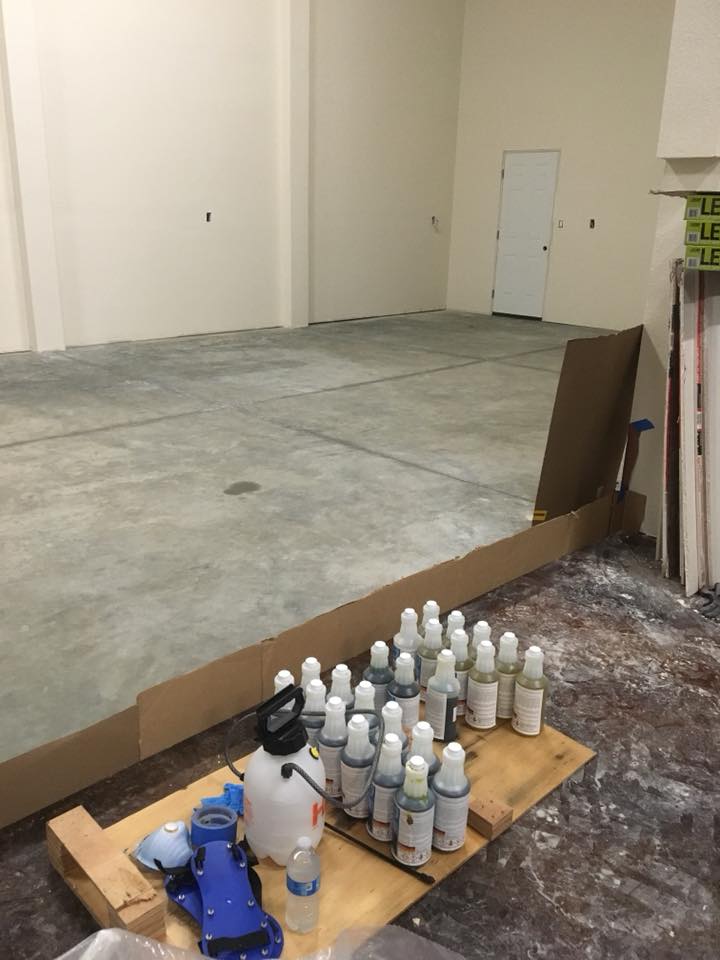
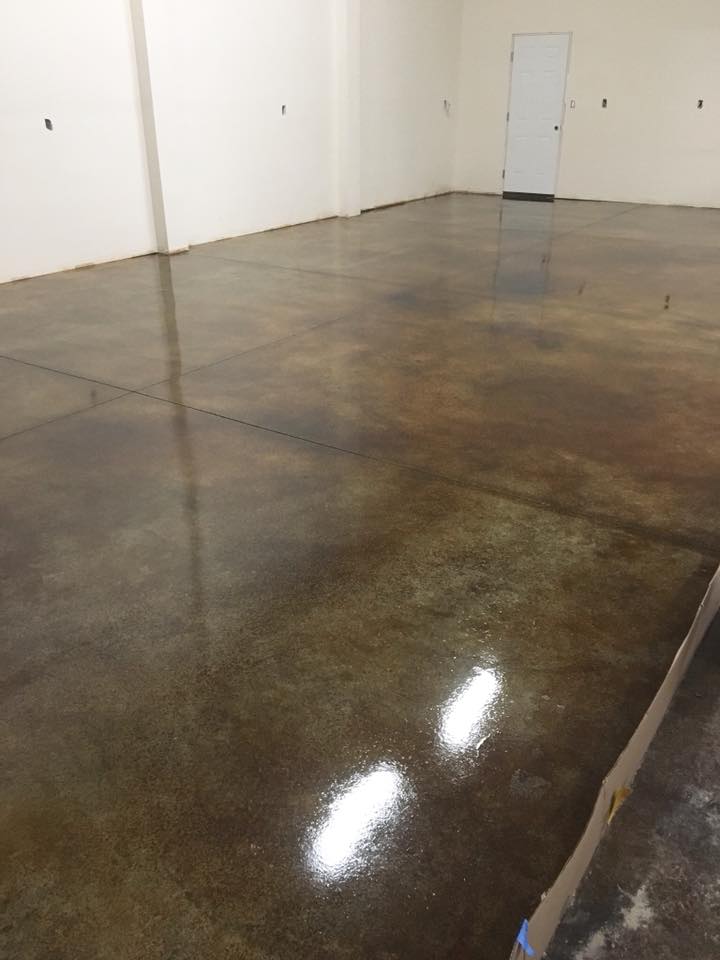
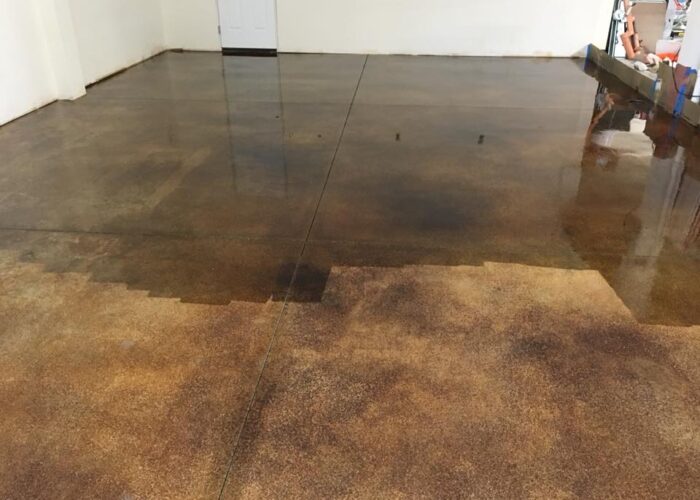
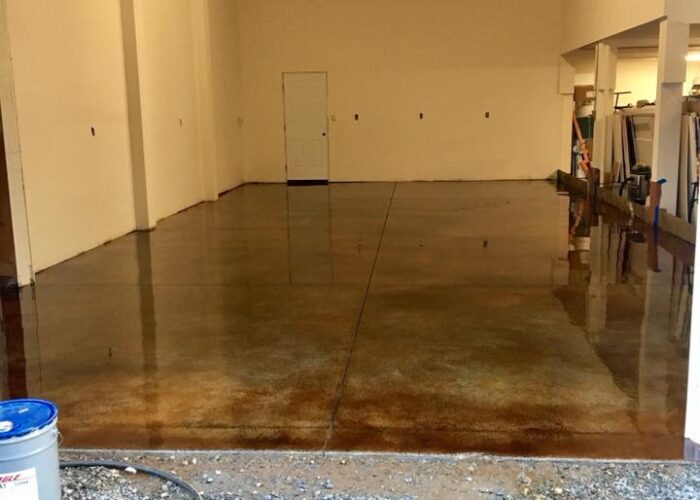
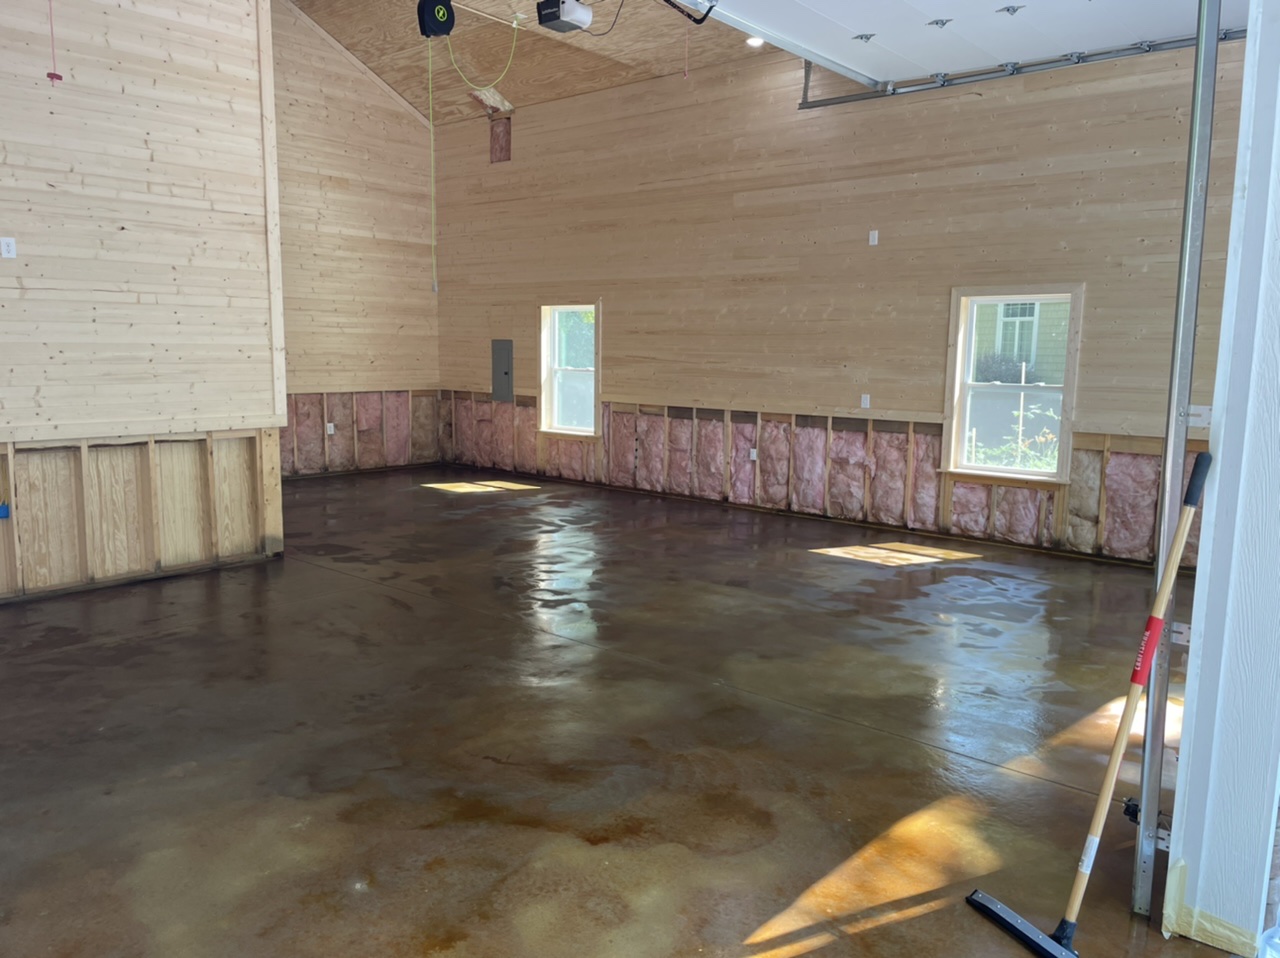
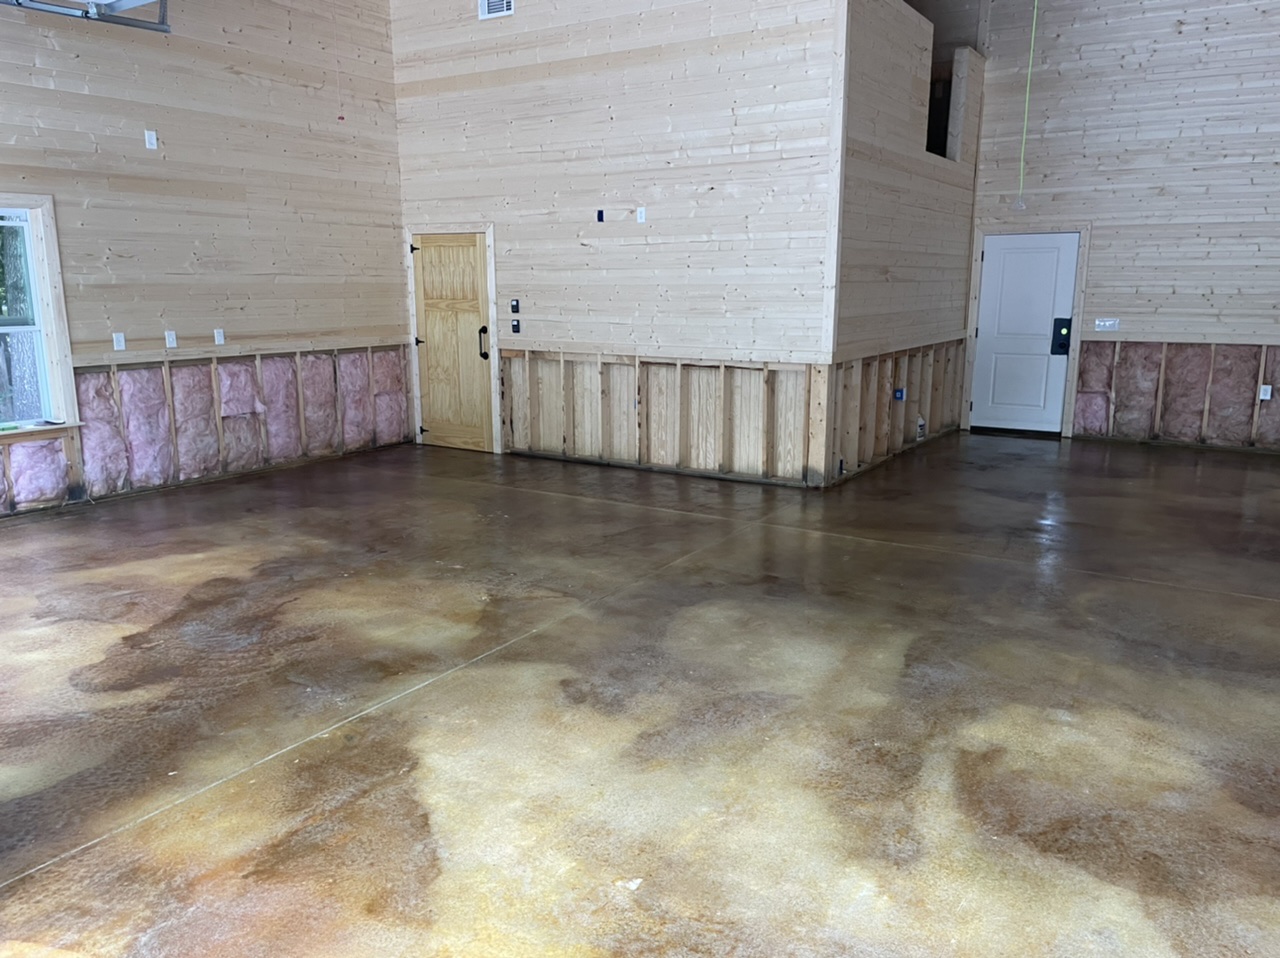
Garage Floor Upgrade
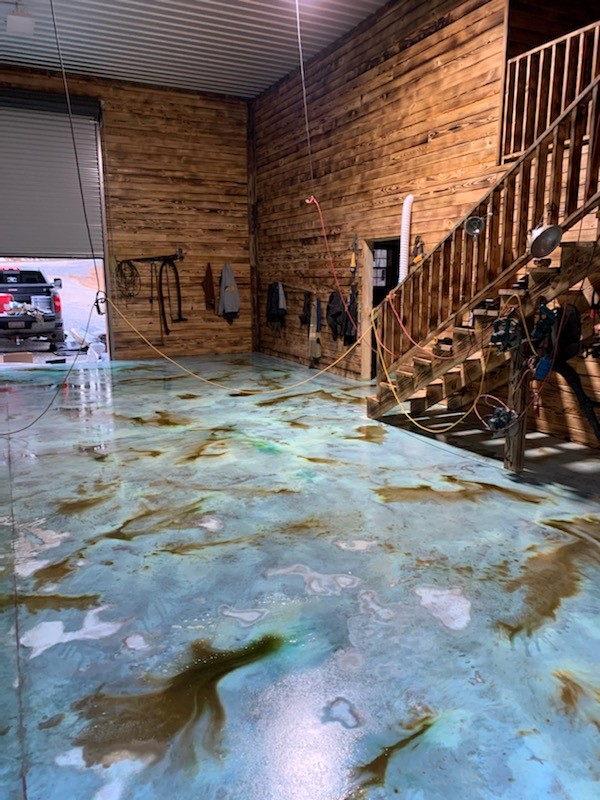
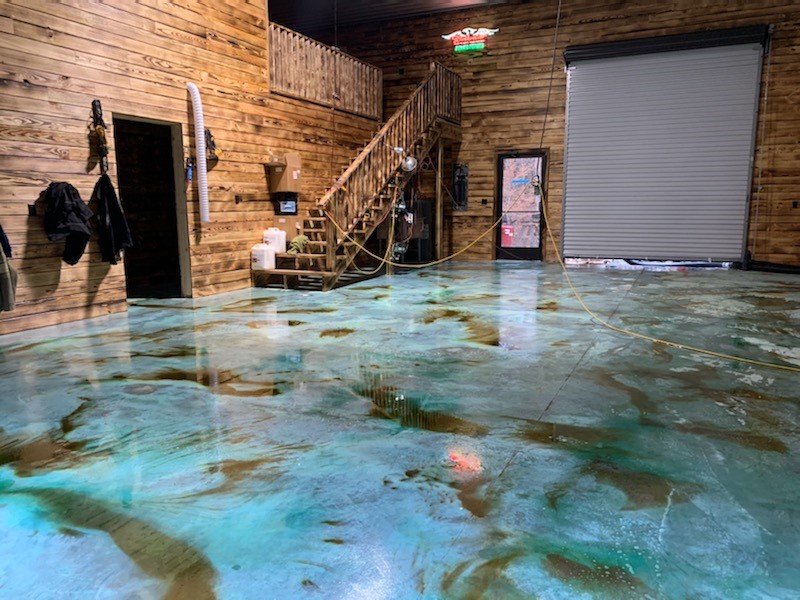
Whoa. This default gray garage floor transformed into an acid stain dream! The shifting sand brown stain and coffee brown stain add depth and visual focus to the space.
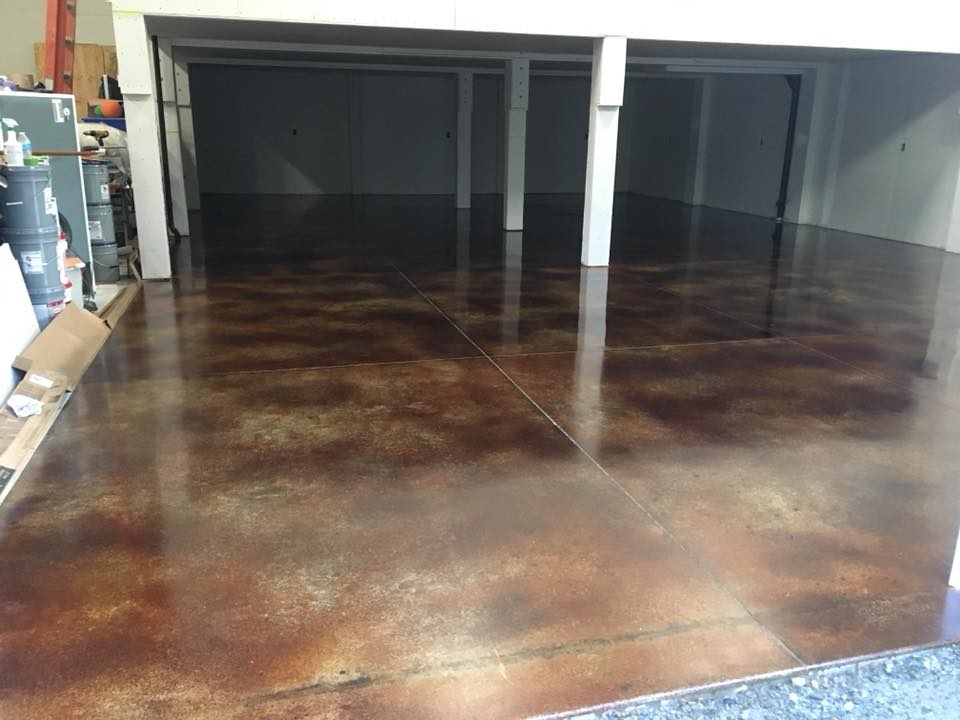
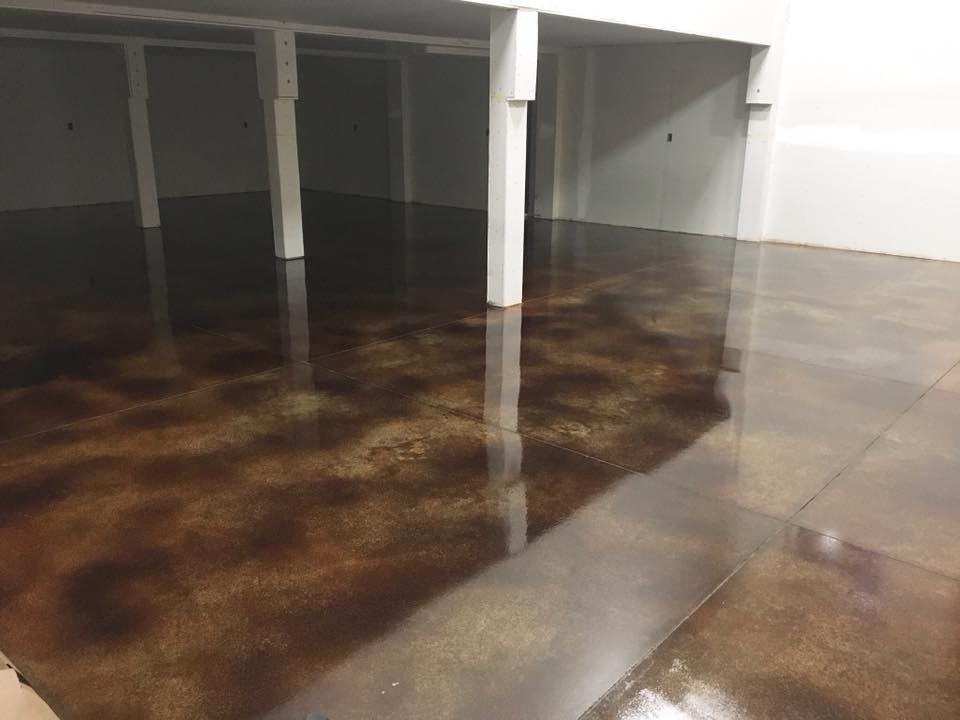
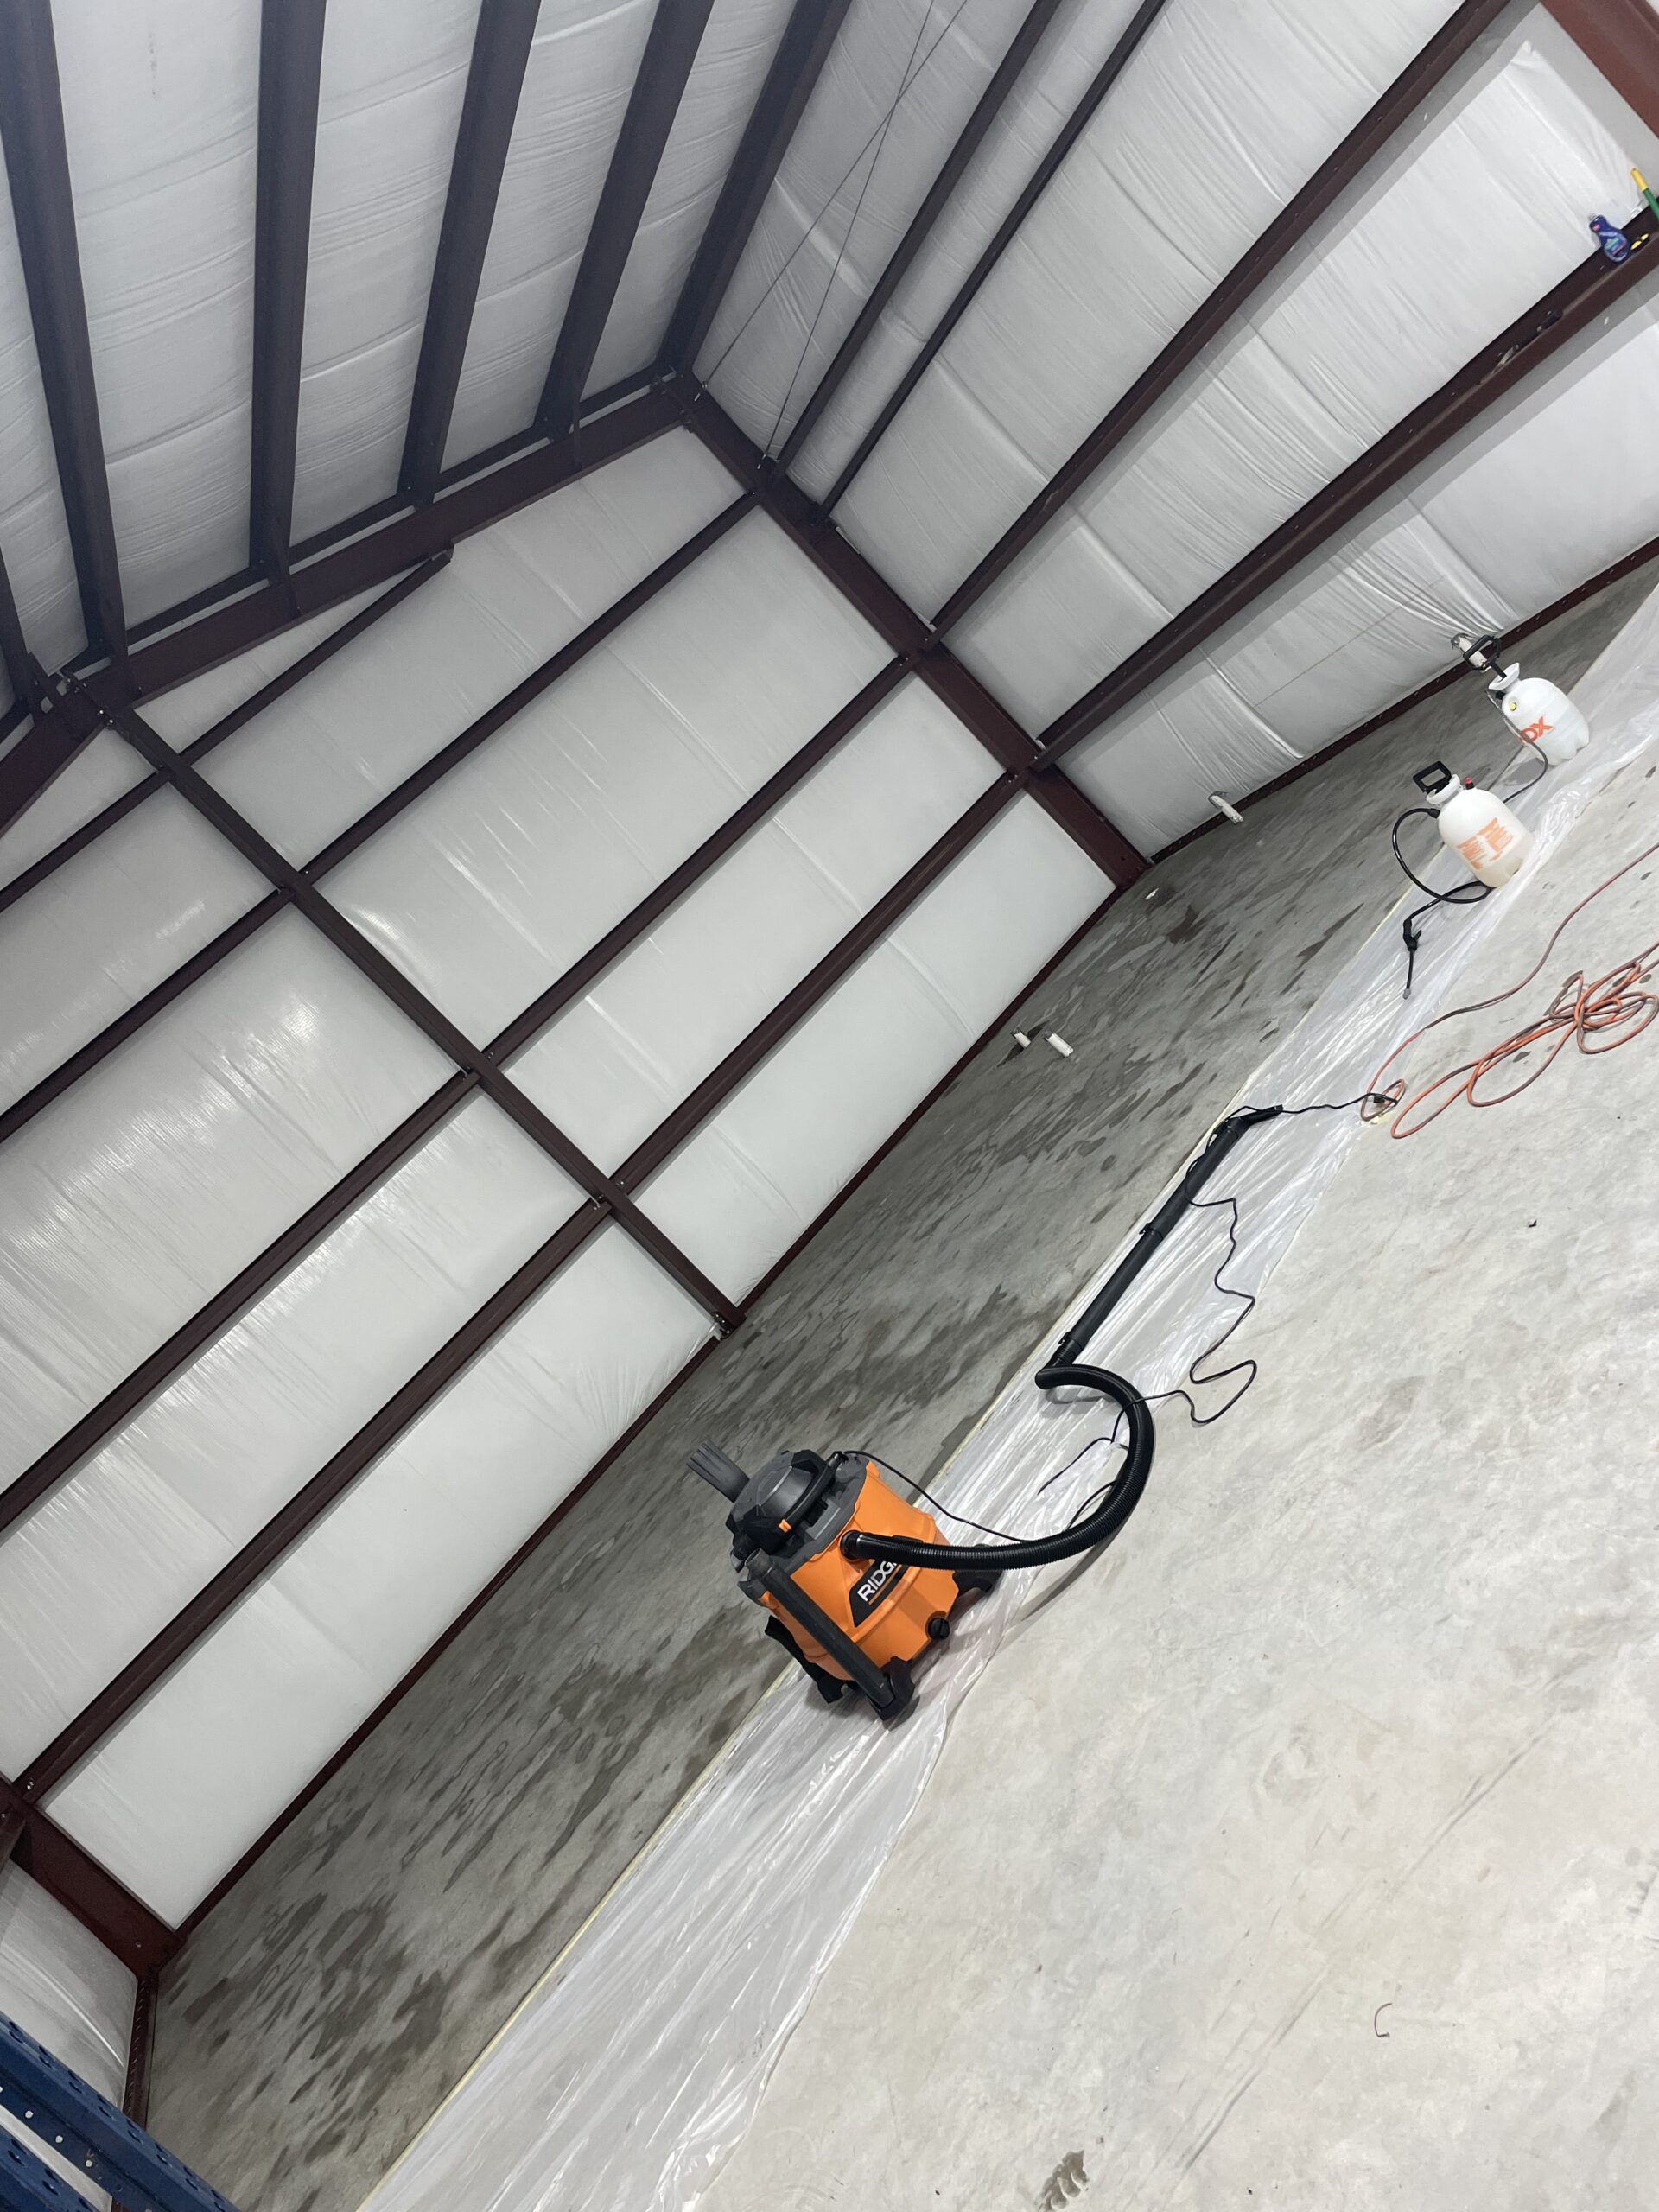
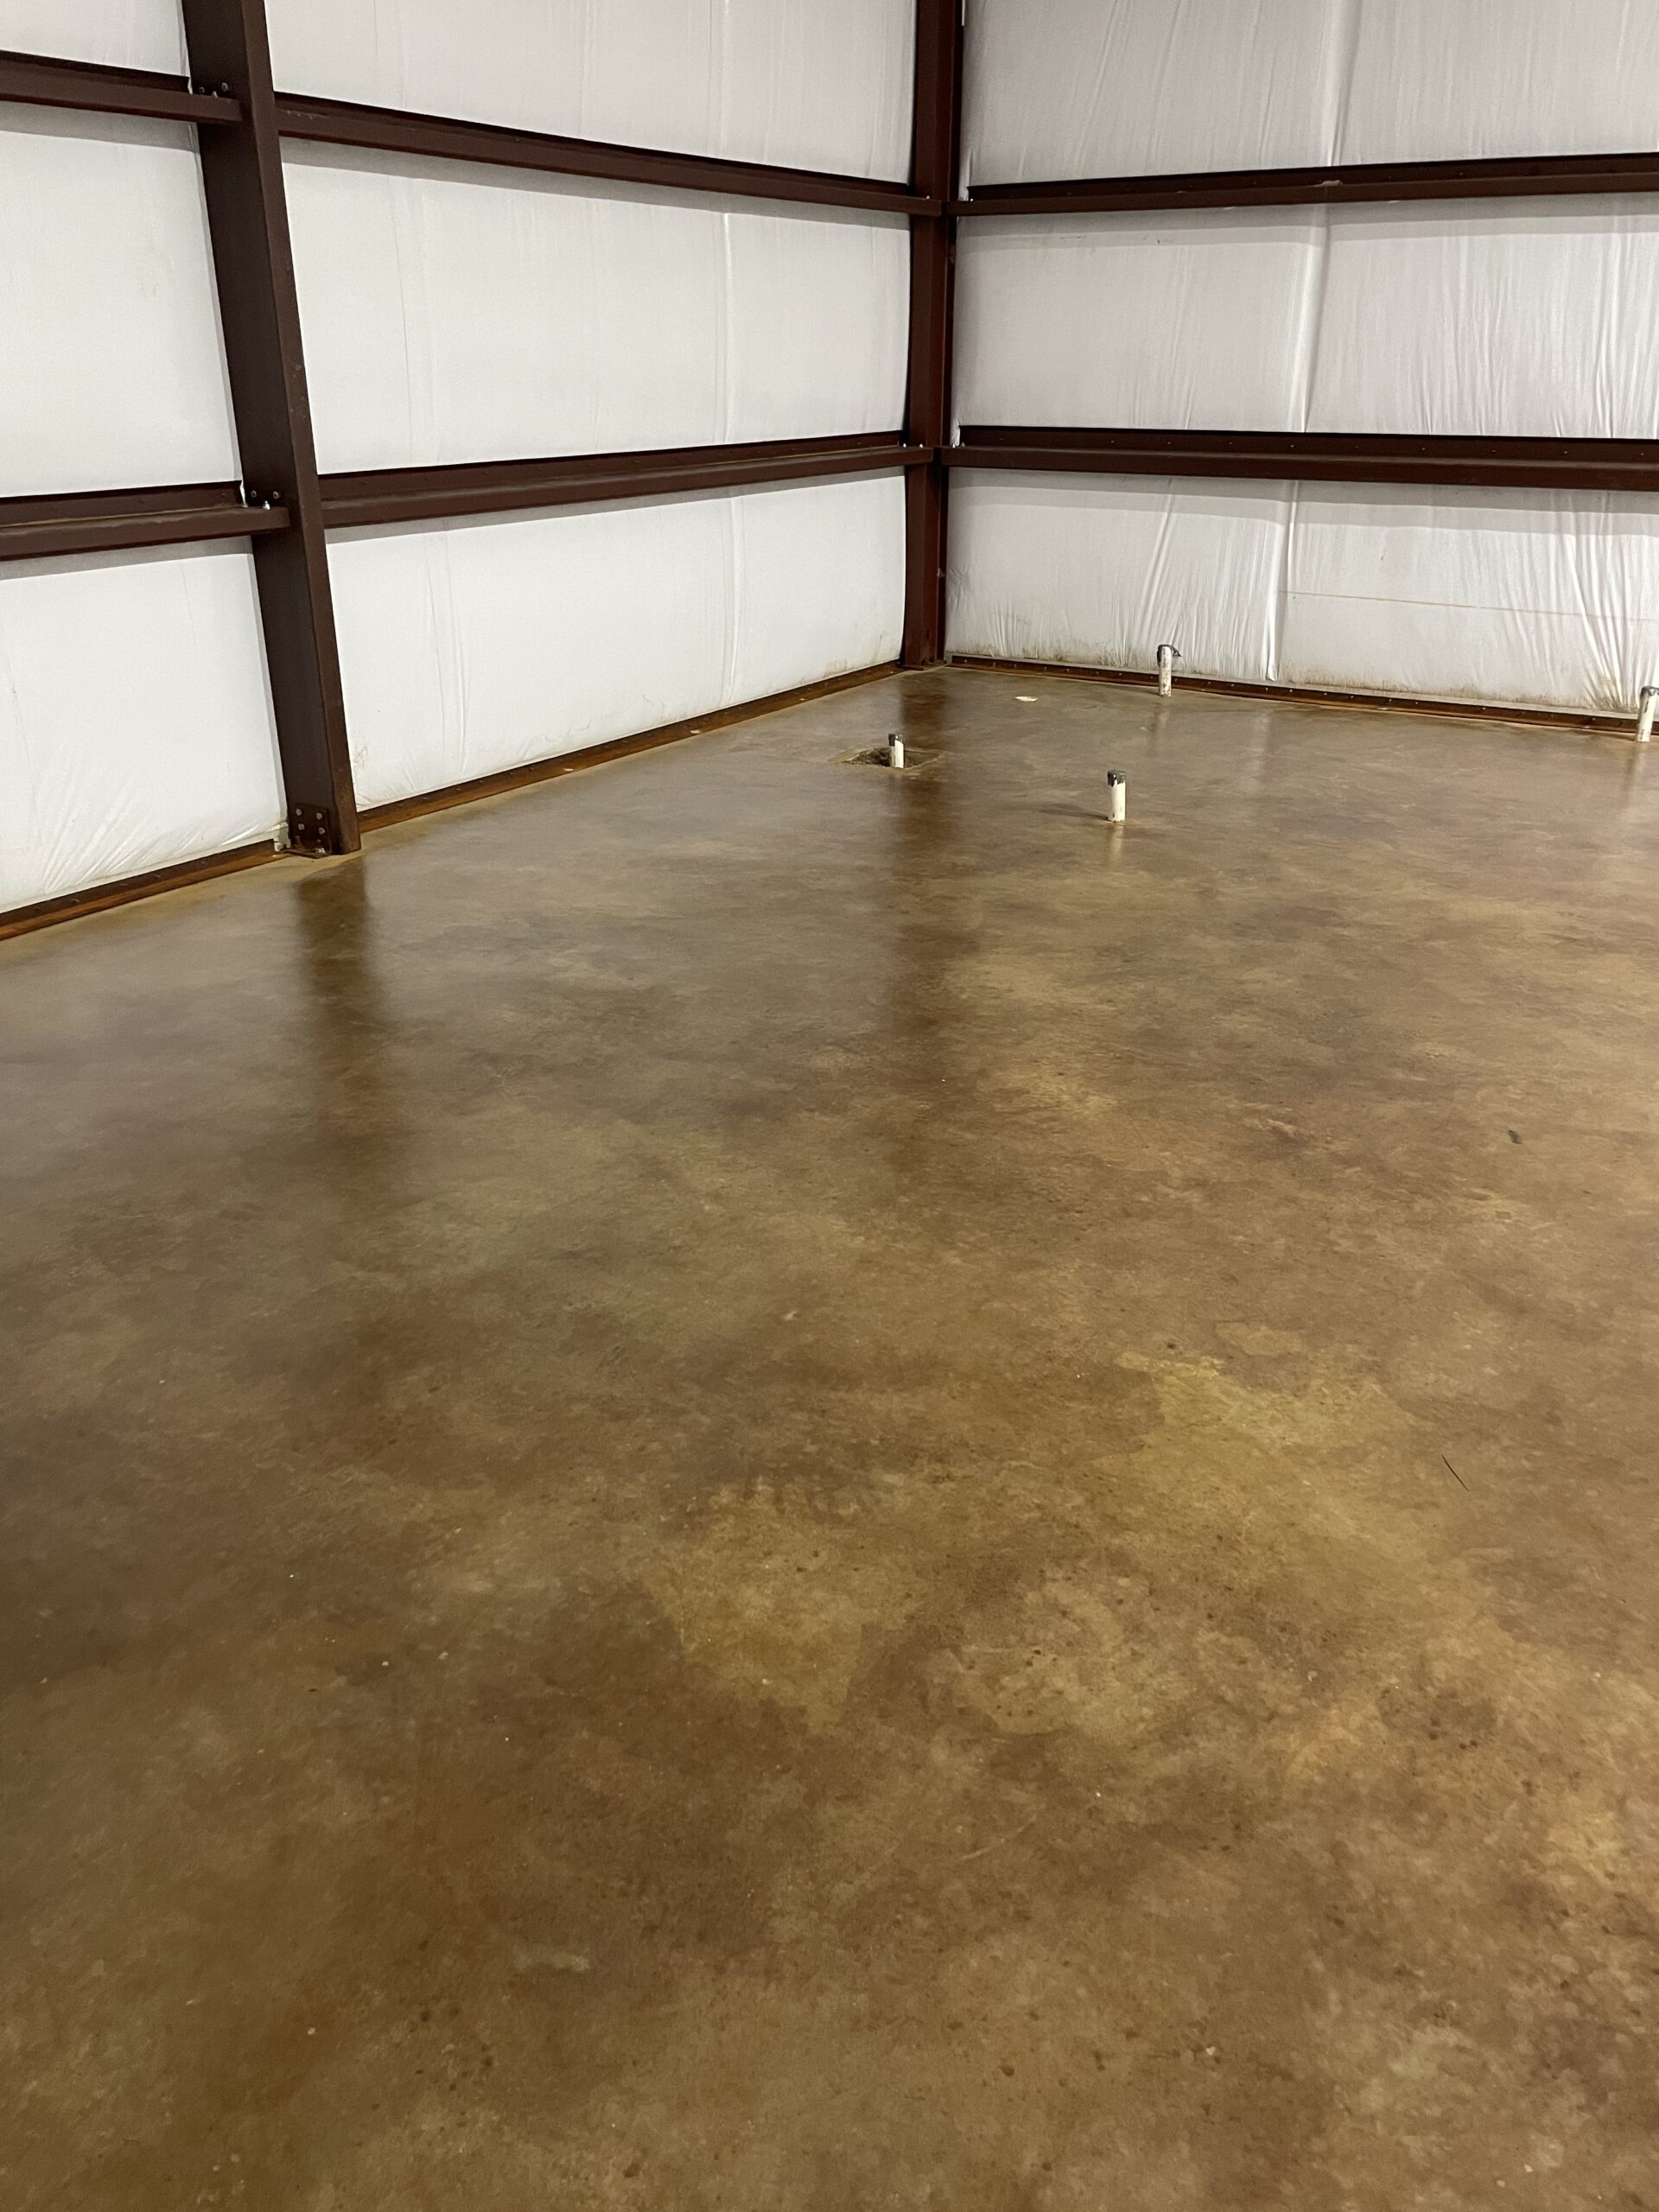
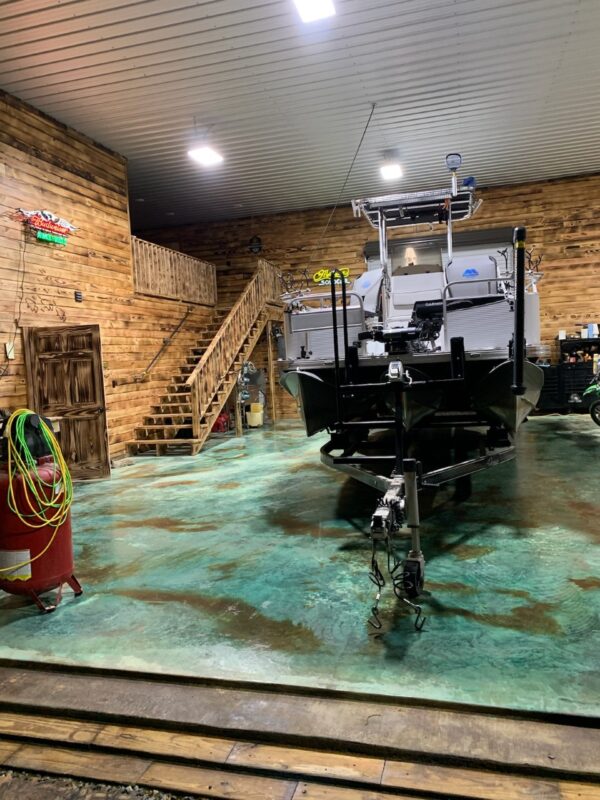
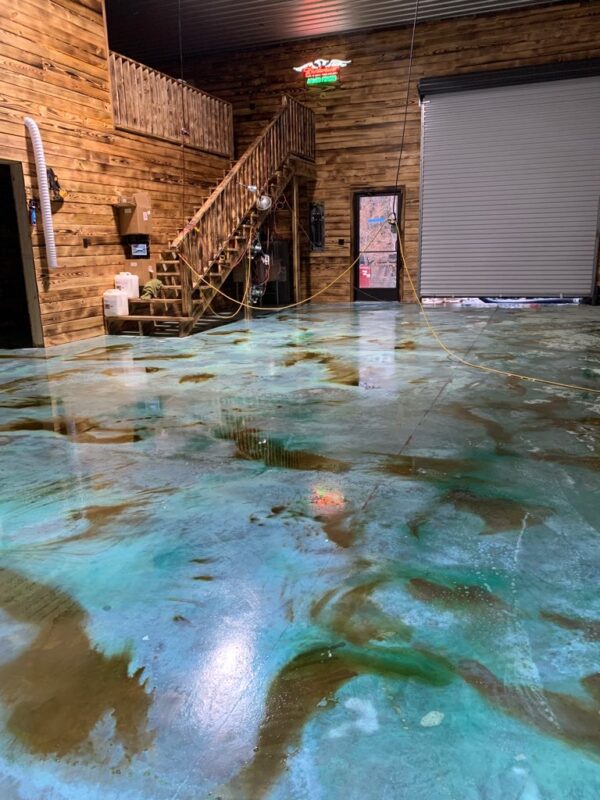
Two Stall Boat Storage Garage
Our DC customer was intimidated by acid stain, even having been in construction for 28 years! They were surprised by how much less technical this boat garage storage project ended up being. We agree that this acid stained garage floor completes the look of the space. What a big, beautiful backdrop for that boat!
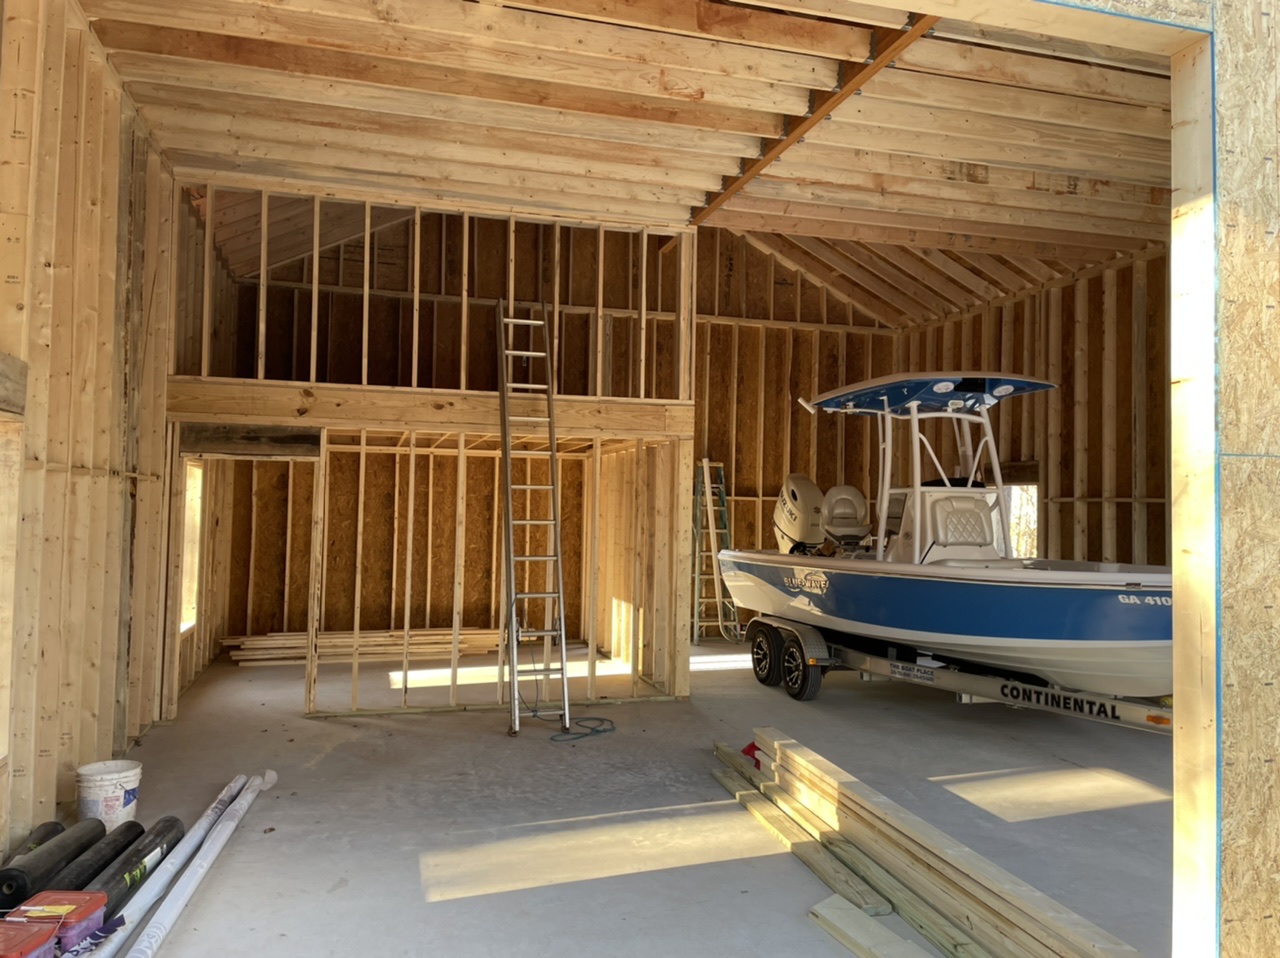
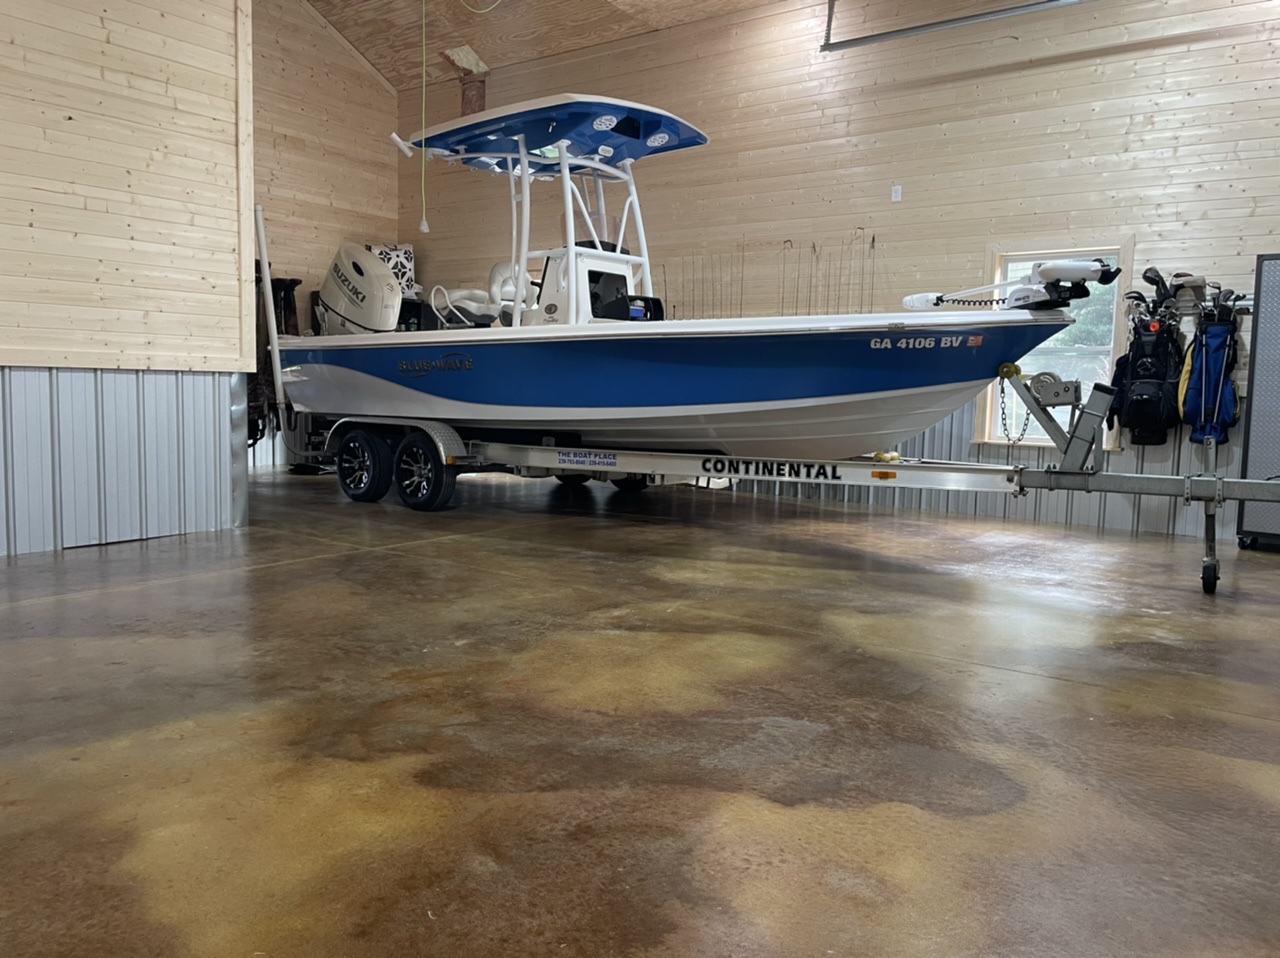
- Project Completed In: 4 day(s)
- Estimate of Square Footage: 0.00900 sq. ft.
- Project Description:
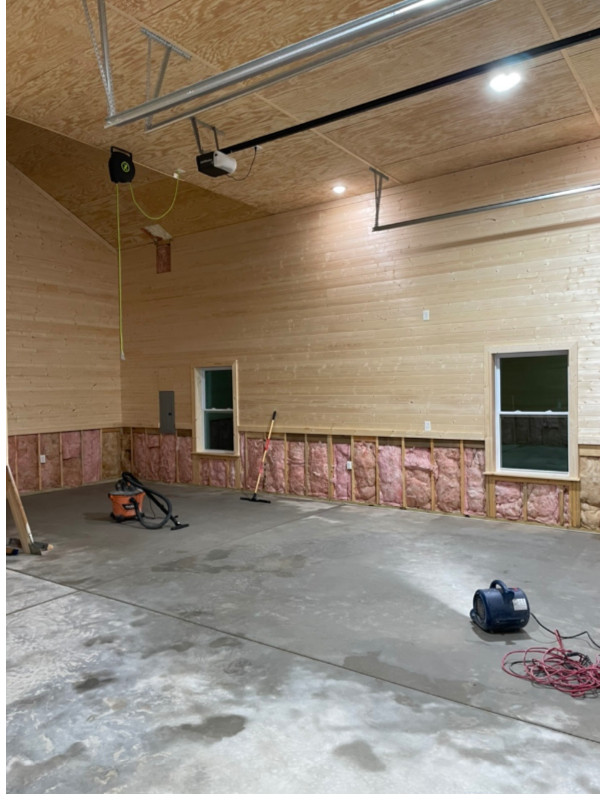
Two stall garage for boat storage with an office and reloading loft above the office. I’ve been in and around construction for 28 years, but have never been involved with an acid stain project. To be honest, I was a bit intimidated tackling this project by myself; however it was easier than installing the wood paneling and metal siding. Not as technical with measurements and fitting. The floor just finishes the space. - Personal Tips:
Watch as many YouTube videos as possible.Spend as much time as needed to ensure your prep work is complete. I sanded the entire floor area with 40 grit sandpaper for the mechanical etching process to ensure a uniform finish.Wash and clean floor at least 3 times to remove all dust from the etching process.I used carpet drying fans to aid in the drying process after the initial wash, neutralization wash and during the sealing process. Fans during the sealing process helped ventilate the room since I used an acrylic sealer.Use a high quality respiratory if you use an acrylic sealer. - Direct Colors Products Used:
Mayalayan buff and shifting sands
Acrylic sealer
Other Products Used:
Hitachi palm sander
Wet/dry vac
Floor squeegee
Carpet fans
Spray bottle
Garden sprayer
Tattoo Shop Floor Renovation
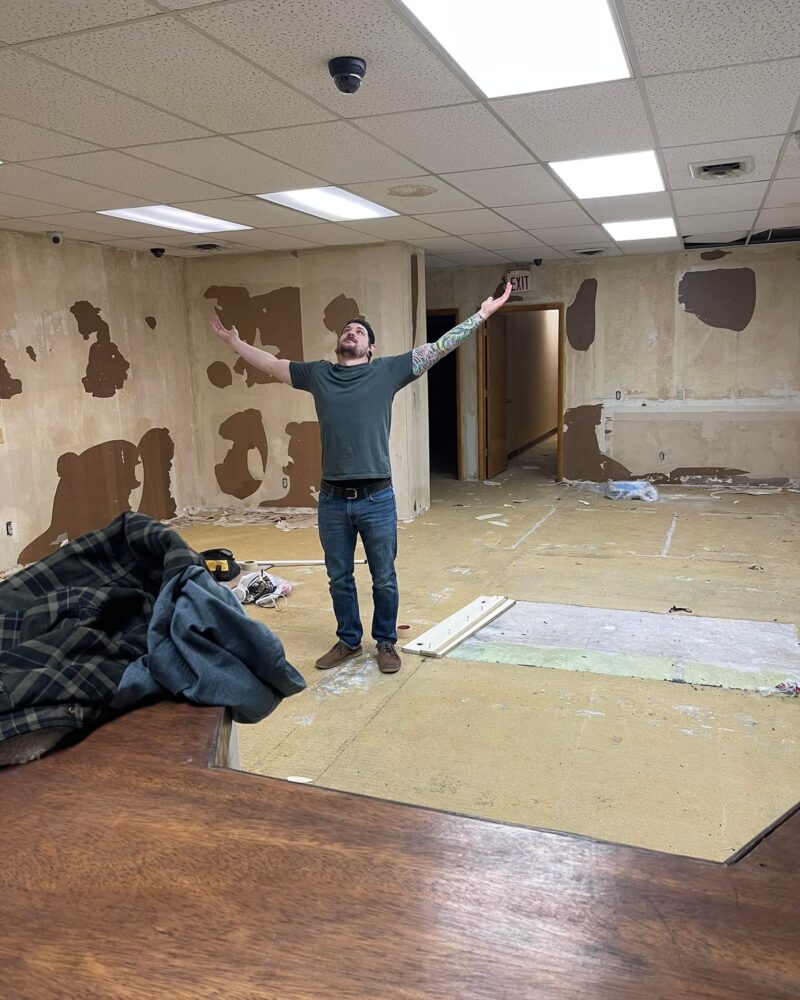
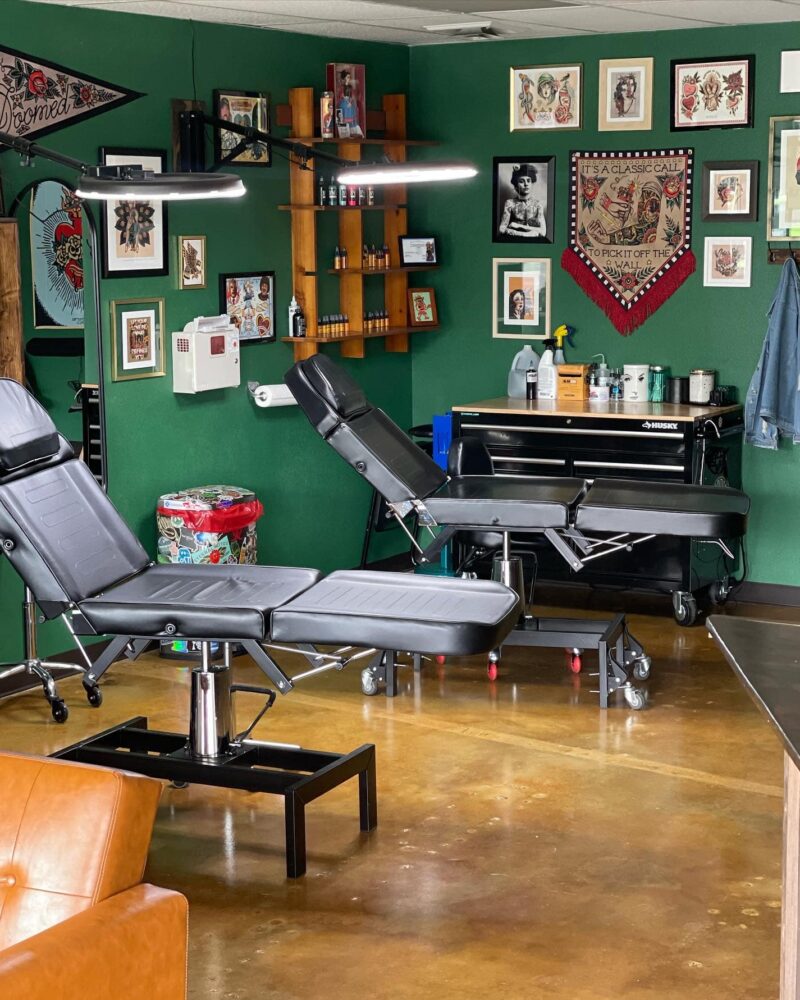
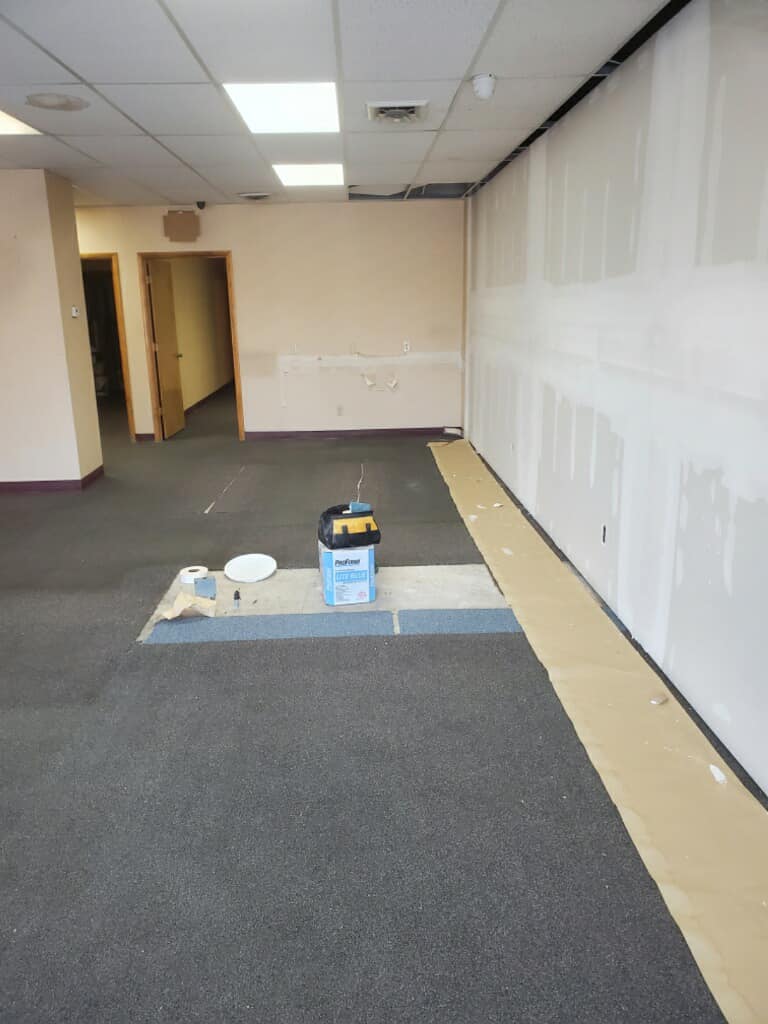
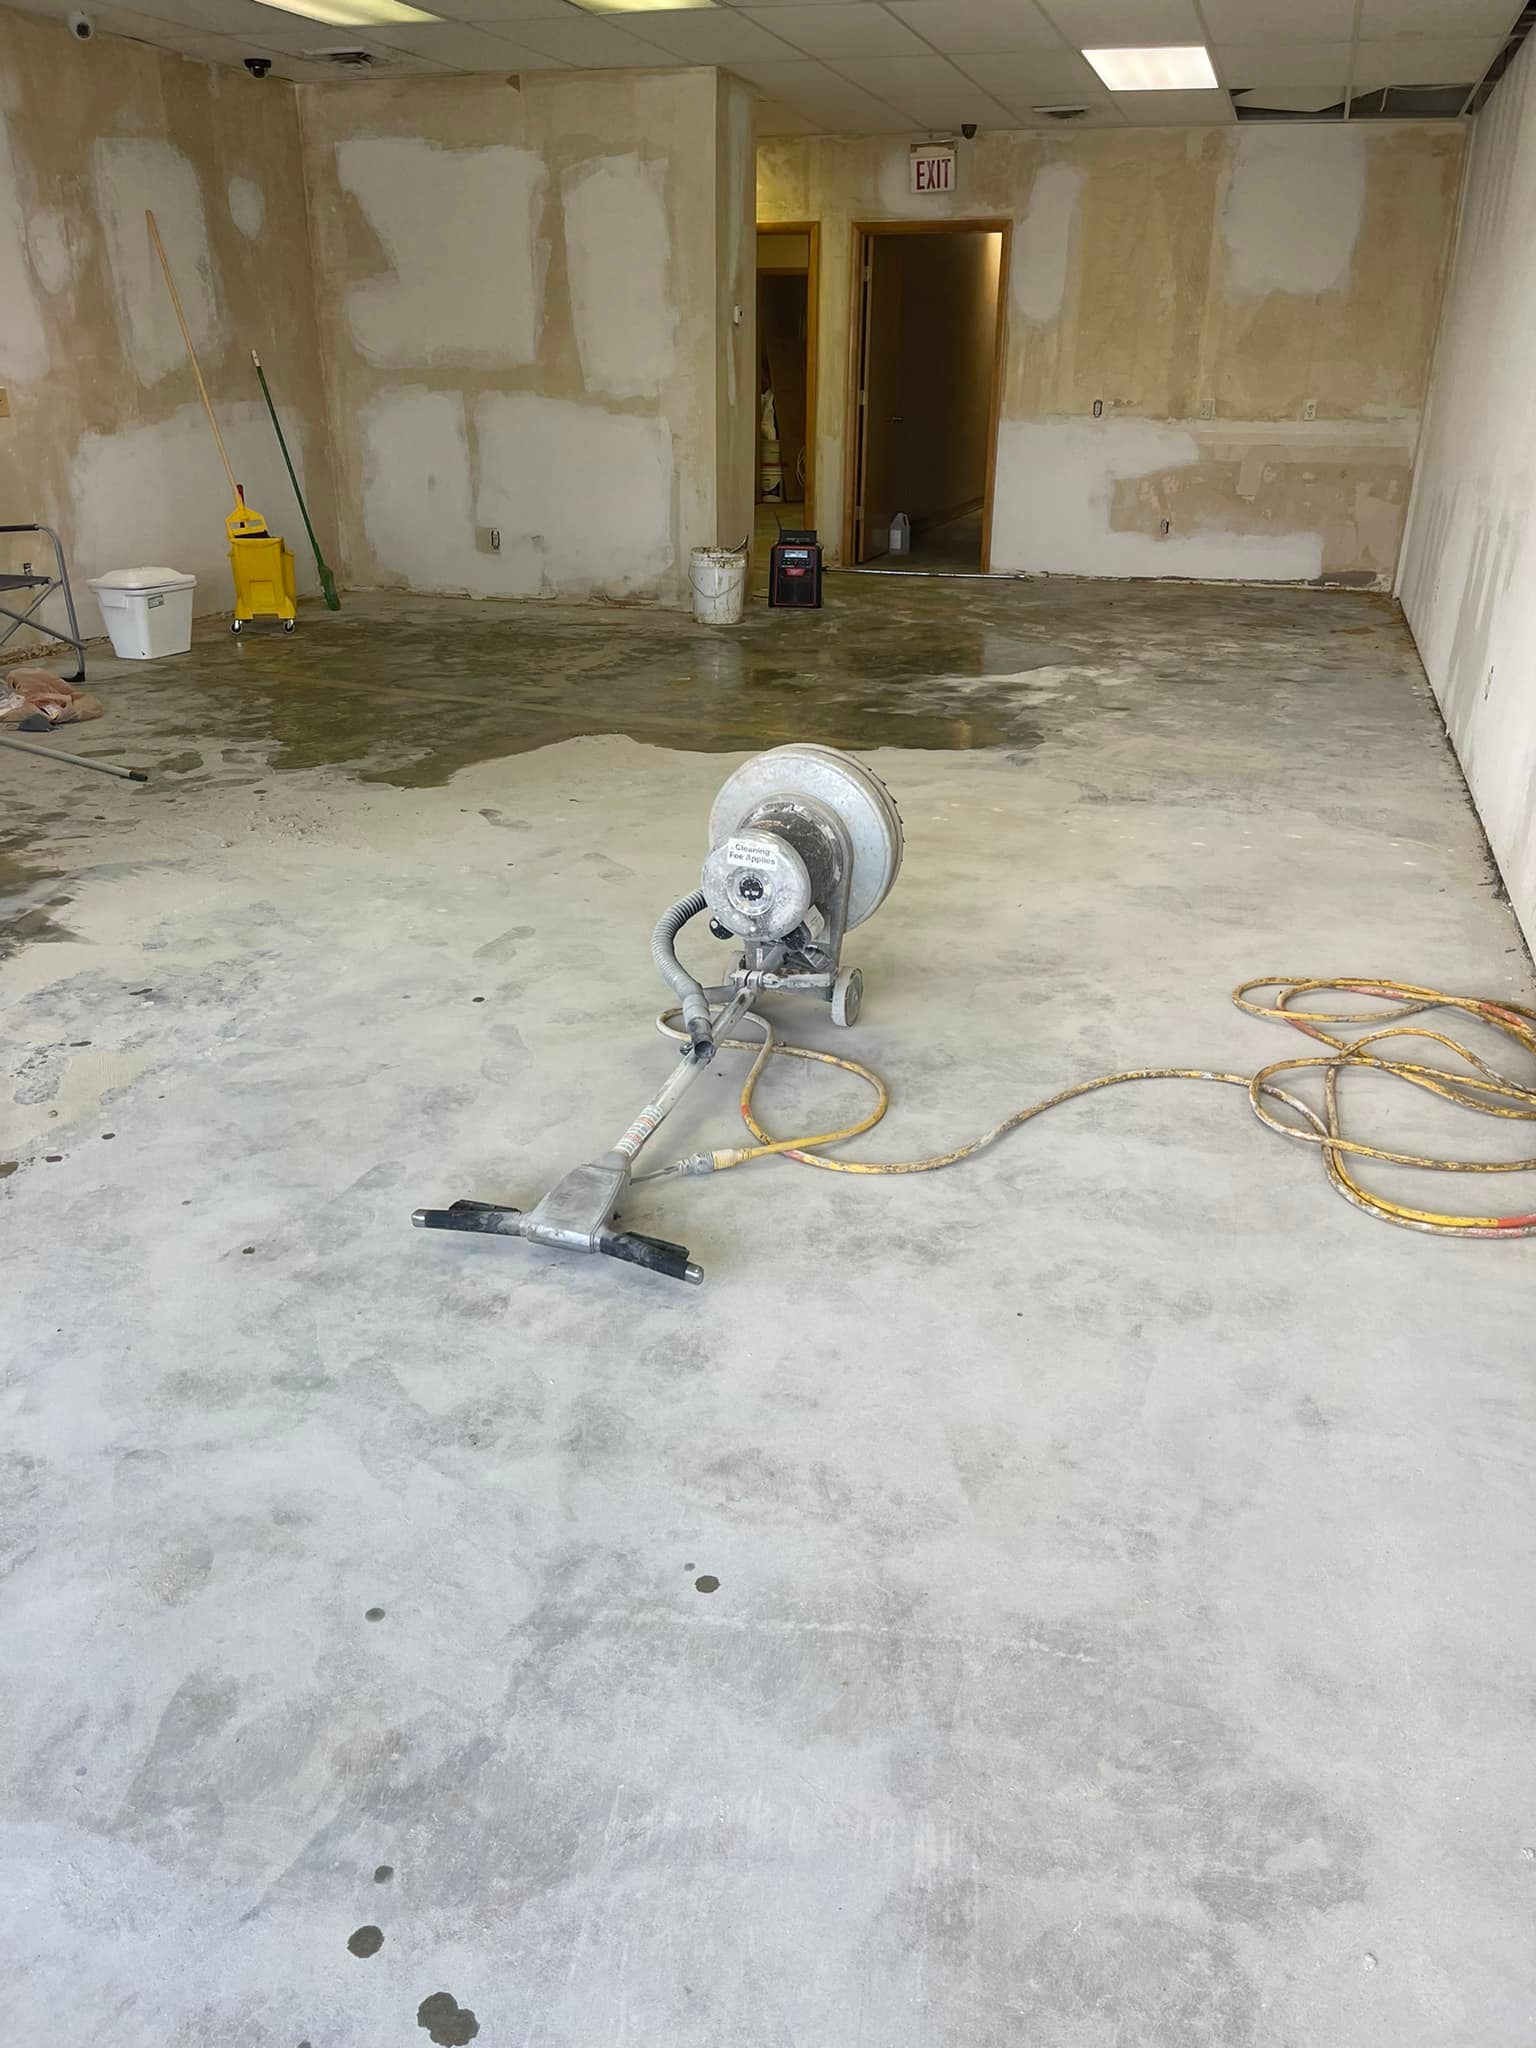
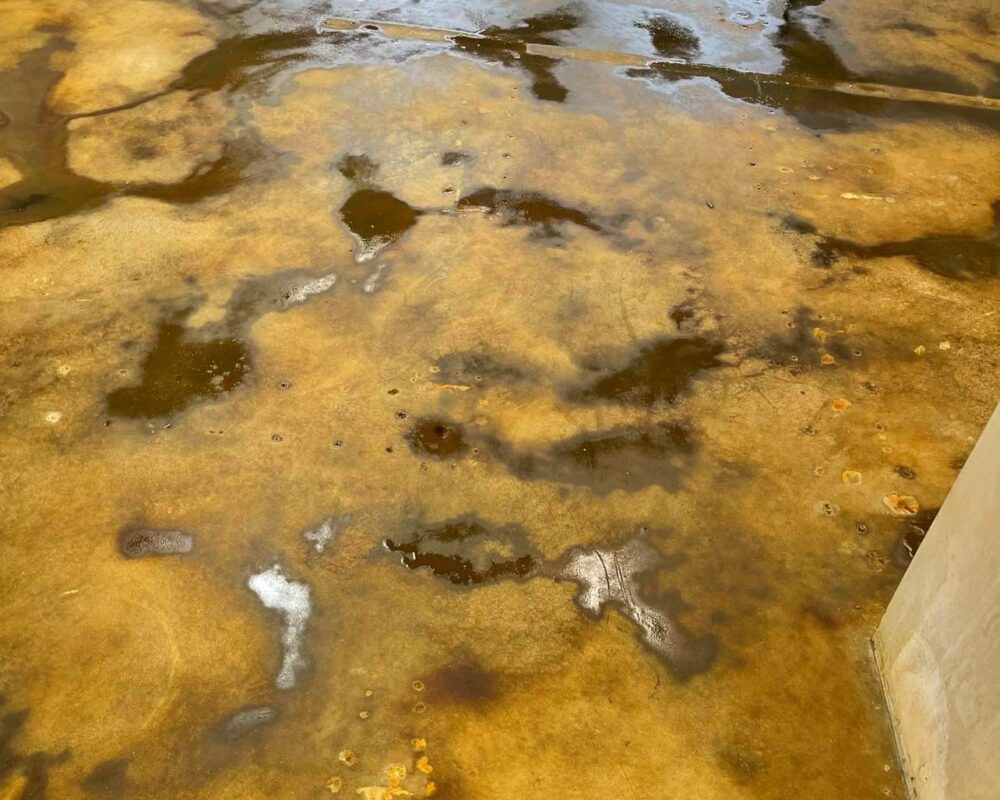
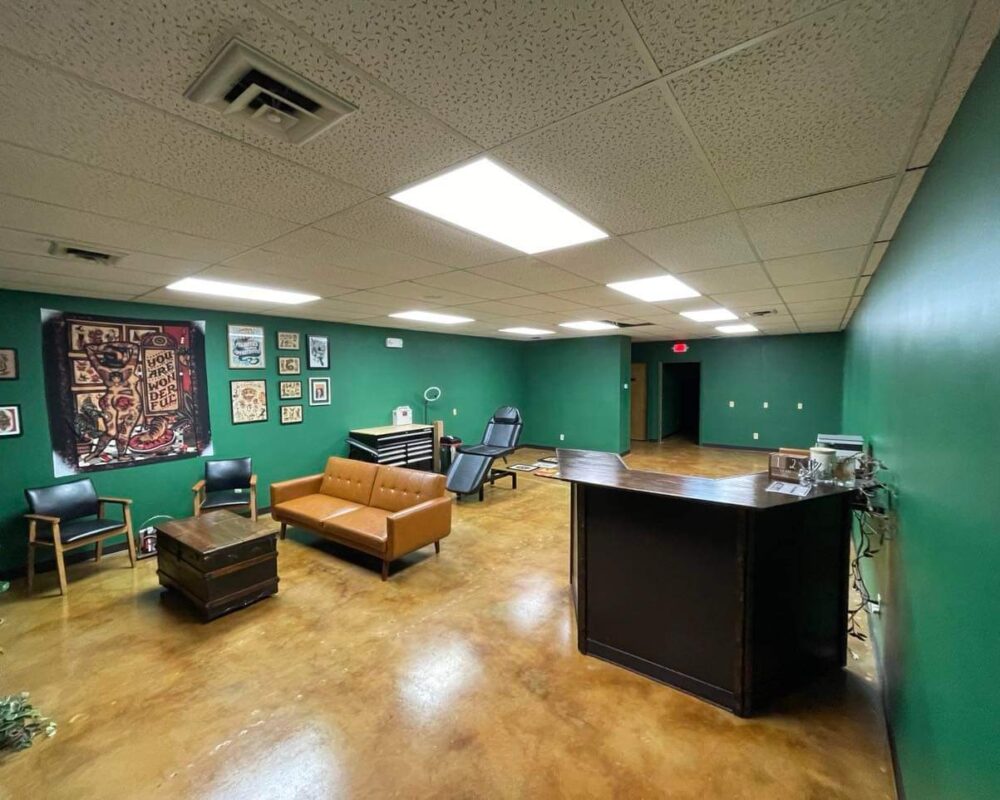
‘Til Death Tattoo in Springfield, Missouri understands the value of thorough prep work! After removing the carpet in this commercial space, this brand new tattoo shop got crackin’ on their first-ever DIY project.
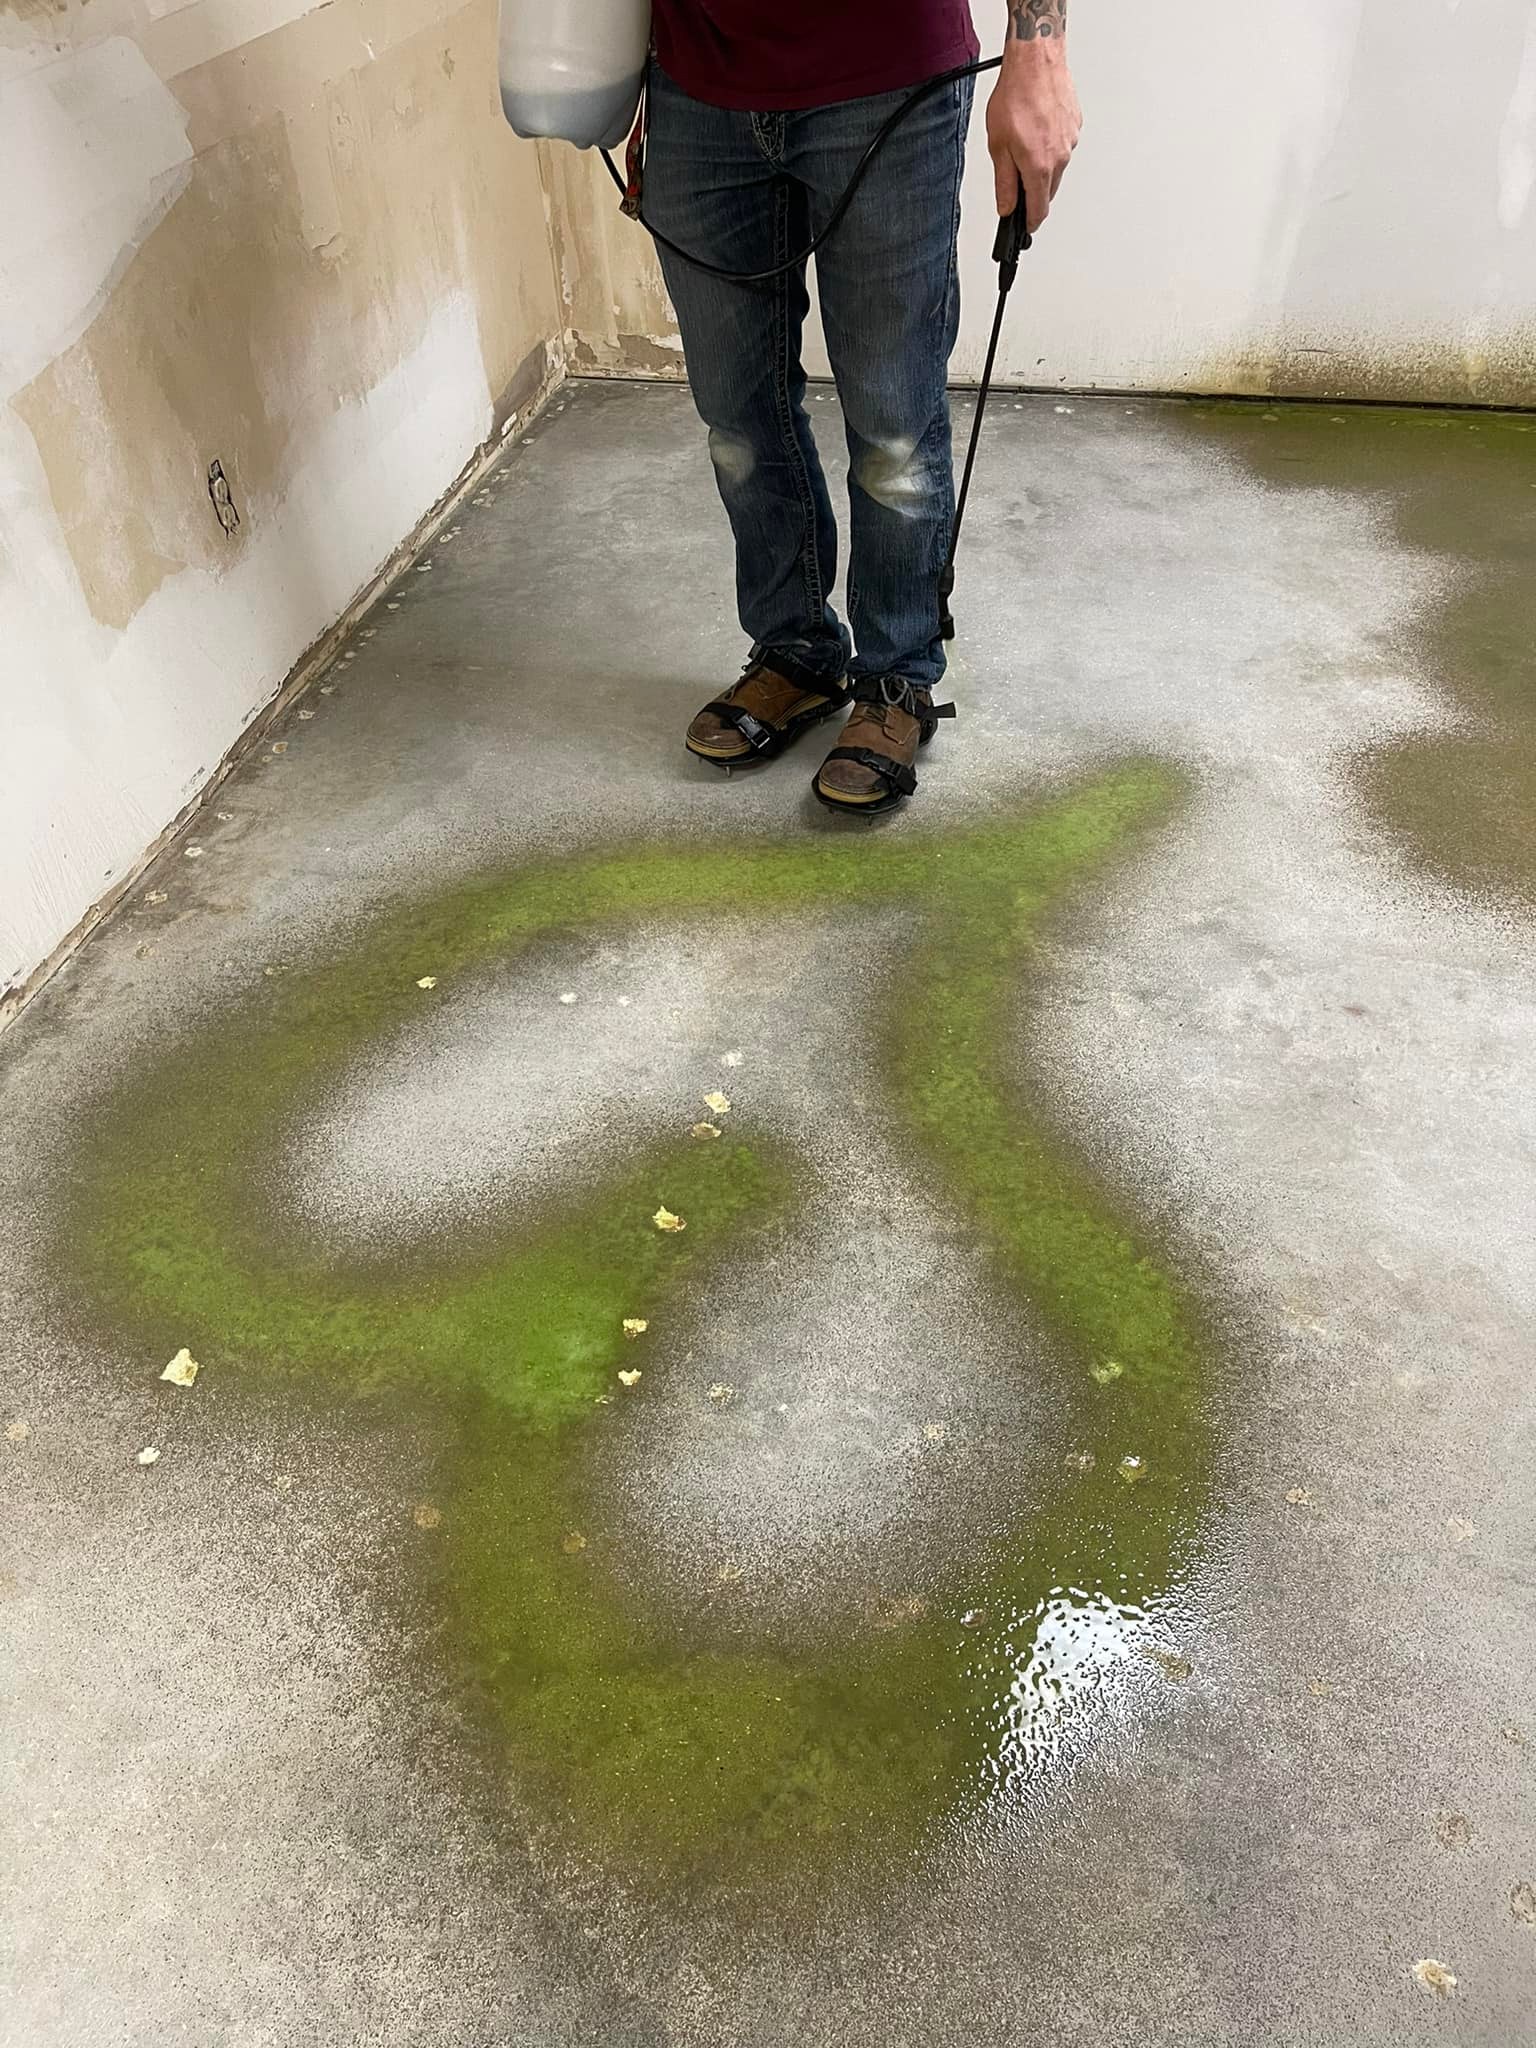
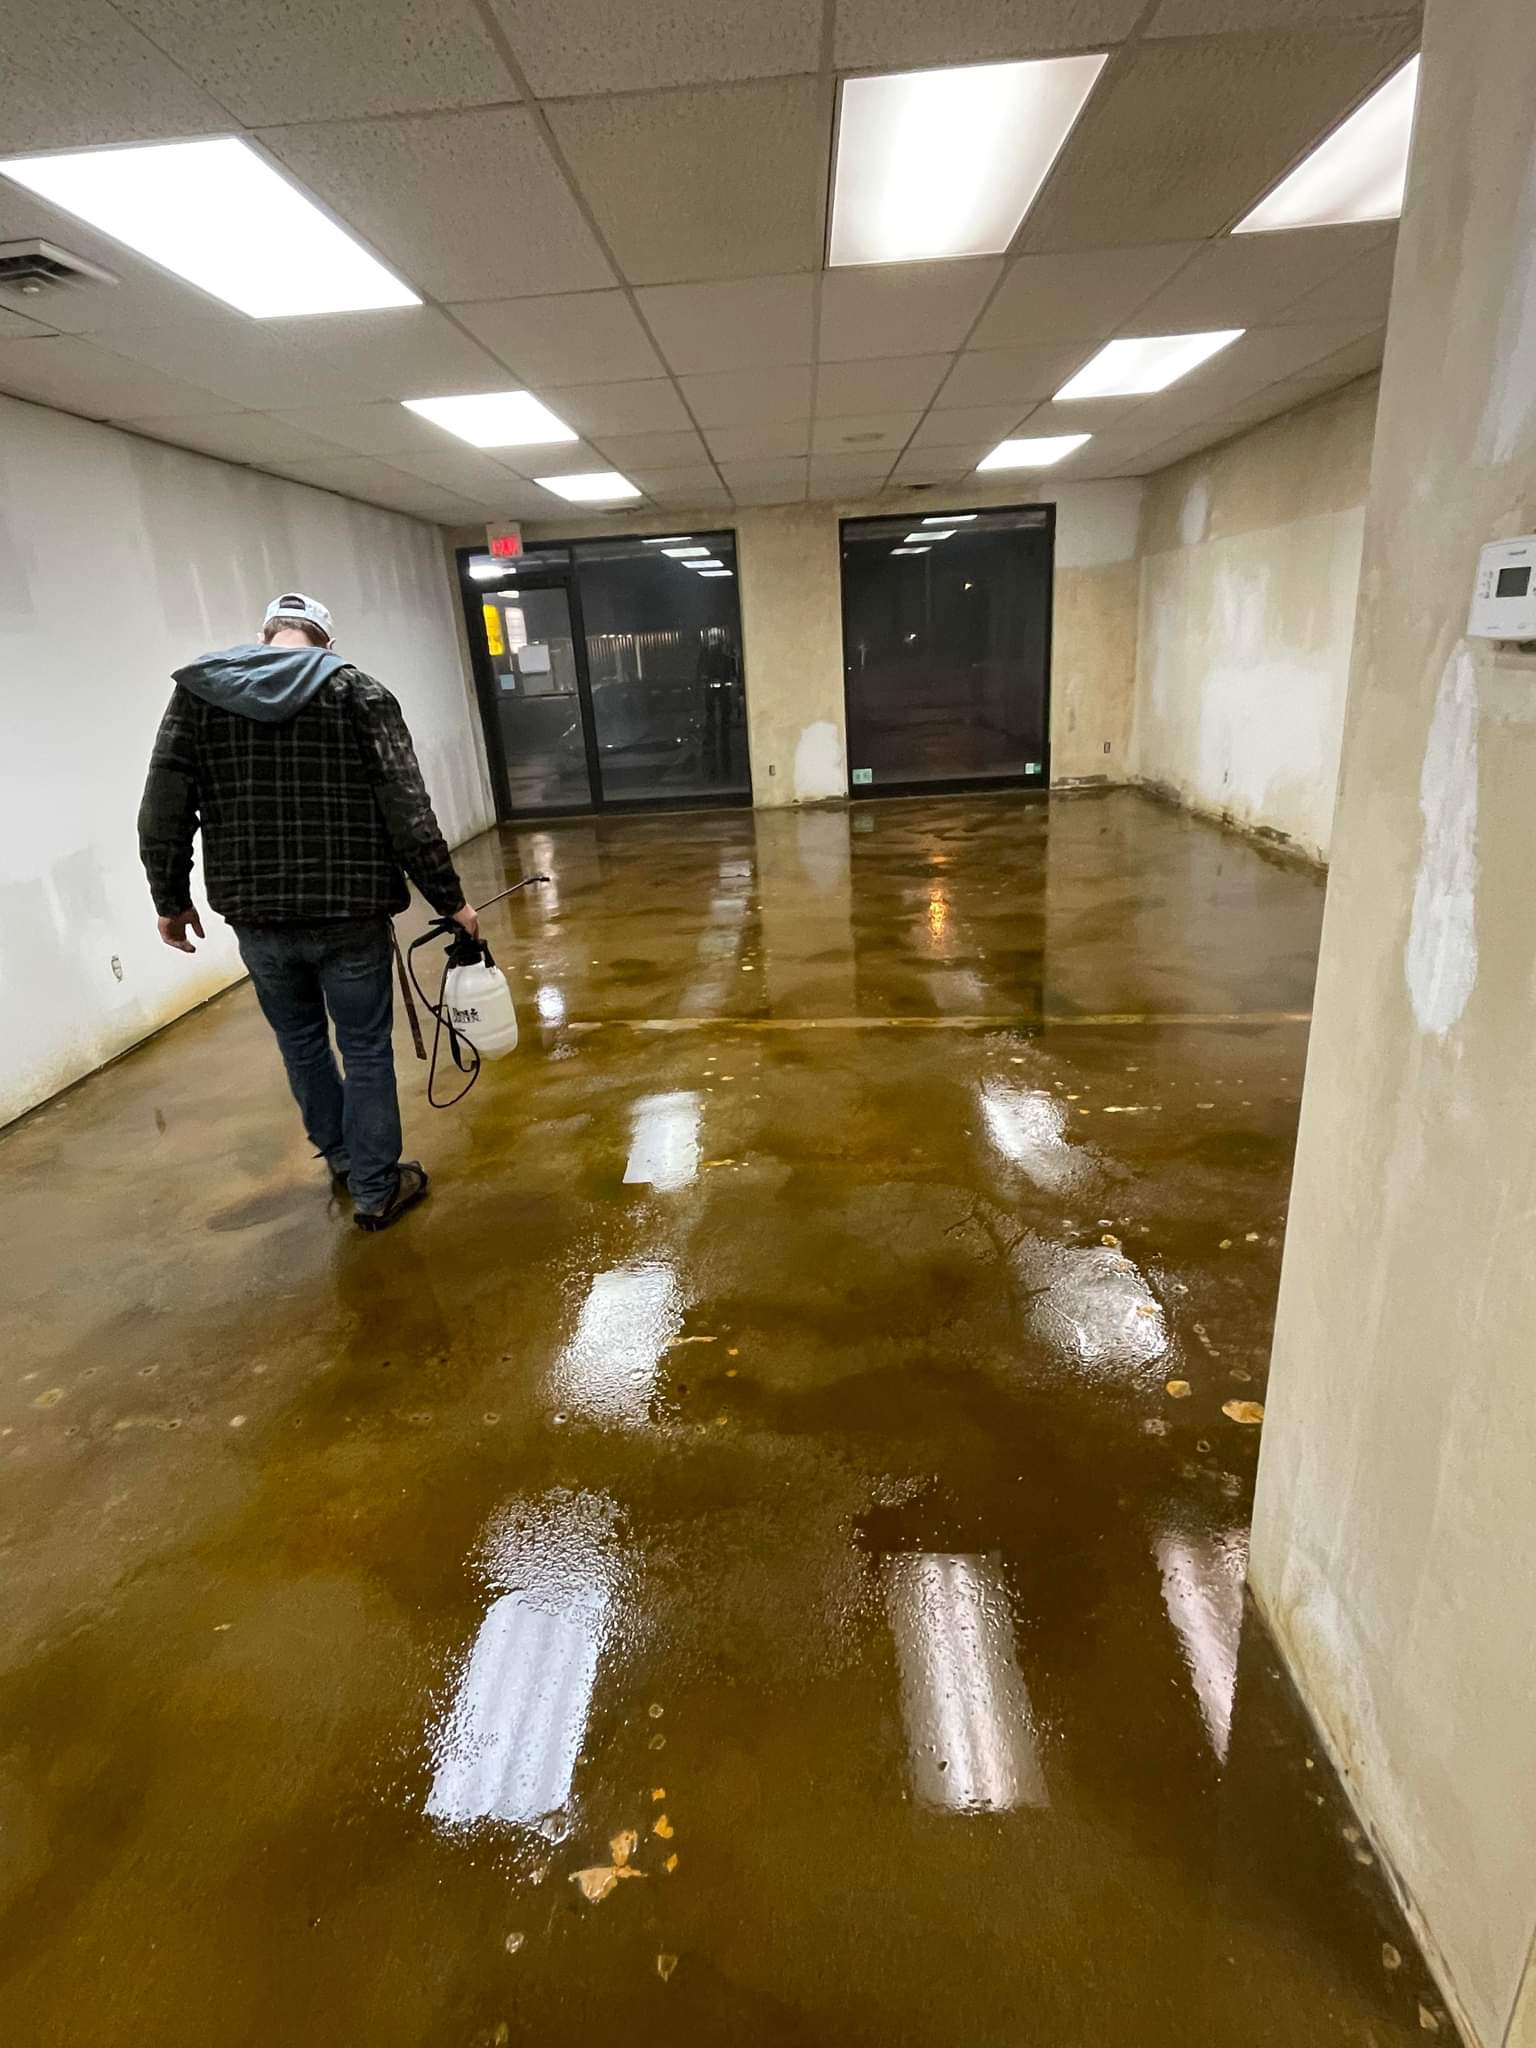
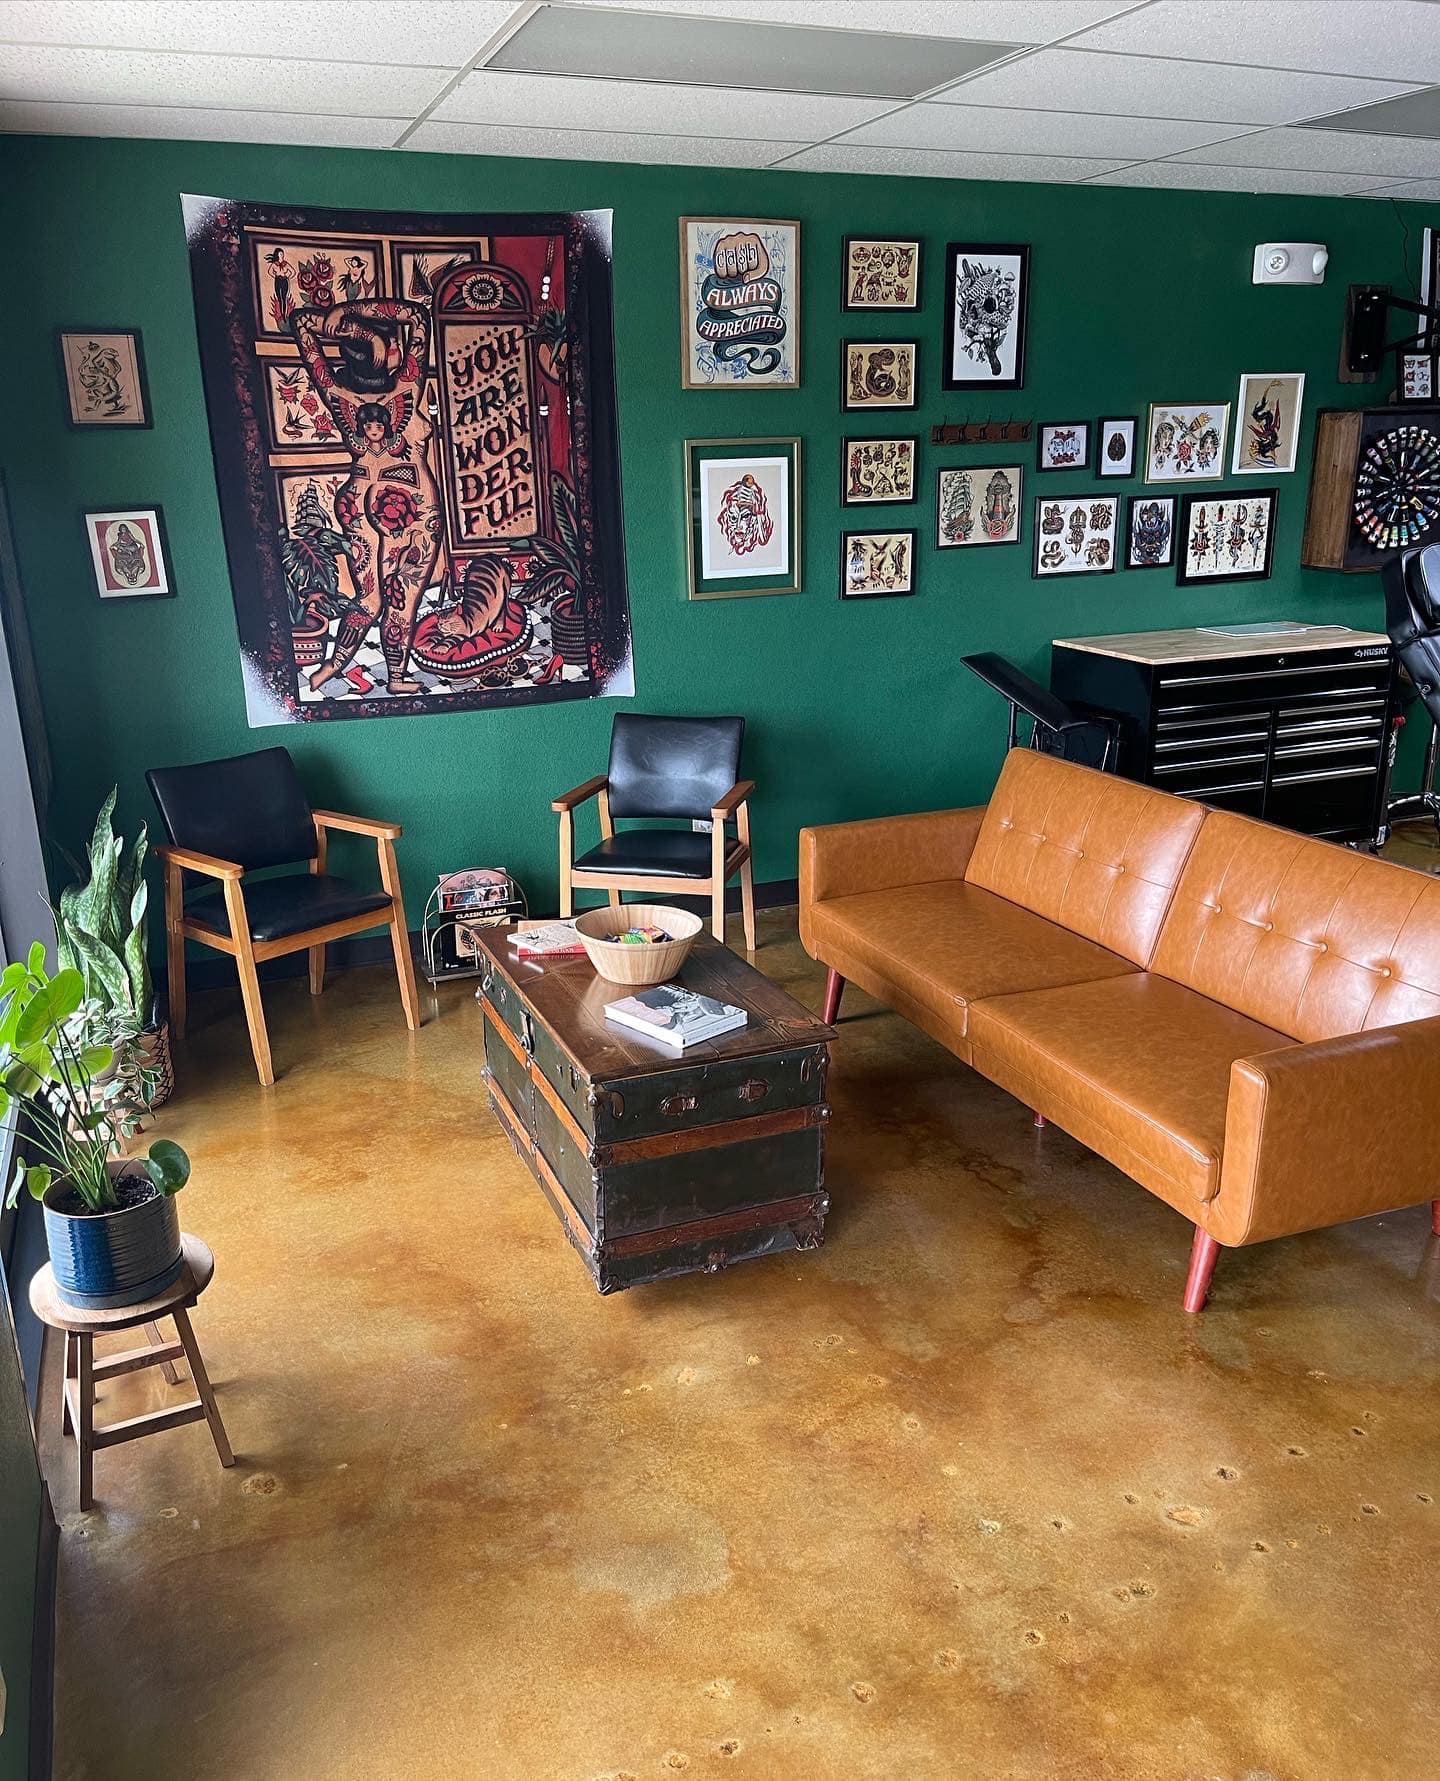
It wasn’t easy, but by the end, they were pretty proud of their artistry skills – and the results! We love how they used two acid stain colors to create a marbled look with vintage vibes. The colored concrete floor brings so much charm and personality to the space!

Project Info:
- Project Completed In: 14 day(s)
- Estimate of Square Footage: 1000 sq. ft.
- Project Description:
This was our first DIY project; and all I have to say is be ready for your prep work! Coming into this we had no idea the amount of labor we were about to put into this project, but nonetheless we are extremely proud of what we created.This is the floor in the tattoo shop we’re opening (‘Til Death Tattoo, in Springfield, Missouri.) Originally the previous owners had carpet in the space. After ripping up the carpet, it appeared to have multiple layers of glue and other adhesives.We literally tried everything to remove this… acetone, adhesive remover pad on a buffer, goo gone… in the end a hand held razorblade scraper from harbor freight with lots of blades and elbow grease was the best removal. We used a diamabrush etching pad on a buffer we rented to open up the pores.After all that was completed, we moved to cleaning. Lots of plain hot water wetmopping, followed up by a good couple rounds of TSP mopping, and then more mopping until the bucket came back clear when we rung out the mop.After all this, it was smooth sailing. Simply follow the guidelines of DirectColors for application. You really can’t go wrong with the stain, this is where you can let your artistry shine. We set our darker tone the day before, and then followed with our light tone early next day and filled in patchy spots with a second coat of light tone a few hours later.Neutralized and cleaned, followed the sealing instructions, and let set for a few days before we came back and laid down the wax.Honestly, wish we had picked commercial high gloss when we did it, but the two gallons of residential got us about 8 coats in total and it turned out just fine! - Personal Tips:
Clean, clean, clean. And then clean again. Your work beforehand and your finishing after your project is sealed makes more of a difference than anything else you will do in the process.
Direct Colors Products Used:
Malaysian Bluff, Shifting Sands, Acid Neutralizer, Sealer, and Residential floor wax. All water based acrylic.
A Pool House with Personality
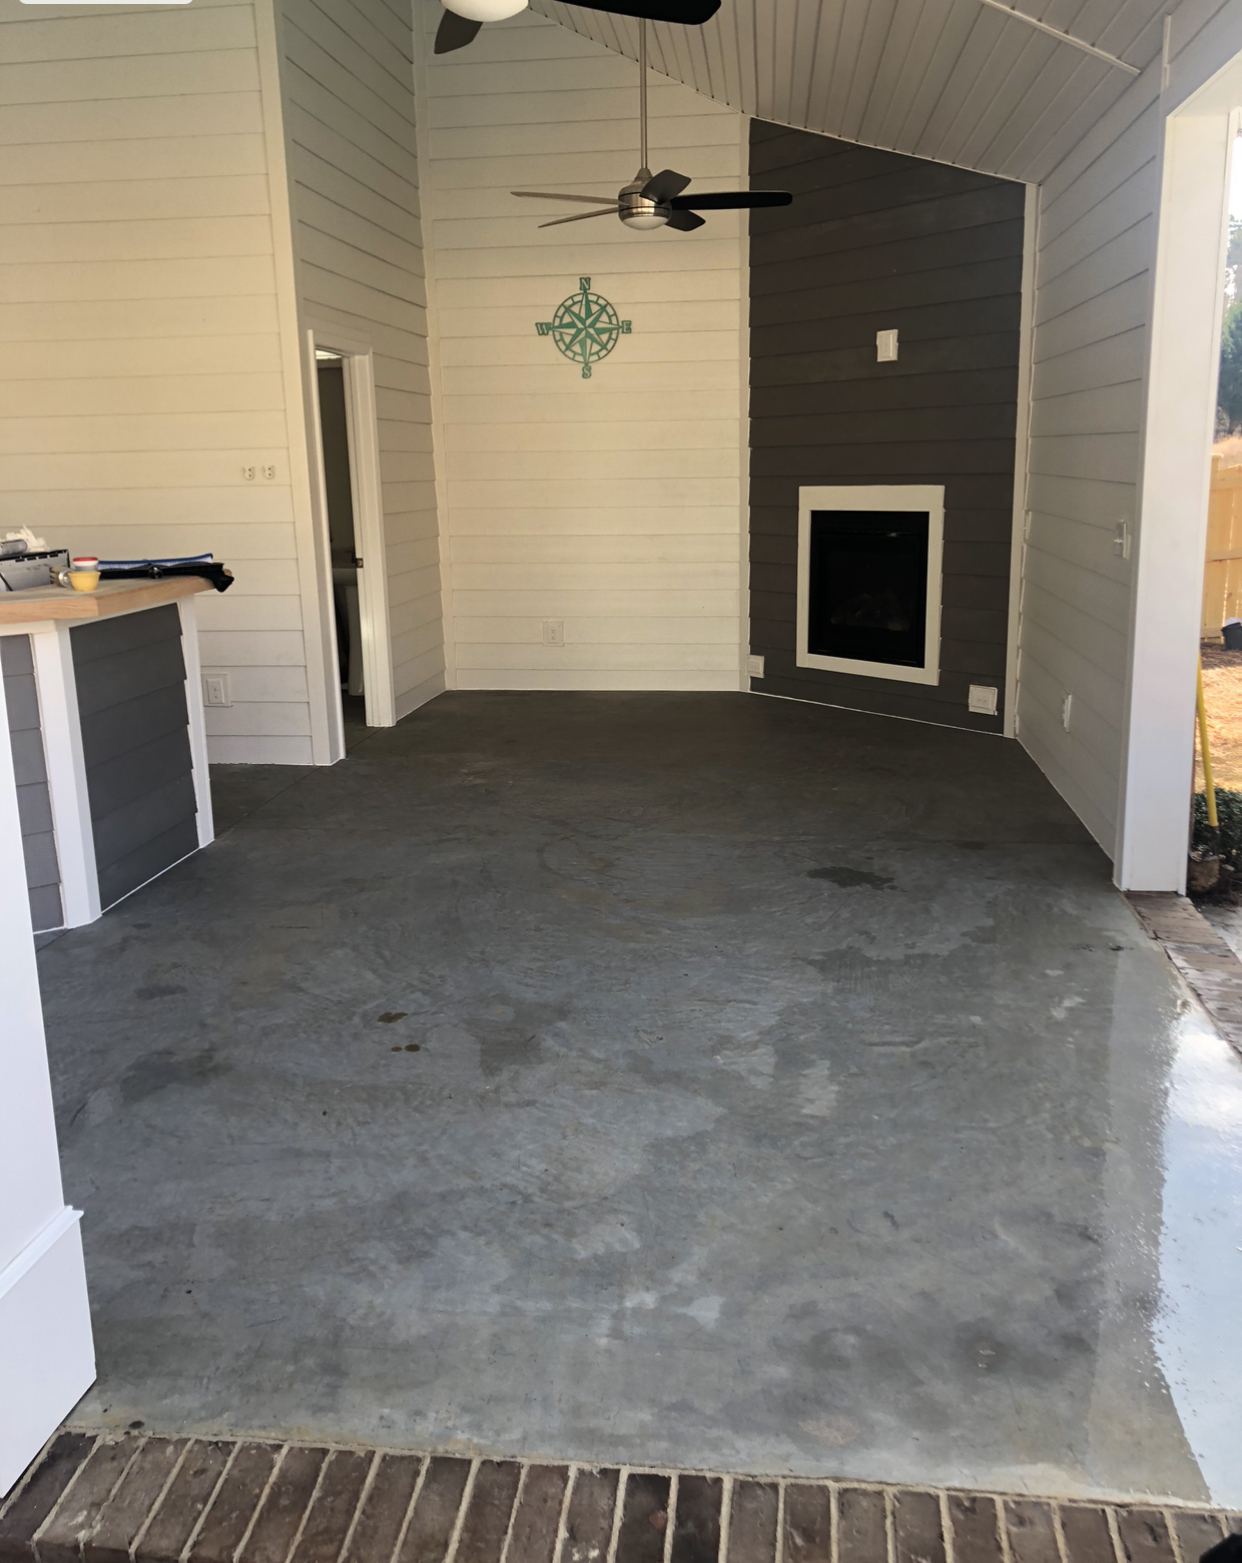
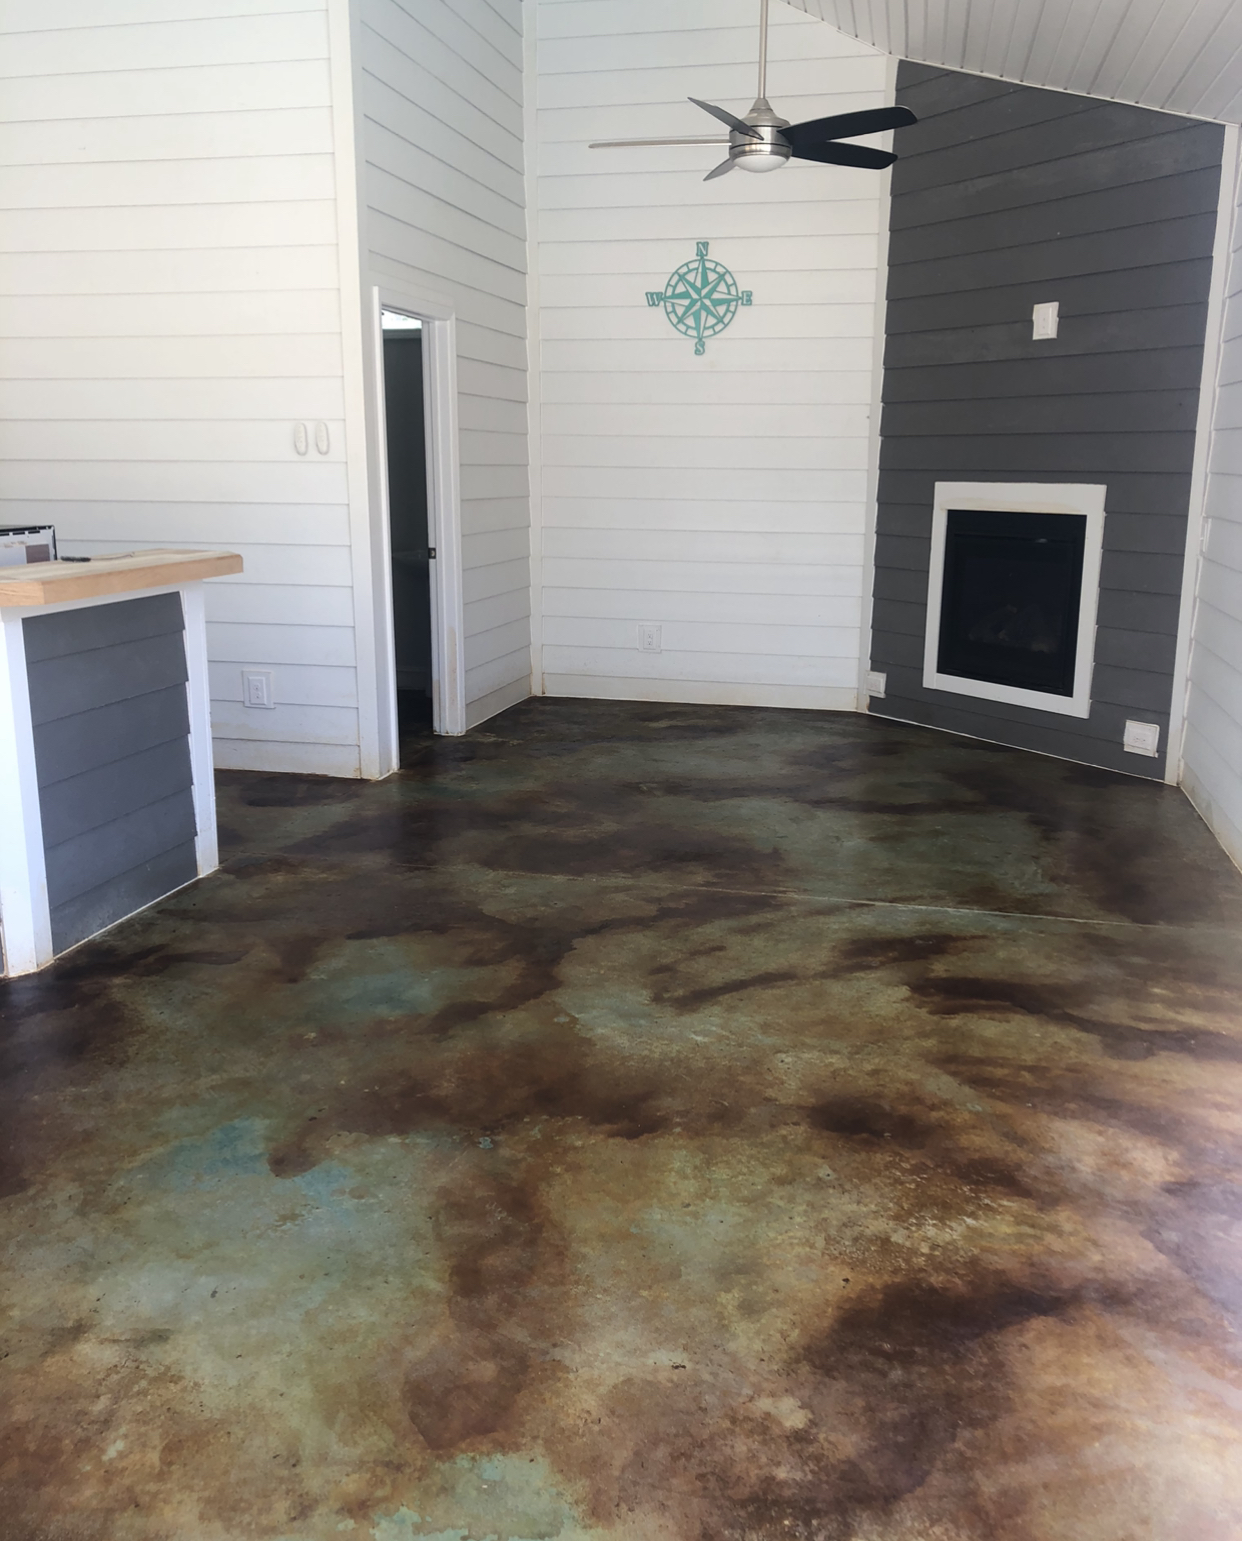
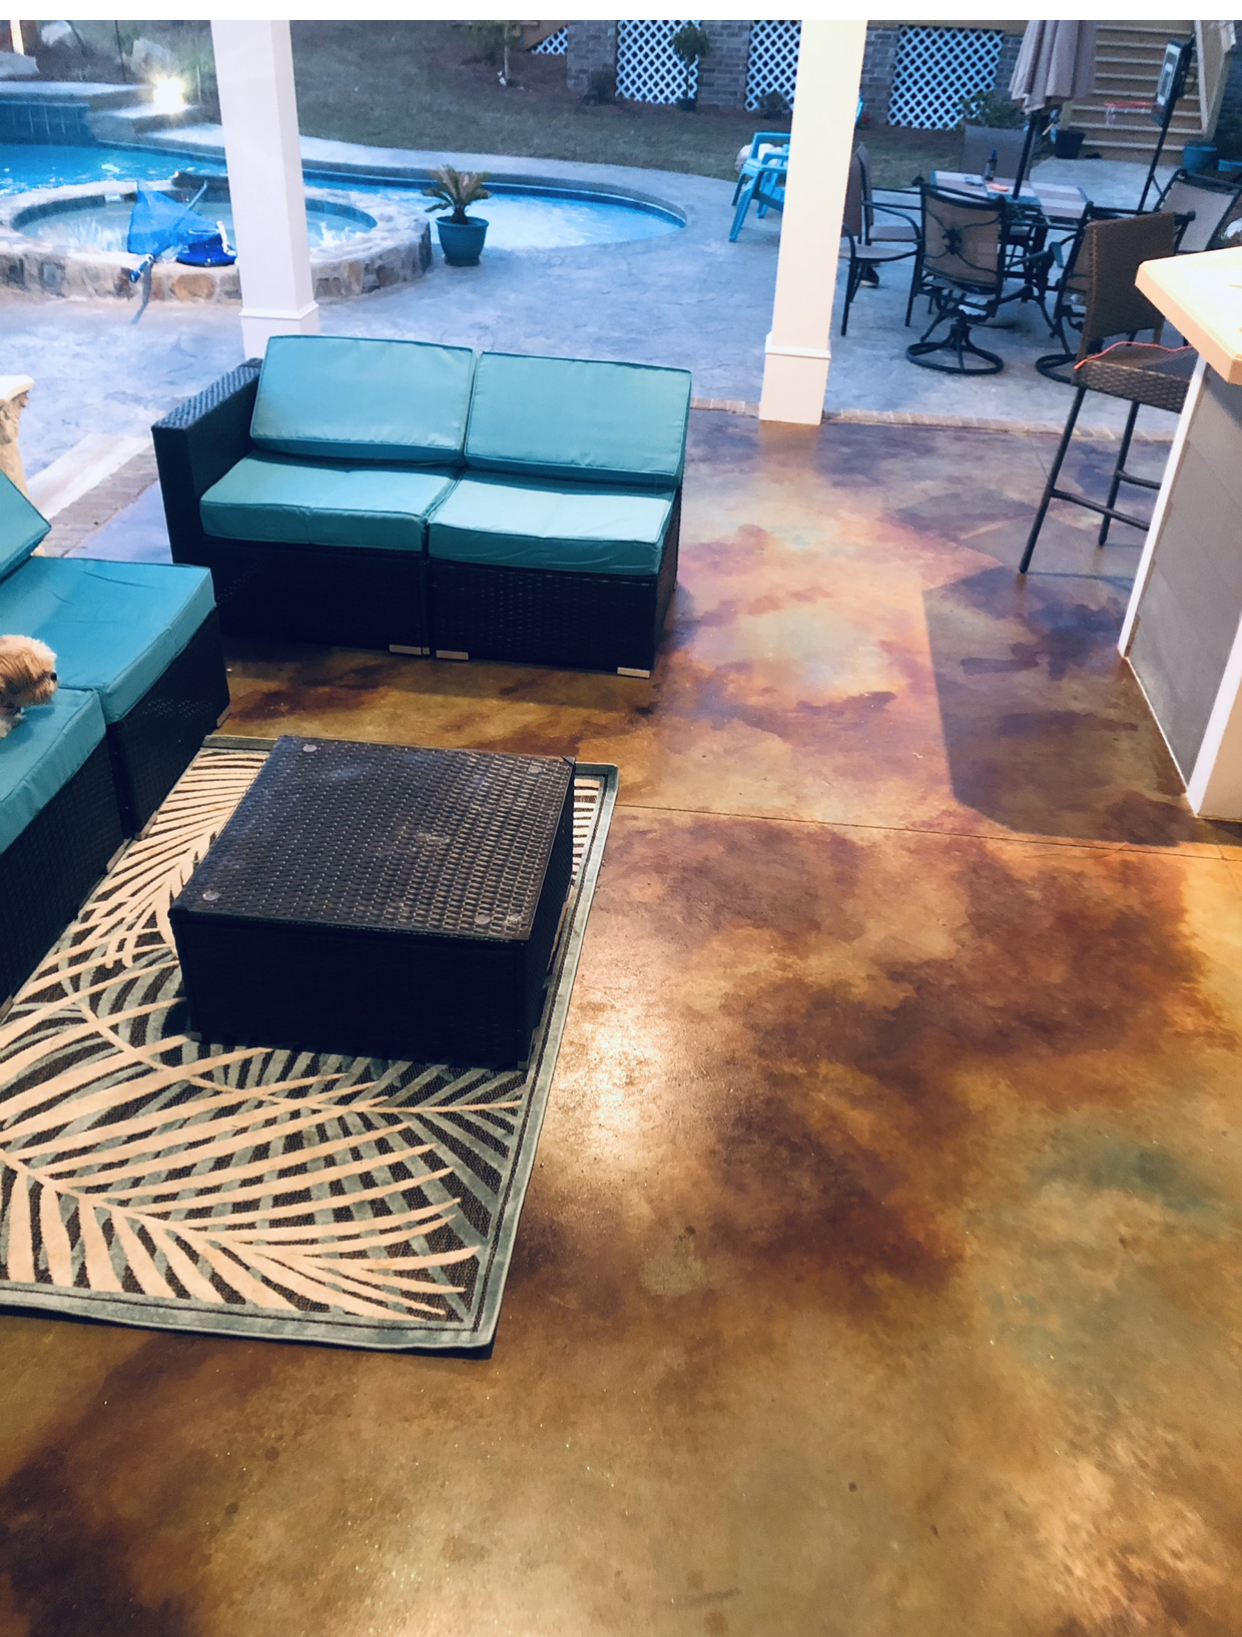
Isn’t this slight pop of azure blue concrete stain lovely? Although this pool house floor has a blend of three colors, it’s the nice bit of blue acid stain that really stands out.
-
- Project Completed In: 14 day(s)
- Estimate of Square Footage: 568 sq. ft.
- Project Description:
New construction pool house. - Personal Tips:
Go for it!! I was so nervous but it’s really a fun project once you get started. The videos on the website are very informative. - Direct Colors Products Used:
Azure Blue, Malayan Buff, Shifting Sand, Light Charcoal EasyTint with regular sealer.
Other Products Used:
Miracle grow and a touch of glitter
Revamped Garage Floor
It’s amazing how a stained concrete floor can take your space to the finish line in an instant. This garage definitely looks more complete with the addition of coffee concrete stain and shifting sand stain.
- Project Completed In: 6 day(s)
- Estimate of Square Footage: 500 sq. ft.
- Project Description:
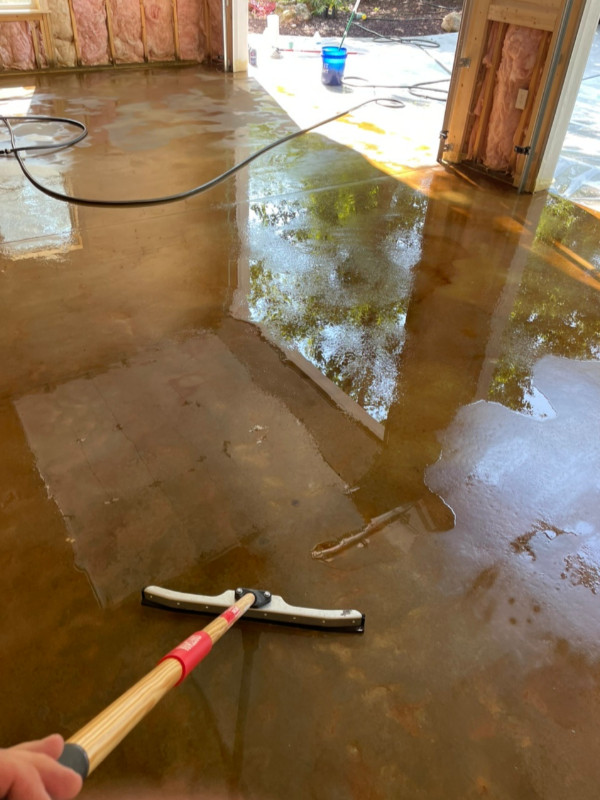
I cleaned the surface well. Then I used the etch to open up the pores on the floor. Then I cleaned the floor with a mop twice. I then sprayed an even coat of shifting sands acid stain over the whole floor with a pump sprayer. I used approximately a gallon and a half of the shifting sands acid. I highlighted a few areas with 1 quart of coffee brown acid stain in a spray bottle mixed 1:1 with water. I then cleaned the floor 4-5 times with a scrub brush, water/baking soda mix, and a wet vac. Finally I applied two coats of sealer with a nap roller on a pole. - Personal Tips:
Get the floor as clean as possible after each step!When I rolled on the sealer it appeared like polka dots and I was scared I did something wrong but after giving the floor 2-4 hours to dry the dots dried to clear and resulted in what you see here.
Direct Colors Products Used:
Shifting Sands Acid Stain
Coffee Brown Acid Stain
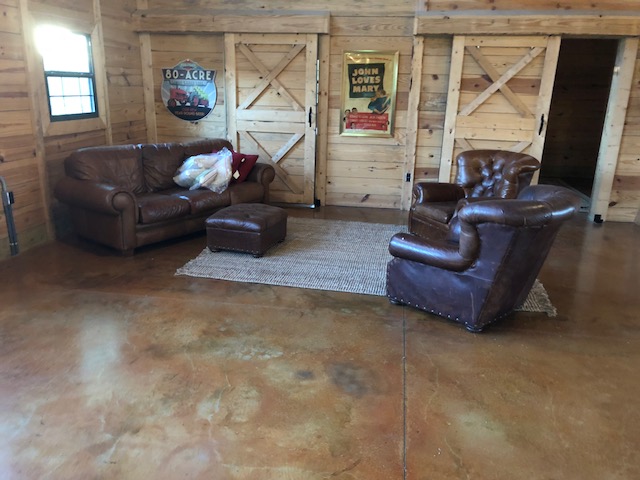
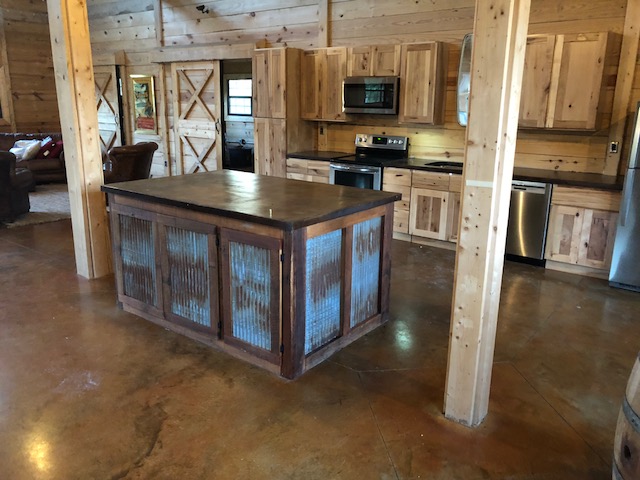
Pretty Barndominium Floor
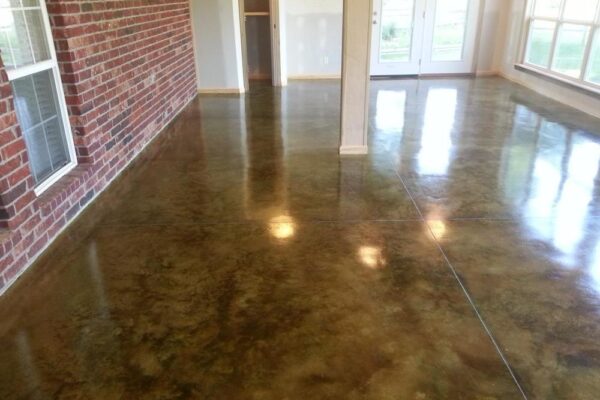
Check out the cozy rustic look of this barndominium! The acid stained concrete floors produce a nice warmth with that earthy color combo.
Beautiful Basement Floor
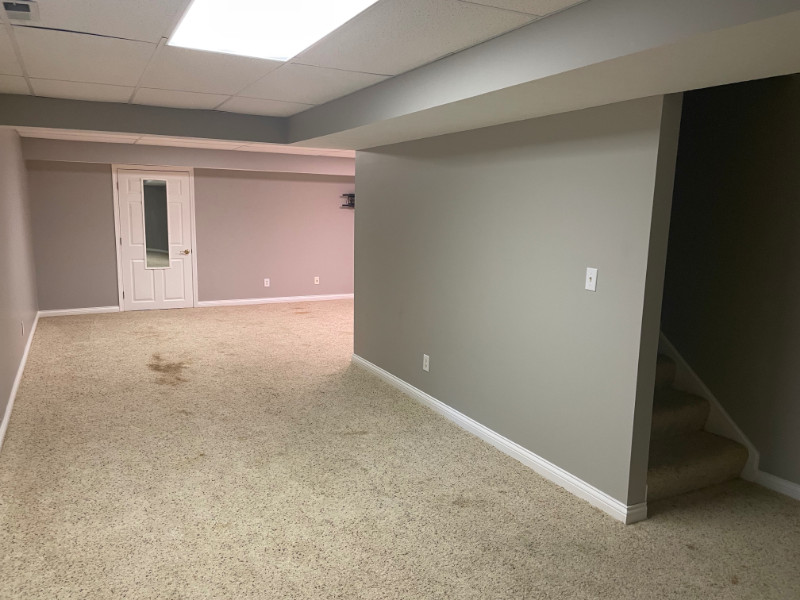
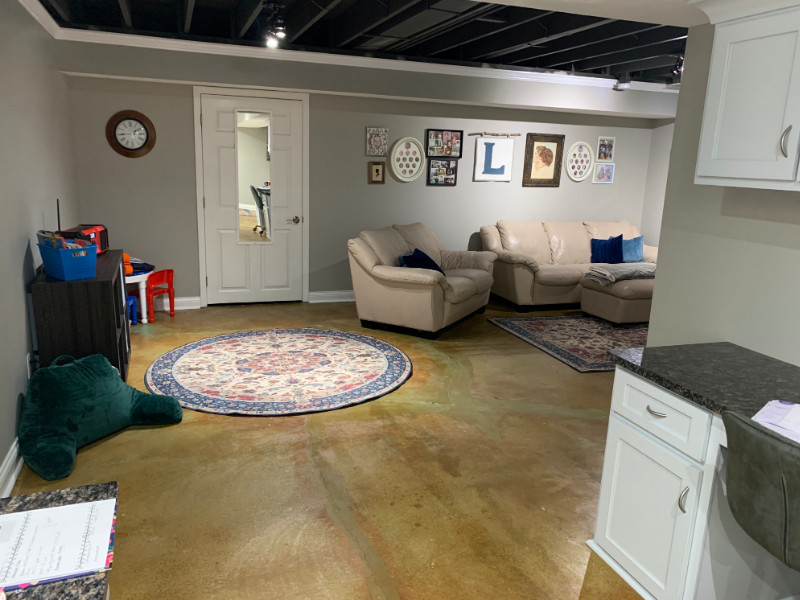
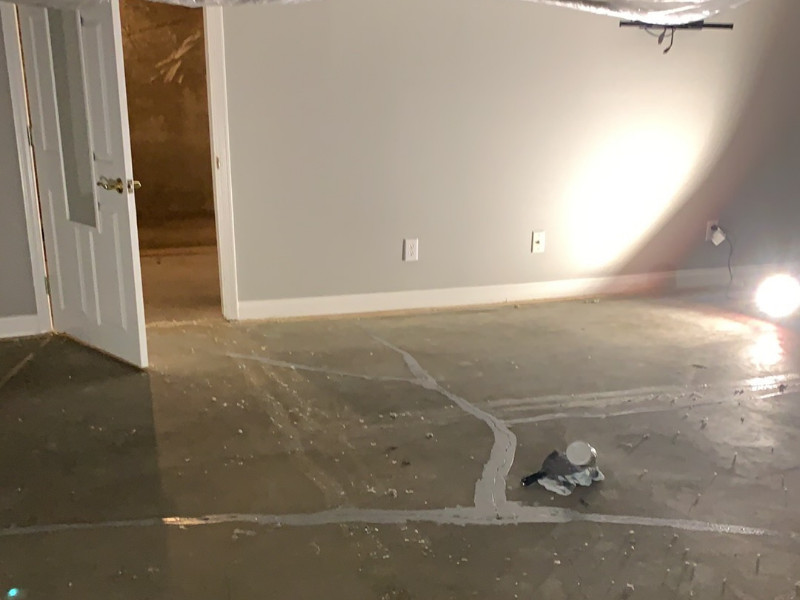
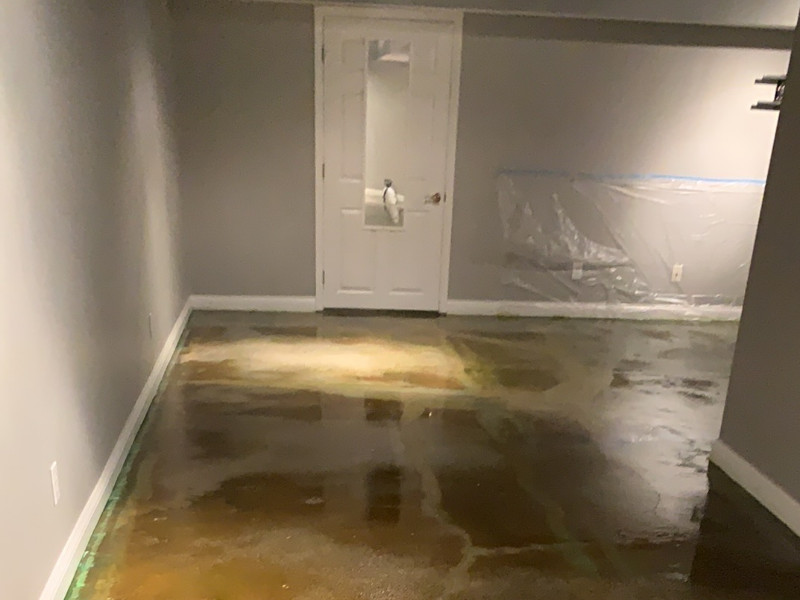
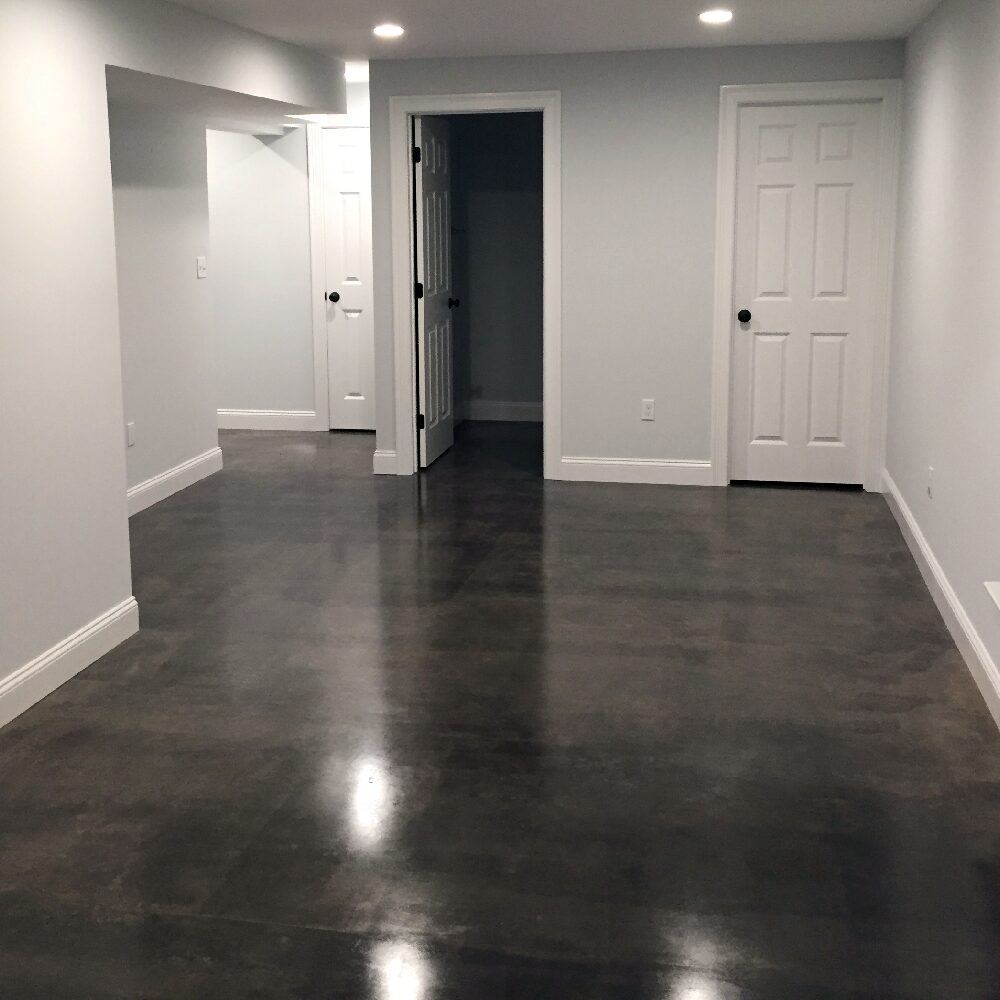
This DC customer had a very short window of time to get their basement floor stained – but it ended up working out! After taking the carpet out, they patched a crack in the floor and were pleasantly surprised how the acid stain added to the beauty of the crack.
- Project Completed In: 7 day(s)
- Estimate of Square Footage: 540 sq. ft.
- Project Description:
We moved into a house that had a partially finished basement. The carpet was awful ! We had no idea what kind of shape the concrete was in underneath that carpet but it had to come out. We were on a tight budget so after looking into options very early on in the home purchasing process, I decided I would acid stain the floor! We did have an unexpected crack in the floor that we were able to patch but I think that it just adds to the beauty of the floor. We had a very short window of time to get the floor stained – a 10 day window on the closing of our home until we had to be out and moved into the new home. It all worked out! It took 7 days to complete and the staining was the most fun and the easiest part. - Personal Tips:
The videos on the Direct Colors website taught me how to acid stain and gave me the confidence that I could do it! The customer service team also took my calls and helped me so much! Know going into this that the prep work takes the very longest! One call to direct colors helped me a ton – the man I spoke with advised me to use a carpet cleaner to rinse the concrete floor for the rinsing phases. What a lifesaver that was! I am really happy with how the floor turned out! It is very easy to maintain and I receive a lot fo compliments on it – I then proudly say “I did that!!!” - Direct Colors Products Used:
We used the acid stain for interior floors kit – it had all that we needed to do the project!! I even ordered a scrub brush for the cleaning process and that worked out so well. The kit was called the EverStain complete Diy stain and seal kit in Shifting Sand. We also purchased the wax , the matte finish, and that is a wonderful product!
Other Products Used:
We did end up renting a concrete buffer that helped get the concrete to the correct porosity level. We also used a concrete patching product, Quickcrete
Porch with Perfect Imperfections
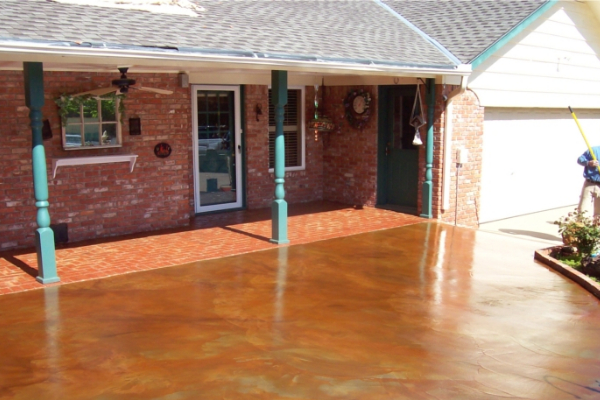
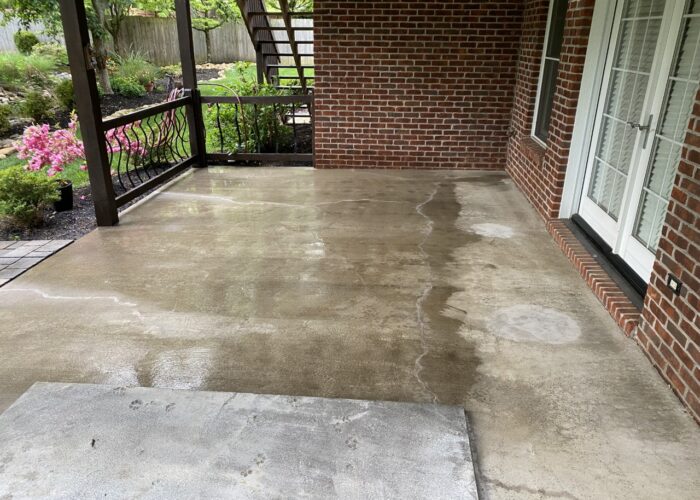
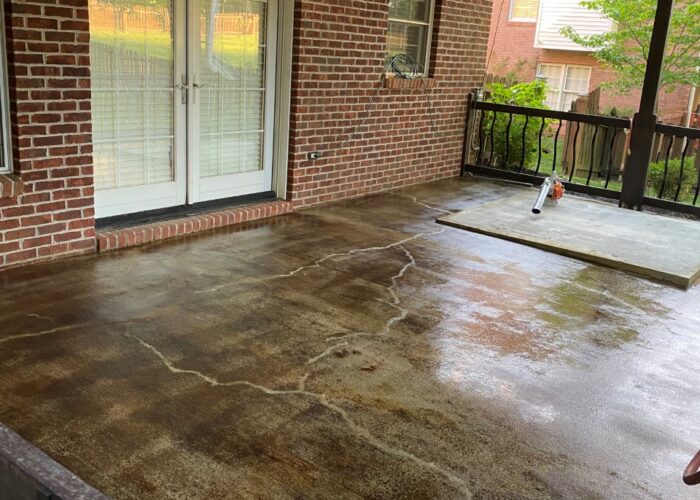
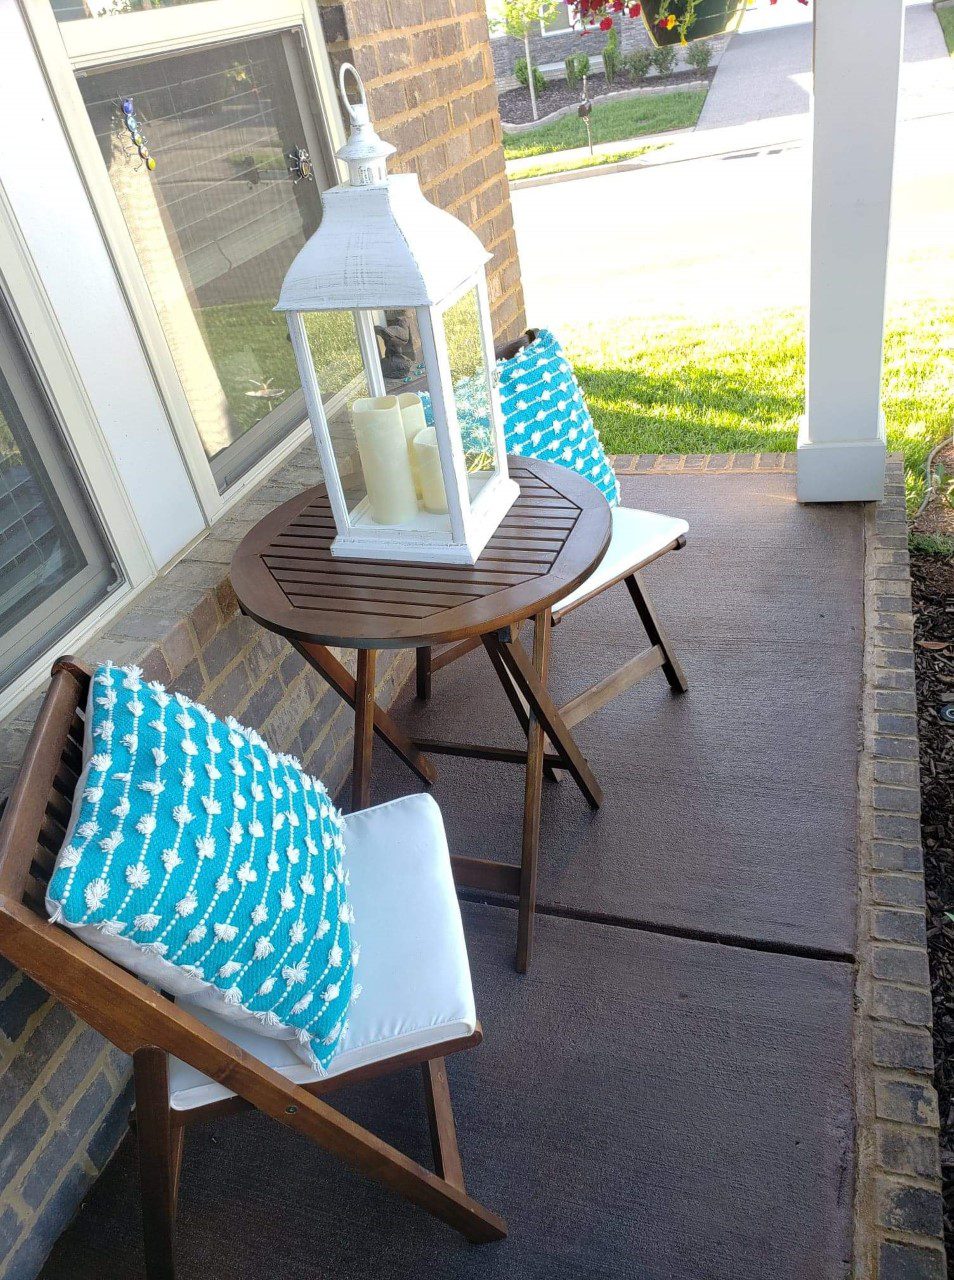
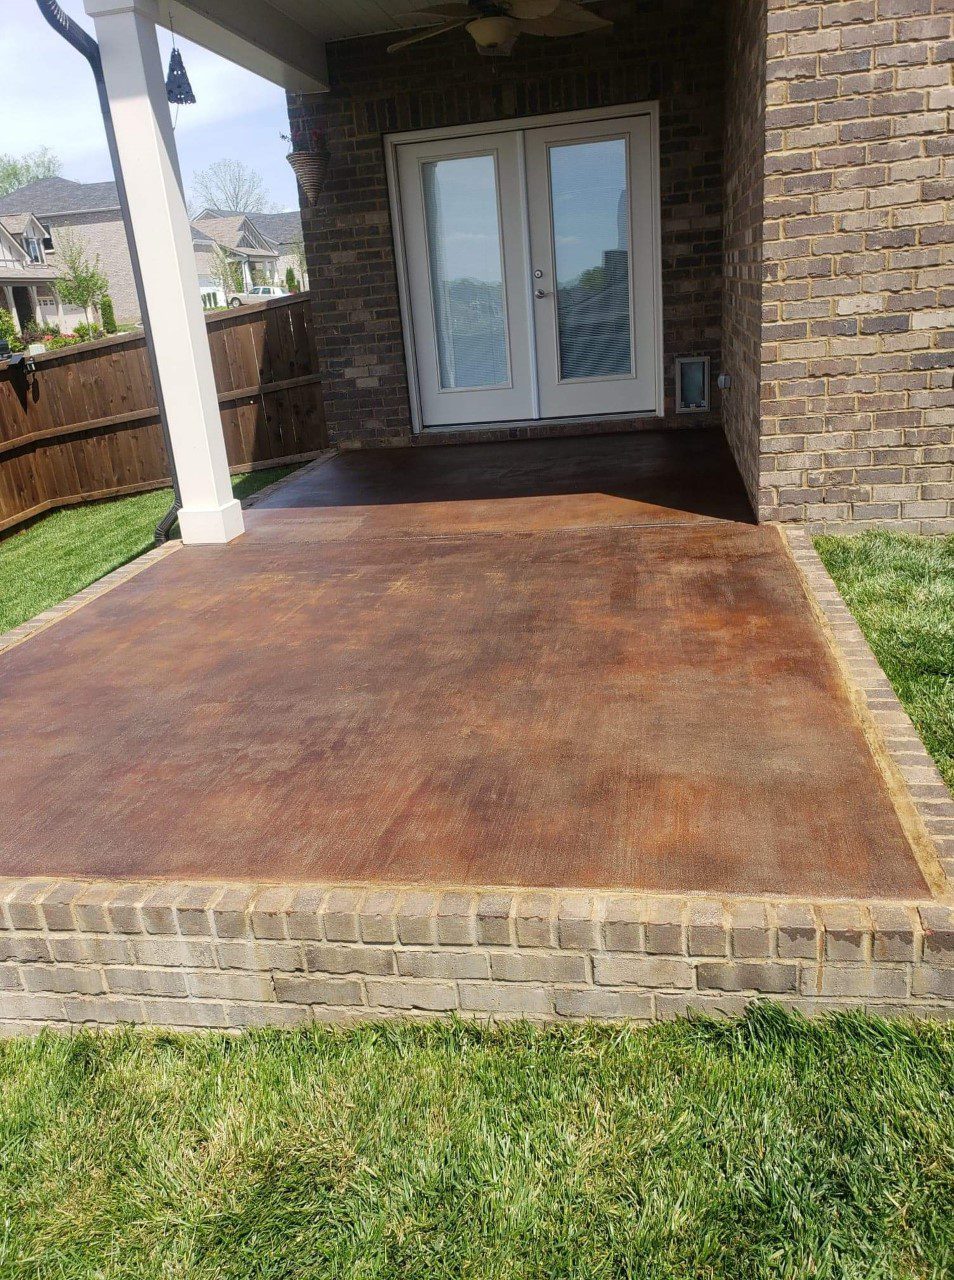
The great thing about acid stain is that it enhances the imperfections in your concrete surface. This porch certainly was not perfect – yet the brown and amber acid stain somehow complement those imperfections!
Pooch Heaven
Watercolor Look Patio
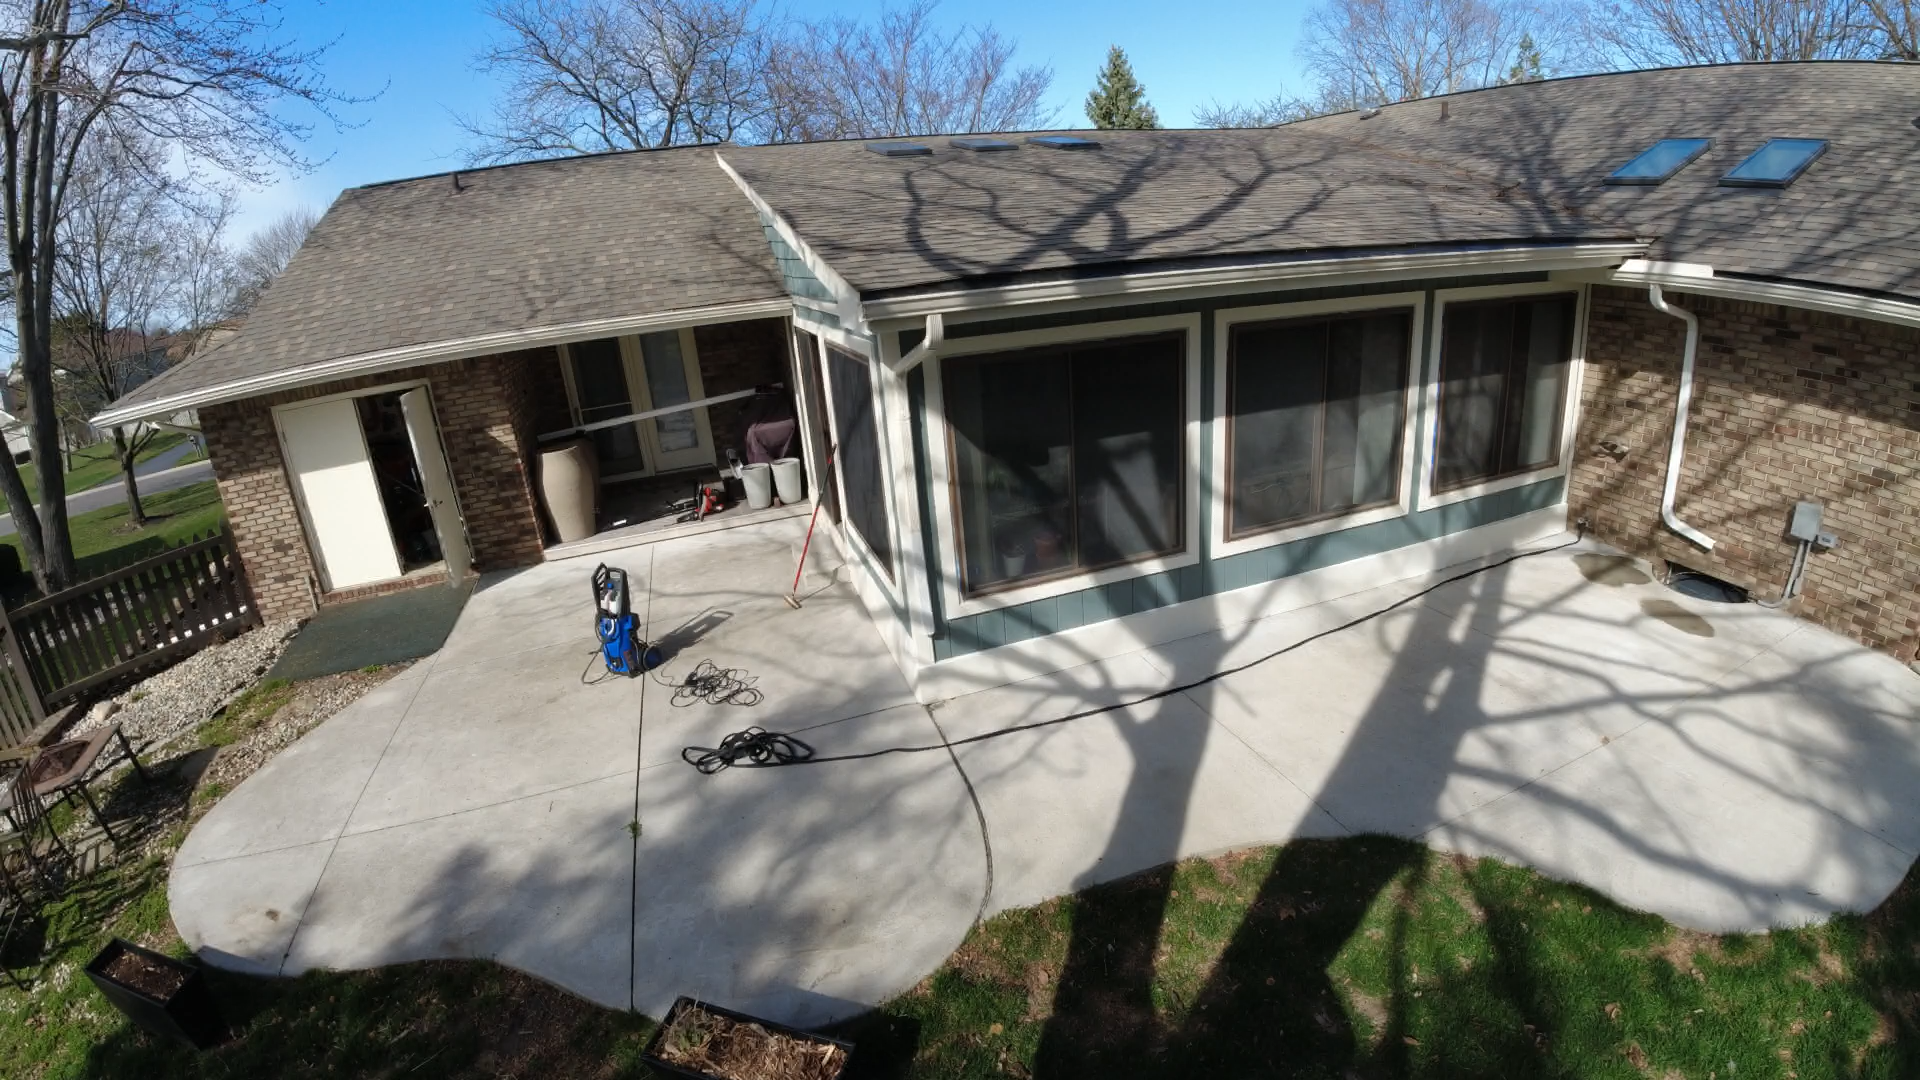
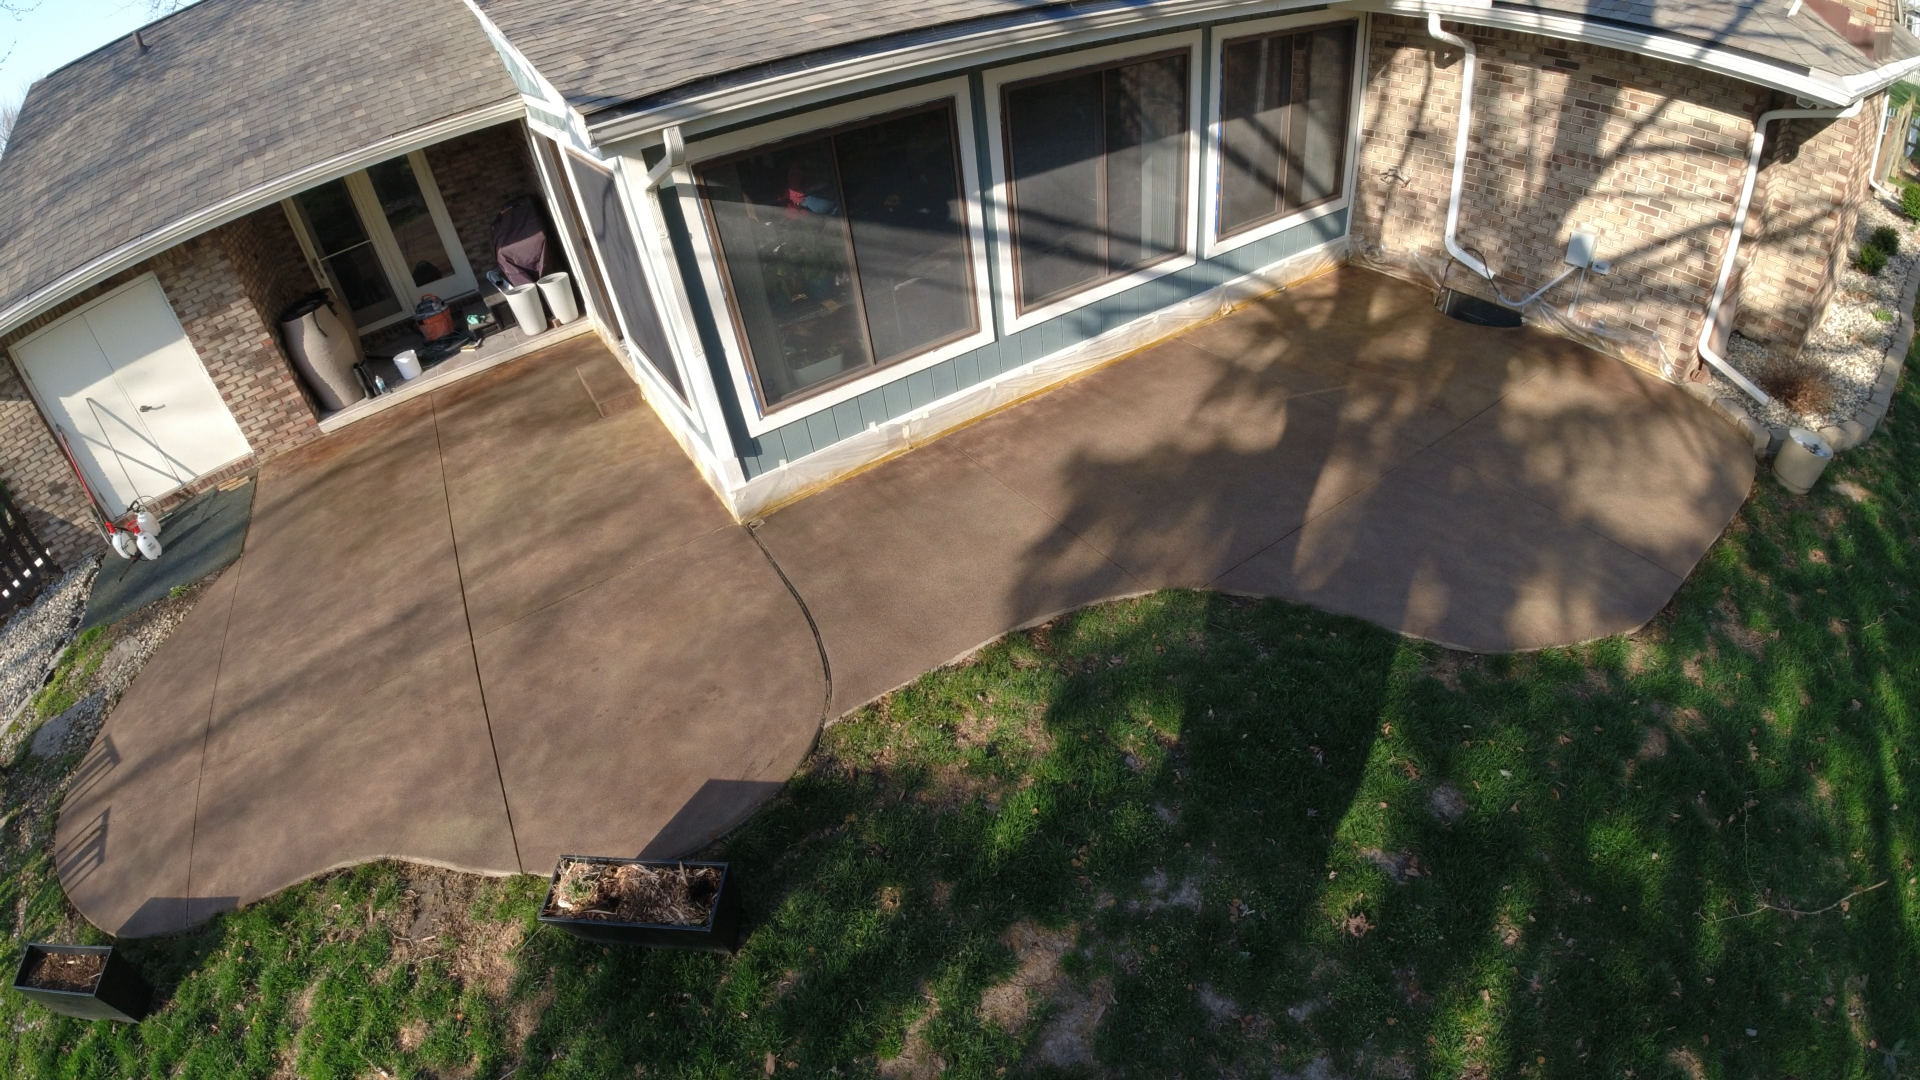
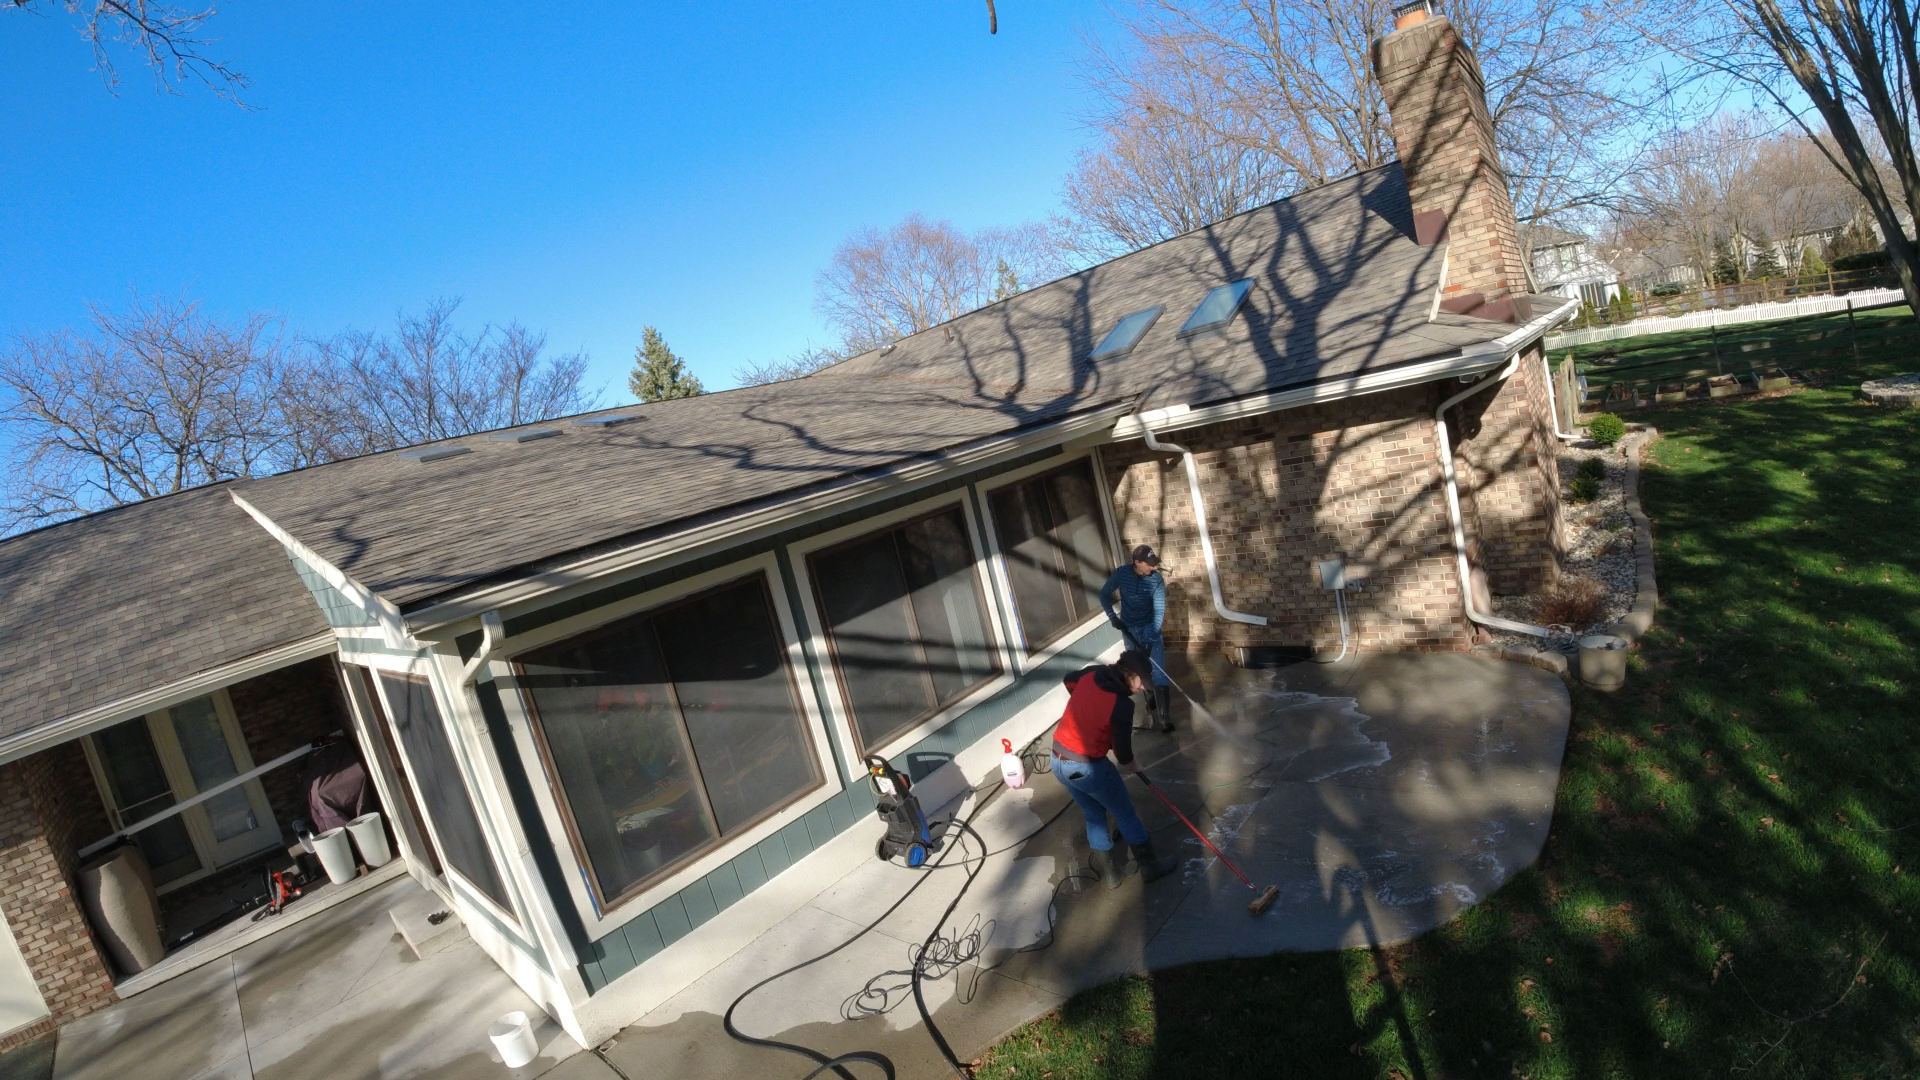
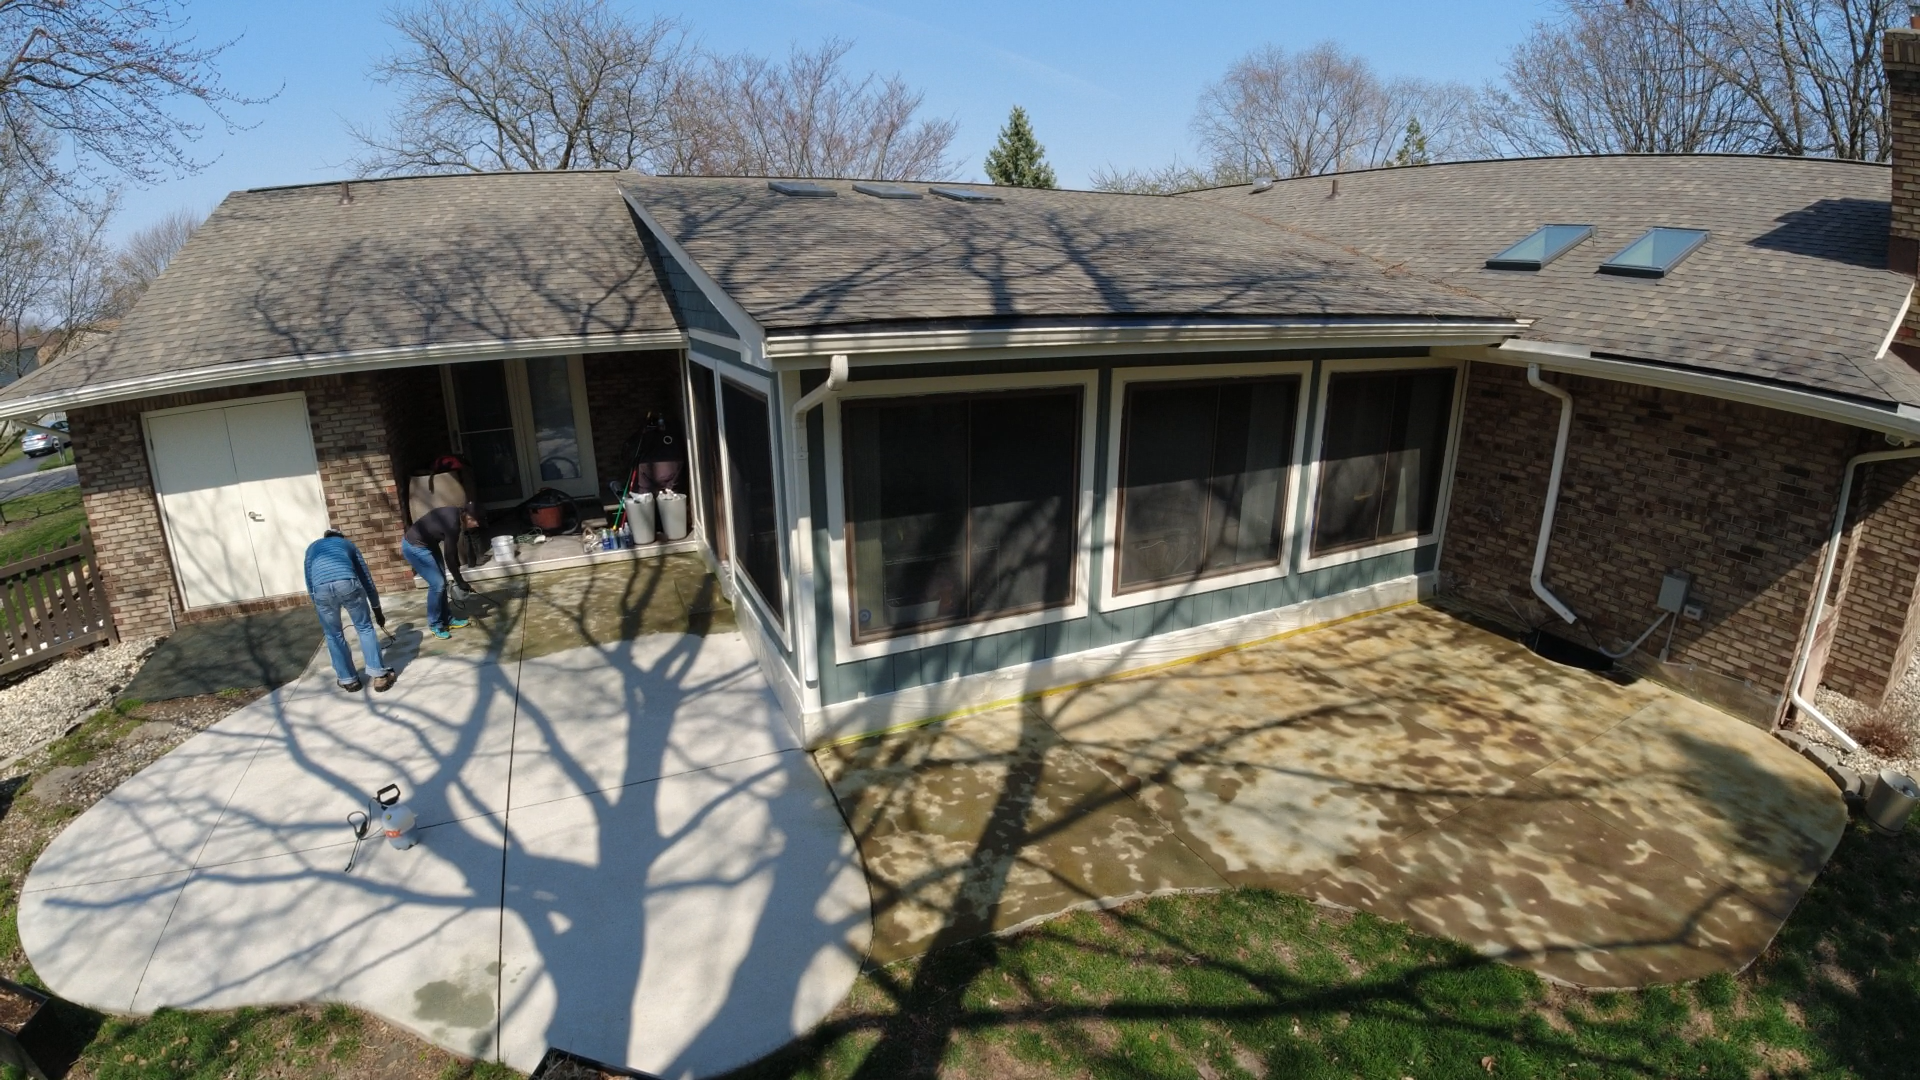
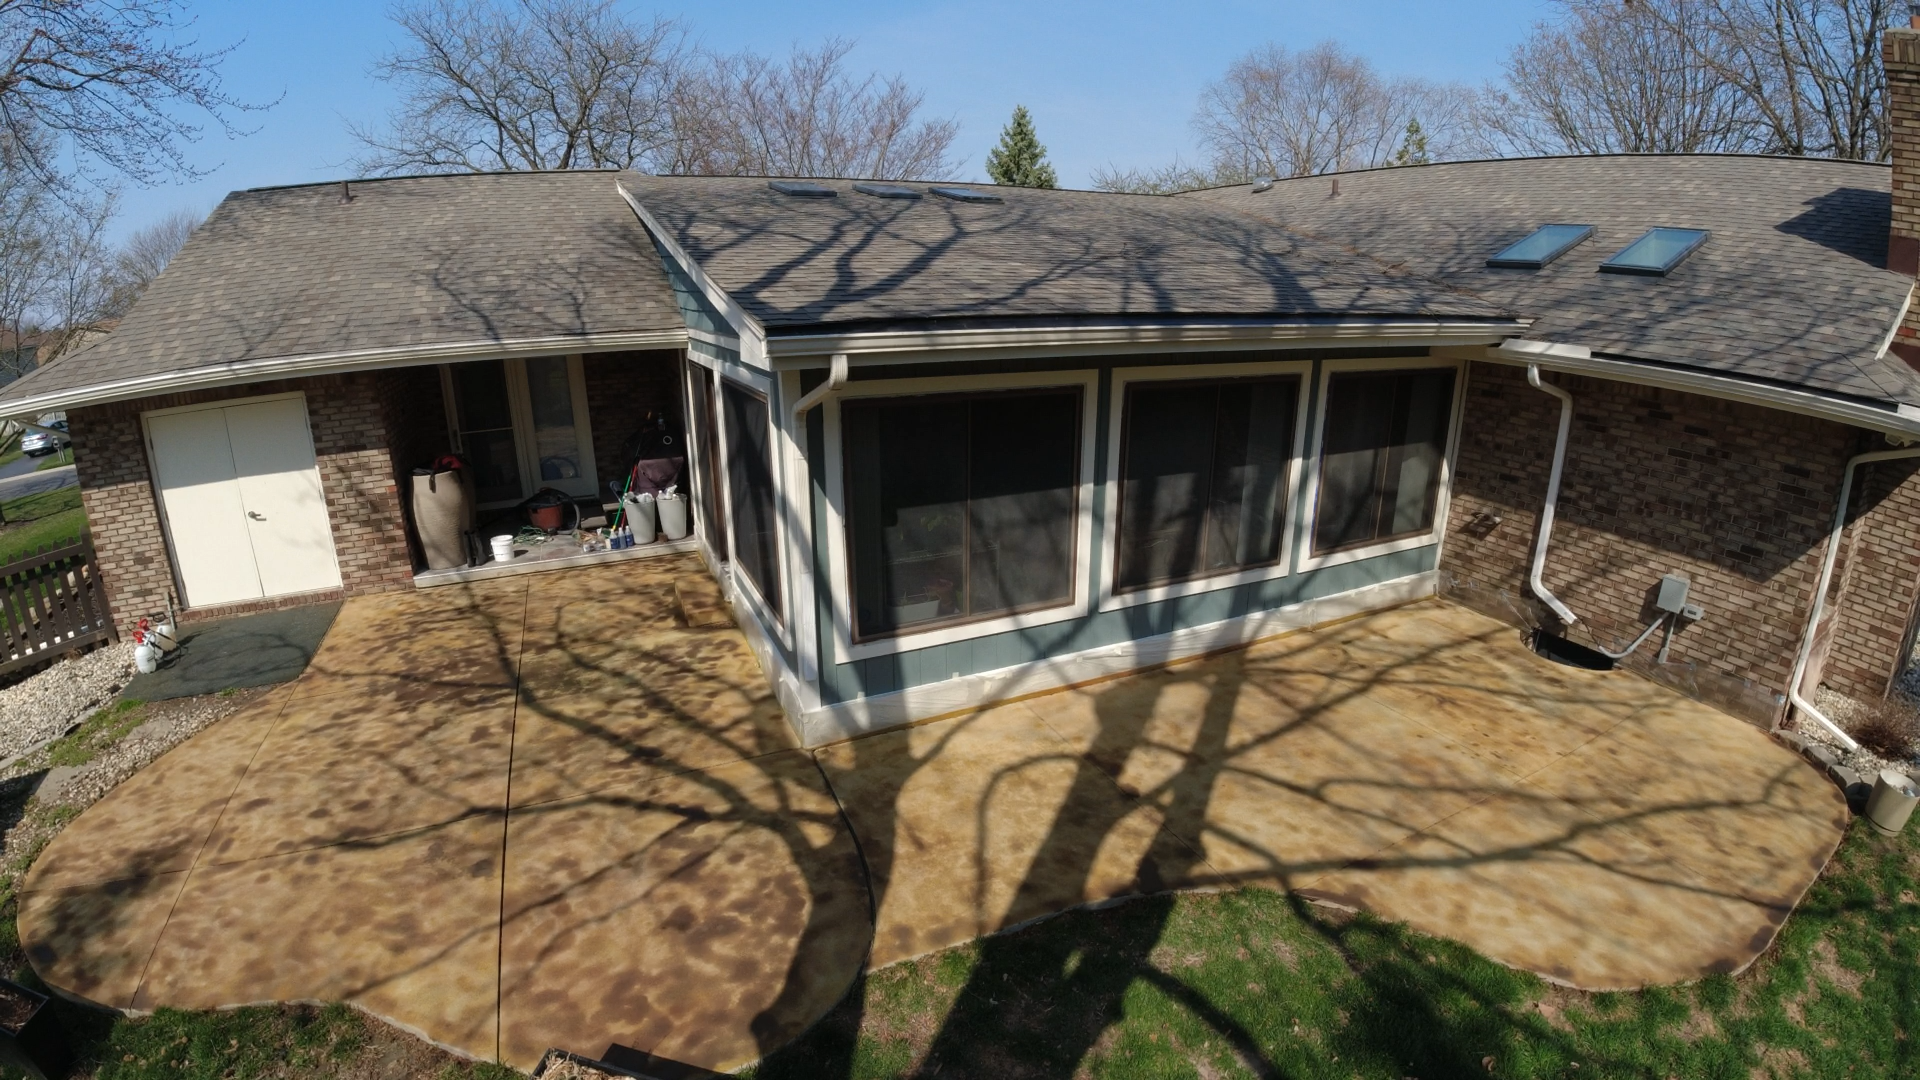
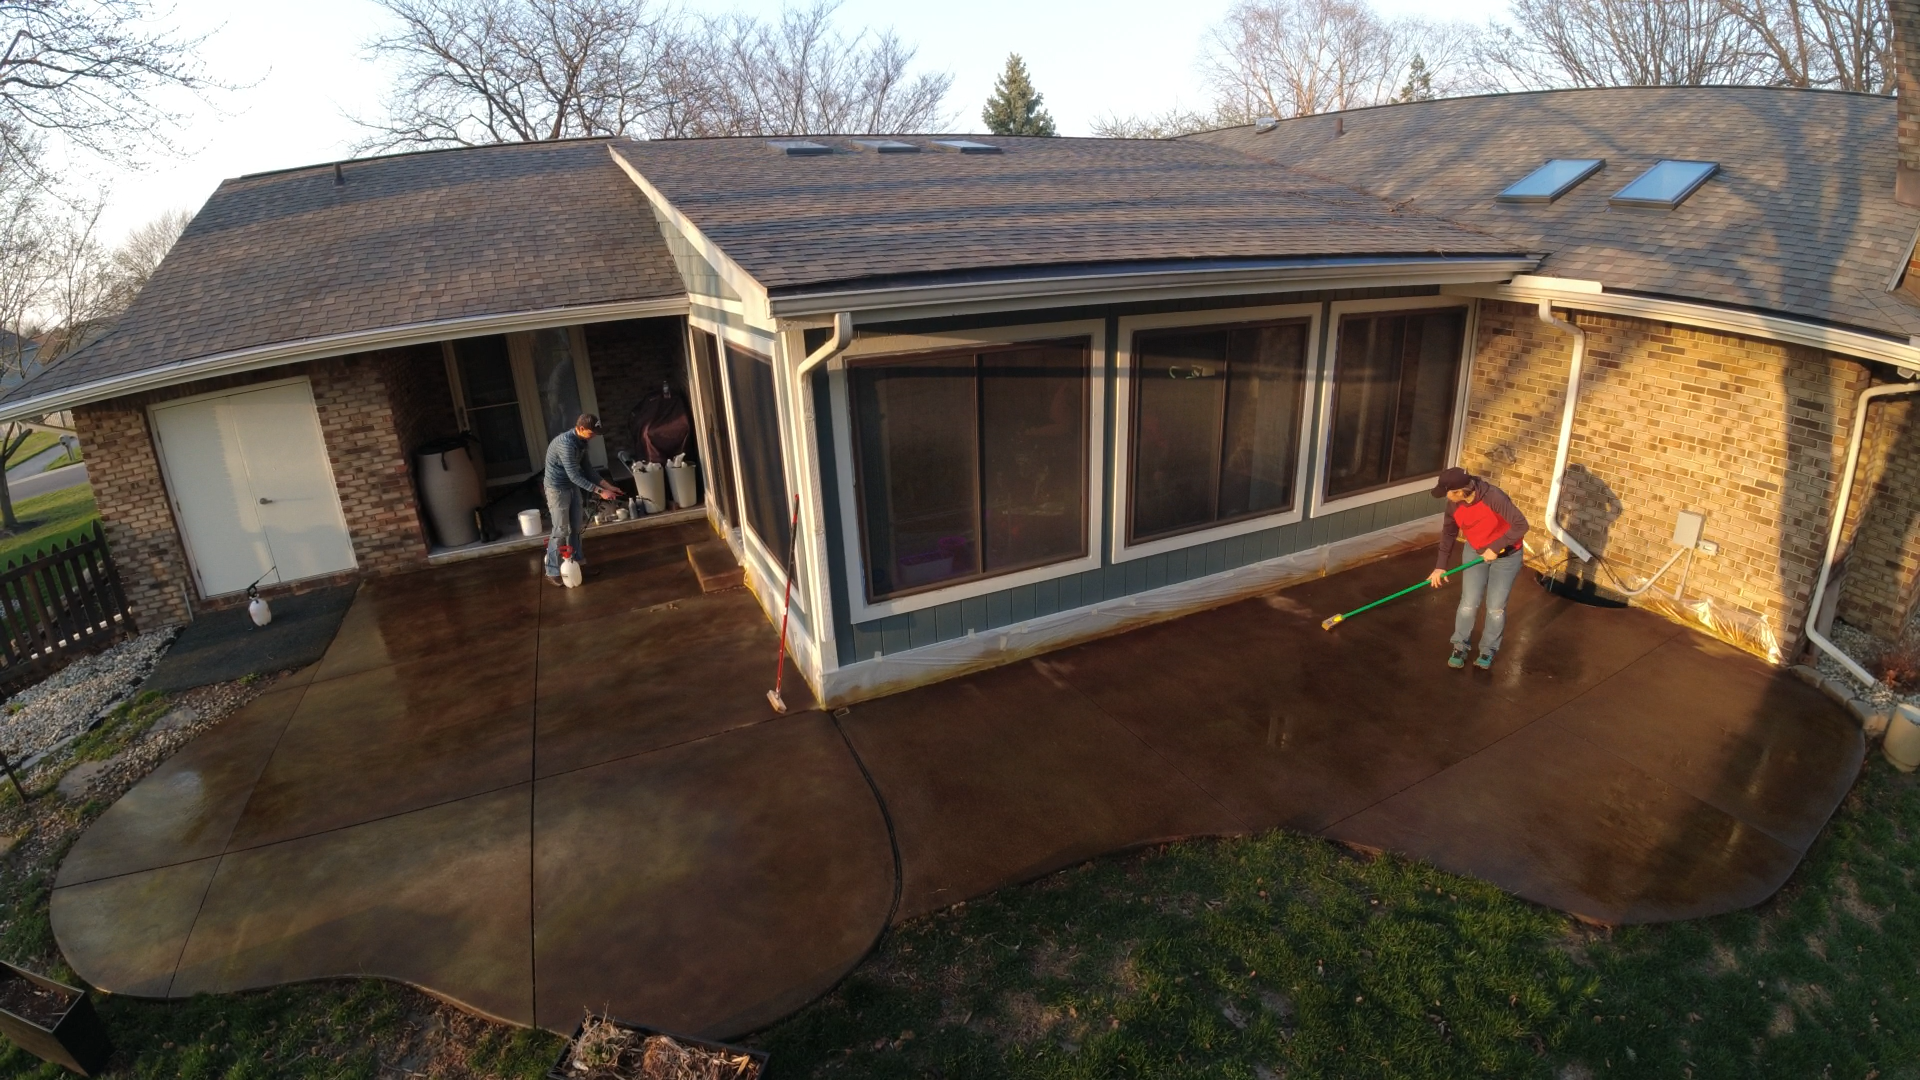
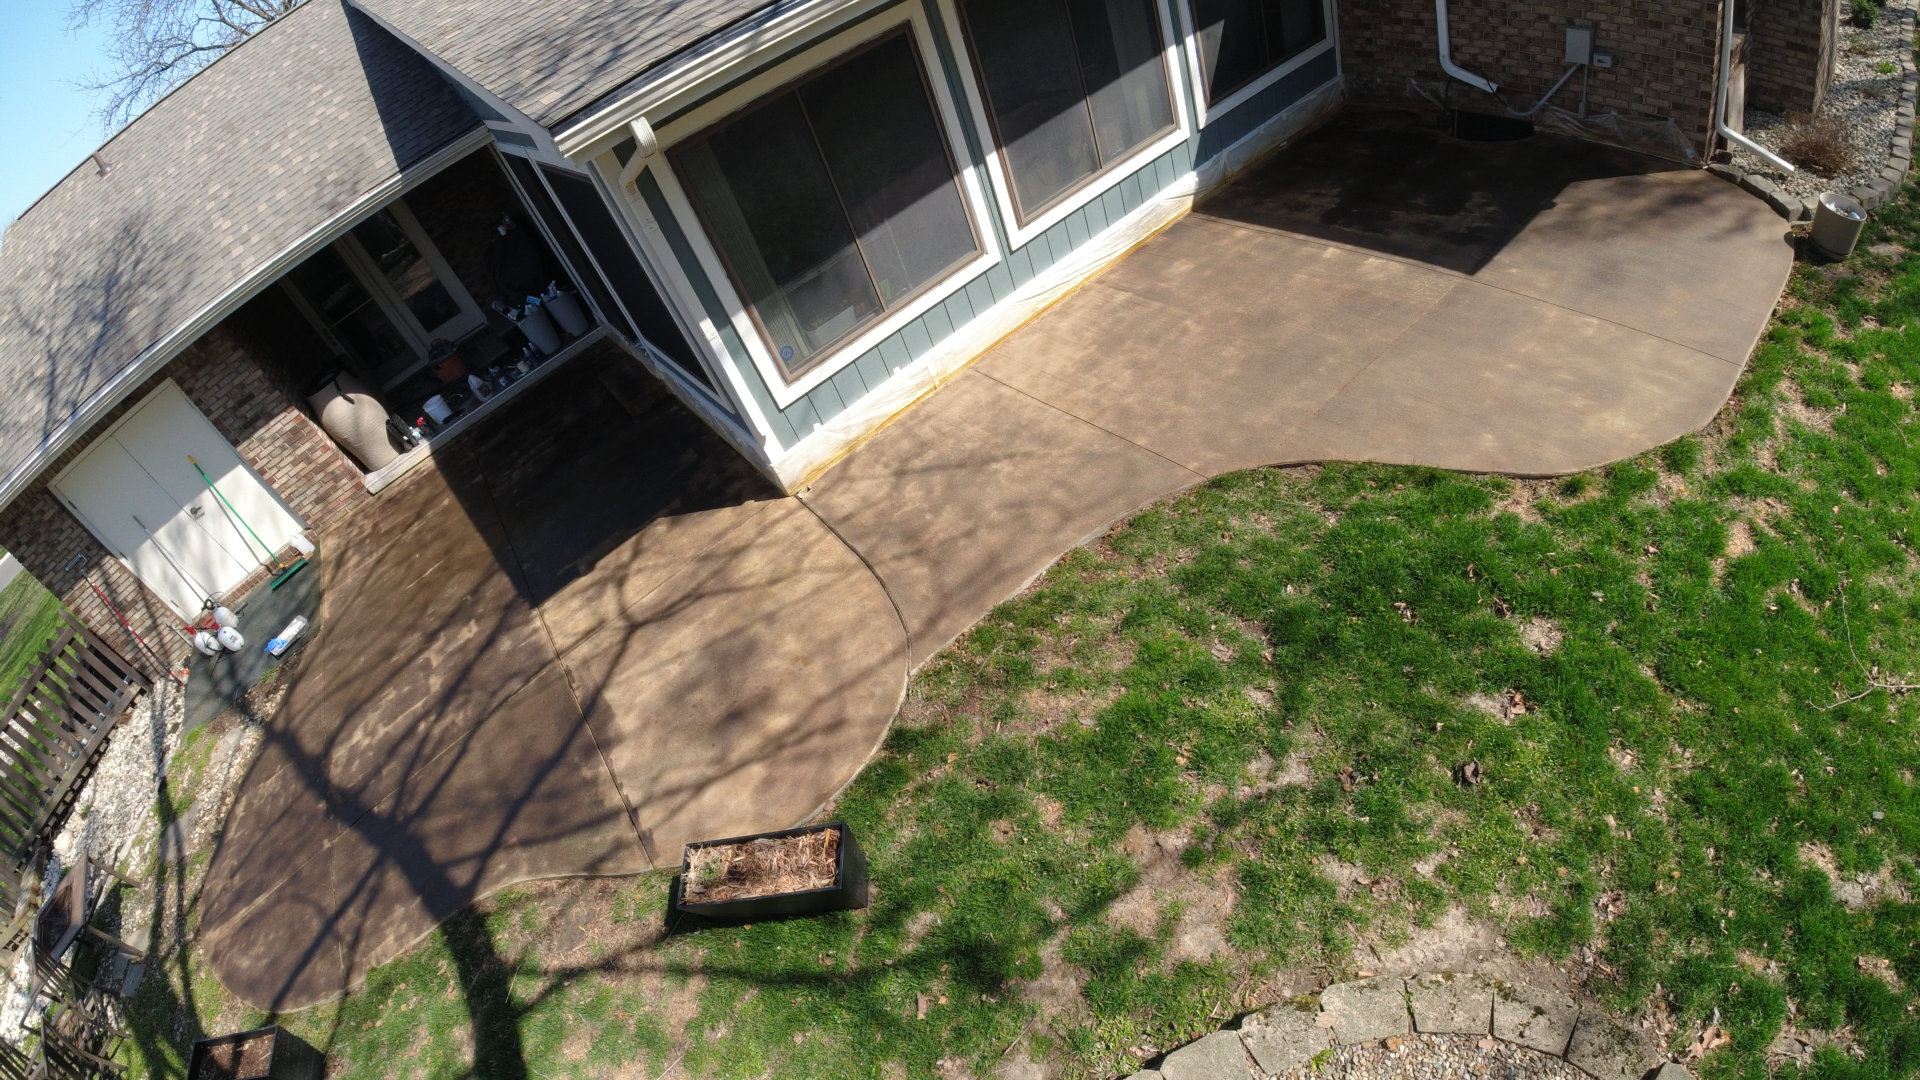
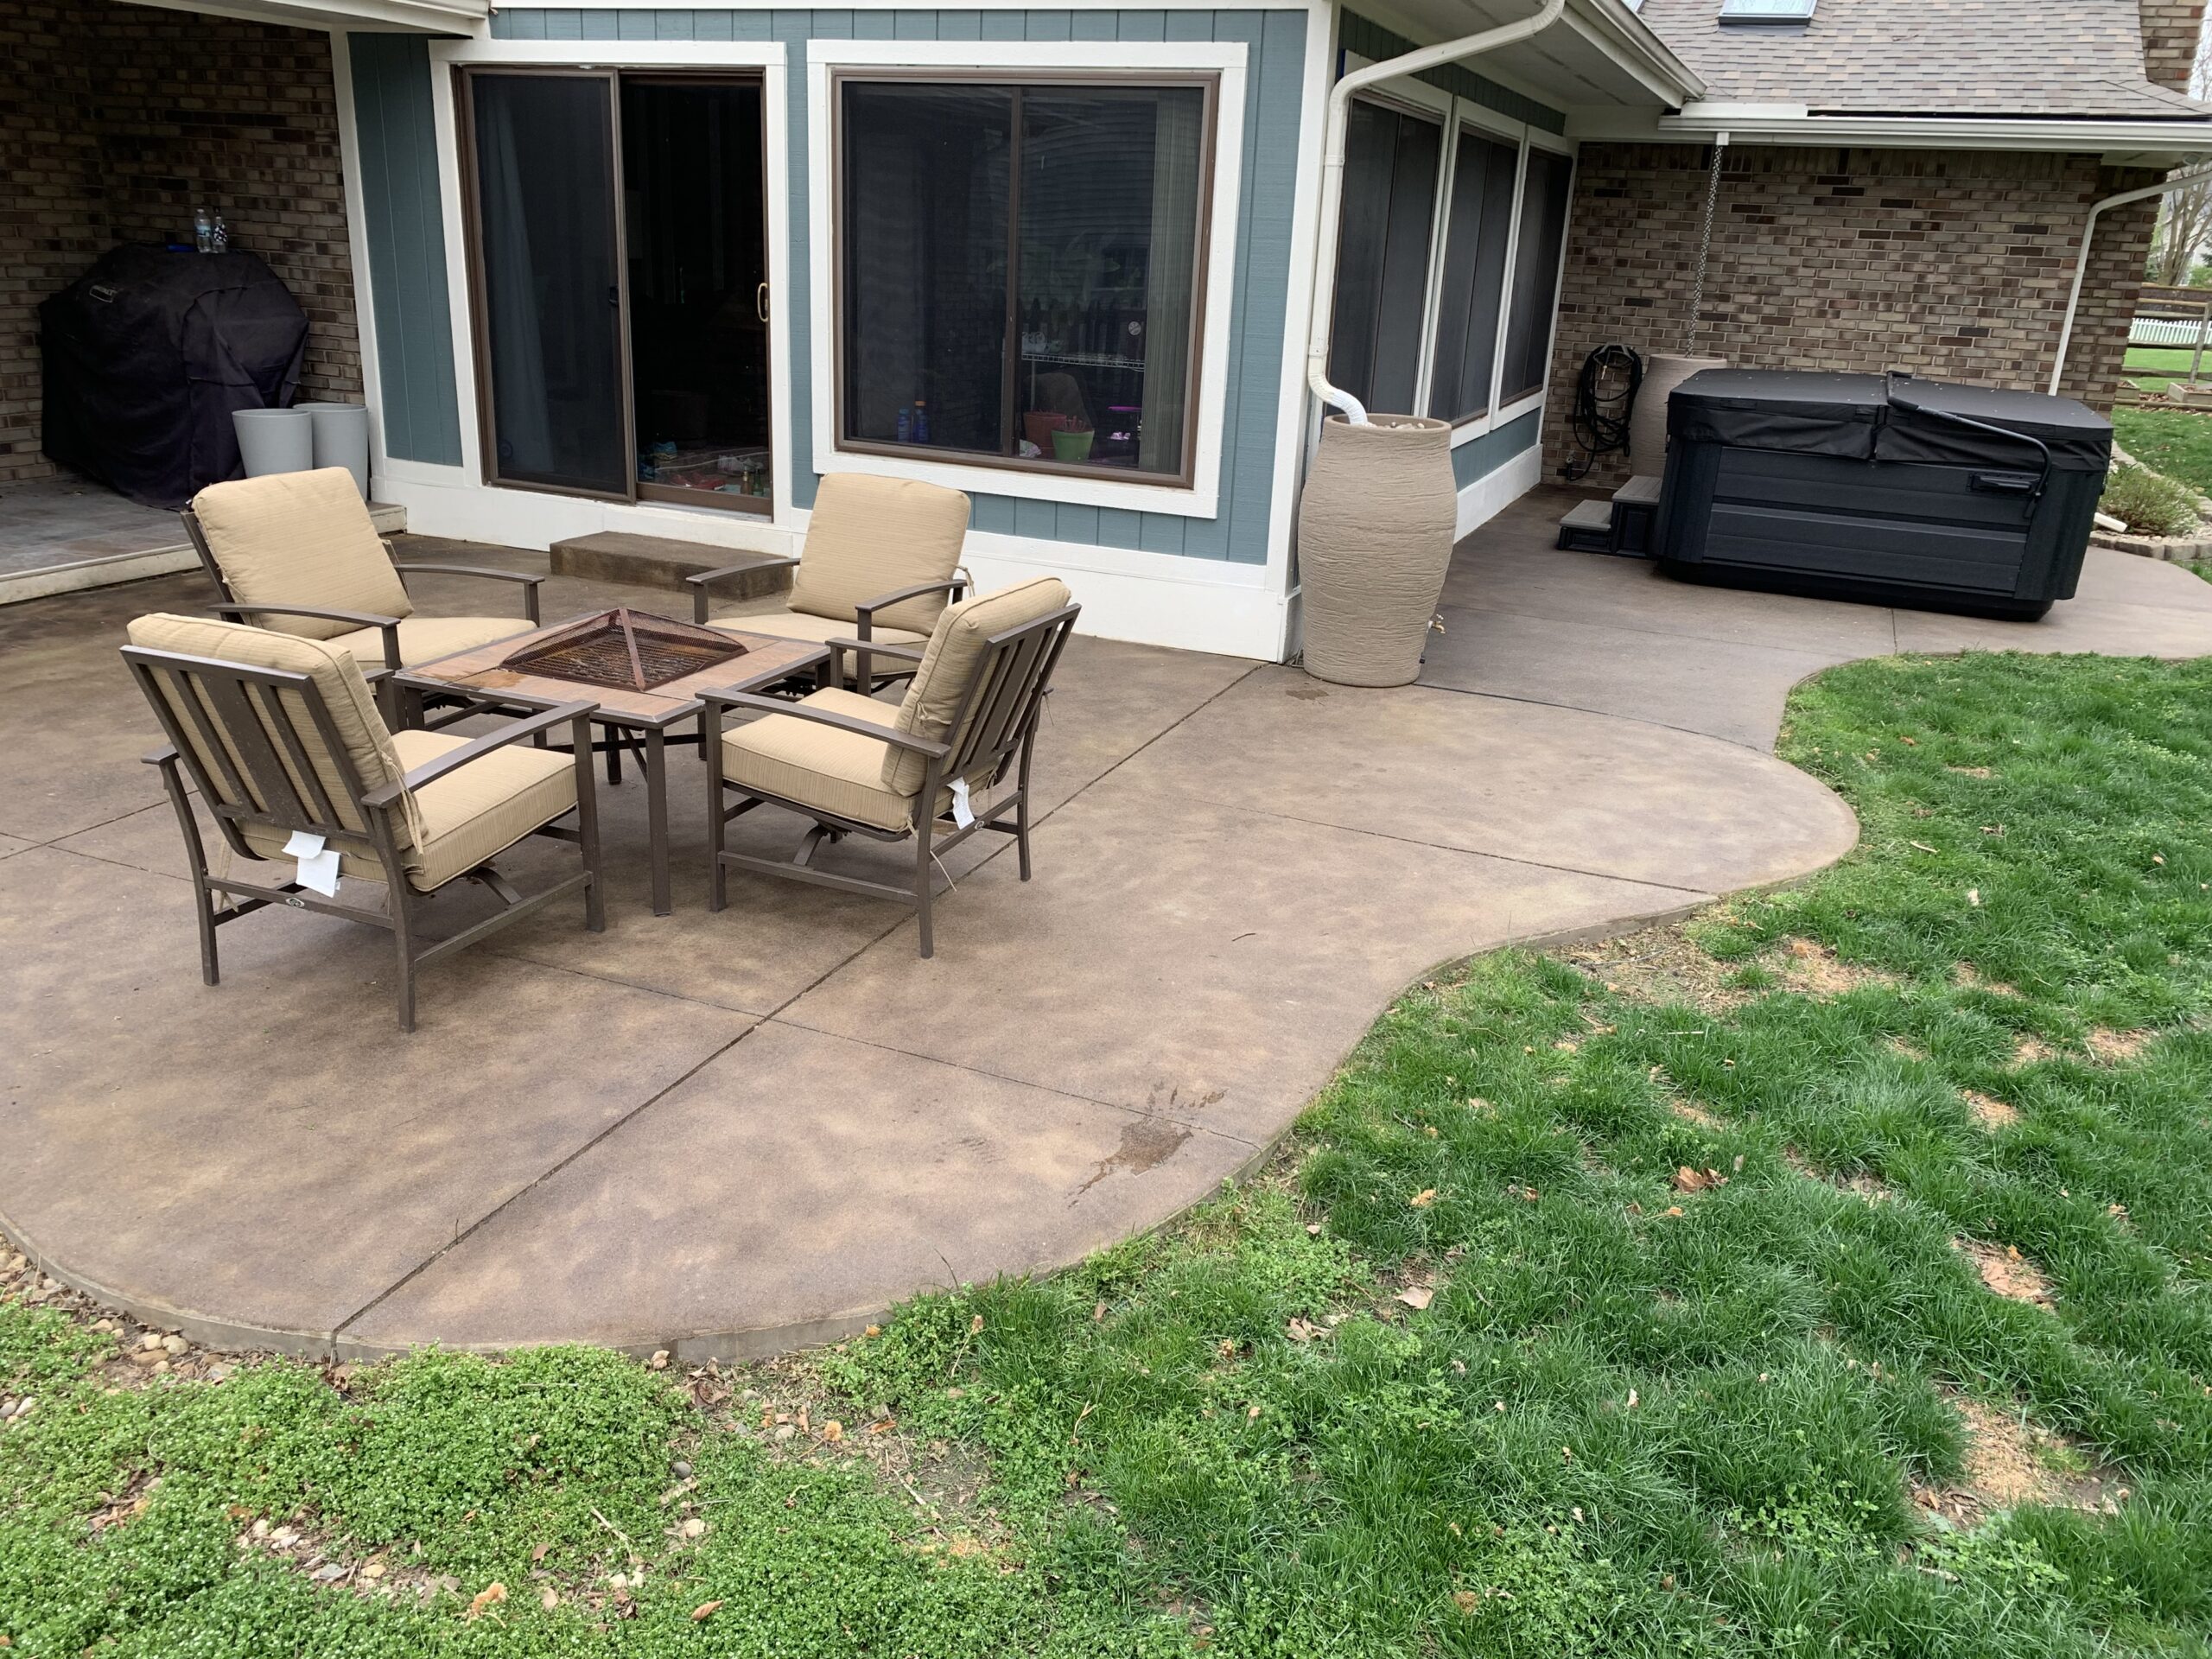
Many people fall in love with acid stain due to its notorious mottled look. On the contrary, this DC customer wanted more of a watercolor look for their concrete patio. Although they admittedly didn’t have time to order sample kits or hone their watercolor technique, we think this patio came out great!
Project Info:
- Project Completed In: 3 day(s)
- Estimate of Square Footage: 651 sq. ft.
- Project Description:
We wanted to add a little color to a raw exterior patio which was poured in two different pours, between 6 & 8 years ago. The patio only looked good for a day or two after each cleaning. After research, we decided Acid staining was our best option and decided on Direct Colors to get the product. - Personal Tips:
Try to give yourself enough time to order color samples, we did not as we were on a tight timeline with a new hot tub coming and the black was much browner than we expected.I wish we would have had a chance to hone the technique on test pieces, we wanted more of a watercolor blend but did too much overlapping of the colors and the blues didn’t show through as much as we thought they would. We were really worried about getting a marble effect and not what we were looking for.Having a second person really helps with all steps of the processWe made some DIY spike shoes with 1/2″ tek screws into the bottom of old running shoes, these seemed to work much better than the spike shoes on offer as they fit our feet better and were easier to walk in.We had a pump sprayer for each color we were using so we could easily blend colors. - Direct Colors Products Used:
Acid Stain in 3 colors and sealer purchased in kits, order number 114542
Other Products Used:
Power washer
DIY and borrowed pair of spike shoes
Pump Sprayer x3
Scrub brushes
Squeegee
masking tape and plastic to protect the house
PPE – gloves & safety glasses
1/2″ Nap Roller
