Concrete Etching Gone Wrong (and How to Fix It)
Avoiding Common Mistakes Before They Cost You Time (and Sanity)
Real Stories. Real Fixes. Real Results.
By Justin Richardson
Common Mistake #1: Etching Over Dust
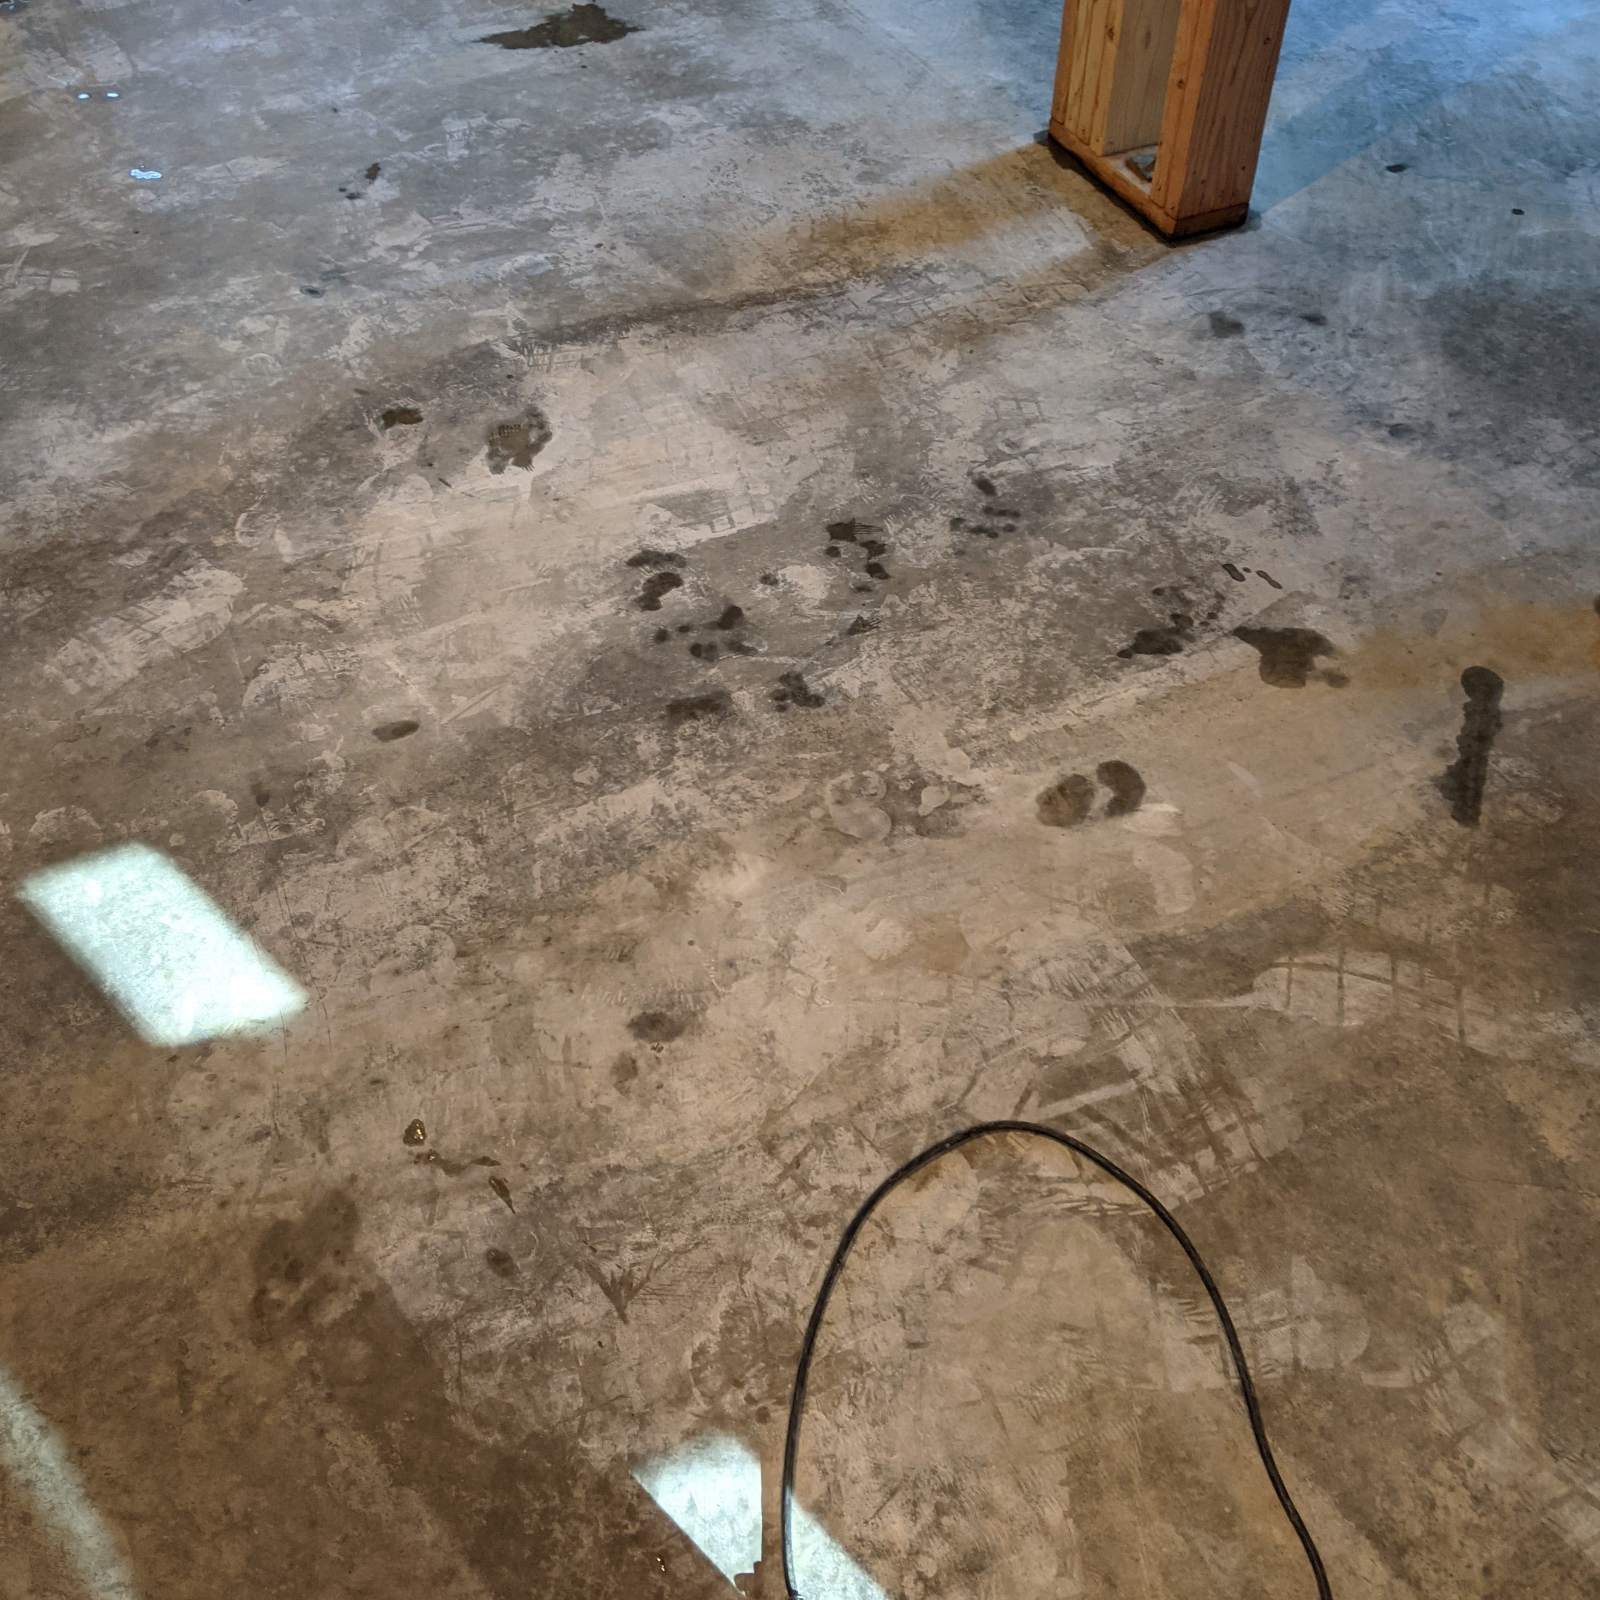
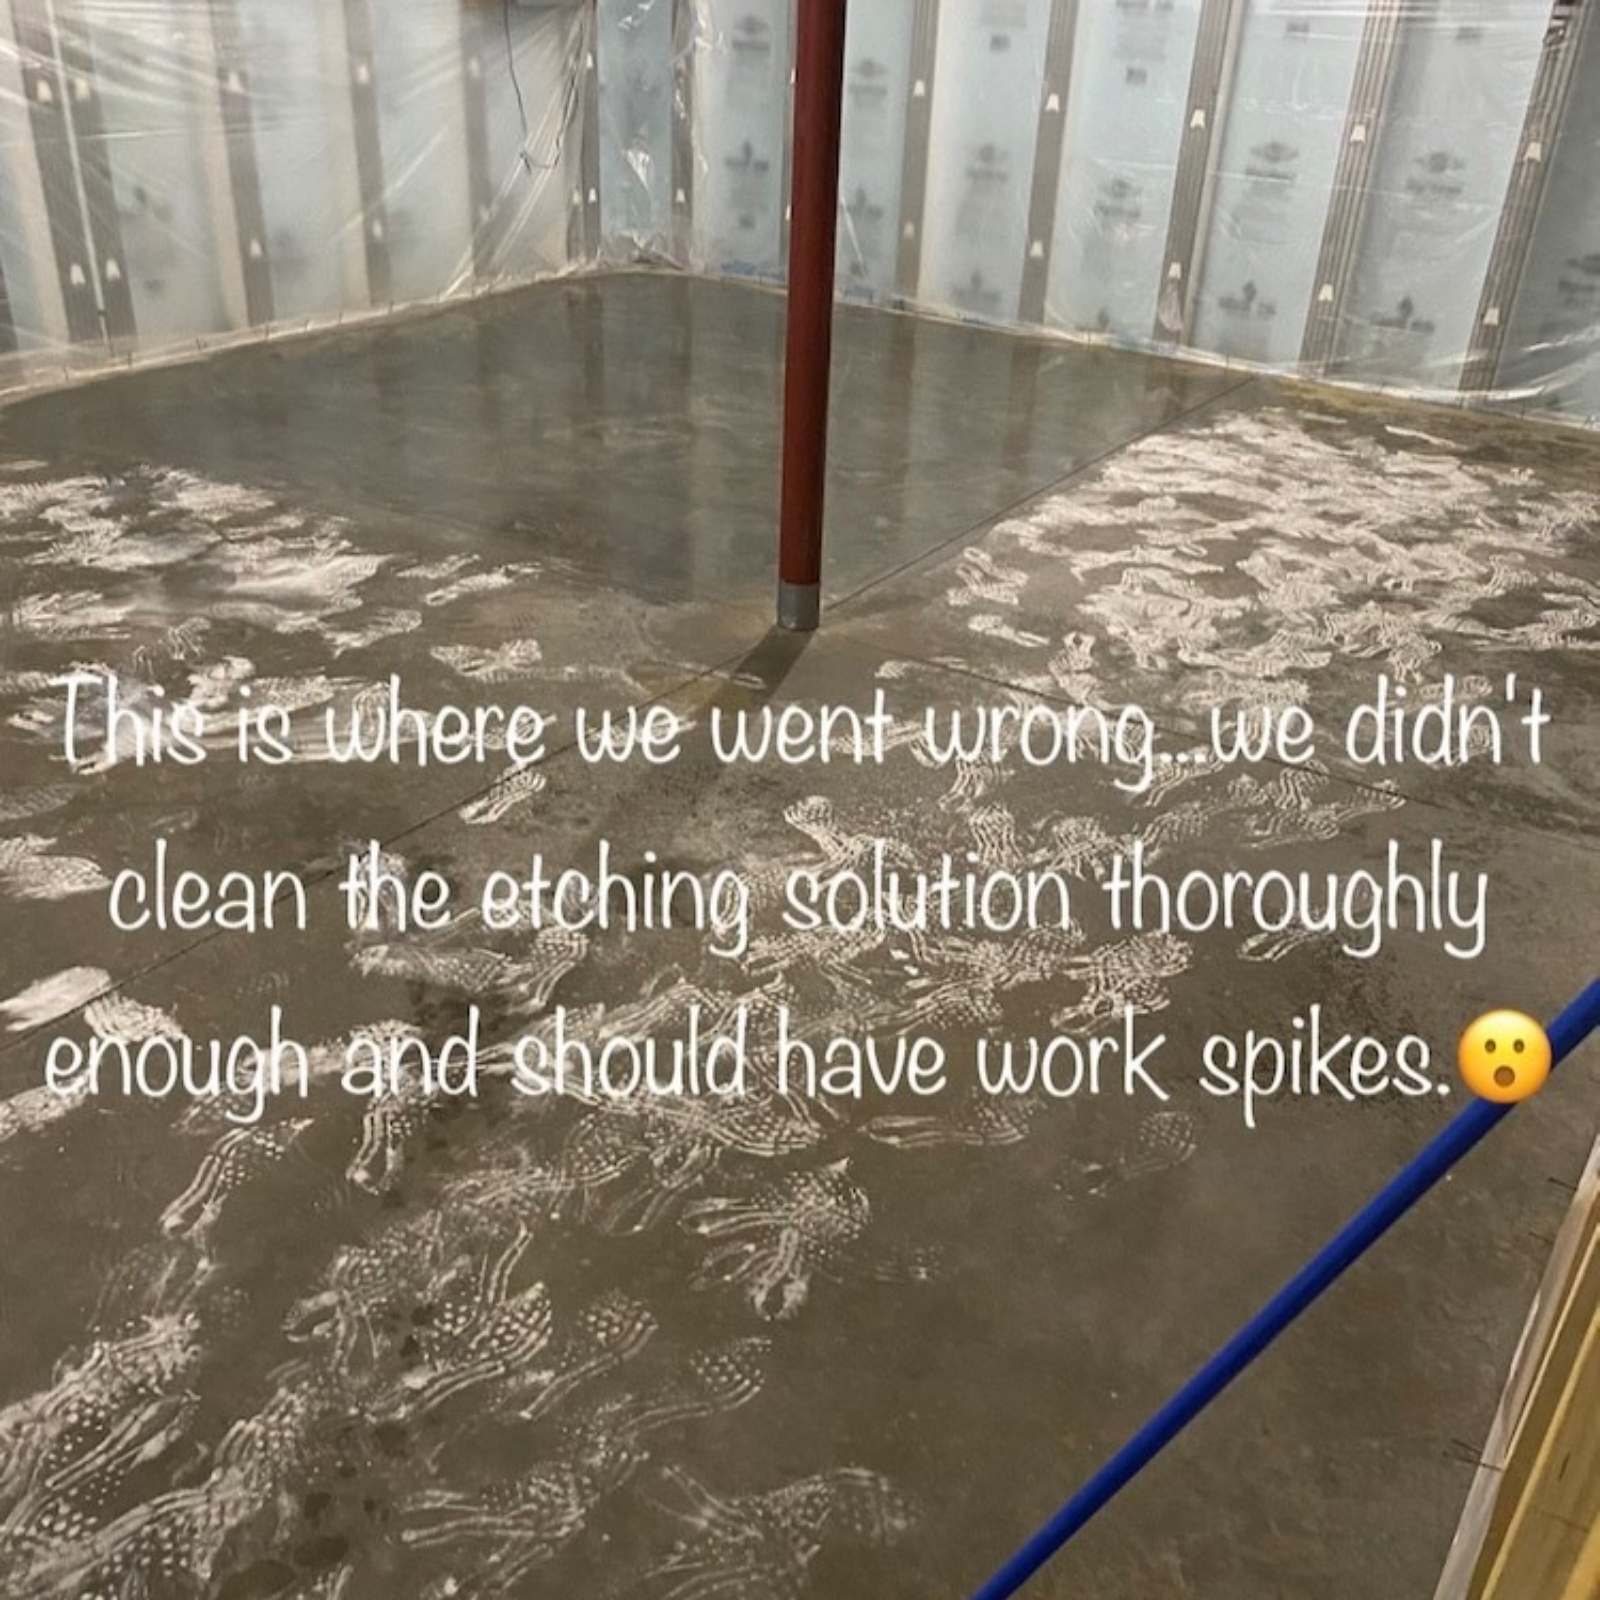
Eric’s 1,400 sq. ft. basement project was going great—until he realized his concrete grinding dust had made a comeback. After etching, ghost-like footprints appeared all over the floor, permanently embedded in the surface.


What Went Wrong:
- Grinding created fine dust.
- Dust was tracked unknowingly across the slab.
- Etching chemically reacted with that dust — locking in the footprints.
How He Fixed It:
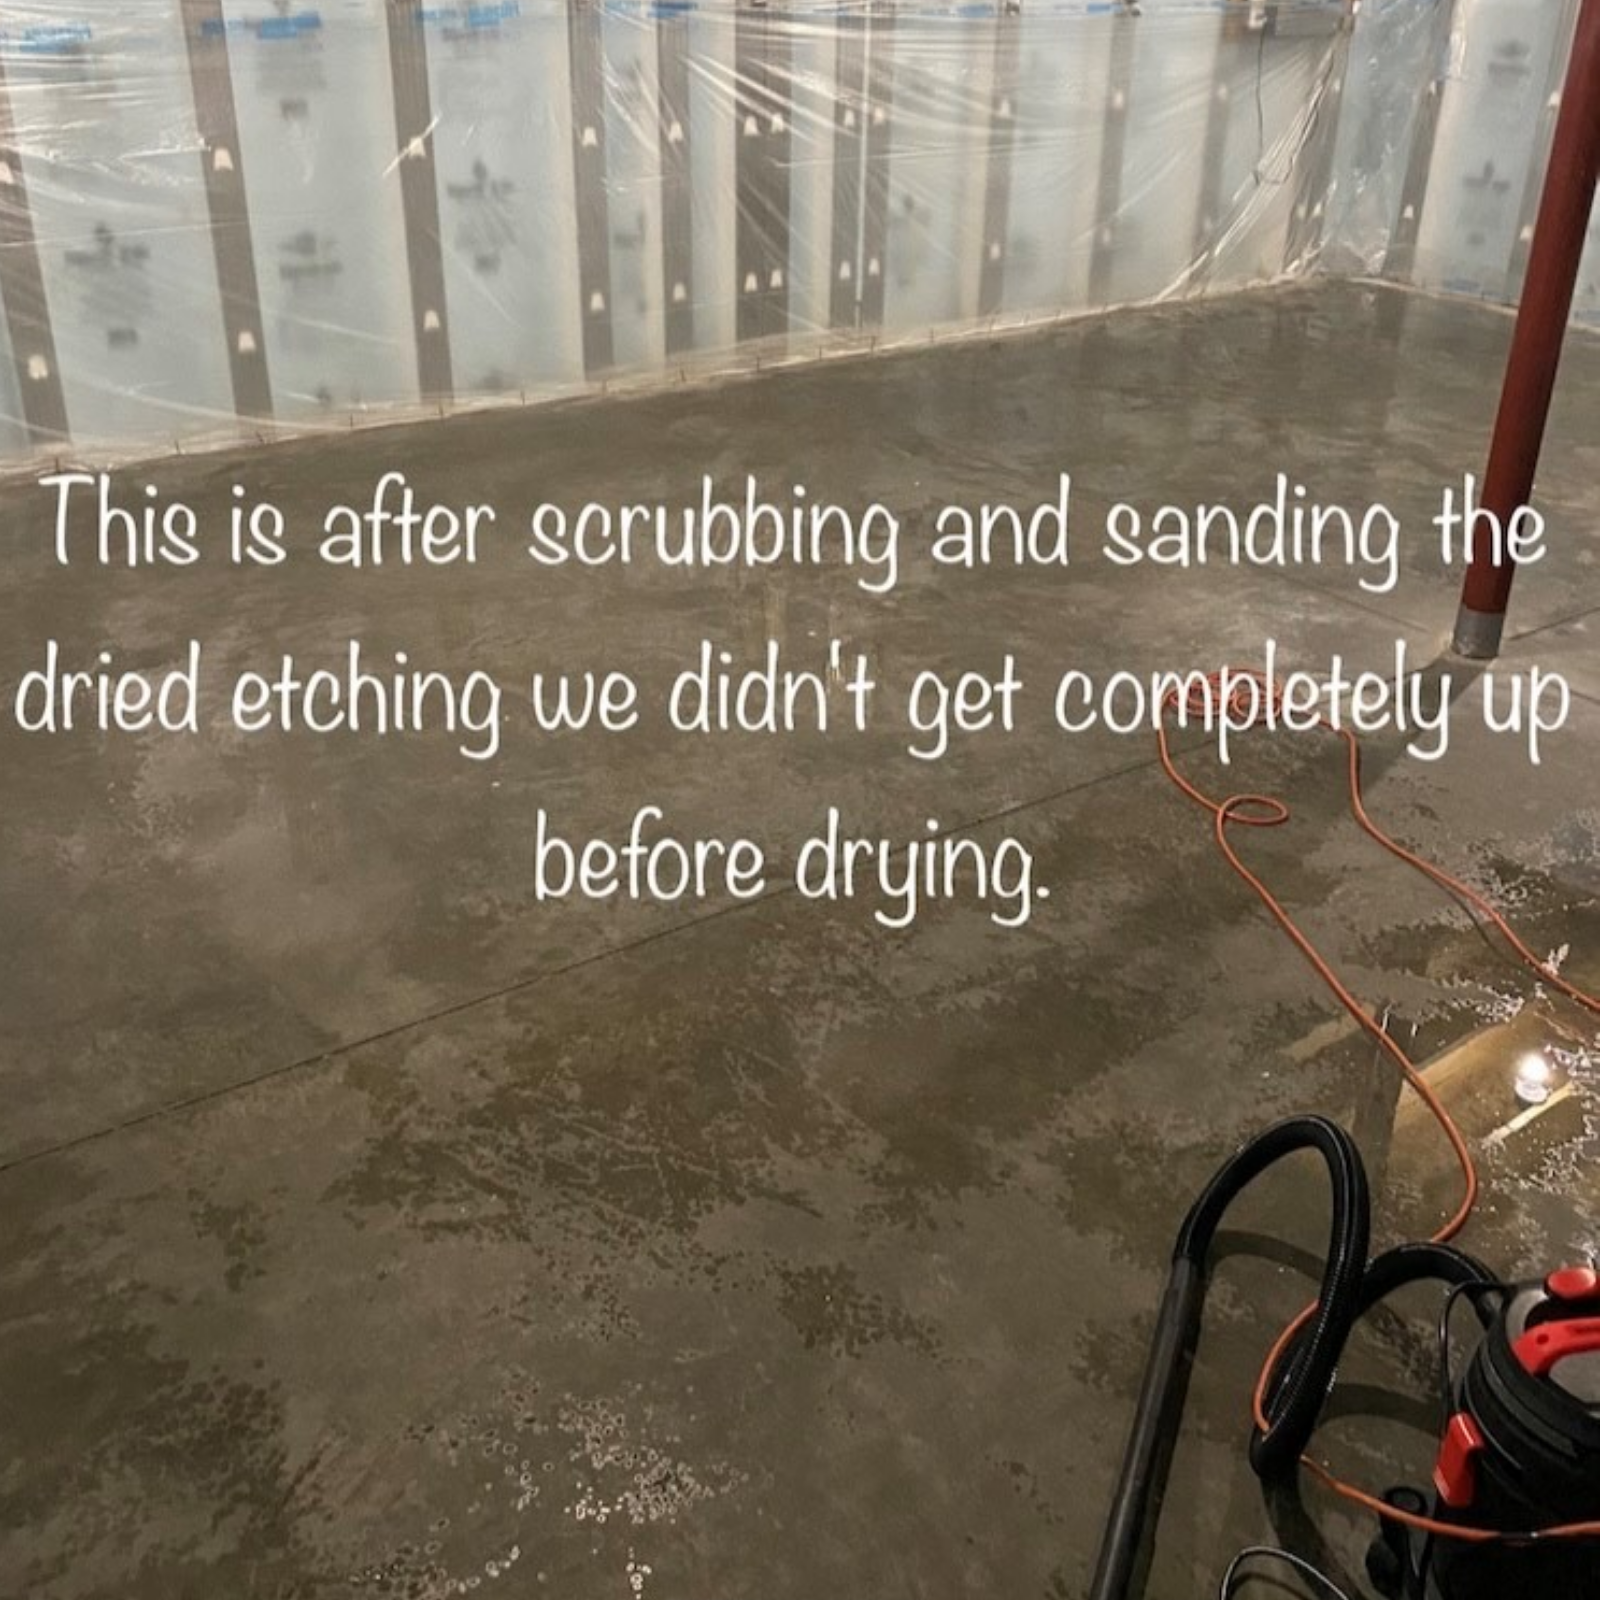
- Tried sanding – effective, but slow and messy.
- Rented a floor scrubber – ultimately removed the etch marks after 4 passes and 8 hours of work.
Common Mistake #2: No Spiked Shoes on Etching Day
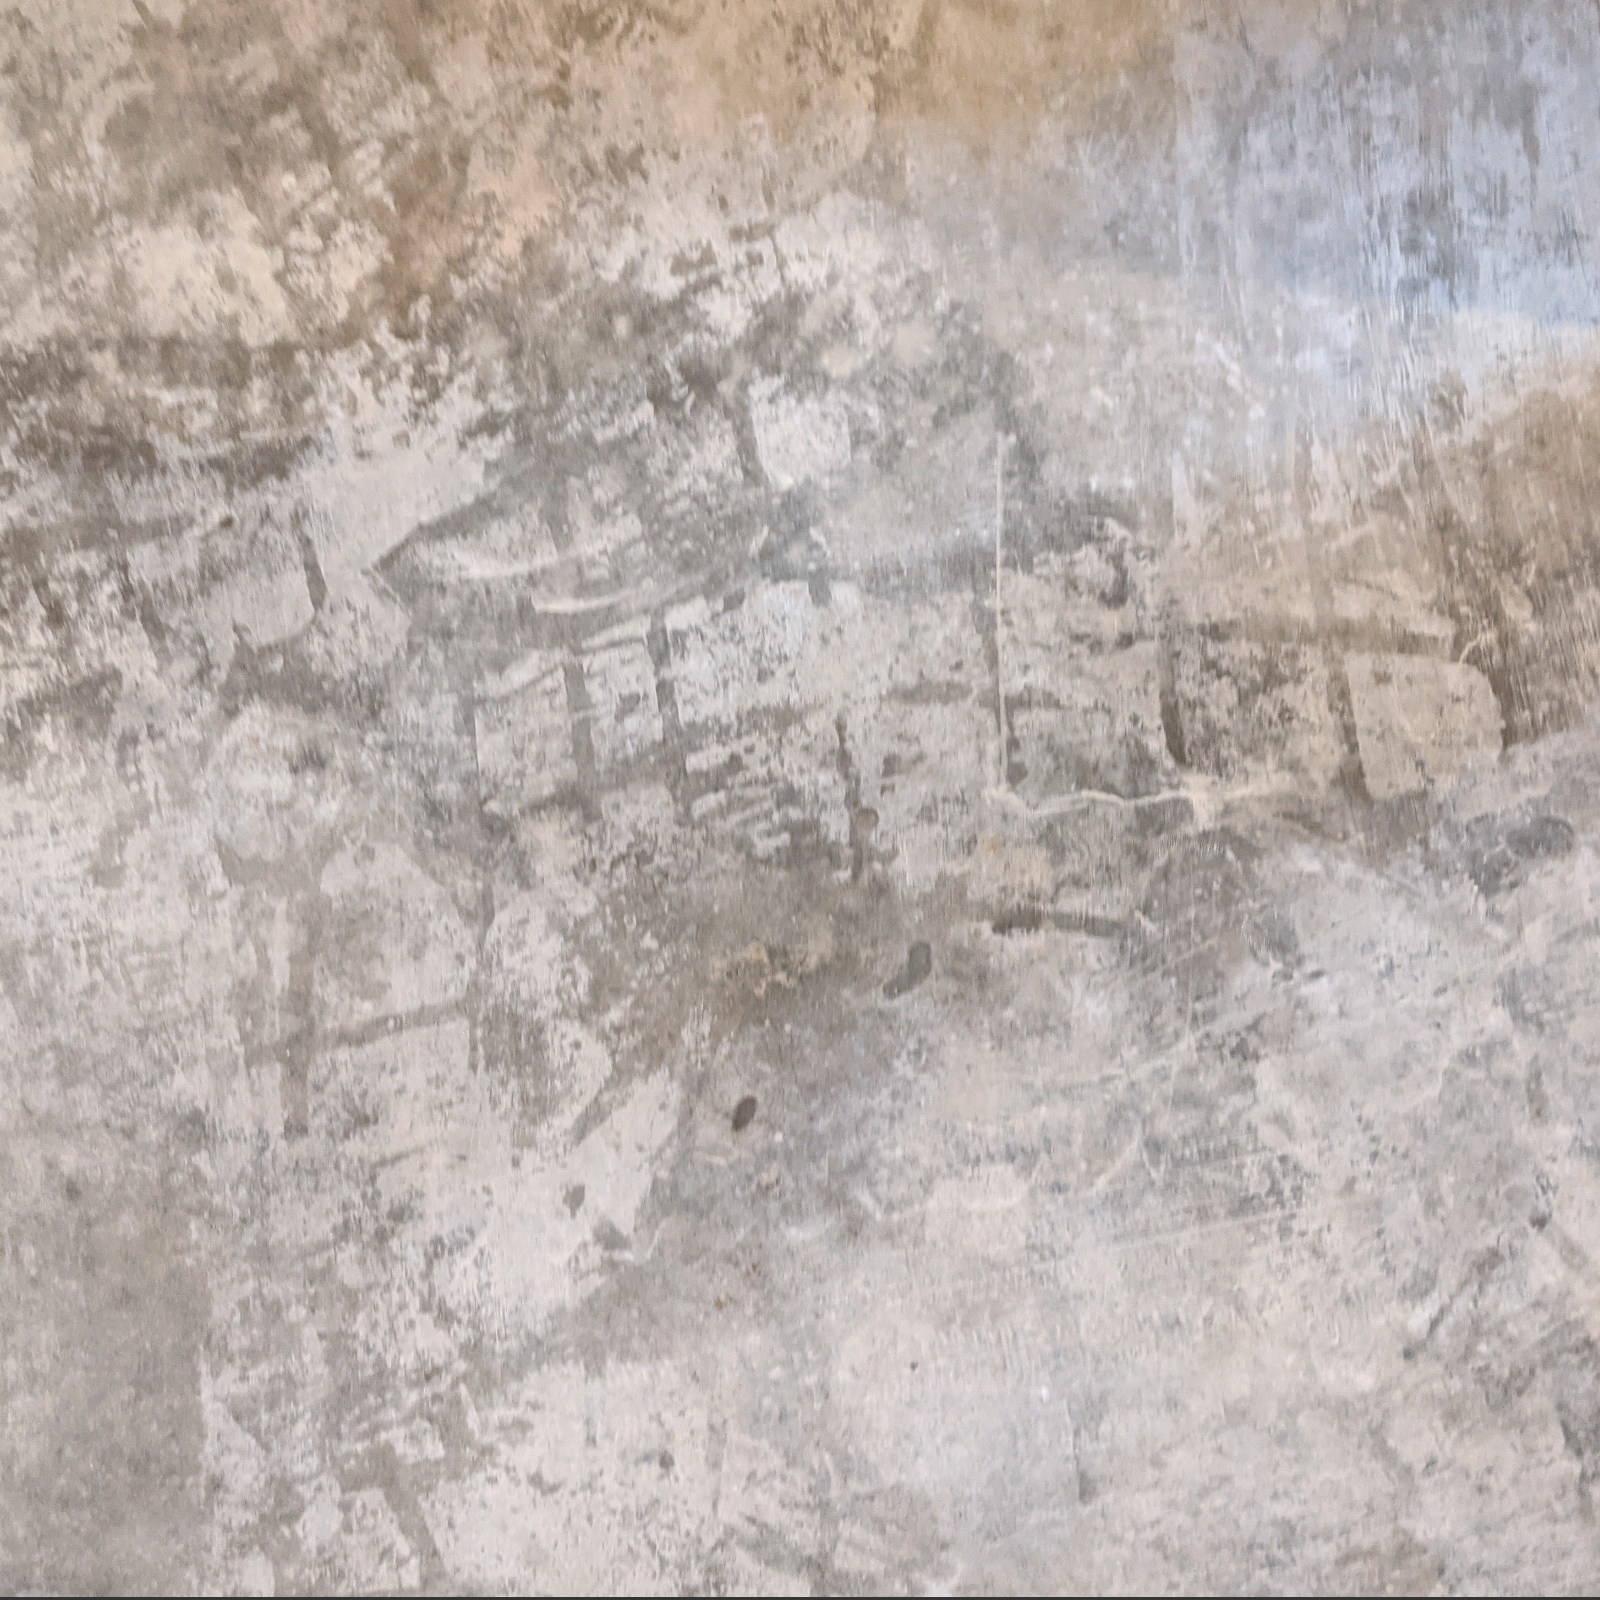
Another customer etching a machine-troweled slab made a classic mistake: no spiked shoes. The result? A perfectly etched floor — with etched footprints stamped into the finish.


What Went Wrong:
- The concrete slab was machine-troweled, leaving it very smooth and dense.
- Walking on the surface during etching — without spiked shoes — caused compressed areas.
- Those areas etched deeper than the rest of the floor, leaving behind visible footprints once the solution dried.
Why Spiked Shoes Matter So Much
Whether you’re working in a basement or garage, spiked shoes prevent your feet from pressing into the soft, reactive surface. They keep the contact area minimal and protect your floor from accidental marks.
Final Tips to Avoid Etching Disasters
Before Etching:
- Do a water test — if water beads on the surface, you must etch.
- Vacuum and scrub thoroughly after any grinding or patching.
- Section off dirty work areas (like bathrooms) with tarps or plastic sheeting.
During Etching:
- Wear spiked shoes — no exceptions.
- Apply etch evenly using a pump sprayer.
- Watch for fizzing — that’s the chemical reaction in action.
After Etching:
- Neutralize completely — use a proper neutralizer.
- Rinse and scrub again to remove any residue.
- Let the concrete dry fully (24–48 hrs) before staining or sealing.
Products That Help You Get It Right
- CitrusEtch™ Concrete Etcher – Designed for dense, smooth concrete
- ProClean Neutralizer™ – Quick, effective neutralization without heavy cleanup
- Spiked Shoes – Skip the frustration and footprints
- Acid Stain Trial Kits – Test before you commit
- High Solids Quality Sealer & Floor Wax – Lock in color and protect your results
The Bottom Line
Concrete etching isn’t hard — but it’s unforgiving if you skip steps. With proper prep, clean tools, and protective gear, you can avoid common issues and get a finish you’re proud of.


