Acid Stain Concrete Basement Floor: How to Add Color and Character to Your Space
By Kimberly Raley
Acid staining your concrete basement floor is a great way to add color and character to your space. In this blog post, we will share our experience on how we acid stained our concrete basement floor for the second time. We’ve learned a lot from our first DIY project and we made sure to avoid the mistakes we made the first time around. We were able to complete the project in about a week, working on it in between our work schedule and allowing for drying time. We were able to save some money by reusing materials from our first project such as the sealer, wax, and spiked shoes, and only had to purchase new items like the acid stain, etching solution, and cleaning products. Join us as we guide you through the process of acid staining your concrete basement floor.
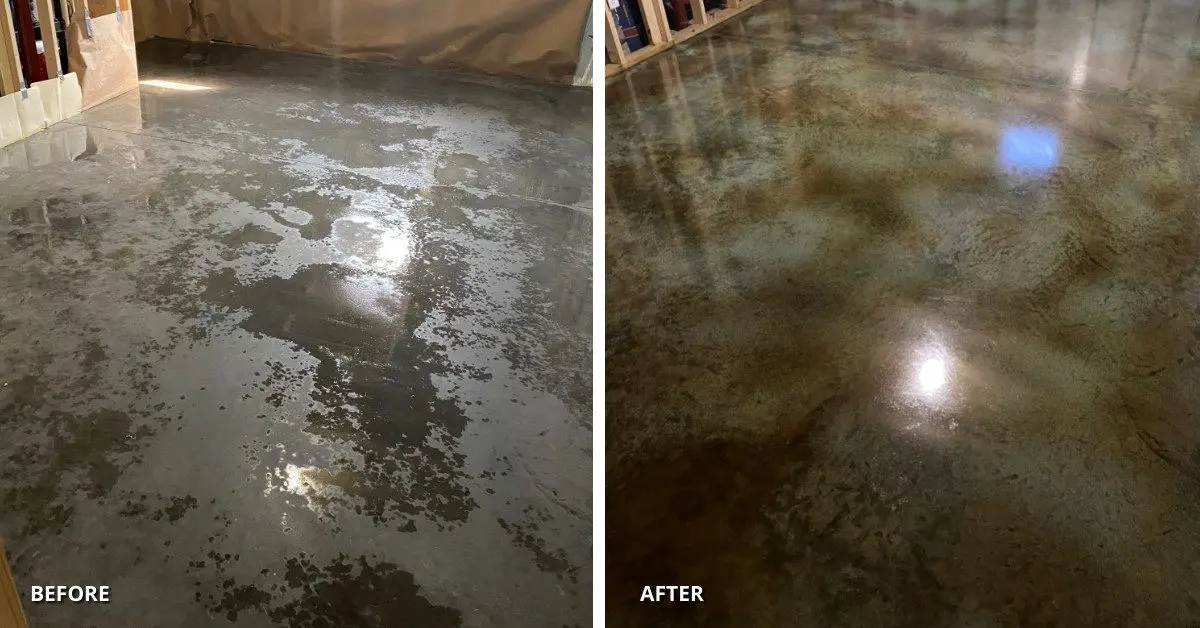
Step 1: Prepare Concrete Floor
The first step in acid staining your concrete basement floor is to prepare the surface.
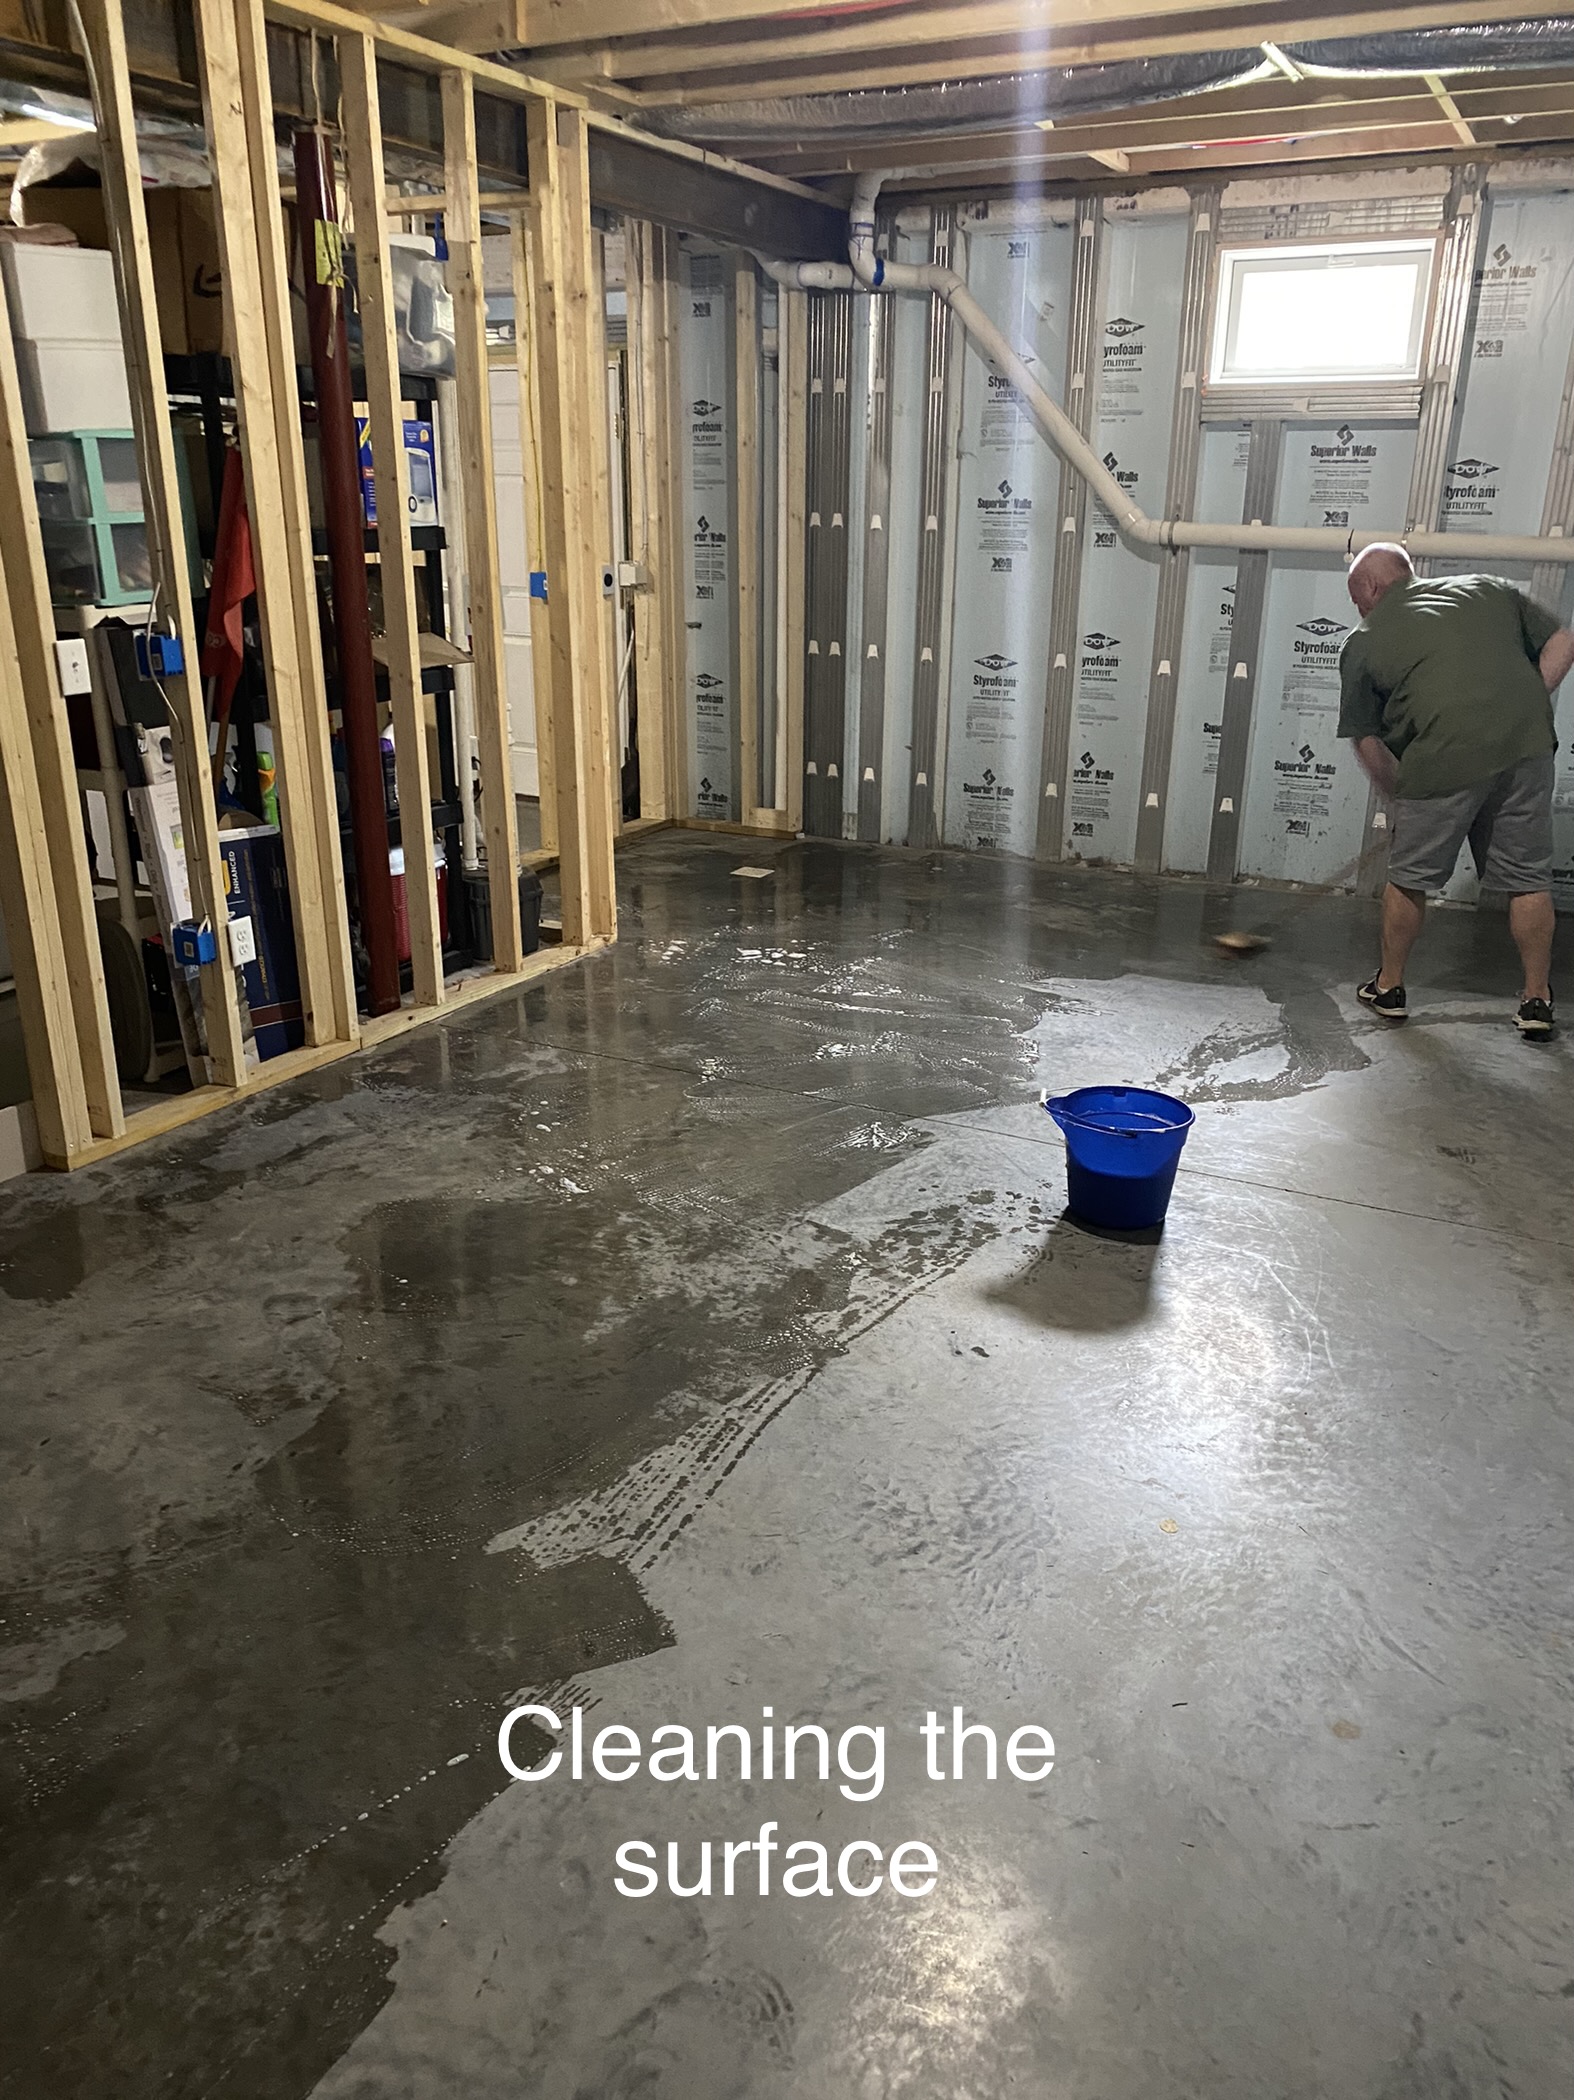
1. Clean the surface: Use a shop vac or sweep and mop the floors with a concrete cleaner and degreaser.
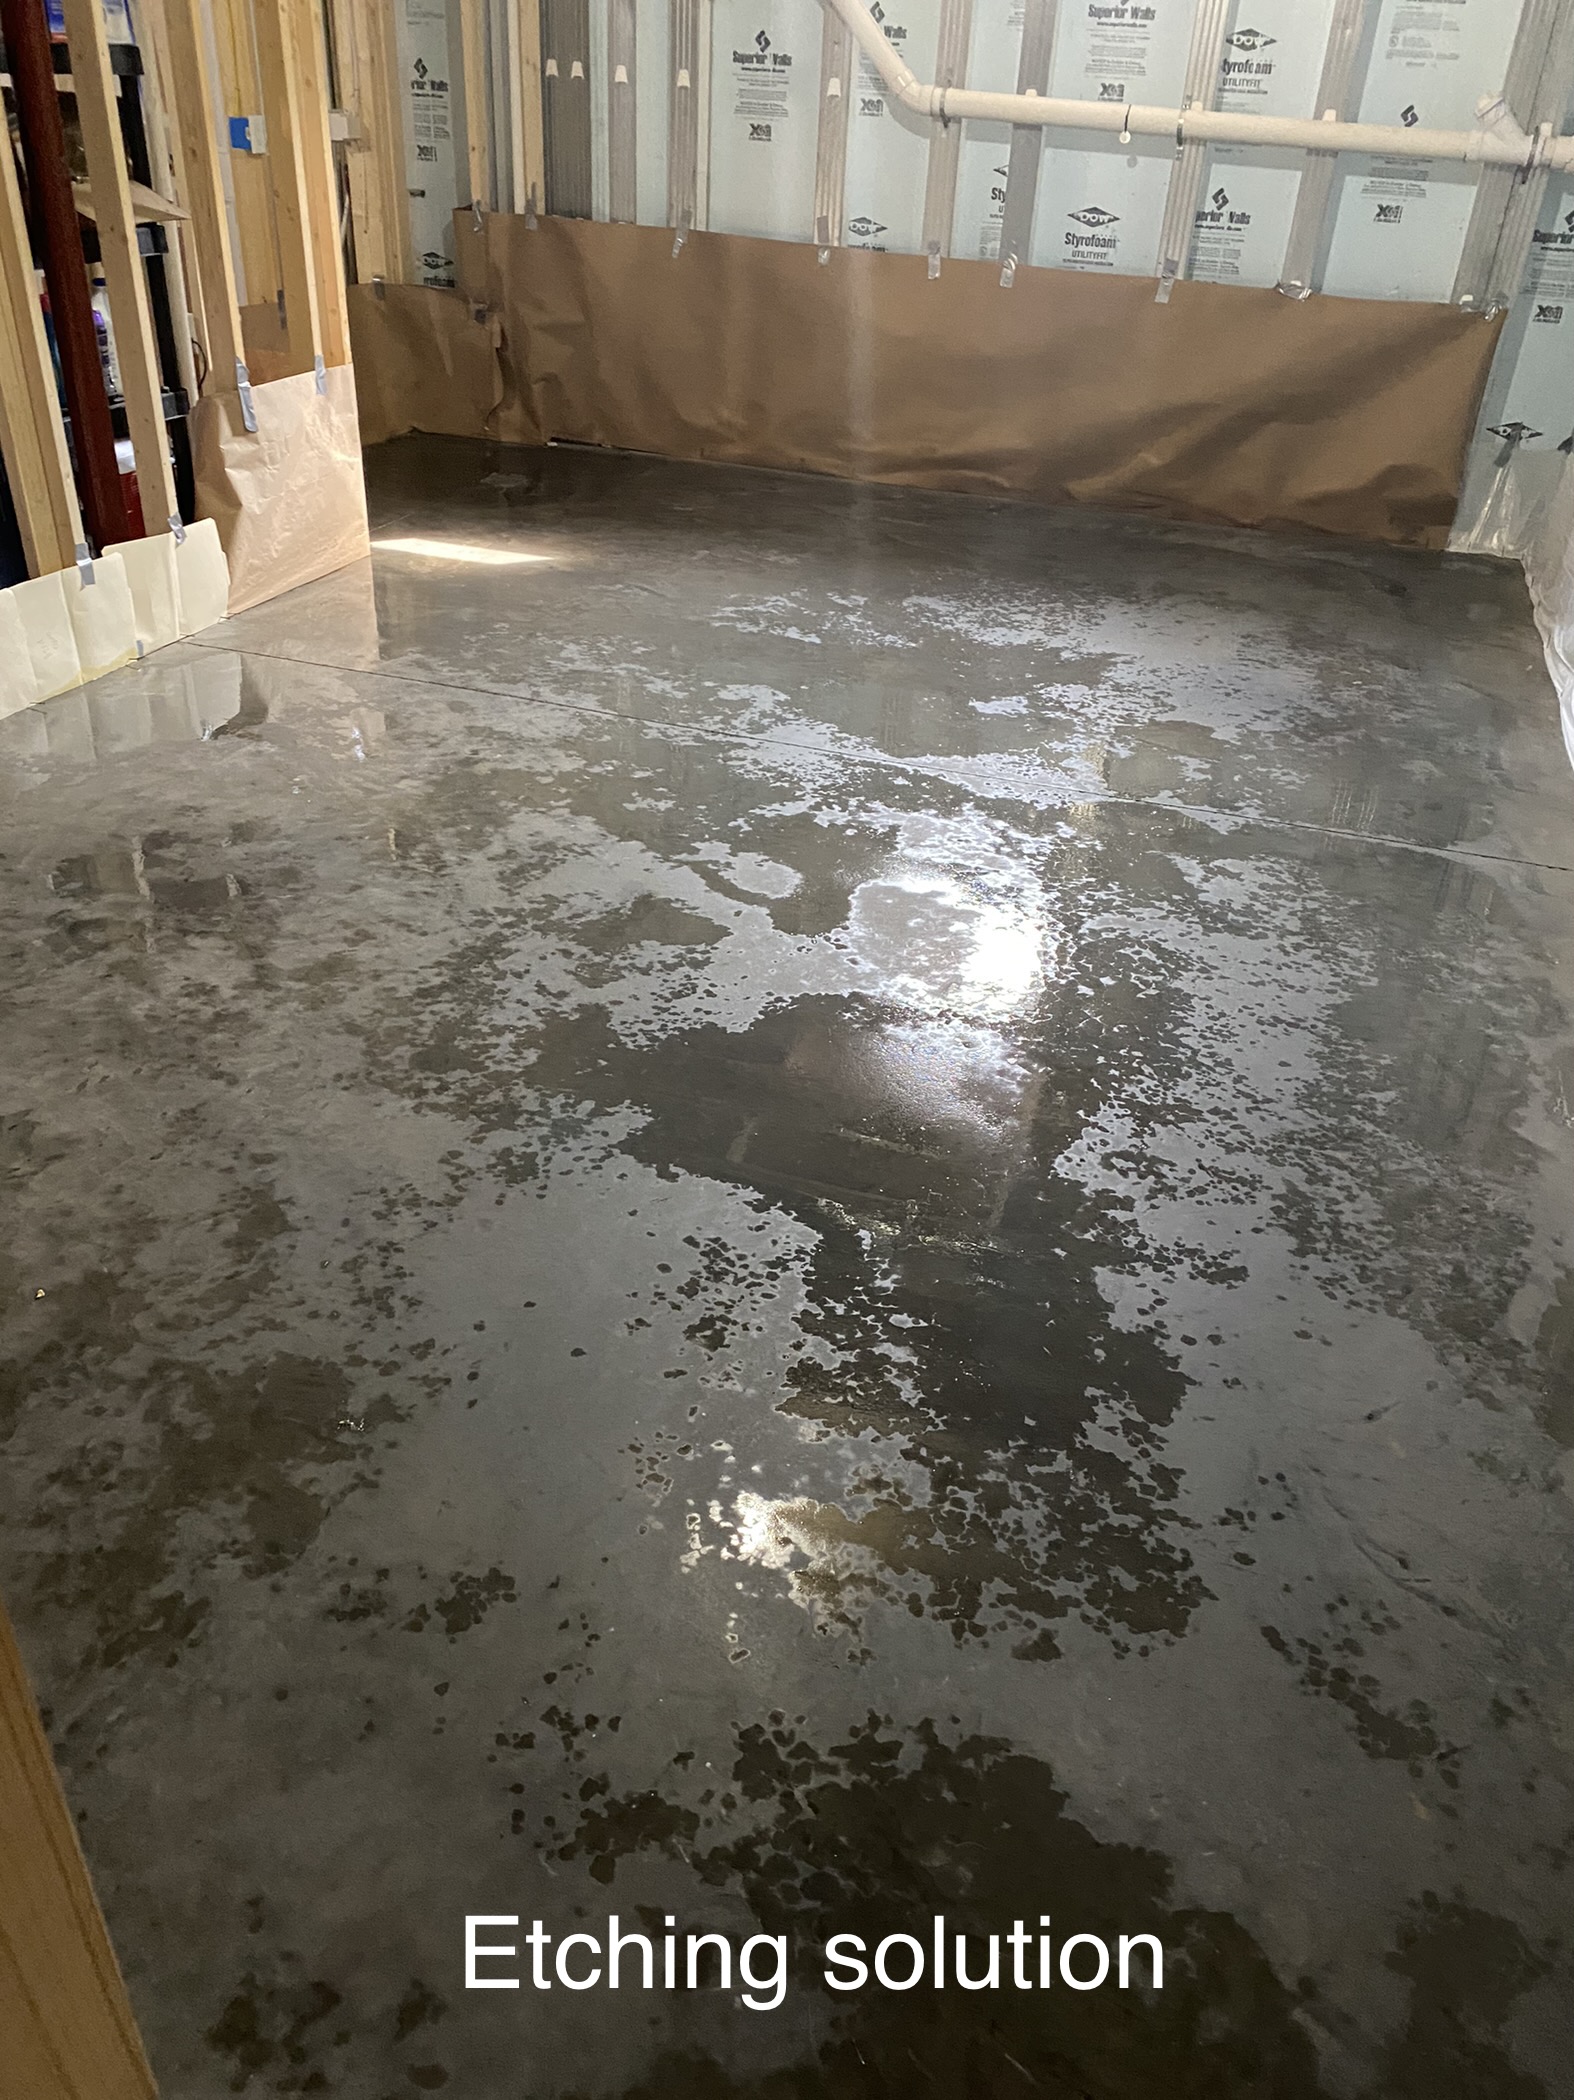
2. Etch the concrete floor: Apply an etching solution and let it sit for about an hour. Rinse thoroughly. Note that our floors were machine troweled so we left the solution on for a bit longer than the recommended 20 minutes.
Step 2: Acid Stain Application
Apply acid stain using a pump up sprayer. Safety while applying colorant is important. Remember to use long sleeves, pants, goggles, and gloves while working with the acid stain.
- Spray Base Color
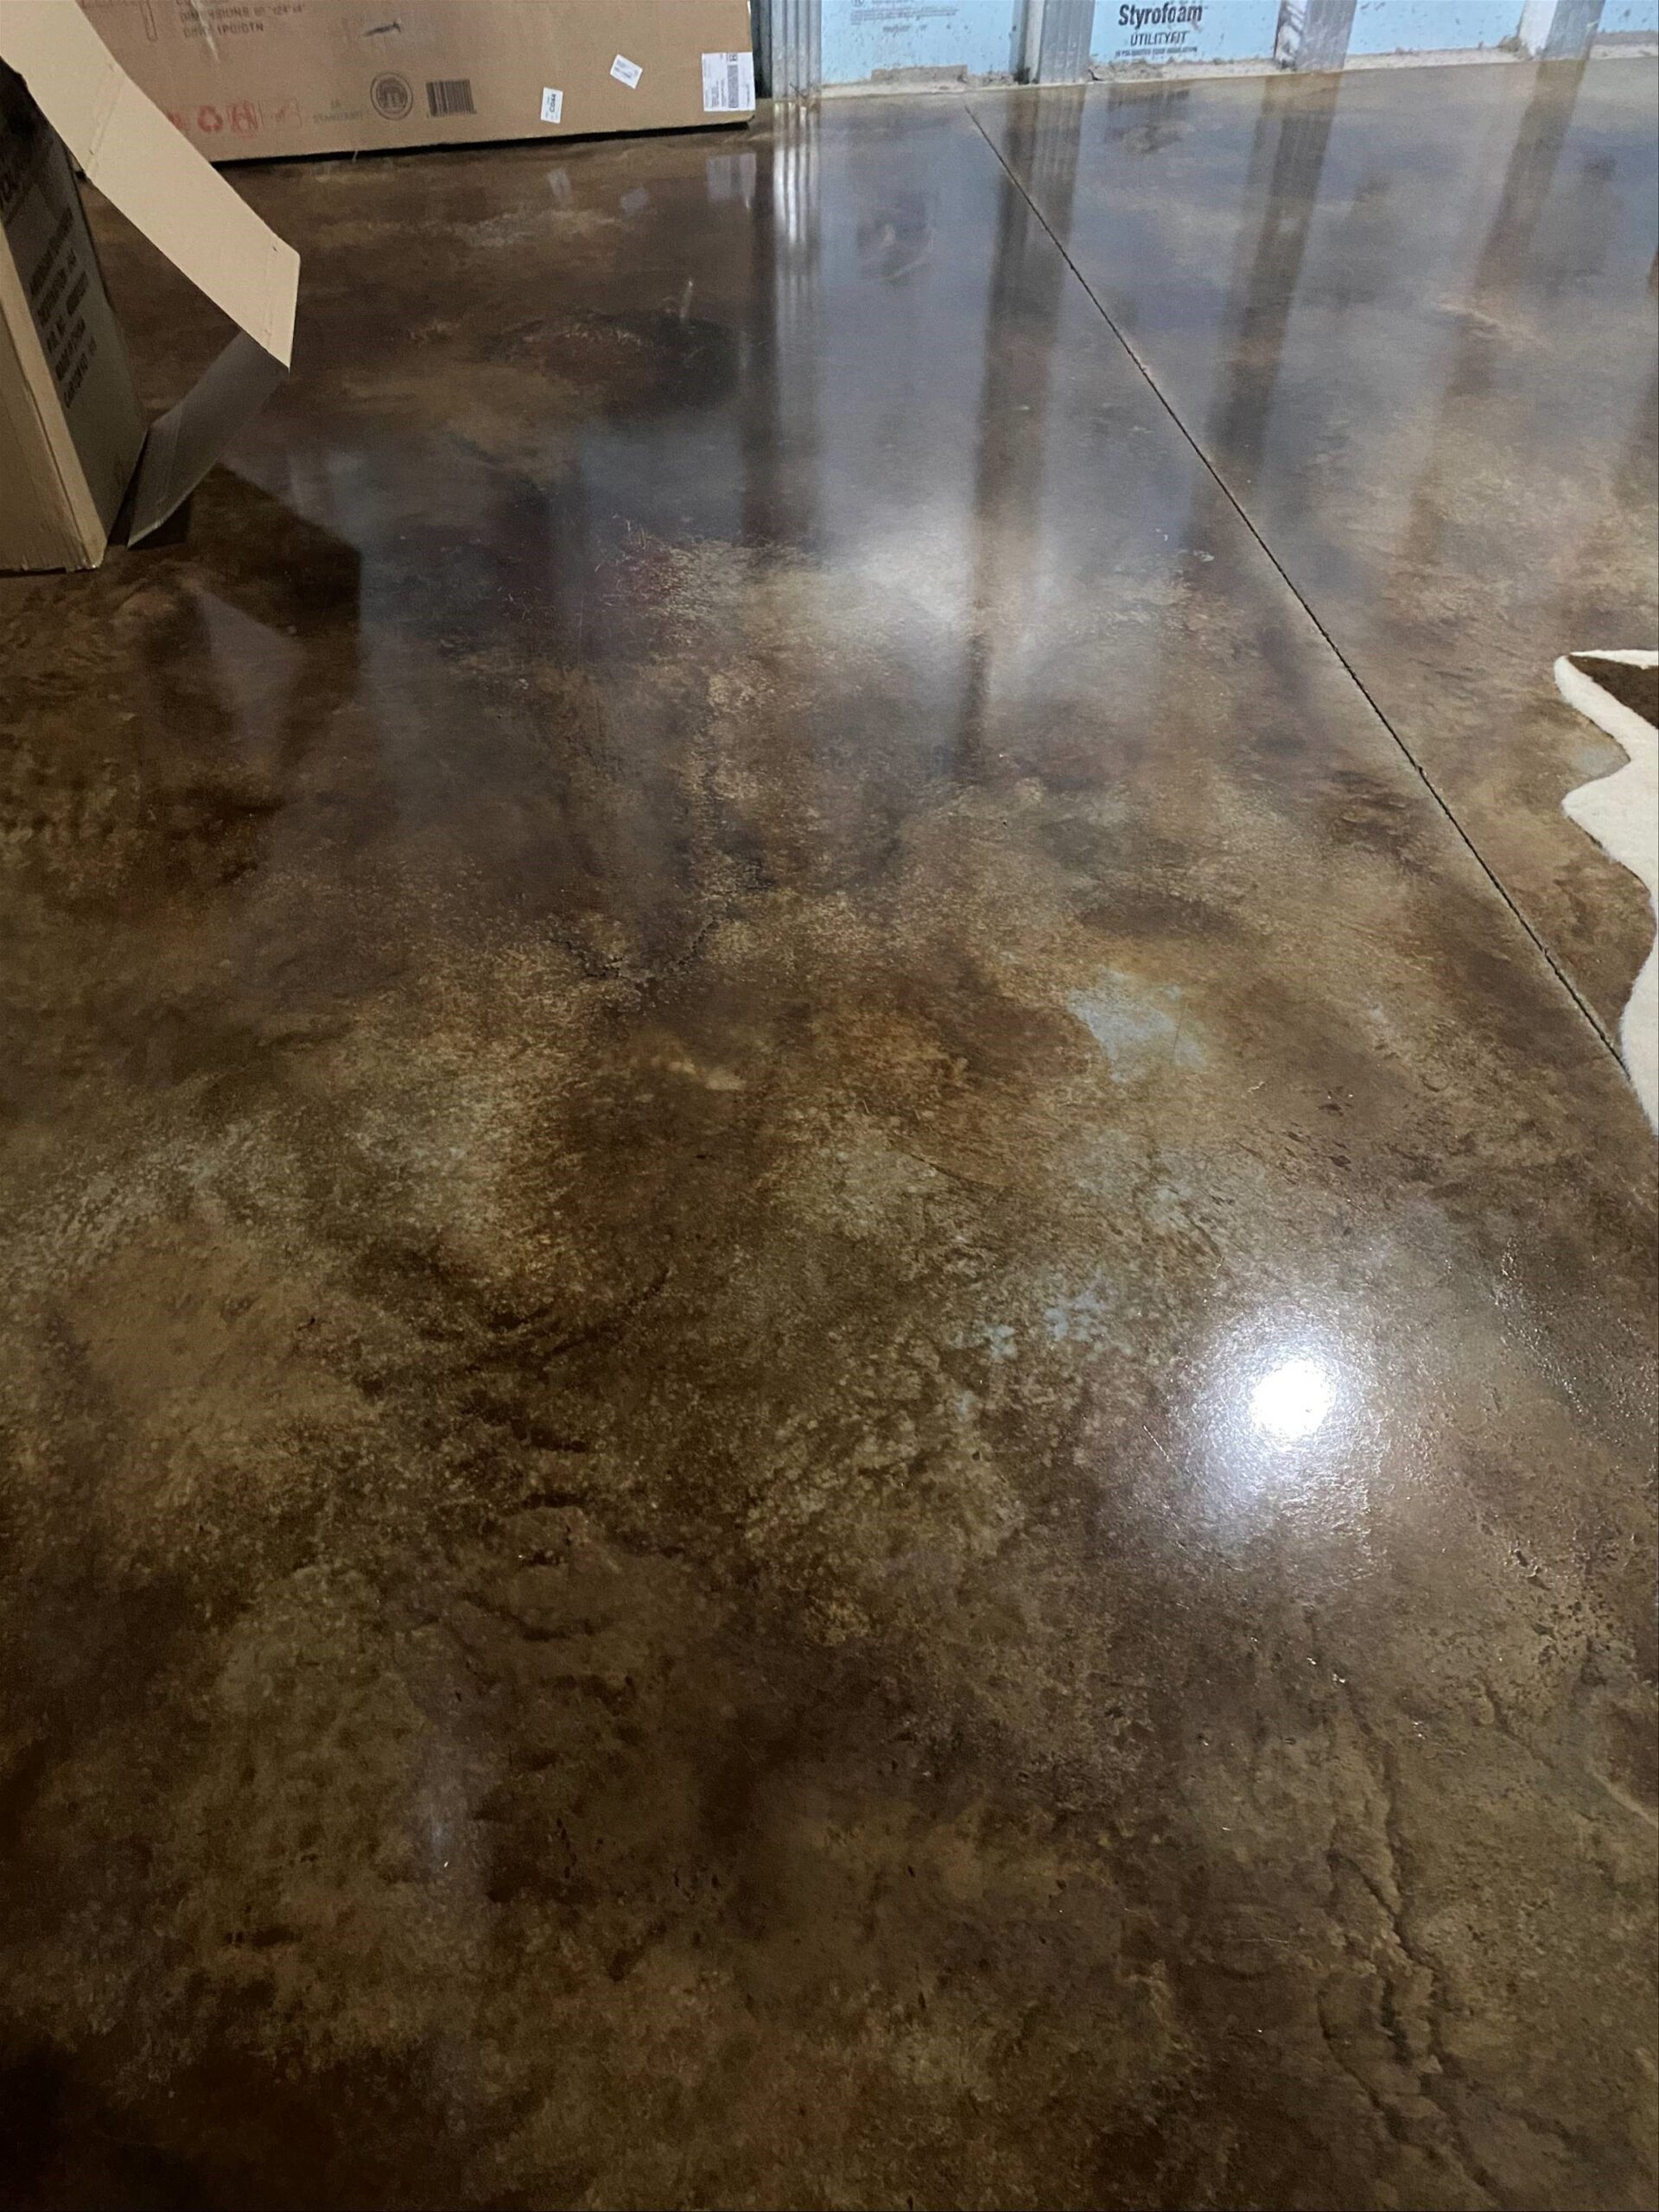
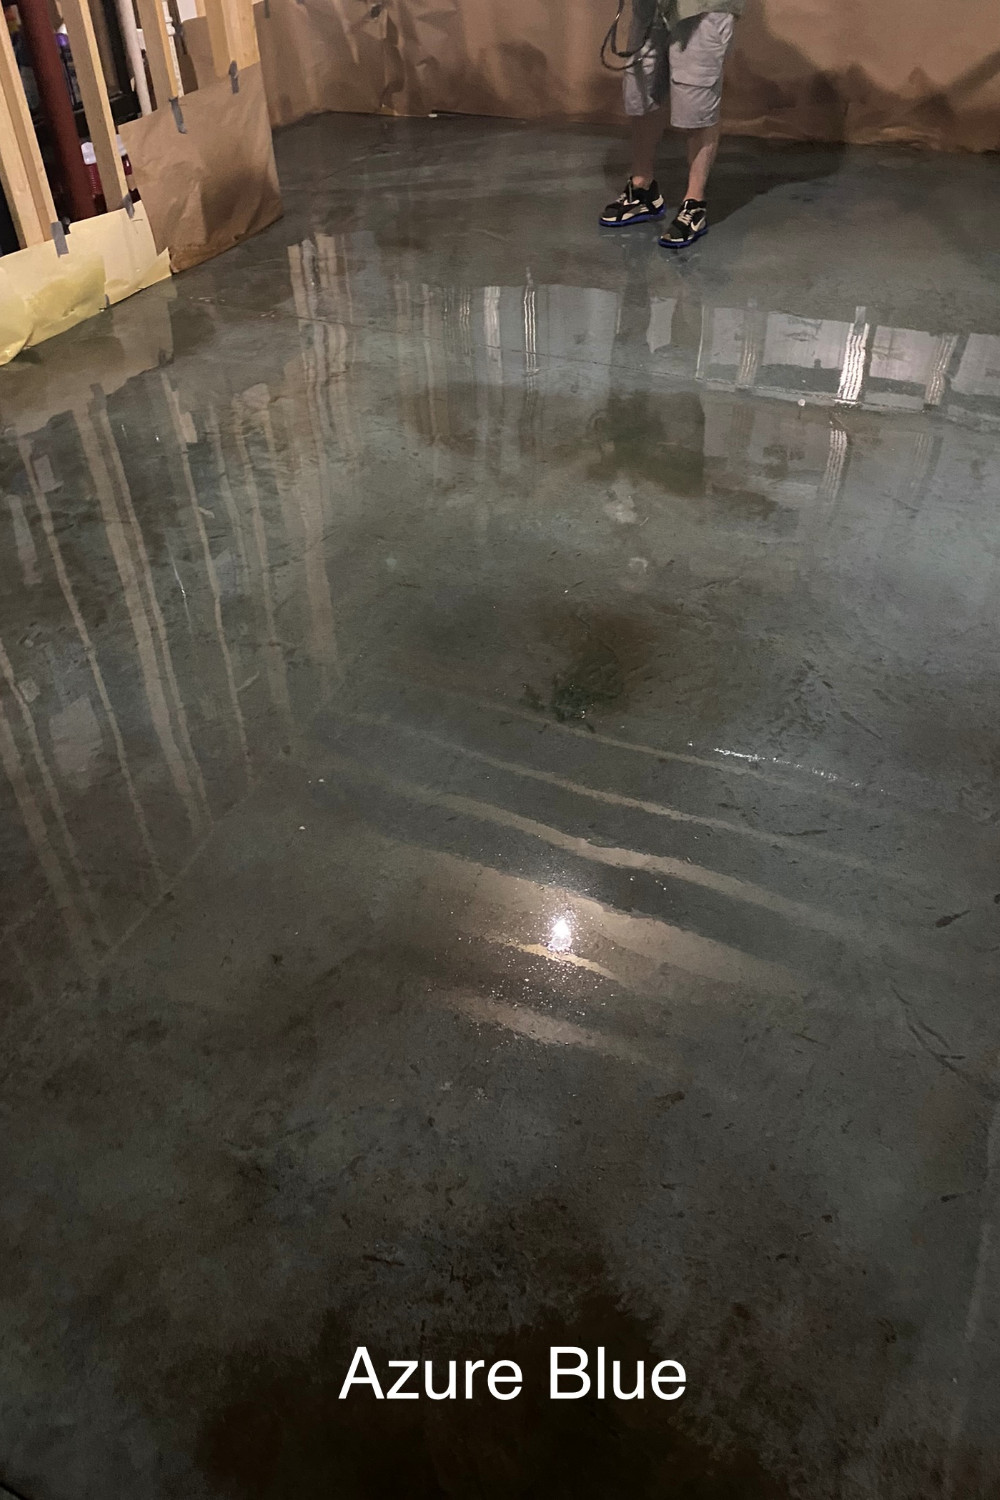
“Then the fun began. We decided to use the wet-on-dry acid staining technique. We applied the Azure Blue first and let it dry for about five hours.”
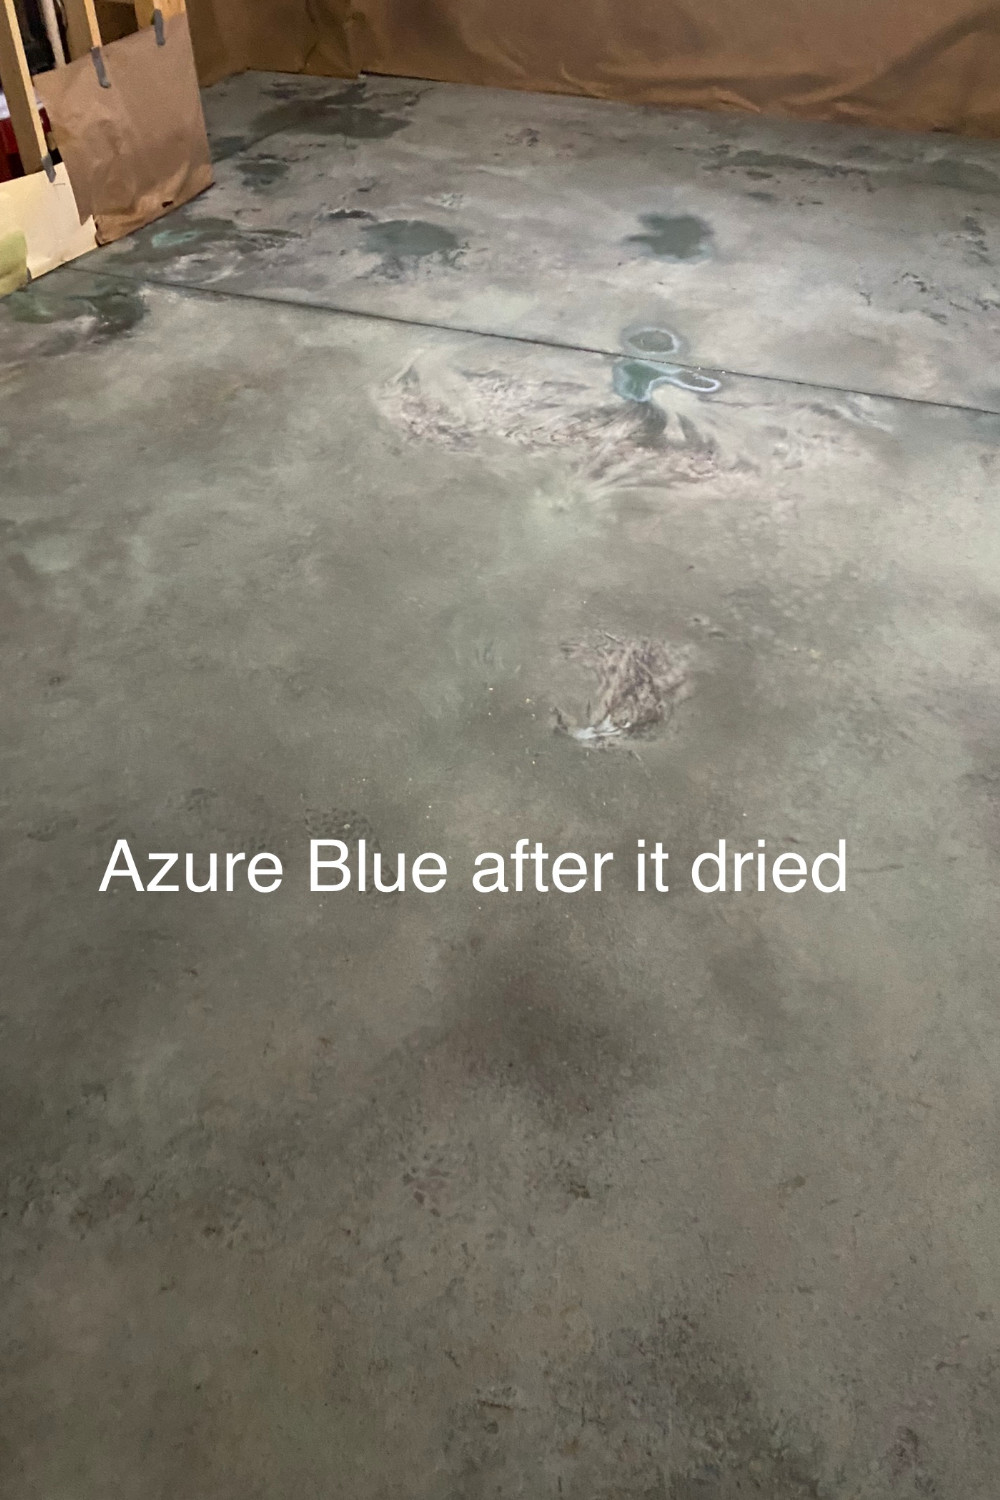
2. Spray Accent Color
“We decided to go sparingly on the brown and only used half of what we ordered. The coffee brown is a very rich color and definitely dominant. Perhaps we will use up our leftovers by staining the storage section of the basement.🤔”
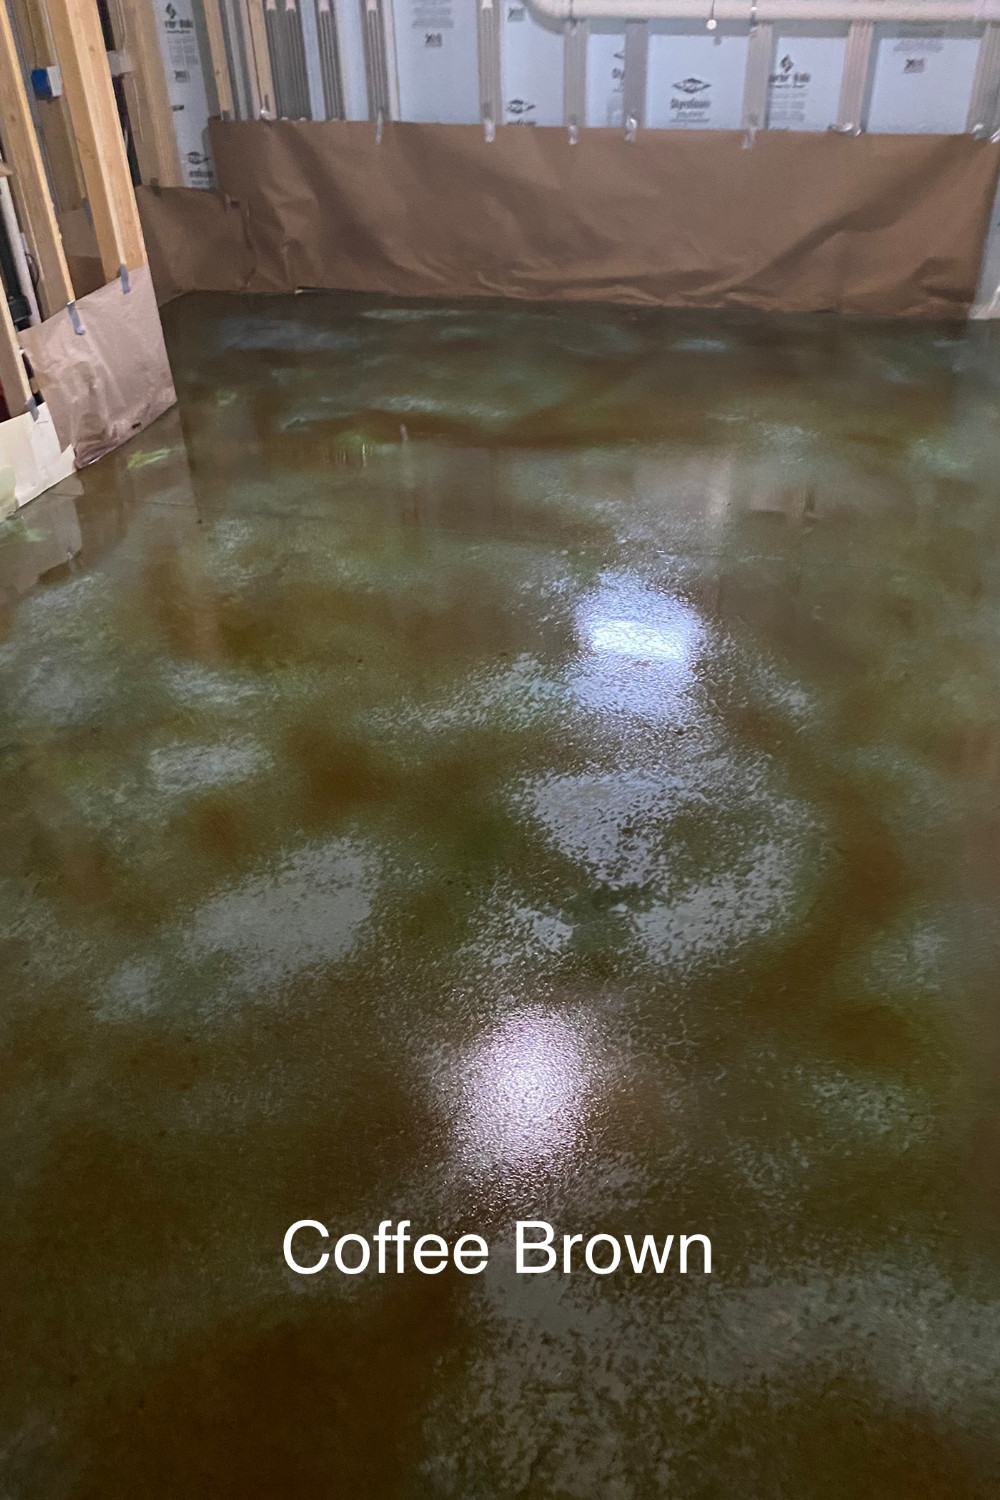
For more detailed information and techniques, read How to Layer Two Acid Stain Colors.
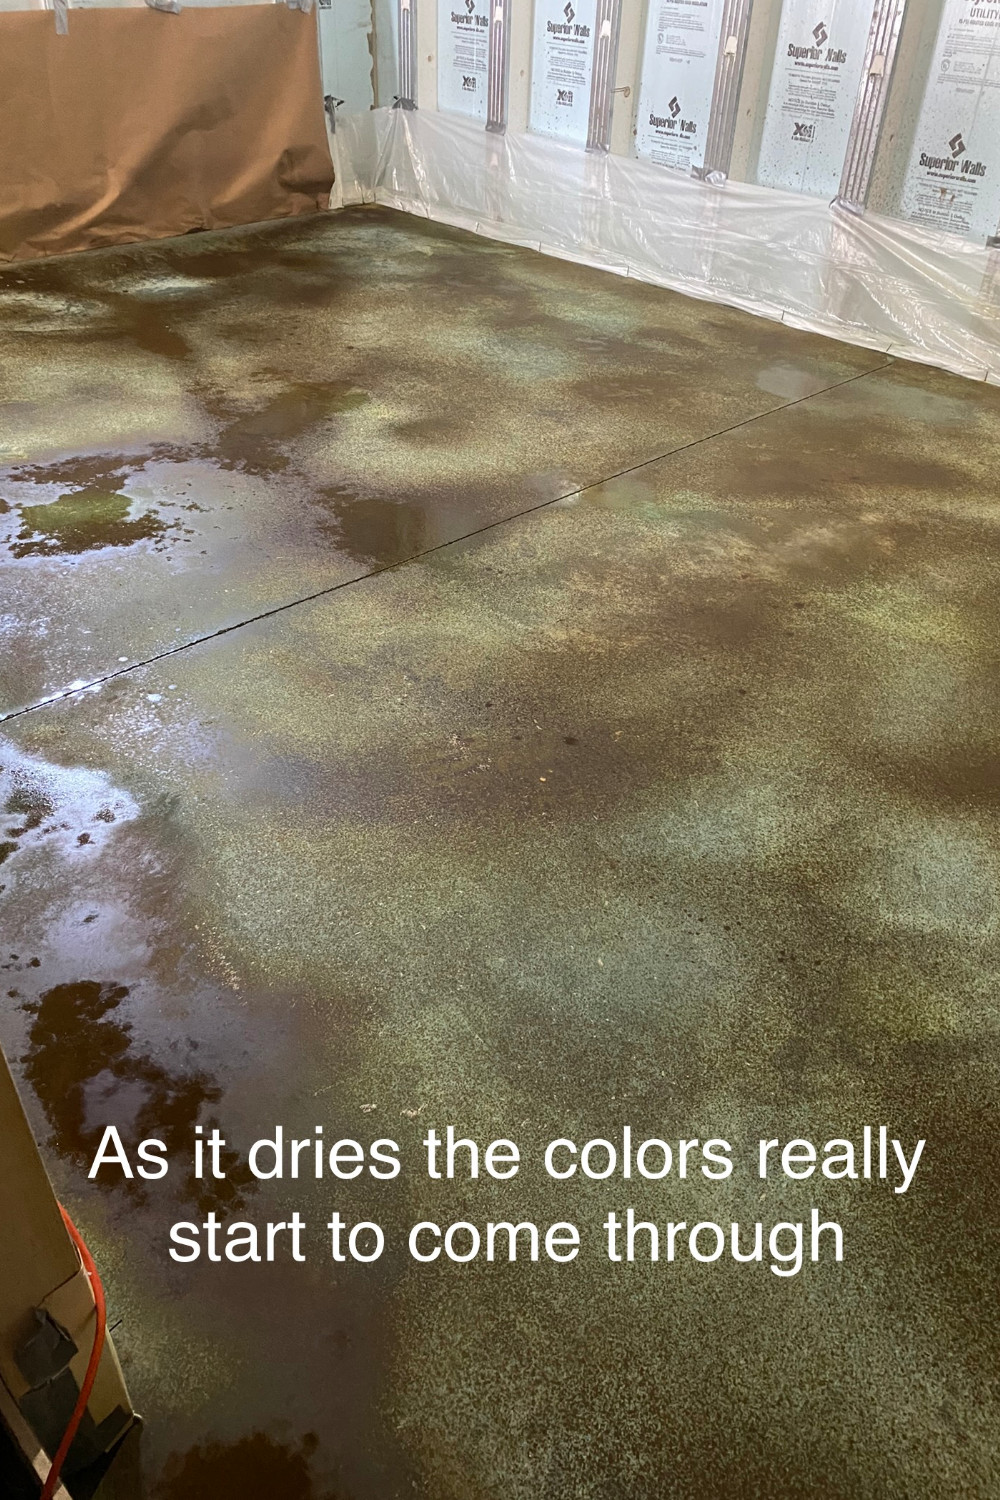
For information on how long to leave the acid stain on the concrete, refer to our guide “How Long to Leave Acid Stain on Concrete“
Step 3: Neutralize Acid Stain.
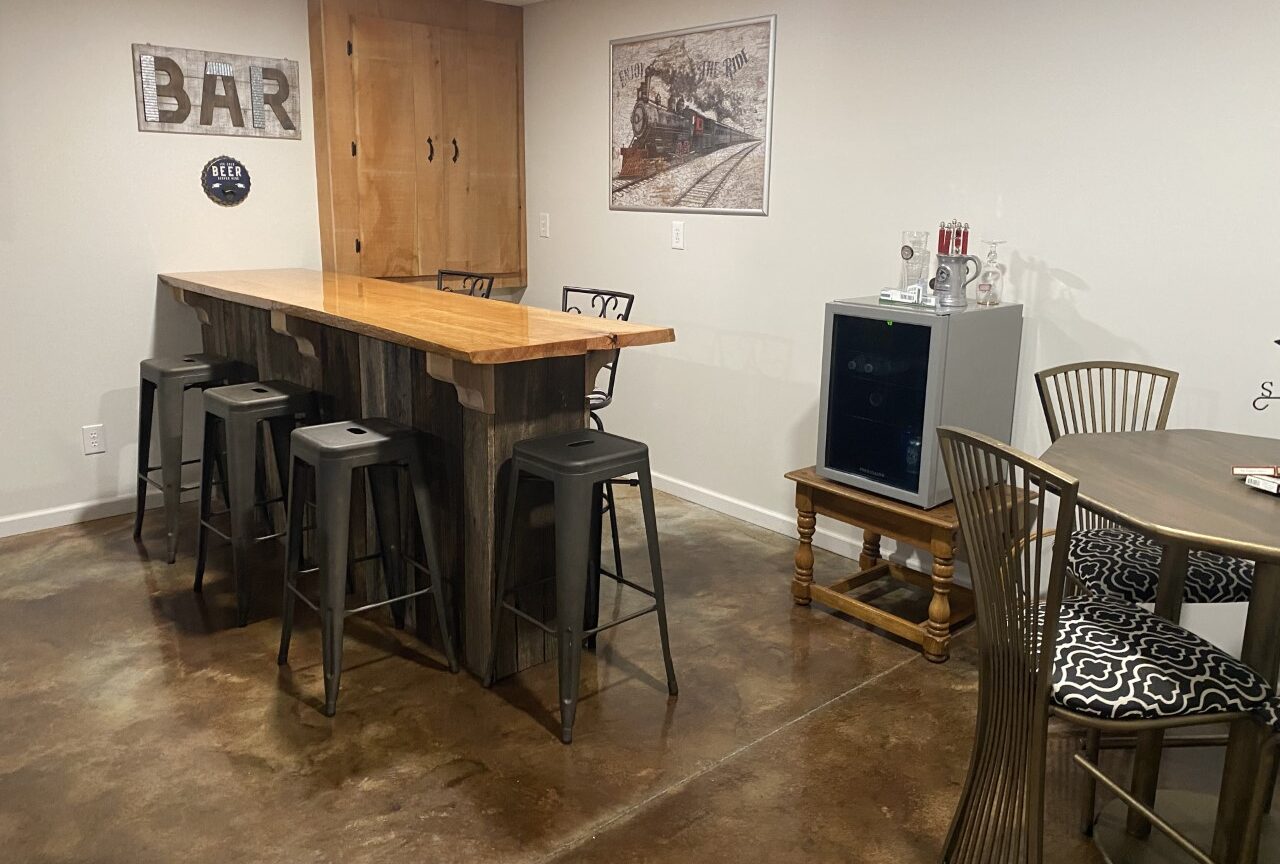
“Our basement is sectioned off into 3 spaces; the 400 square foot rec room, 300 square foot laundry/workout area, and a large 638 square foot storage area which could be converted into a garage.”
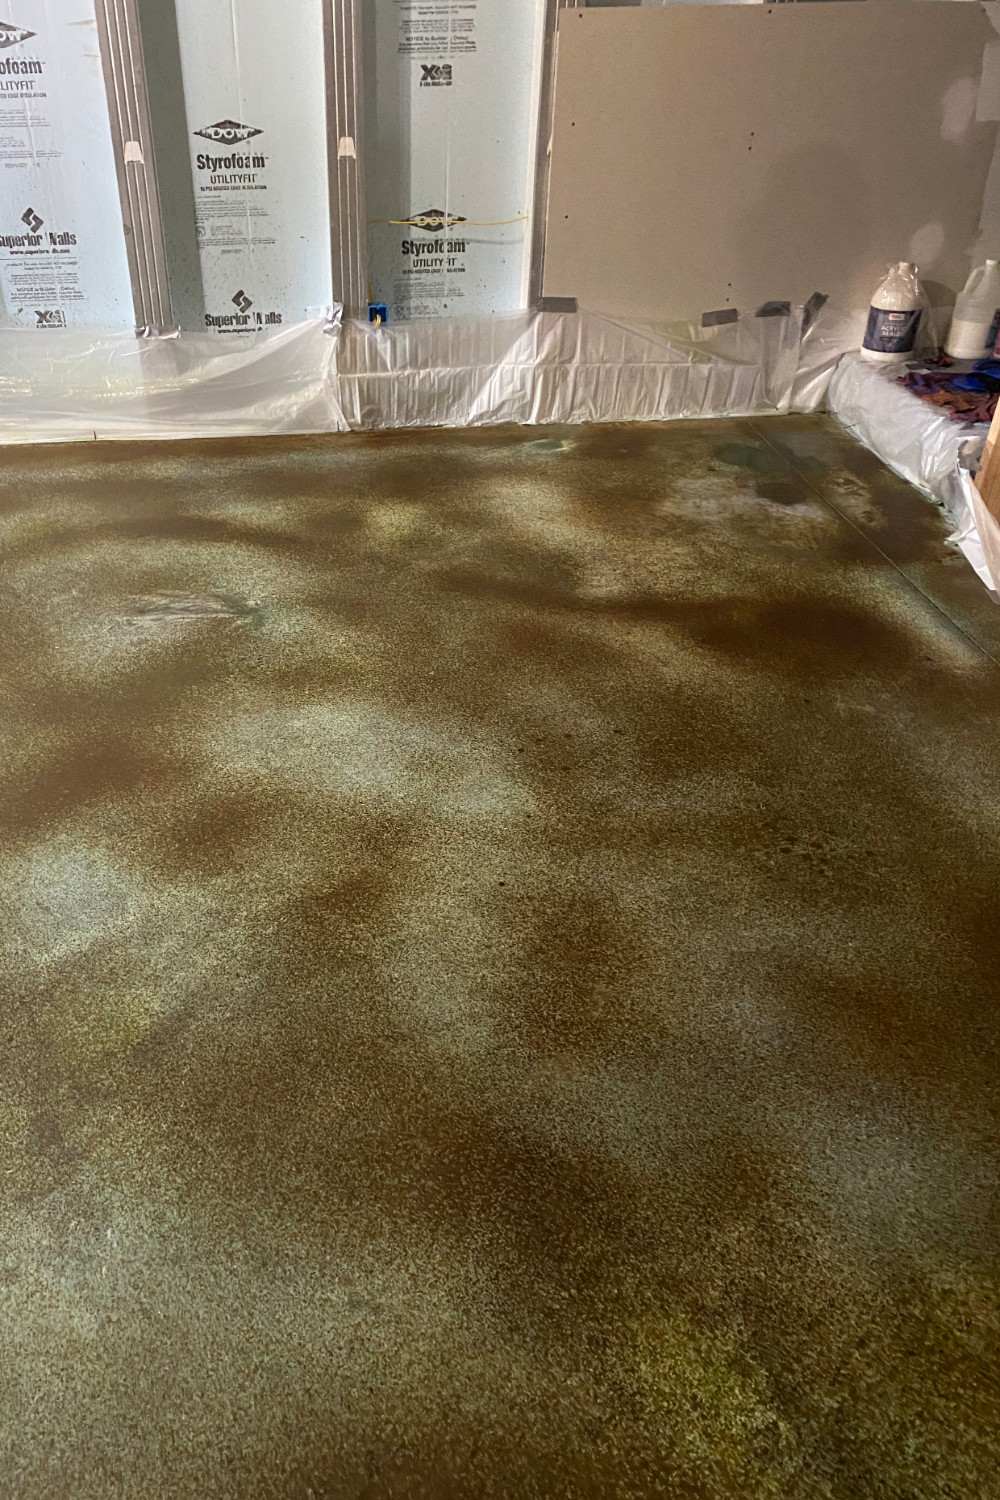
“Back to explaining the project … We neutralized with a 2-gallon bucket of water and baking soda, pushing it with a sponge mop. We cleaned up with more cleaner and degreaser, first doing a couple rinses with a water hose before scrubbing it down.” “Total cleaning/rinsing took about 6 times as opposed to over 20+ the last time.”
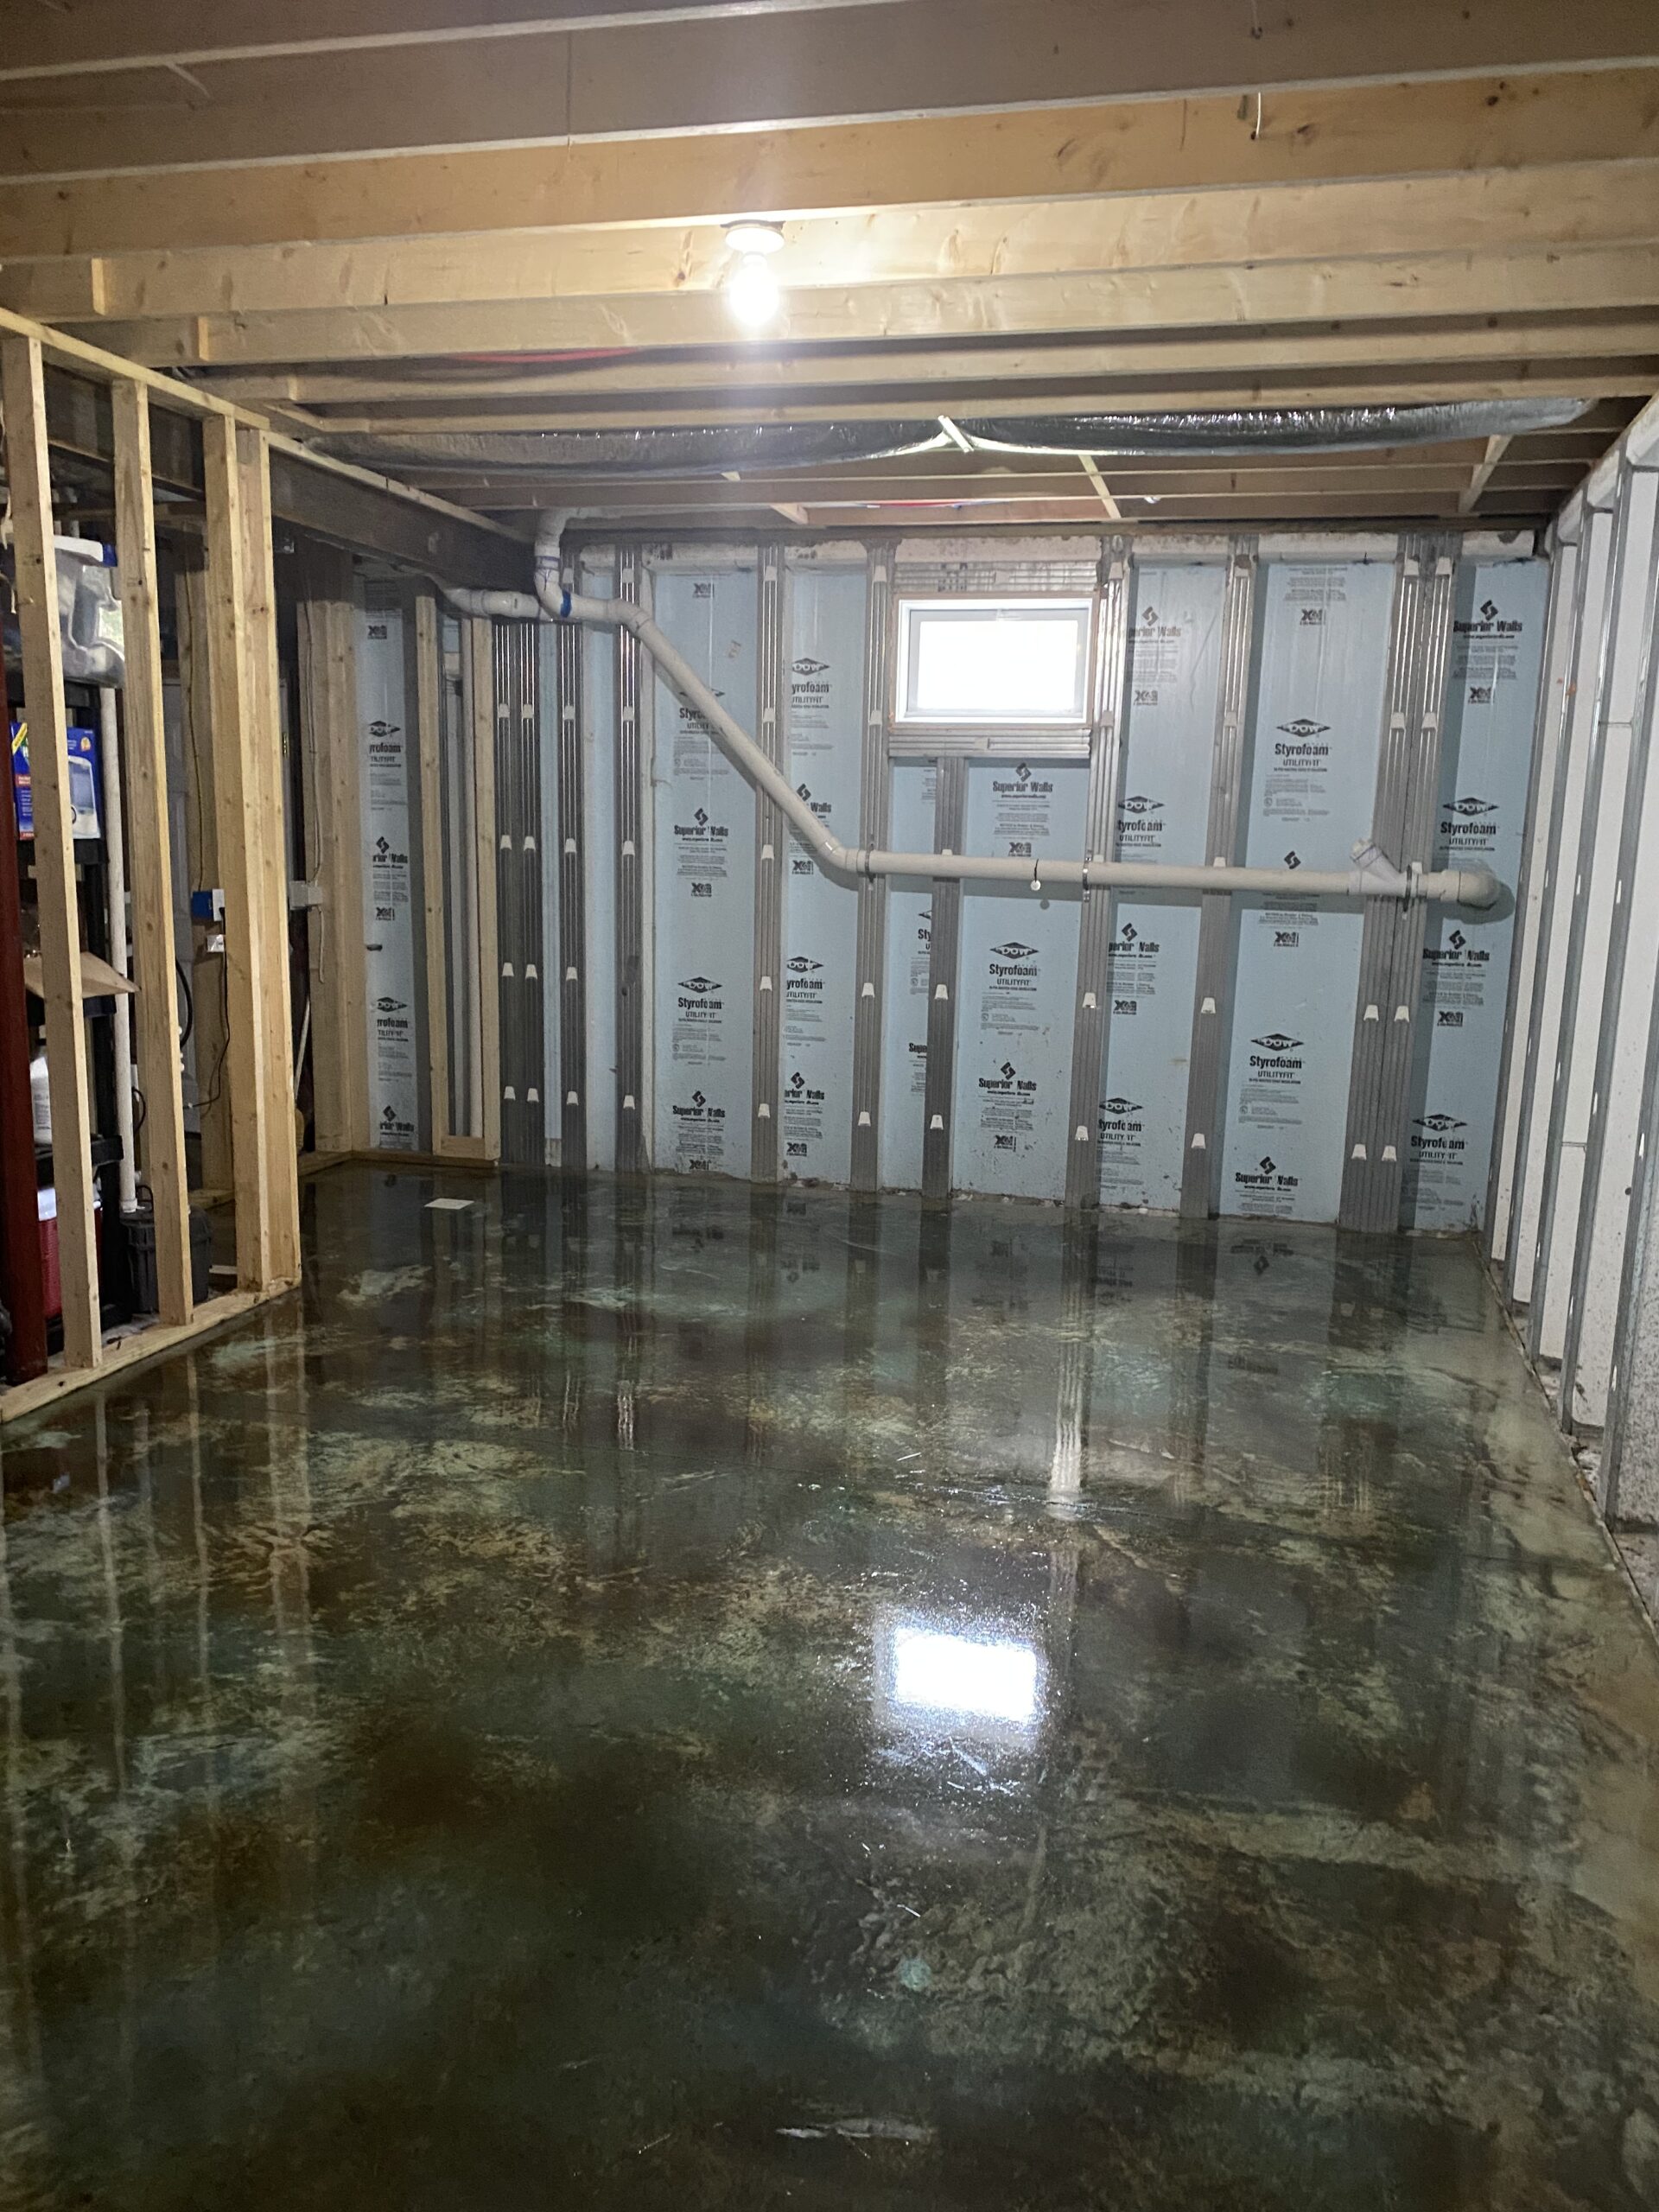
For more details on neutralizing acid stain, check our guide “How to Neutralize Concrete Acid Stain”
Step 4. Concrete Sealer Application
For staining basement projects where smell and ventilation are going to be your biggest concerns, we generally recommend water based sealers. They’re nearly odorless and will be safe to apply if your family or pets are in the home.
“After the floors were thoroughly dry, the first coat of sealant was applied. We used a sprayer and squeegee to spread it… pushing it mostly forward to limit marks or lines.”
1. Apply First Coat on surface in slightly circular motions with irregular overlaps. Spray thin coats to avoid puddling and let dry for 12 hours.
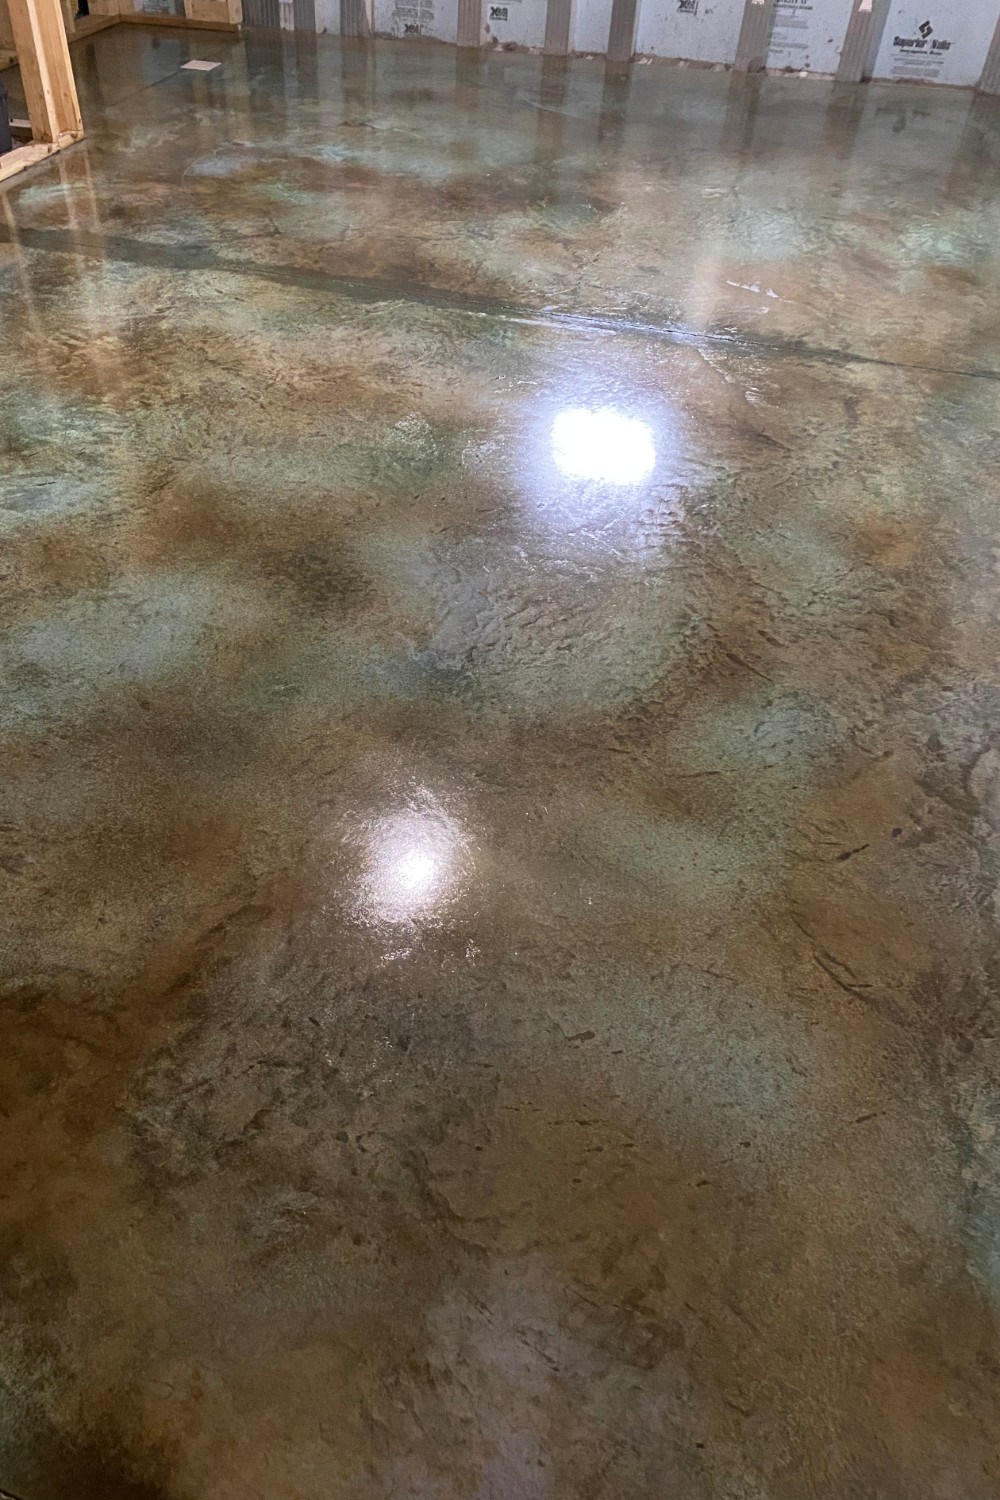
2. Apply Second Coat following same method.
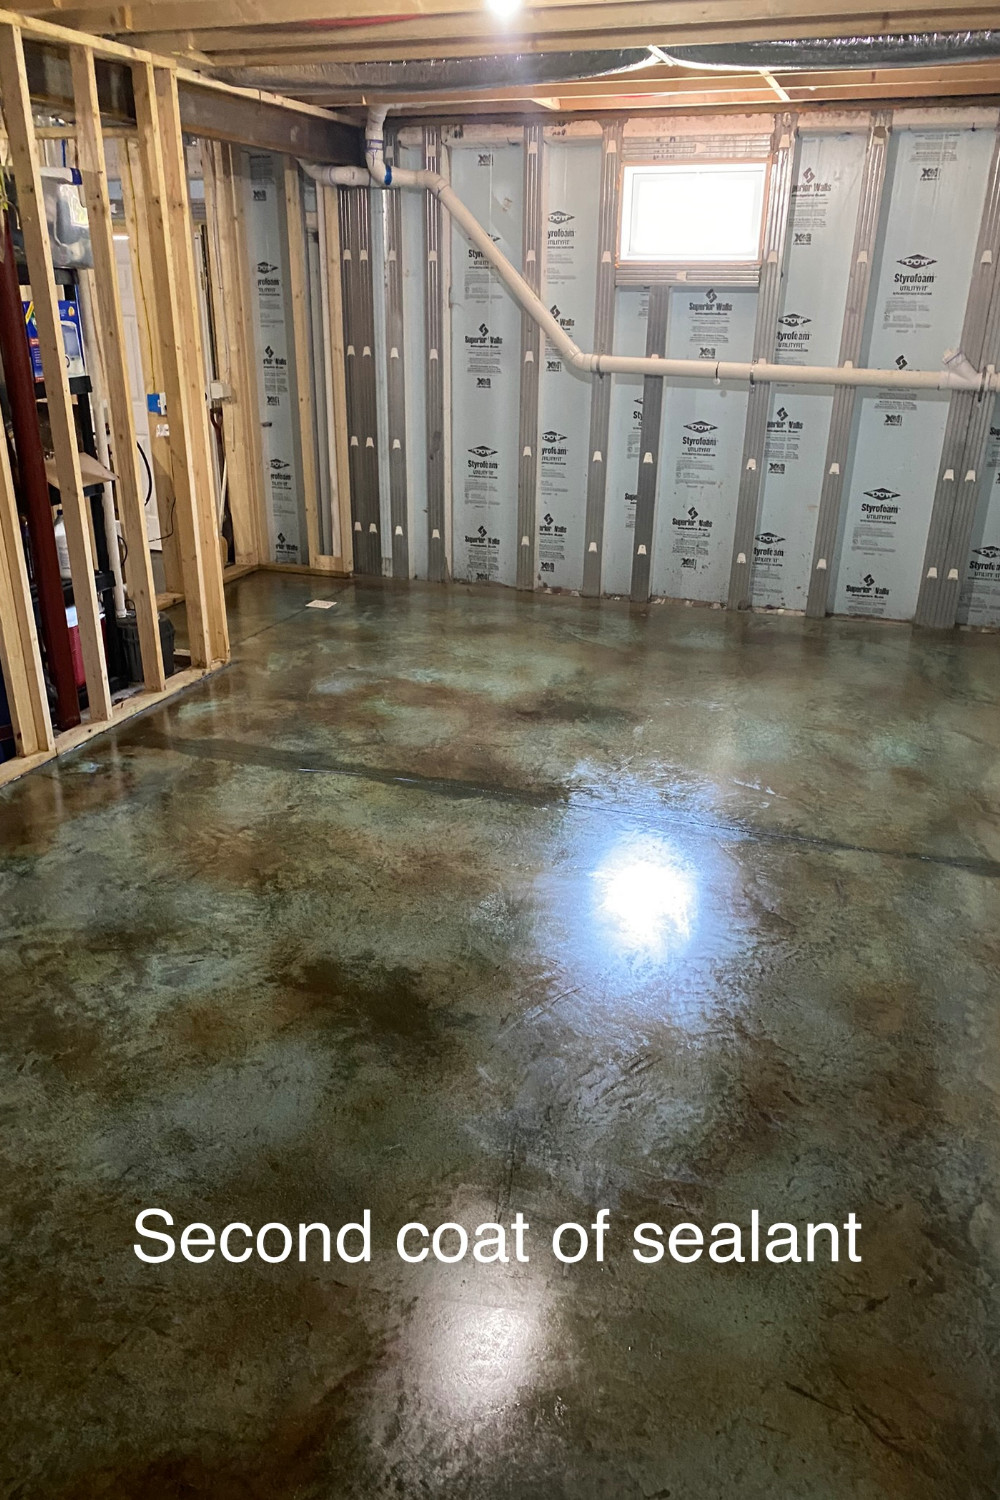
Pro-Tip: To ensure that your water-based sealer is fully cured and has been applied correctly, it should be clear and non-milky. Also, check that the sealer is completely dry to the touch and does not leave any fingerprints.
Step 5: Concrete Floor Wax Application
- Apply the first coat: Soak the trim pad applicator in warm water, wring out the excess water, pour ProWax Polish into a paint tray, saturate the trim pad with the concrete wax solution, press out the excess wax, apply a thin milky coat across the floor surface. The product will appear milky in application but clear as it dries. Smooth out any foaming from the concrete surface and allow it to dry for 12 hours.
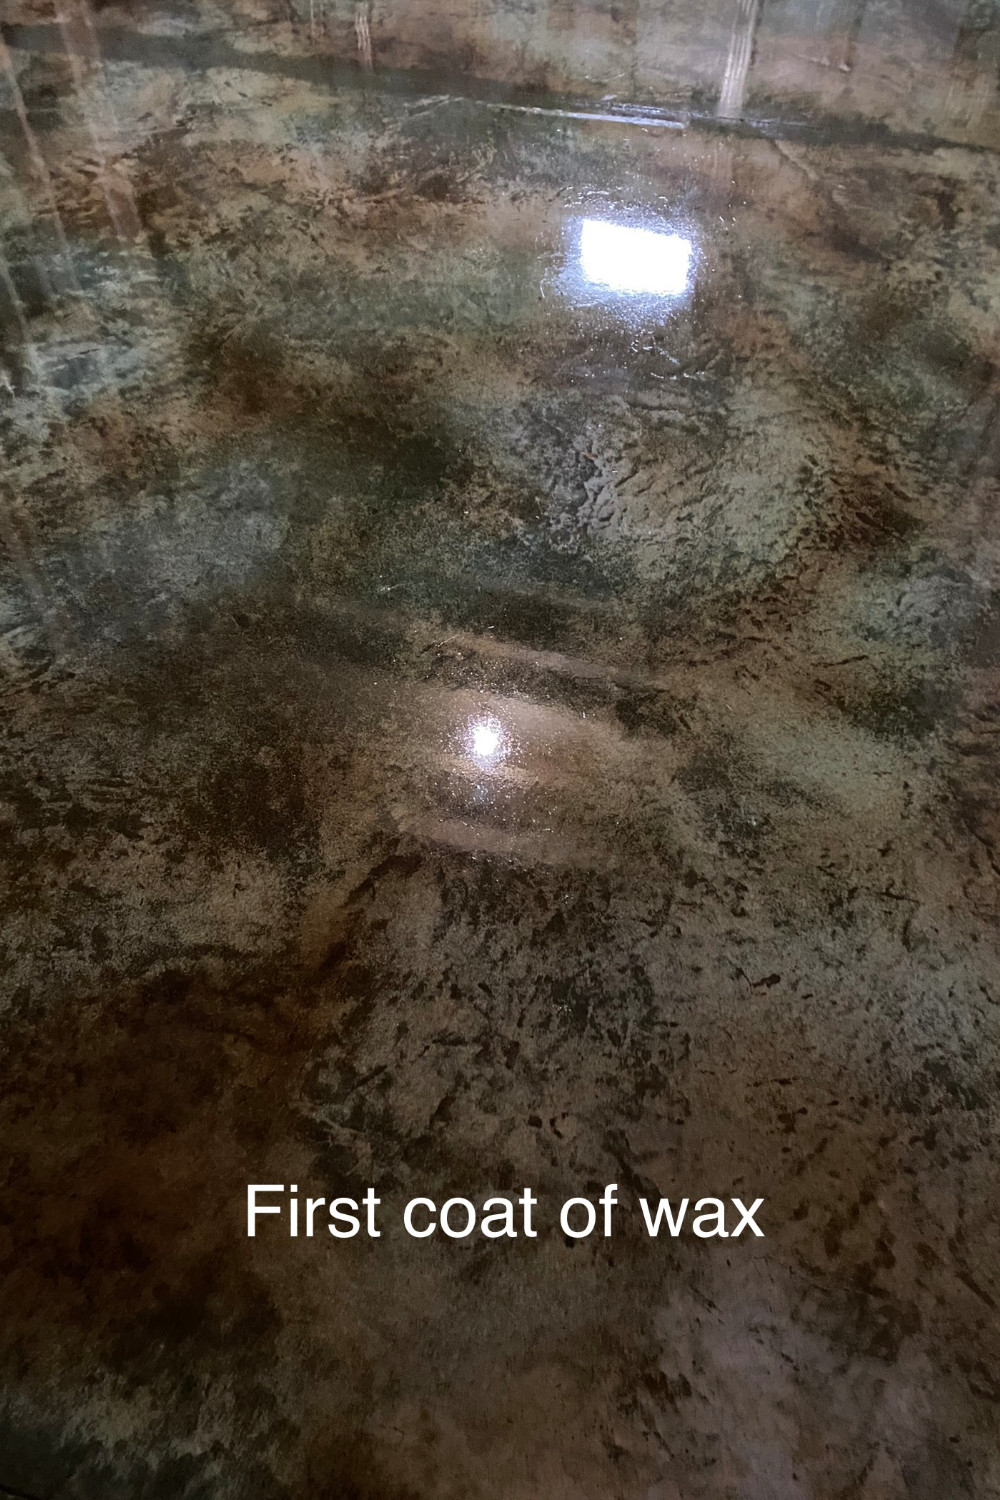
2. Apply the second coat: Allow it to dry for 24 hours before using the floor.
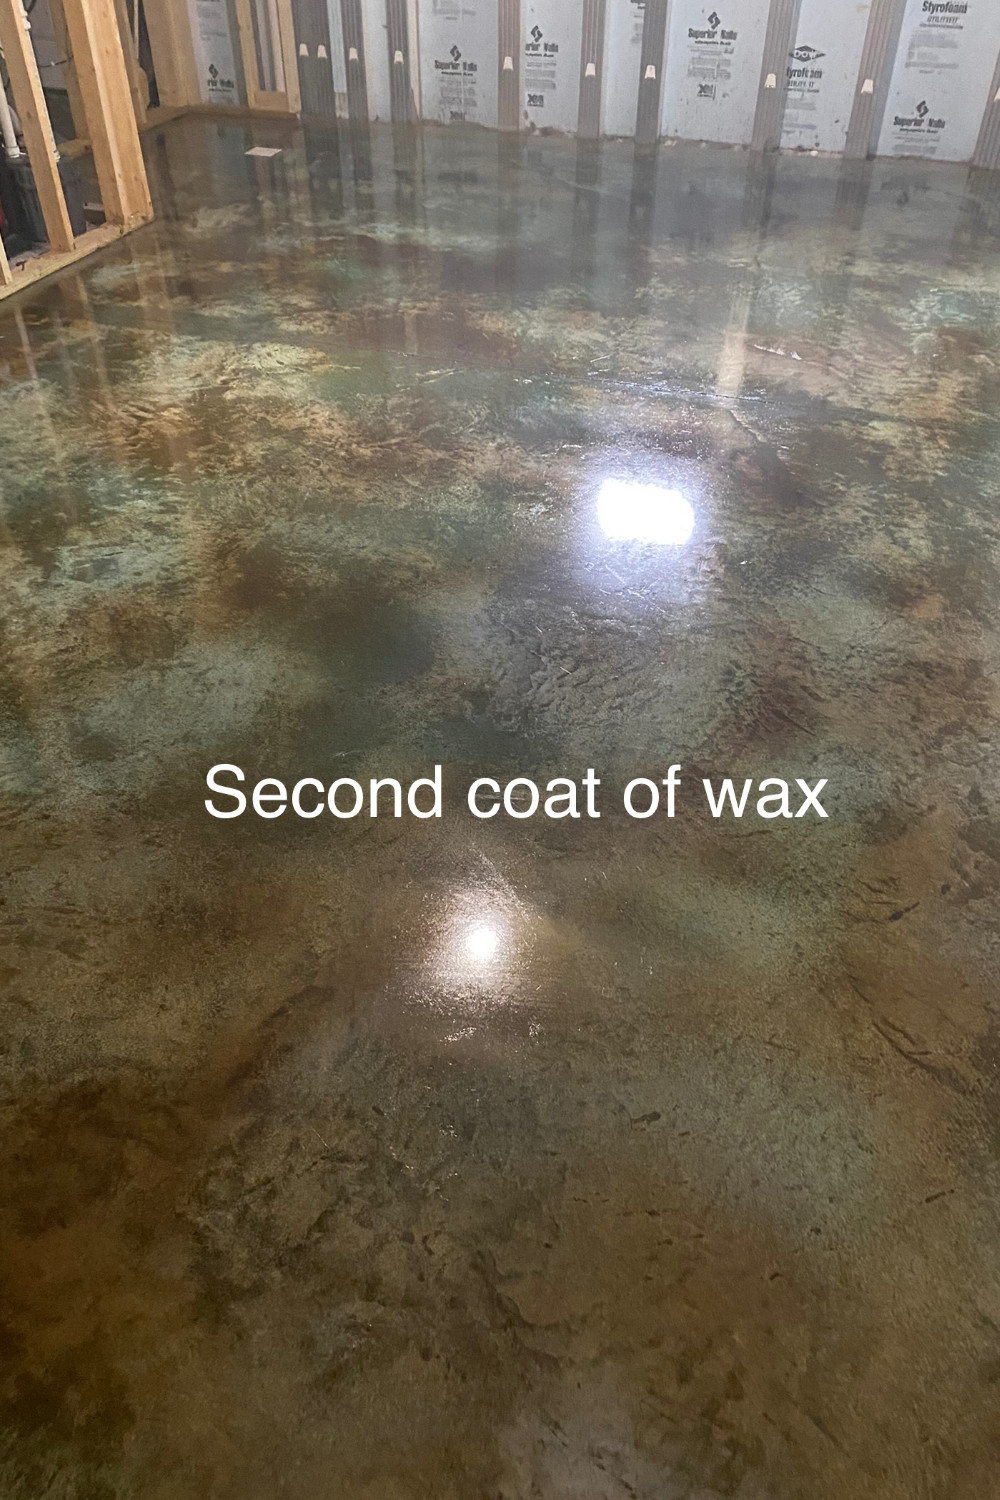
By following these steps, you will be able to achieve a beautiful, multi-layered and protected surface on your concrete basement floor. Remember to always wear the proper safety gear and to read the instructions on the products you are using. Don’t hesitate to seek help from Direct Colors if you feel unsure about any step of the process. And most importantly, have fun with it! With a little patience and attention to detail, you’ll be able to transform your plain concrete basement floor into a work of art.
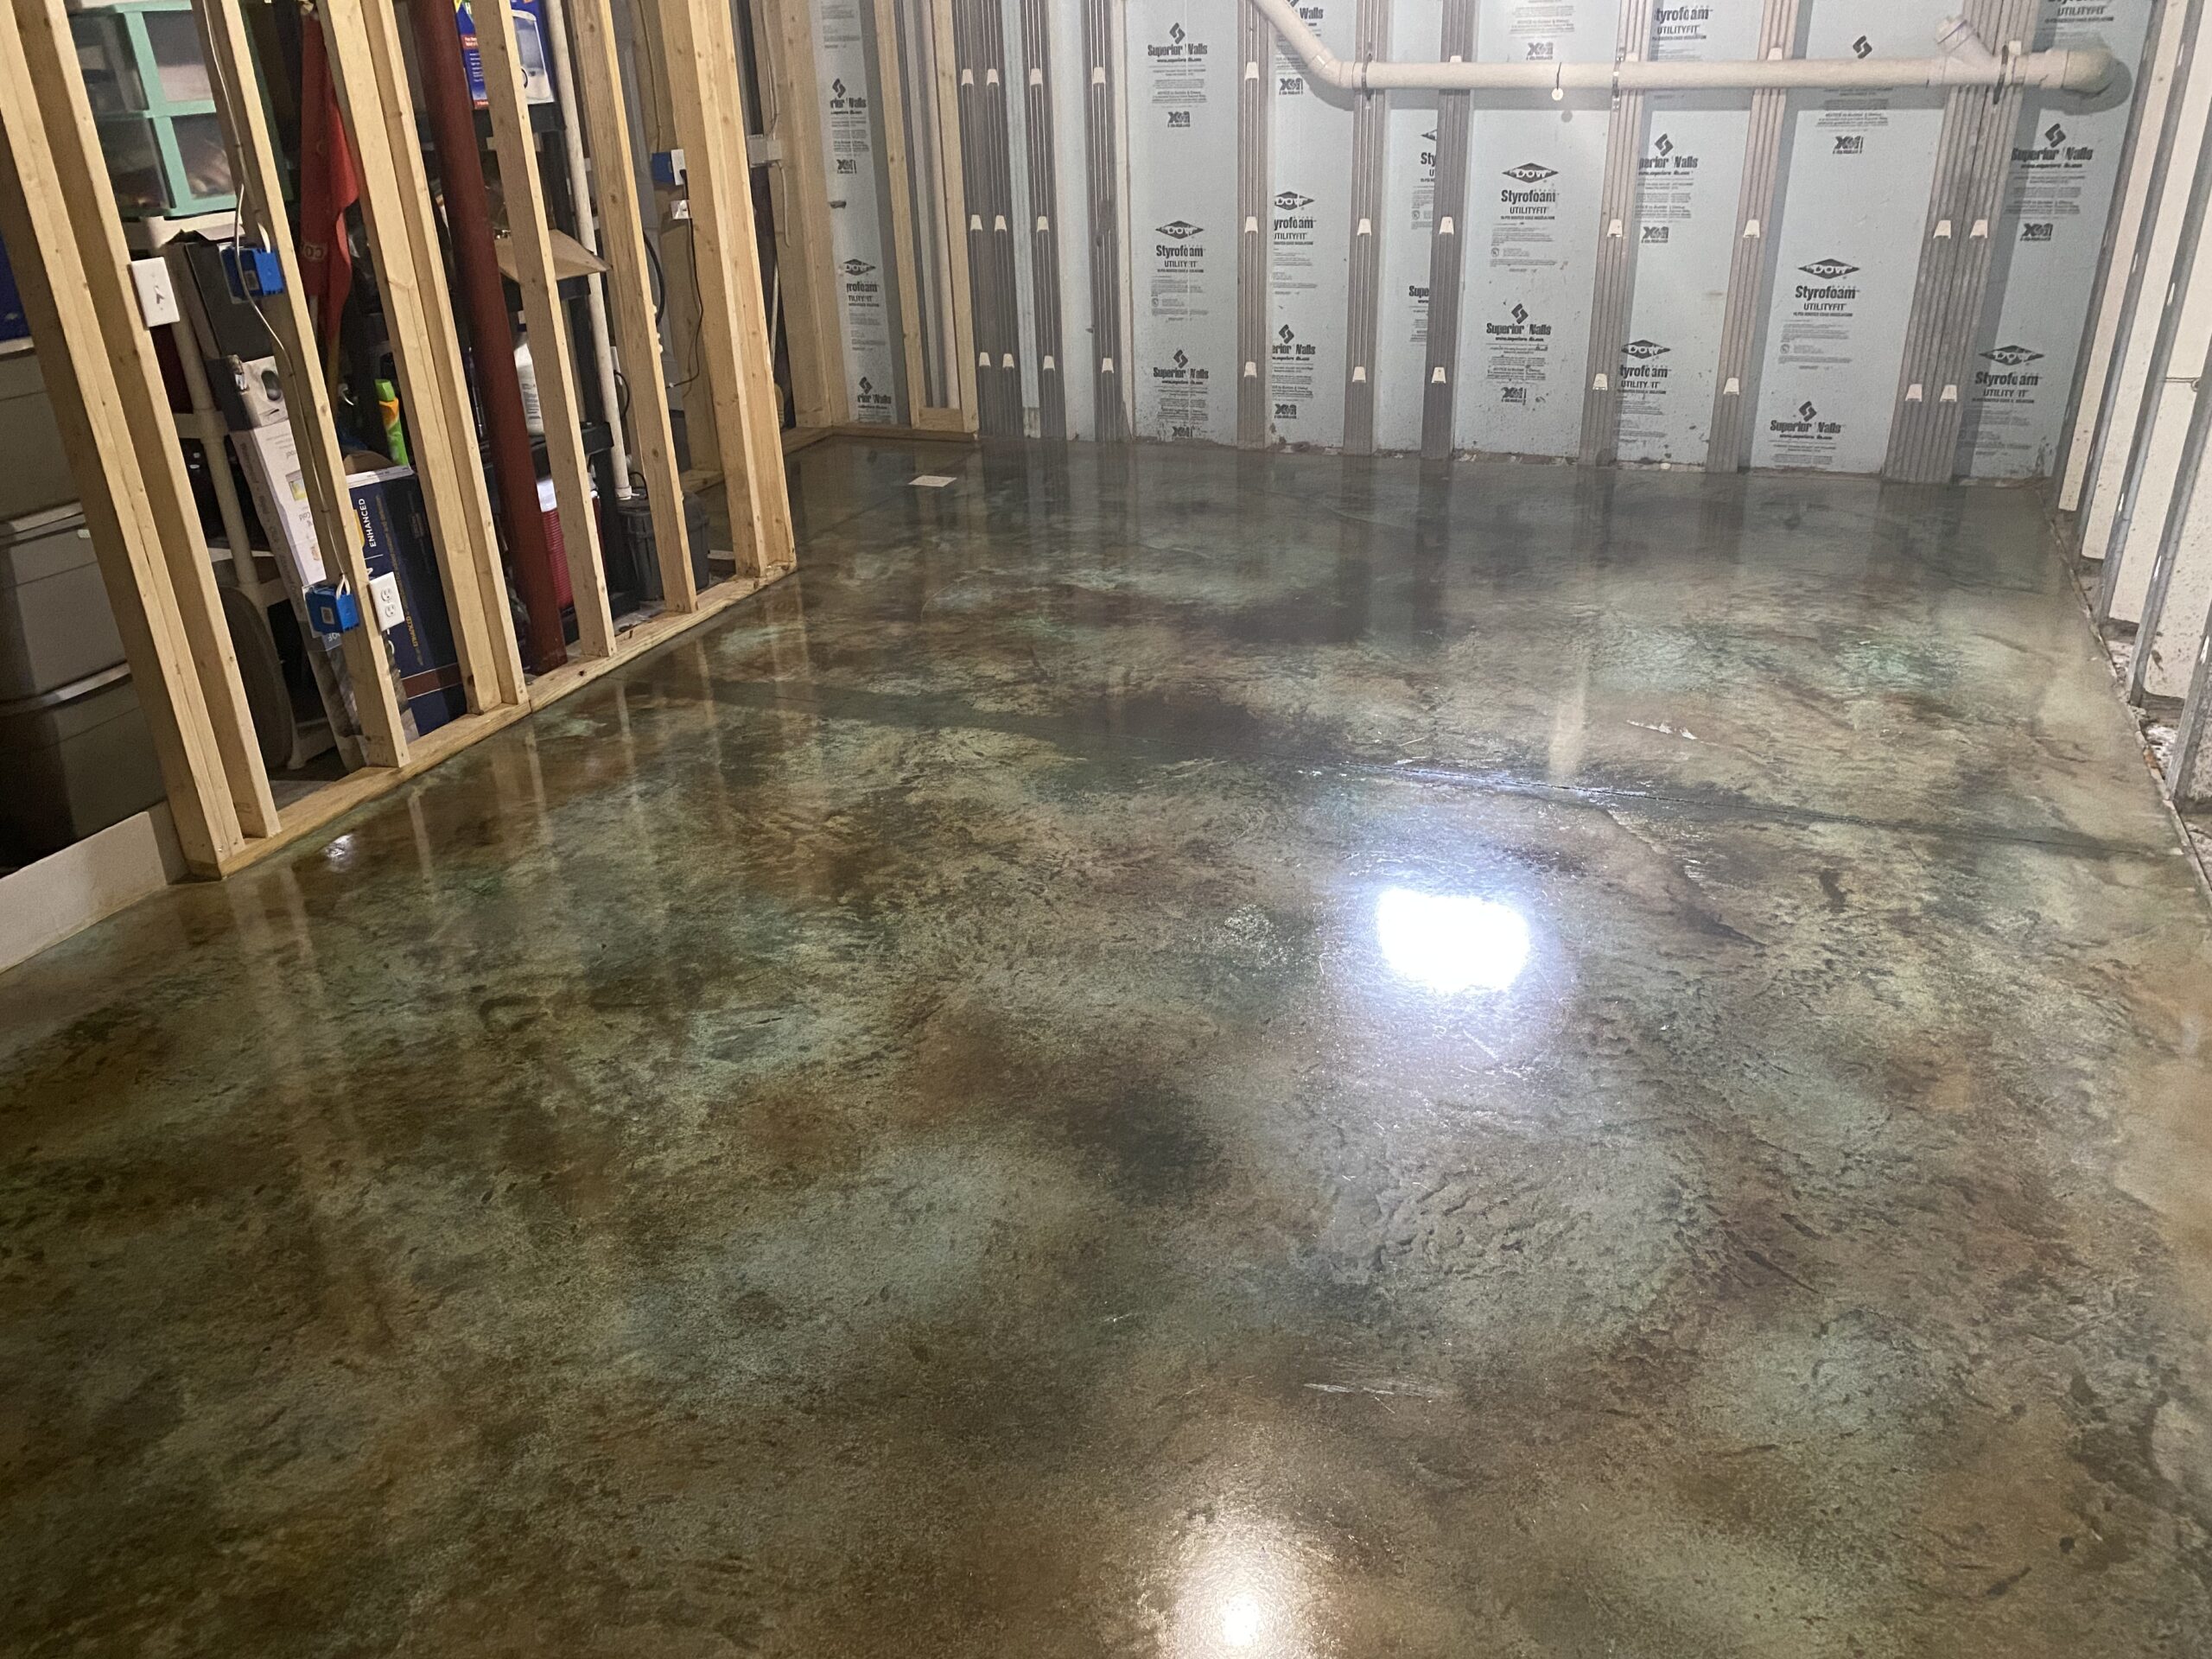
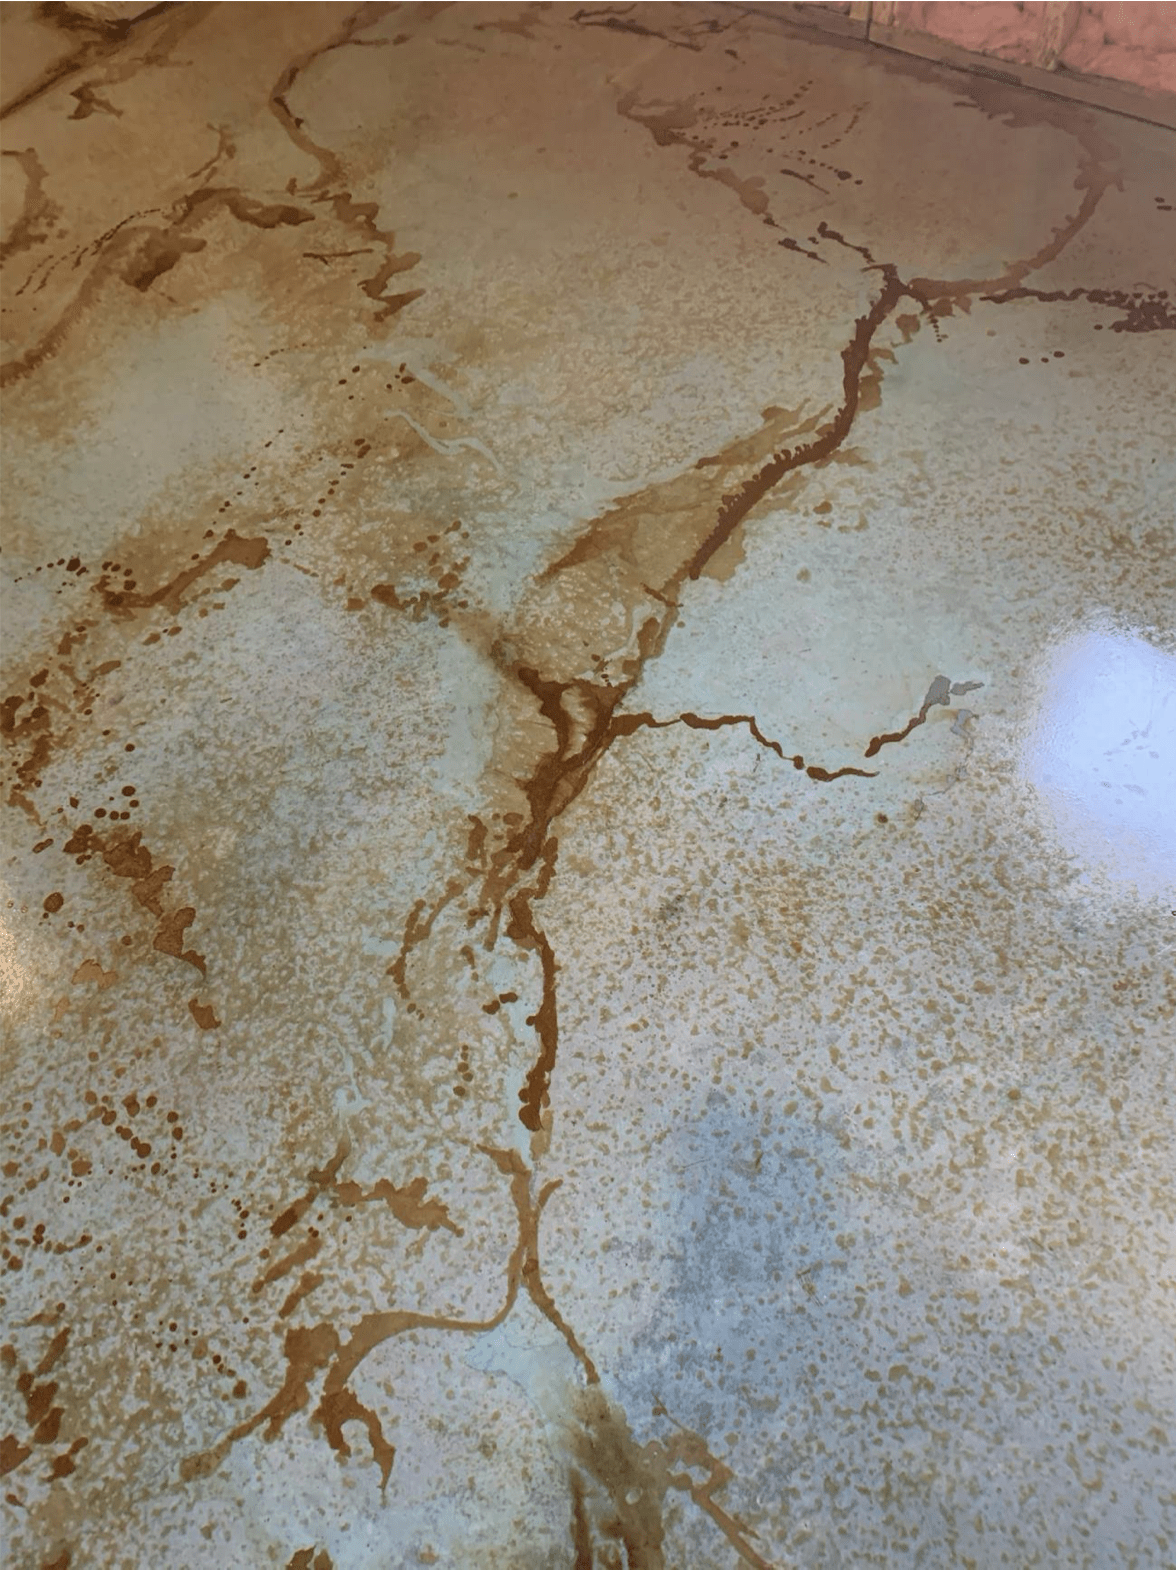
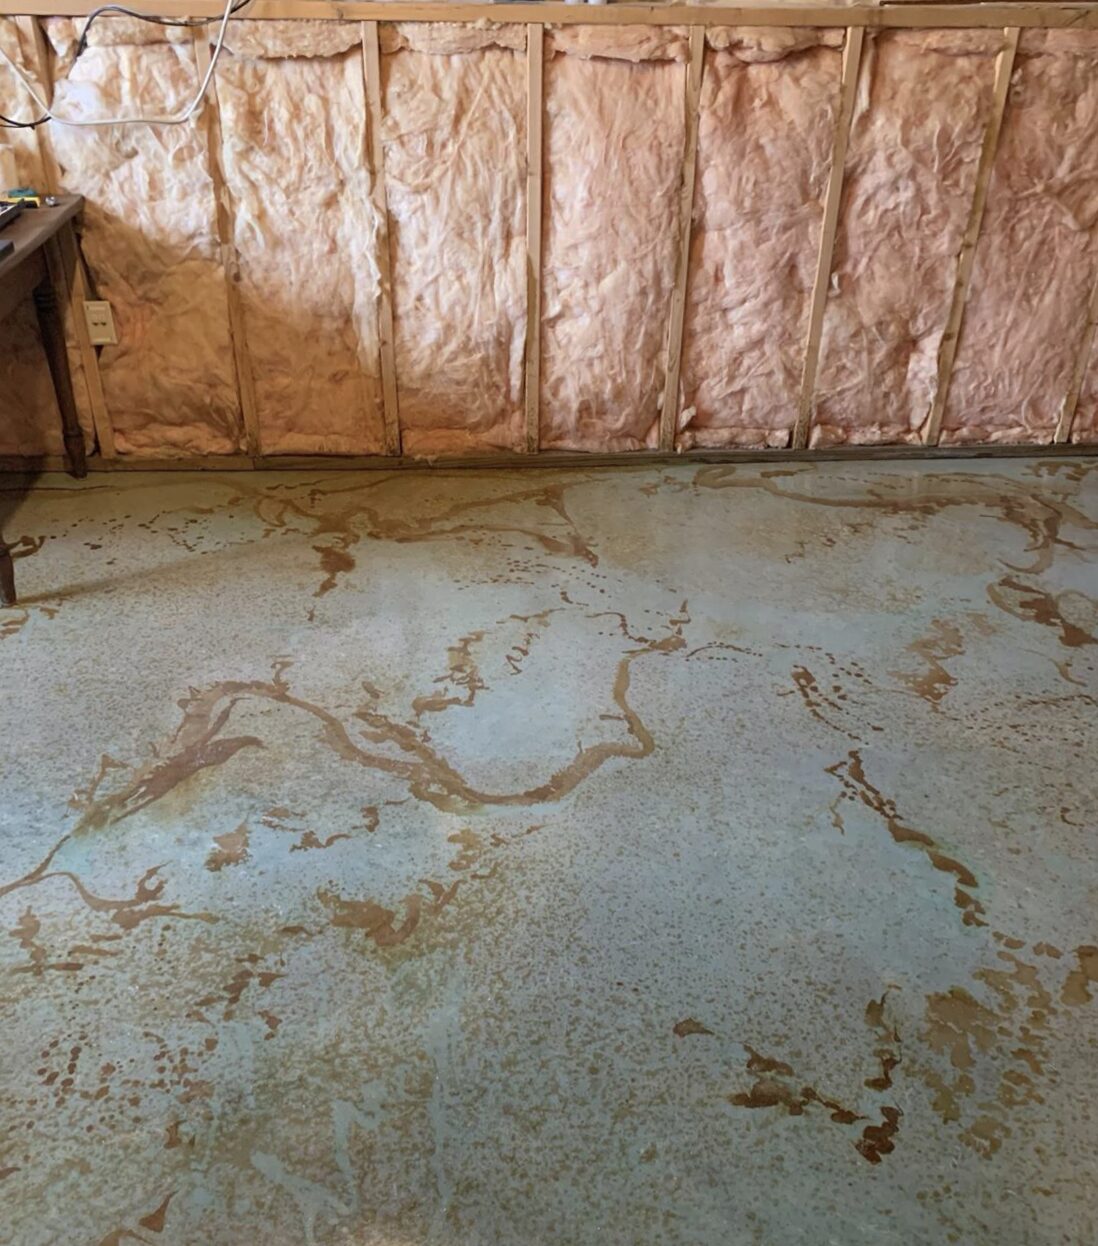
Acid Stain Concrete Basement Floor: Before and After Photos
