Creating a Faux Polished Concrete Floor: A Cost-Effective Guide
by Justin Richardson
Are you looking to achieve the sleek, polished concrete floor look without the hefty price tag? A cost-effective solution is using concrete dye to create a stunning faux polished floor. Concrete dye powder, known for its UV stability and super fine consistency, is mixed with all-purpose acetone to stain smooth concrete floors. Available in a wide range of vivid colors, it’s a perfect option for DIY enthusiasts.
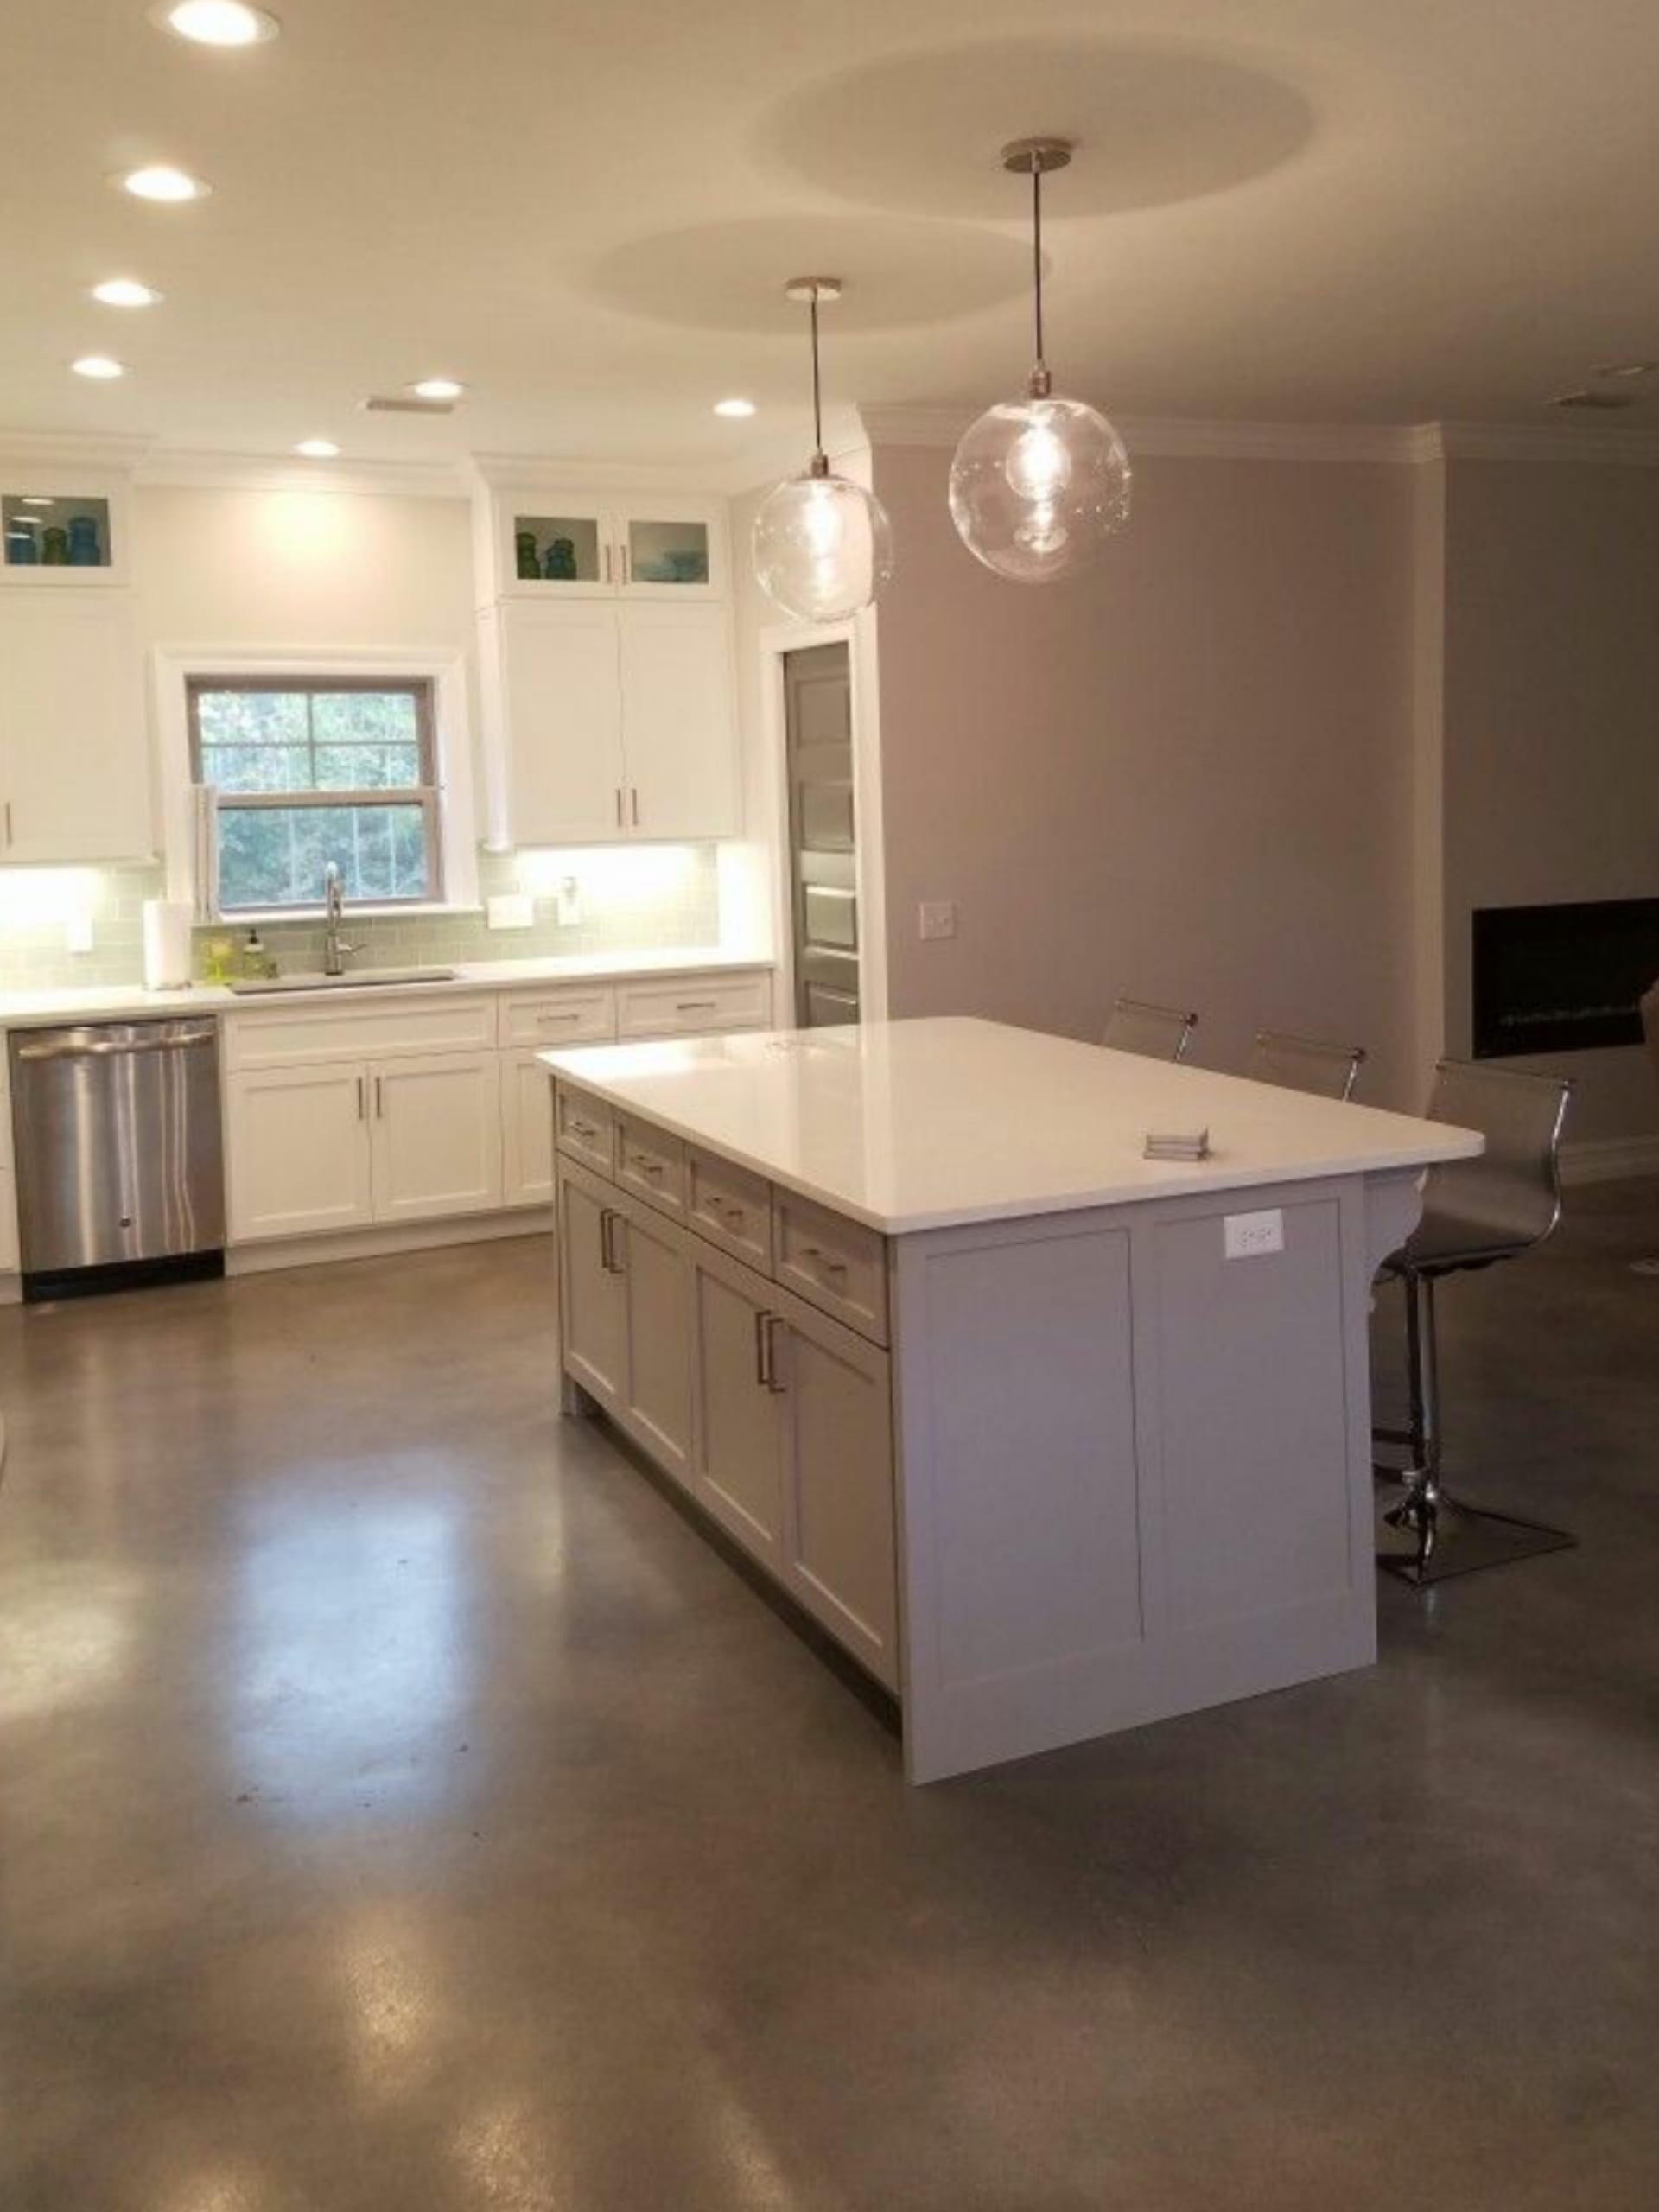
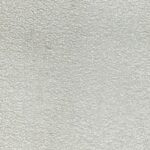
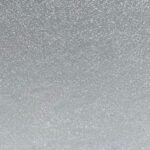
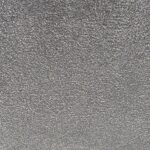
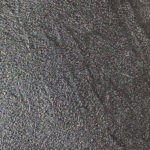
To achieve a polished look, many customers prefer using a combination of four favorite Vibrance Dye colors: White, Stormy Gray, Light Slate, and Charcoal. By experimenting with different proportions, combinations, and color spraying orders, you can create a unique, customized finish that rivals professionally polished floors. This method not only transforms your space but also gives you the creative freedom to achieve the exact look you want, all while staying within budget.
However, before you begin applying any dyes, it’s essential to emphasize that surface preparation is critical to achieving a successful outcome. Properly grinding and cleaning your concrete floor ensures that the dye adheres evenly and produces the desired polished effect. Any shortcuts in this step can lead to uneven coloring and a less durable finish, so take the time to prepare your surface thoroughly for the best results.
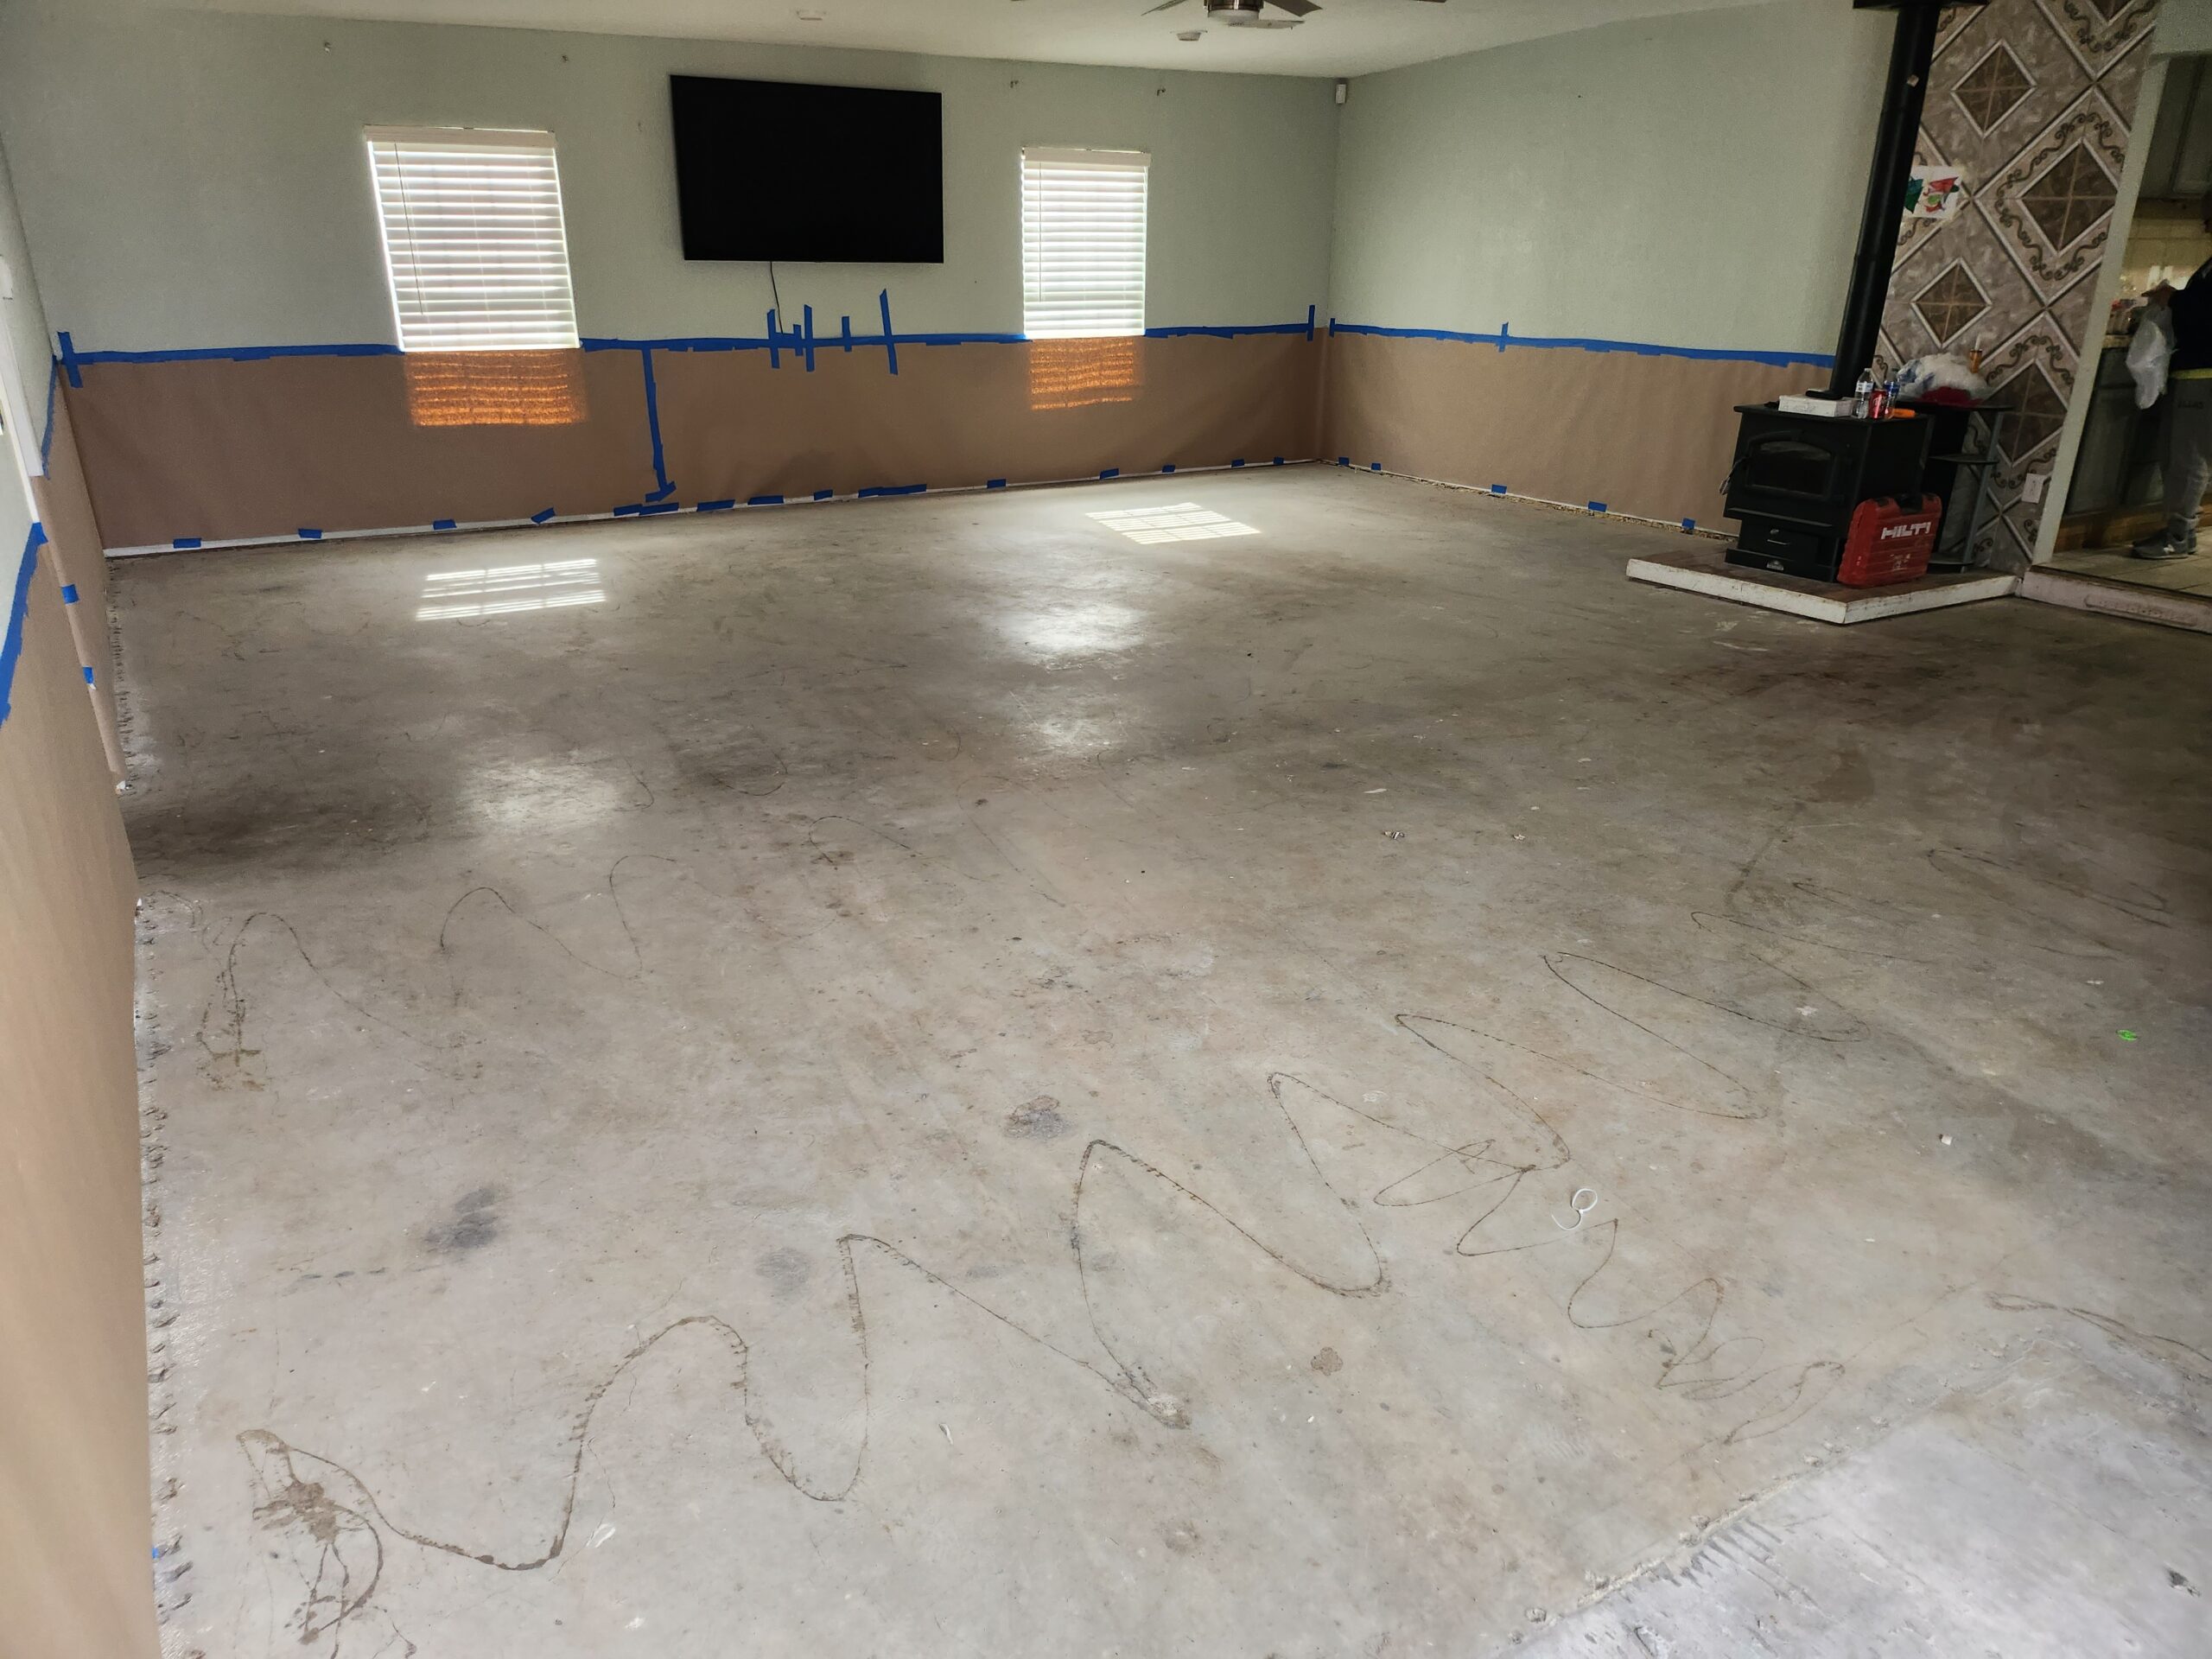
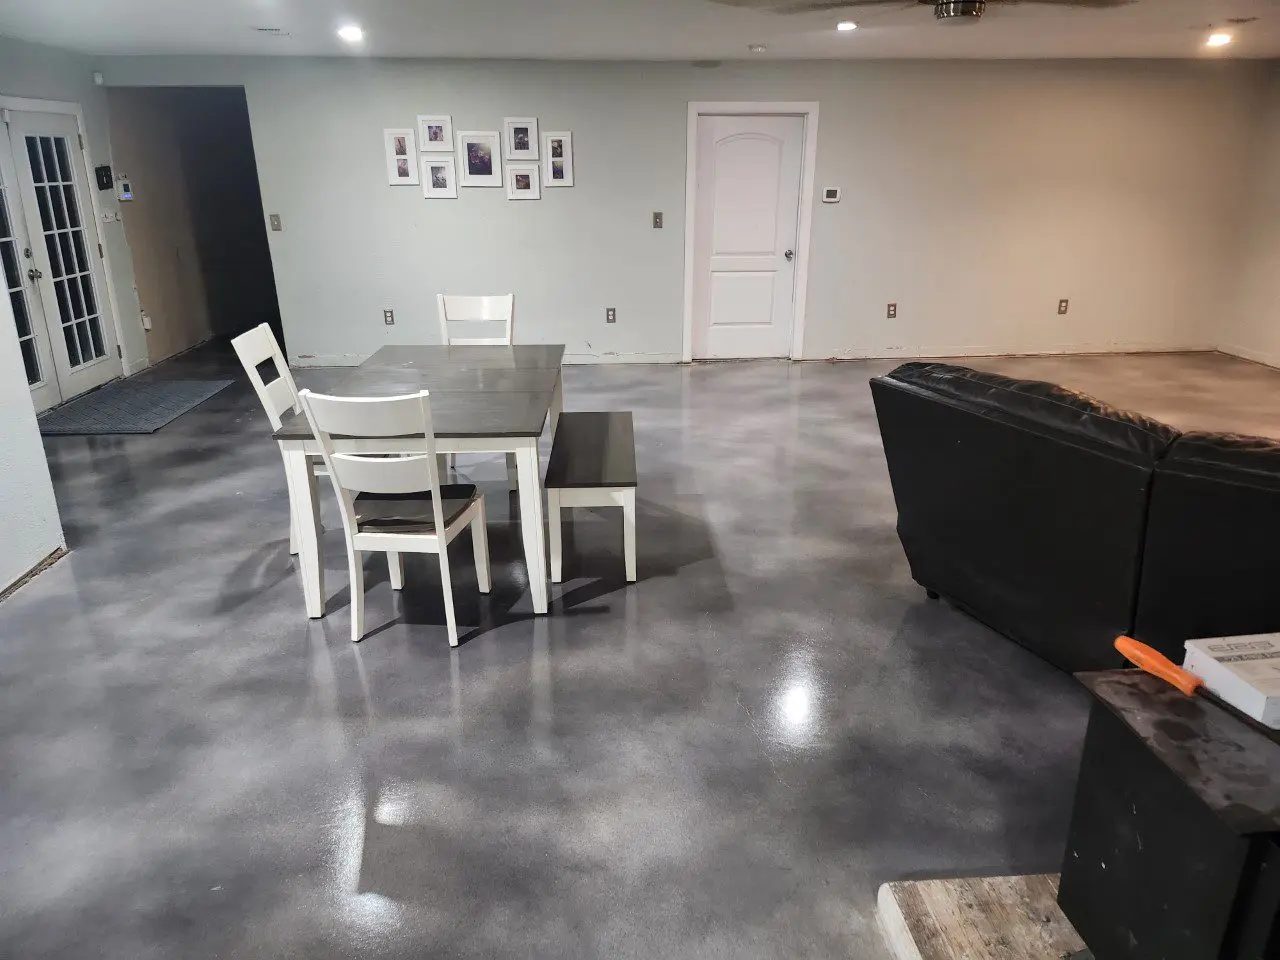
When it comes to applying the dyes, some customers prefer starting with the lighter shades and gradually adding darker tones. This technique allows for a more controlled buildup of color and shading, achieving a subtle gradient effect. Others opt for the opposite approach, beginning with darker hues like Charcoal and layering lighter shades on top. This reverse method can create a more dramatic and varied finish, especially when using colors like Light Slate and White.
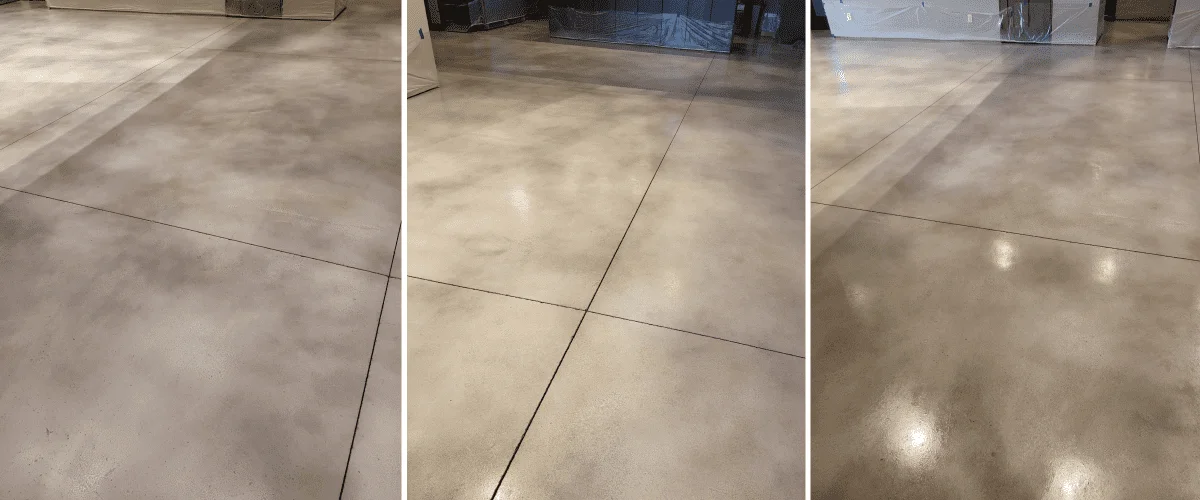
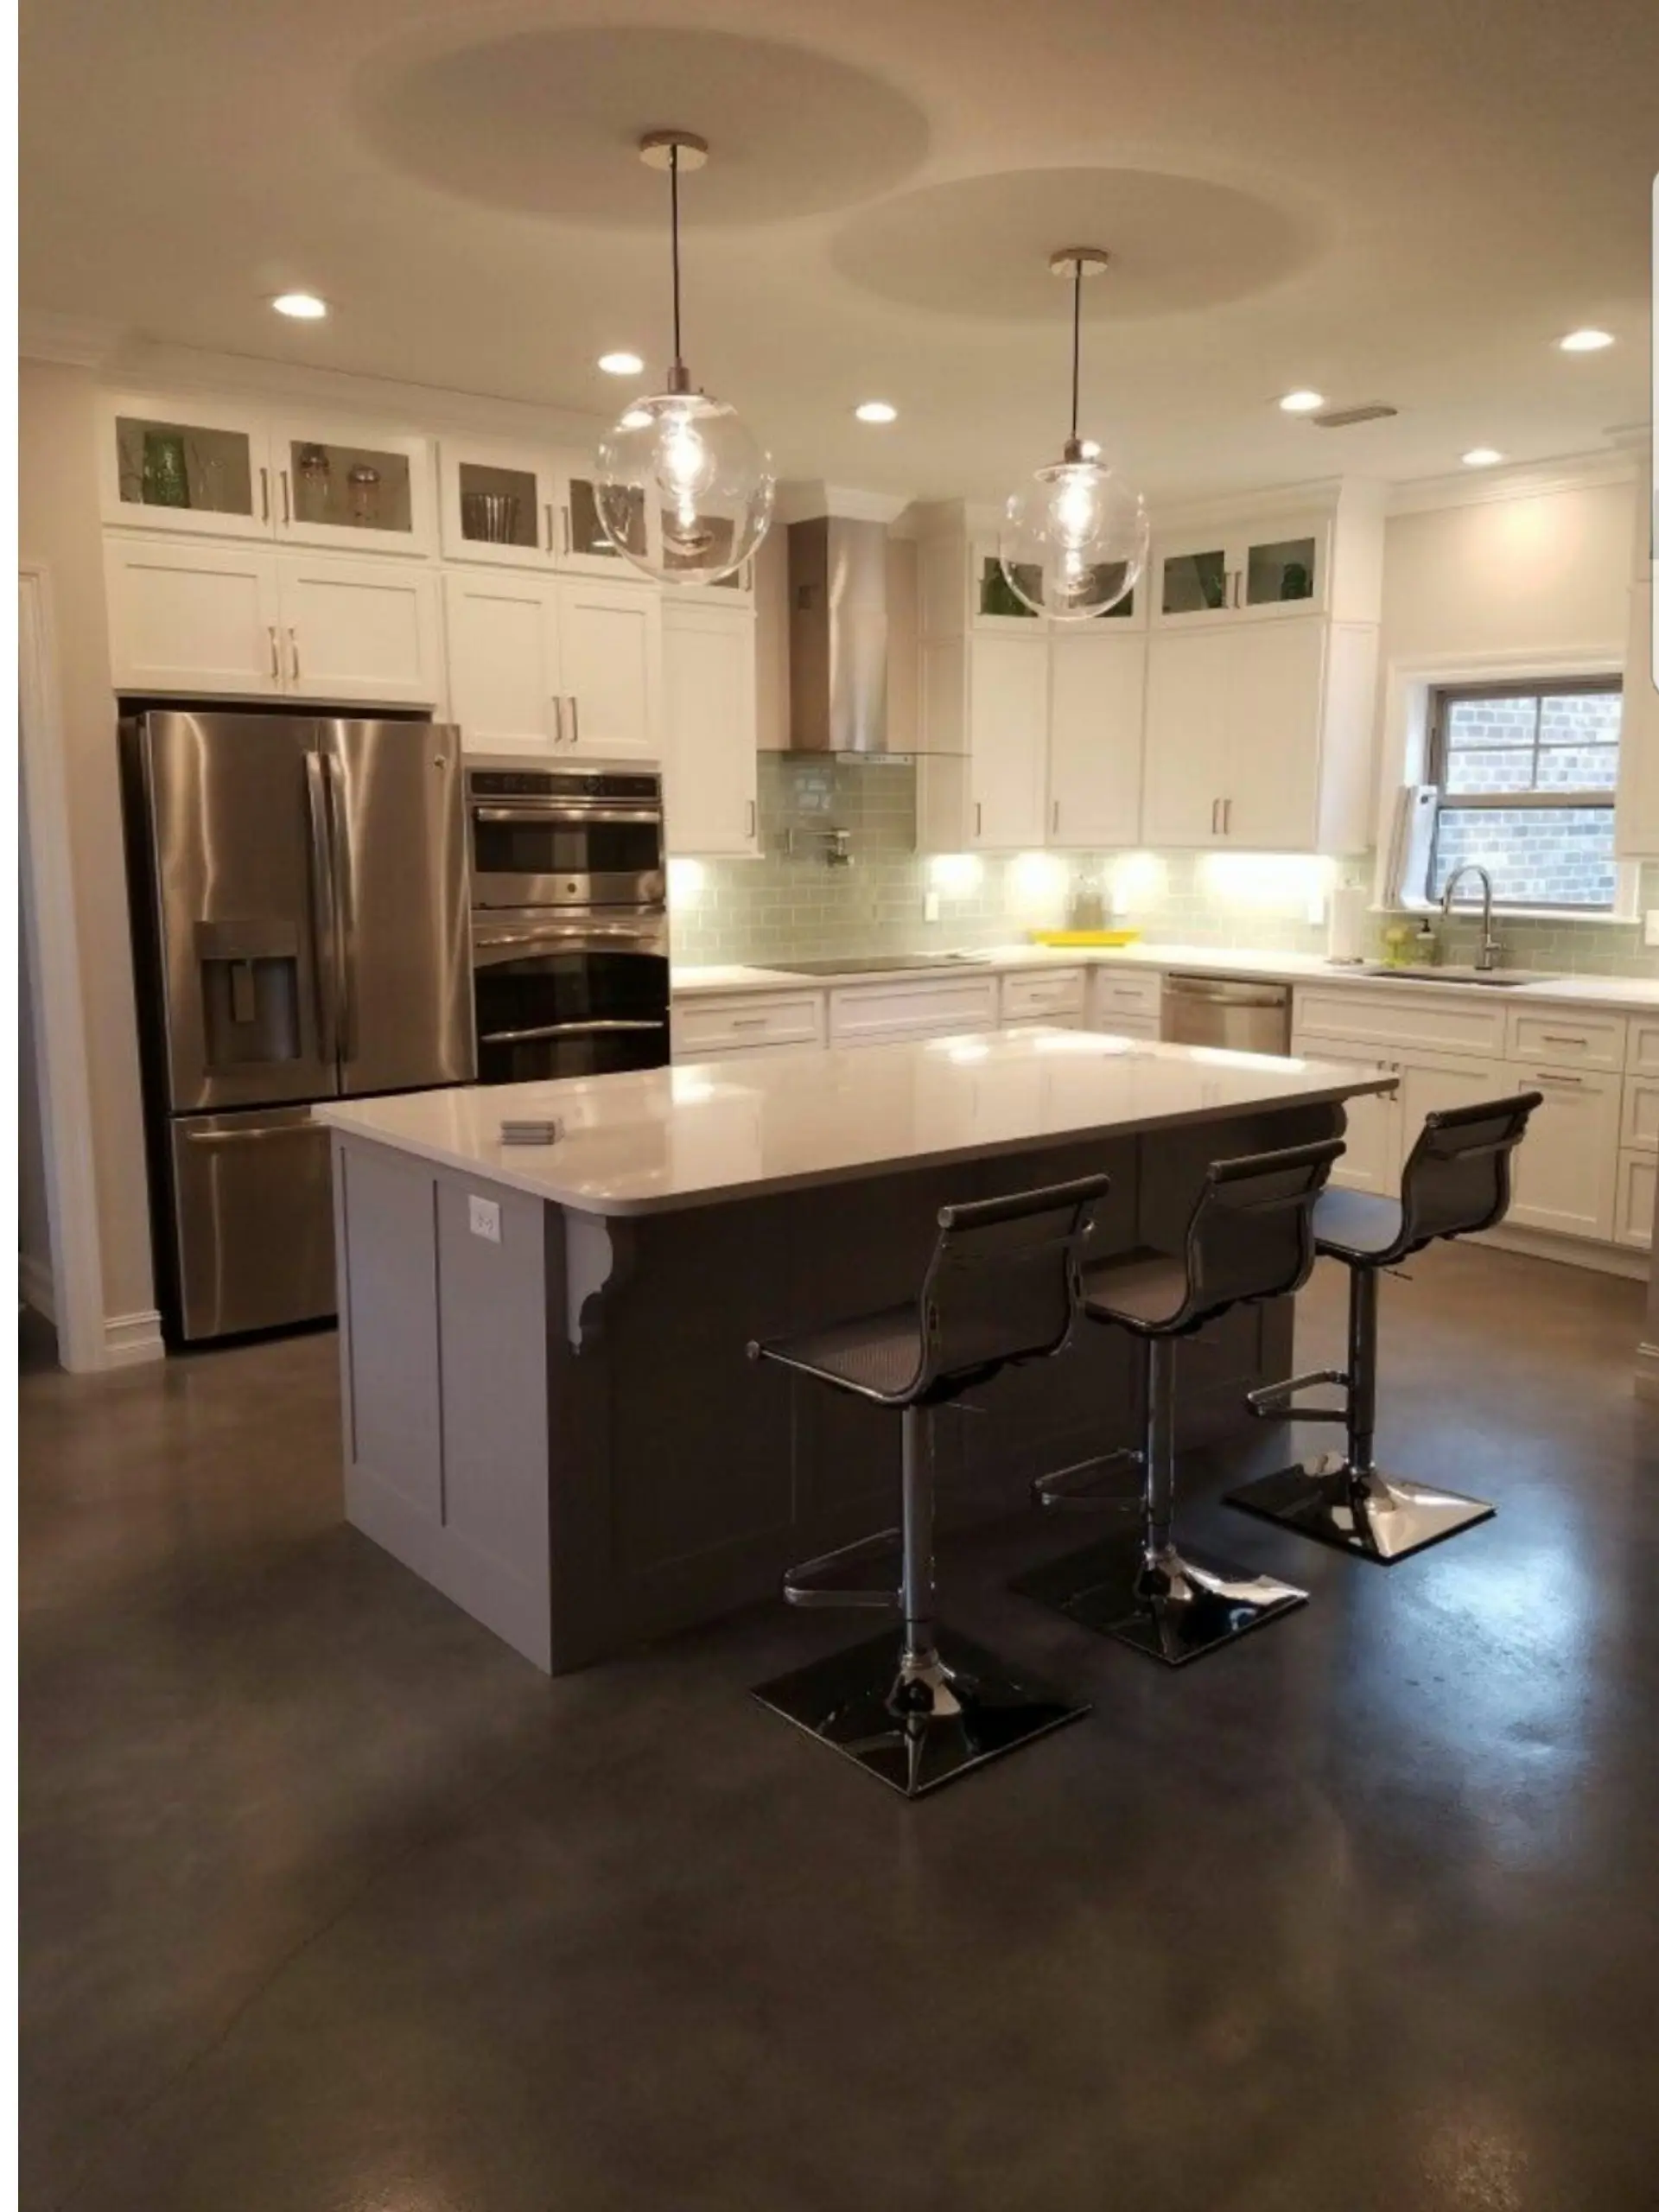
Both approaches have their unique appeal, and the choice often depends on the look you’re aiming to achieve. Light-to-dark applications tend to produce a more uniform, polished appearance, while dark-to-light methods can offer striking contrasts and depth. Below are examples of both techniques to help you decide which might be best for your project.
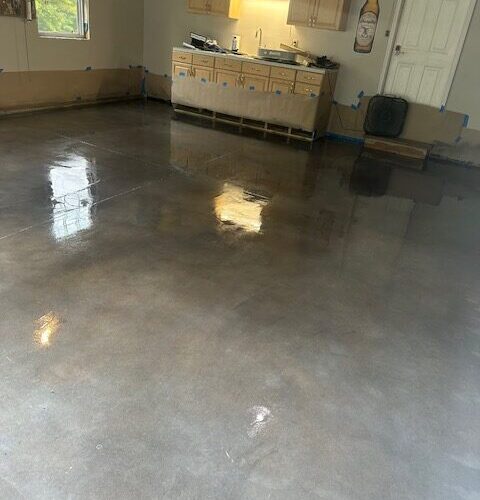
For this 800 sq ft project, the customer chose to create a polished concrete look using Vibrance Dye. They purchased 2 gallons each of White, Stormy Gray, and Charcoal Vibrance Dye to achieve this stunning transformation, layering the colors for a rich, dynamic finish.
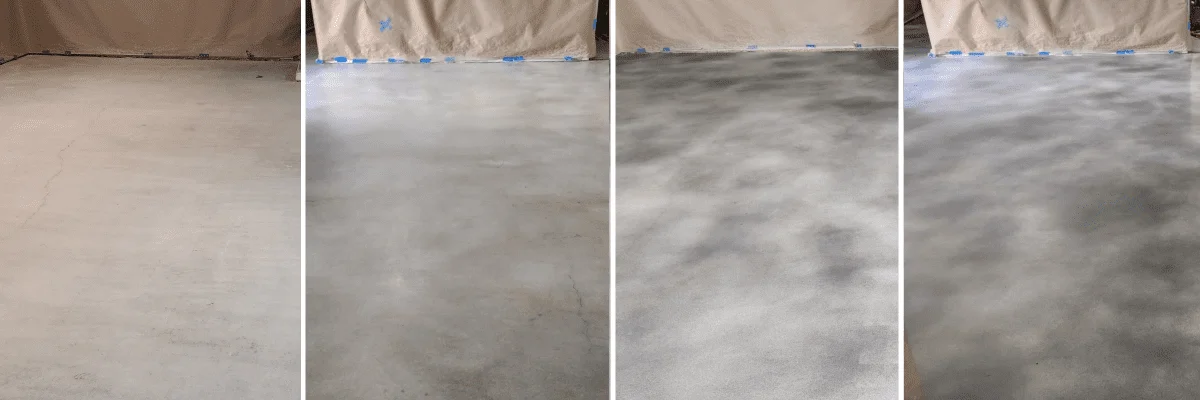
For this expansive 2,800 sq ft project, the customer carefully selected their Vibrance Dye colors to achieve a stunning finish. They purchased 15 gallons of Light Slate, 5 gallons of Charcoal, and 1 gallon of White Vibrance Dye. This combination of colors was applied in layers to create a beautifully nuanced and polished concrete look.
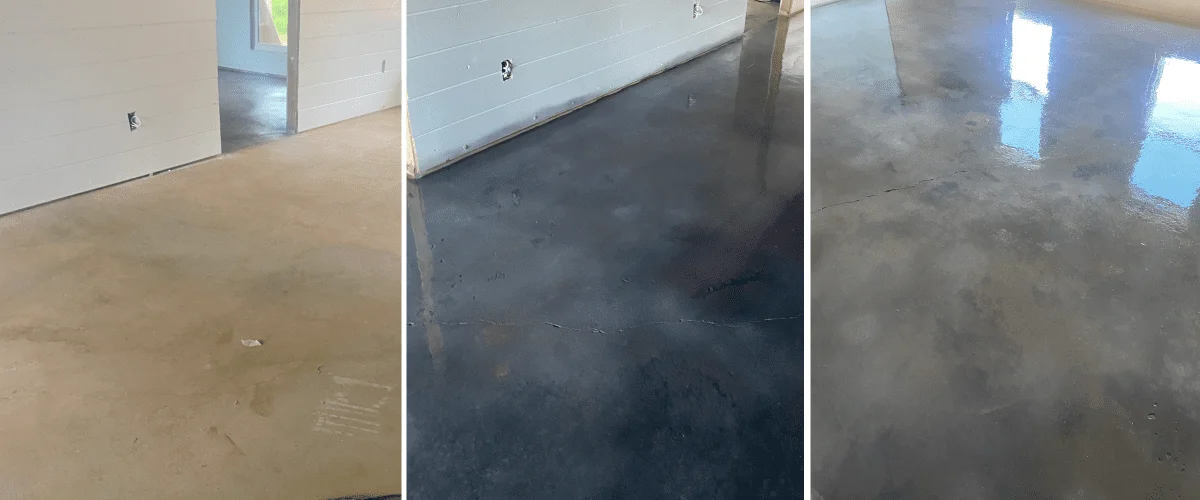
Time needed: 2 days.
Step-by-Step Guide to Creating a Faux Polished Concrete Look:
Prepare the Concrete Dye:
- Mix 1-gallon packets of White Vibrance™ powder with 1 gallon of acetone in an acetone sprayer.
- Repeat this process separately for Stormy Gray and Charcoal Vibrance™ Dye.
- Let the dye mixtures sit for 1 hour to ensure they’re fully blended.
Apply the White Vibrance™ Dye:
- Spray the White Vibrance™ dye over the concrete surface in a circular motion.
- Regularly agitate the dye mix in the sprayer to maintain an even color distribution.
Add Depth with Stormy Gray Dye:
- Apply the Stormy Gray dye, focusing on creating shading and a lighter, mottled effect to mimic a polished dark gray concrete floor.
Finish with Charcoal Dye:
- Apply the Charcoal dye over the surface to deepen the color and enhance the polished concrete look.
Clean the Sprayers:
- Rinse out the acetone sprayers with acetone to prevent clogging and ensure they’re ready for future use.
Seal the Concrete:
- Apply AcquaSeal™ or EasySeal™ concrete sealer evenly across the floor to protect the dye and enhance the finish.
- Allow the sealer to dry thoroughly for 24-48 hours.
Protect with ProWax Polish™:
- Apply two thin coats of ProWax Polish™ to the sealed concrete floor.
- This final step will protect the surface from foot traffic and add a subtle sheen to the polished look.
CAUTION: When preparing the concrete dye mixture with acetone, it is important to use caution. Do not mix the dye and acetone in the sprayer using any type of electrical mixer. Acetone is highly flammable and using an electrical mixer could pose a fire risk. Instead, manually mix the dye and acetone using a stir stick or by shaking the container vigorously. As always, be sure to store and use acetone in a well-ventilated area and keep it away from heat, sparks, and open flames.
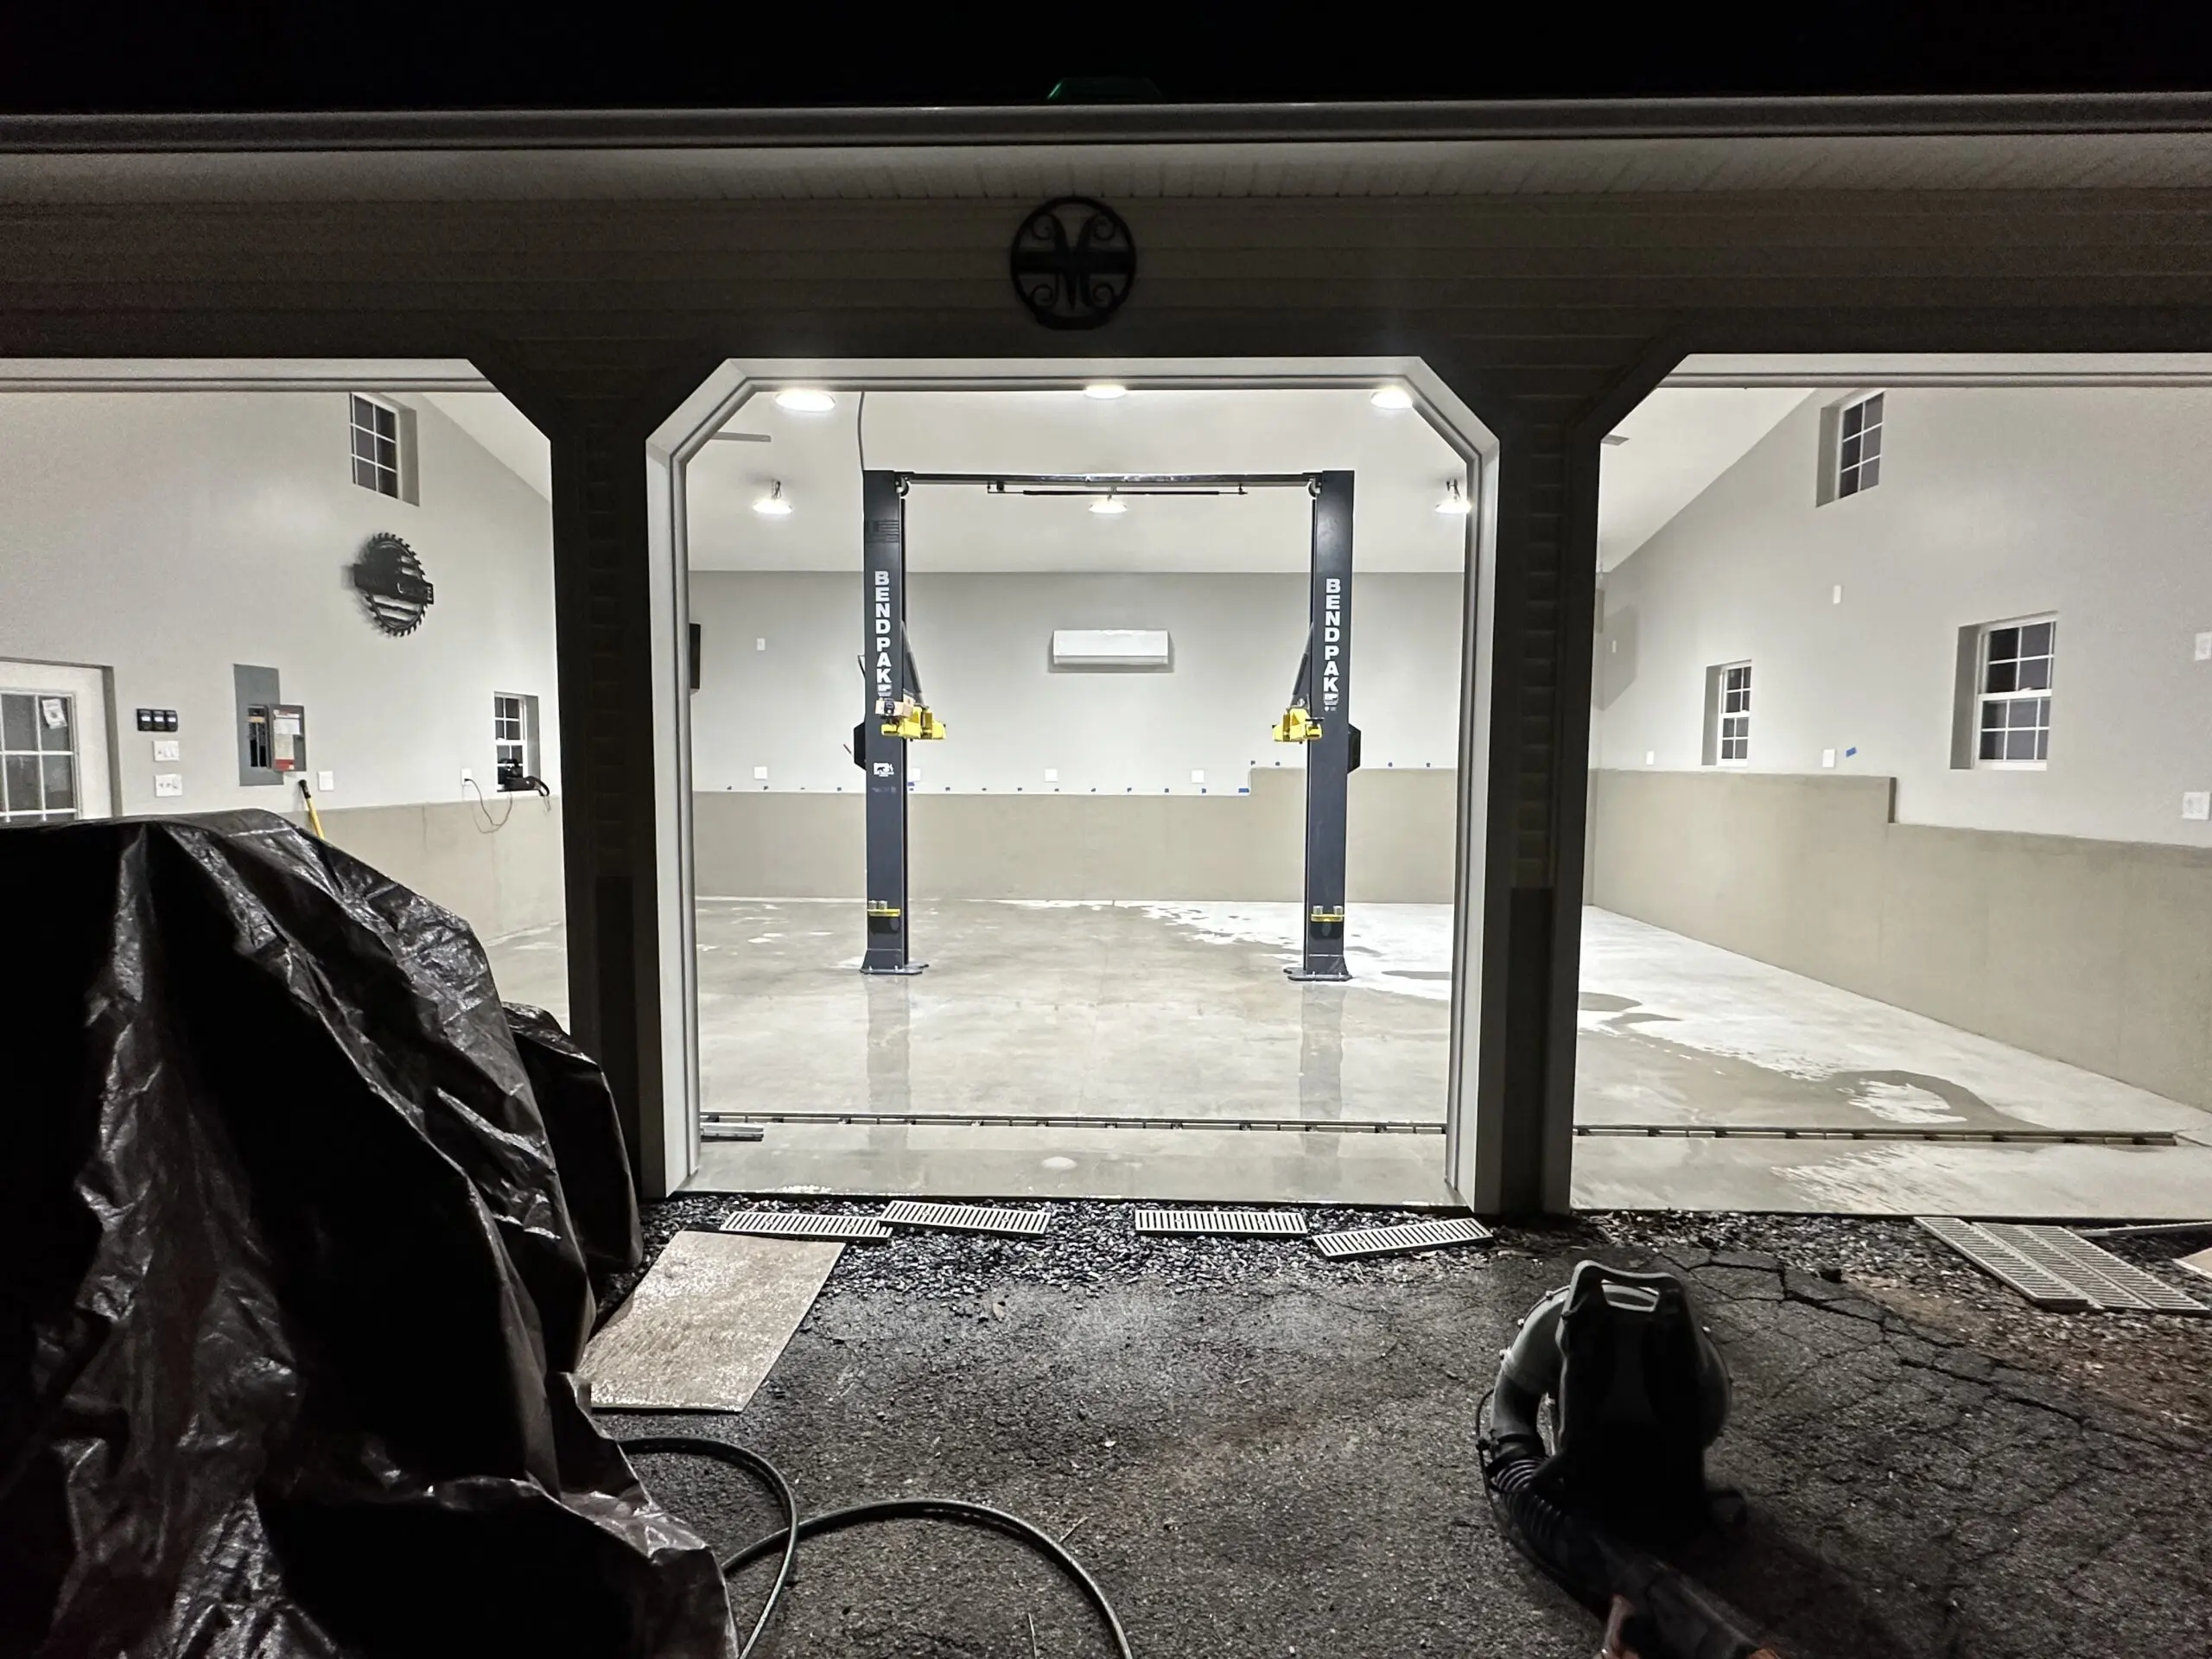
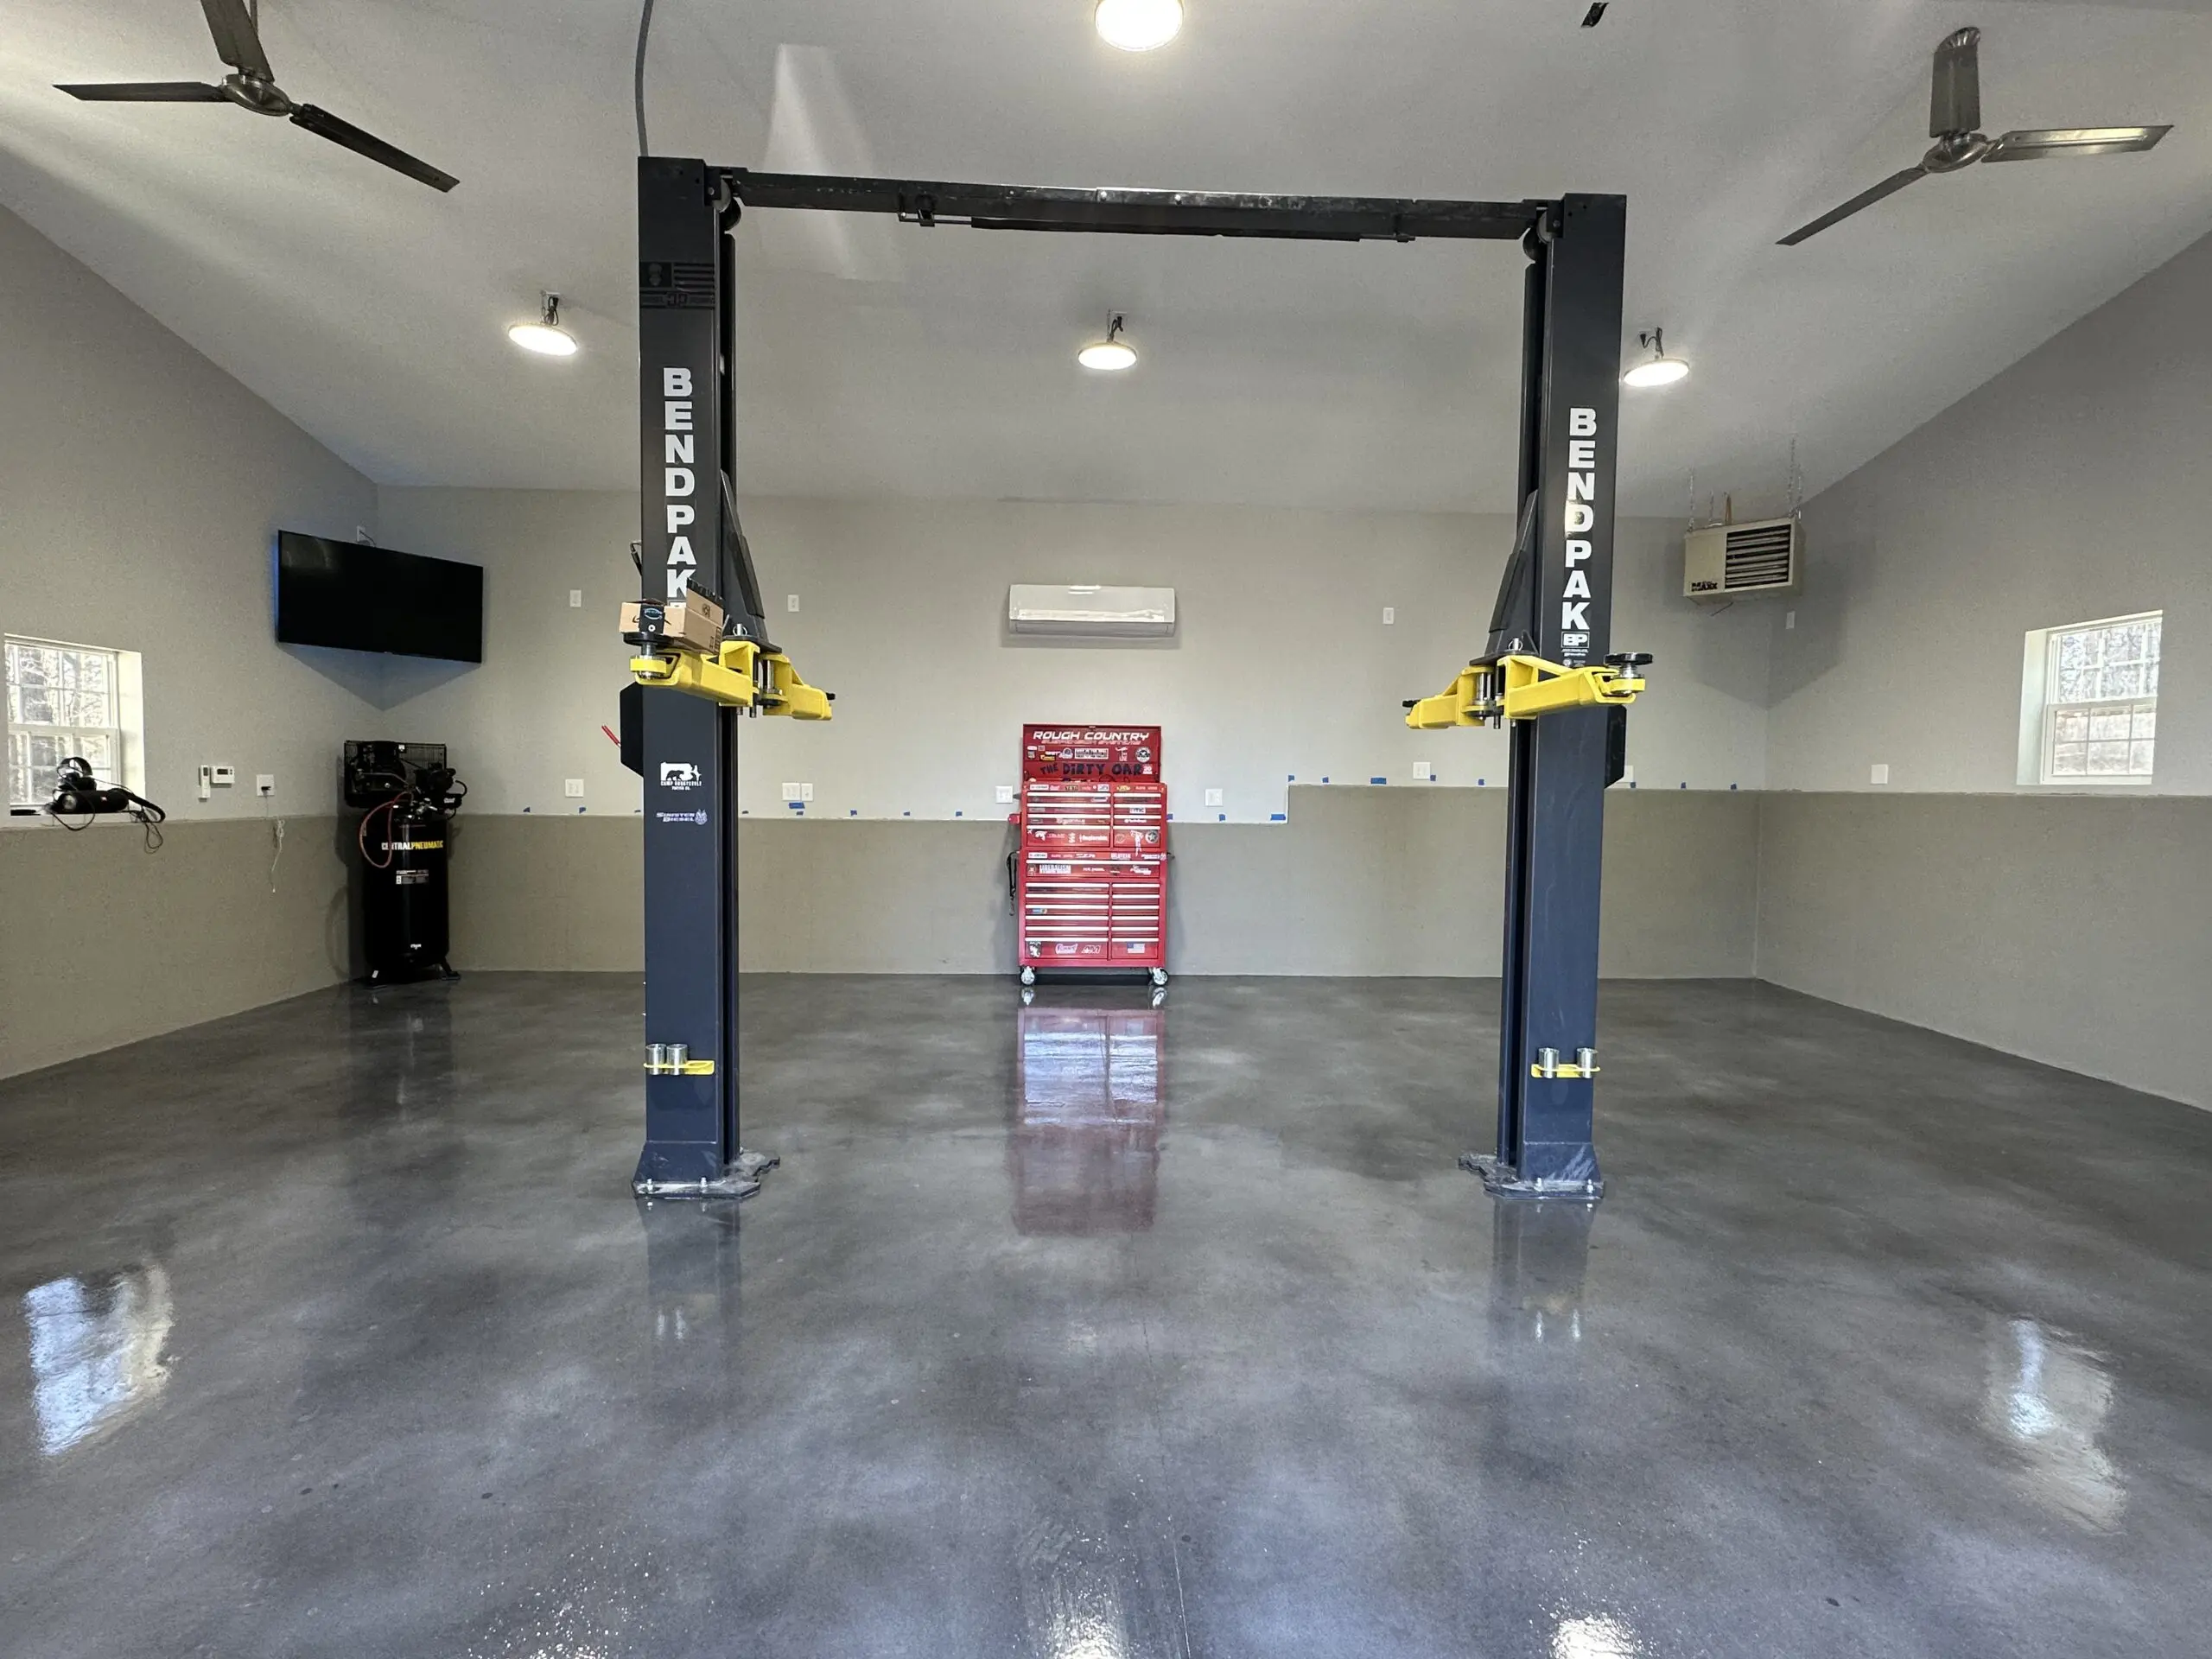
This customer project showcases a stunning garage floor transformation, where the customer opted for a unique and professional finish using Vibrance Dye. To achieve the desired look, they purchased equal amounts of Charcoal, Stormy Gray, and White Vibrance Dye. After thorough surface preparation, including concrete grinding, they applied the dyes in a simple process, finishing with a polyaspartic clear coat for durability. The result is a one-of-a-kind garage floor that has impressed neighbors and friends alike.
When applying Vibrance Dye to achieve a faux polished concrete look, here are some tips to ensure the best results:
- Use a quality acetone approved sprayer.
- Apply thin coats of dye for the best color quality and appearance. Three or more coats should be sufficient for most applications.
- For a deeper color, apply additional coats.
- To prevent pooling, avoid letting the acetone dye accumulate on the surface. If this happens, wipe away excess with a disposable rag.
- Allow the acetone dye to dry completely before sealing.
- Before sealing, use a soft cloth or clean dust mop to remove any clumps or residue from the application.
These tips will help you achieve the best results when using Vibrance Dye to create a faux polished concrete floor.
IMPORTANT:
- Use an acetone-grade sprayer for the application of this product. Standard deck and fence sprayers cannot be used to spray acetone dye.
- When using a 3-gallon or similar large acetone sprayer, do not carry it by the pump handle while spraying. Carry the sprayer by the strap at a 30 to 45-degree angle.
Troubleshooting Tips
If you are experiencing uneven or inconsistent concrete dye spots, here are some steps to fix the issue:
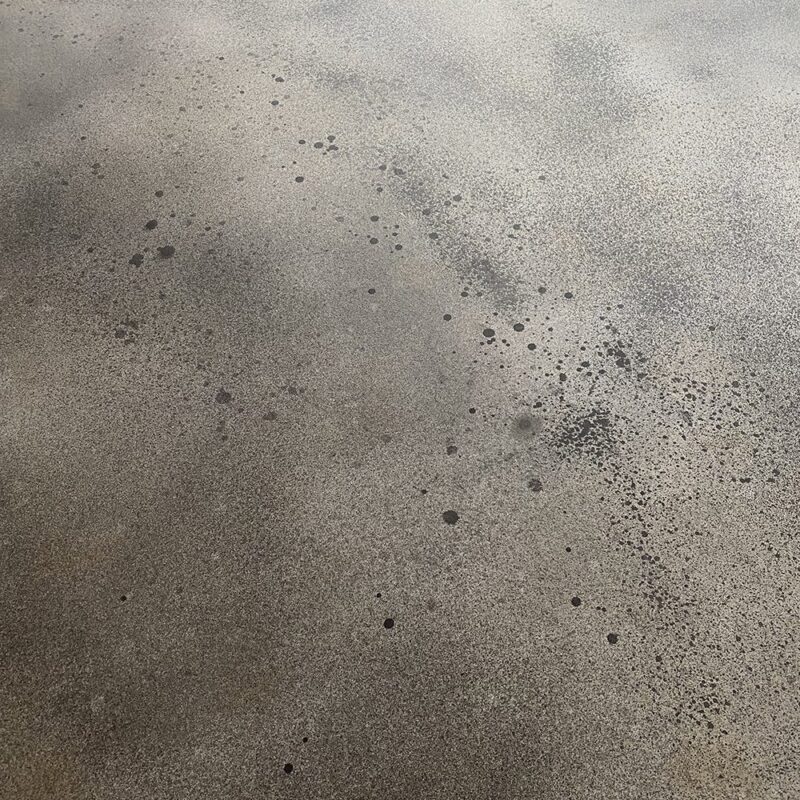
- Ensure that you are using an acetone-rated sprayer to apply the dye. This is important to ensure that the dye adheres properly to the surface.
- Check the sprayer for drips and investigate the reason for the drips, ensure that the seals are seated properly in the sprayer tip, and check the pressure in the tank.
- Allow the dye to sit for 4-6 hours to dry and the bonding agent can solidify.
- To remove any excess dye, use a cotton cloth and acetone to lightly dab the spots until they diminish.
- The color may look disturbed after this process, so once the sprayer is no longer dripping, lightly mist additional color over the affected area and blend it into the surrounding space.
- Be careful when walking on unsealed dye, if it hasn’t dried and hardened, it can stick to shoes and lift, or pigments can be displaced by dragging your feet.
By following these steps, you can fix uneven or inconsistent concrete dye spots and achieve a consistent and polished look.
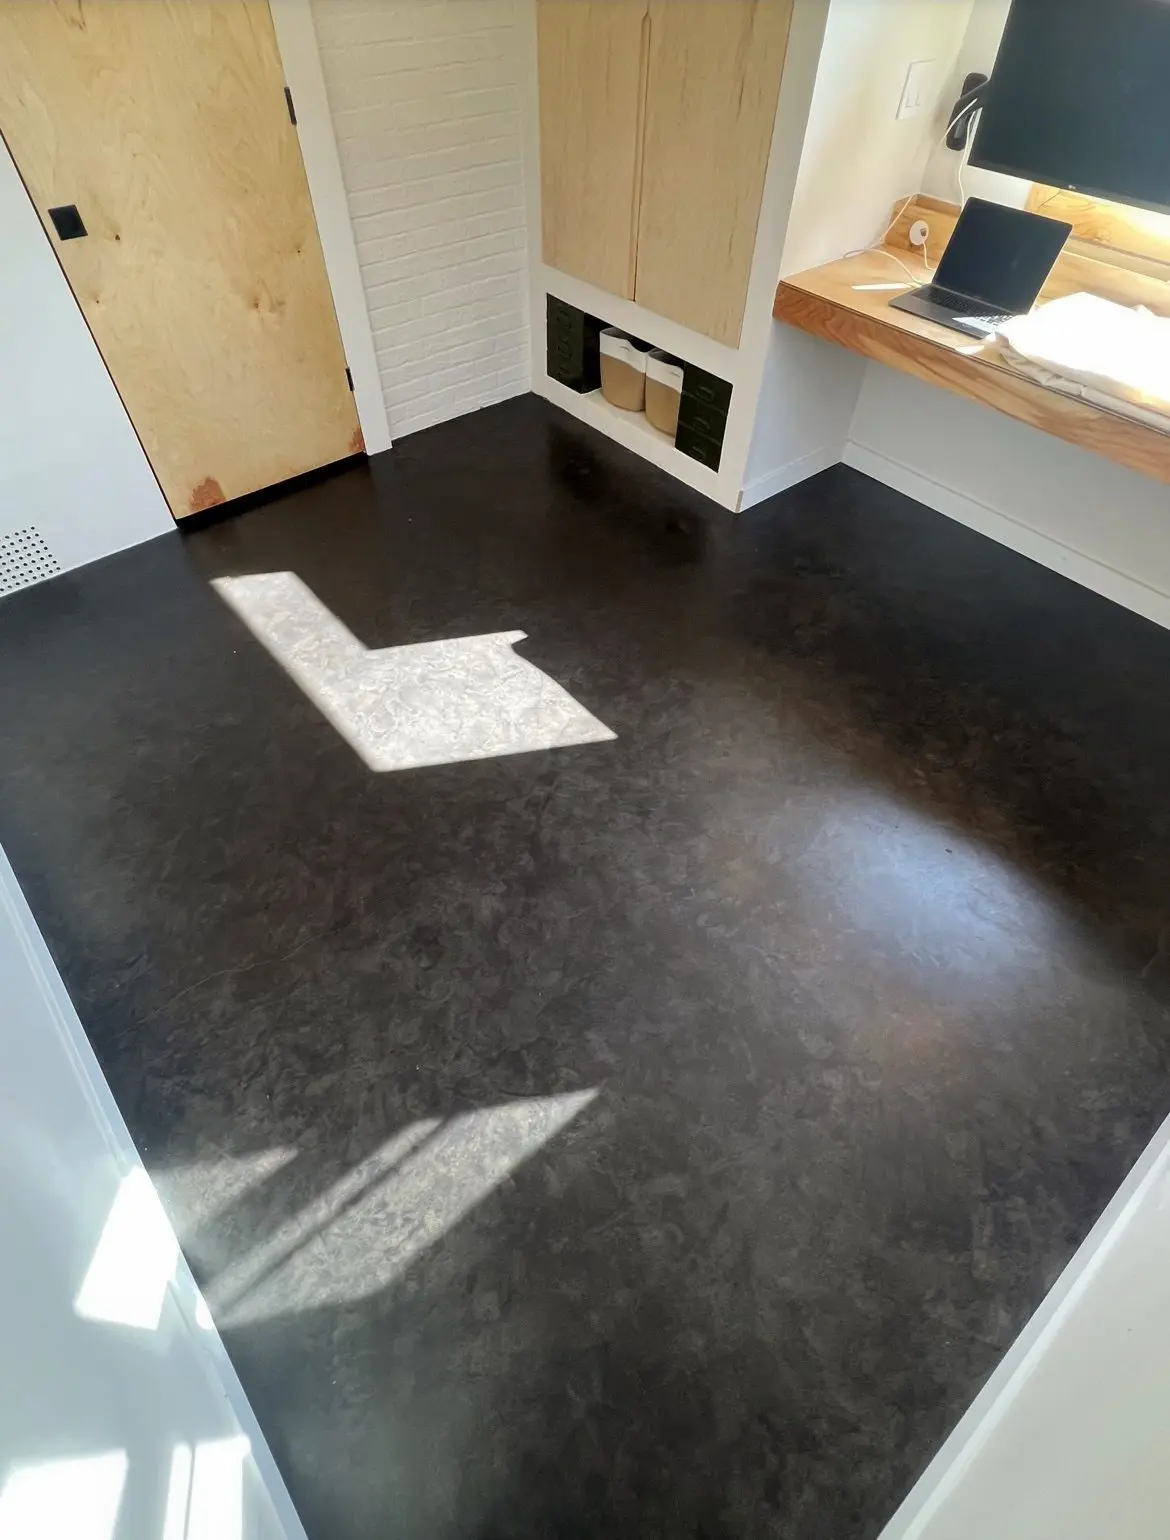
If you’re inspired by these projects and interested in exploring more industrial and mottled-looking floor finishes, don’t miss our blog post: ‘Stormy Gray Vibrance™ Dye: Your Ticket To DIY Magic!‘ Dive into the world of DIY magic with our Vibrance Dye.
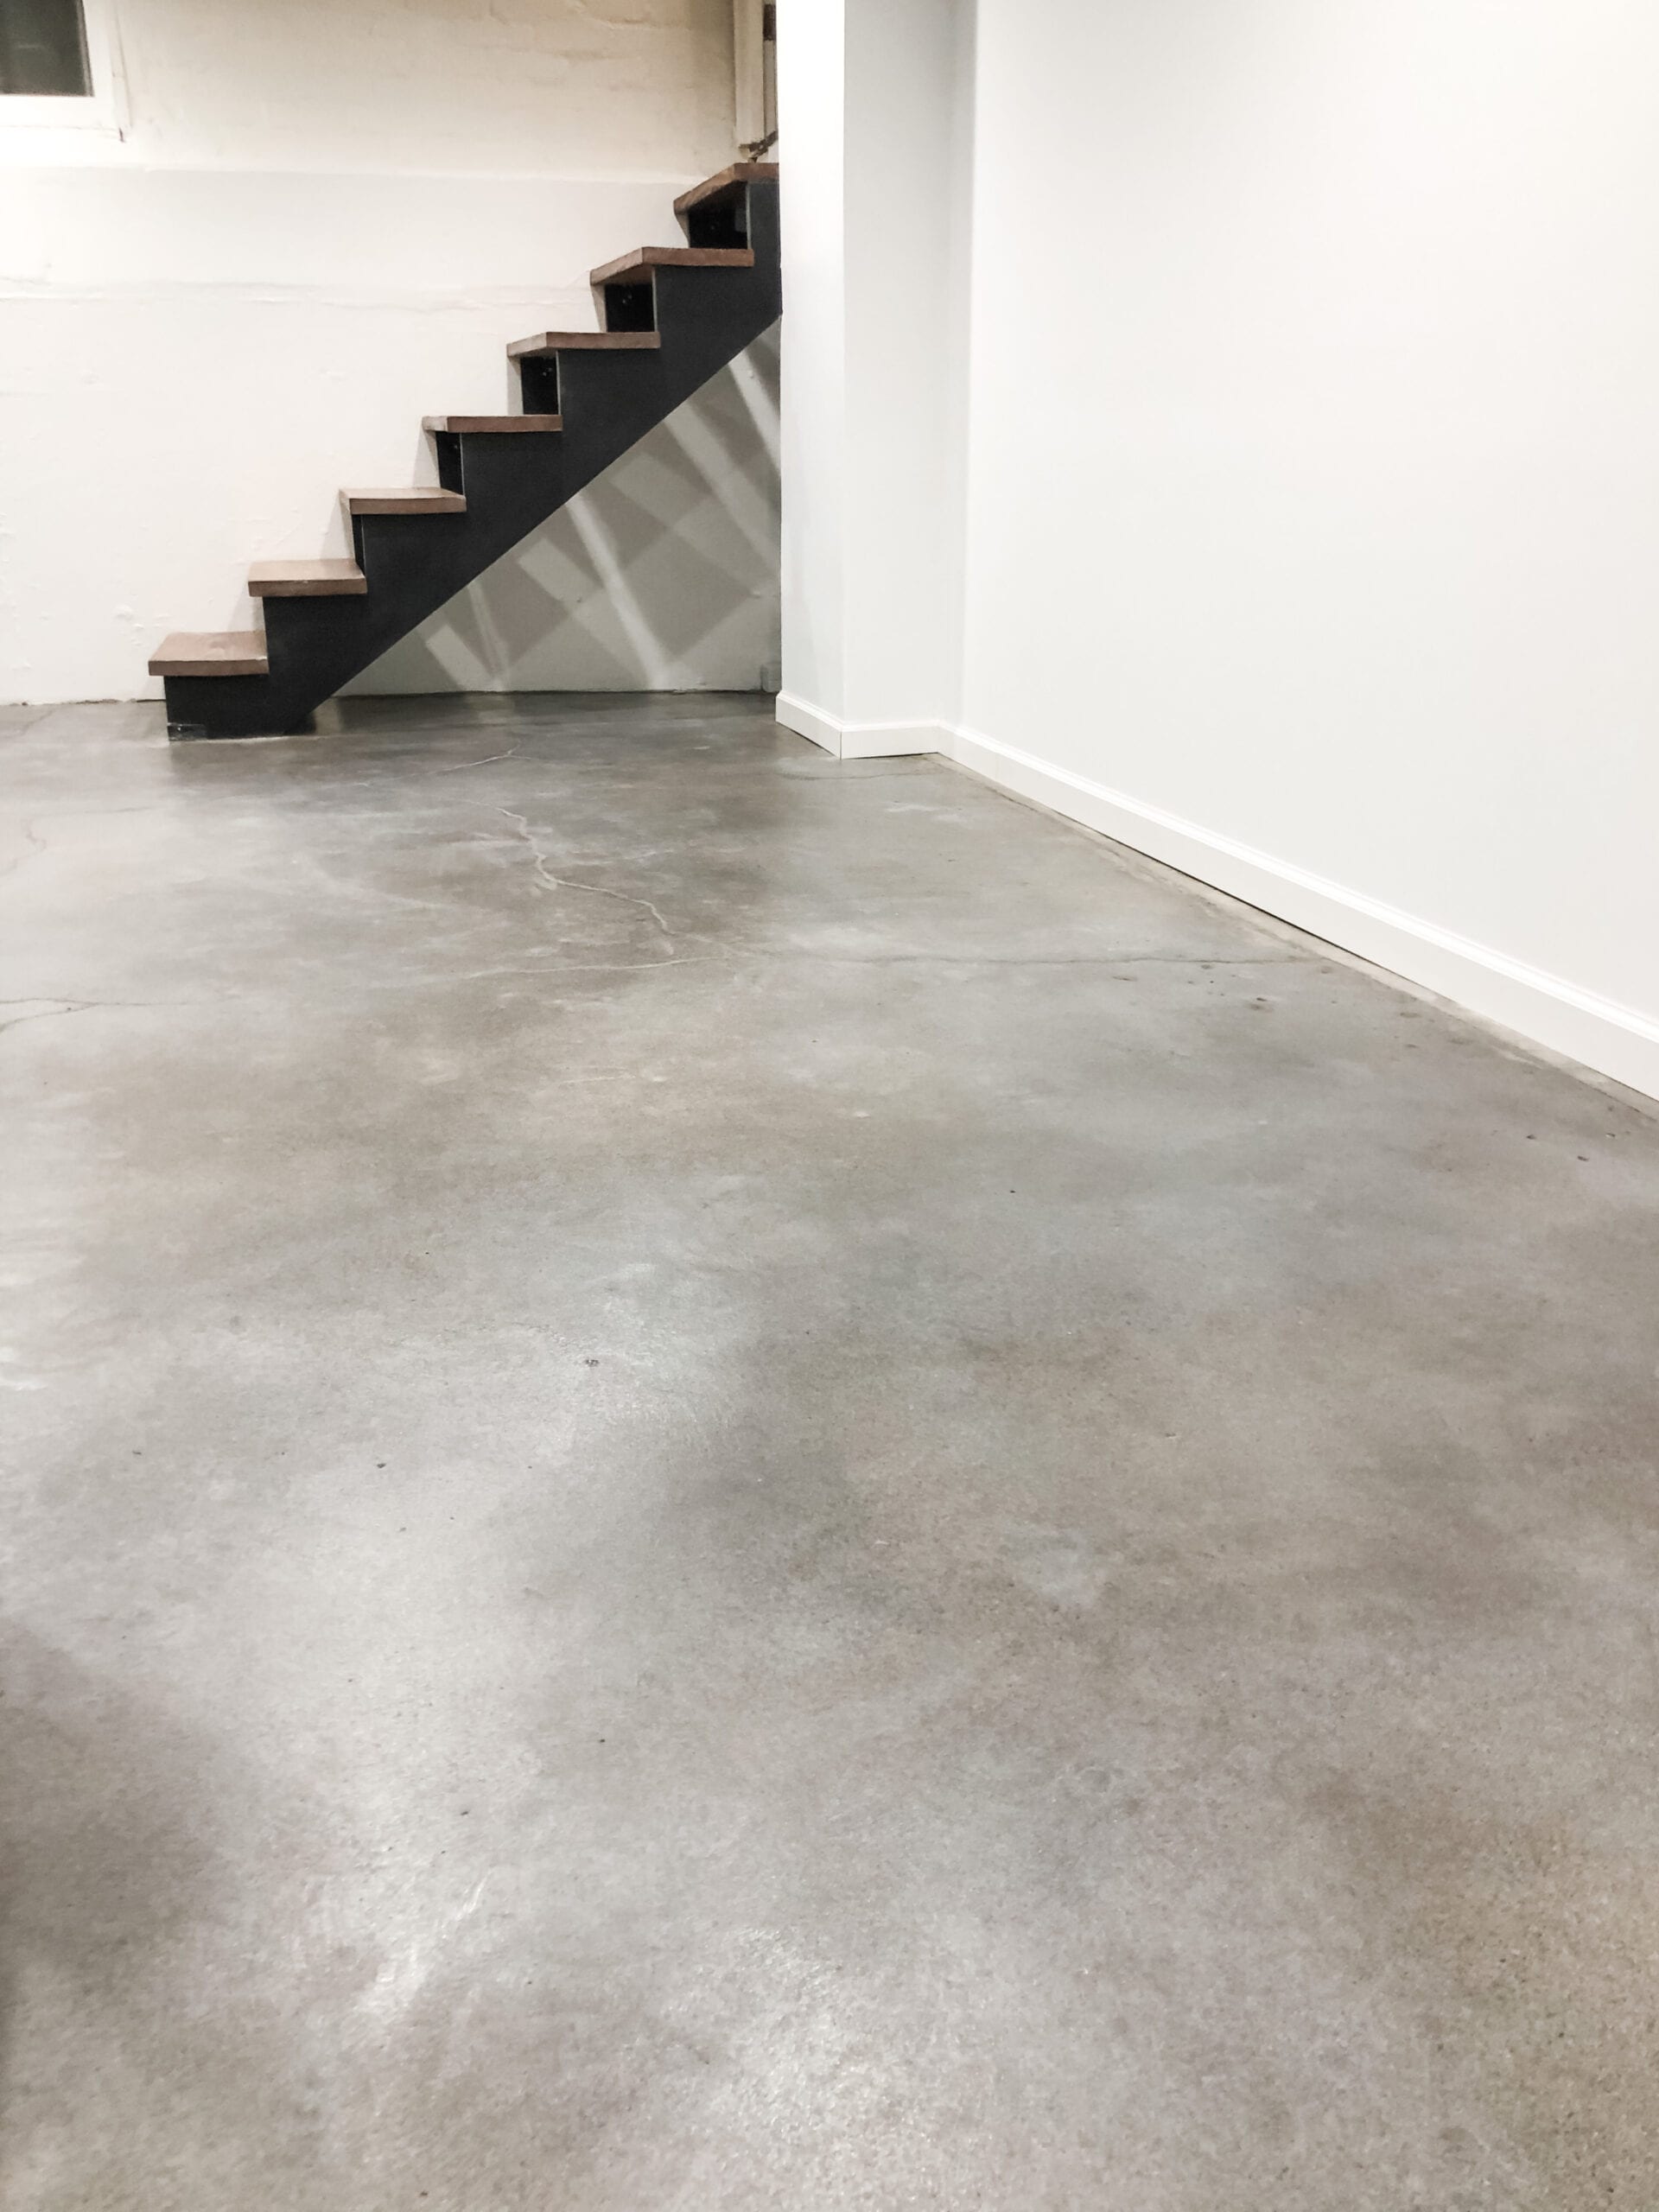
Want to learn more about how this stunning faux polished concrete floor was achieved? Check out our blog “How To Use Concrete Dye To Color Interior Concrete Floors” for detailed instructions and tips.


