facebook
twitter
pinterest
linkedin
Step-By-Step Guide To Applying Concrete Acid Stain

How to Apply Acid Stain to Concrete: Step-by-Step Guide

by Justin Richardson

Unleash your creativity and give your concrete surfaces a unique and beautiful finish with acid staining! Discover how to apply acid stain to concrete and add a unique, variegated finish to your floors, patios, and more. But before you start, it’s important to properly prepare the surface for optimal results.

Preparing Your Concrete Surface for Acid Staining: What You Need to Know

Before you start the process of acid staining your concrete surface, it’s important to ensure that it is suitable for the treatment. Not all concrete surfaces are optimal for acid staining, and certain criteria must be met in order to achieve the best results.

To begin with, the concrete must be free of debris, dirt, oils, paint, and any other materials that could interfere with the acid stain reaction. If the slab has been treated with a waterproofing agent, cleaned with muriatic acid, or treated with a heavy TSP solution, the acid stain will not work properly

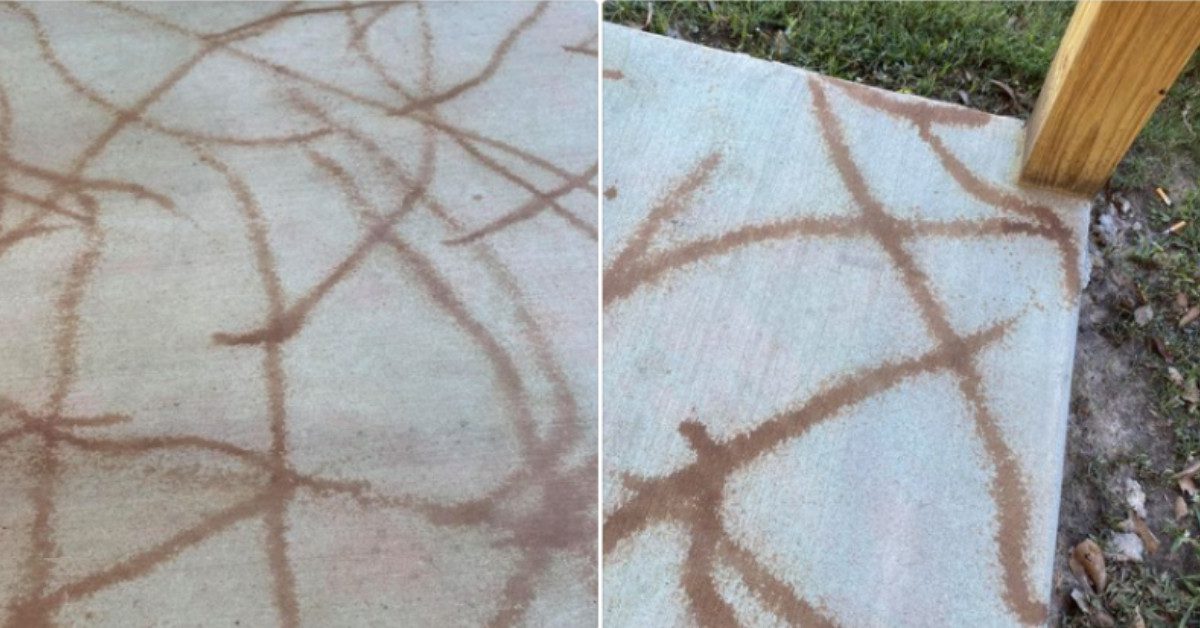
Before: carpet glue hinders the reaction of acid stain. After: improper removal of glue leads to a failed acid stain application

For more detailed information on how to prepare concrete for acid staining, be sure to read “How To Prepare Concrete For Acid Staining.

In addition, newly poured concrete can be acid stained 30 days after it has been poured or once it has achieved a uniform light gray color. Older concrete surfaces should be completely intact and free of exposed aggregate or sand particles. Slick, machine-troweled concrete may need to be mechanically or chemically etched before staining.

The Azure Blue and Black acid stains fail to produce the desired effect on a concrete slab mixed with fly ash

It’s important to note that concrete slabs and countertops should include less than 10% fly ash to ensure a good chemical reaction with the acid stain. If the concrete contains too much fly ash, it may be necessary to consider using a water-based stain such as ColorWave to achieve the desired marbled effect.

Beautiful marbled effect on concrete with ColorWave before and after
Beautiful marbled effect on concrete with ColorWave water-based stain

By following these guidelines and thoroughly preparing the surface, you can ensure that your concrete is ready for the acid staining process and achieve the best possible results.

A clean and prepped concrete floor ready for staining
Clean and prepped concrete floor ready for staining

The Importance of Pre-Application Testing in Acid Staining

It’s important to always perform pre-application testing before starting an acid staining project, especially if you are unsure of the history of the slab. This is the best way to determine if the concrete surface is suitable for acid staining and to ensure that the stain will take evenly and produce the desired results.

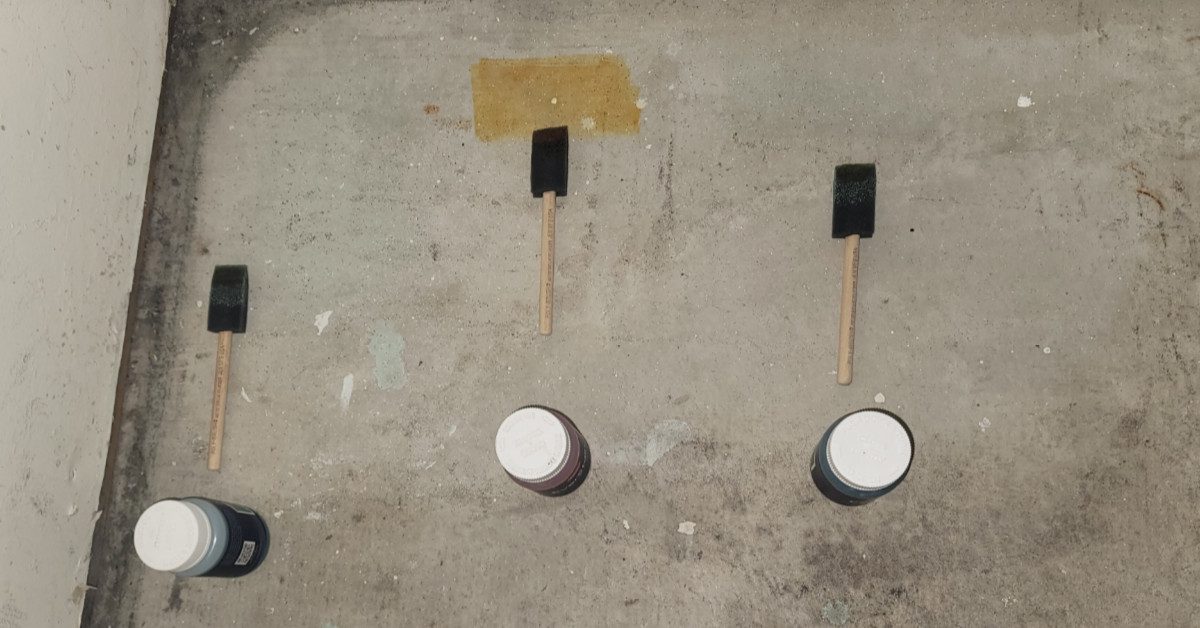
Testing out acid stain colors, but they won't show their true potential until they're sealed!

To perform pre-application testing, simply create a small test area on the slab that you intend to stain. This will allow you to see how the acid stain reacts with the concrete and make any necessary adjustments before beginning the full project.

Two sides, two colors, same Cola stain: the unpredictable nature of acid staining. Always test your colors before committing to a final look

By performing pre-application testing, you can avoid any potential issues and ensure that your acid staining project is a success.

Applying Acid Stain: Techniques and Tips for Best Results

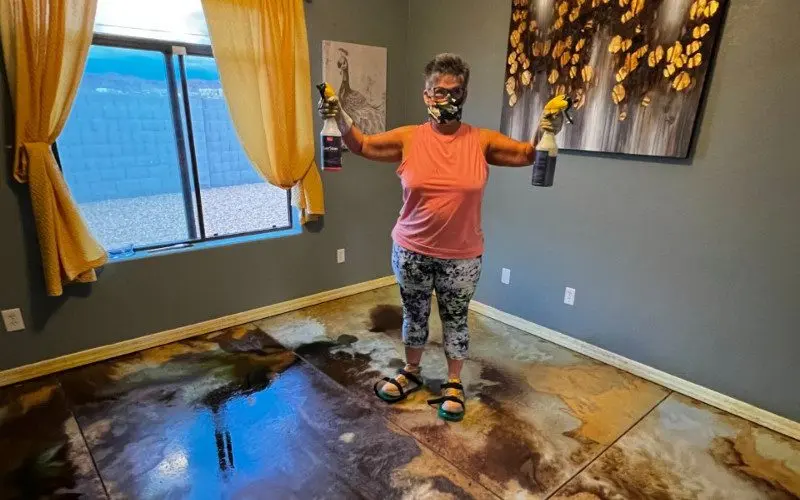
Before starting the acid staining process, it’s crucial to have the proper safety gear. This includes protective goggles, gloves and a dust mask. In areas with poor ventilation, a respirator may also be necessary. To avoid leaving foot impressions on the wet acid stain, it’s recommended to wear acid resistant shoes with cleats or spikes.

Safety first: A woman wearing protective gear for applying acid stain to the concrete surface
Safety first!

When it comes to applying acid stain to concrete, there are several techniques to choose from, each creating a unique finish. One option is to use an all-plastic pump sprayer to evenly distribute the acid stain on the surface. Another approach is to use a brush and make circular strokes for a more consistent and darker finish. For a more diffused look, you can simply apply the stain without brushing.

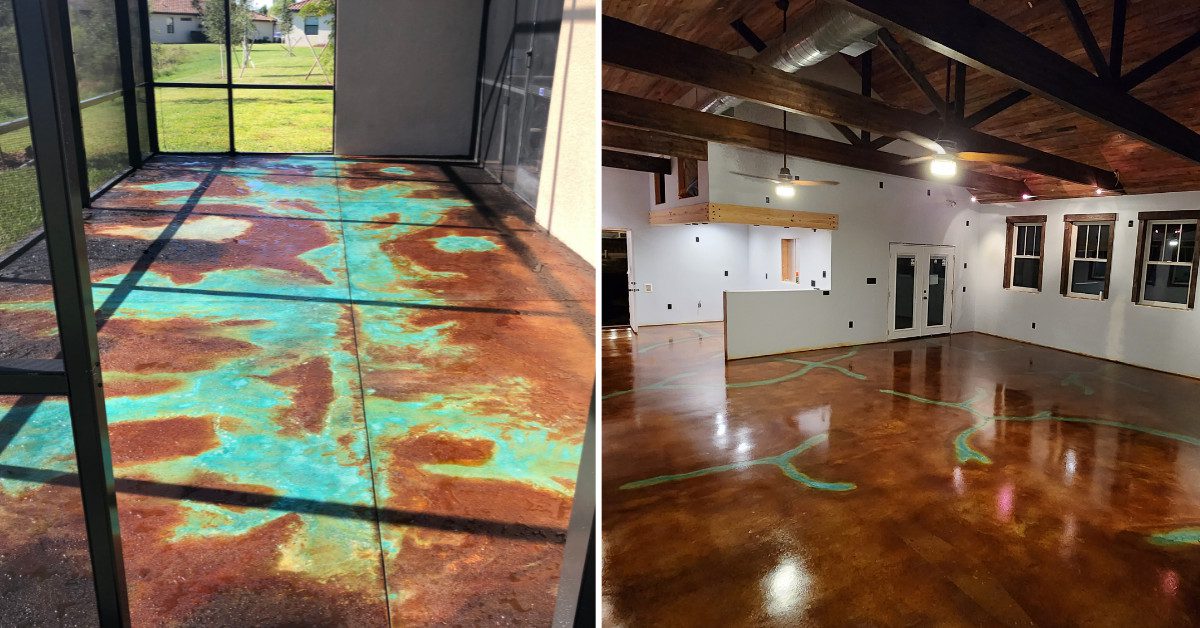
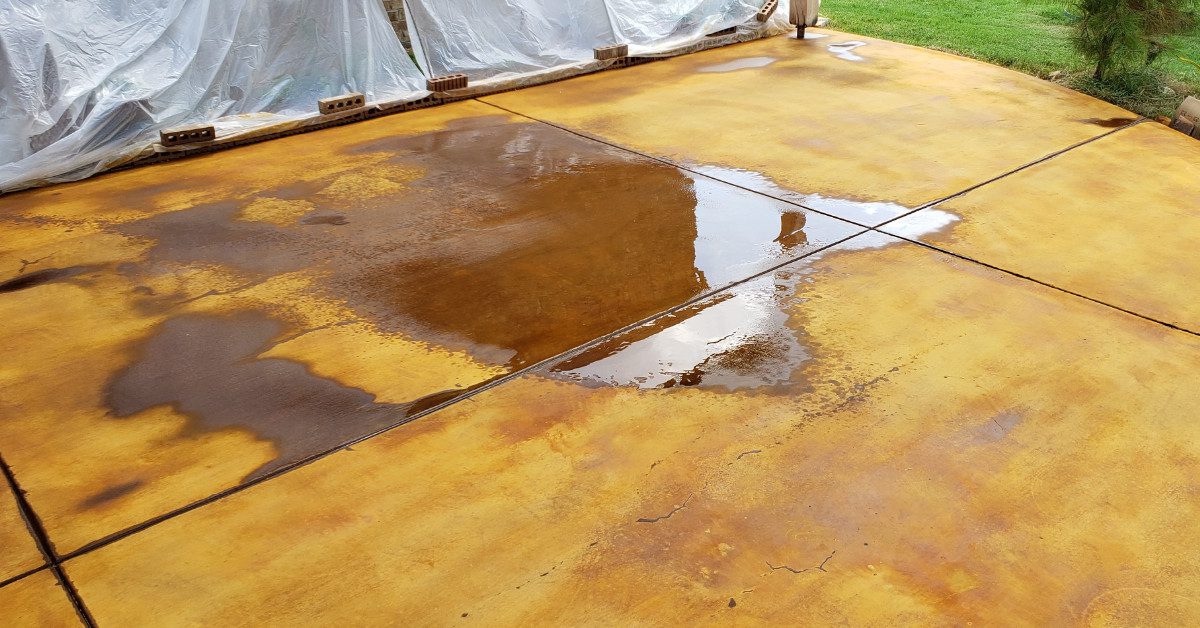
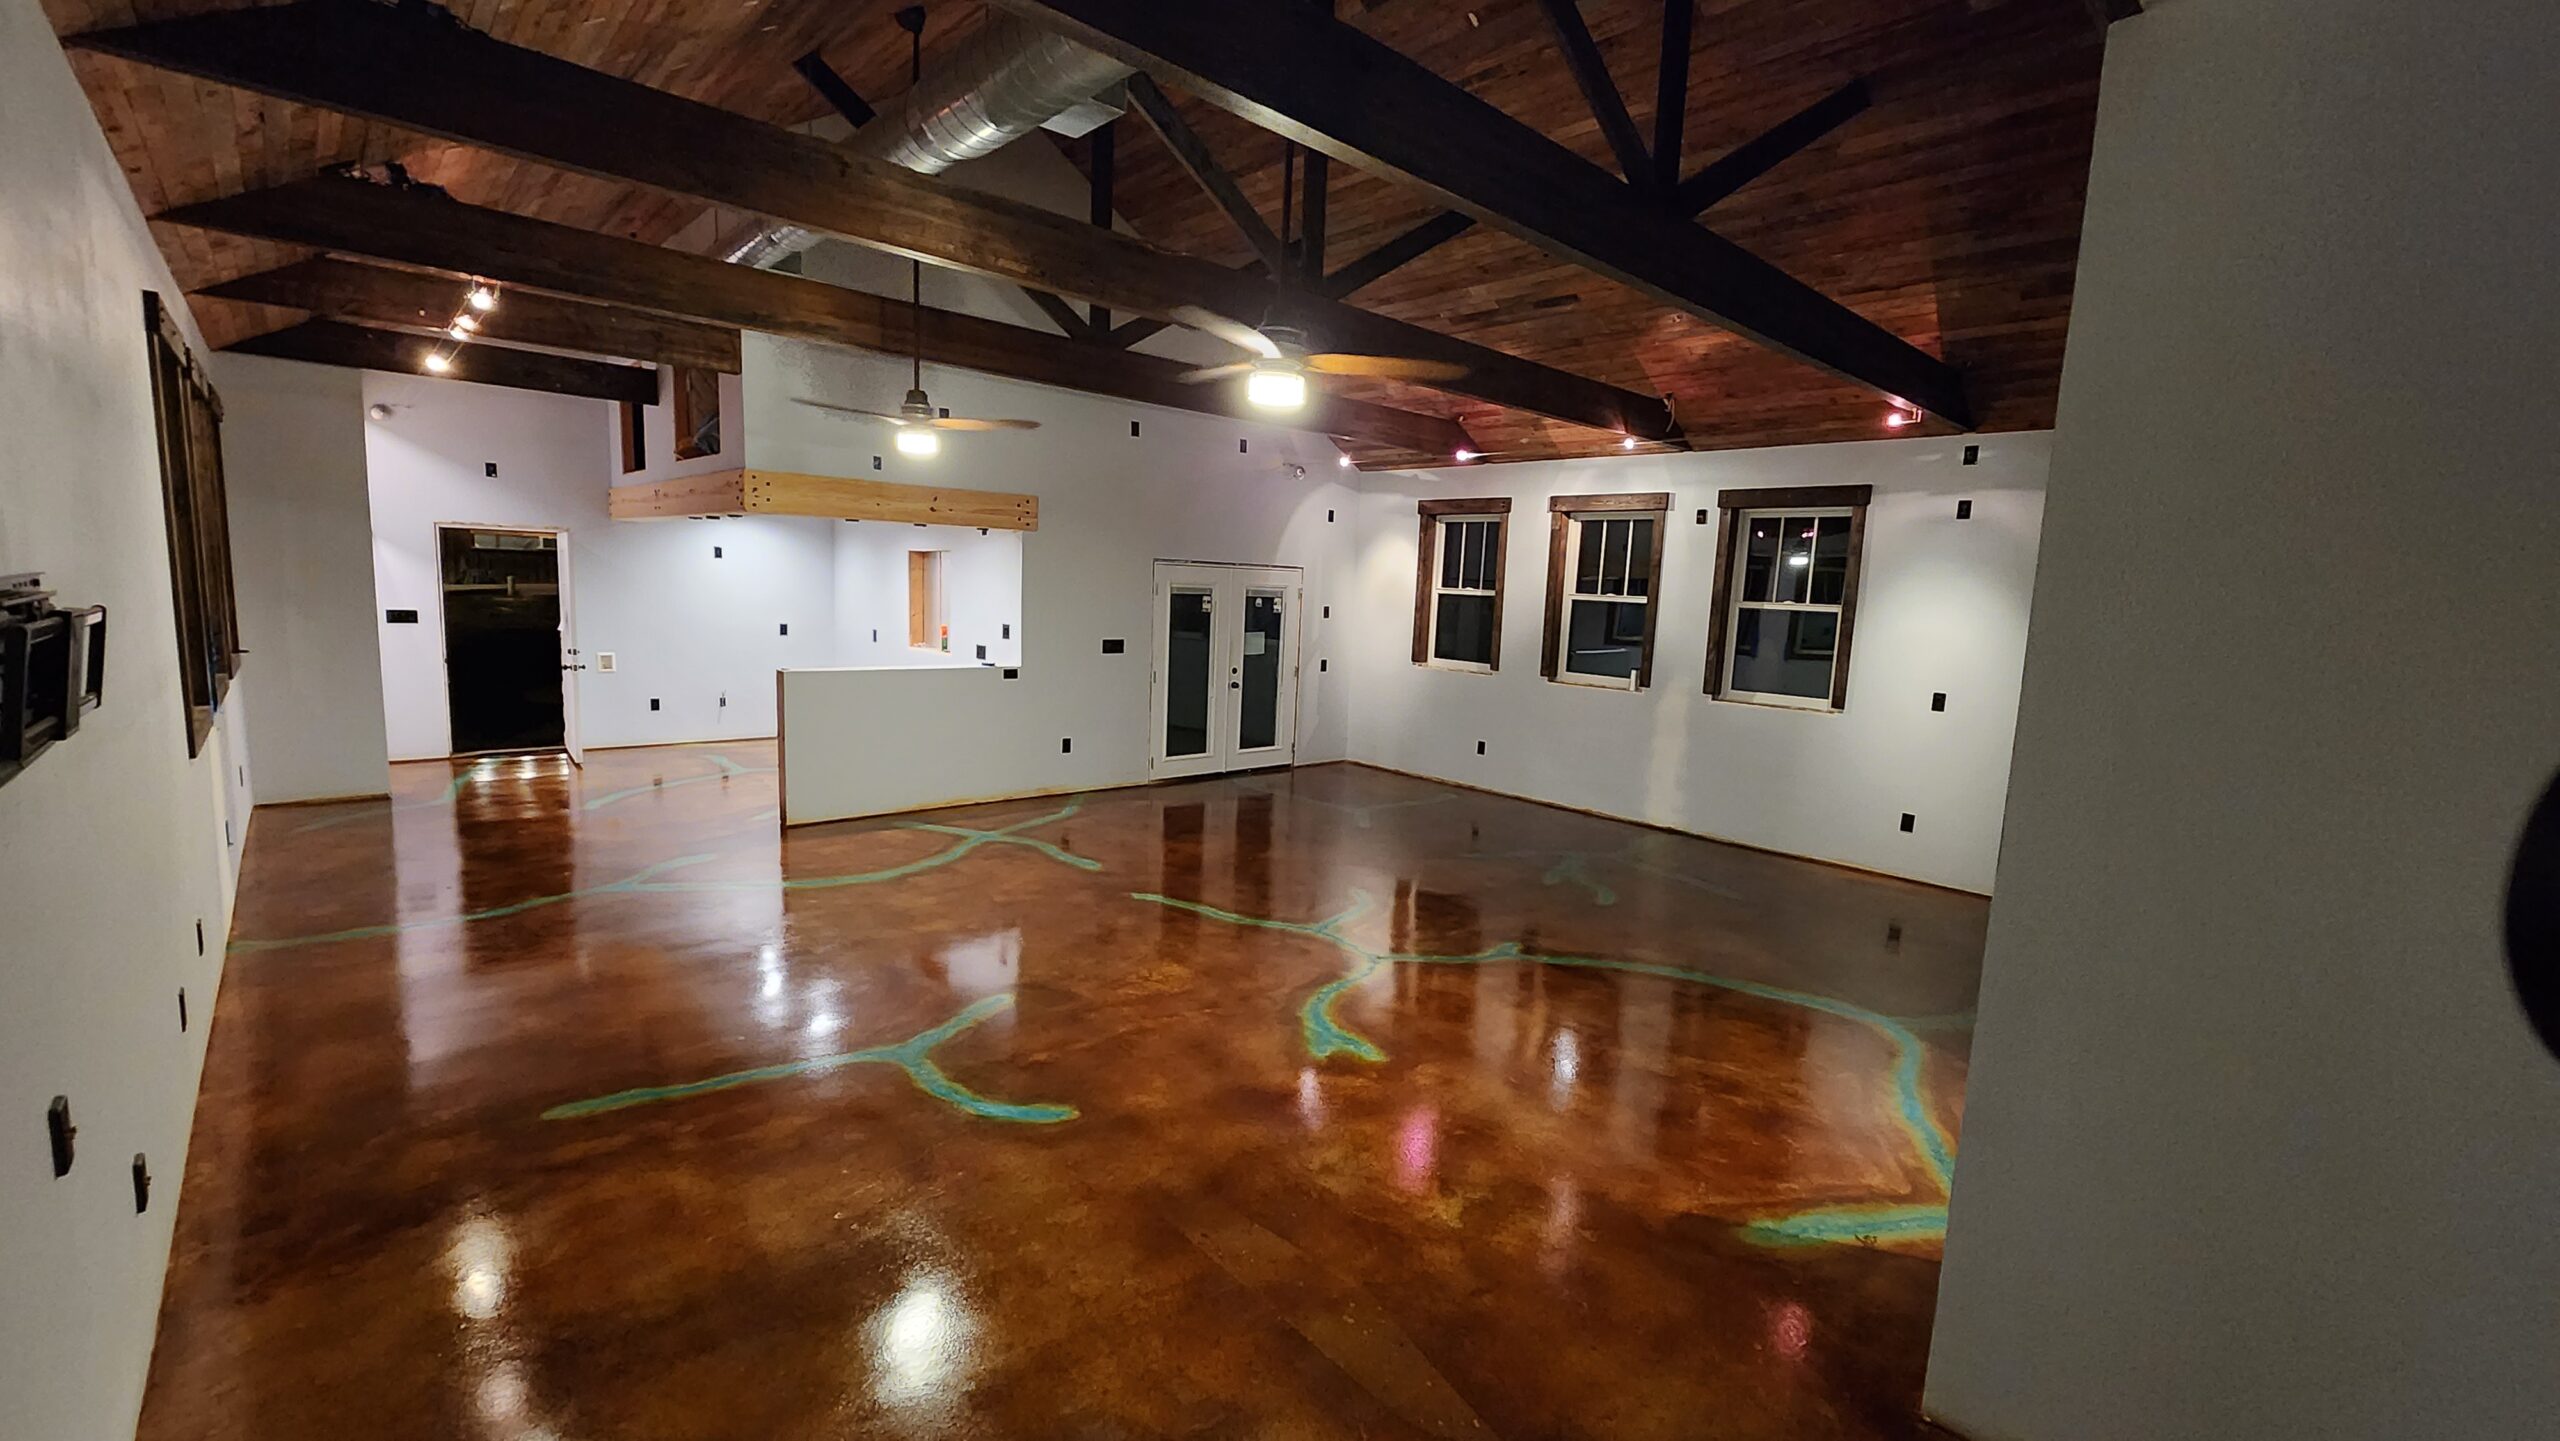
For a marbled effect, consider allowing the acid stain to flow and pool naturally in low areas of the slab by applying it with a sprayer. This technique is particularly effective on outdoor slabs on a sloped surface. Another way to achieve a “pooling” effect is by applying the acid stain with the sprayer nozzle close to the floor, both indoor and outdoor.

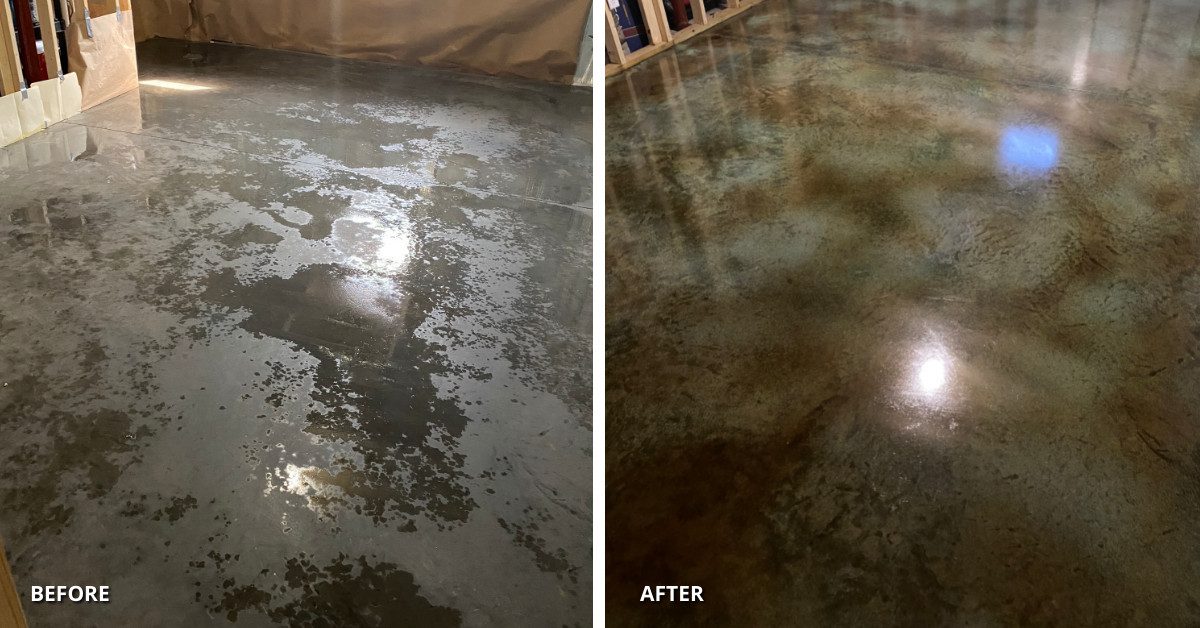
Before and after photos of acid stained concrete basement floor
Plain concrete to marbled masterpiece - the power of Azure blue and Coffee brown acid stains

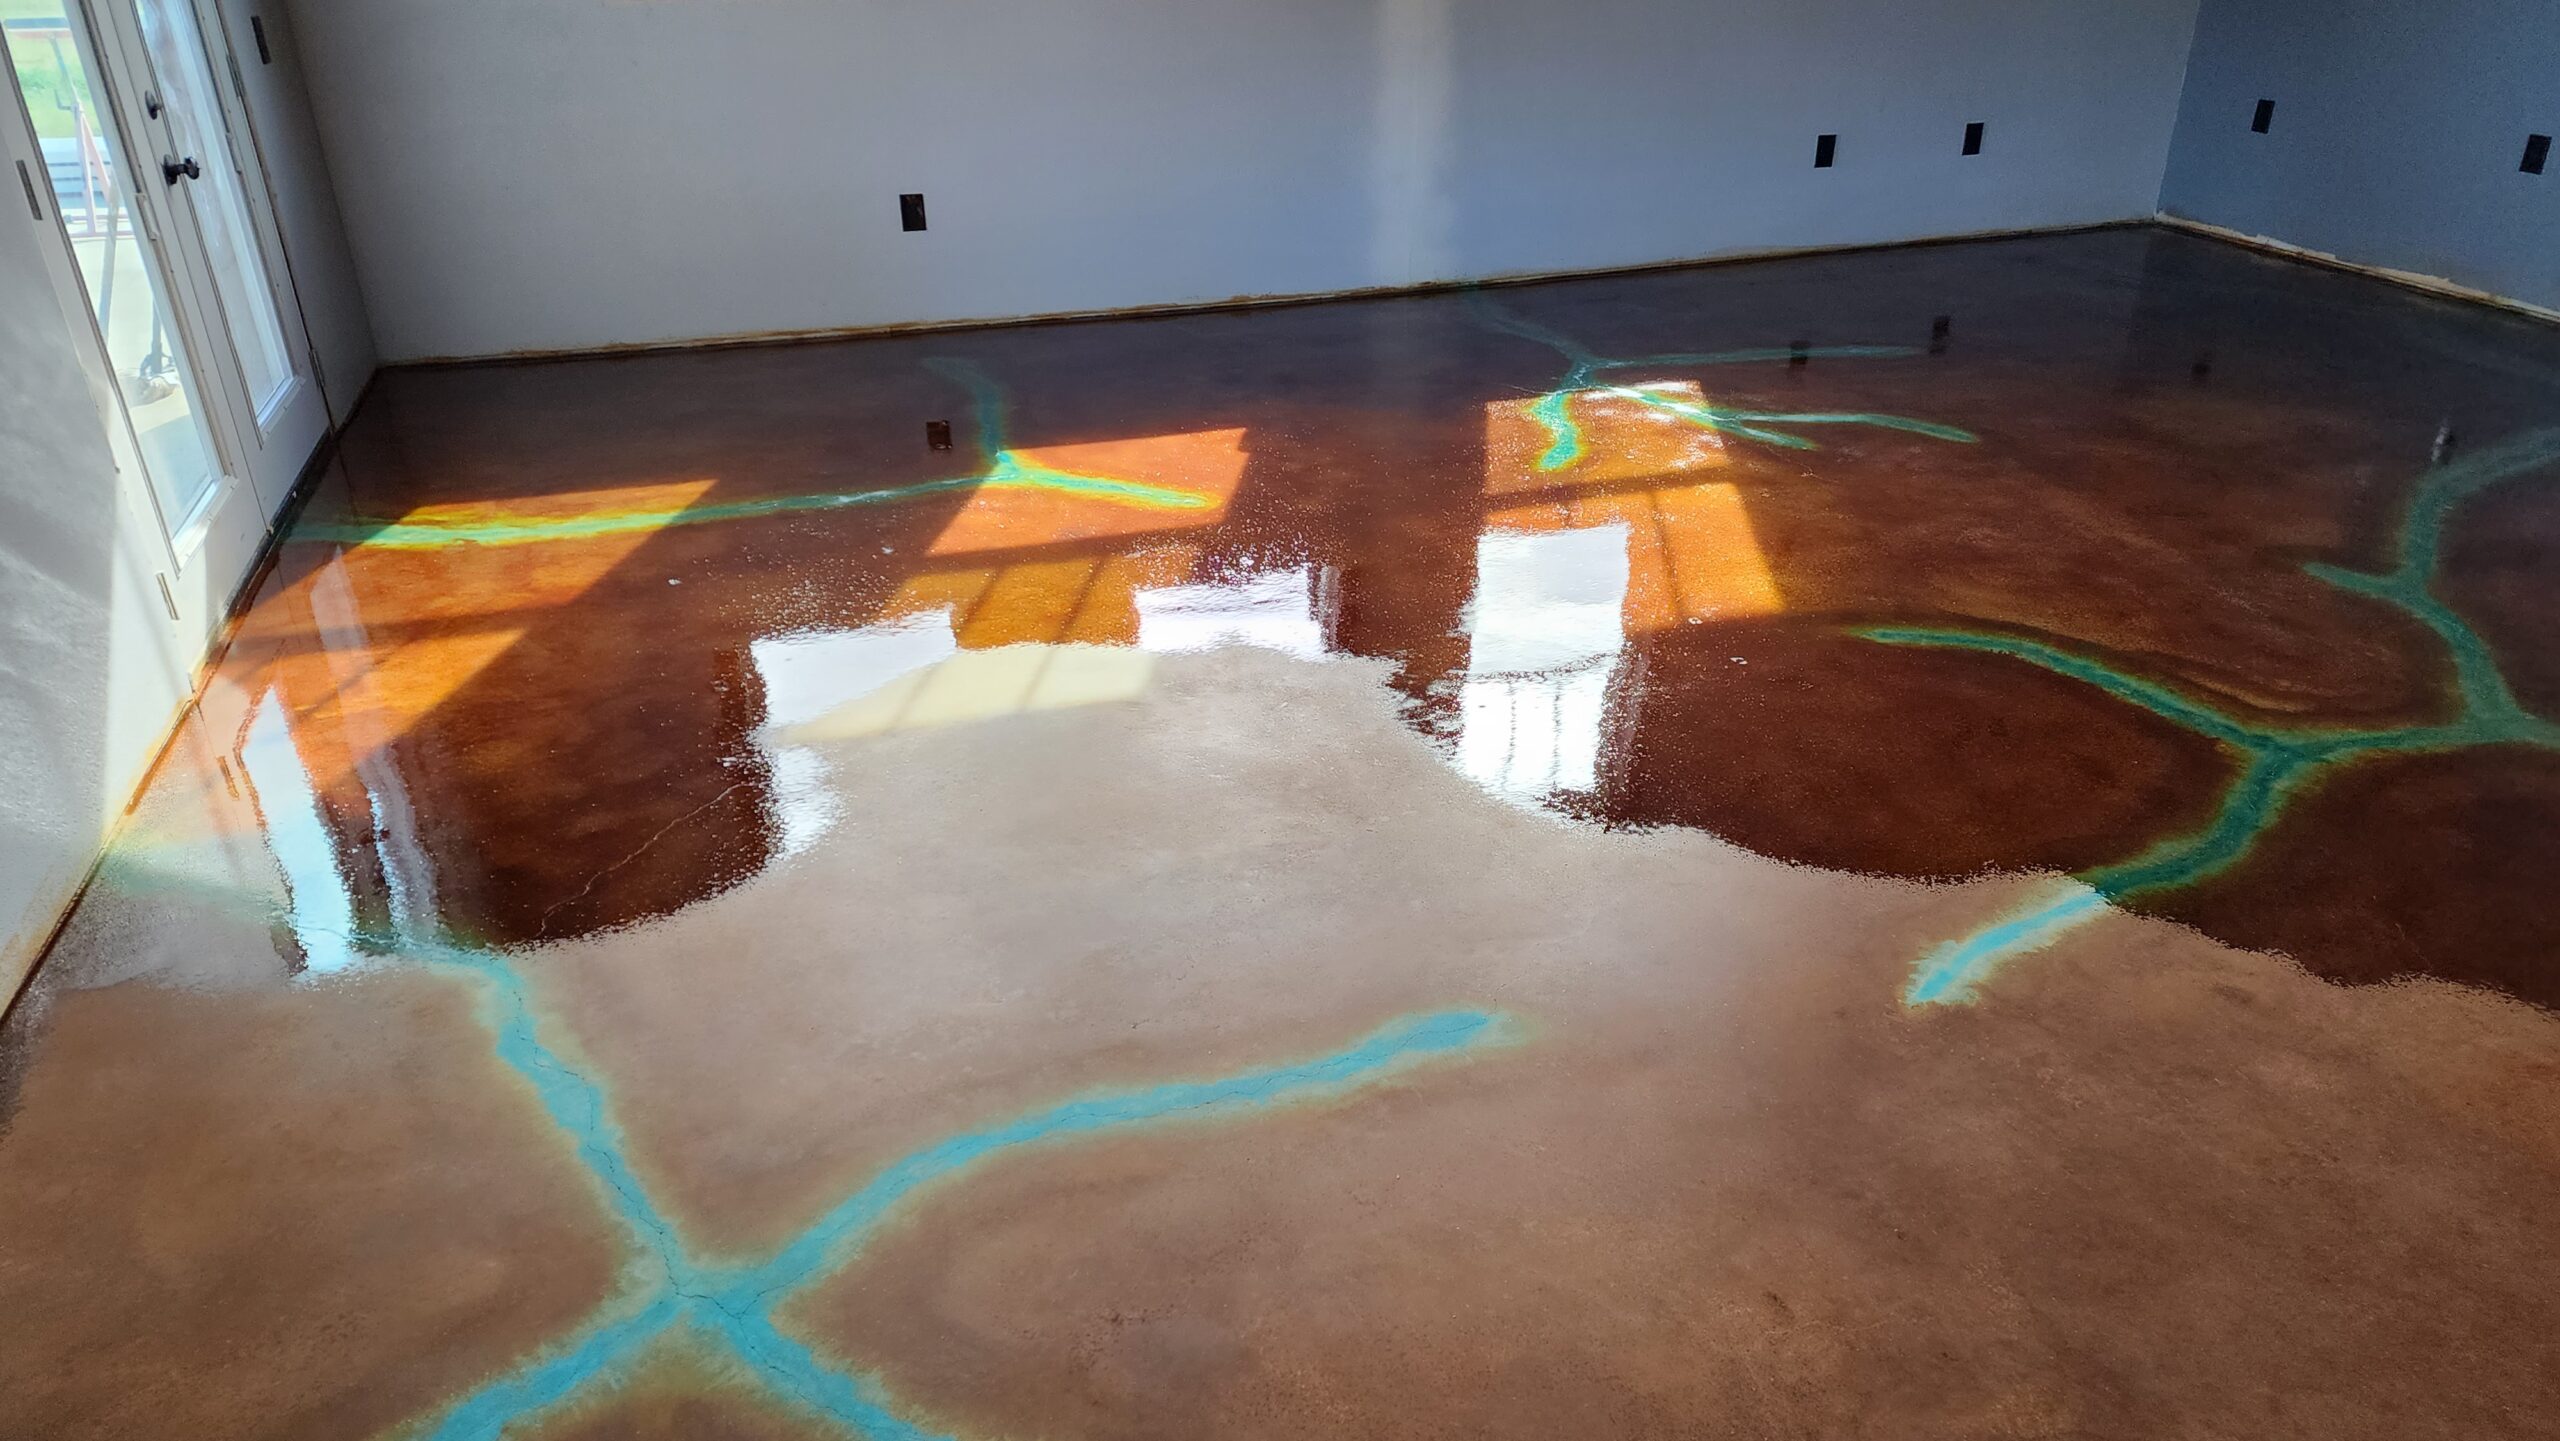
To achieve a vein-like appearance, start by applying your secondary or “veining” color to the surface. Then, while the secondary color is still wet, gently blend the primary color into it and around it. Avoid covering the secondary color completely, especially if it is a lighter shade. To learn more about the veining technique, check out our blog “Concrete Stain Veining Technique: How To Create A Vein Print On Concrete With Acid Stain Colors.

The veining technique adds depth and dimension to plain concrete floors

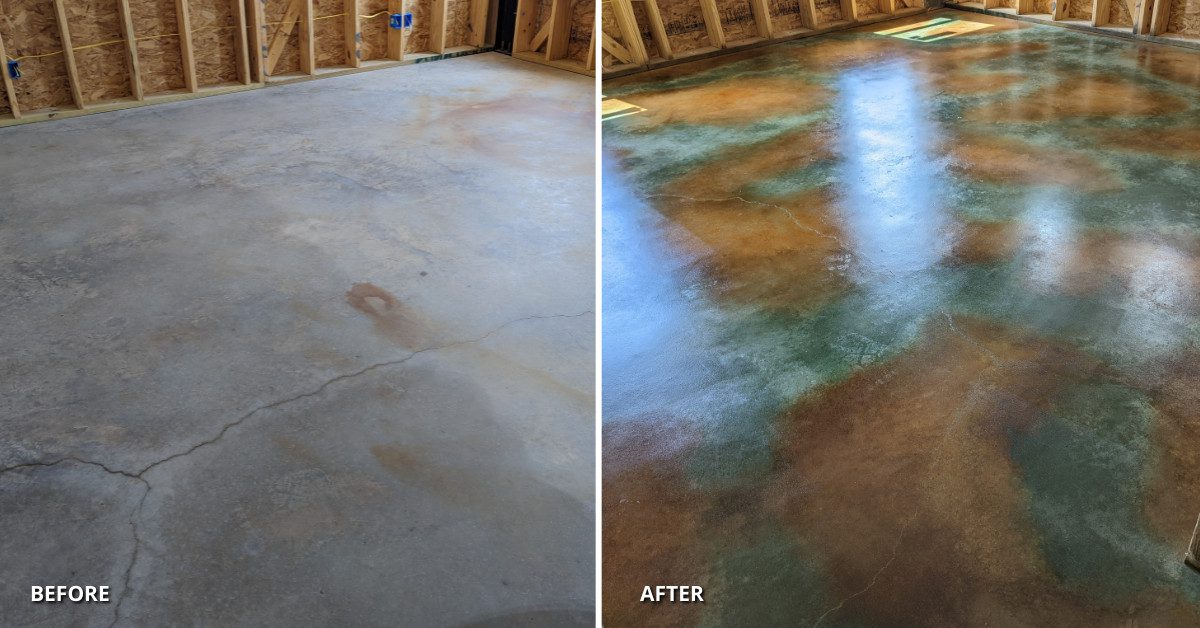
To achieve a multi-colored finish with distinct areas of color, you can begin by applying a light acid stain as a base coat. Then, you can apply accent coats either over the wet or dry base color. To learn more about layering techniques, check out our blog “Layering Techniques For Beautiful Concrete With Acid Stains: Wet On Wet Vs. Wet On Dry.

Plain concrete to vibrant, multi-colored masterpiece with Malayan Buff and Seagrass acid stains
Plain concrete to vibrant, multi-colored masterpiece with malayan buff and seagrass acid stains

When applying acid stain to concrete, remember that each finished floor will have its own unique characteristics due to the artistic nature of the process. To find your desired look, it’s recommended to do small test patches on the surface or create sample boards to practice with the sprayer. Additionally, our acid stain colors can be diluted with water to create various shades and hues.

It’s important to keep in mind that diluting acid stain with water can affect the intensity of the final color. If the water content is too high, the chemical reaction between the stain and the concrete may be weaker, resulting in a lighter or less vibrant color. This is especially true on older concrete slabs, as the reaction may not be as strong to produce the desired color.

Concrete overlay floor showcasing various shades of Coffee Brown acid stain, each with different levels of dilution

While it’s possible to dilute acid stain with water to create a range of different shades, we recommend not cutting our acid stains more than four parts water to one part acid stain unless you have a lot of experience with this product. Some colors may vary more than others when the water content is increased, and there are many factors that can affect the final color, including the age of the concrete, the cement content, and weathering. It’s always a good idea to test the dilution on a small sample area before applying it to the full surface to ensure that you achieve the desired results.

TIP: If you’re not sure how intense you want the final color to be, it’s a good idea to check the color every two hours by spraying the surface with water. This will help you get a better idea of what the finished product will look like once it has been sealed, as the water will mimic the effect of the sealer. This will allow you to adjust the application technique or the dilution of the acid stain as needed to achieve the desired result.

Checking the color of our acid stain with a water test to get a preview of the final result once sealed

It’s normal for a chalky residue to form on the surface of the concrete as the acid stain dries. This is a normal part of the staining process and is not cause for concern. The activation time for each acid stain will vary depending on the specific color, but most stains will take between four and eight hours to fully color the concrete. If you want a darker color, you can leave the stain on for longer, but be sure to check the specific activation time for each color in our blog “Activation Times For Concrete Acid Stains: How Long To Leave Acid Stain On Concrete.”

It's normal for a chalky residue to form on the surface as the acid stain dries

TIP: When applying acid stain to outdoor concrete, it’s important to keep in mind that hot, dry conditions can cause the stain to dry too quickly, which can interfere with the chemical reaction and affect the final color. To help prevent this, it’s a good idea to slightly dampen the surface of the concrete before applying the acid stain. This will help ensure that the stain has enough moisture to react properly with the concrete.

TIP: Before beginning your acid staining project, it’s important to check the activation time for your specific stain. It’s generally not recommended to leave the stain on the surface for less than the recommended activation time, as this can affect the final color. However, you can leave the stain on for longer if you desire a darker color.

If you are working on a concrete countertop or attempting to stain separate rooms the same color, it’s a good idea to use a timer to ensure that the stain is left on the surface for the same amount of time in each area. This will help ensure that the final color is consistent throughout the project.

Avocado, Azure Blue, Seagrass, and Shifting Sand concrete acid stains may not be suitable for outdoor use due to their tendency to patina over time when exposed to outdoor environmental factors.

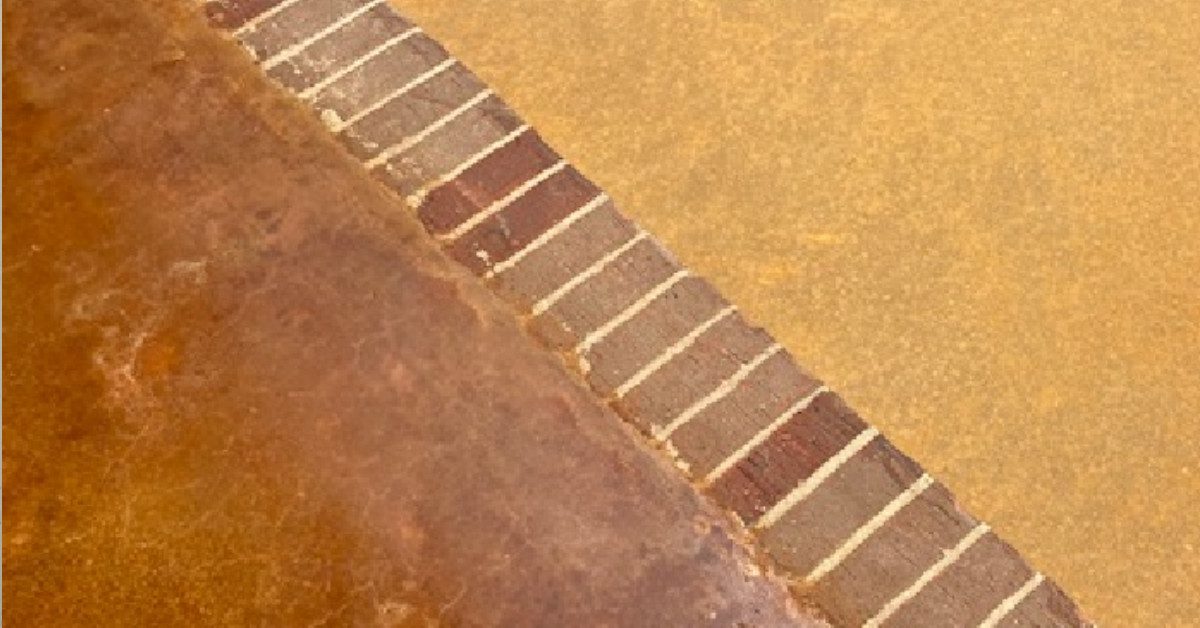
Patina effect on acid stained concrete

For example, an avocado that has been left out in the sun for an extended period of time will eventually turn brown and lose its vibrant green color. Similarly, these concrete acid stains may not retain their vibrancy or consistency when used on outdoor surfaces due to the effects of weathering. If you are considering using these stains for an outdoor project, it may be worth testing a small sample area first to see how well the color holds up under outdoor conditions. Alternatively, you may want to consider using a different color or finish for your outdoor project.

Neutralizing the Surface and Removing the Residue: Essential Steps in Staining Process

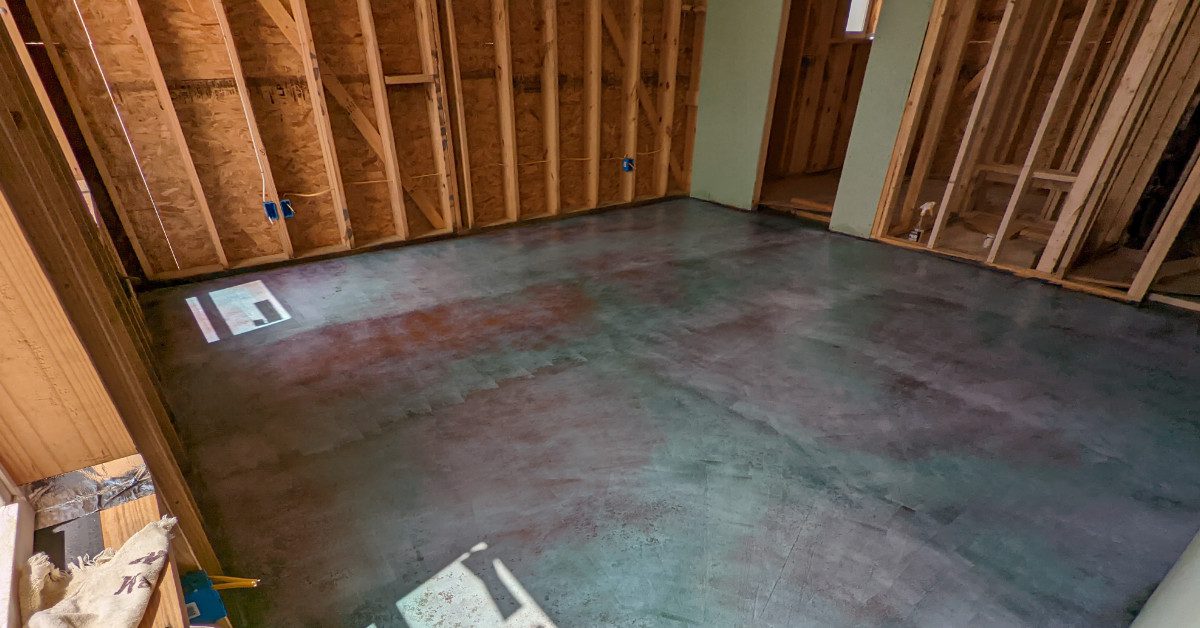
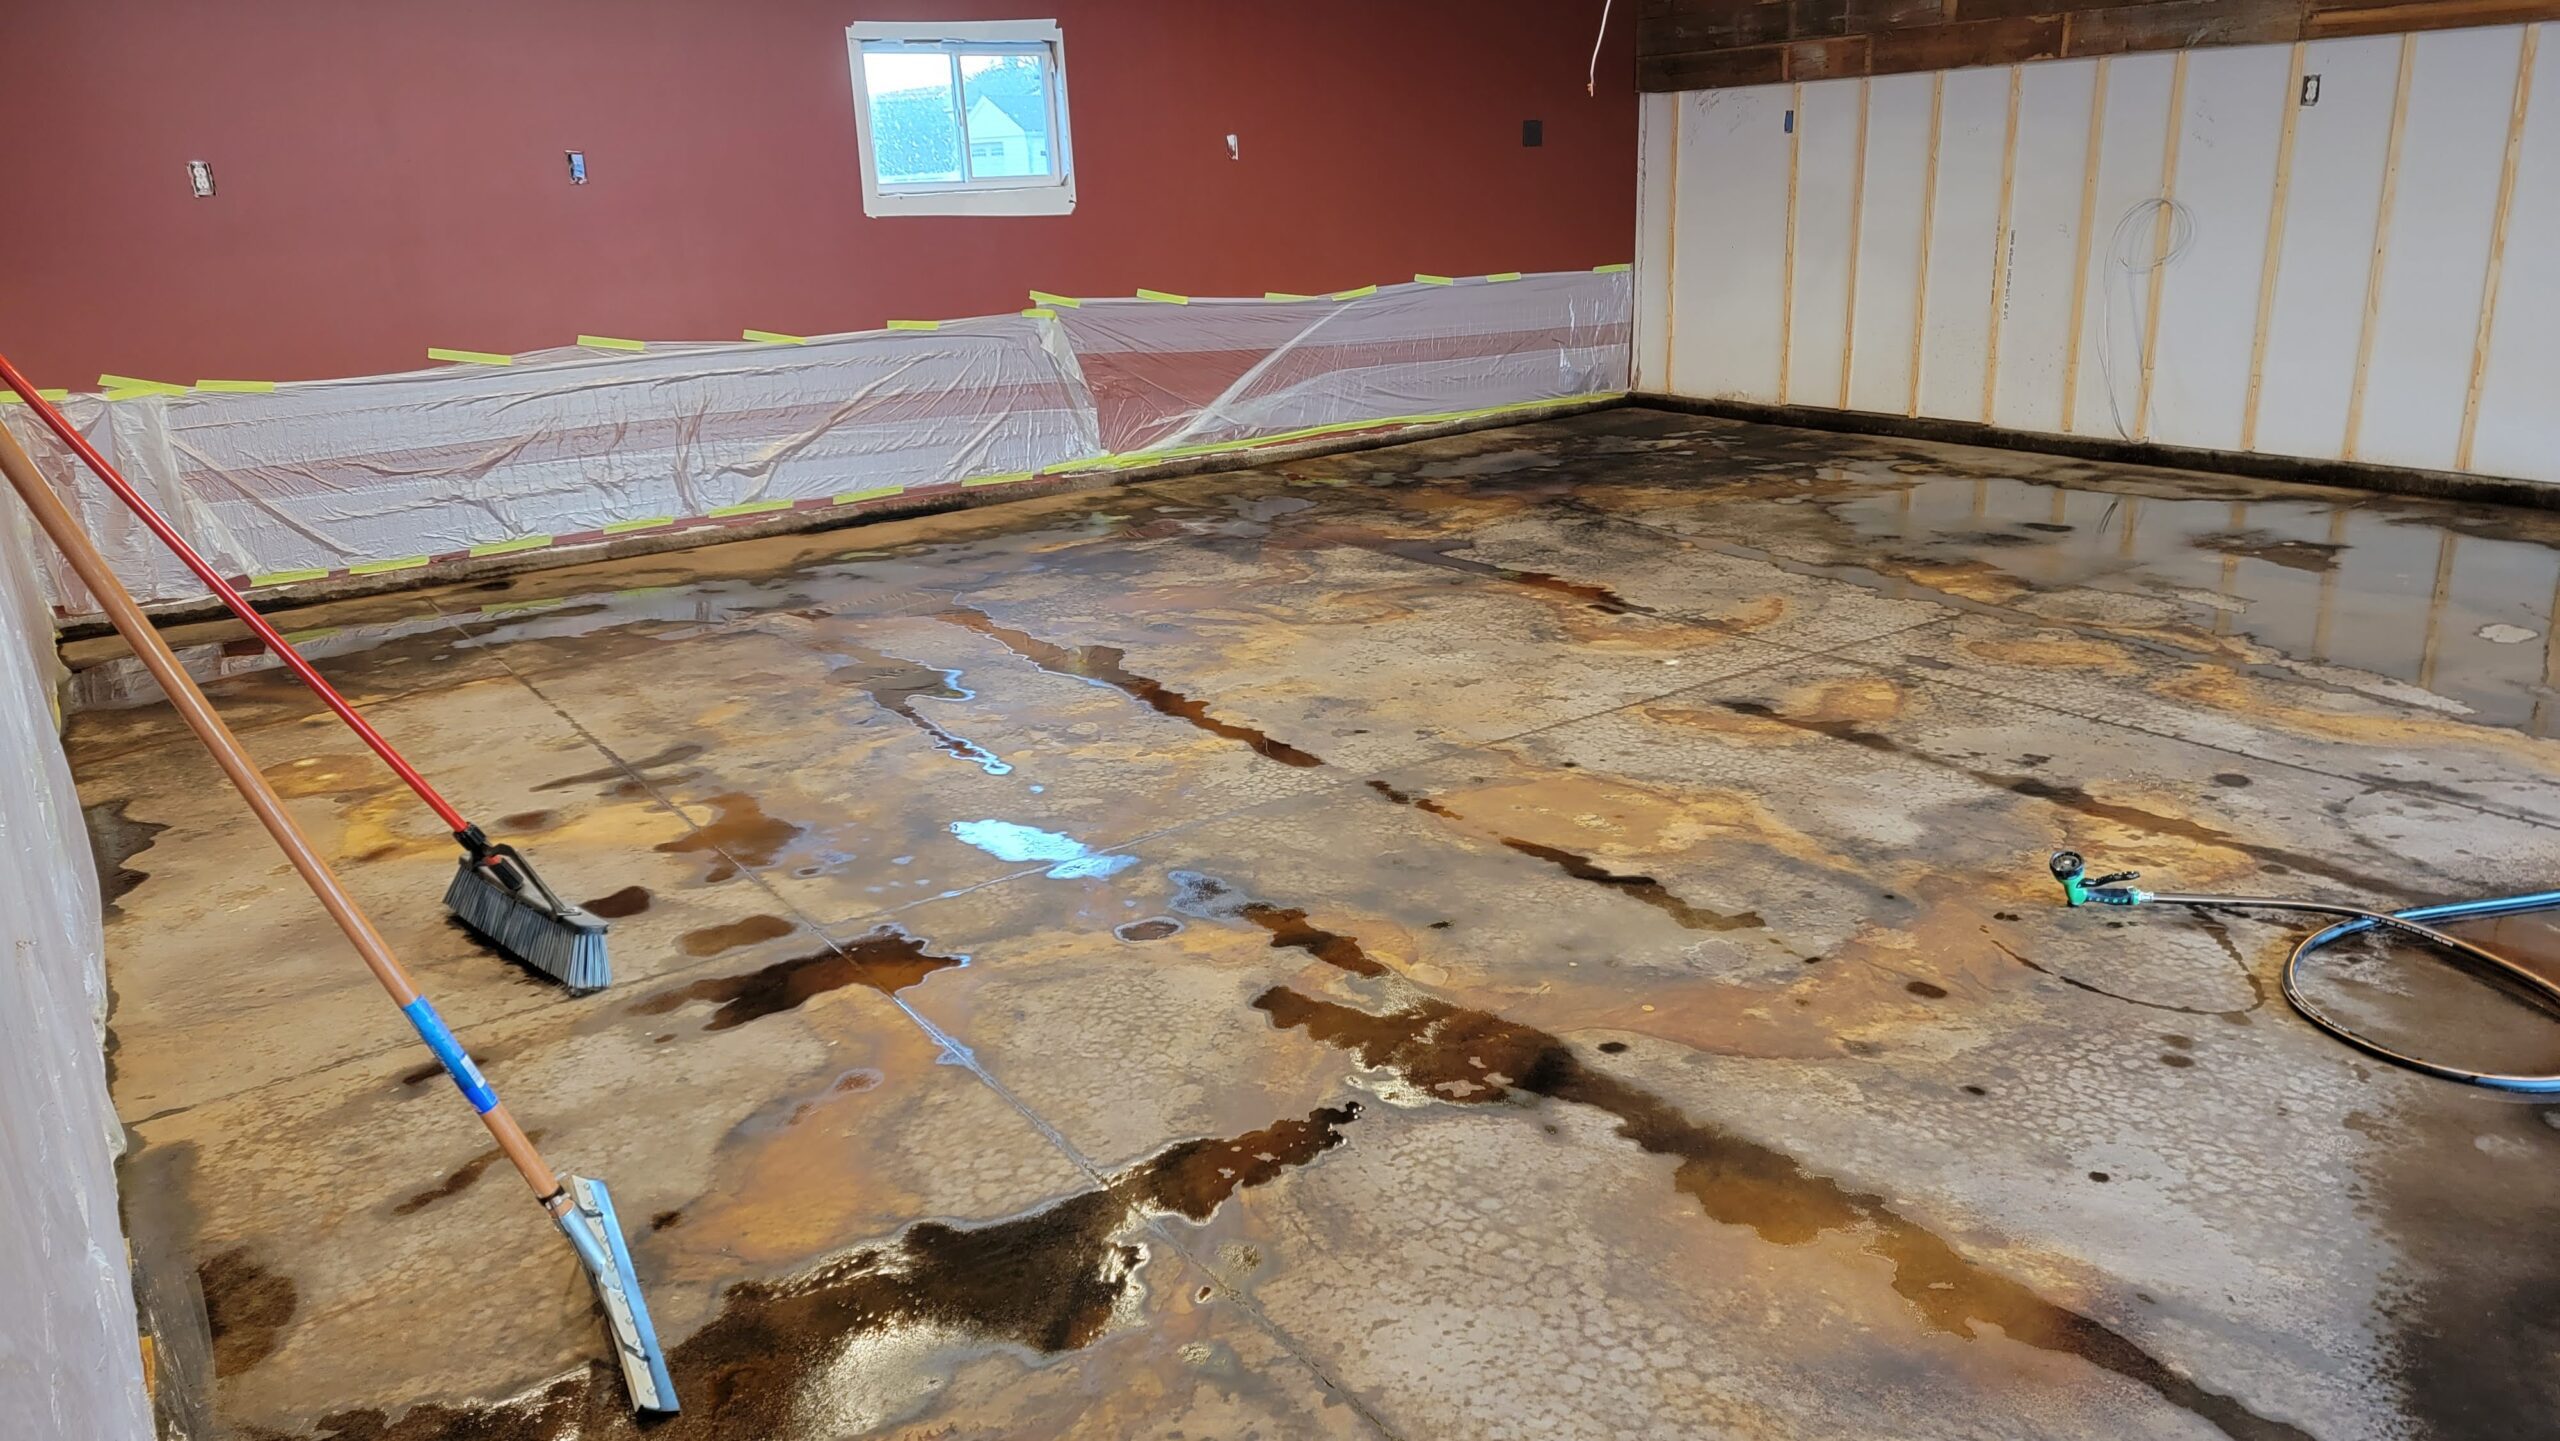
After applying your concrete acid stain, it’s important to properly neutralize the surface and remove any excess stain or debris. This can be done by using a neutralizing solution such as ProClean Neutralizer™ or mixing 1-2 tablespoons of baking soda with a gallon of water and spreading it across the slab. Use a nylon scrub brush to scrub away any residue, and use a shop vacuum to remove any debris if you’re working on an indoor project.

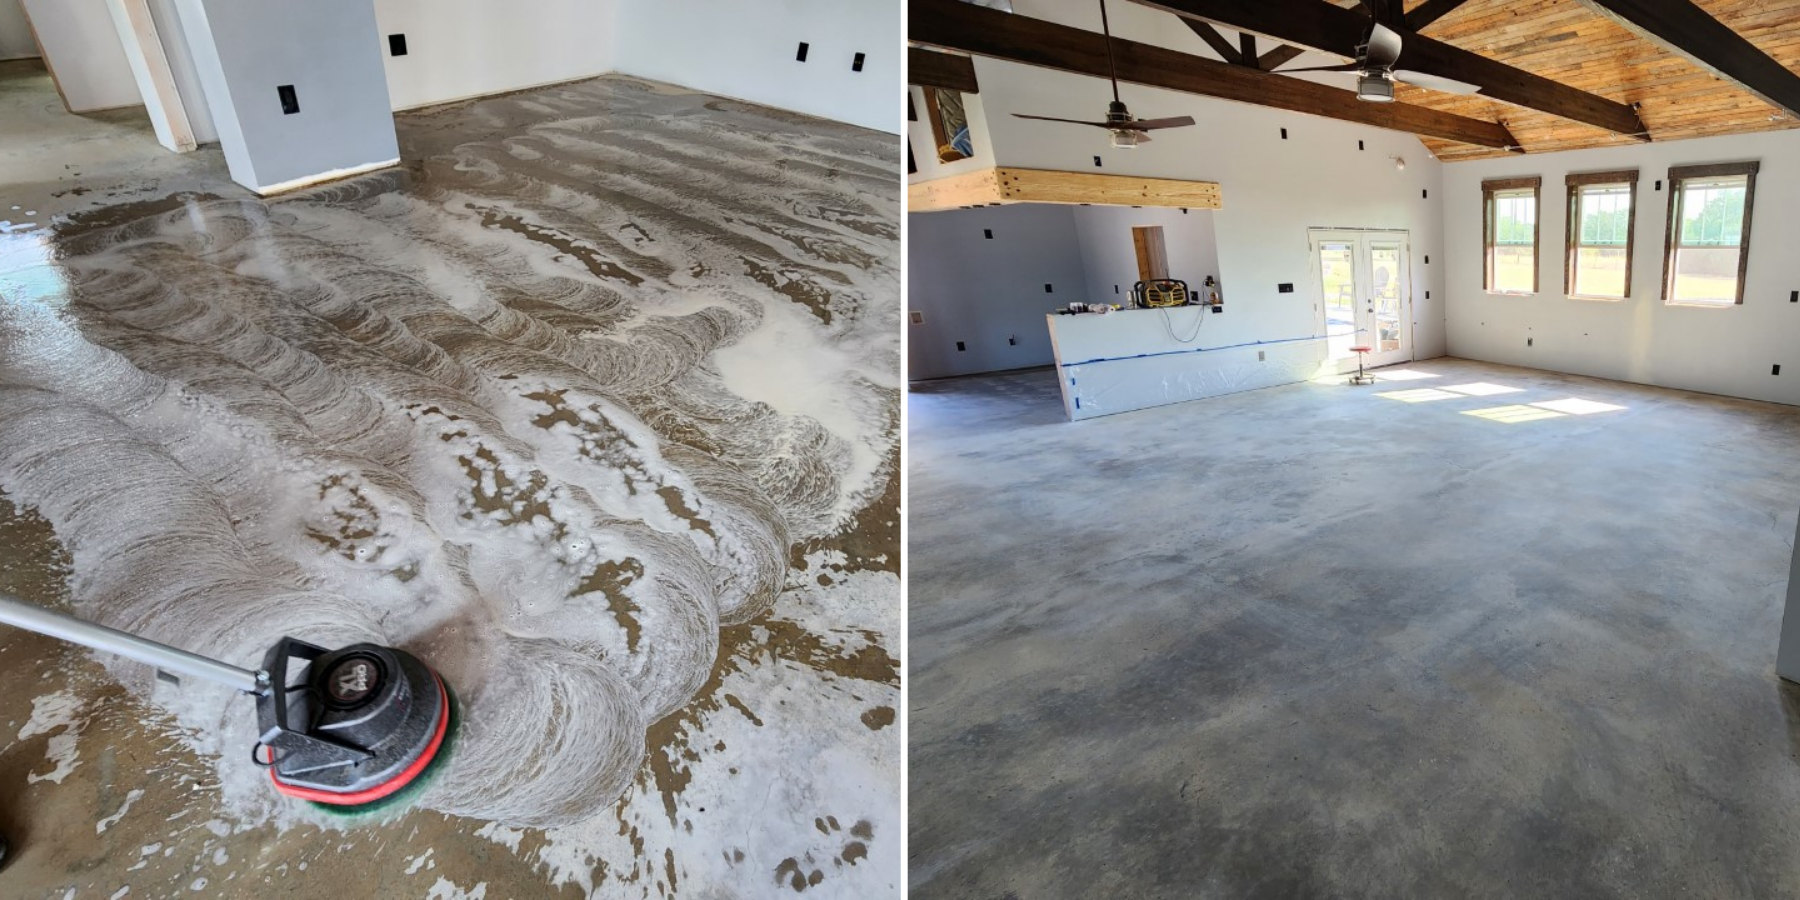
Neutralizing and cleaning acid stain residue

If you’re using a Penetrating Hardener/Sealer, you may want to repeat this process to ensure that all the acid stain has been neutralized. Once the surface is clean, wash it thoroughly with clean water until no residue is visible. If the surface is stubborn or porous, you can use a floor soap or organic degreaser to aid in the removal. Allow the surface to dry completely before sealing. The clean, wet surface will give you an idea of the final color once it’s sealed.

Sealing Your Acid-Stained Concrete Surface

Once your acid-stained concrete surface has been neutralized, cleaned, and thoroughly dried, it’s time to seal it with an appropriate concrete sealer. Before choosing a sealer, be sure to read our Concrete Sealer Buying Guide for tips on selecting the right product for your needs.

Applying first coat of sealer.

Proper sealing is crucial to protect the acid stain and enhance its durability and appearance. It’s important to choose a sealer that is compatible with the type of acid stain you have used and the conditions in which the surface will be exposed. Regardless of the type of sealer you choose, be sure to follow the sealer’s instructions for application to ensure the best possible results.

It’s important to be aware that placing masking or duct tape on a sealed acid-stained surface can cause damage to the finish. The adhesive of the tape will stick to the sealer, potentially ruining the appearance of the acid stain. It’s recommended to avoid using tape on a sealed acid-stained surface.

Also, sealers should not be applied to concrete when the temperature is above 90 degrees Fahrenheit. For outdoor projects, it’s best to apply the sealer during cooler times of the day, such as late evening or early morning, to ensure even application and proper adhesion to the concrete surface.

Protecting Your Stained Concrete Surface with Concrete Floor Wax (Indoor Projects Only)

To enhance the appearance and protect your decorative concrete surface, consider applying a concrete floor wax and polish as a final step in your project. This is especially useful for indoor surfaces that may be subjected to heavy foot traffic or other wear and tear. To apply the wax, follow these steps:

  1. Begin by thoroughly cleaning the surface with warm soapy water or a light organic degreaser. Avoid using harsh chemicals like xylene, lacquer thinner, or adhesive remover, as these can strip away the sealer and damage the finish of your decorative concrete.
  2. Once the surface is clean, allow it to dry completely before proceeding.
  3. Apply the wax using a sponge mop with a wringer attachment, a floor coater, or a trim pad. Pour the wax into a paint tray and use the ridges to purge the applicator of excess wax before applying.
  4. Apply 2-3 thin coats of wax, allowing each coat to dry completely before applying the next. To prevent streaking, apply the first coat “east to west” (across the width of the room) and the second coat “north to south” (down the length of the room from back to front).
  5. After the wax has dried, test it by applying pressure to the surface with your fingernail. If the surface dents, the wax will require more time to dry.
  6. Depending on the amount of foot traffic, you may need to re-apply the wax every 3-8 months. Before reapplying, walk the surface of the floor to determine if spot waxing will suffice. Always clean the surface thoroughly
Two coats of concrete floor wax all done and fully cured.

Tips for Applying Concrete Sealers and Floor Waxes in Cold Temperatures

  • DO NOT apply water-based concrete sealers or floor waxes when surface temperatures are below 65°F.
  • Turn on the central heat and air etc. to 75°F before applying to raise the floor temperature.
  • Lay a flat thermometer covered with a towel on the floor for 5-10 mins or use an infrared thermometer to confirm floor temperature.
  • All heating sources and overhead fans must be turned off during application.
  • In-floor heating should be set at 60-65 degrees before and turned off during the application process.
  • Fans and heat can be turned on after application to aid with drying. Do not allow the surface to freeze.

All heating sources and overhead fans must be turned off during application.

In-floor heating should be set at 60-65 degrees before and turned off during the application process.

Fans and heat can be turned on after application to aid with drying. Do not allow it to freeze.

Monthly DIY contest