Concrete Veining Technique: How to Create a Vein Effect on Concrete with Acid Stain Colors
Looking to add some character and color to your concrete surfaces? The concrete stain veining technique is an effective way to achieve a marbled or vein-like pattern on your concrete using acid stain colors. This technique is easy to do and can produce stunning results, adding a unique and visually striking element to your concrete floors.
We’ll walk you through the steps for creating a vein print on concrete using acid stain colors, so you can achieve professional-looking results on your own. Whether you’re a DIY enthusiast or a professional contractor, this guide will help you master the art of concrete stain veining.
Wet on Dry: Vein Stain Technique
Step 1: Clean and prepare the concrete surface
- The first step in the veining process is to clean and prepare your concrete surface.
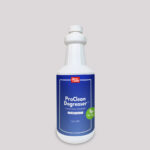
- Use a concrete cleaner or degreaser to remove any dirt, oil, or other contaminants from the surface.
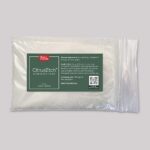
- You may also need to etch the surface using an etching solution to help the acid stain penetrate the concrete.
- Be sure to rinse the surface thoroughly and allow it to dry completely before proceeding.

For more detailed instructions on how to prepare your concrete surface for staining, check out our blog on “Preparing a Concrete Surface for Staining.” This comprehensive guide covers everything you need to know to get your concrete ready for a beautiful and long-lasting acid stain finish.
Step 2: Apply a base color of acid stain
- Once your surface is clean and prepared, it’s time to apply a base color of acid stain.
- Choose a light color for your base coat and apply it using a pump sprayer.
Discover our customer’s top acid stain color choices by visiting our blog “Concrete Acid Stain Color Guide“.
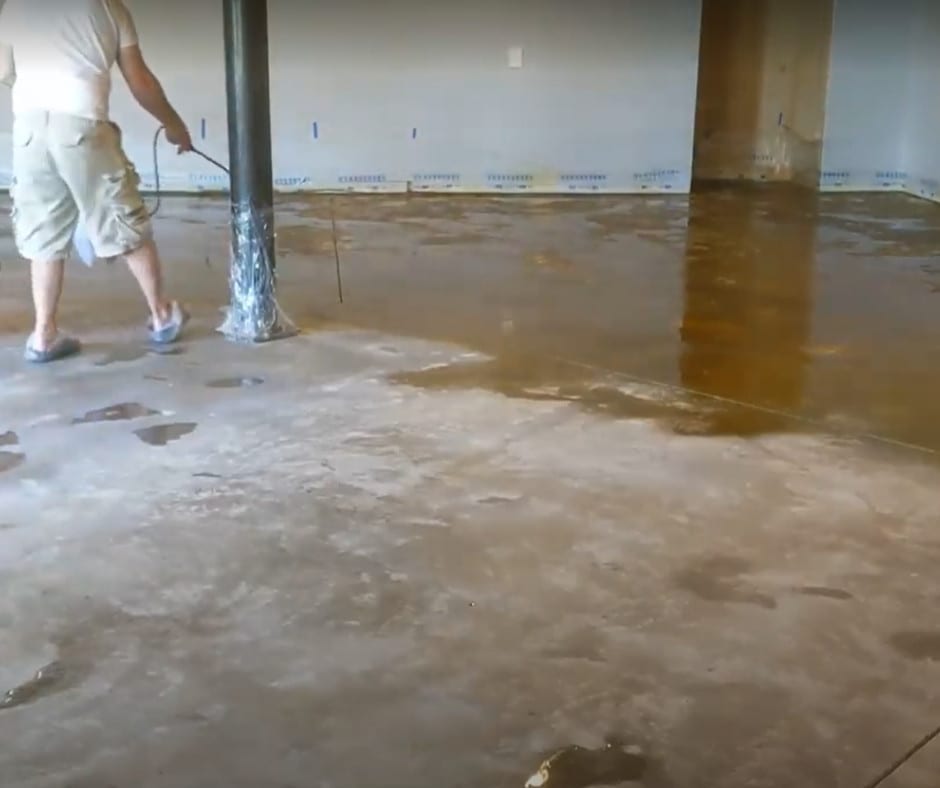
Applying the base coat of acid stain is an important step in the concrete stain veining process. For more detailed instructions on how to apply acid stains, check out our blog on ‘How To Apply Concrete Acid Stain‘ to ensure a smooth and professional-looking finish.
- For detailed information on the amount of time needed to allow the acid stain to react with the concrete and achieve the desired color, check out our blog on “Acid Stain Activation Times.” This will help ensure that you get the best results when using the veining technique.
- If you want to use multiple colors of acid stain to create a more complex and layered effect, check out our blog on “Layering Techniques For Beautiful Concrete With Acid Stains: Wet On Wet Vs. Wet On Dry.” This will give you more information on the different techniques you can use to layer acid stains and achieve beautiful results.
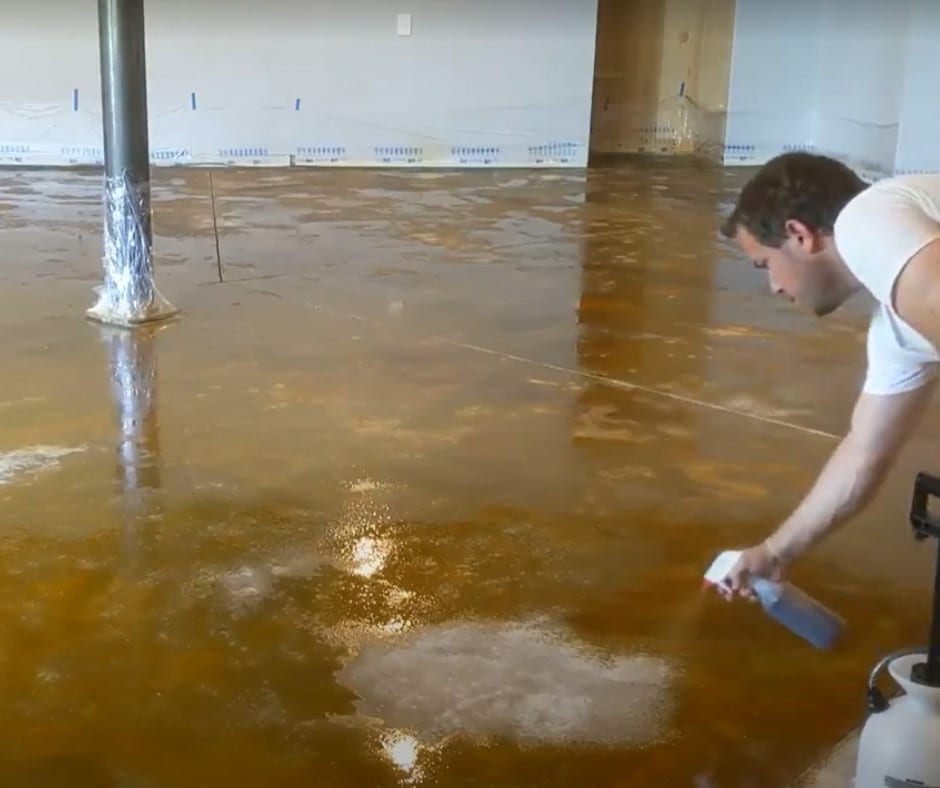
Step 3: Neutralize the acid stain base color
Once the acid stain base color has had the recommended amount of time to react with the concrete, it’s time to neutralize the surface.
Here’s a step-by-step process to help you neutralize concrete acid stain effectively:
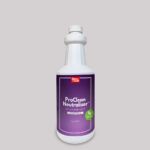
1. Start by saturating the stained concrete surface with a product like ProClean Neutralizer™. This helps neutralize the acid stain and prepares the surface for thorough cleaning.
2. Gently scrub the neutralizer into the concrete using a soft nylon bristle brush, taking care to wear your spiked shoes during this process. Let it sit for about 20 minutes to ensure proper neutralization.
3. After the acid stain is neutralized, reapply ProClean Neutralizer™ to the concrete surface as it also serves as a cleaner. Gently scrub it into the concrete with a soft nylon bristle brush.
4. Continue scrubbing and rinsing with clean water until the rinse water is clear. A shop vac can be helpful in removing excess water during this process.
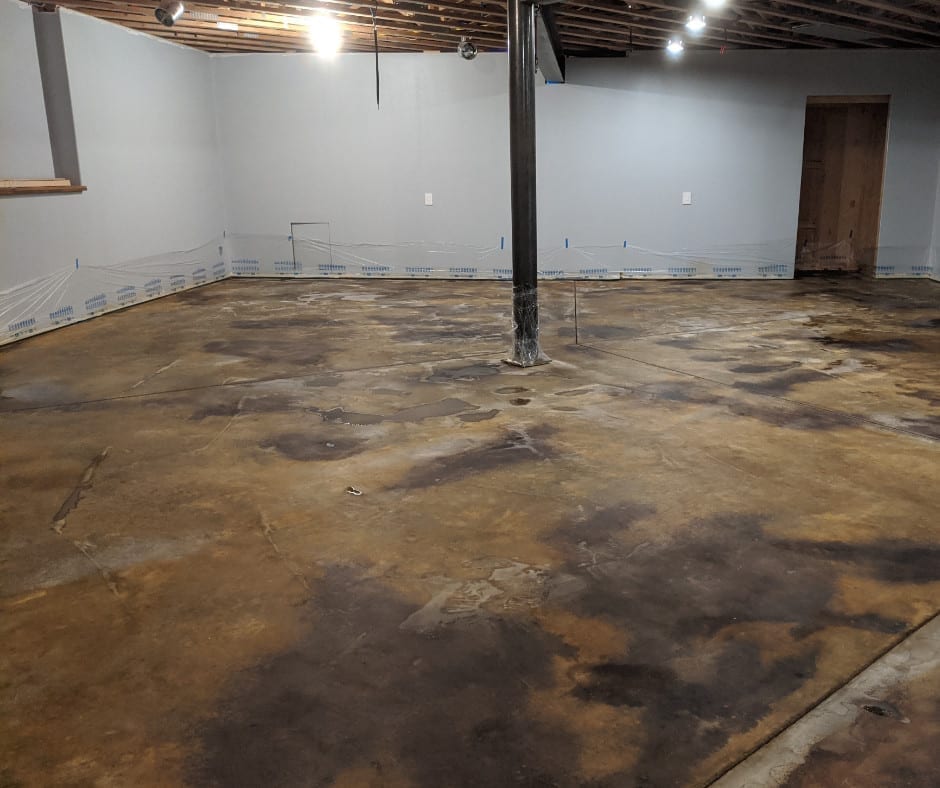
Tip: If you have large pits in your concrete floor, you can fill them with a clear self-leveling epoxy to create a smooth and even surface. To do this, carefully drip and spread the epoxy into and along the pit using a toothpick or similar tool. Be sure to follow the manufacturer’s instructions for mixing and applying the epoxy to ensure the best results.
Tip: If you have cracks in your concrete floor that are a bit larger than hairline cracks, you can fill them with gold leaf for a unique and eye-catching effect. To do this, carefully fill the cracks with gold leaf and seal over them to protect the gold leaf and create a smooth surface. Not many people can say they have real gold in their floor!
Step 4: Create vein color design
There are several techniques you can use to create a vein design with acid stain.
To avoid accidentally dripping some concrete acid stain onto an area you didn’t mean to, come prepared. Bring a spray bottle filled with concrete acid stain neutralizer on hand to spray on the stray droplets.
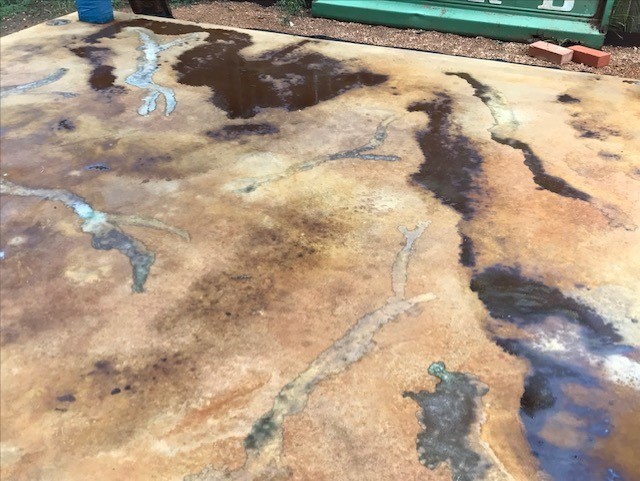
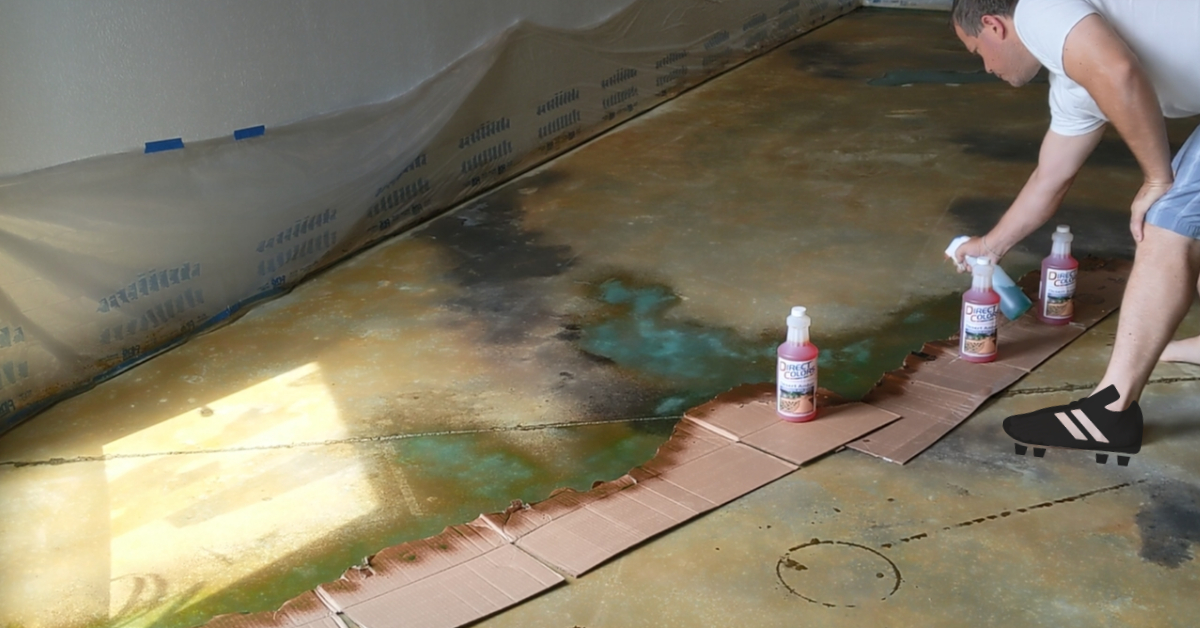
Torn Cardboard Concrete Veining Technique:
If you want to create a unique and irregular vein pattern with your acid stain, you can use irregularly torn cardboard pieces. Simply arrange the cardboard pieces on your floor as desired, and then apply the acid stain to a wet area 6-8 inches away from the cardboard. This allows the acid stain to be diluted by any overspray and creates a more subtle and varied vein pattern.
Be sure to avoid using torn paper as it is too thin and may not effectively wick the stain away from your irregular edge. Also, do not remove the cardboard pieces until the stain is fully dry to avoid drips.
Toilet Paper Concrete Veining Technique:
To create a custom, wrinkled vein pattern with your acid stain, you can use toilet paper. Arrange the toilet paper on your floor in bunches, twists, and turns, and then lightly wet it and tease out any straight lines or edges with your fingers. Lightly dribble the acid stain over the toilet paper to transfer the color onto the base coat. Then, let the stain react!
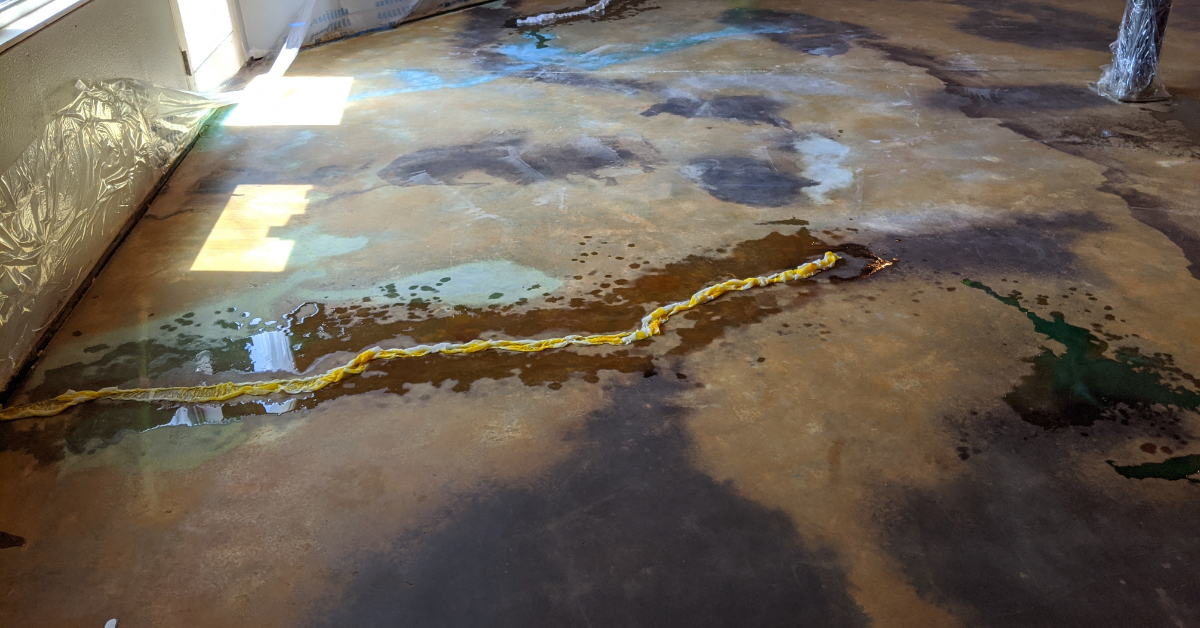
Plastic Wrap Concrete Veining Technique:
To create veins with your acid stain, you can use long strips of plastic wrap crinkled up into a long tube and placed on your concrete surface. The acid stain will collect where the plastic rests on the wet stain, creating a unique vein pattern. To avoid accidentally dripping some concrete acid stain onto an area you didn’t mean to, come prepared with a spray bottle filled with concrete acid stain neutralizer on hand to spray on stray droplets.
Flowing Watercolor Effect Concrete Veining Technique:
To create a unique and flowing watercolor vein pattern with your acid stain, you can use a small container or water bottle to dribble an irregular puddle onto your concrete surface. Follow the puddle with dribbles of acid stain, and as the water levels and settles, the stain will flow with and mix into the water. This will give you a custom and varied vein pattern that resembles a flowing watercolor effect.
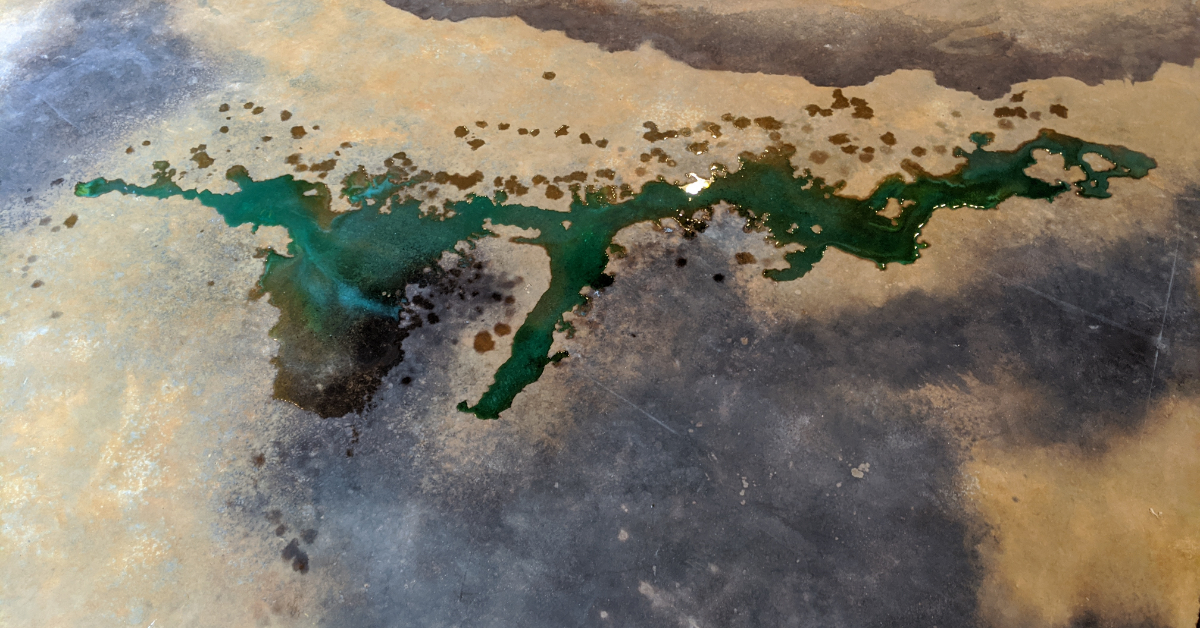
Tip: Try adding a small amount of Miracle Gro to the acid stain mixture before applying it to your concrete surface. This can help to make the blue colors in the acid stain more vibrant and pronounced. For more details on how to use Miracle Gro in this way, check out our blog “Using Miracle Gro To Enhance The Blue Hues Of Azure Blue Acid Stain On Concrete.“
Step 5: Let acid stain vein color react
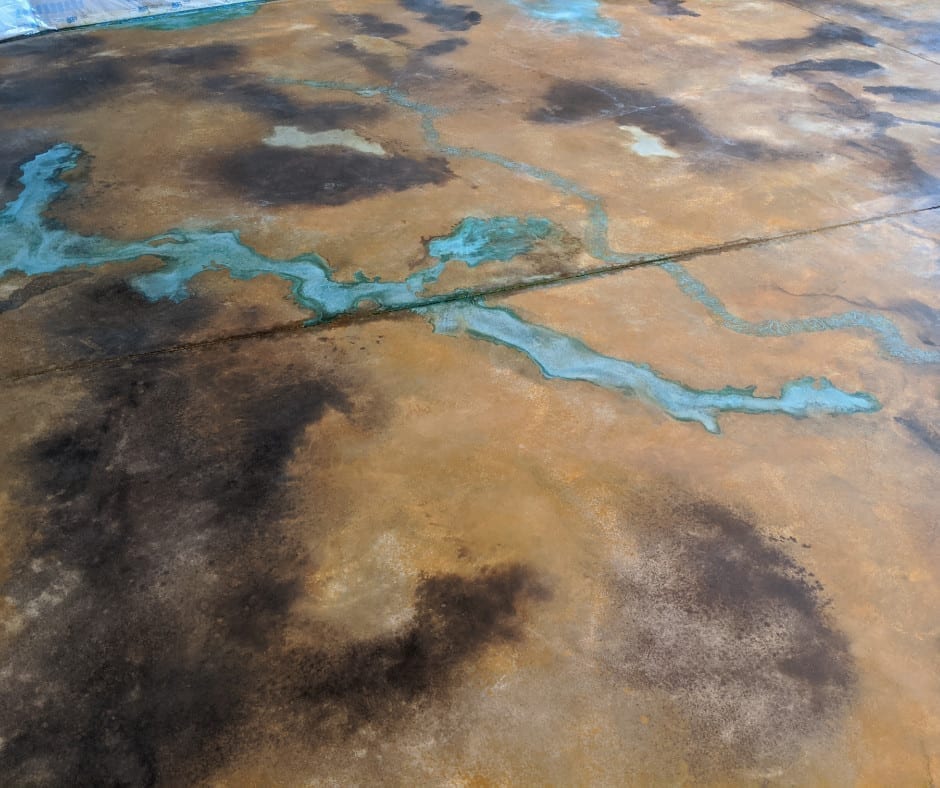
After applying the acid stain for the vein color, allow it to fully react with the concrete surface. You can refer to our article on Acid Stain Color Activation Times to determine the recommended reaction time for your specific stain color.
Step 6: Neutralize and clean acid stain residue
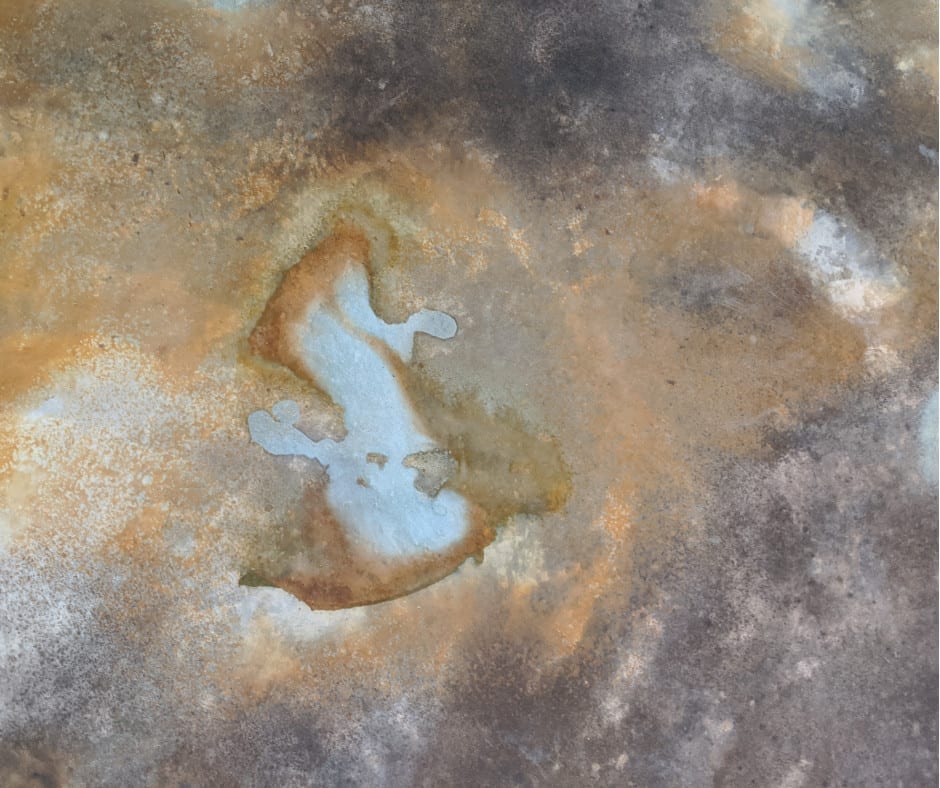
After the vein color has fully reacted, spray ProClean Neutralizer™, then rinse the surface to remove any residue and let it dry completely before sealing. If you don’t have any acid stain neutralizer on hand, you may sprinkle baking soda on the floor and rinse the surface.
For more details on neutralizing acid stain, check out our guide “How to Neutralize Concrete Acid Stain”.
Step 7: Apply concrete sealer
Once the acid stain layers have dried, you are ready to seal the surface. Choose a sealer appropriate for your specific needs and apply it in thin, even coats using a roller or sprayer. You can refer to our article Concrete Sealer: Choosing the Right One for more information on selecting and applying a sealer.
Step 8 (Optional): Wax for added protection (Indoor Projects Only)
If you’re working on an indoor project, you may want to consider applying a concrete floor wax to your surface as a final step. This will provide an extra layer of protection and help maintain the beauty of your decorative concrete.
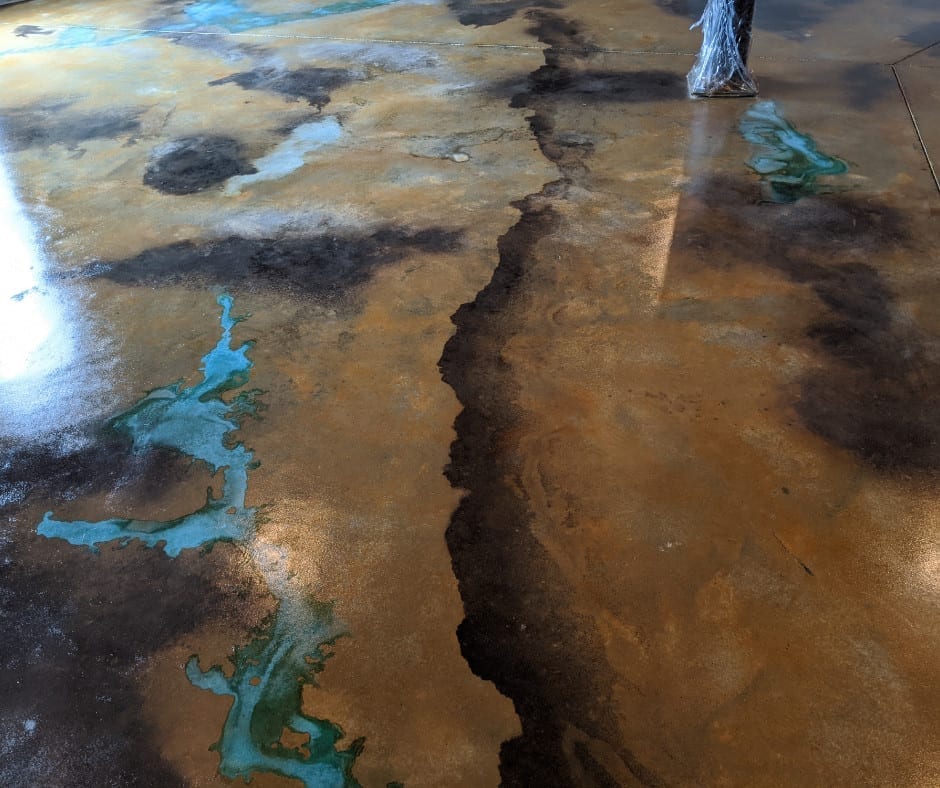
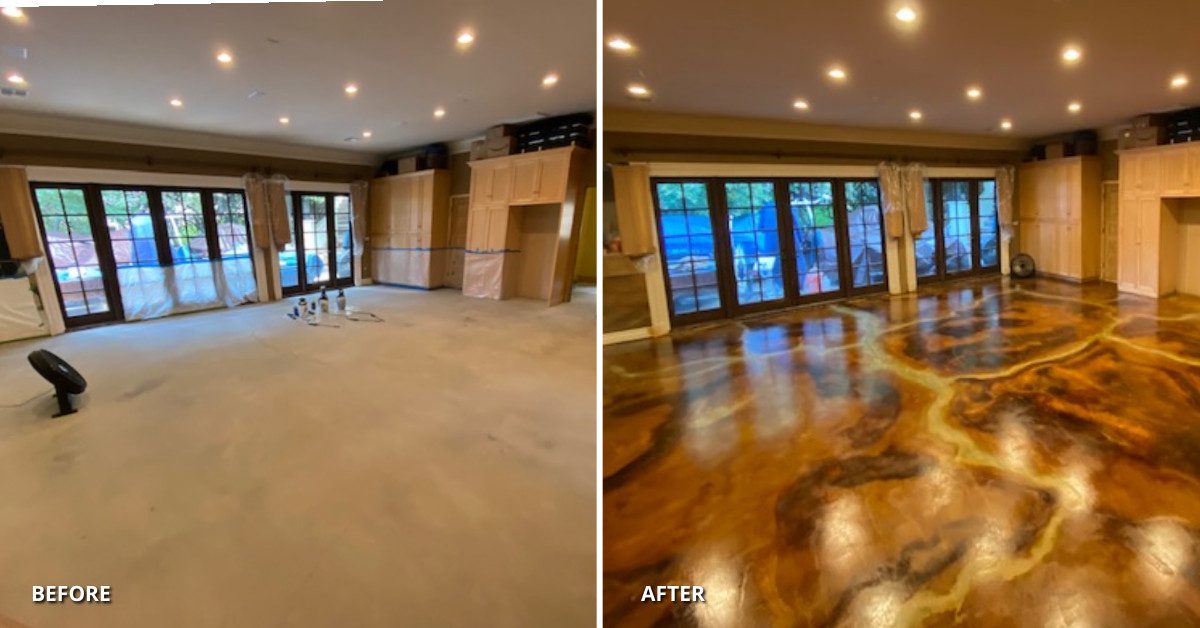
Guest House Floor Upgrade: Miracle-Gro and Azure Blue Acid Stain Veins Bring Color and Character to Concrete
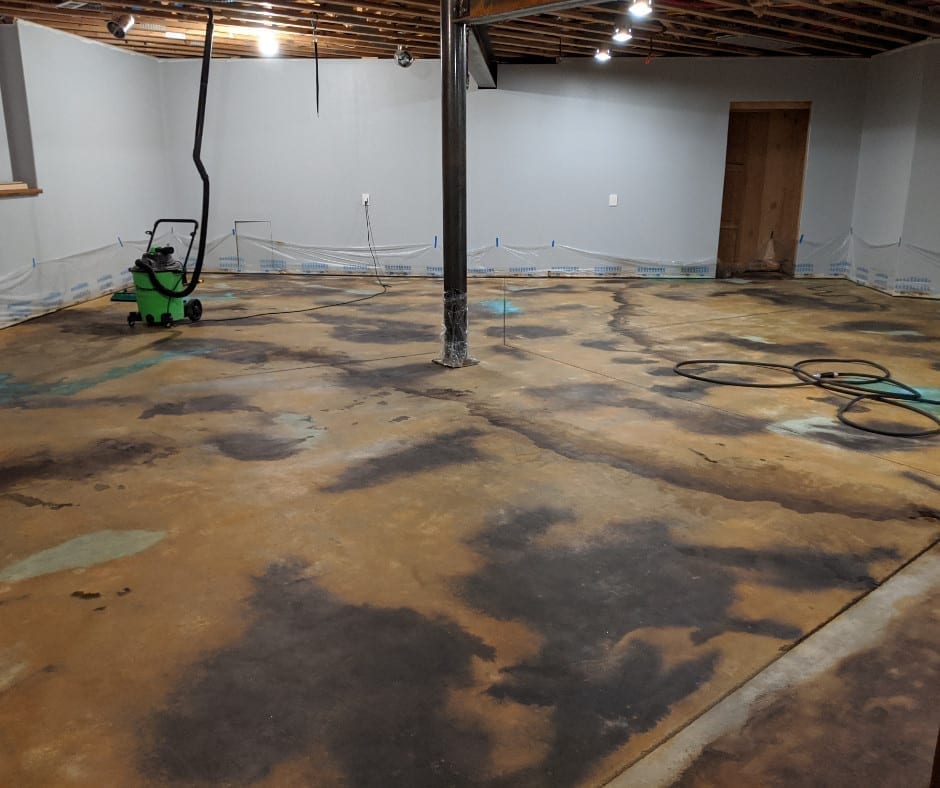
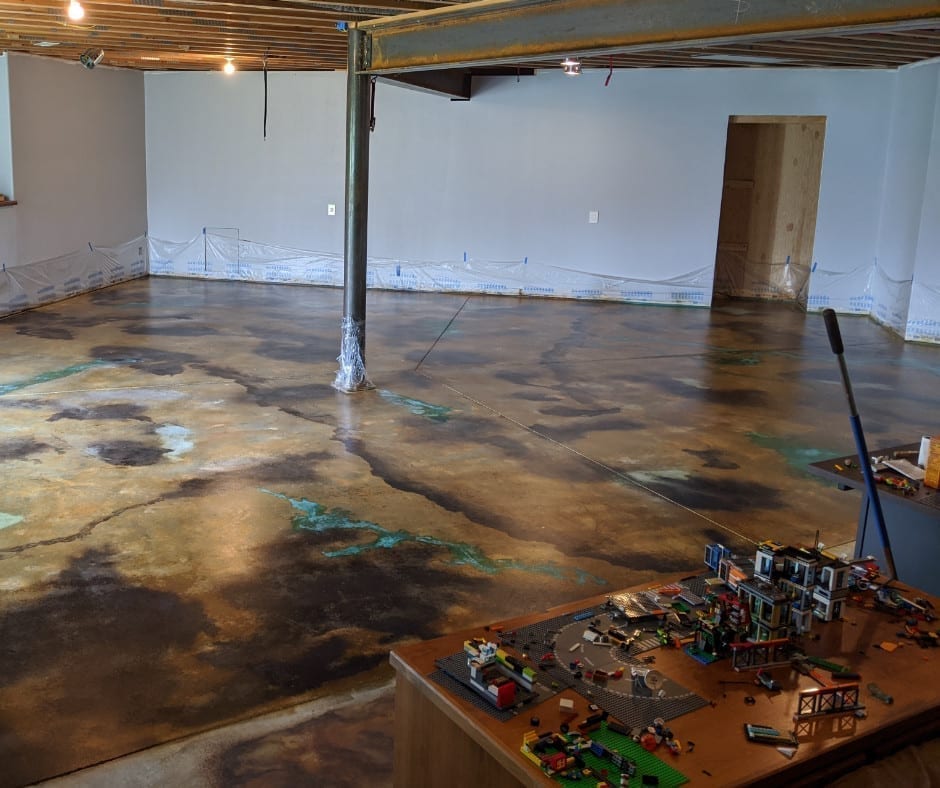
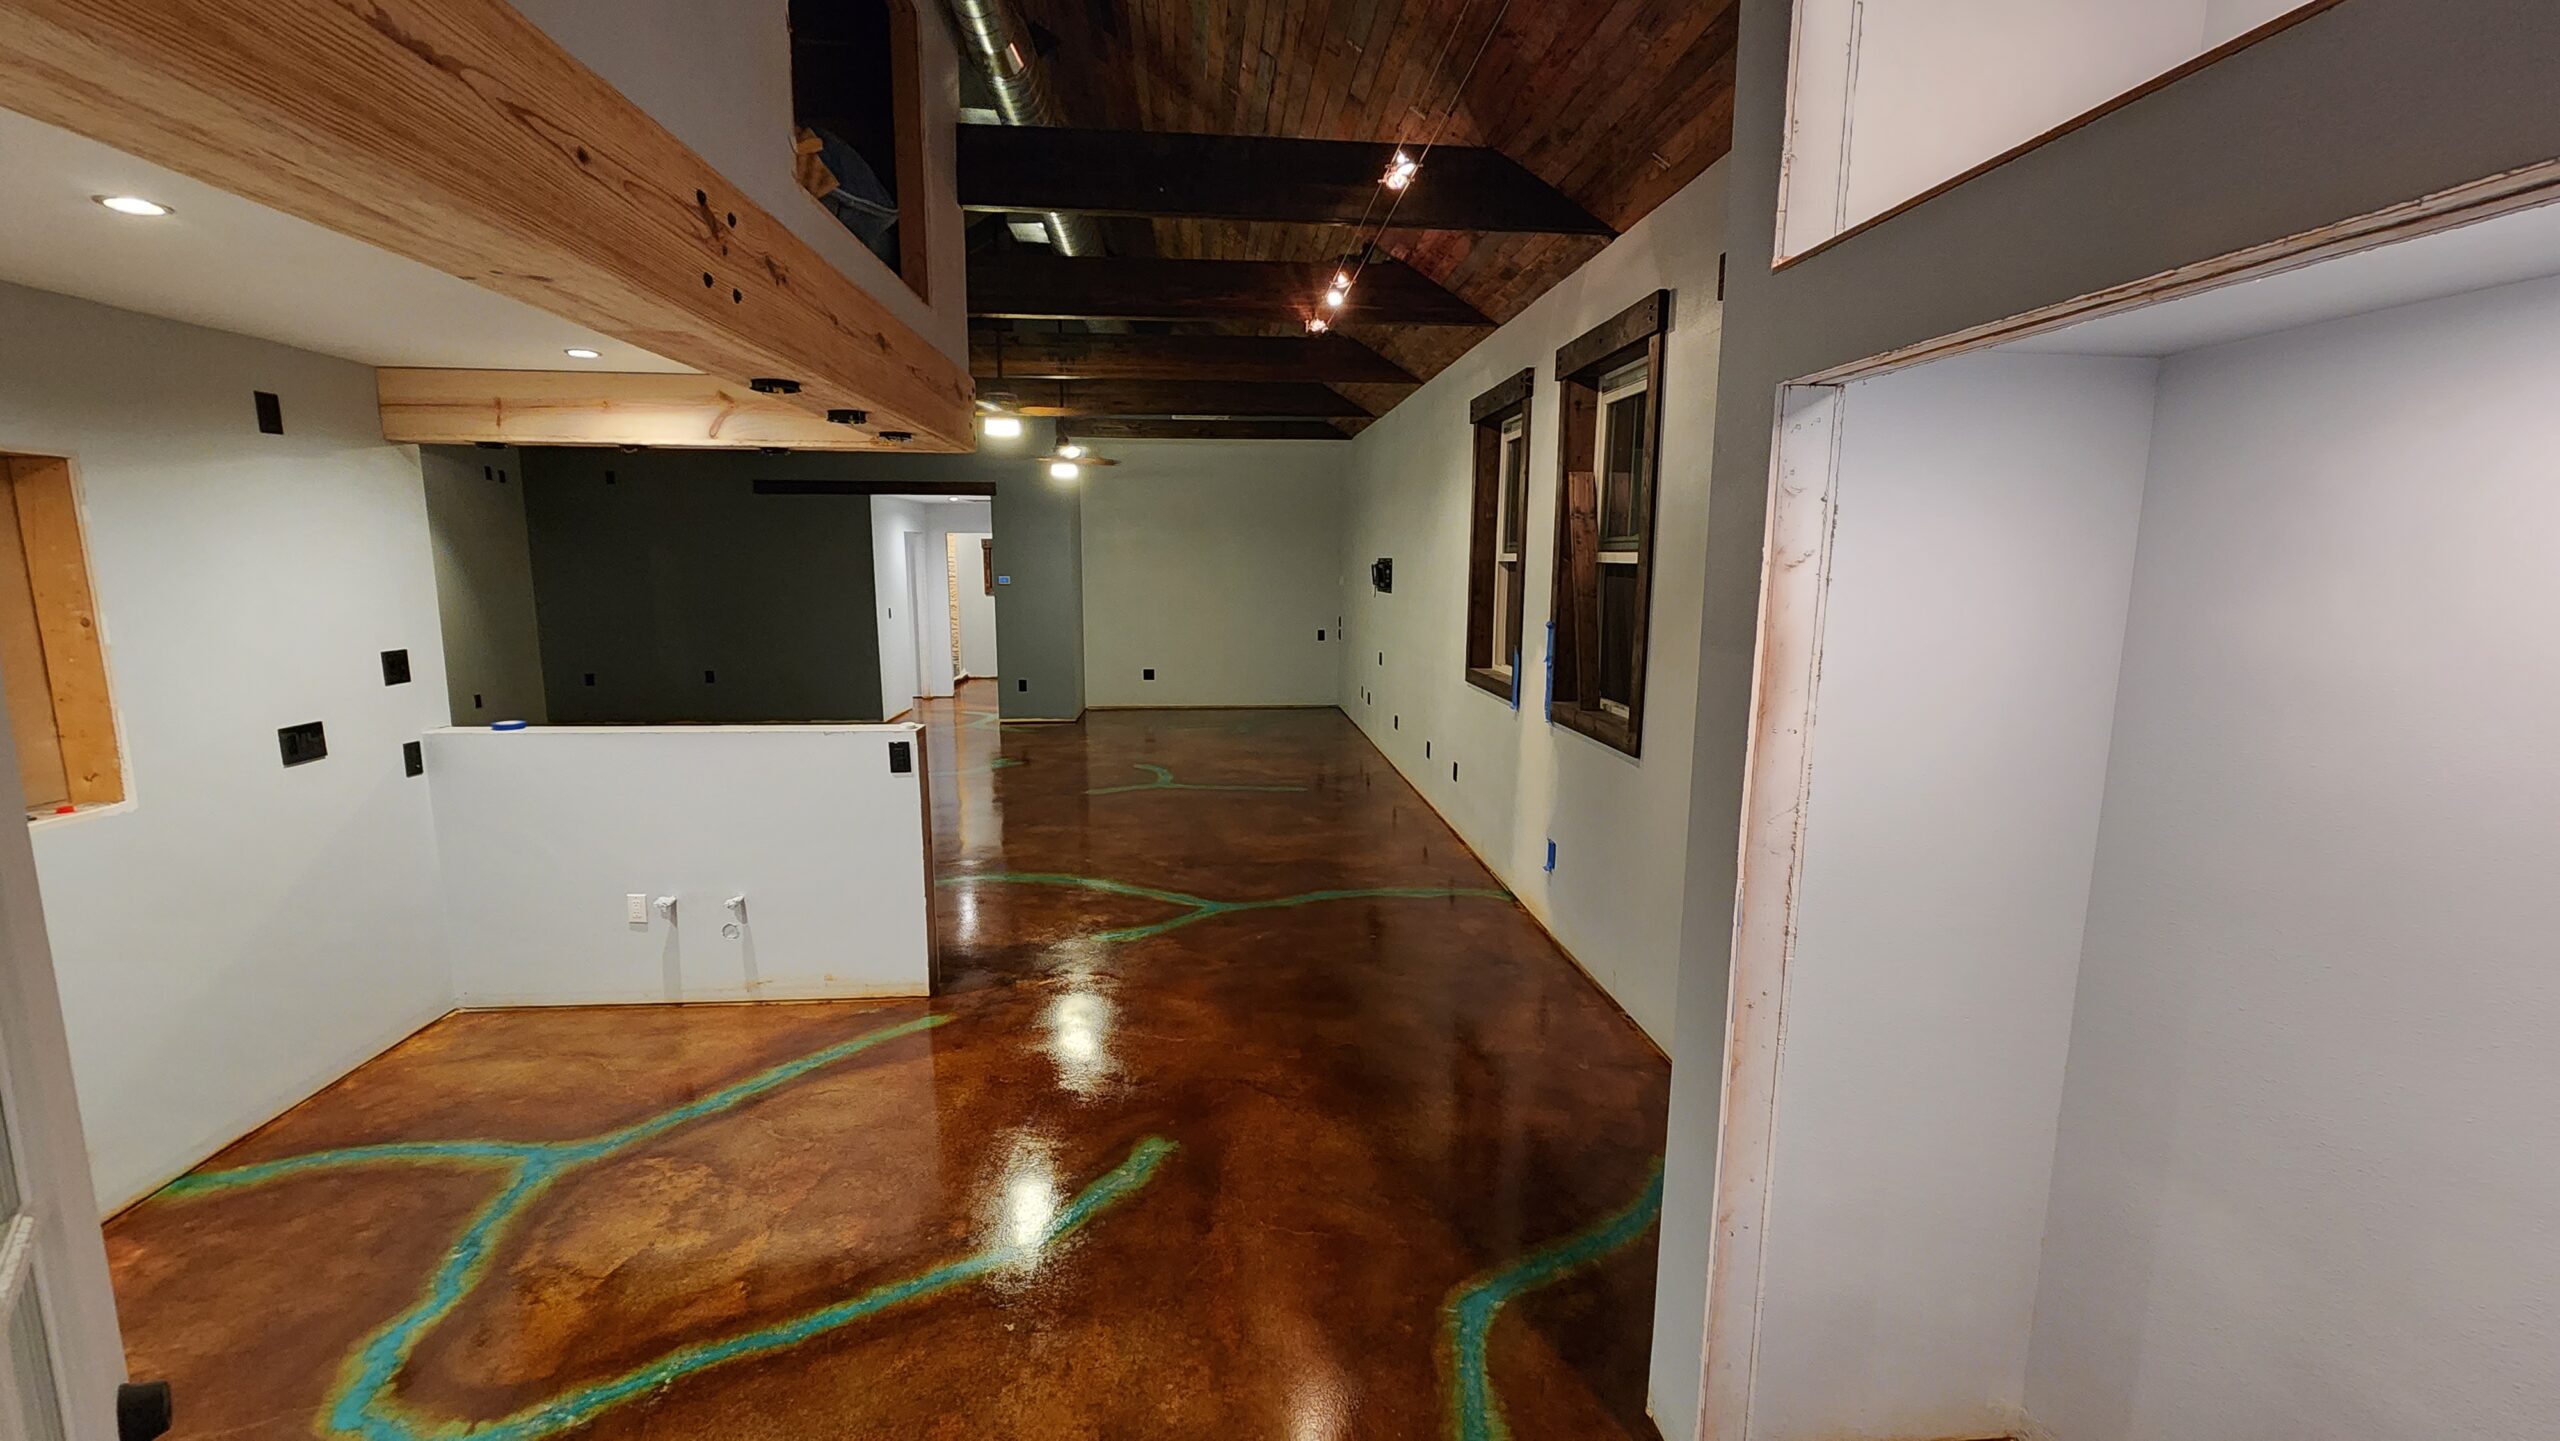
It was time for a special floor in our gameroom/guesthouse, and we wanted something different with a pop of color. After some research, we decided to try the veining technique using toilet paper and adding Miracle Gro to Azure Blue for a brighter color.
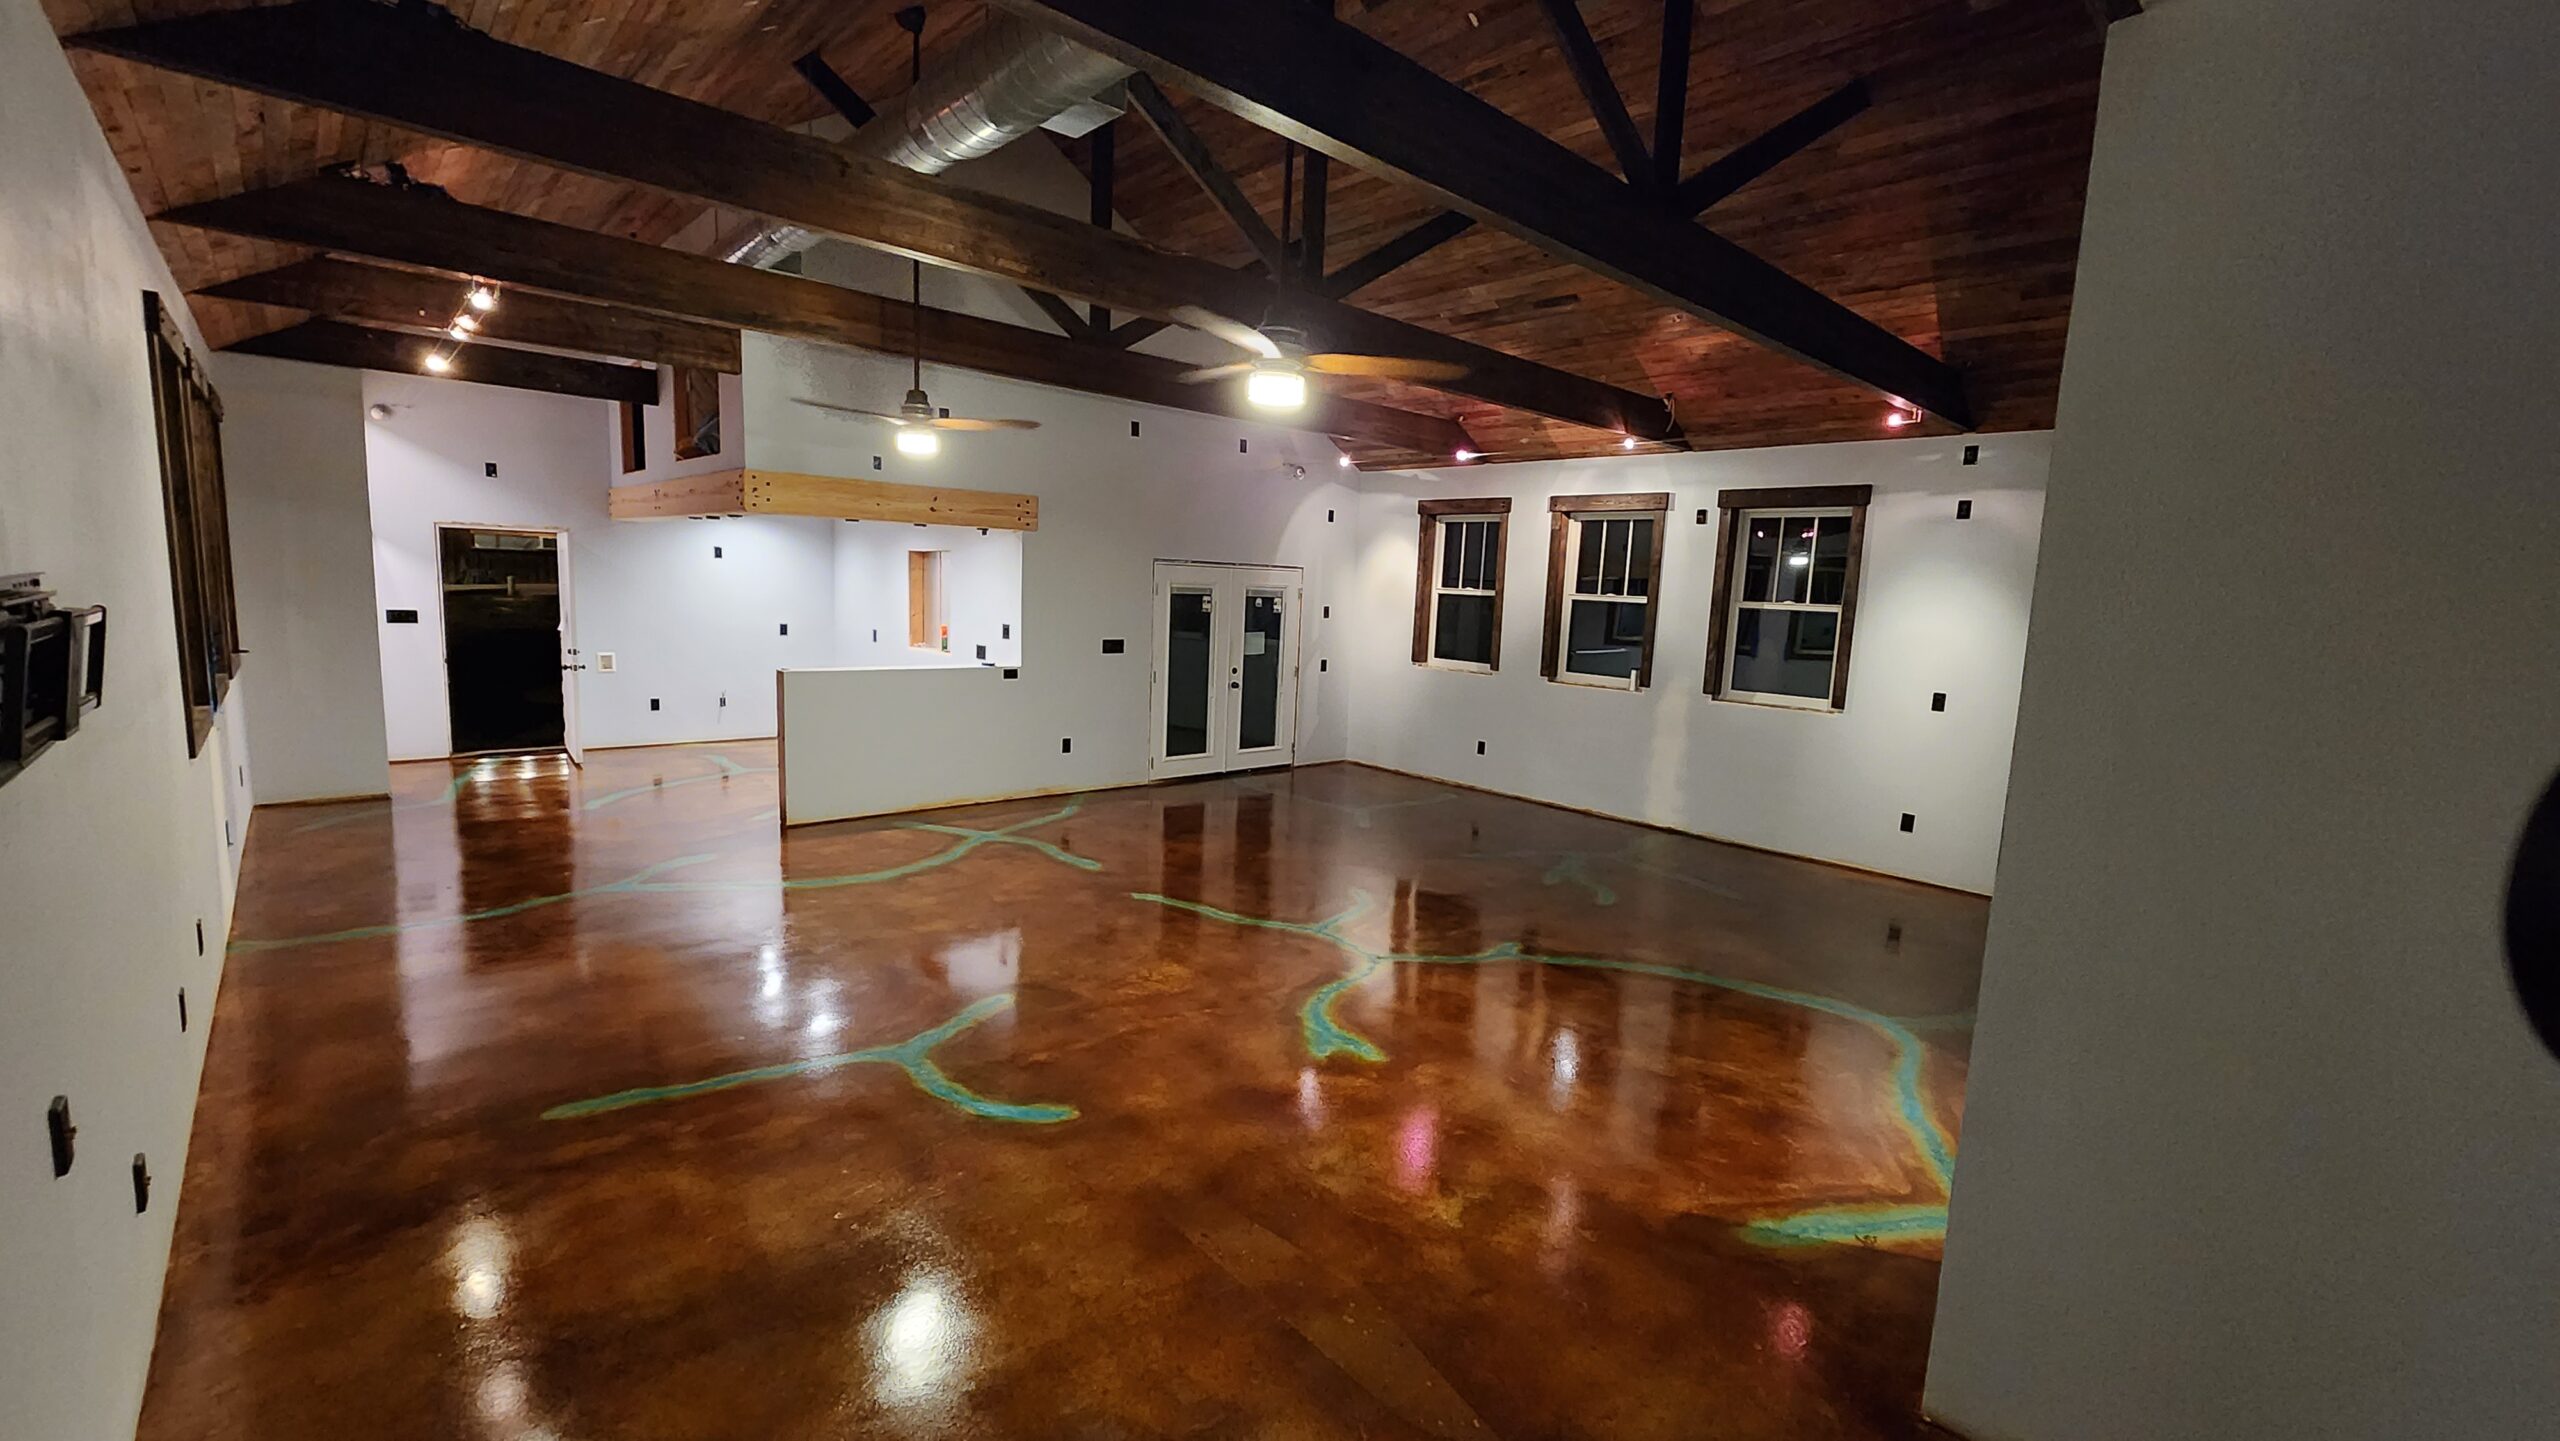
We followed the how-to videos and guides on the site and made sure to fully neutralize the Citrus etch and scrub it off our tools. To make the cleanup process easier, we followed a helpful tip and scrubbed the CitrusEtch into one area before vacuuming it up. This minimized the amount of mopping we needed to do.
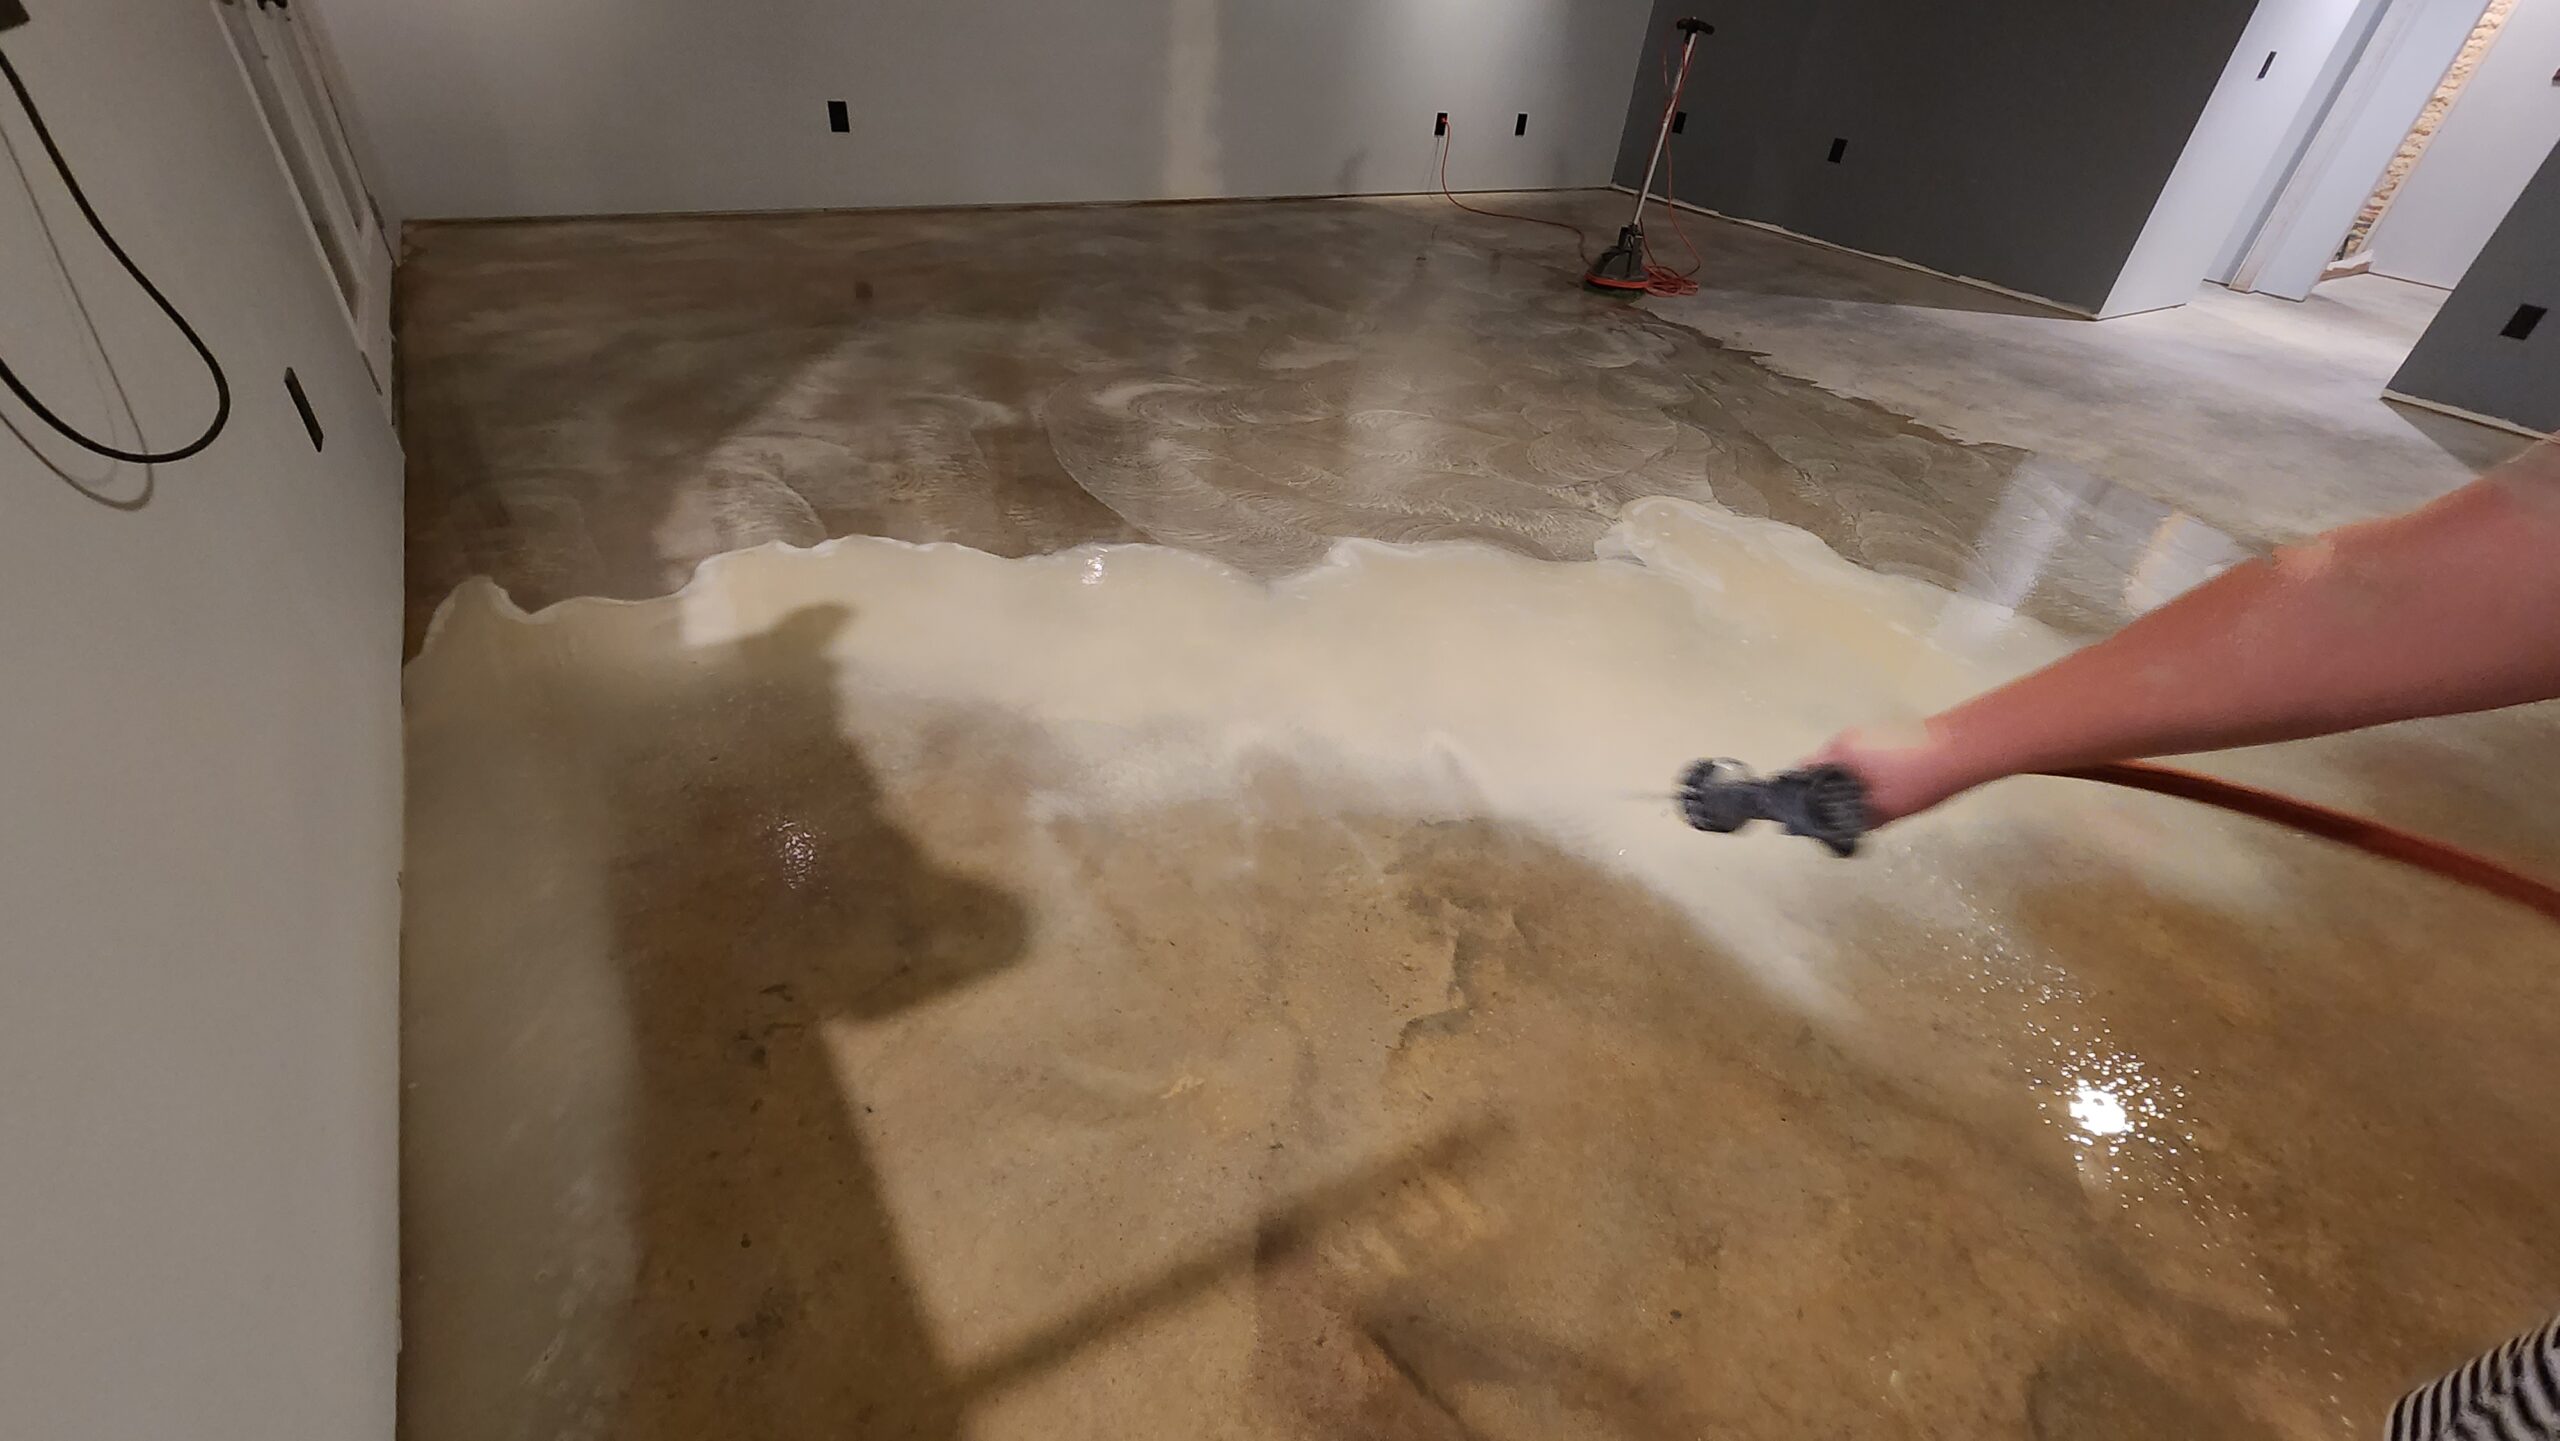
The project was completed in just four days and covered an estimated 1250 square feet. In addition to the veining technique and Azure Blue, we also used an orbital polisher with scrubbing pads, mops, and plastic for the walls.
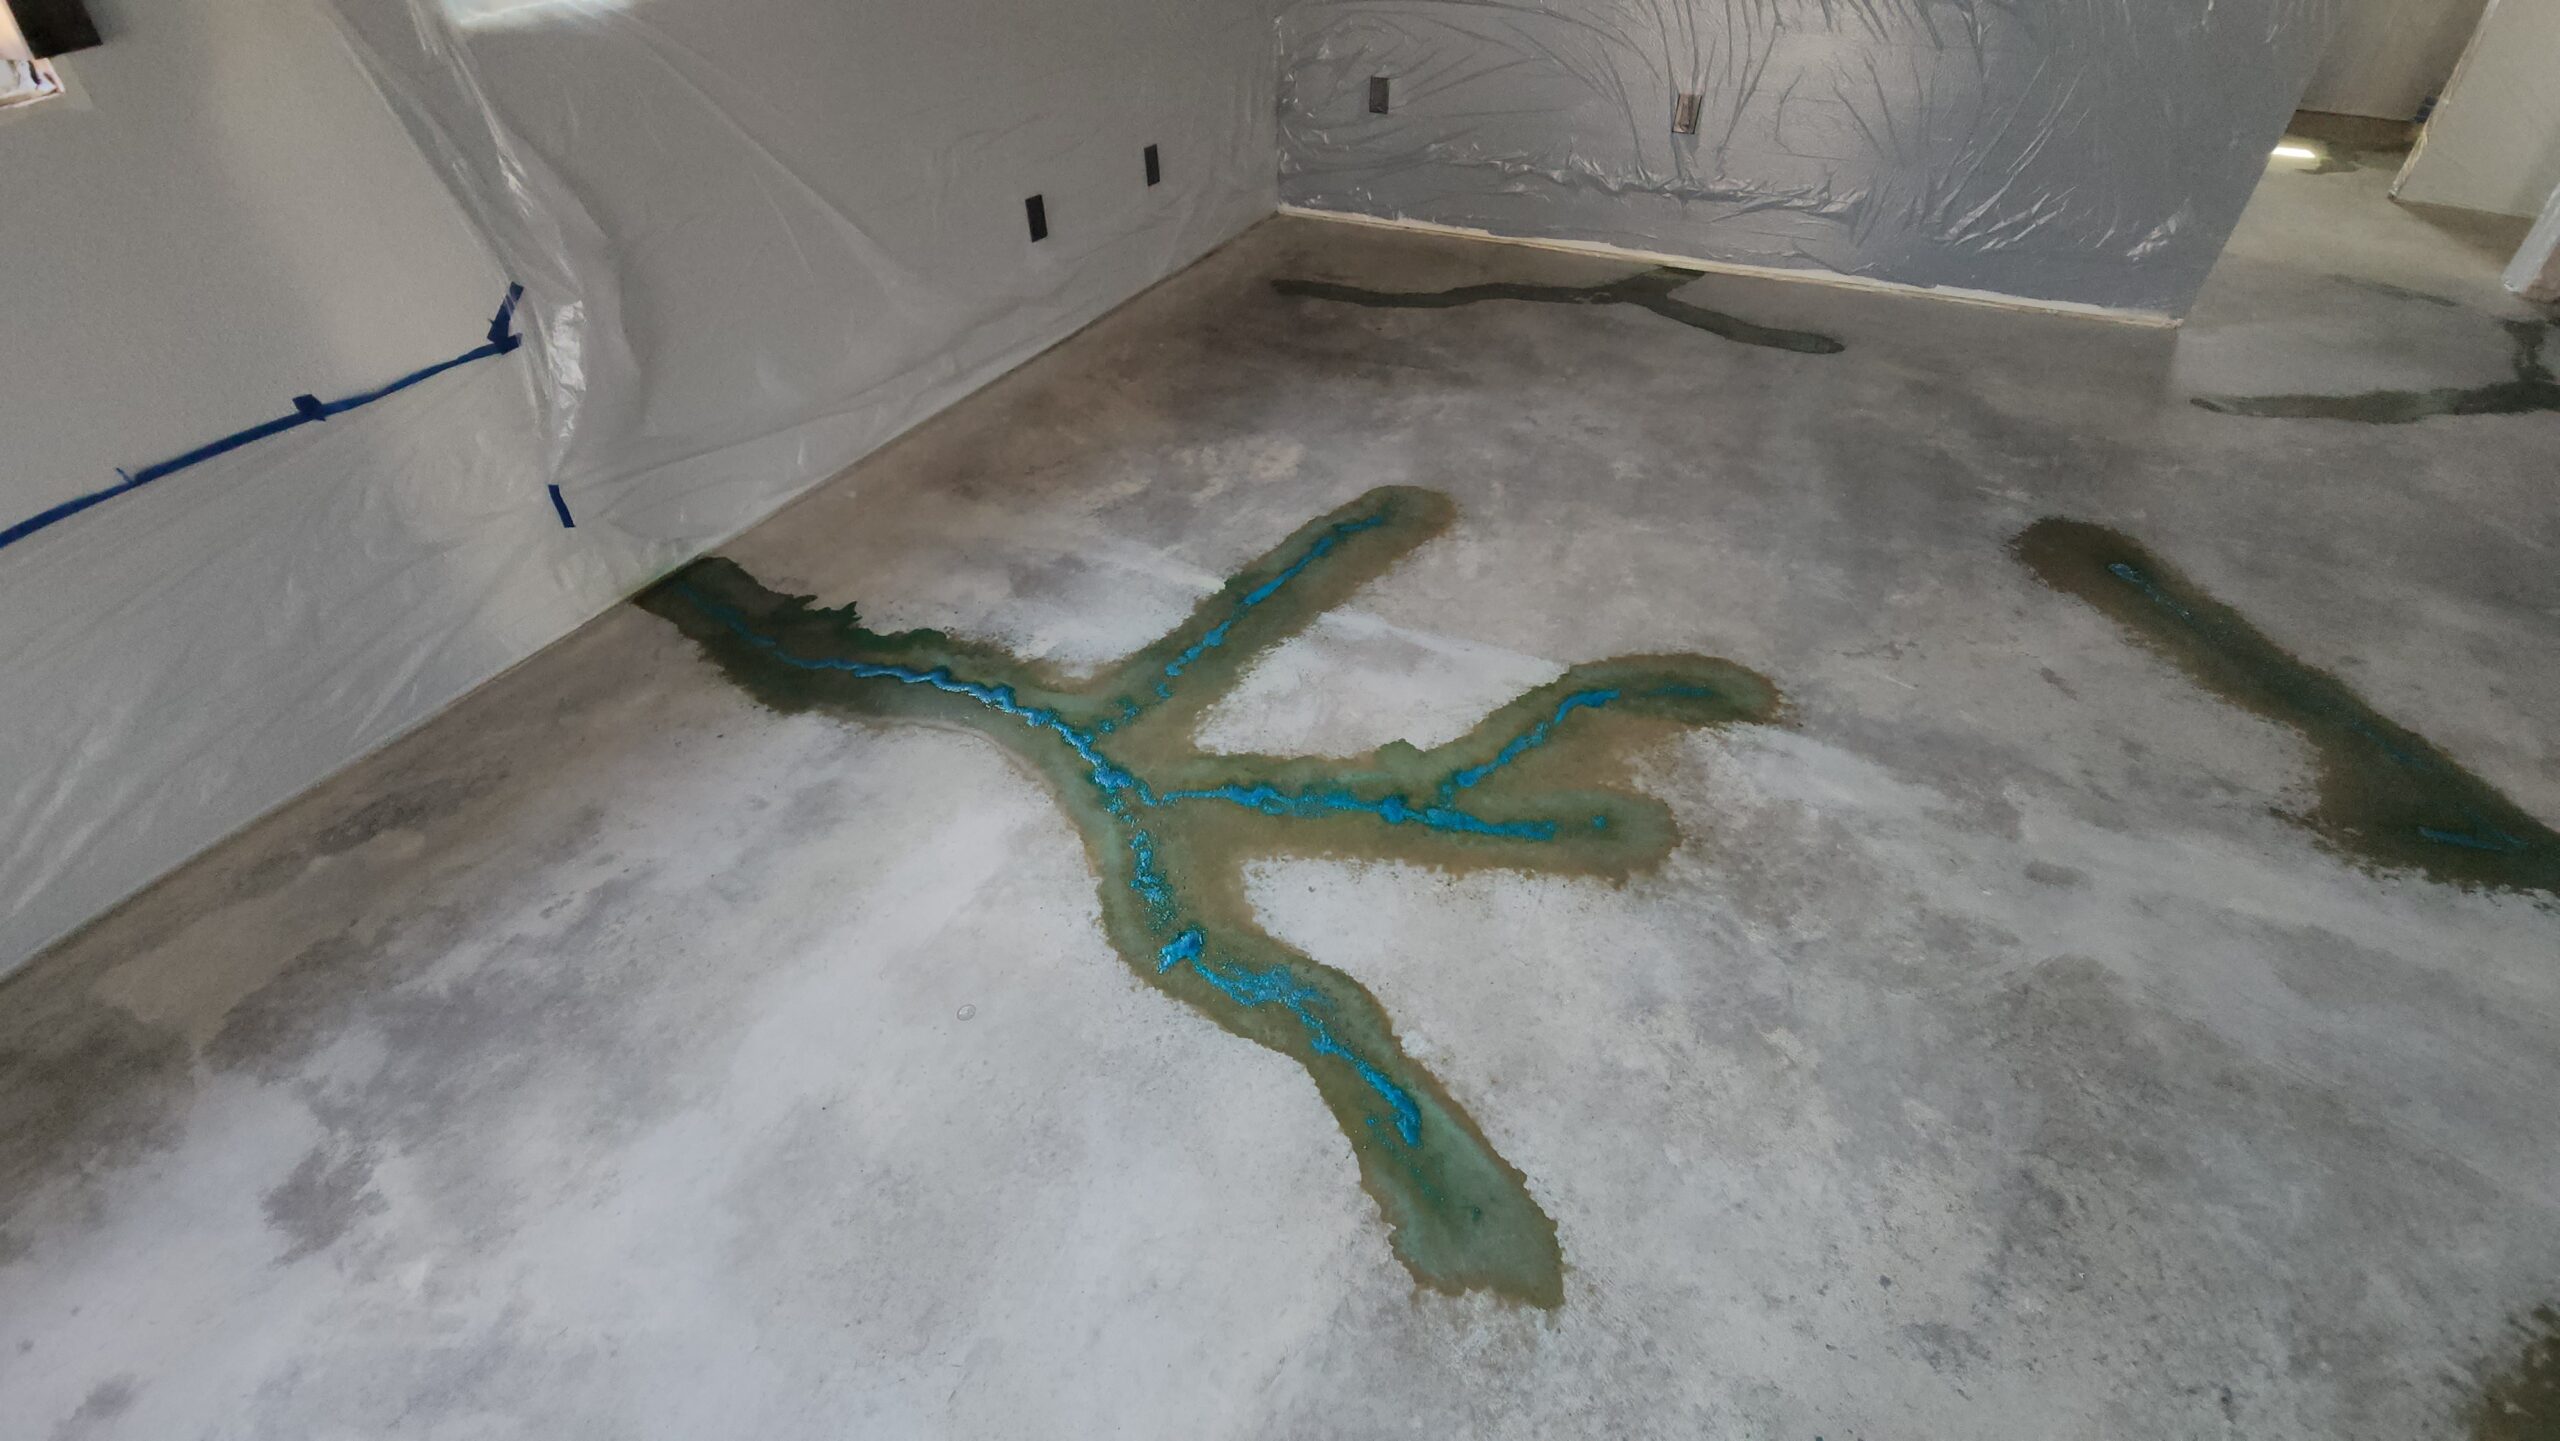
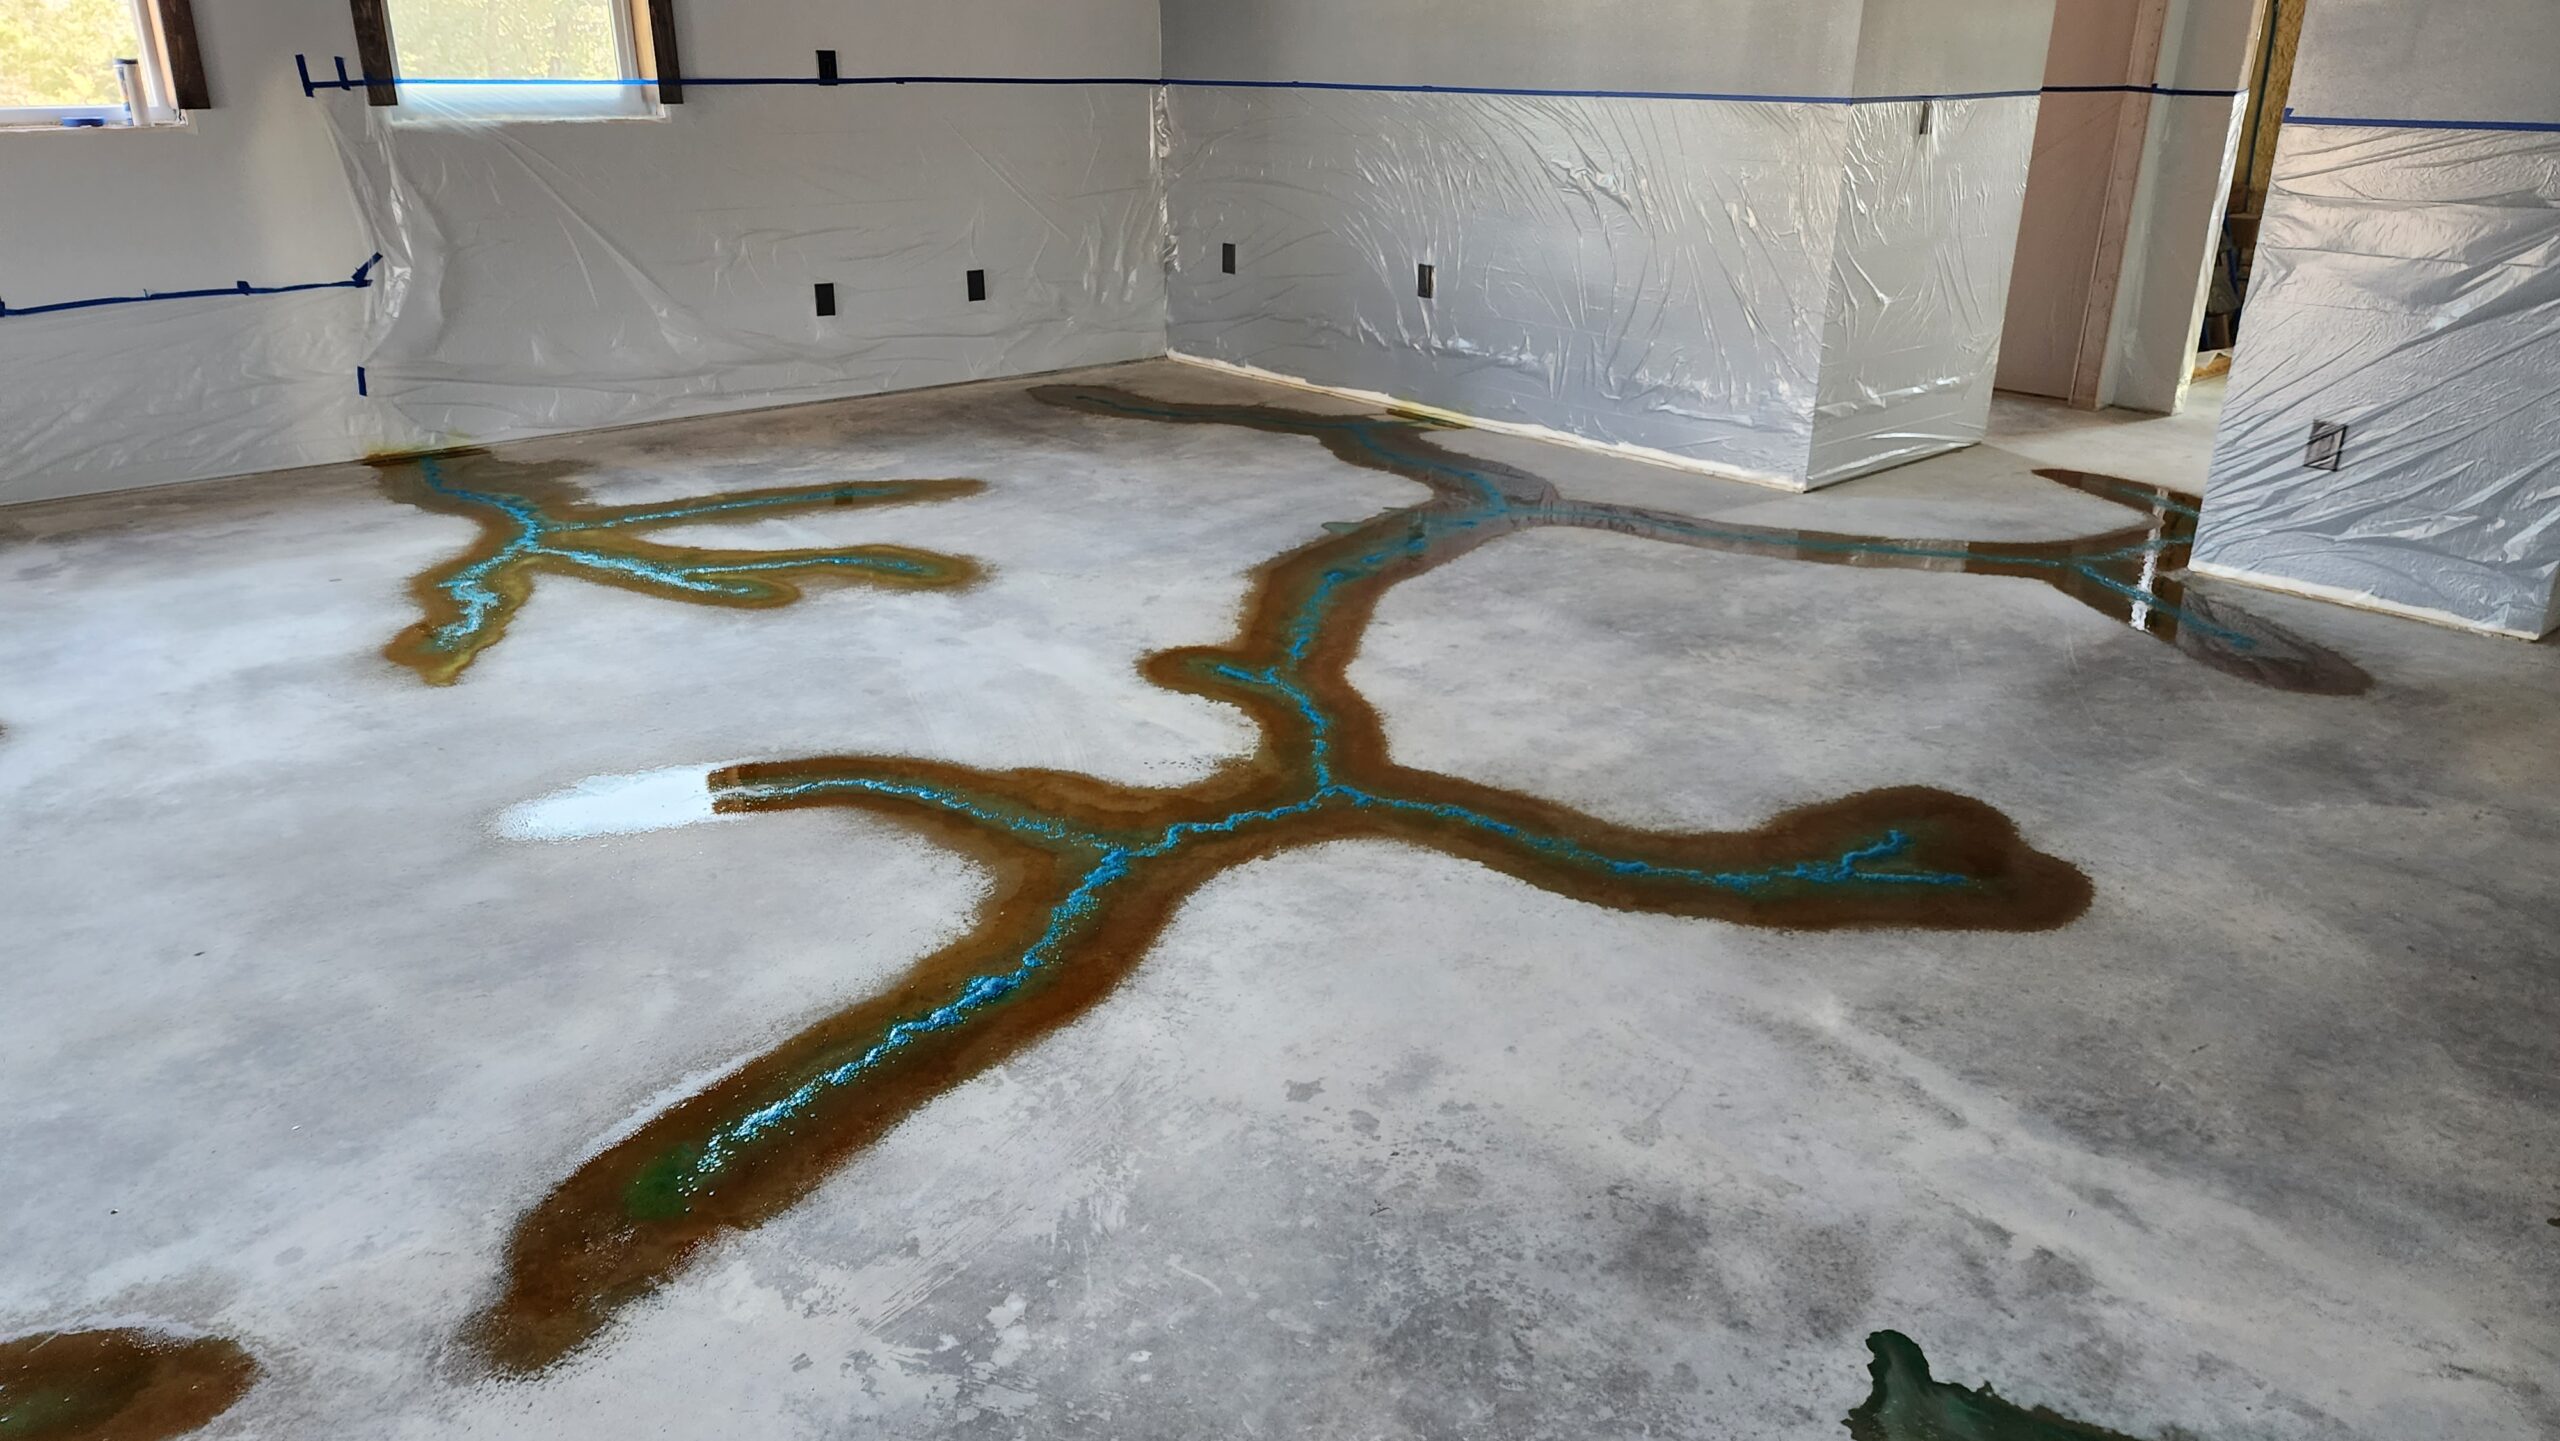
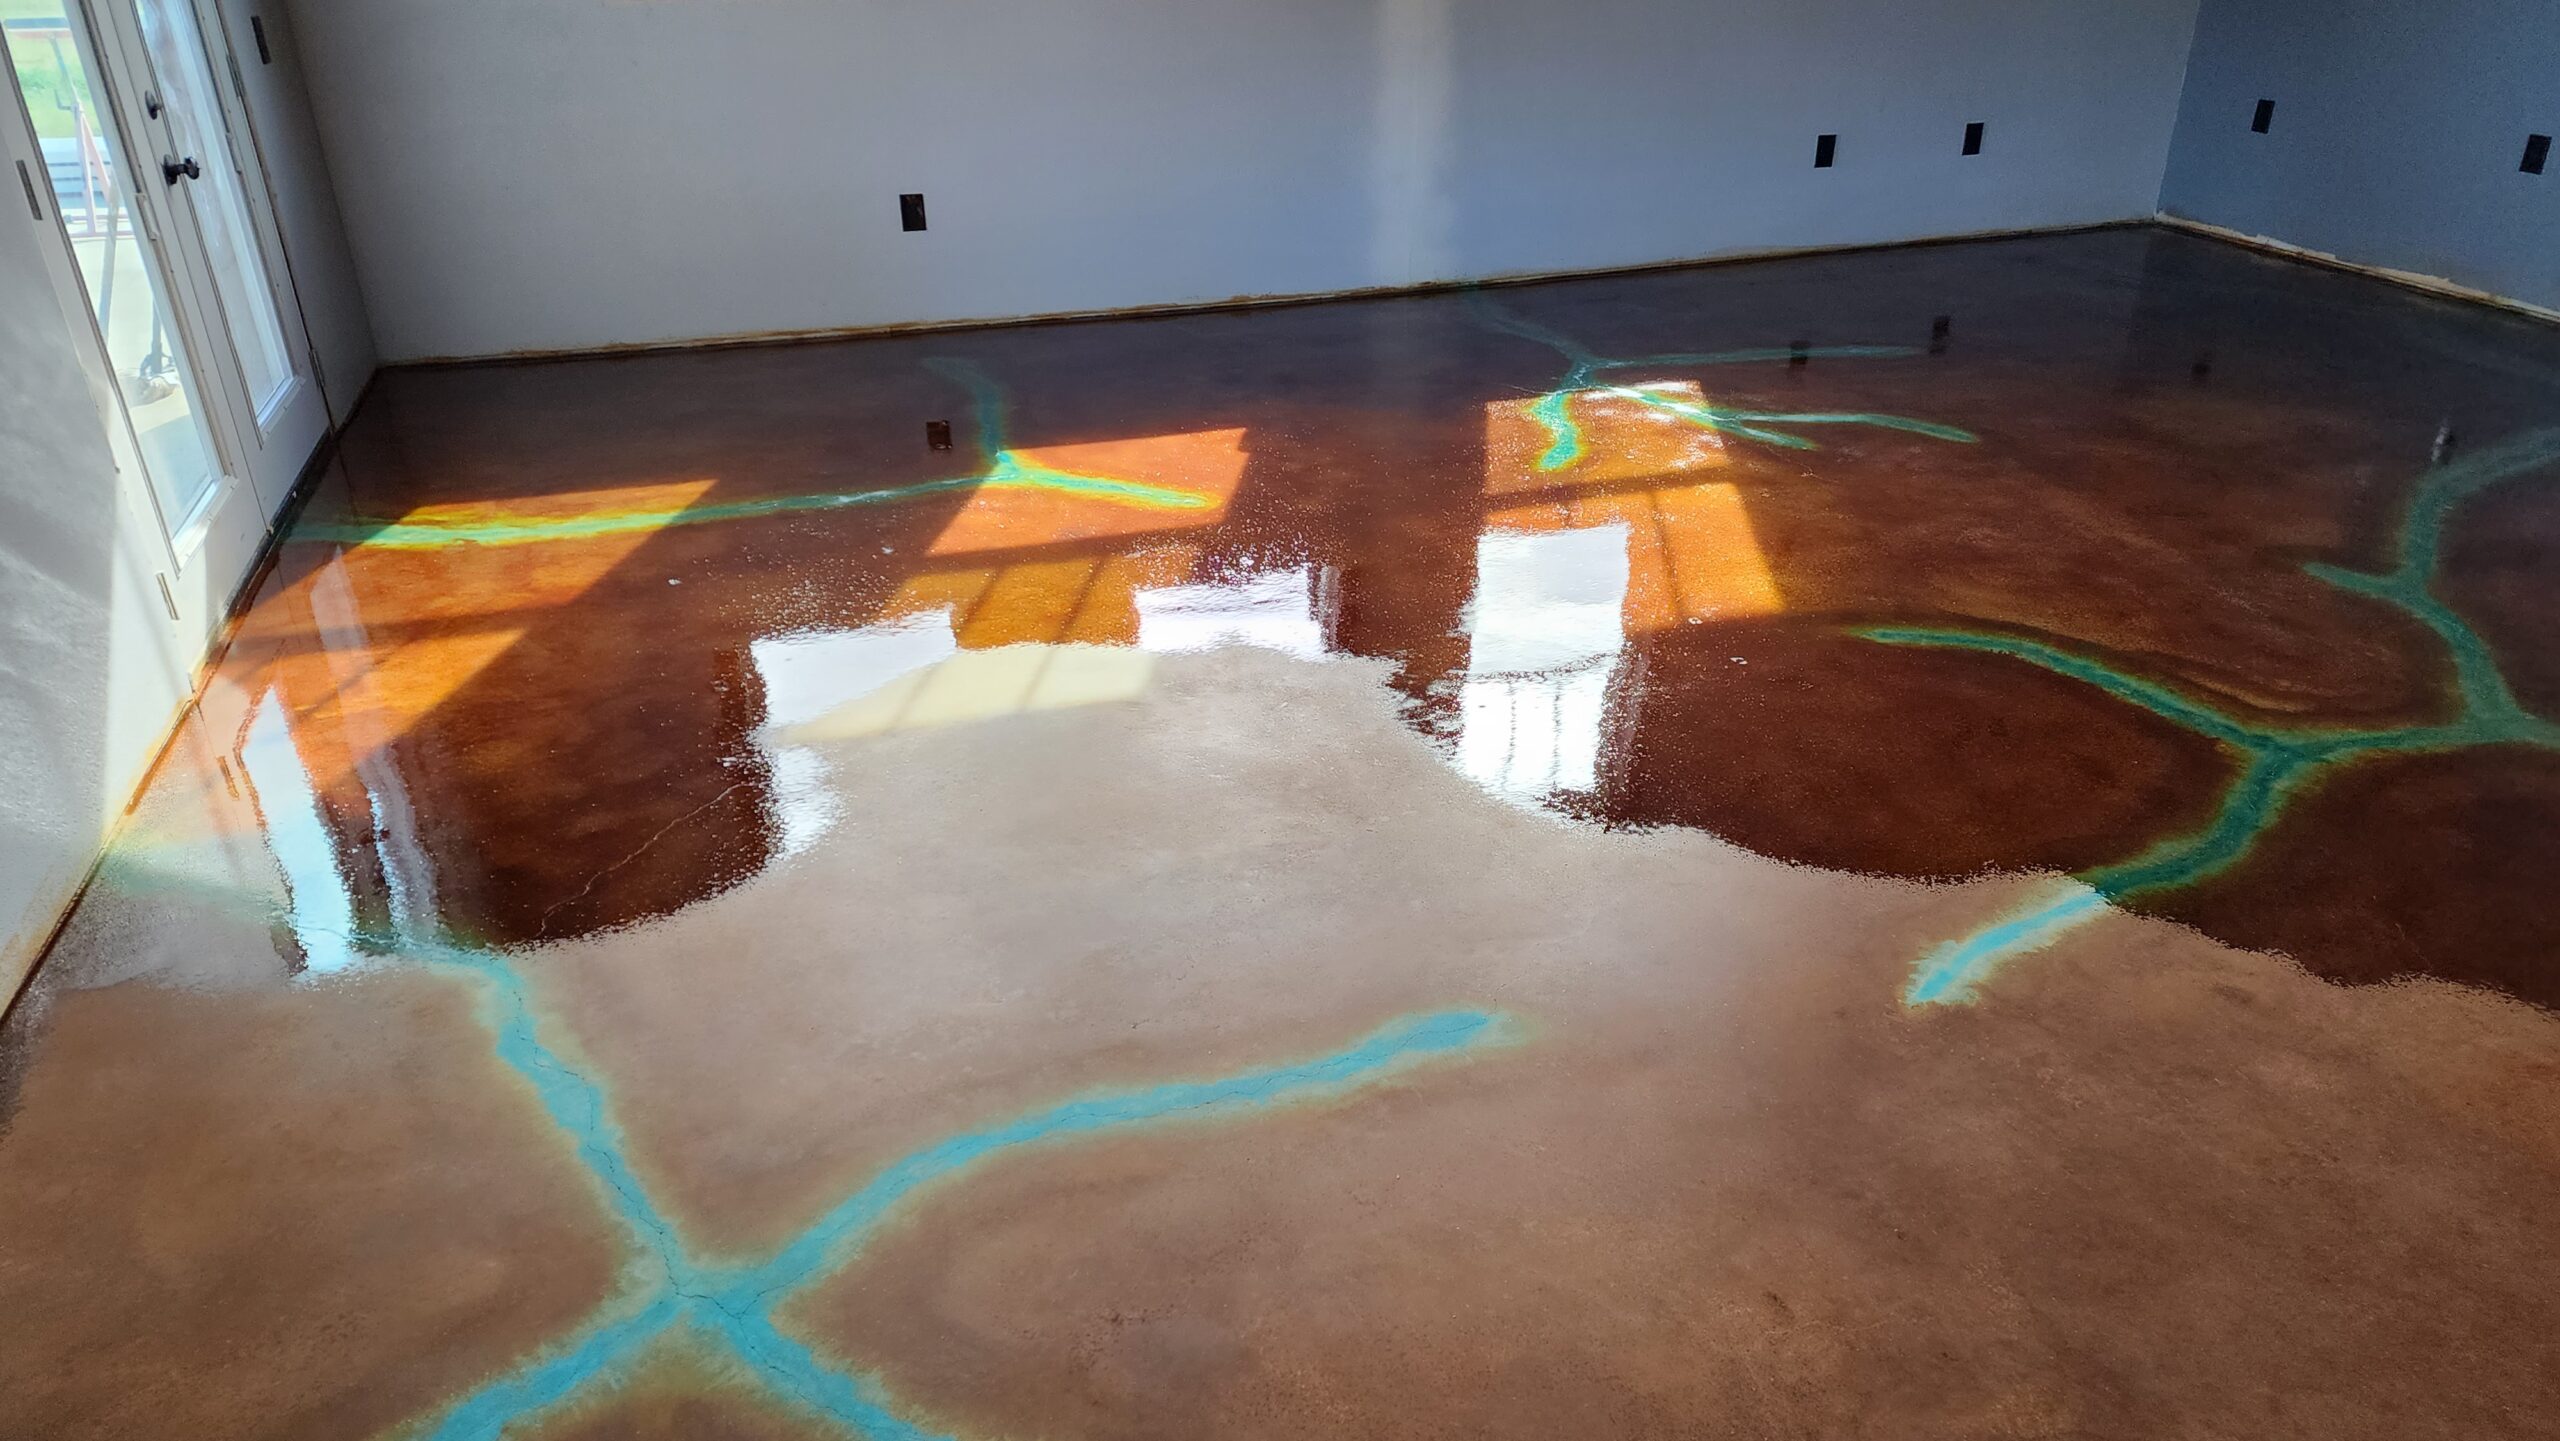
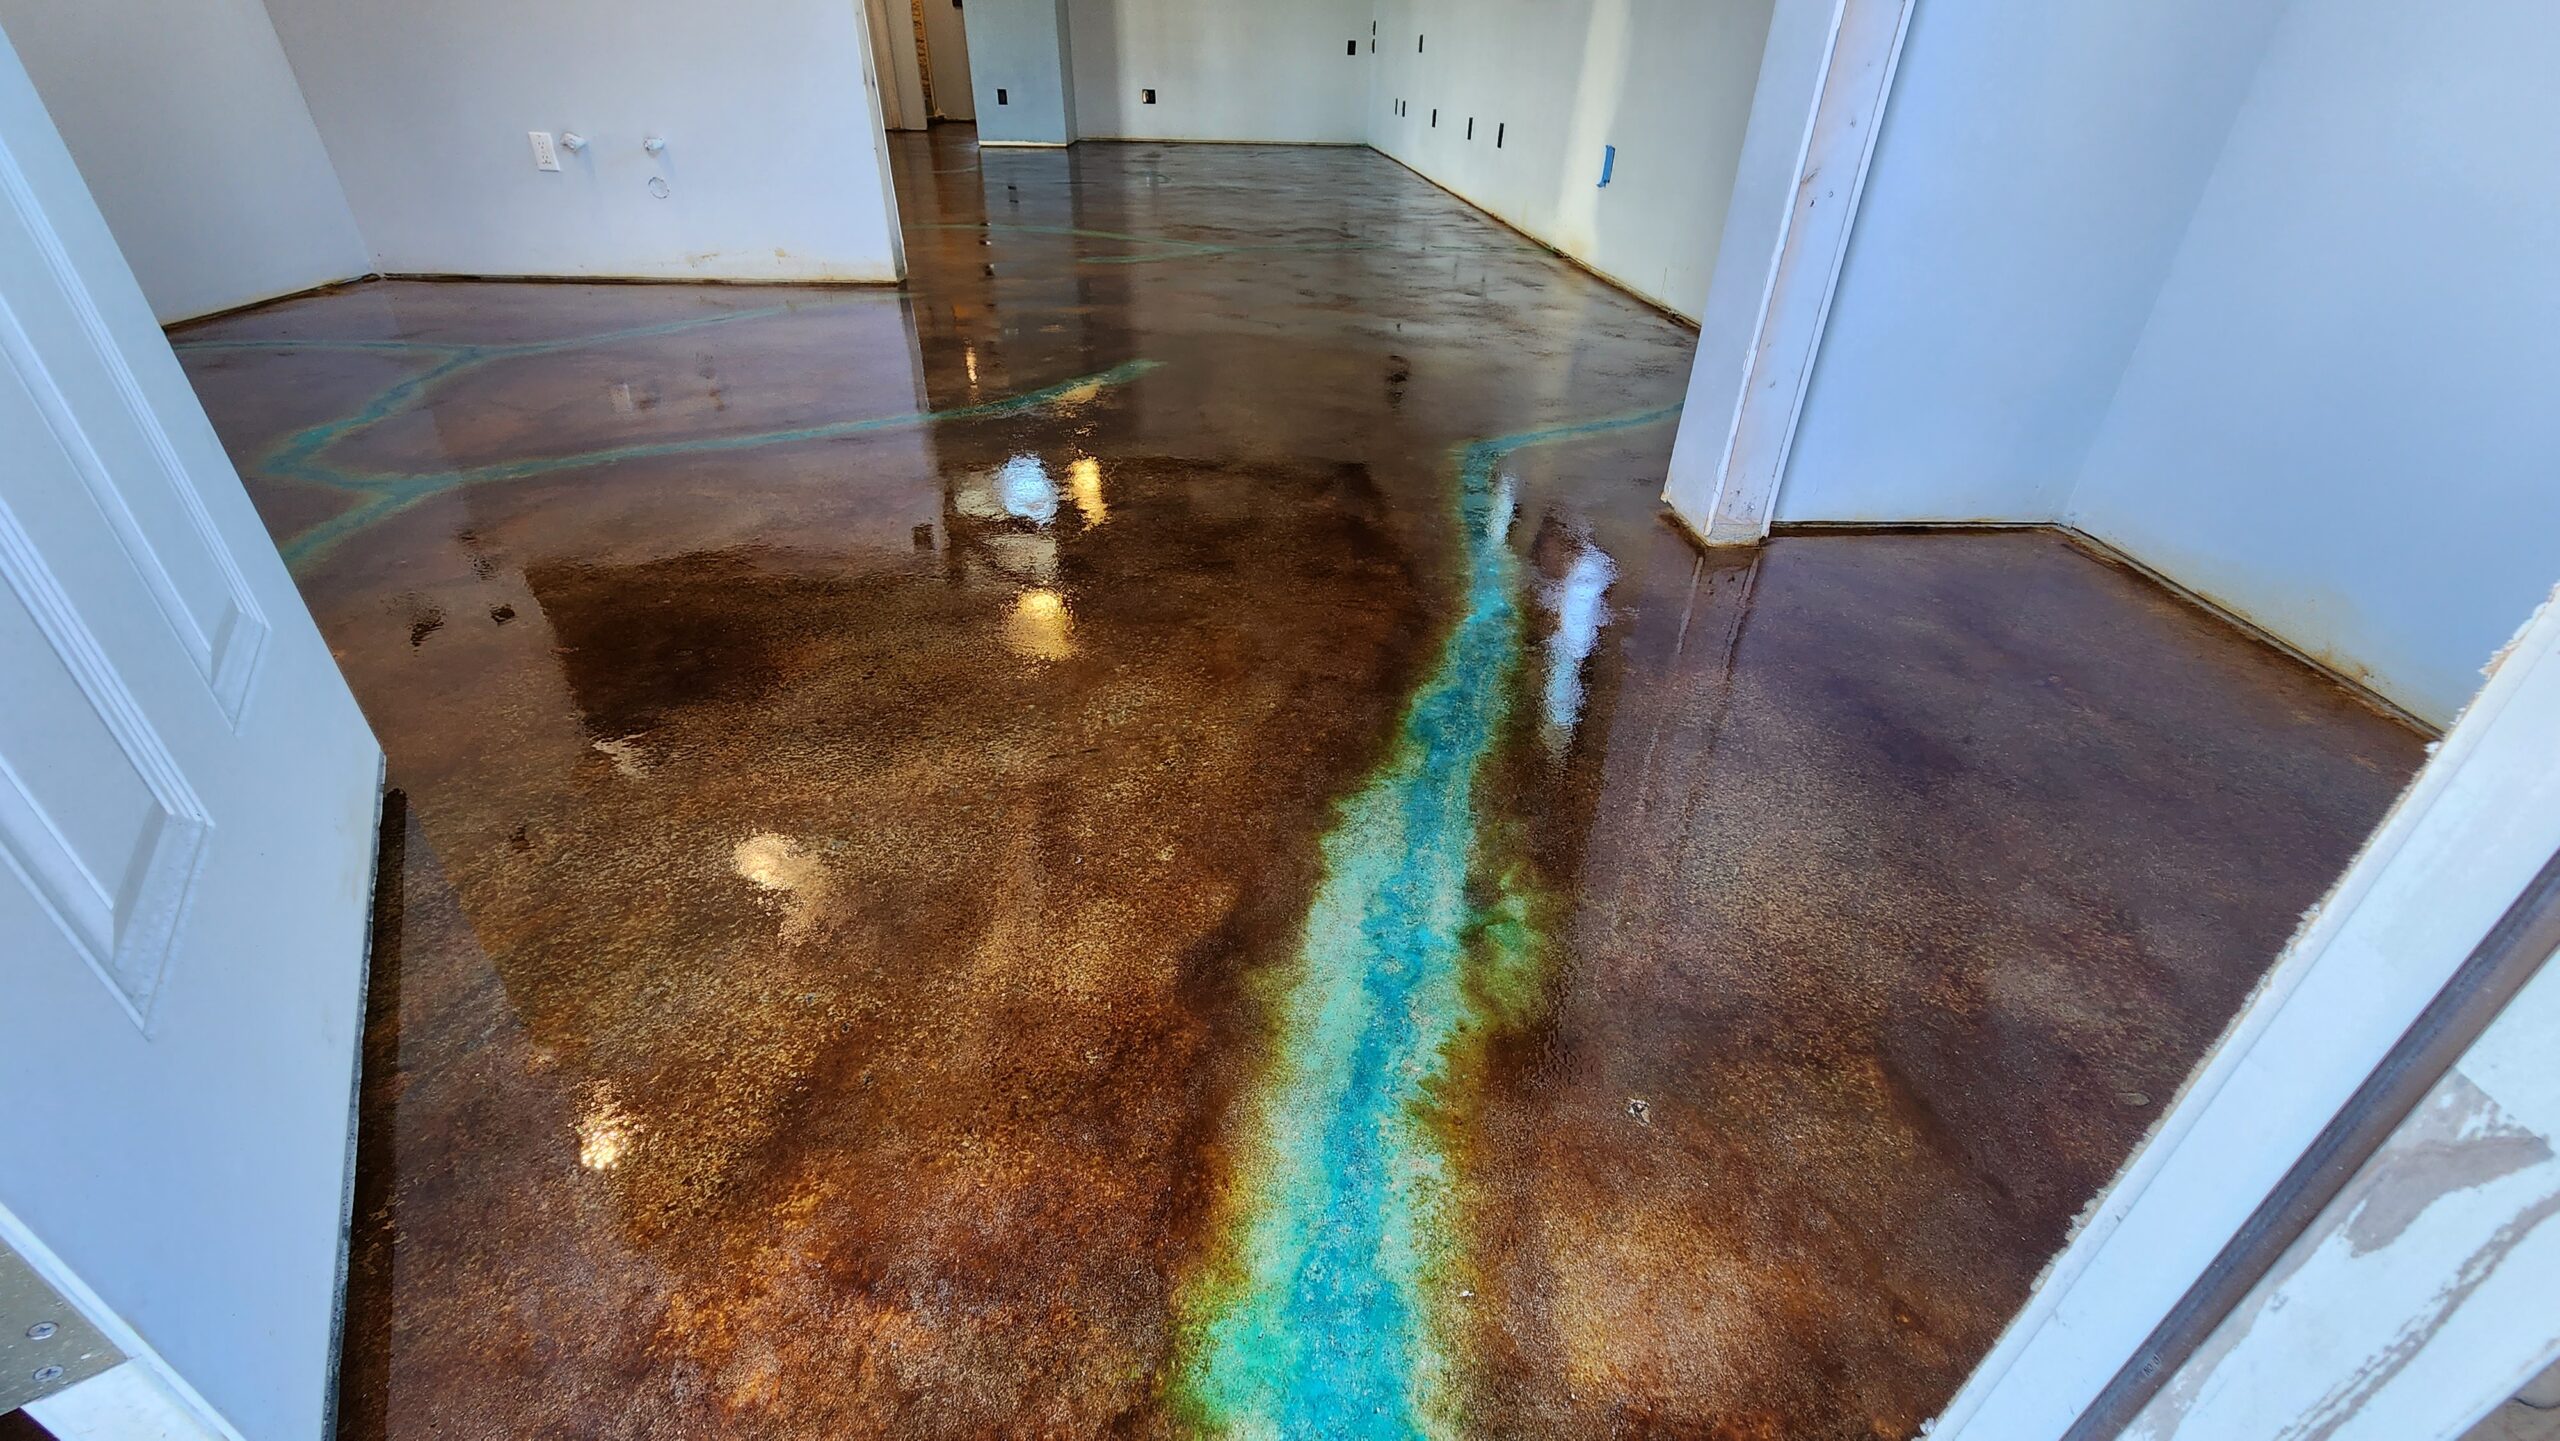
Our personal tip for anyone tackling a similar project is to have fun with it and don’t stress too much. Mistakes can always be fixed, so be creative and enjoy the process.
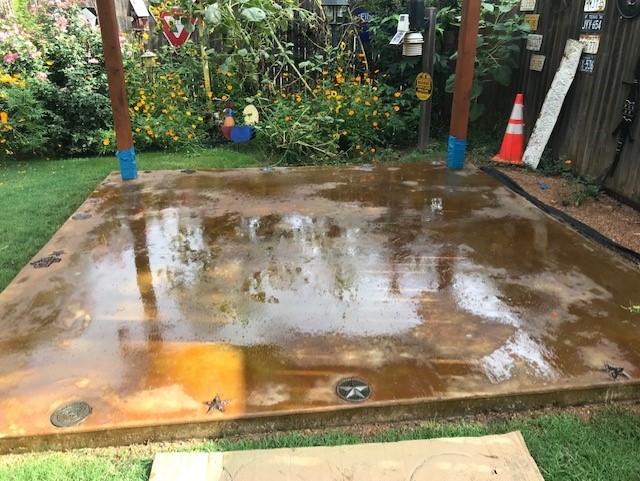
Cooking Up a Storm: Cardboard Concrete Veining on a Cookhouse Floor
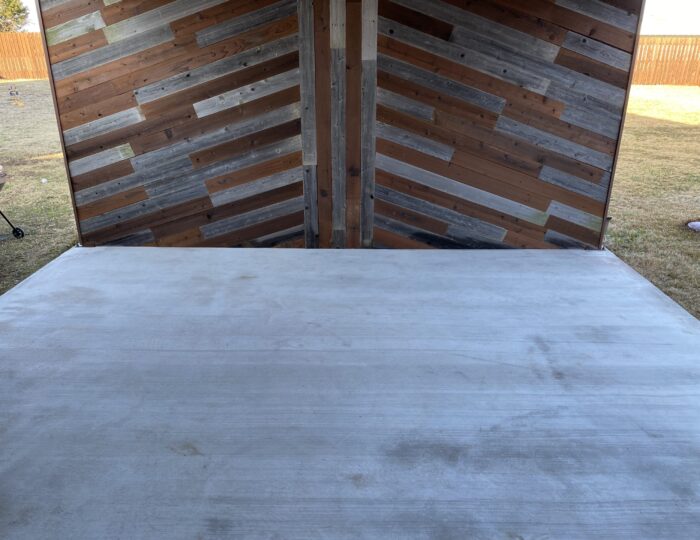
In this backyard renovation project, our customer built a cookhouse and had fiber reinforced concrete poured, waiting 60 days for the concrete to cure before acid staining.
The concrete was washed with a cleaner that contained a mild etcher and left to dry overnight. The customer tested the Everstain acid stain on a corner and had good results, so they sprayed on two quarts of English Red diluted with water 1:1 for the first coat and waited four hours before spraying on undiluted English Red for the second coat, creating a marbled effect.
They then let the stain dry for six hours before spraying on a water mix of the neutralizer that came with their kit to neutralize the acid and rinsing thoroughly.
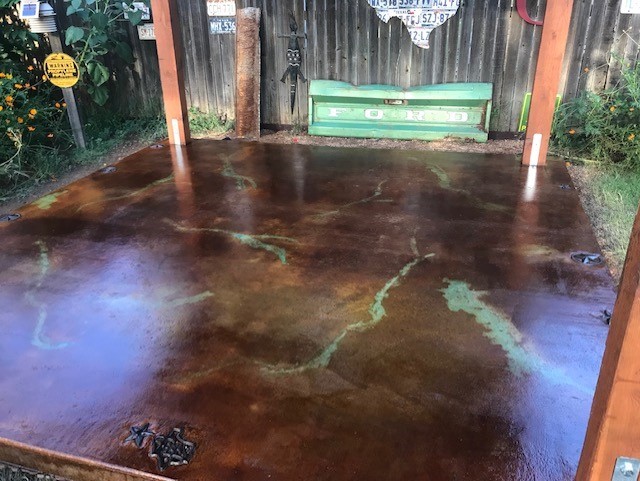
To create a vein effect, the customer used a small spray bottle to apply two-thirds of a quart of Azure Blue undiluted and used a piece of cardboard with ripped edges as an edge guide.
They mixed one tablespoon of Miracle Grow powder into the remaining one-third of a quart of Azure Blue to create a deeper blue mixture and used a small hand sprayer to spritz and pour the mixture on some of the veining to bring out deeper blues. They then used the remaining English Red to darken lighter areas. After letting the stain dry for six hours, they sprayed on a water mix of the neutralizer and rinsed thoroughly.
The customer waited 24 hours for the floor to dry before rolling on the first coat of solvent-based acrylic satin concrete sealer and waited until the next day to apply the second coat. They stayed off the concrete for a few days to allow it to fully cure.
Some tips for success with this project include following the instructions carefully, allowing for adequate drying time, and using a lighter color for the first coat if you want a marbled effect. It’s also important to neutralize and rinse the acid stain thoroughly before applying sealer and to make sure that all residue is washed away.
They also recommended rolling on the sealer in opposite directions for each coat to ensure even coverage. Finally, they noted the importance of protecting the floor from direct sunlight during the acid staining process to prevent premature drying.
Unique Concrete Design Using Toilet Paper and Flowing Watercolor Veining Technique
(Note: Azure Blue EverStain will patina on exterior concrete surfaces)
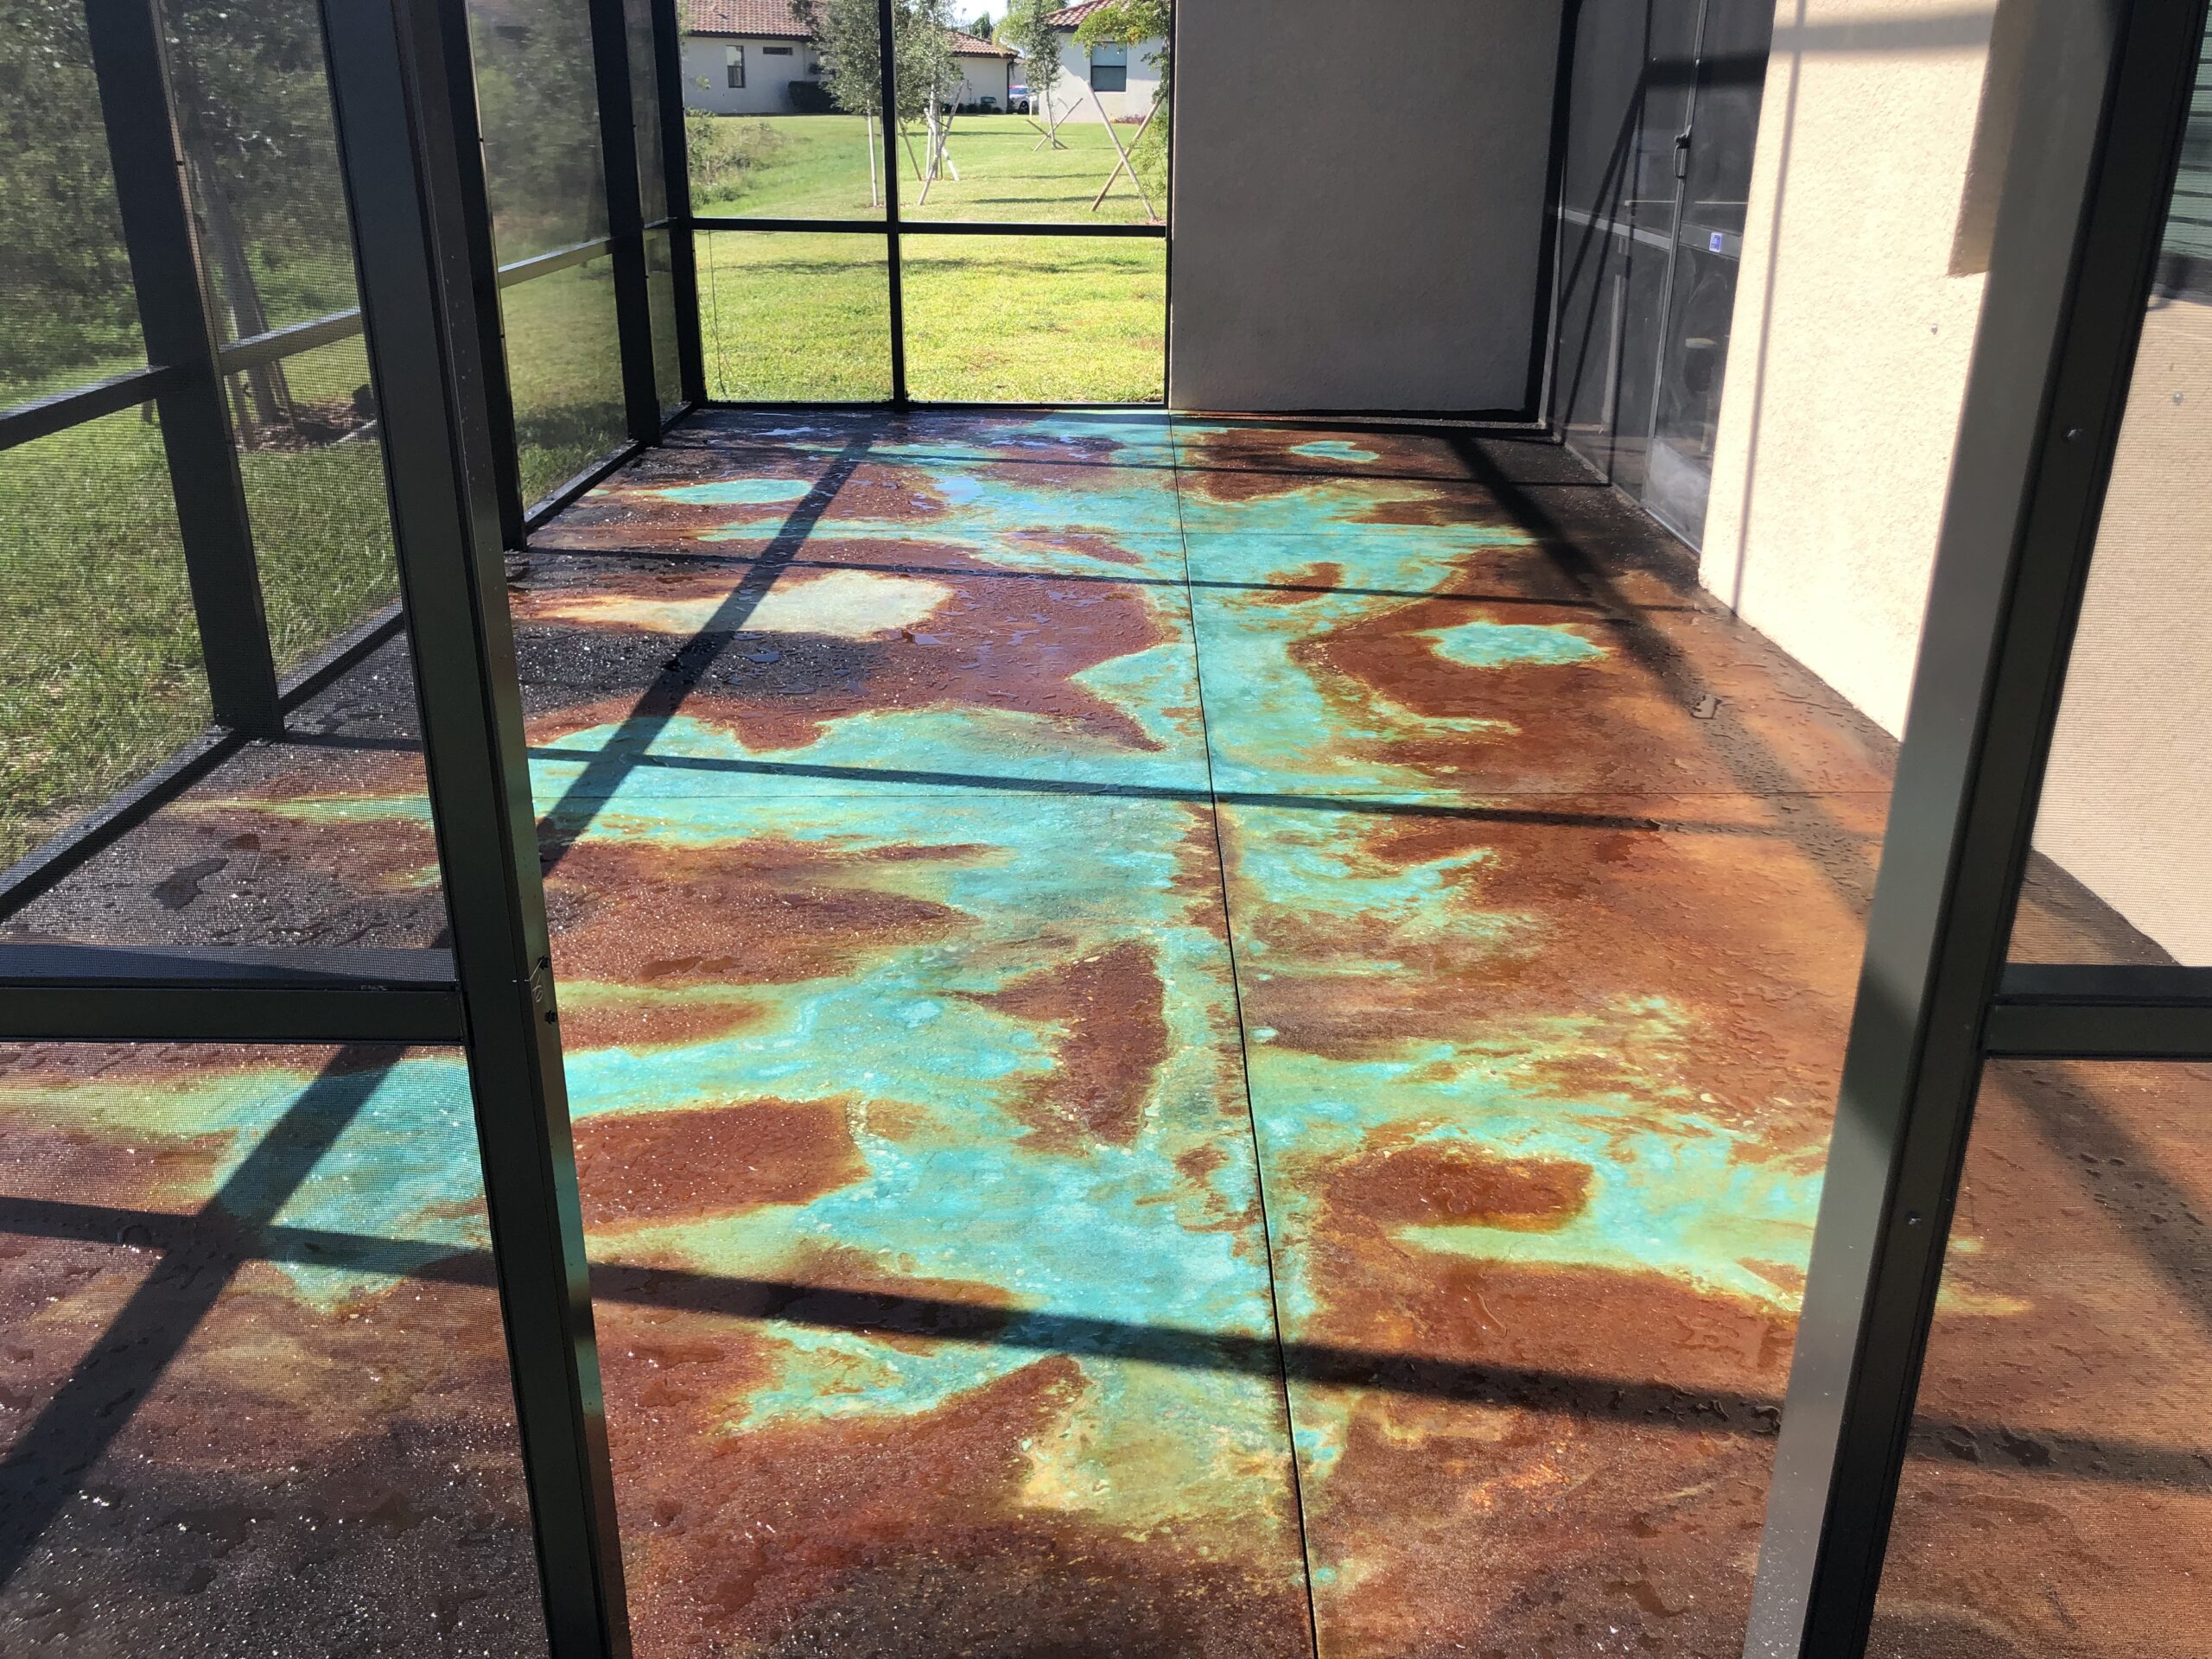
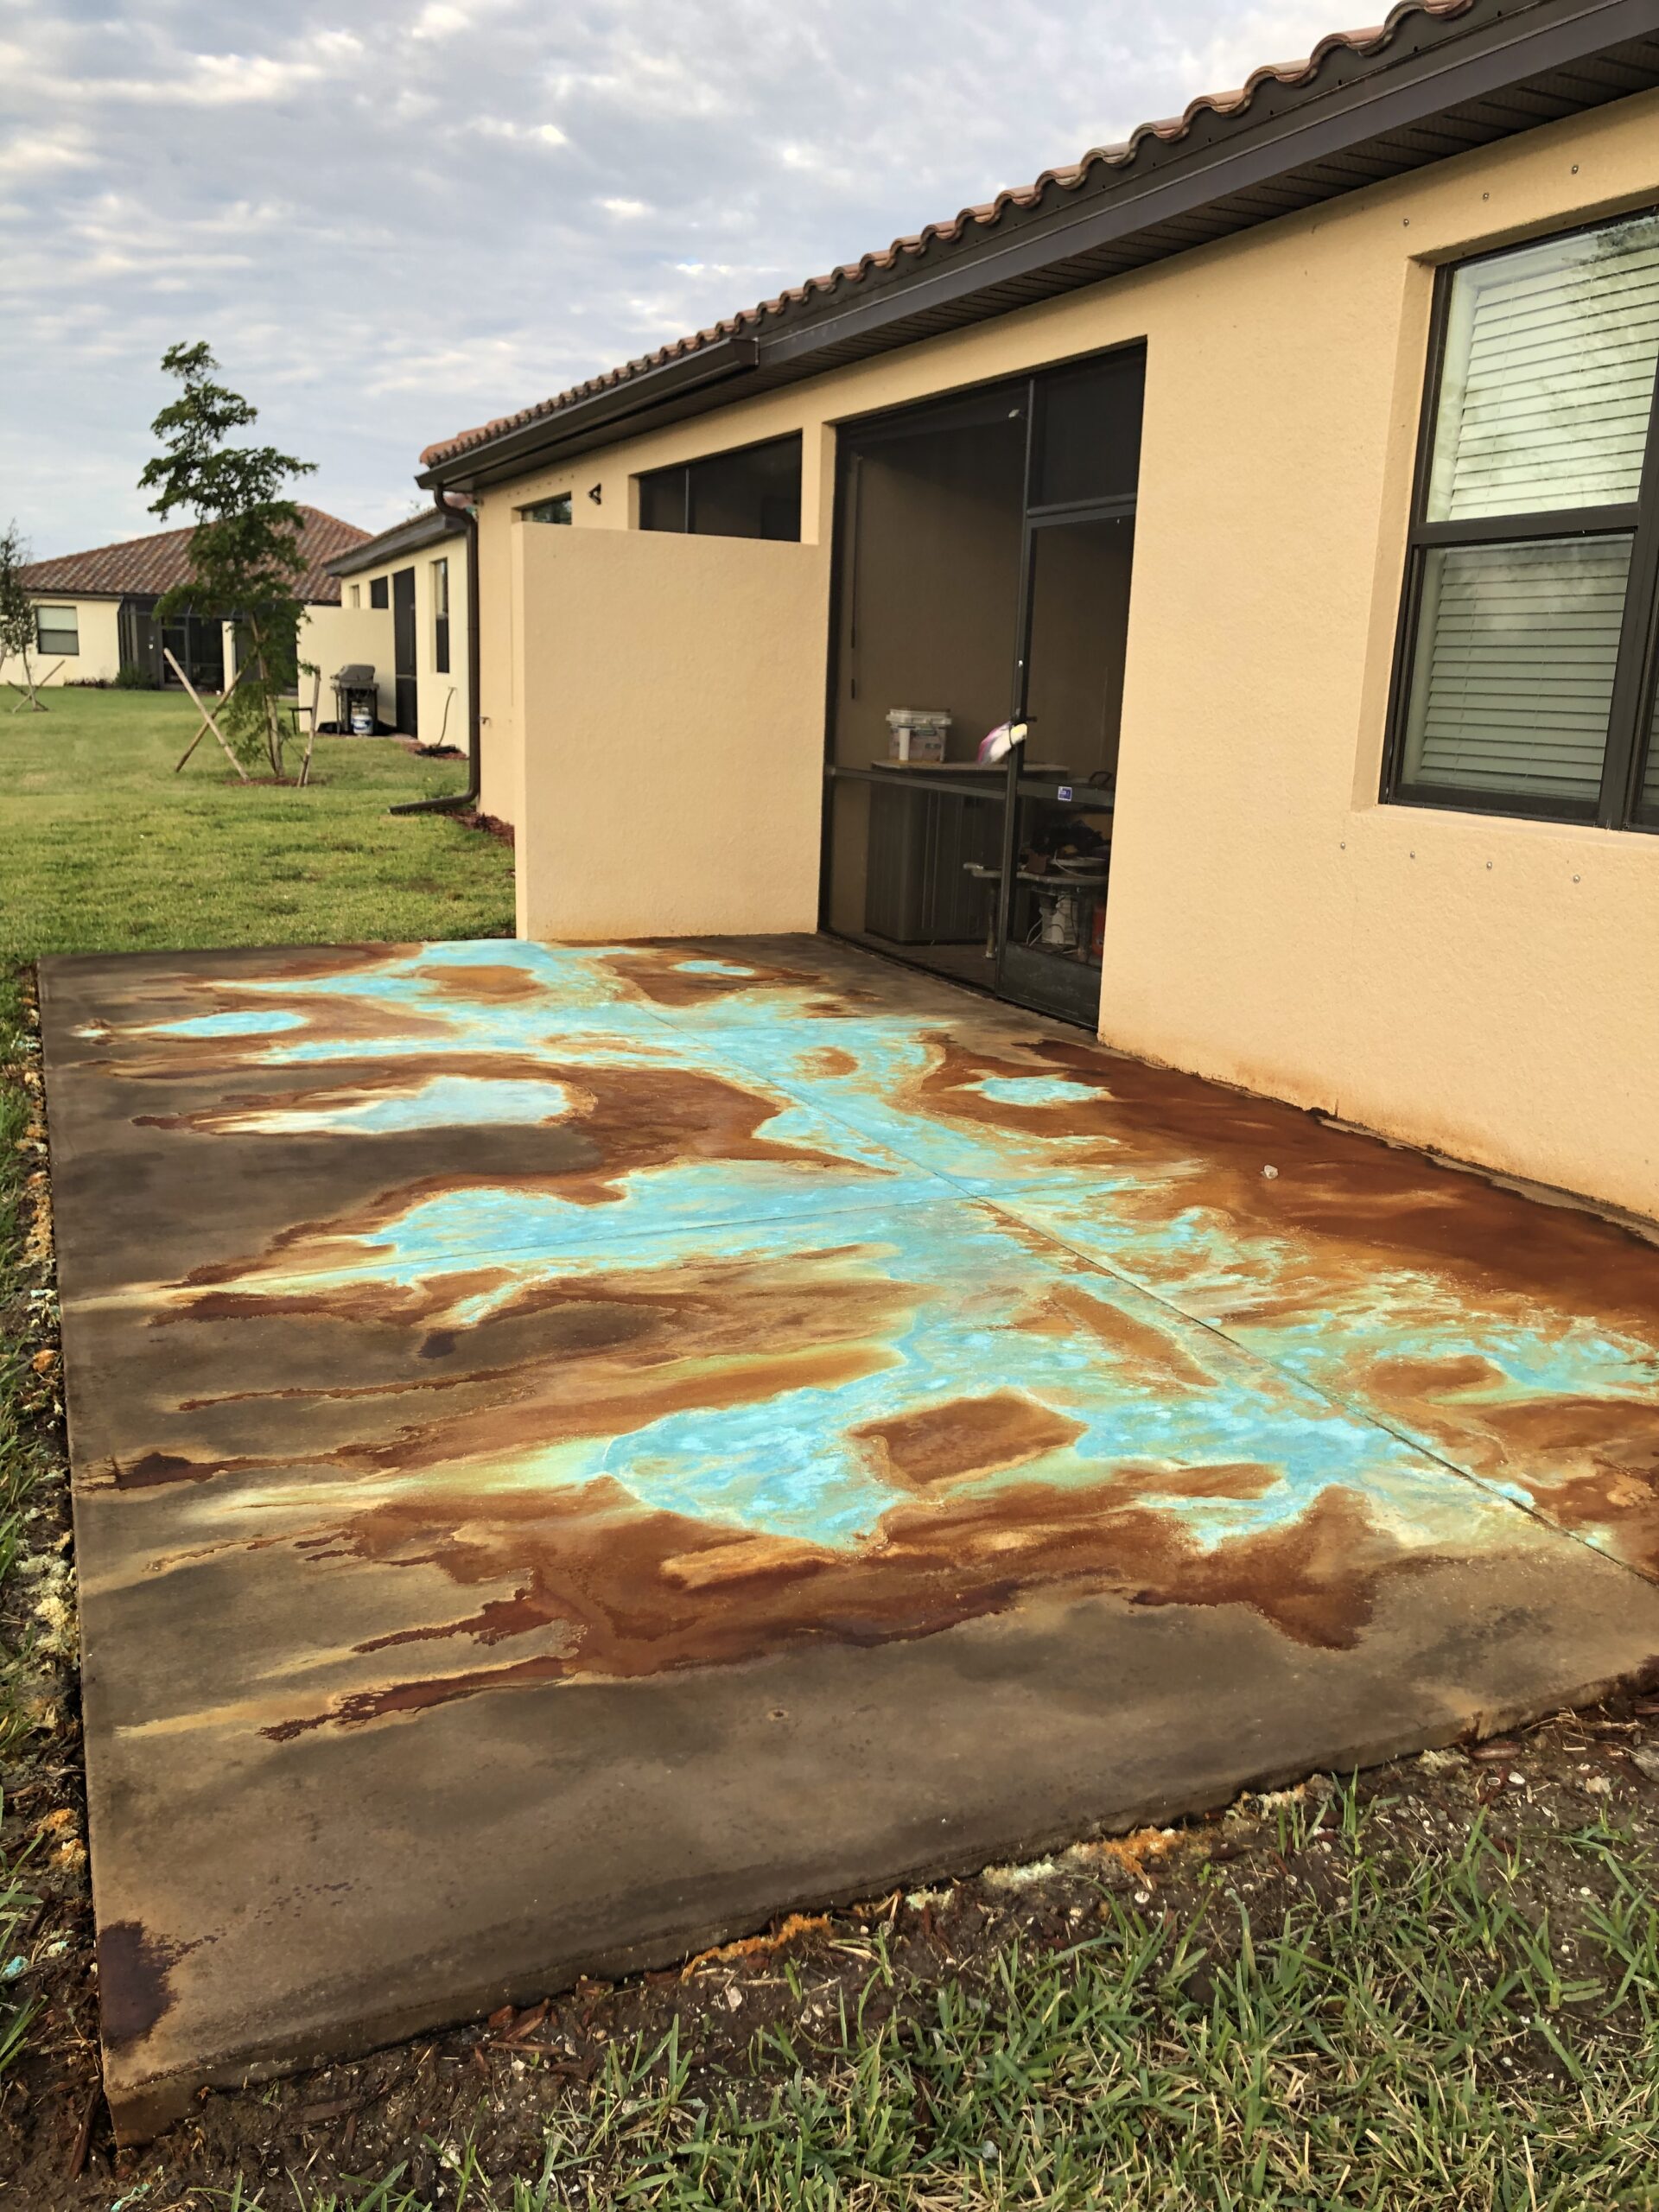
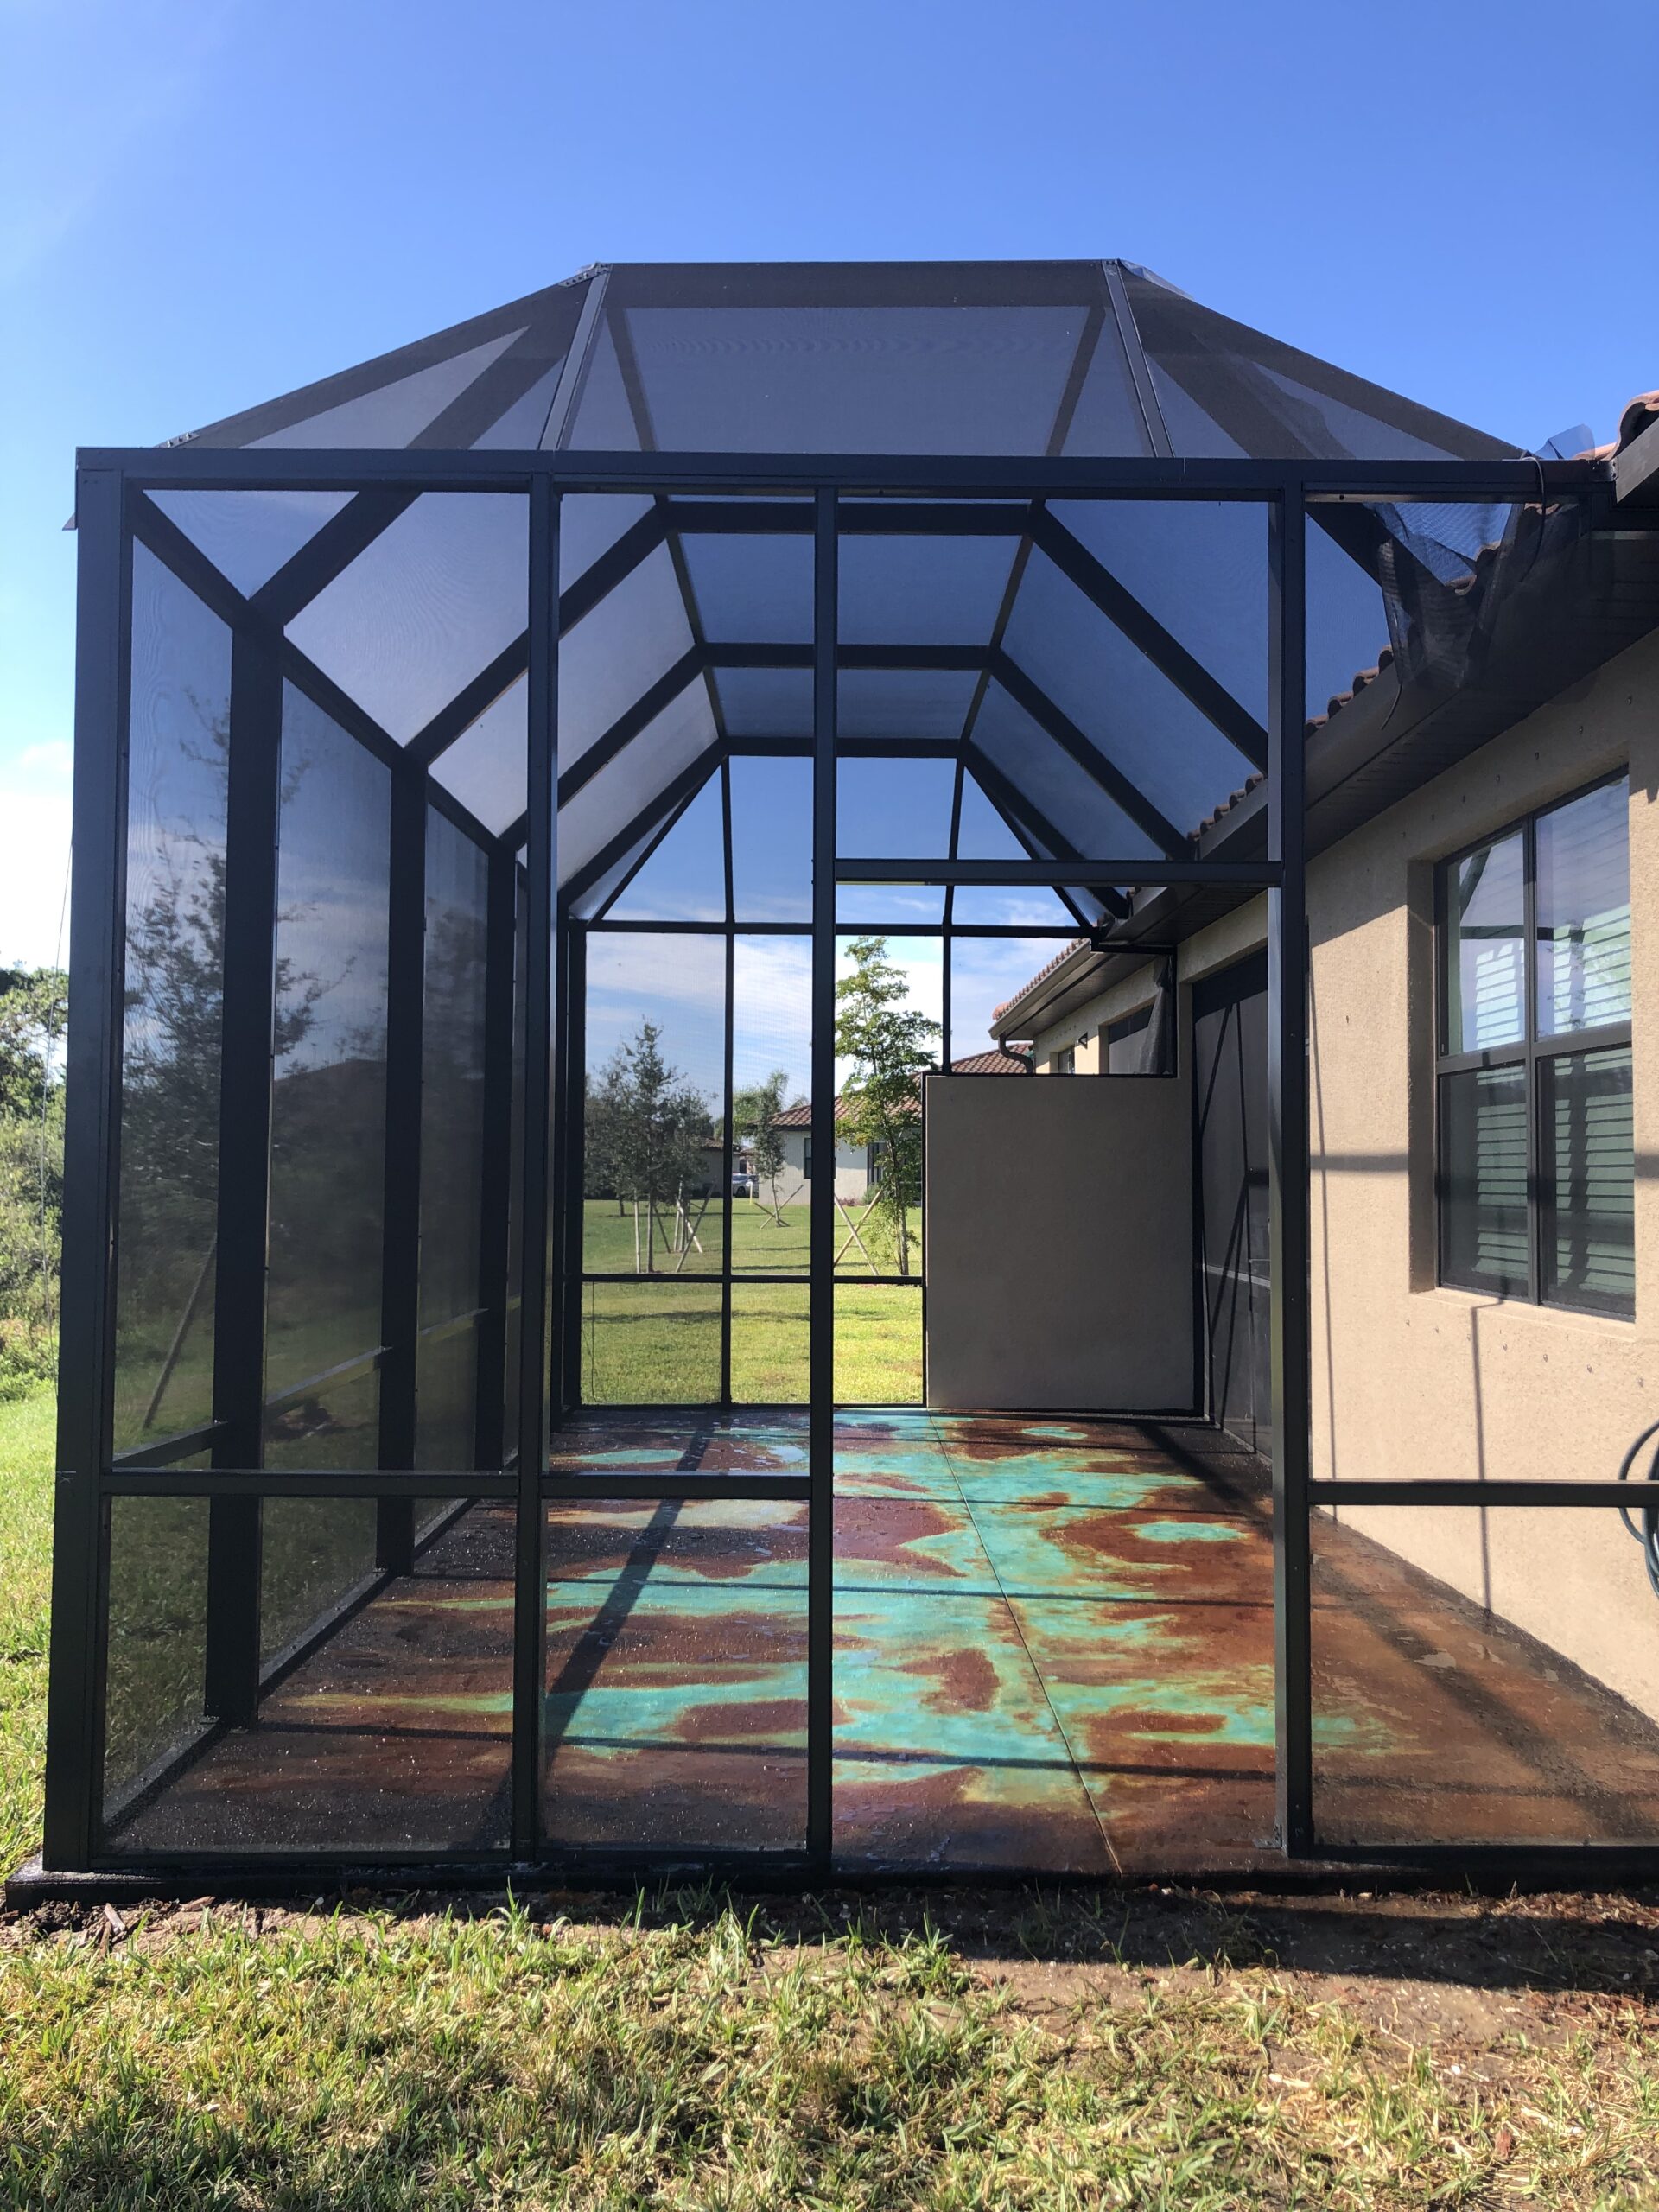
I wanted to add something unique and creative to my freshly poured 12’x24′ concrete slab for a future backyard screen enclosure, so I turned to Direct Colors’ acid staining. All of my neighbors had boring patio pavers, and I wanted something different.
I spent some time watching the videos provided by Direct Colors and received helpful tips from Samantha and Heather, the sales reps at DC. They recommended applying Miracle Gro blue granules to give a “pop” to my lakes and river and laying out my design with strands of toilet paper.
The project took just three days to complete and covered an estimated 280 square feet. I used three separate combo kits of Ever Stain and High Gloss Sheen, as well as one gallon of Azure Blue and High Gloss Sheen, one gallon of English Red and High Gloss Sheen, and one gallon of Black and High Gloss Sheen, plus 3 oz of non-grip powder.
My personal tip for anyone tackling a similar project is to take the time to watch the videos and follow the advice of the experts at Direct Colors. Their products and guidance made for a smooth and successful staining process.
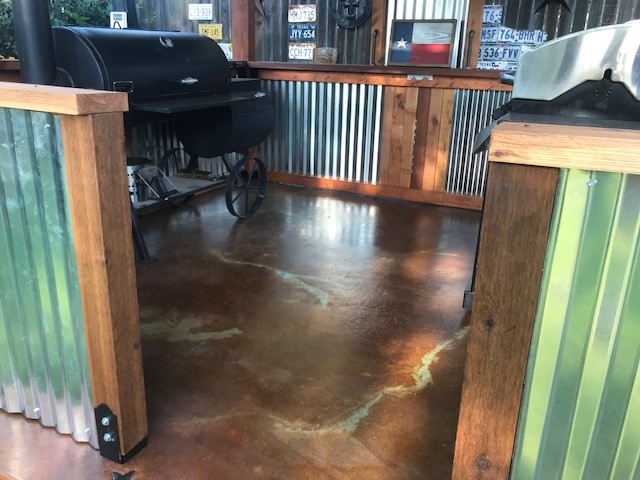
Adding Style to an Outdoor Kitchen with Stain Veining
(Note: Azure Blue EverStain will patina on exterior concrete surfaces)
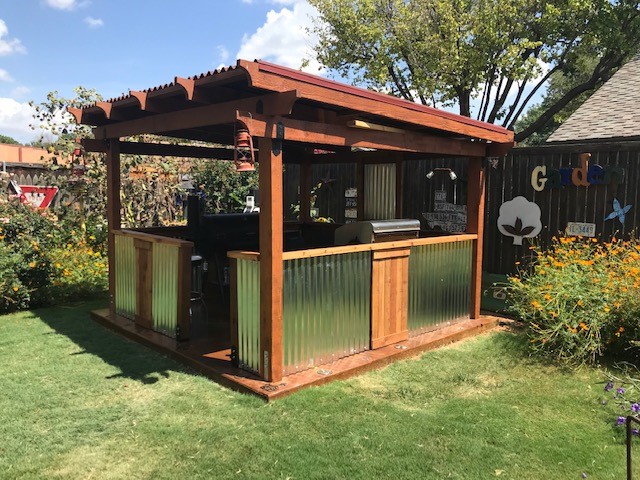
In this four-day project, we wanted to add some style and character to the outdoor kitchen and fire pit area we were building. We decided to try the veining technique with Azure Blue and Coffee Brown, using a wet-on-wet method and filling in the spaces between the veins with Cola.
Our personal tip for anyone tackling a similar project is to follow the directions closely and order more sealer than you think you’ll need. It’s always better to have a little extra on hand in case of any unforeseen issues or mistakes.
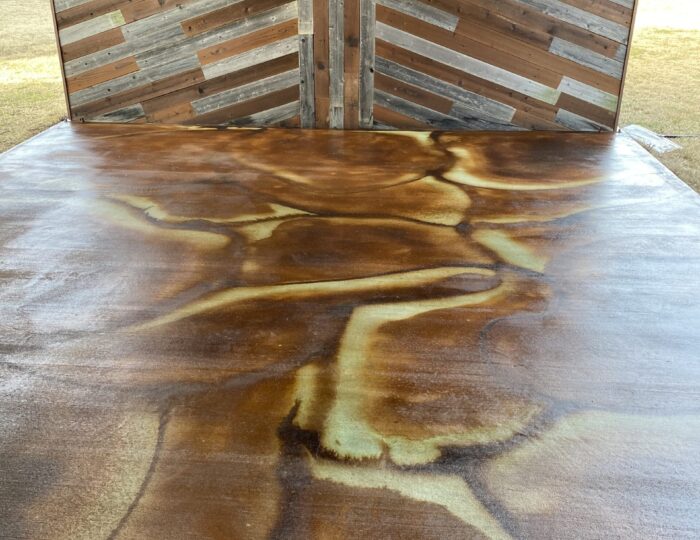
The project covered an estimated 500 square feet and we used Azure Blue, Coffee, and Cola from Direct Colors, as well as a solvent-based sealer. The result was a beautiful and unique finish that added style and character to our outdoor kitchen and fire pit area.
How Concrete Veining Can Add Character to Poured Concrete
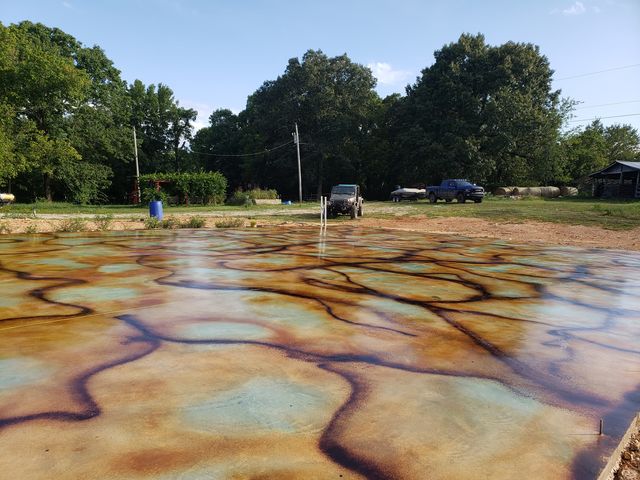
Concrete veining is a unique technique that uses concrete acid stain to create a marbled effect and vibrant colors on concrete surfaces. It’s a great way to add character and interest to poured concrete.
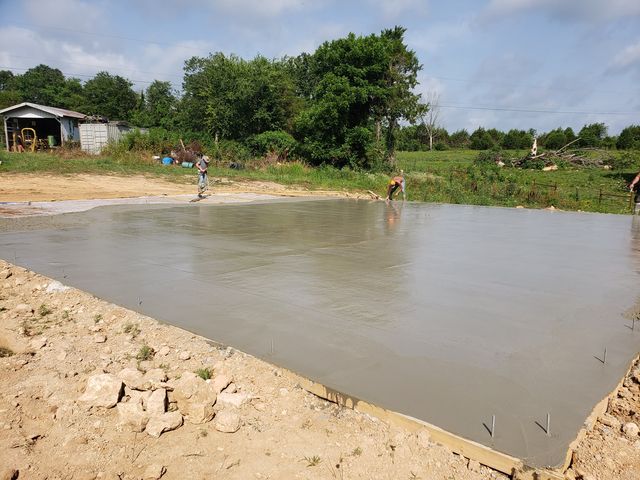
This DIYer gave their cured poured concrete a touch of style using the plastic wrap veining technique and the result is truly striking. It really adds a lot of character and personality to the surface.
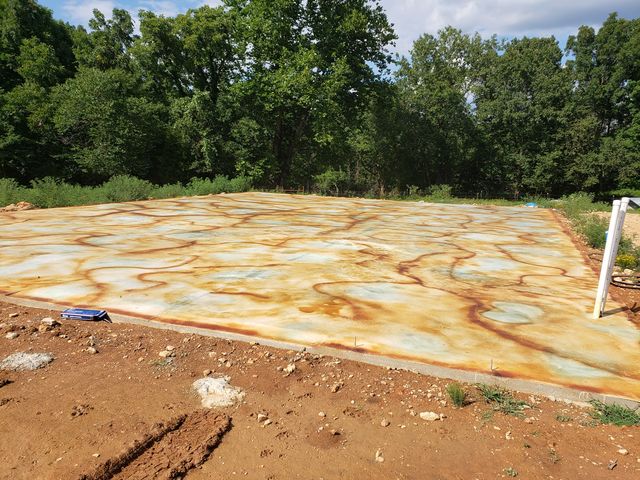
If you’re looking to add some visual interest to your concrete, consider giving concrete veining a try. It’s a fun and creative way to transform a plain concrete surface into something special.
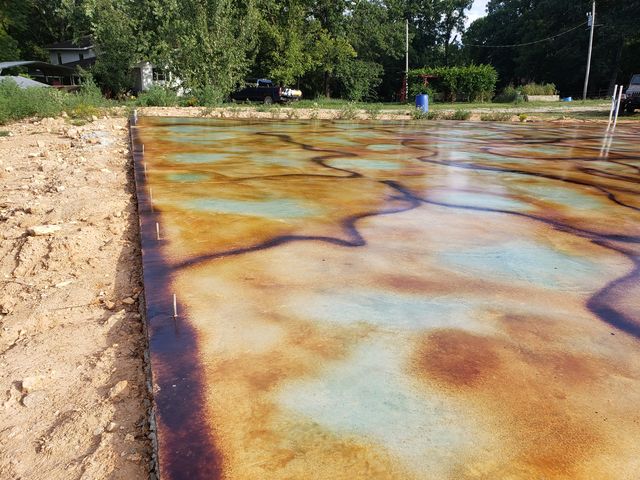
For more inspiration on vein staining techniques, visit our blog “Concrete Floor Gym: Flooring Ideas to Elevate Your Workout Space”.
