How to Apply Acid Stain to Concrete: Step-by-Step Guide
by Justin Richardson
Acid staining is one of the most beautiful and permanent ways to give concrete a marbled, one-of-a-kind finish. Whether you’re upgrading your indoor floors, patio, or a countertop, this guide will walk you through everything you need to know — in plain terms — to get it done right.
Step 1: Prep Your Concrete – Clean and Clear
Before you stain, you need to make sure your concrete is ready. That means it has to be clean, dry, and free of anything that could block the stain from reacting. Paint, oils, carpet glue, sealers — all that needs to go.
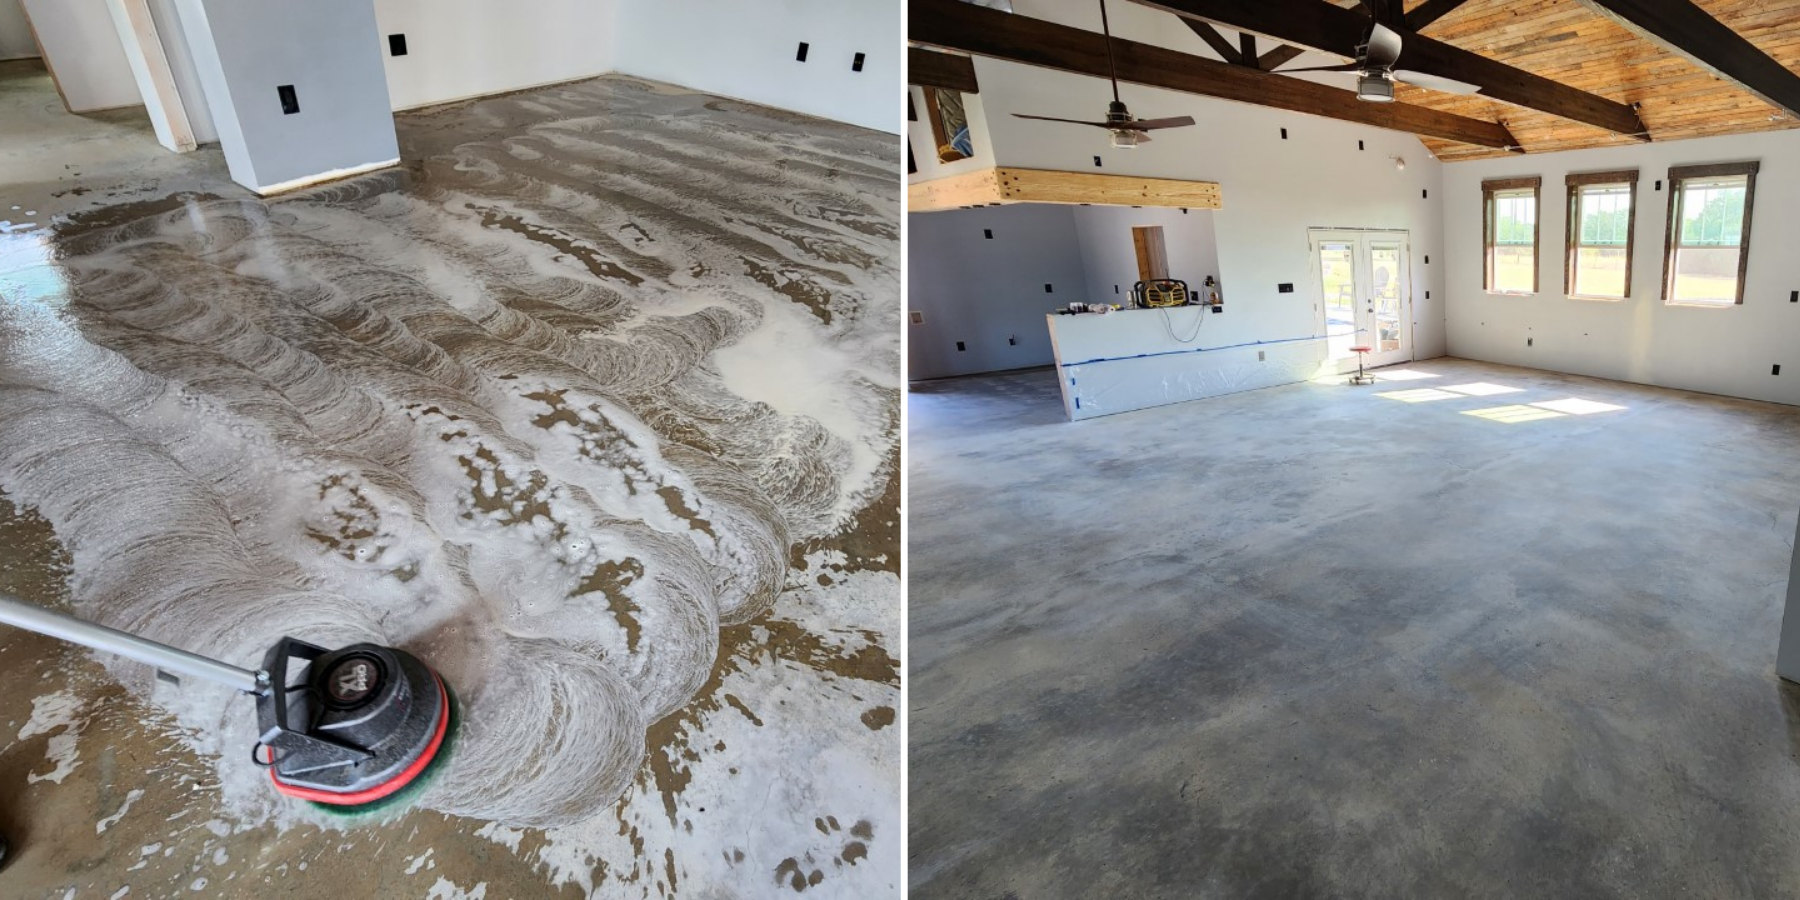
TIP: If your concrete has been treated with muriatic acid, TSP, or waterproofers, it likely won’t take an acid stain well. In that case, try a water-based stain like ColorWave® instead.
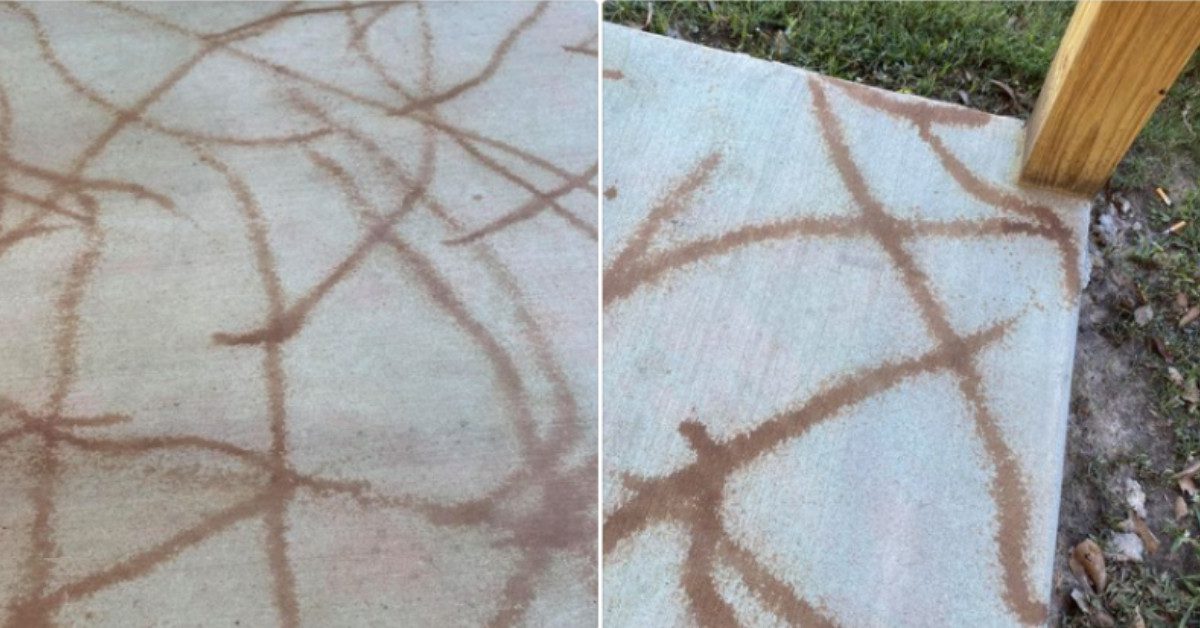
Note: Concrete with more than 10% fly ash might not take some colors (especially Azure Blue or Black) well. Stick to low-fly ash mixes, or go with ColorWave® for consistent color.
Also, if you’re working with new concrete, give it at least 30 days to cure. It should look like a uniform light gray before staining. Older slabs need to be in good shape too — no exposed sand or crumbling edges.
Step 2: Always Do a Test Spot
Every concrete surface is different. That’s why testing is key. Apply a small patch of stain in a hidden area to see how it reacts — and how the color develops once sealed.
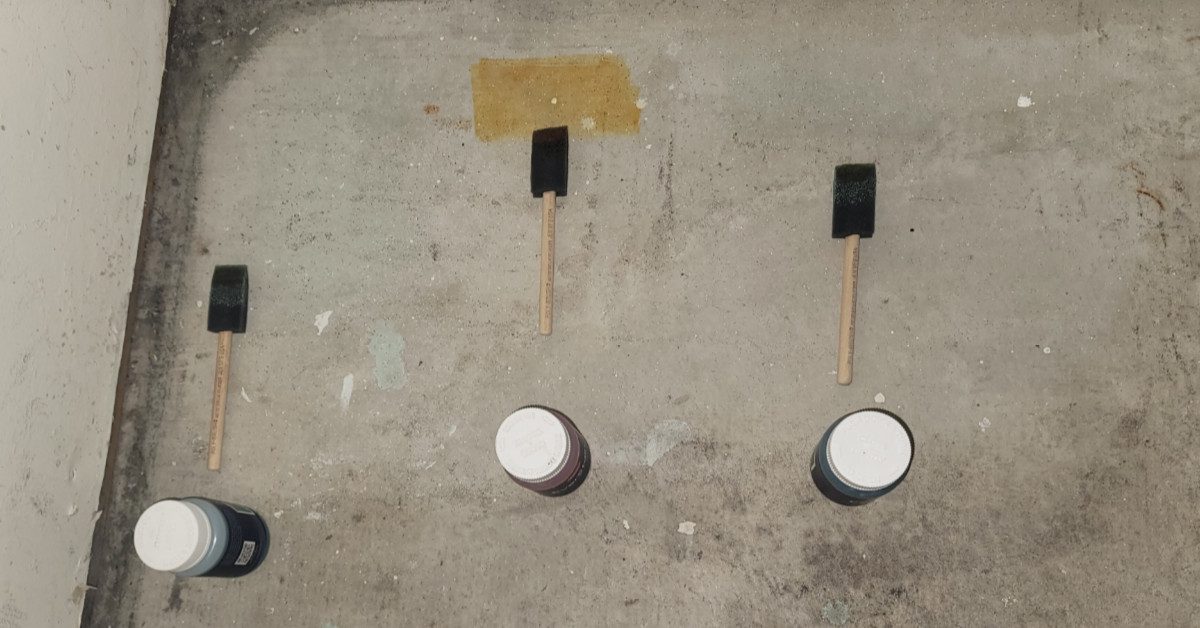
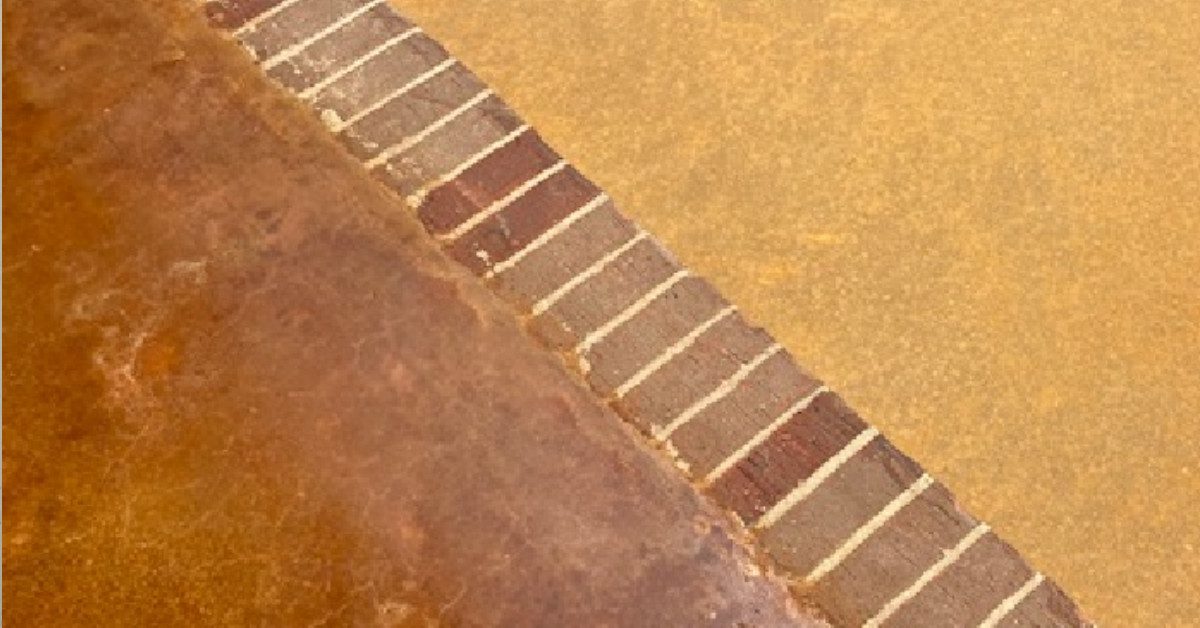
Direct Colors Tip: We offer Acid Stain Trial Kits so you can test our colors on your own concrete before committing to a full project. These kits are priced just to cover our costs — they’re not a profit center — because we want you to feel confident in your results.
This simple step helps avoid surprises and lets you adjust your approach before diving into the full project.
Step 3: Gear Up for Safety
Before you apply any stain, make sure you’re protected. You’ll need:
- Safety goggles
- Gloves
- Dust mask or respirator
- Acid-resistant shoes (with cleats or spikes if possible)
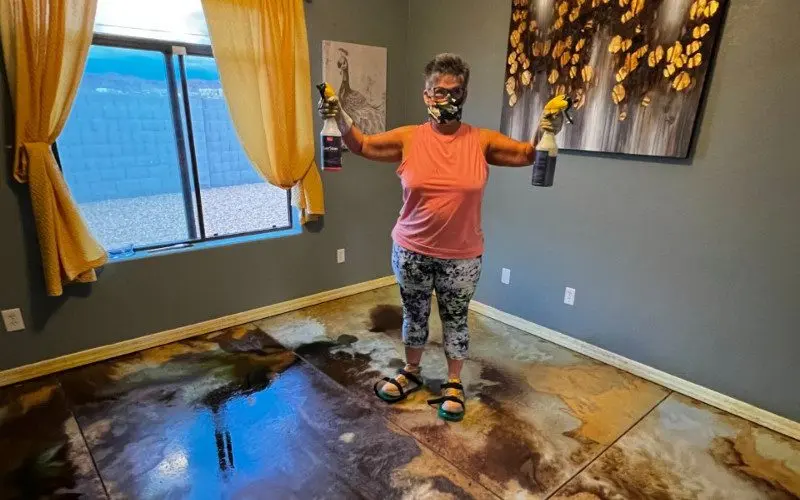
Step 4: Apply the Acid Stain
Now it gets fun! Use an all-plastic pump sprayer for an even coat. Want a darker look? Brush in circles after spraying. For a softer, more marbled look, let it pool naturally — especially on outdoor or sloped concrete.
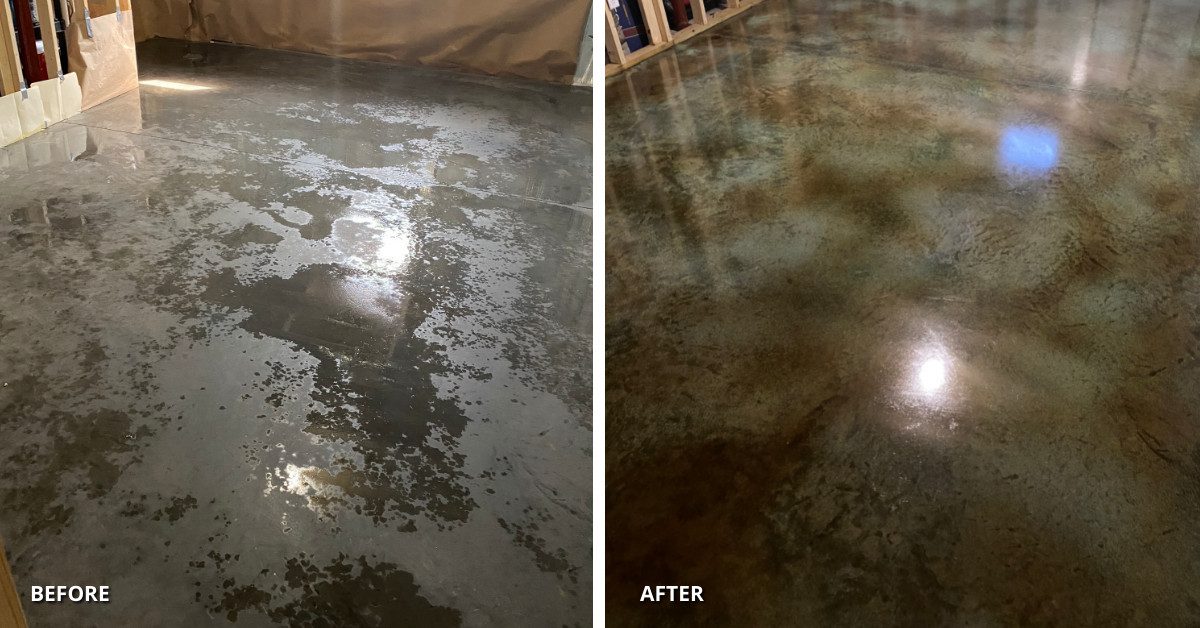
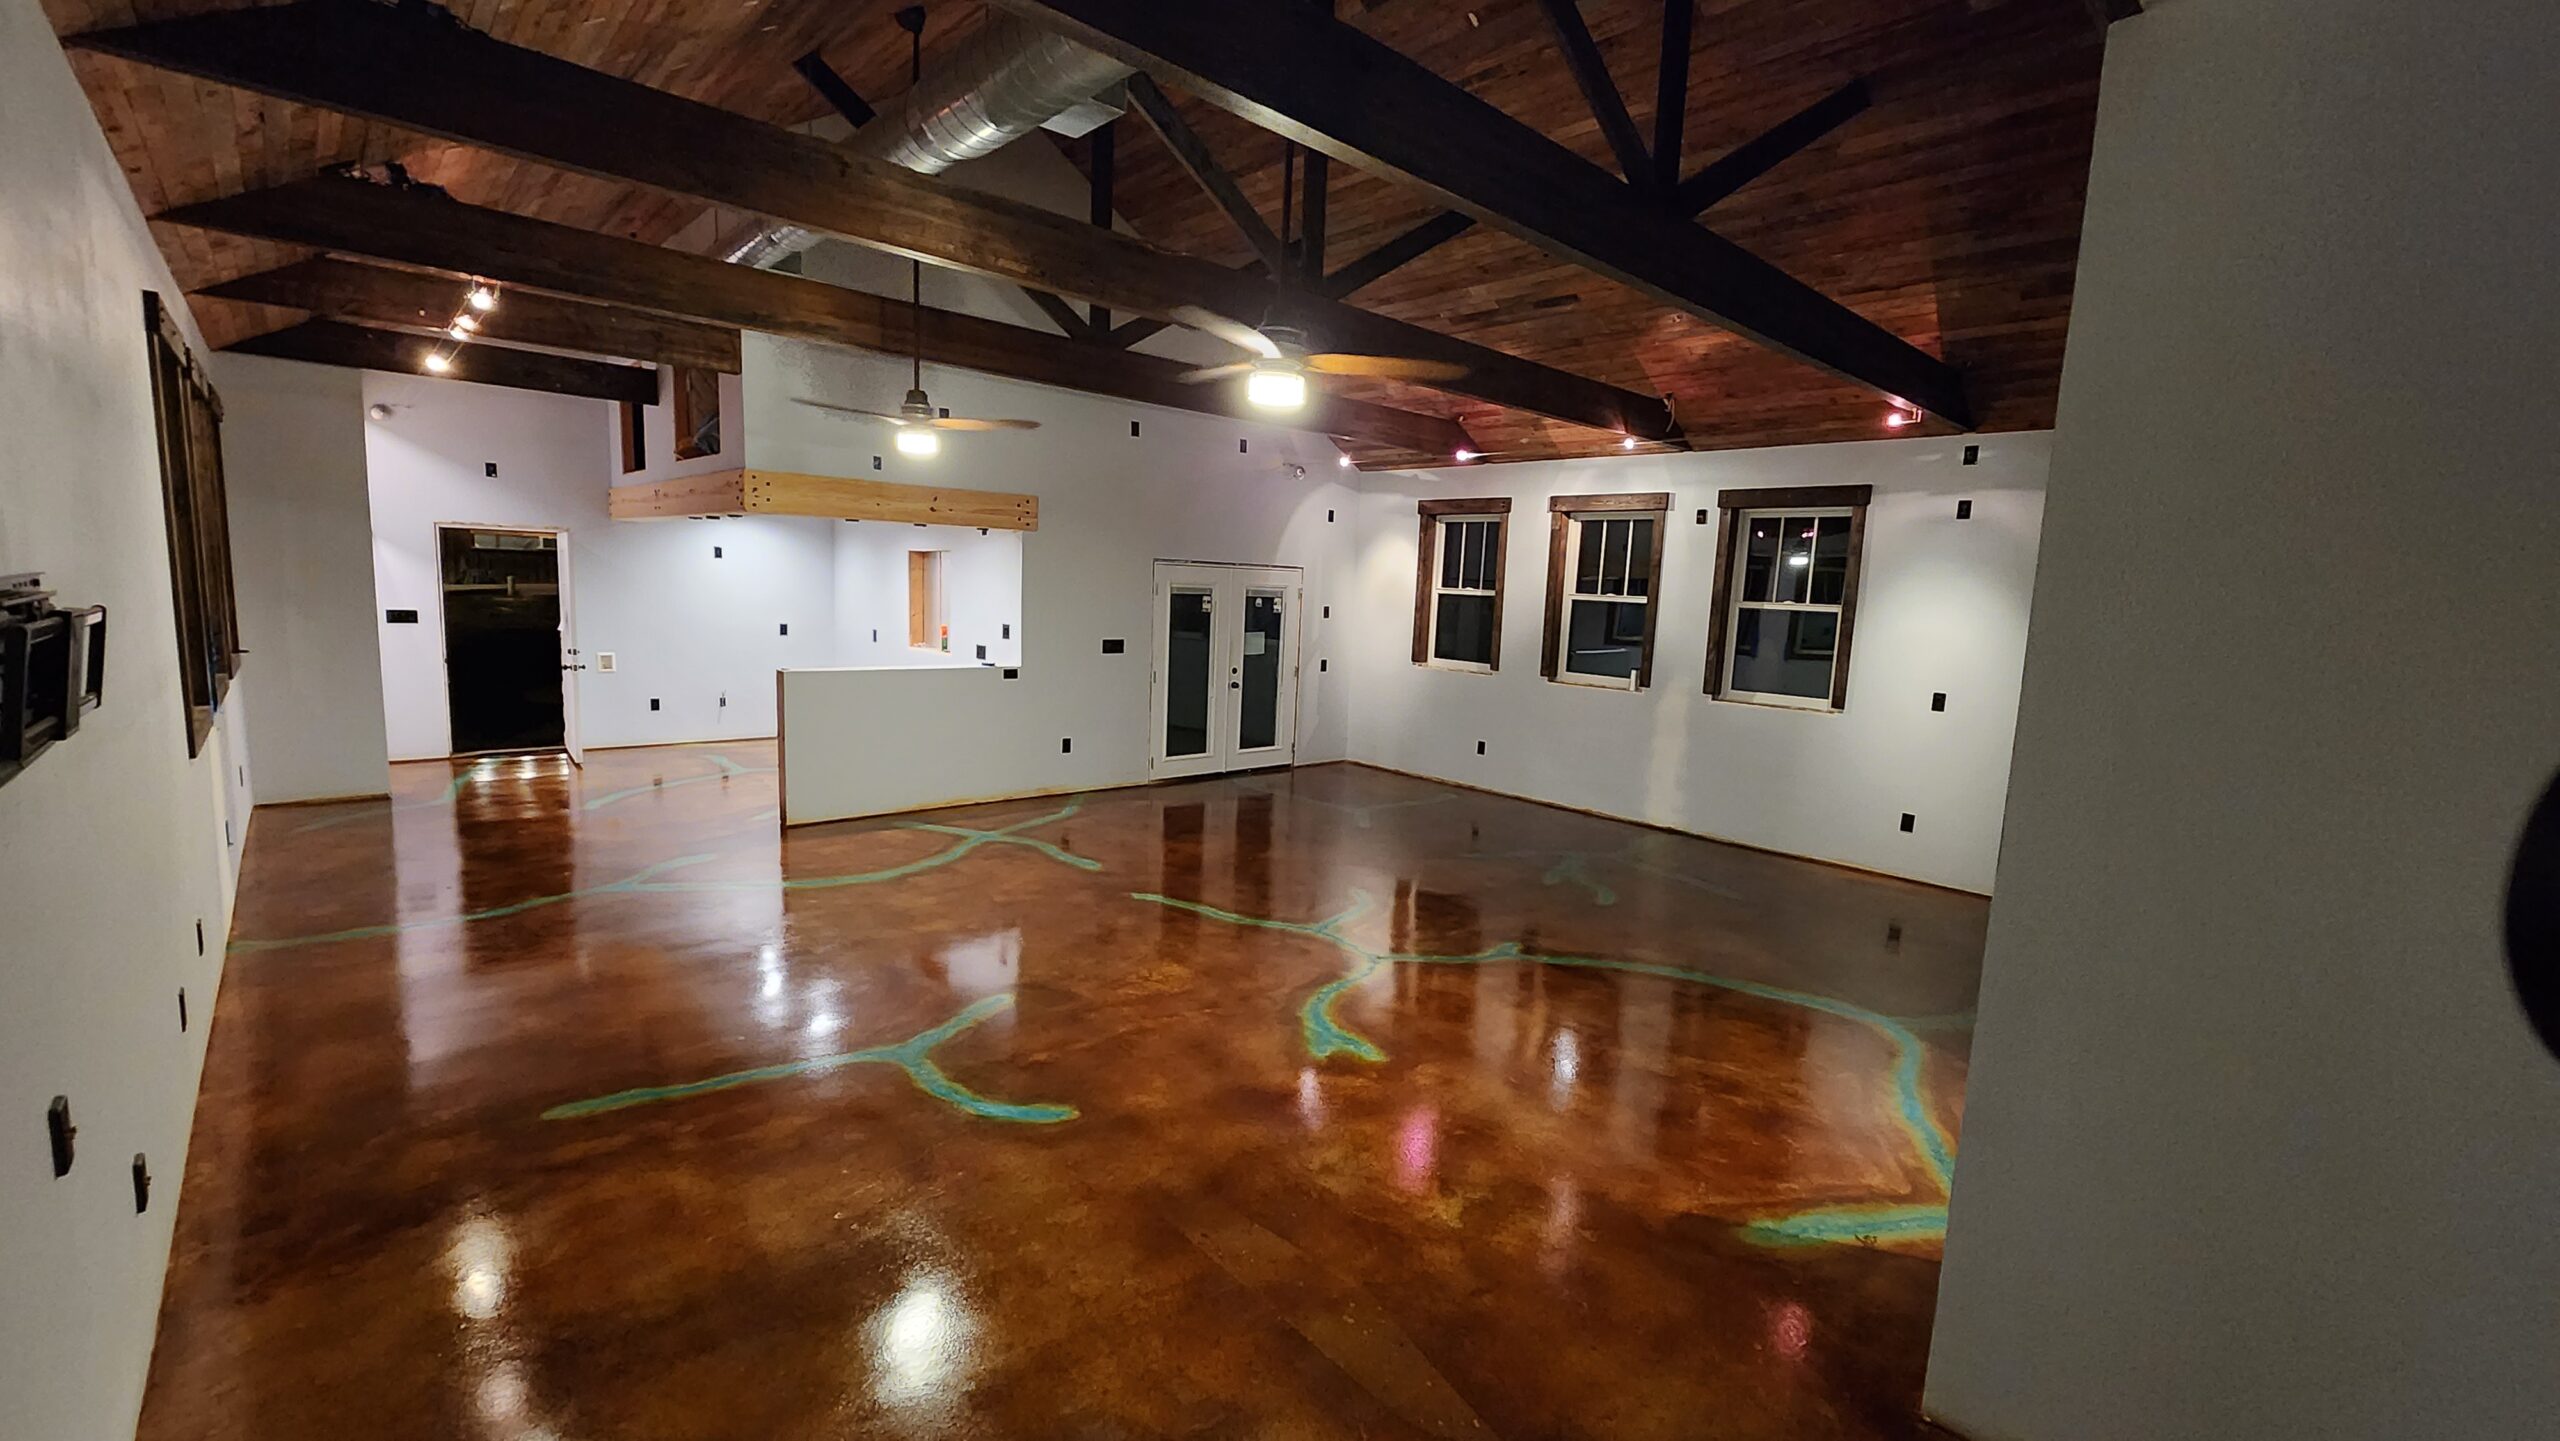
To get a veined look, apply a secondary stain color first, then add the main color around it while it’s still wet. Don’t overblend — you want those variations!
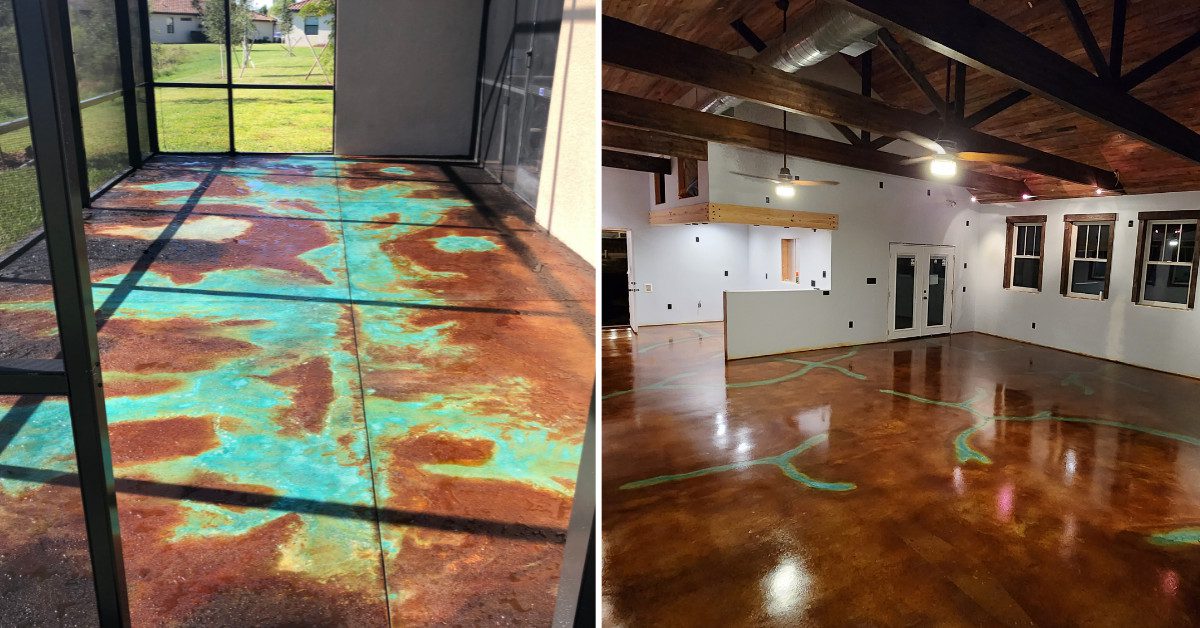
To learn more about the veining technique, check out our blog “Concrete Stain Veining Technique: How To Create A Vein Print On Concrete With Acid Stain Colors.
For multi-colored floors, use a light color as a base. Once dry (or while still wet, depending on the effect), apply your accent shades.
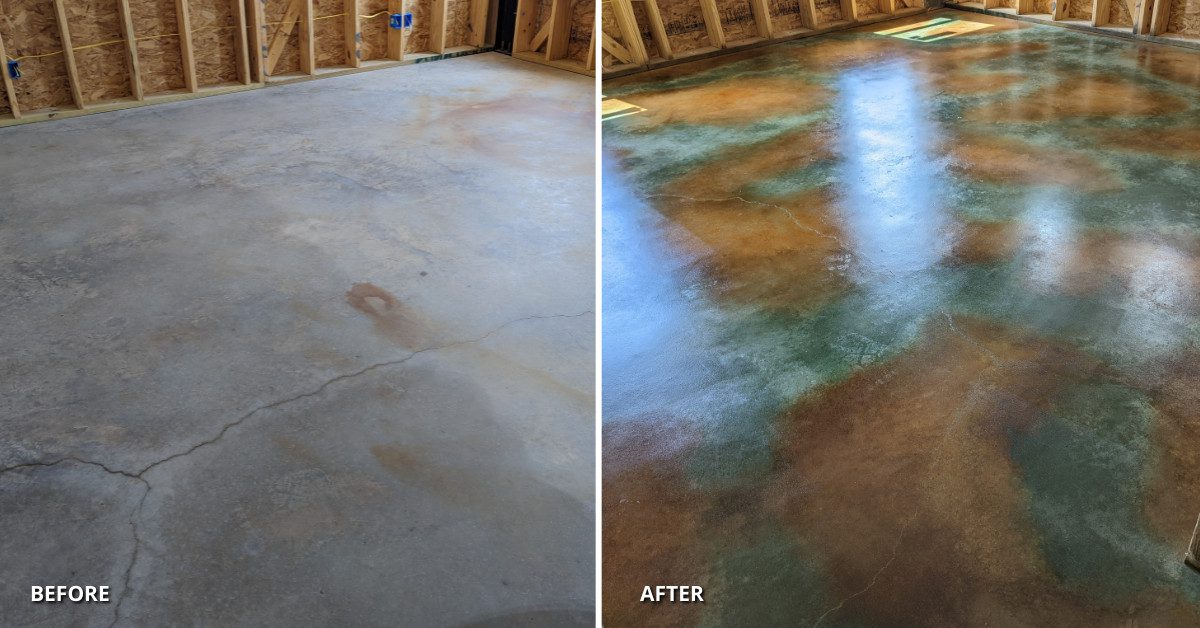
To learn more about layering techniques, check out our blog “Layering Techniques For Beautiful Concrete With Acid Stains: Wet On Wet Vs. Wet On Dry.“
Step 5: Check Color Progress
Acid stain color deepens over time. Check every 2 hours by misting with water — this shows what the sealed finish will look like.
As the acid stain dries, you might notice a chalky residue forming on the surface — don’t worry, this is completely normal. It’s just part of the chemical reaction and will be cleaned up during the neutralizing step. Most stains take between four and eight hours to fully react and develop their color. If you’re after a richer, darker tone, you can let the stain sit longer — just be sure to follow the recommended activation time for your specific color. For more details, check out our blog: Activation Times For Concrete Acid Stains: How Long To Leave Acid Stain On Concrete.
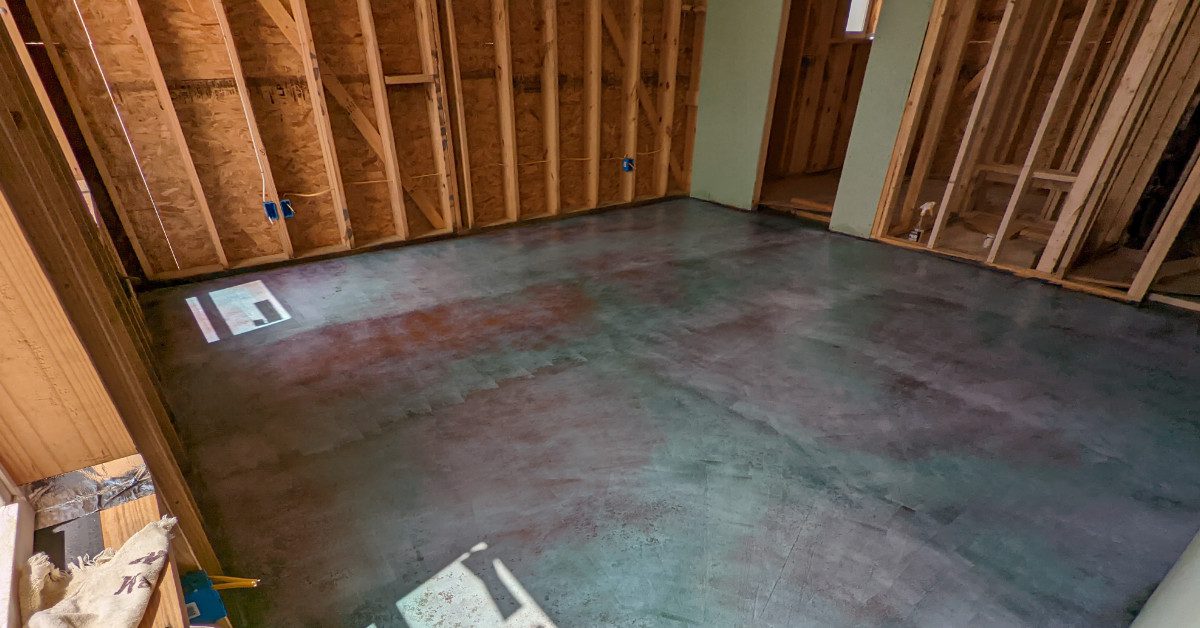
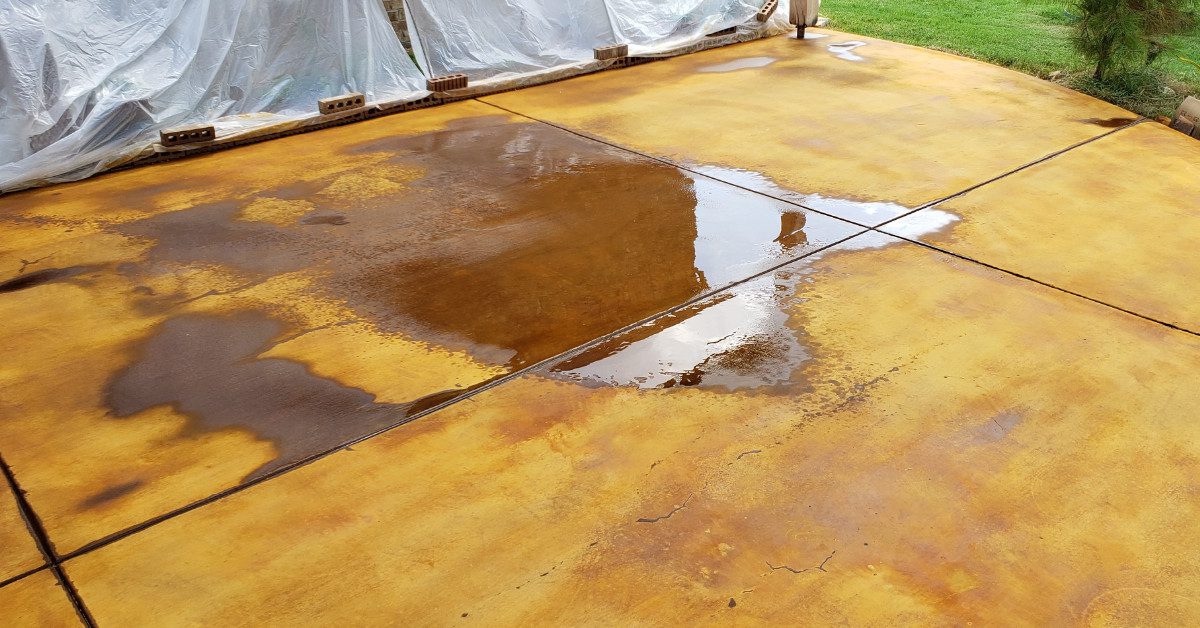
If the color is too light, leave it on longer. But don’t go below the recommended activation time or the reaction may not complete.
TIP: When applying acid stain to outdoor concrete, it’s important to keep in mind that hot, dry conditions can cause the stain to dry too quickly, which can interfere with the chemical reaction and affect the final color. To help prevent this, it’s a good idea to slightly dampen the surface of the concrete before applying the acid stain. This will help ensure that the stain has enough moisture to react properly with the concrete.
Step 6: Neutralize and Clean the Surface
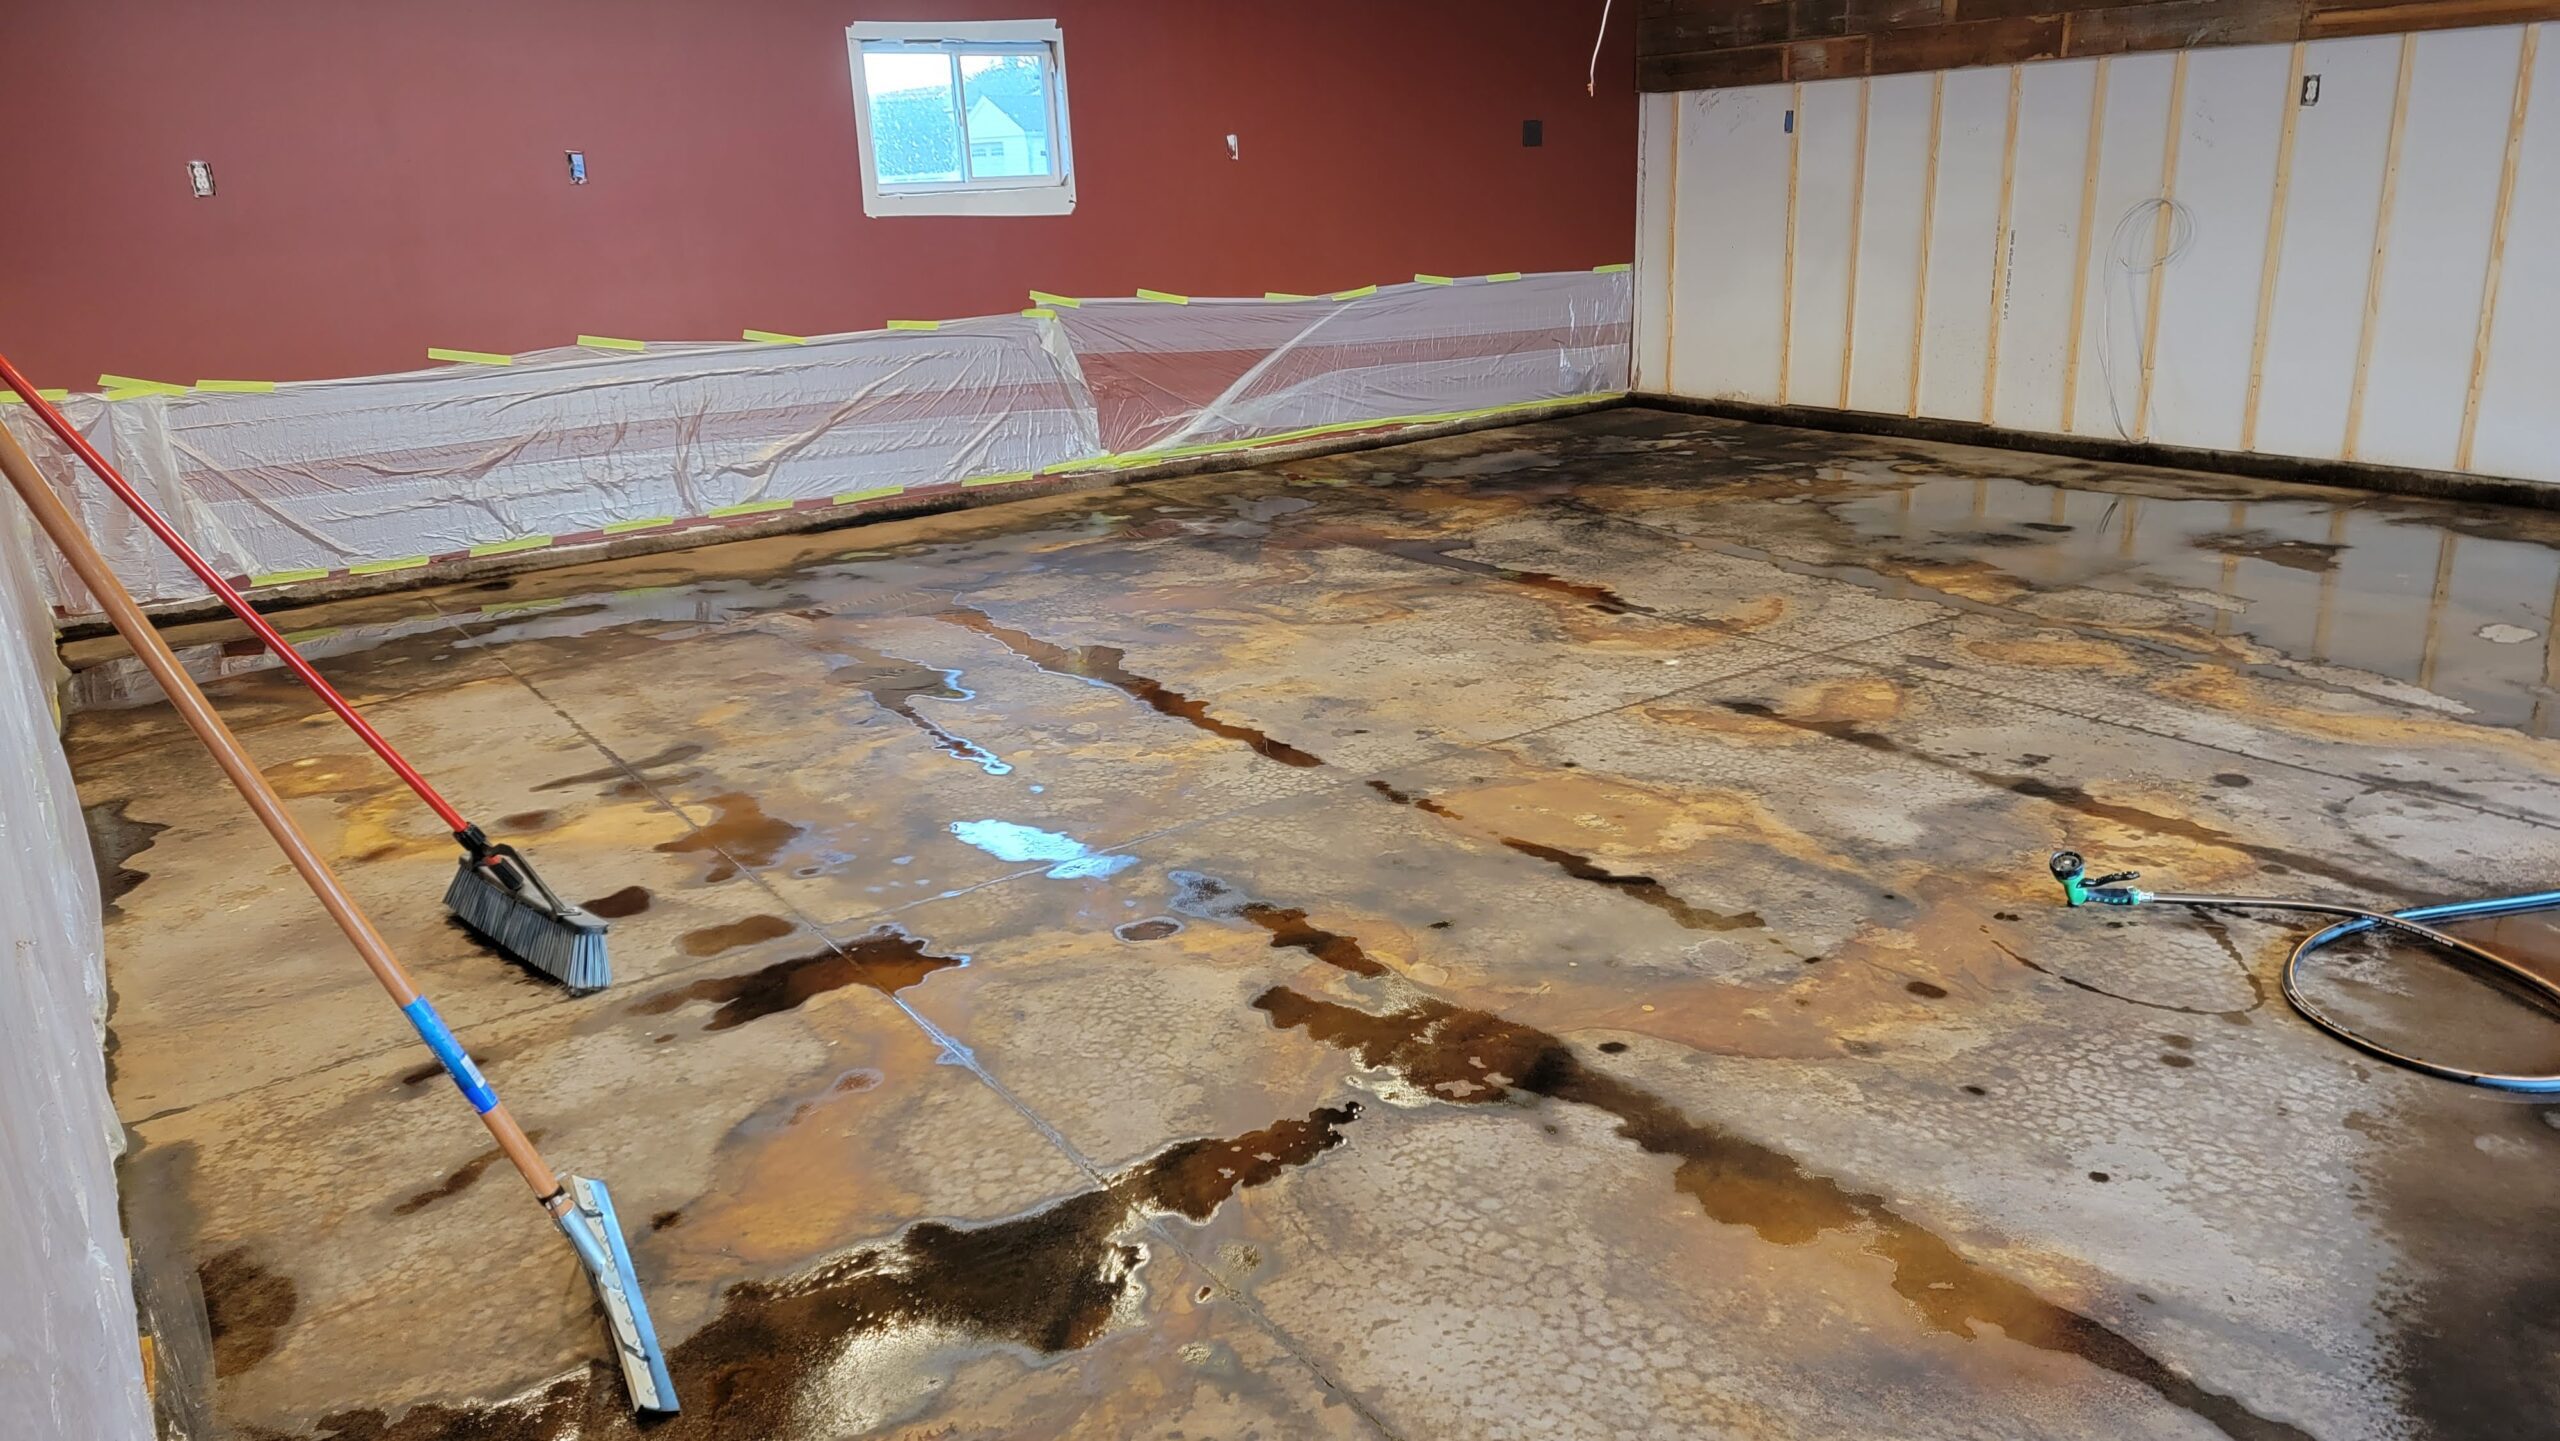
Once the stain has done its job, it’s time to neutralize it. Mix 1–2 tablespoons of baking soda per gallon of water, or use ProClean Neutralizer™. Scrub with a nylon brush and rinse thoroughly. Keep in mind, using baking soda can be a bit more work — it tends to leave more residue behind and takes more effort to rinse out completely. For an easier and more effective cleanup, ProClean Neutralizer™ is the way to go.
Repeat as needed until the surface is clean and no residue remains. Let it dry completely.
Step 7: Seal It Up
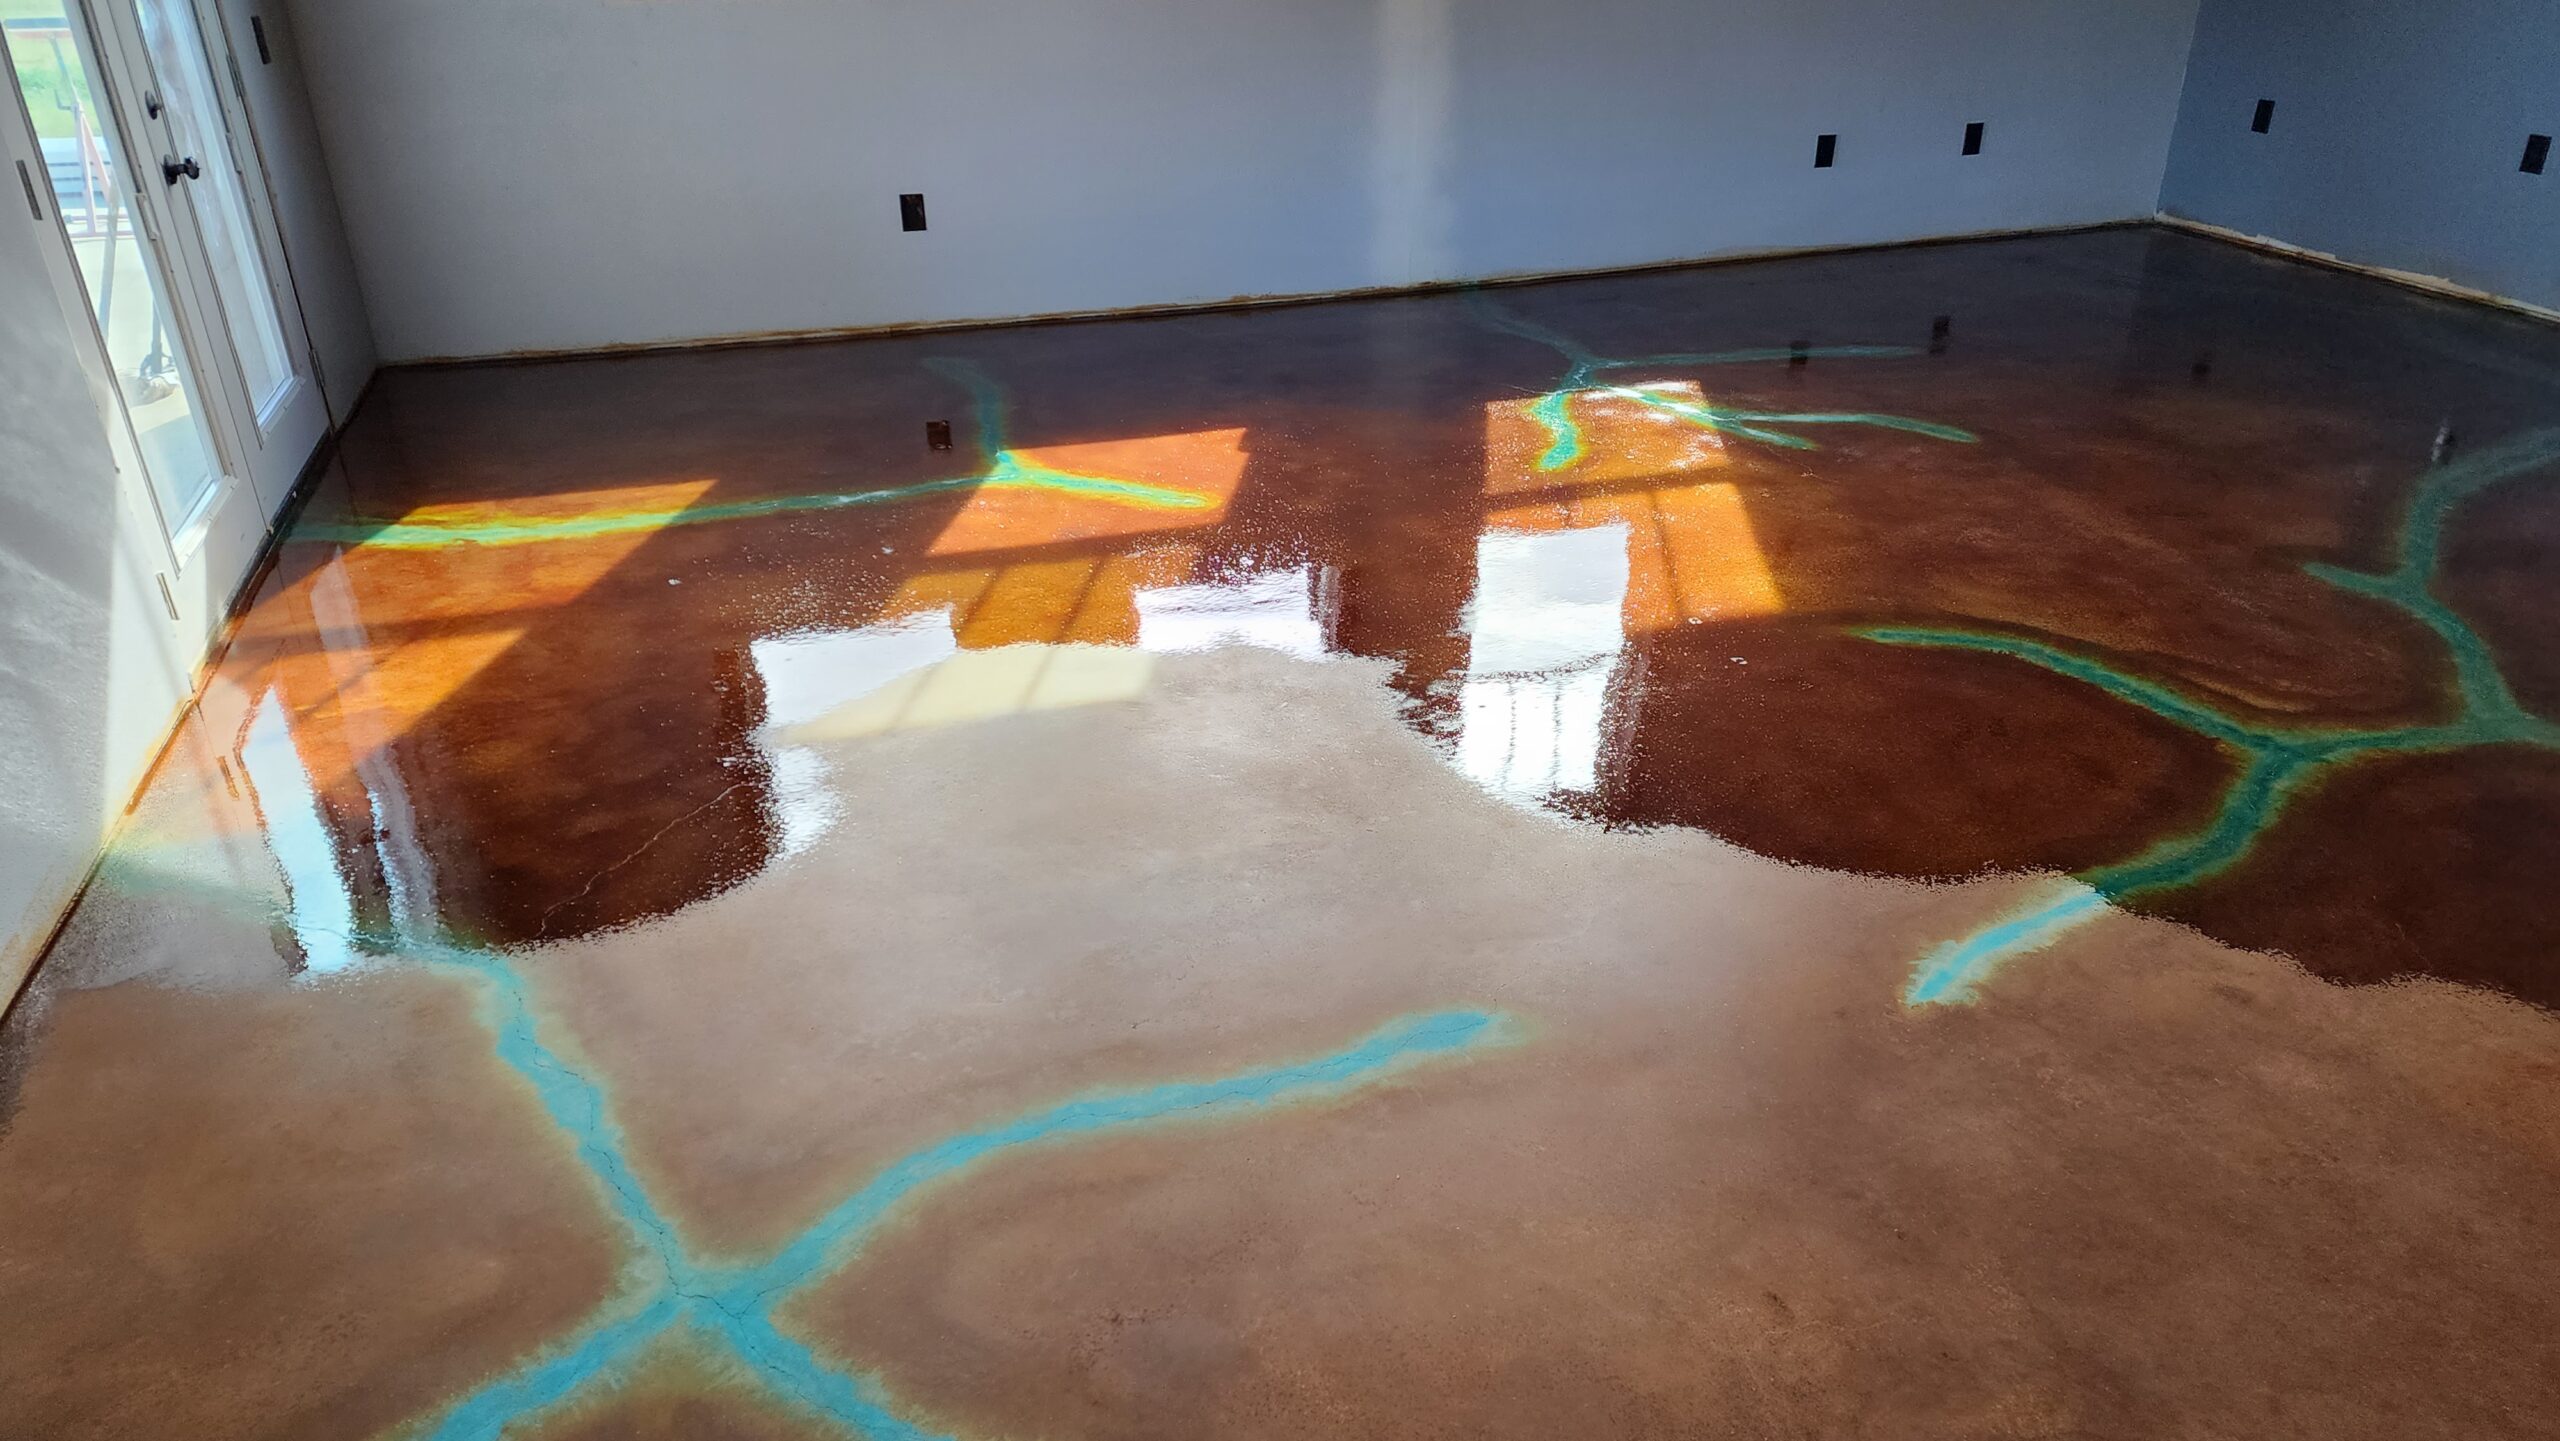
Now seal in your hard work! Choose a concrete sealer based on where your project is located (indoor vs. outdoor) and your desired sheen. Follow product directions carefully.
Avoid applying sealers in temps over 90°F. If outdoors, do the sealing early or late in the day when it’s cooler
TIP: Don’t use duct tape or masking tape on a sealed floor — it can damage the finish.
Optional Step: Wax for Extra Protection (Indoors Only)
For indoor floors, especially high-traffic areas, apply 2–3 coats of concrete floor wax for added protection and shine.
Use a sponge mop or trim pad to apply, alternating directions with each coat. Allow full drying between coats.
Cold Weather Tips:
- Don’t apply sealer or wax below 65°F
- Use heaters to warm the room beforehand
- Always turn off fans and heat during application, then turn back on after
Each slab takes stain a little differently — and that’s the beauty of it. With some prep, patience, and practice, acid staining can transform plain concrete into a durable, artistic surface that lasts for decades.
When you’re ready, Direct Colors has everything you need — from stains to sealers, tools, and support.


