Concrete Pigment Planters, Tables, Statuary & More
Imagine all the beautiful things you can create with concrete pigment!
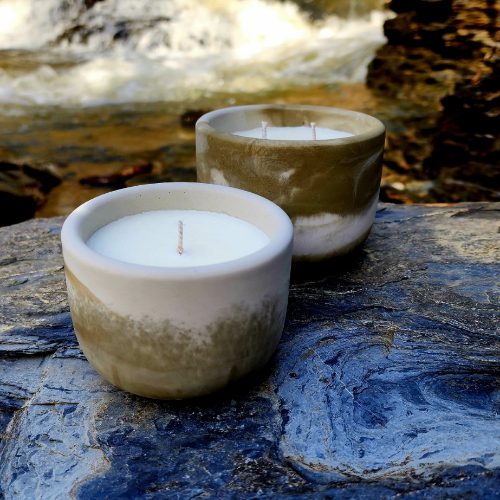
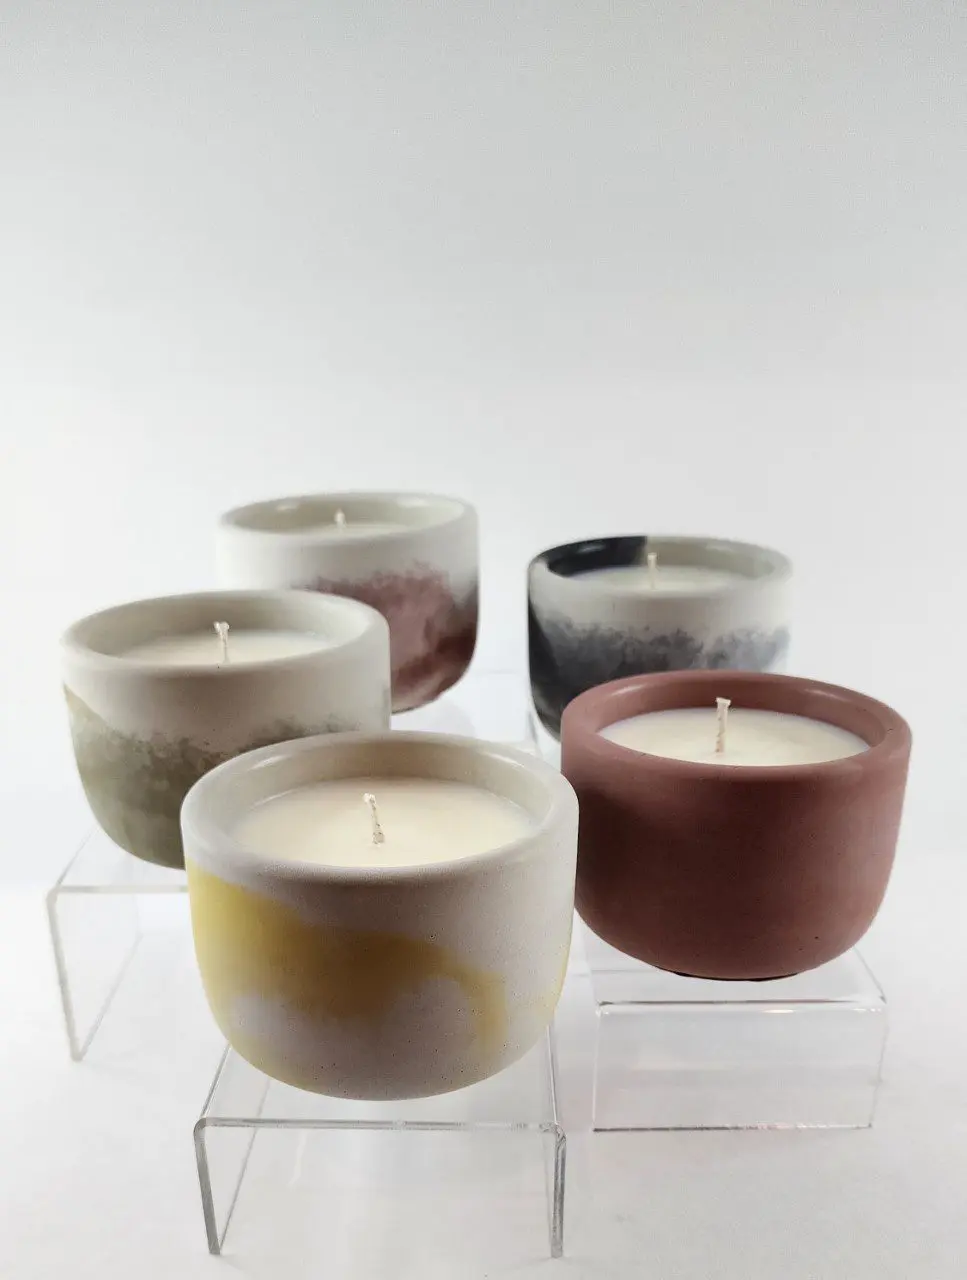
Whether it’s concrete art, coasters, or candle holders, you can add brilliant color to all types of home decor.
All Things Concrete
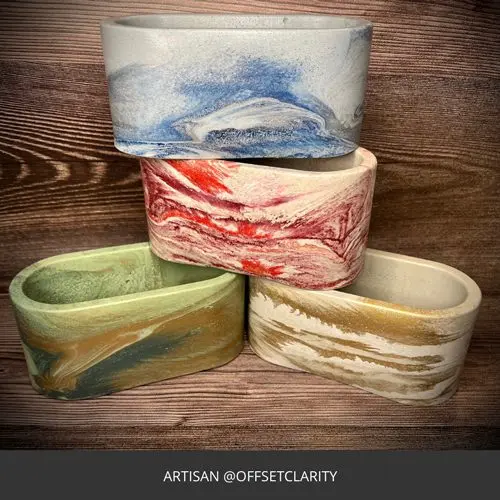
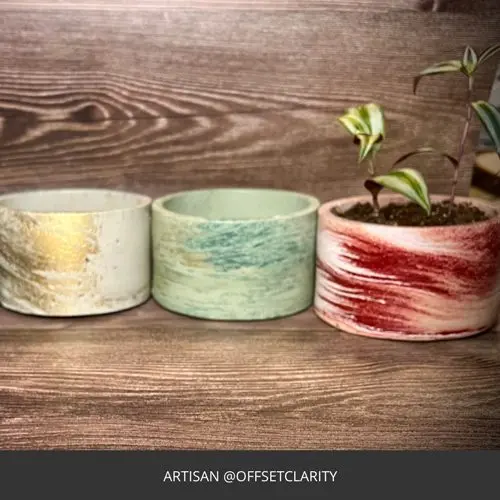
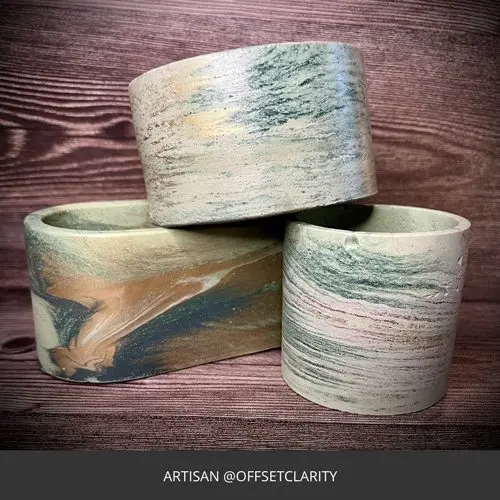
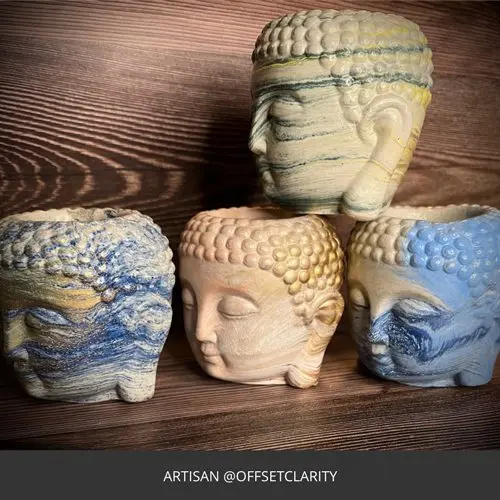
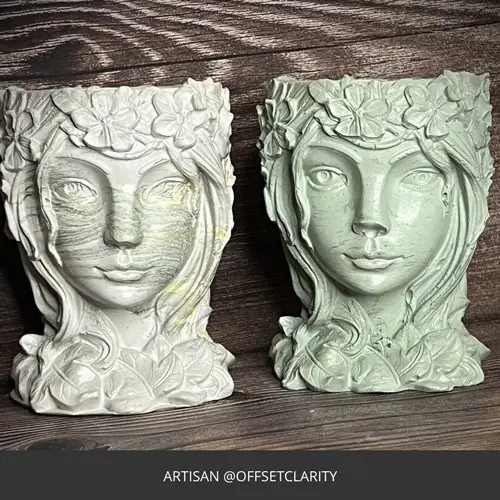
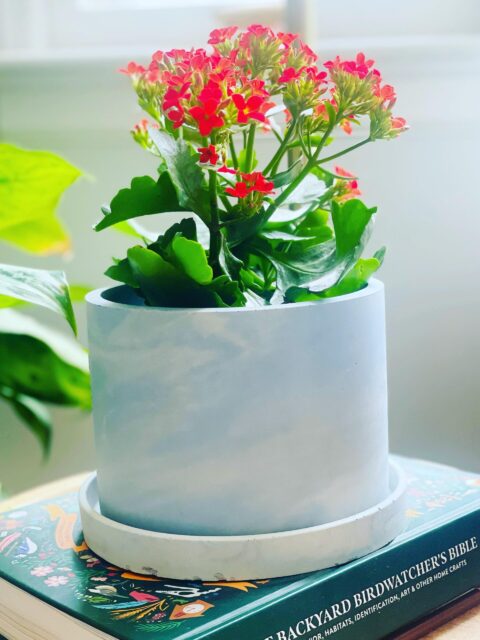
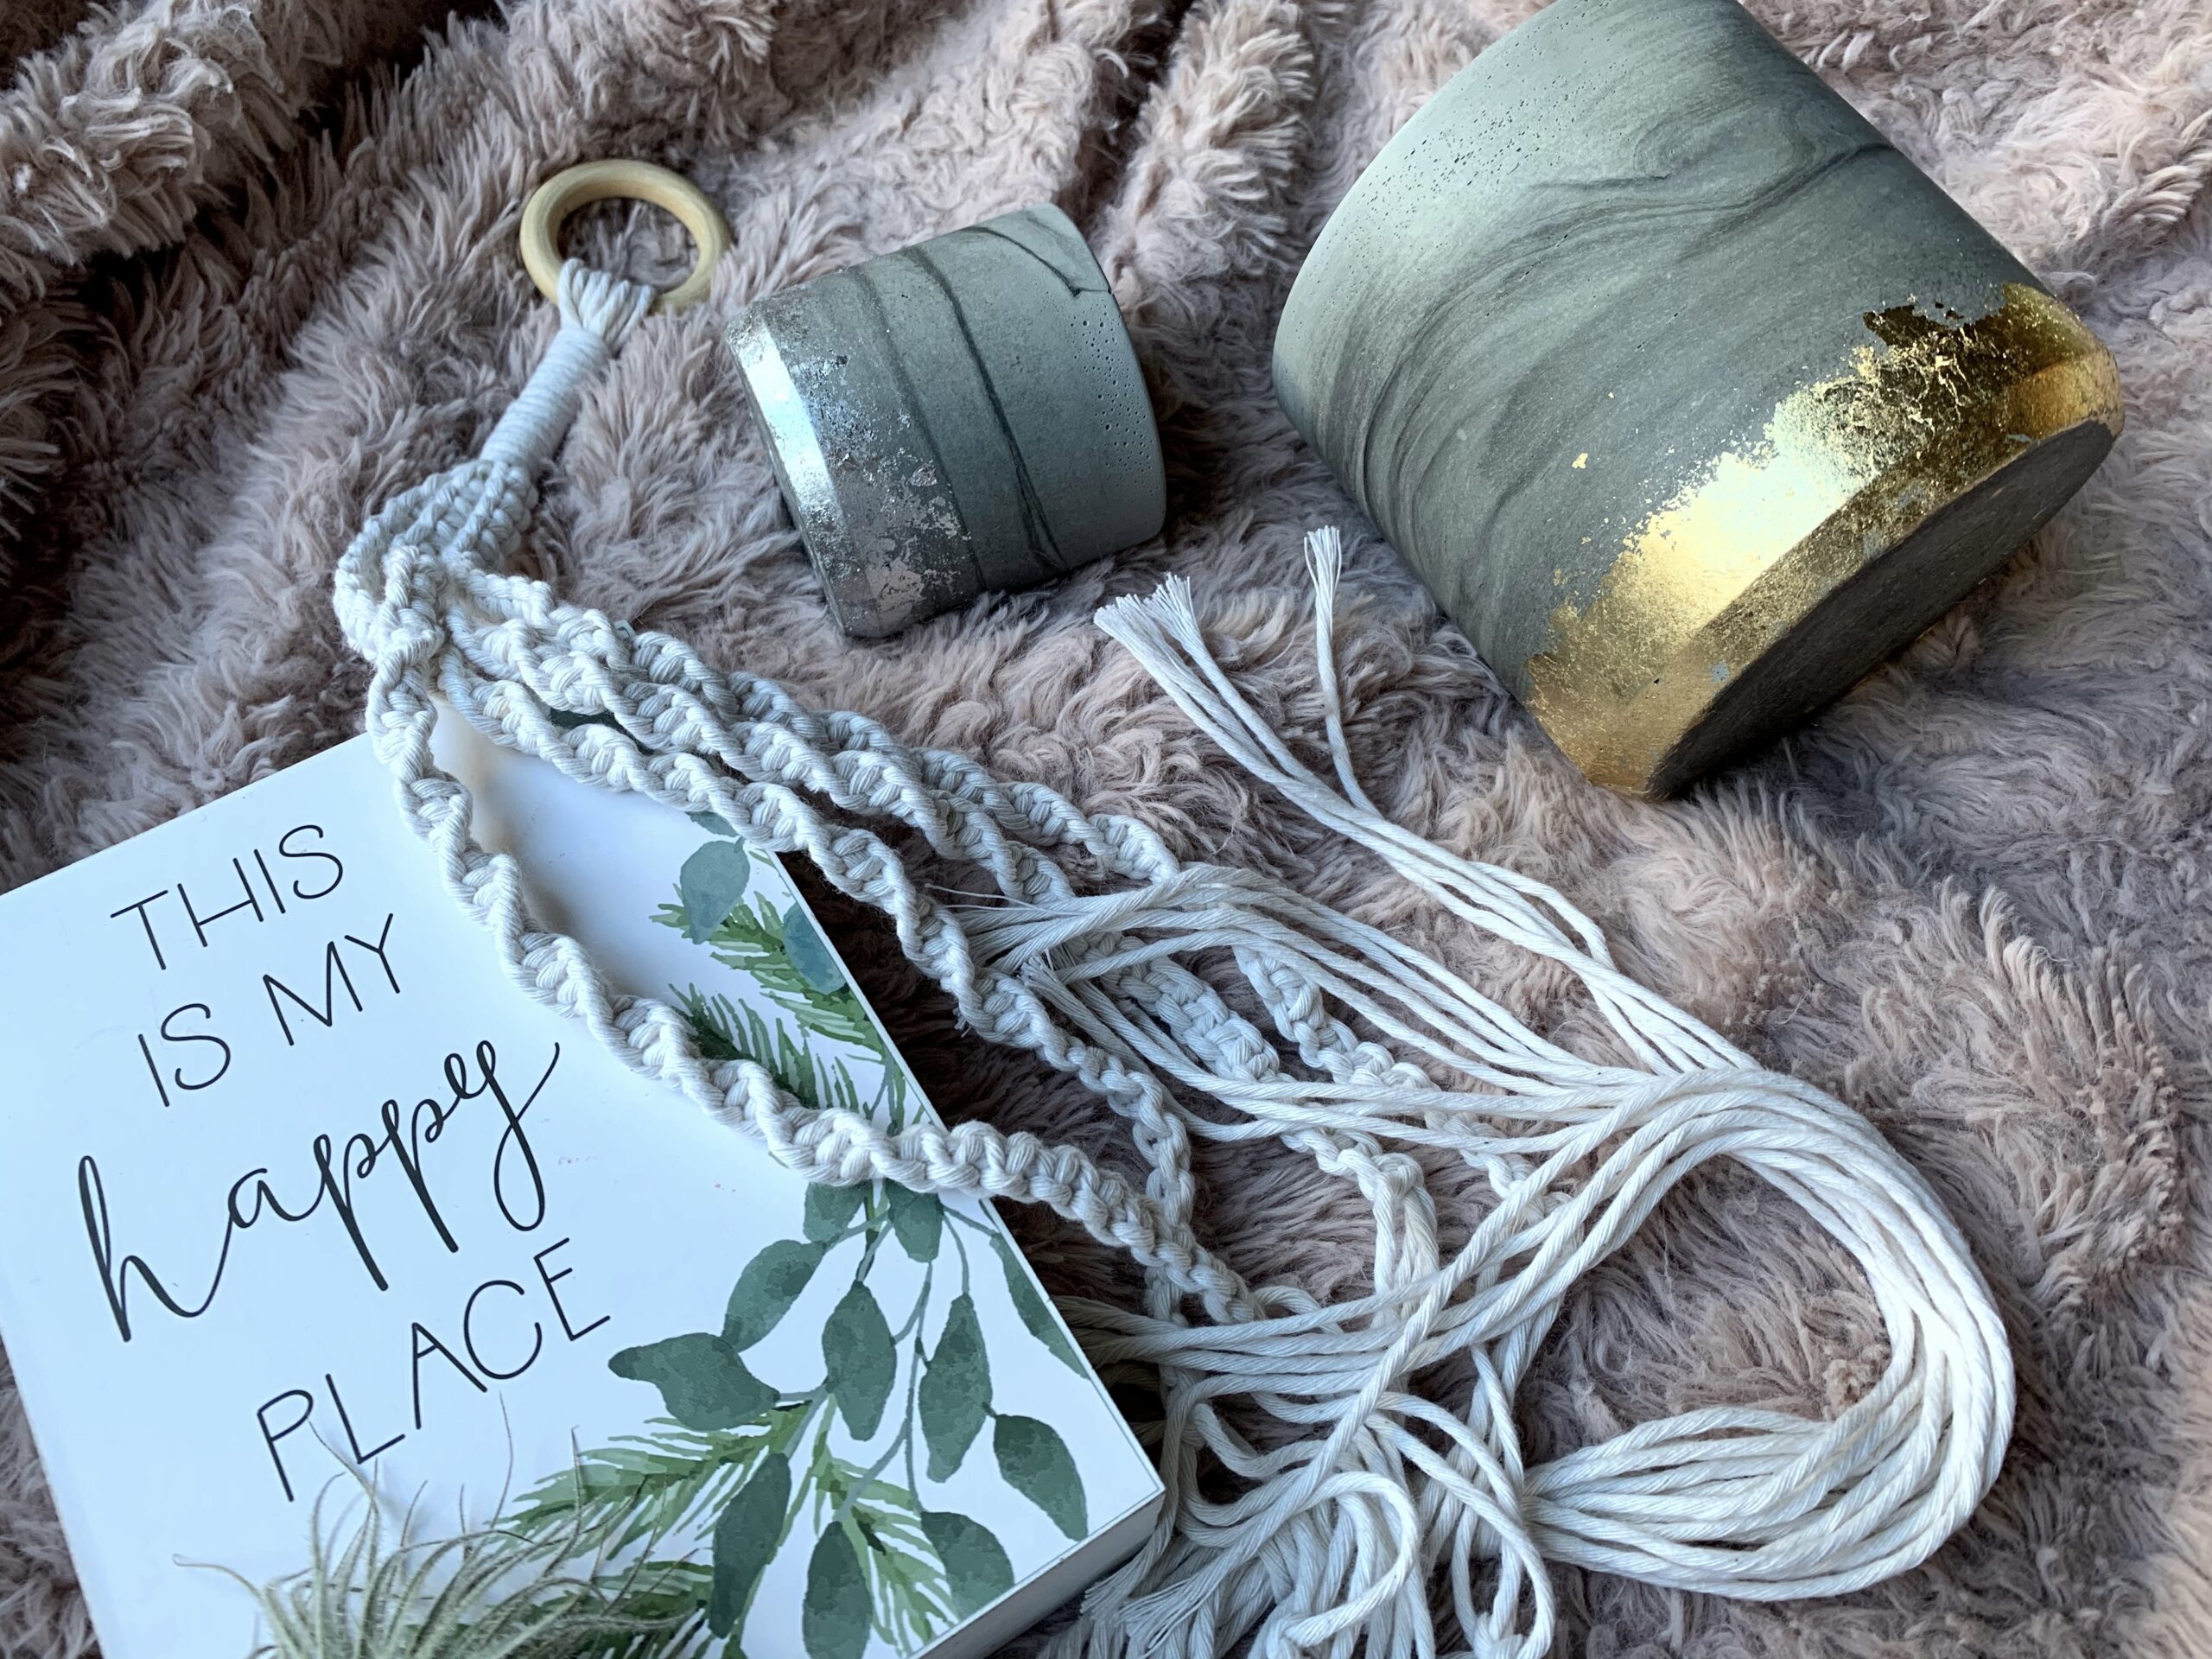
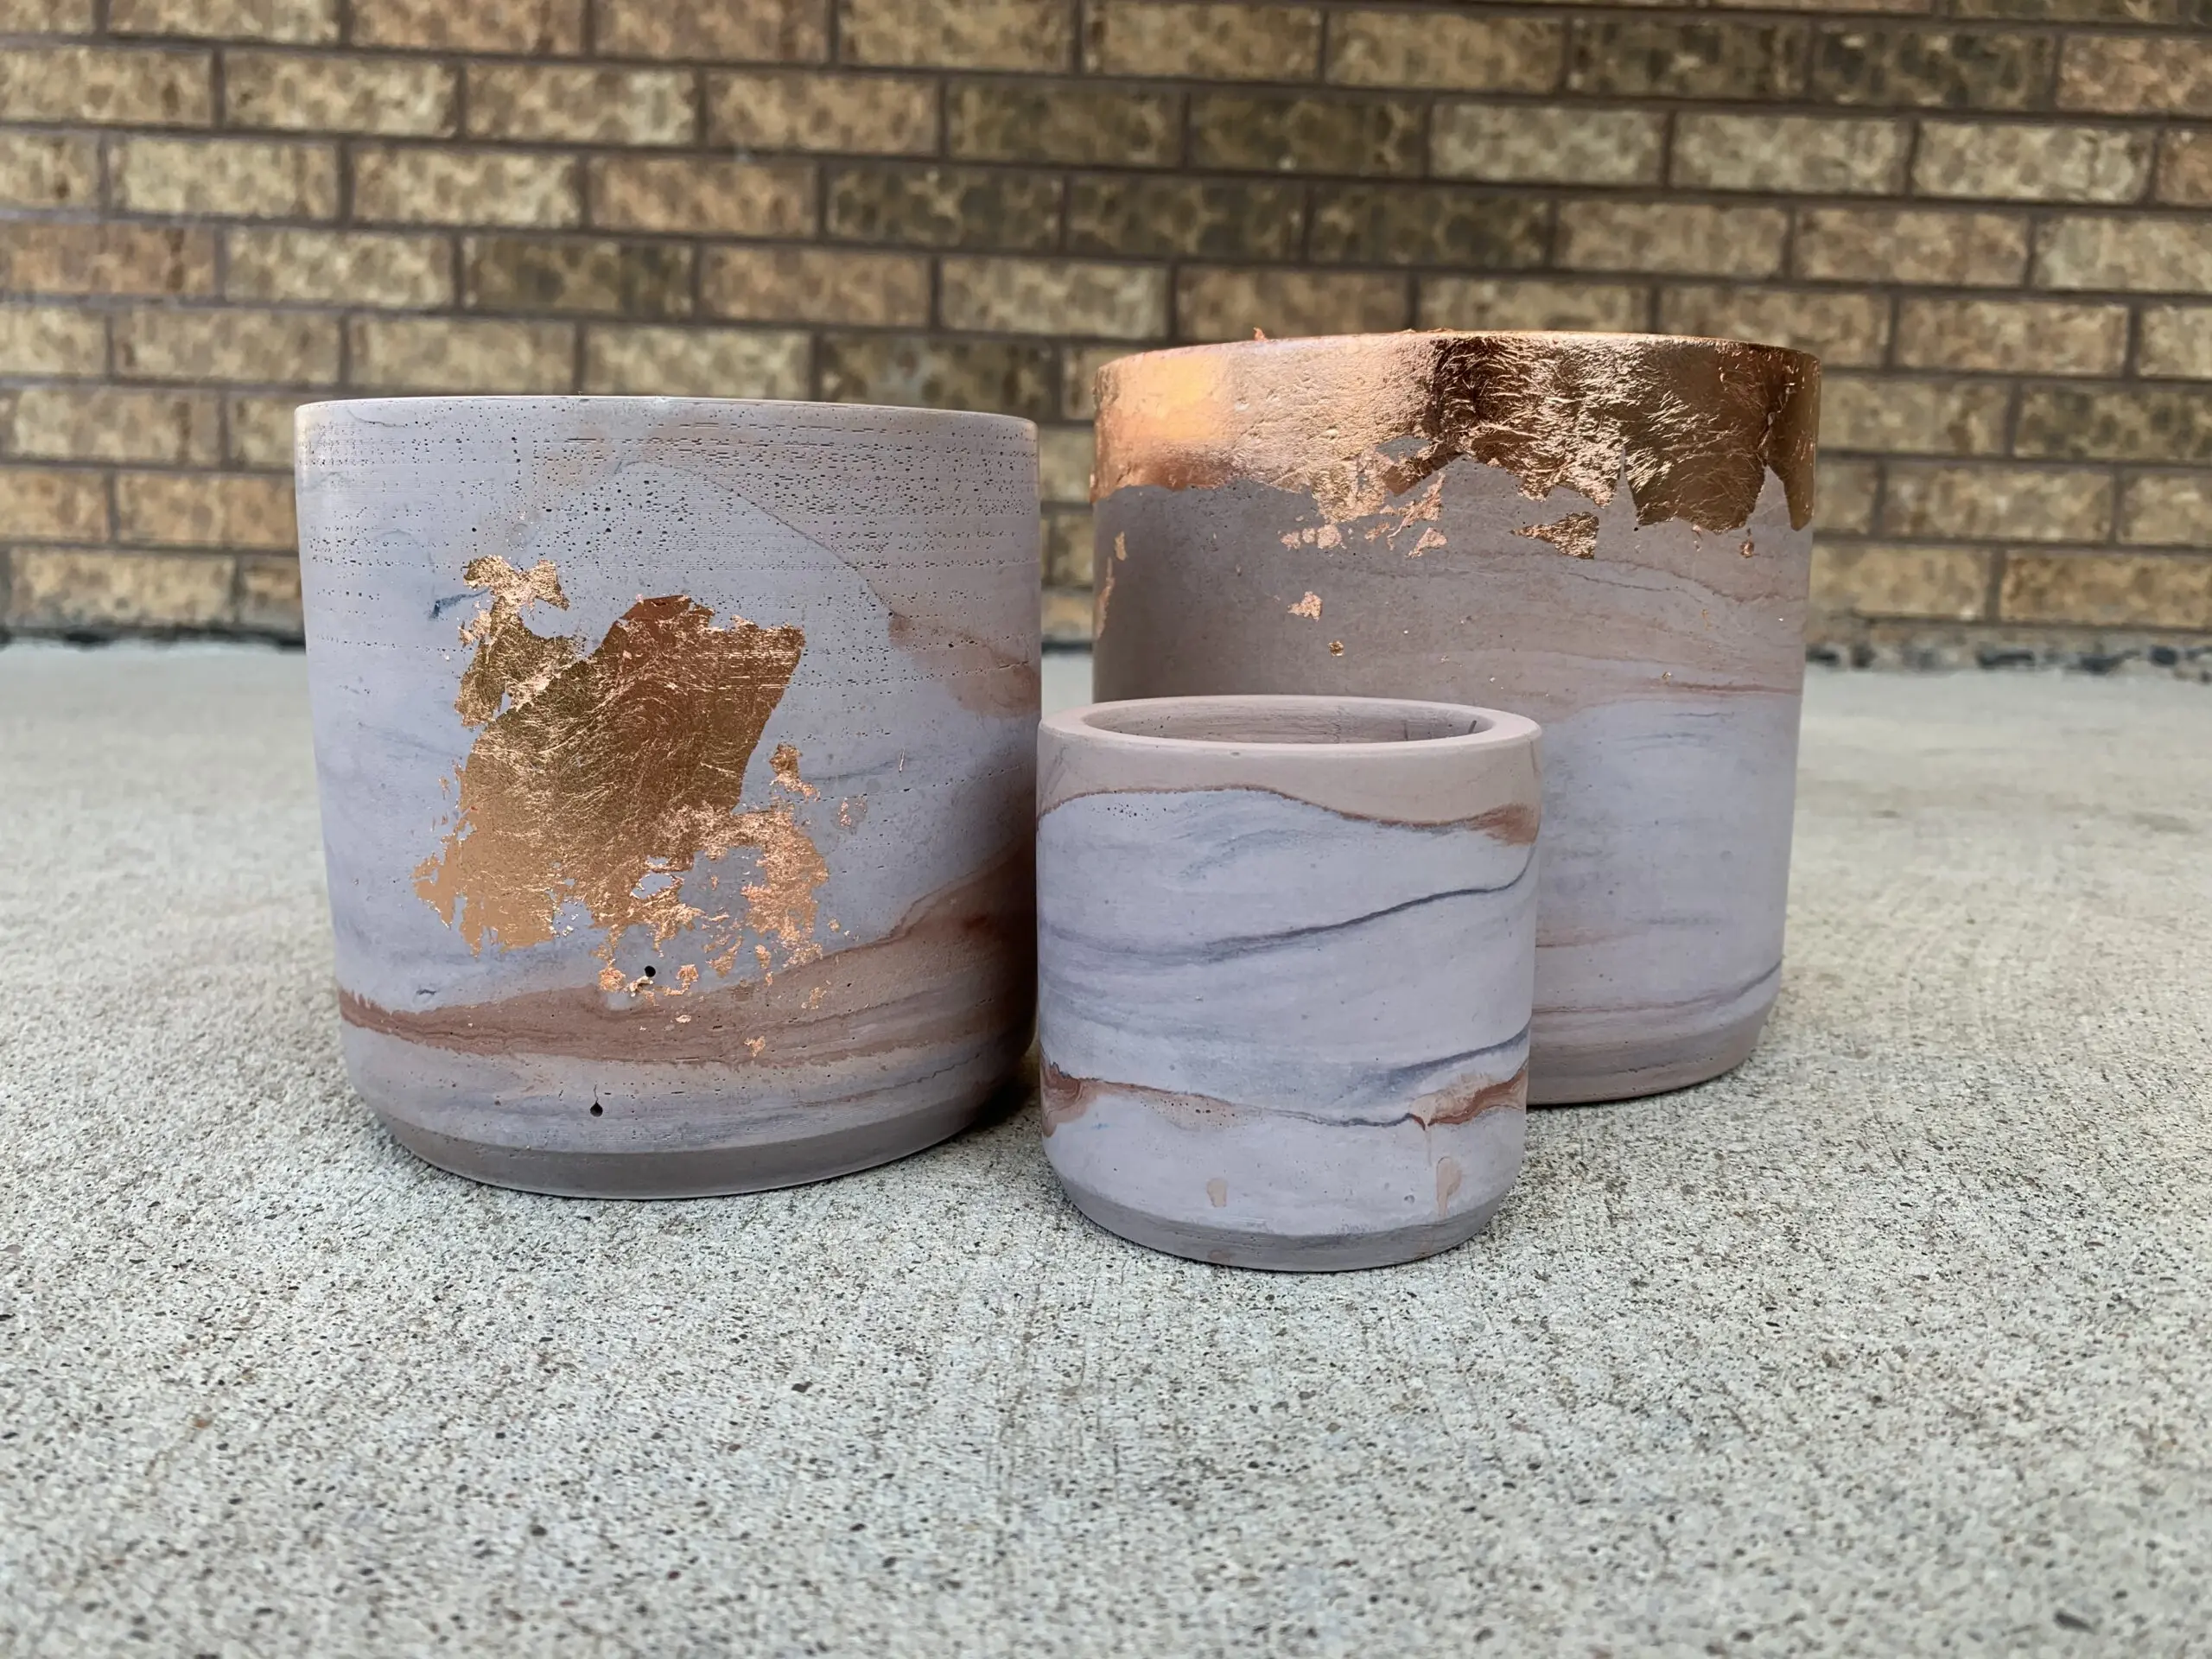
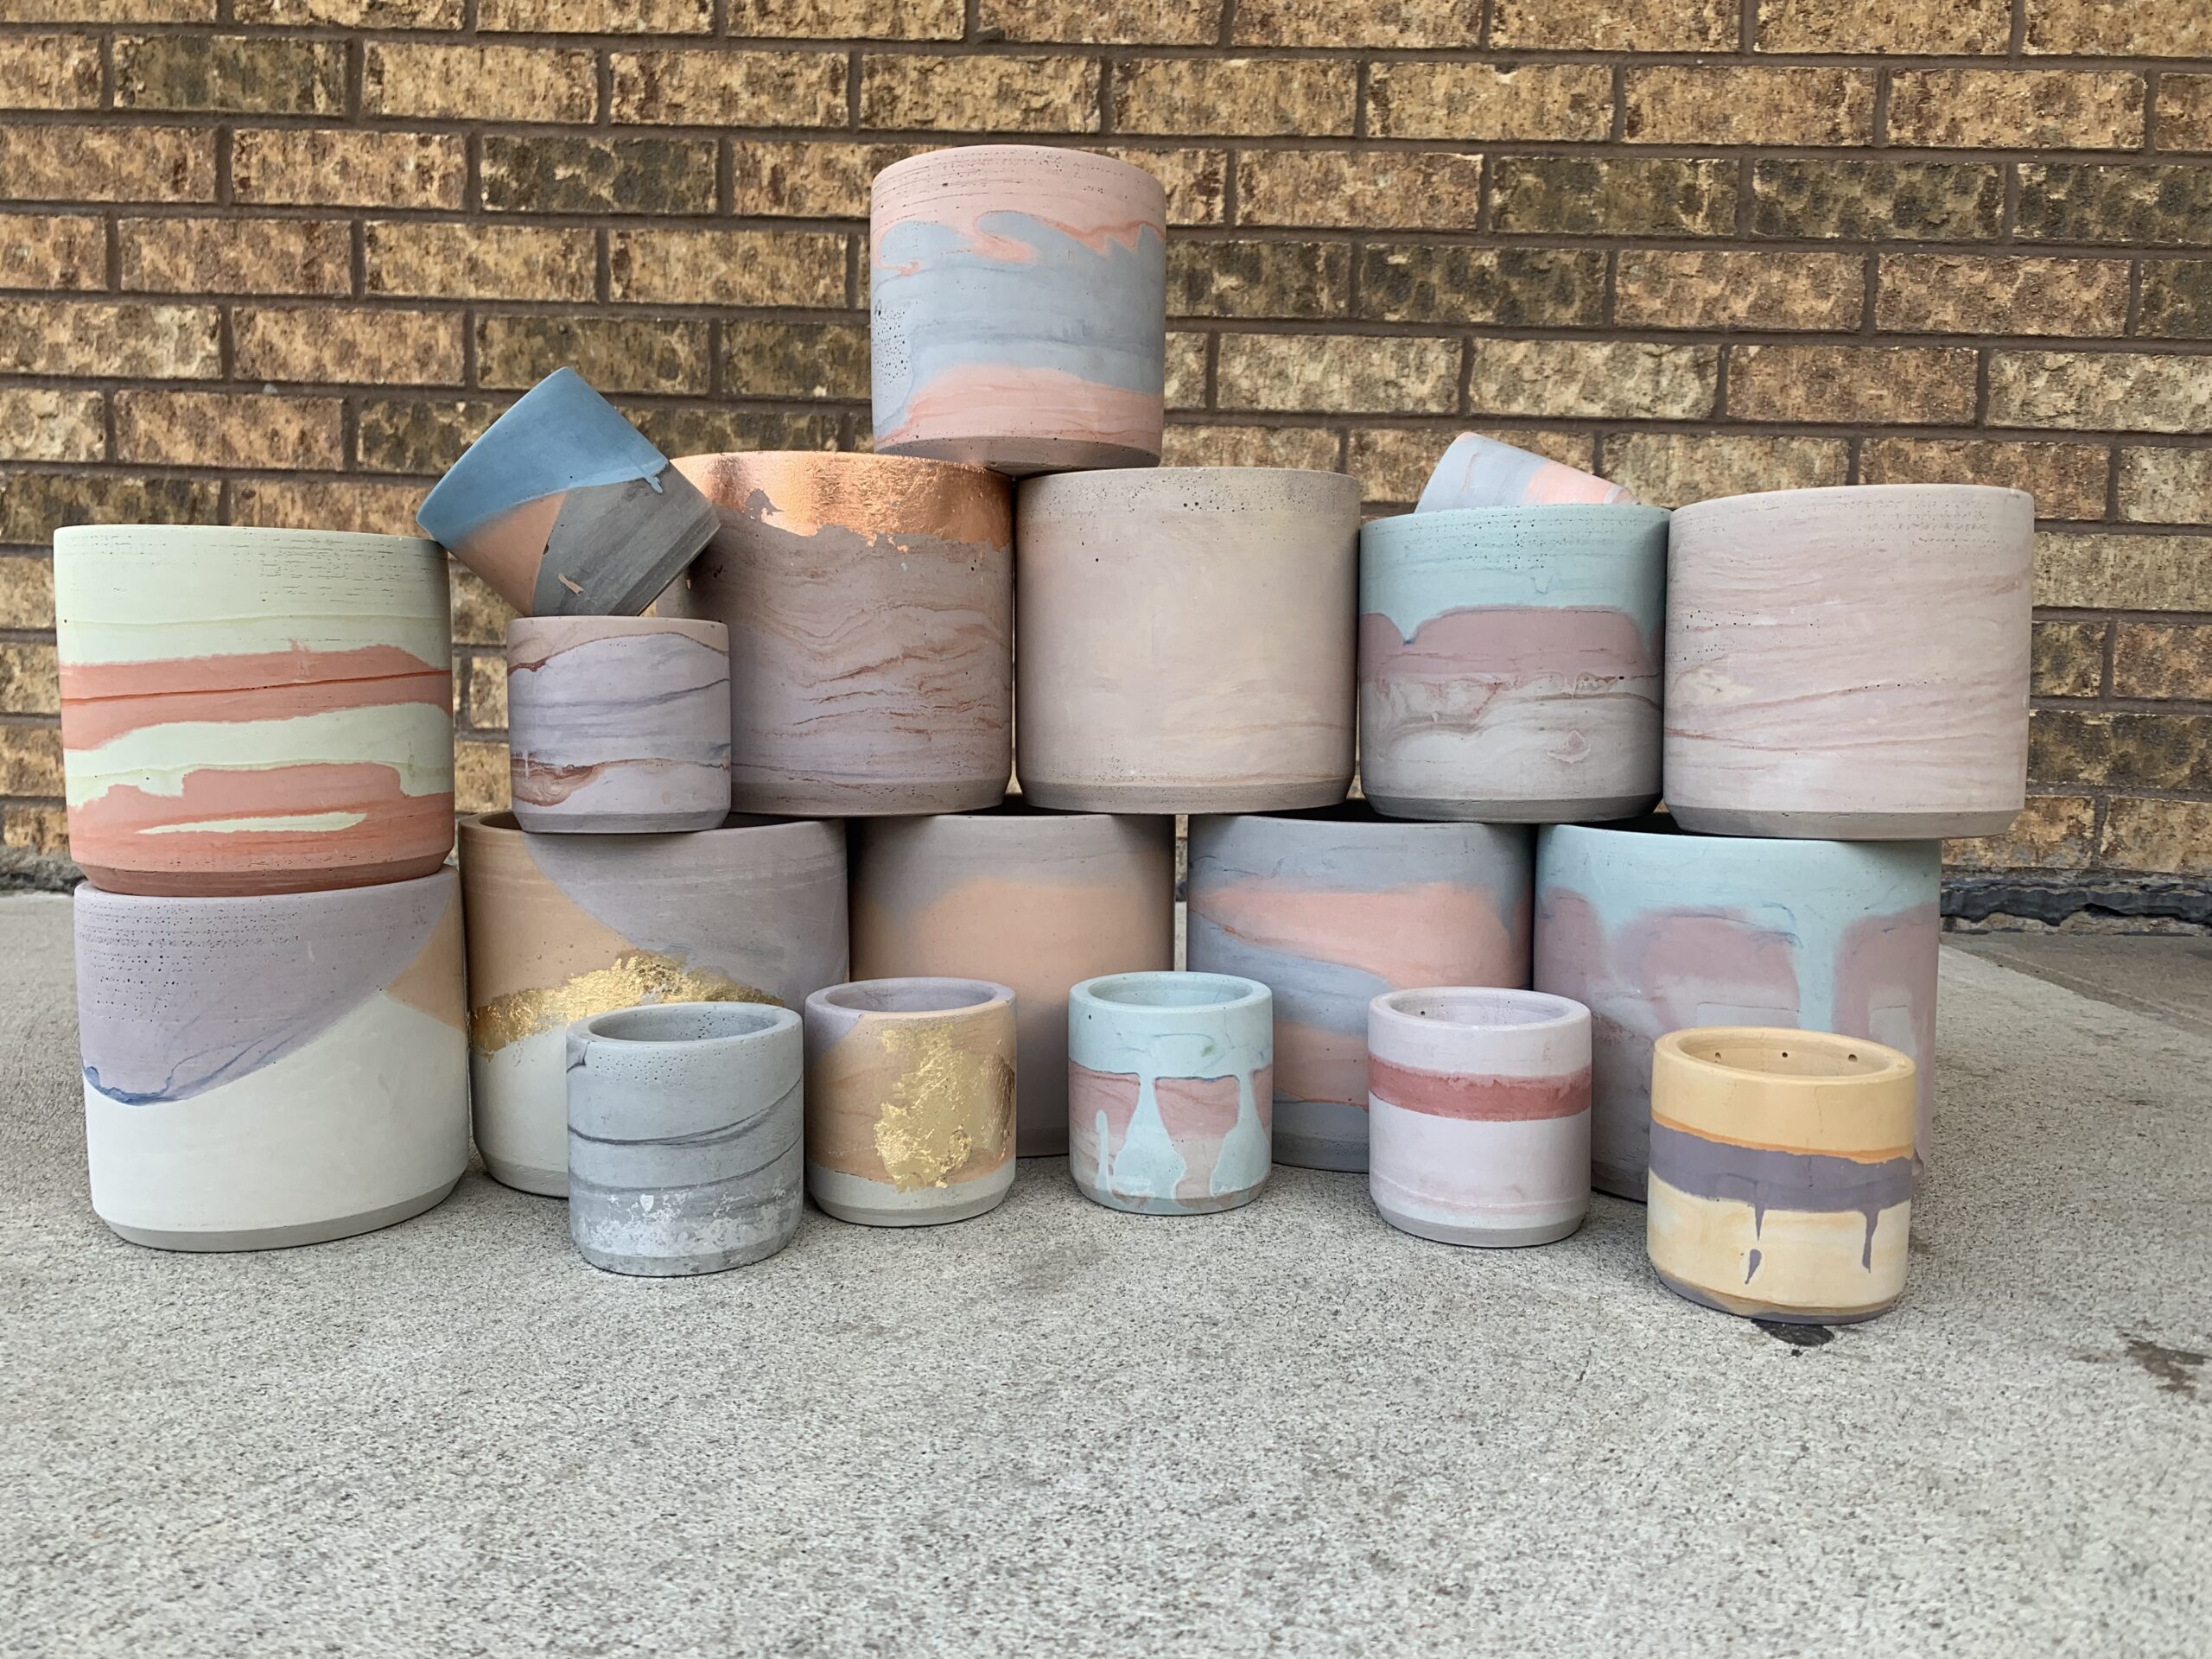
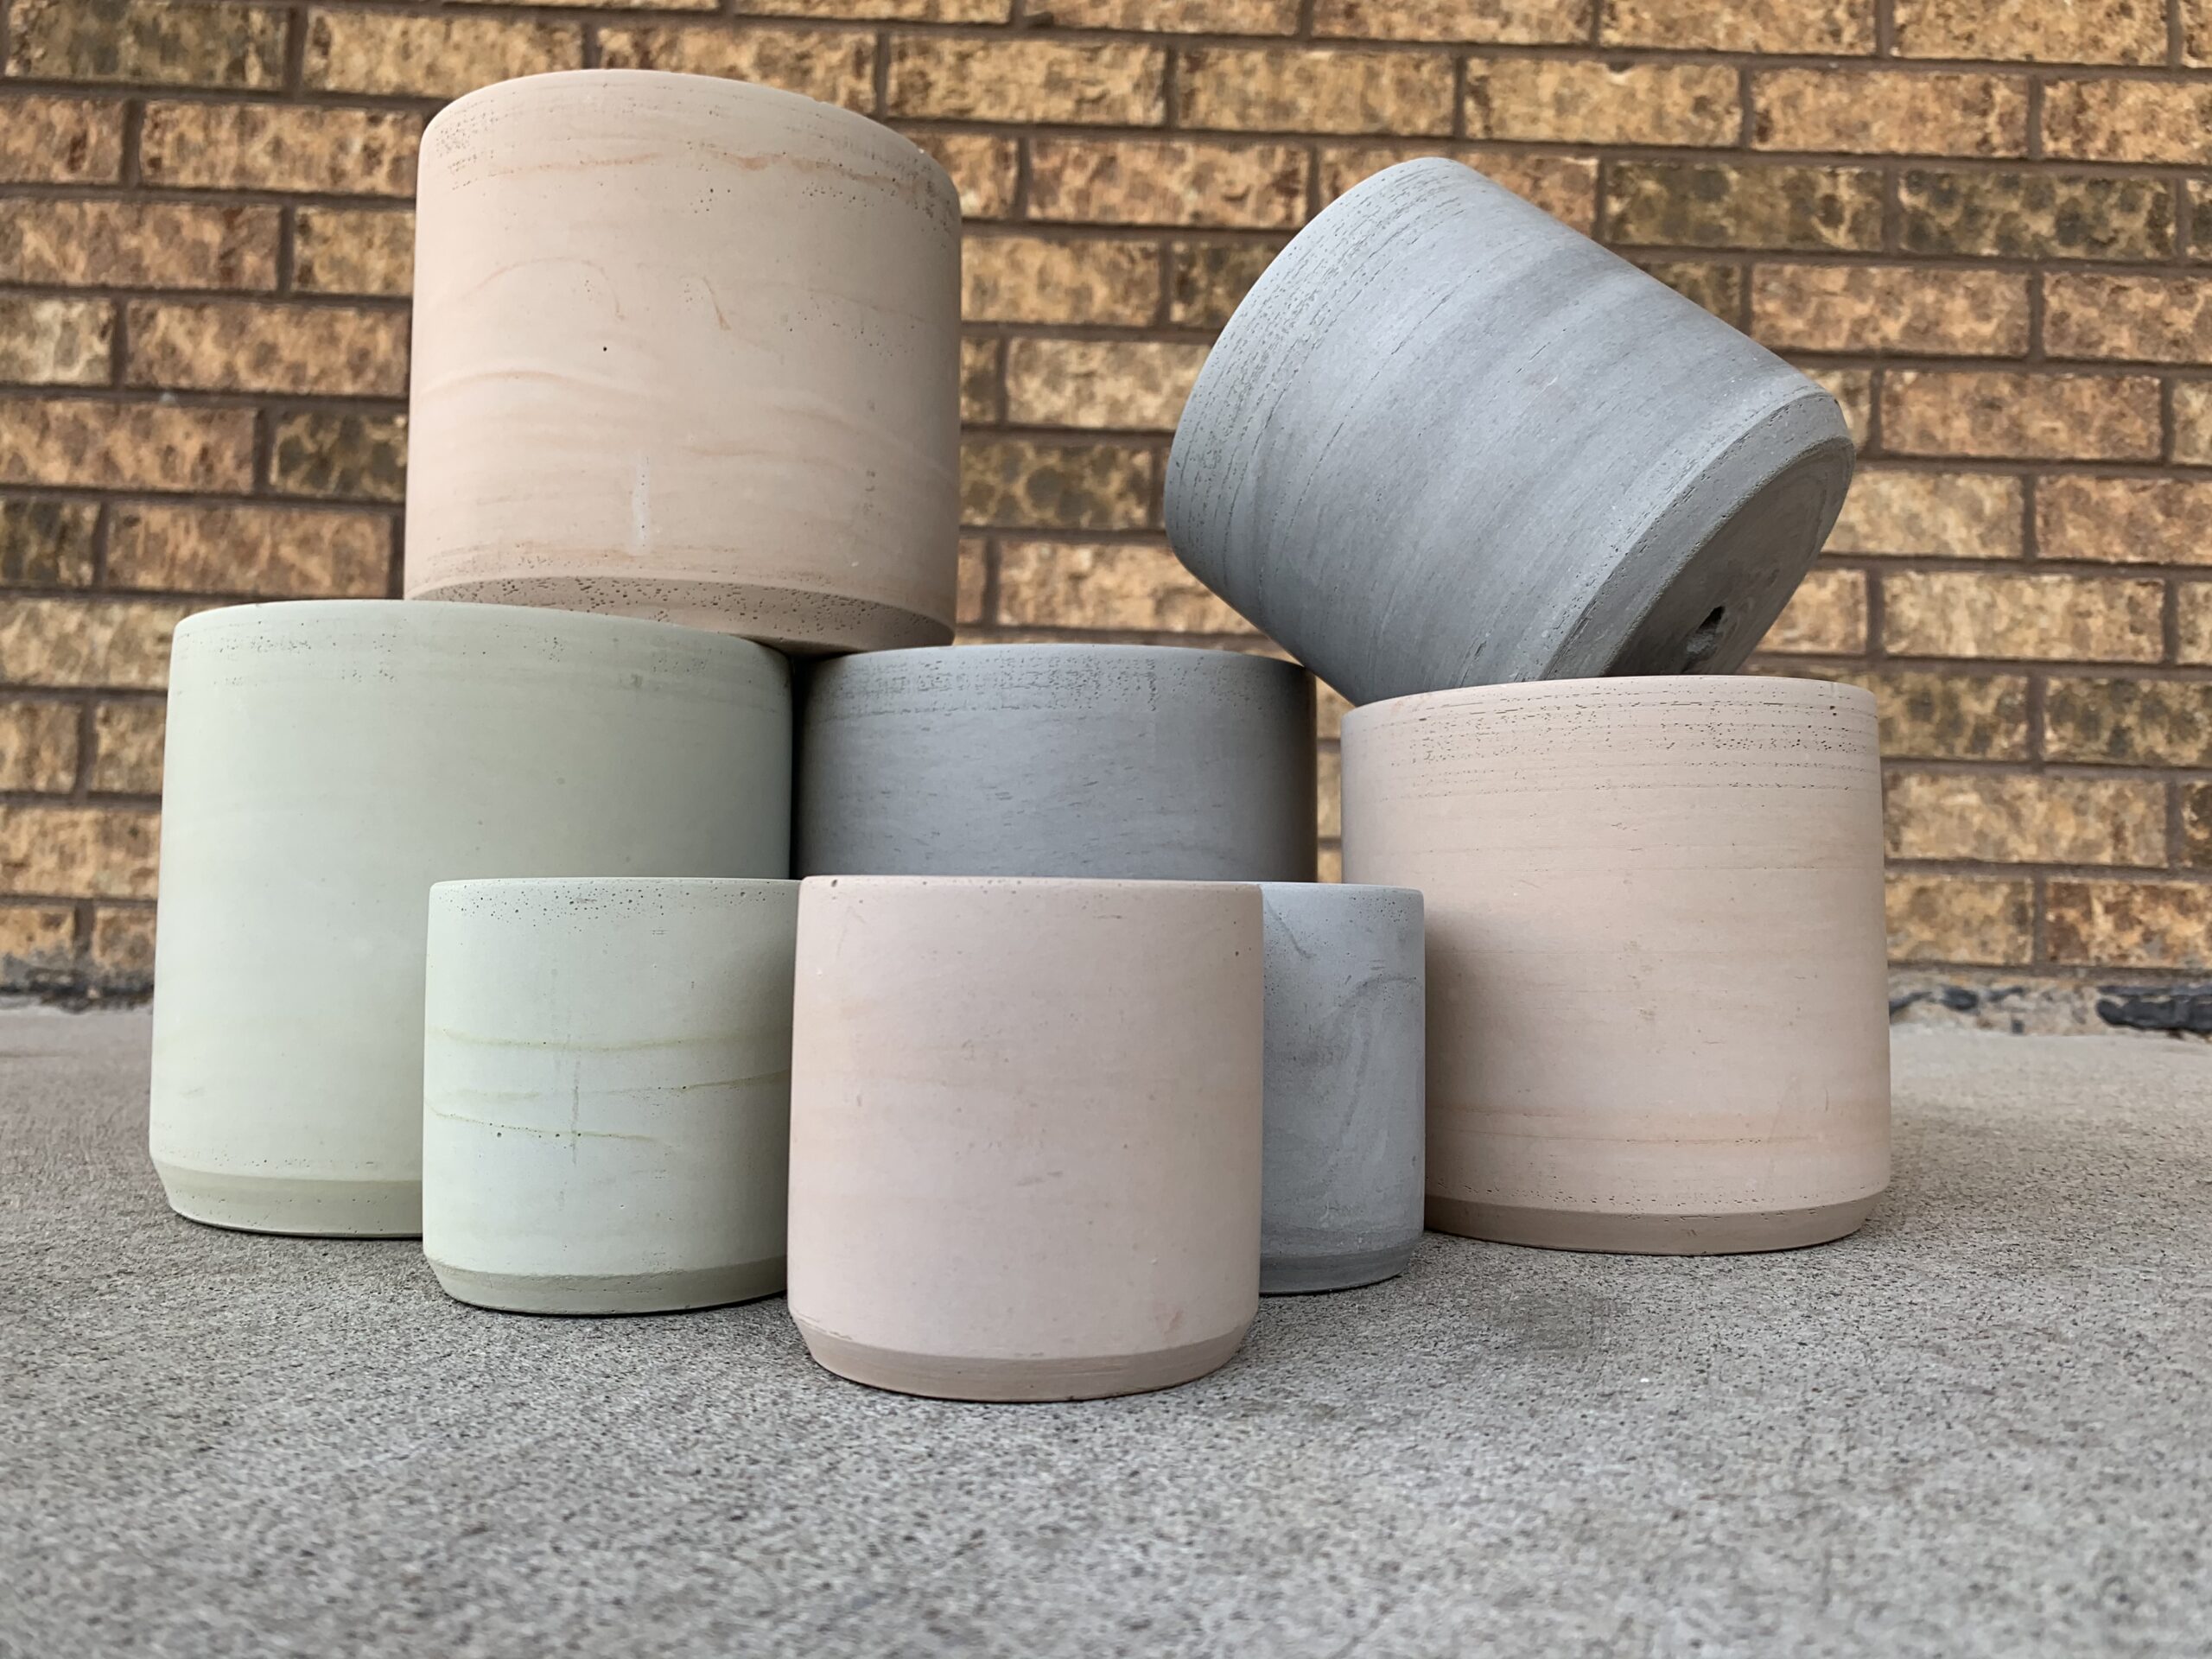
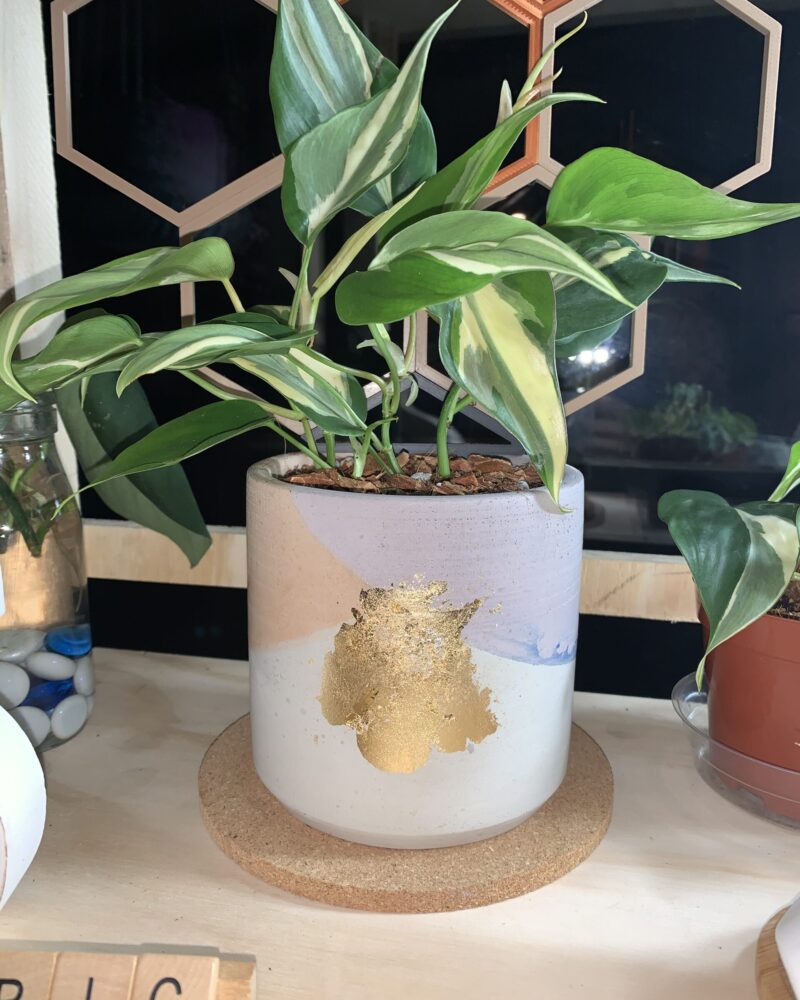
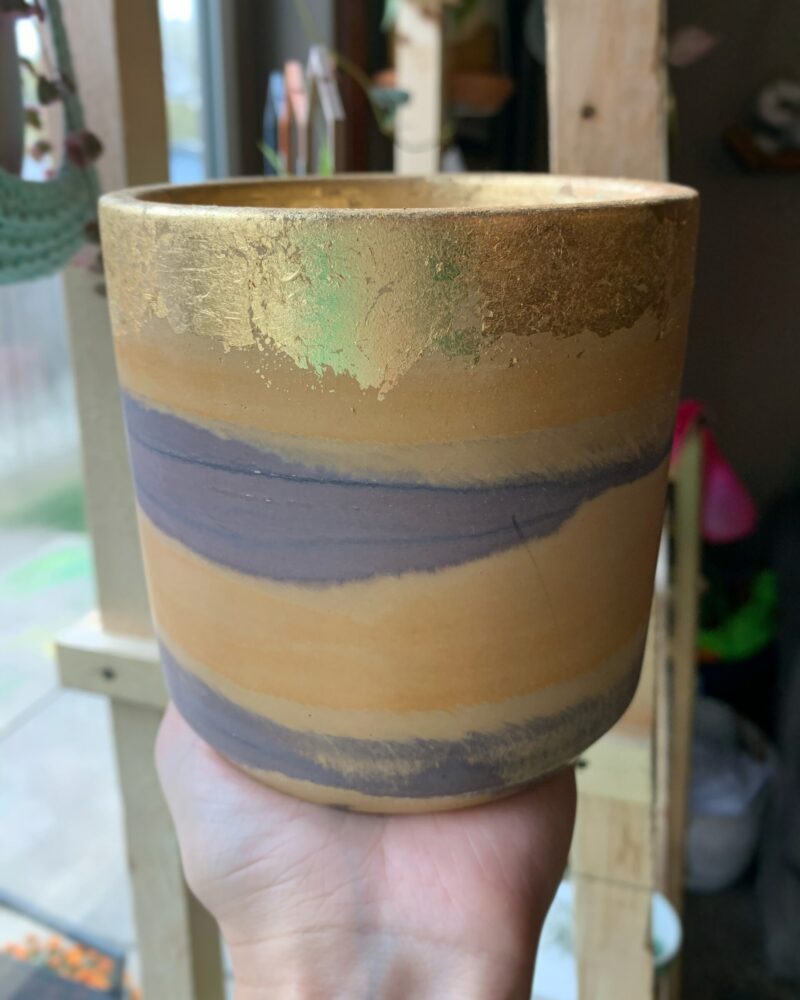
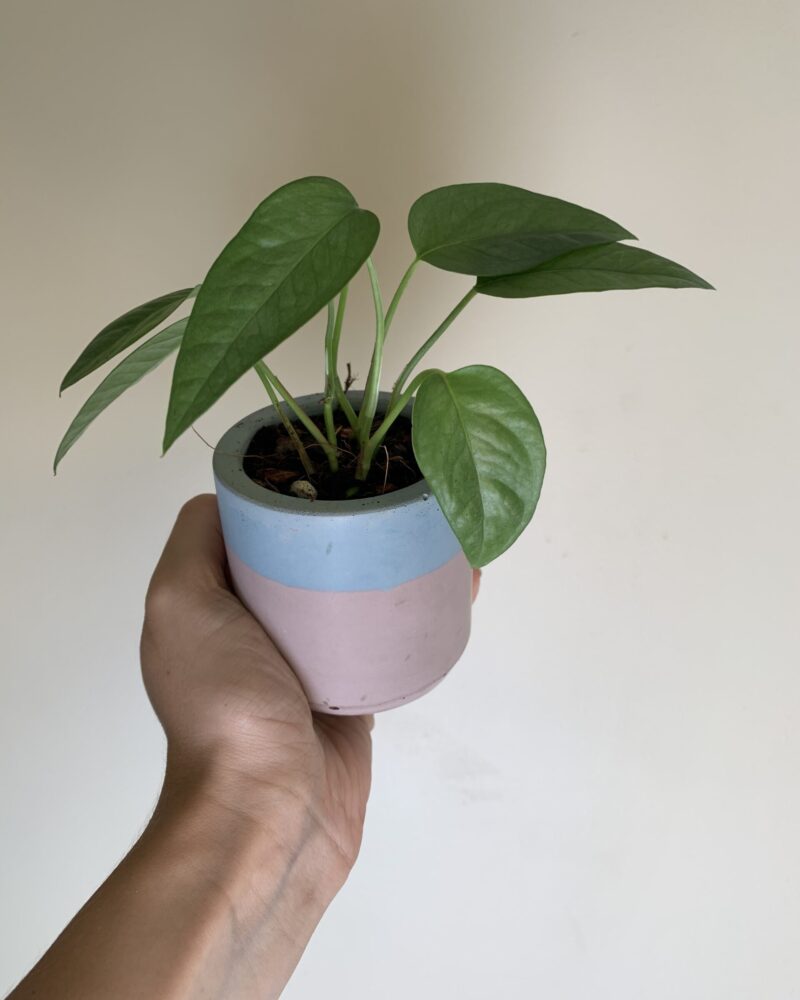
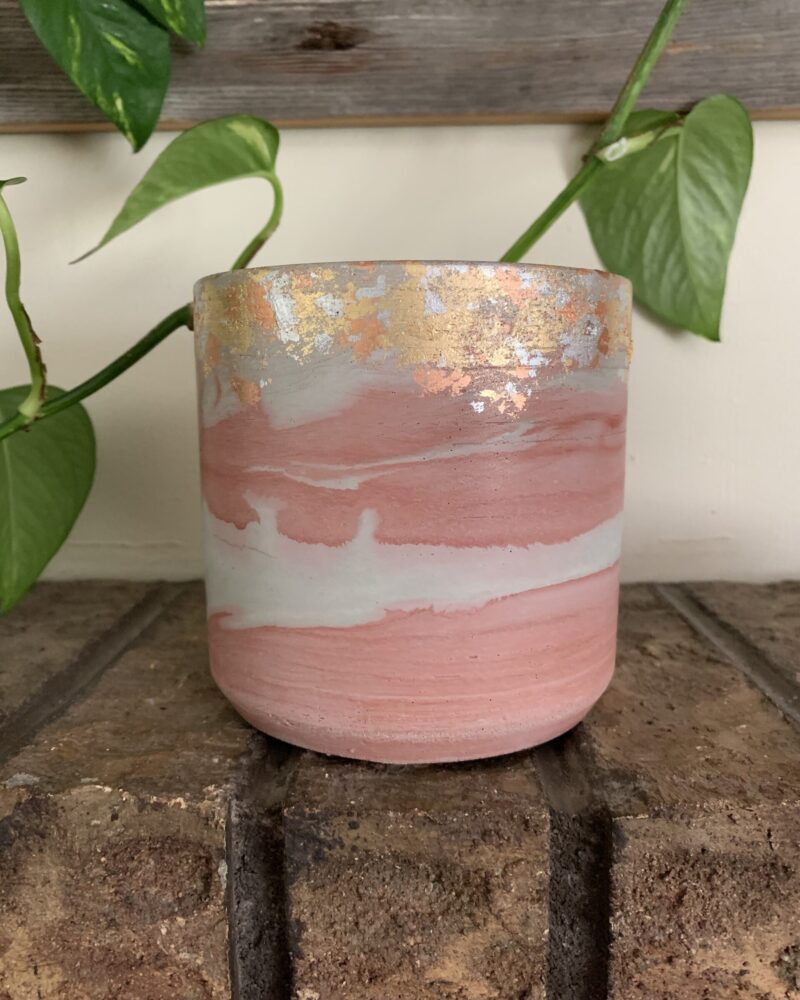
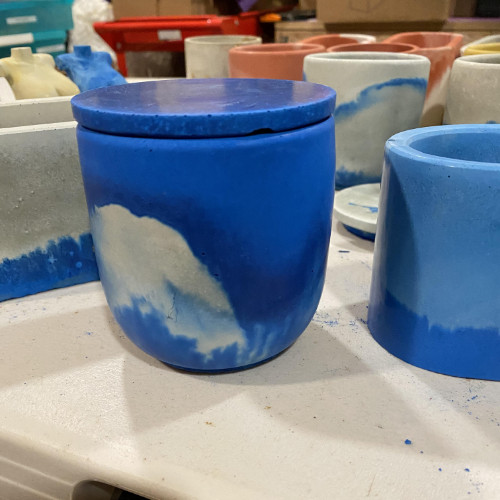
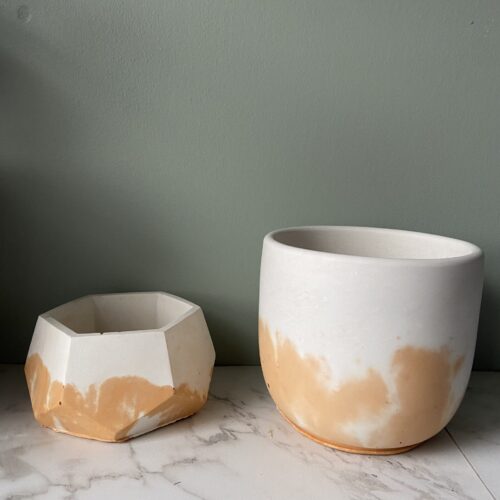
By Elisha Morril – Well Planted Co – TikTok @wellplantedco
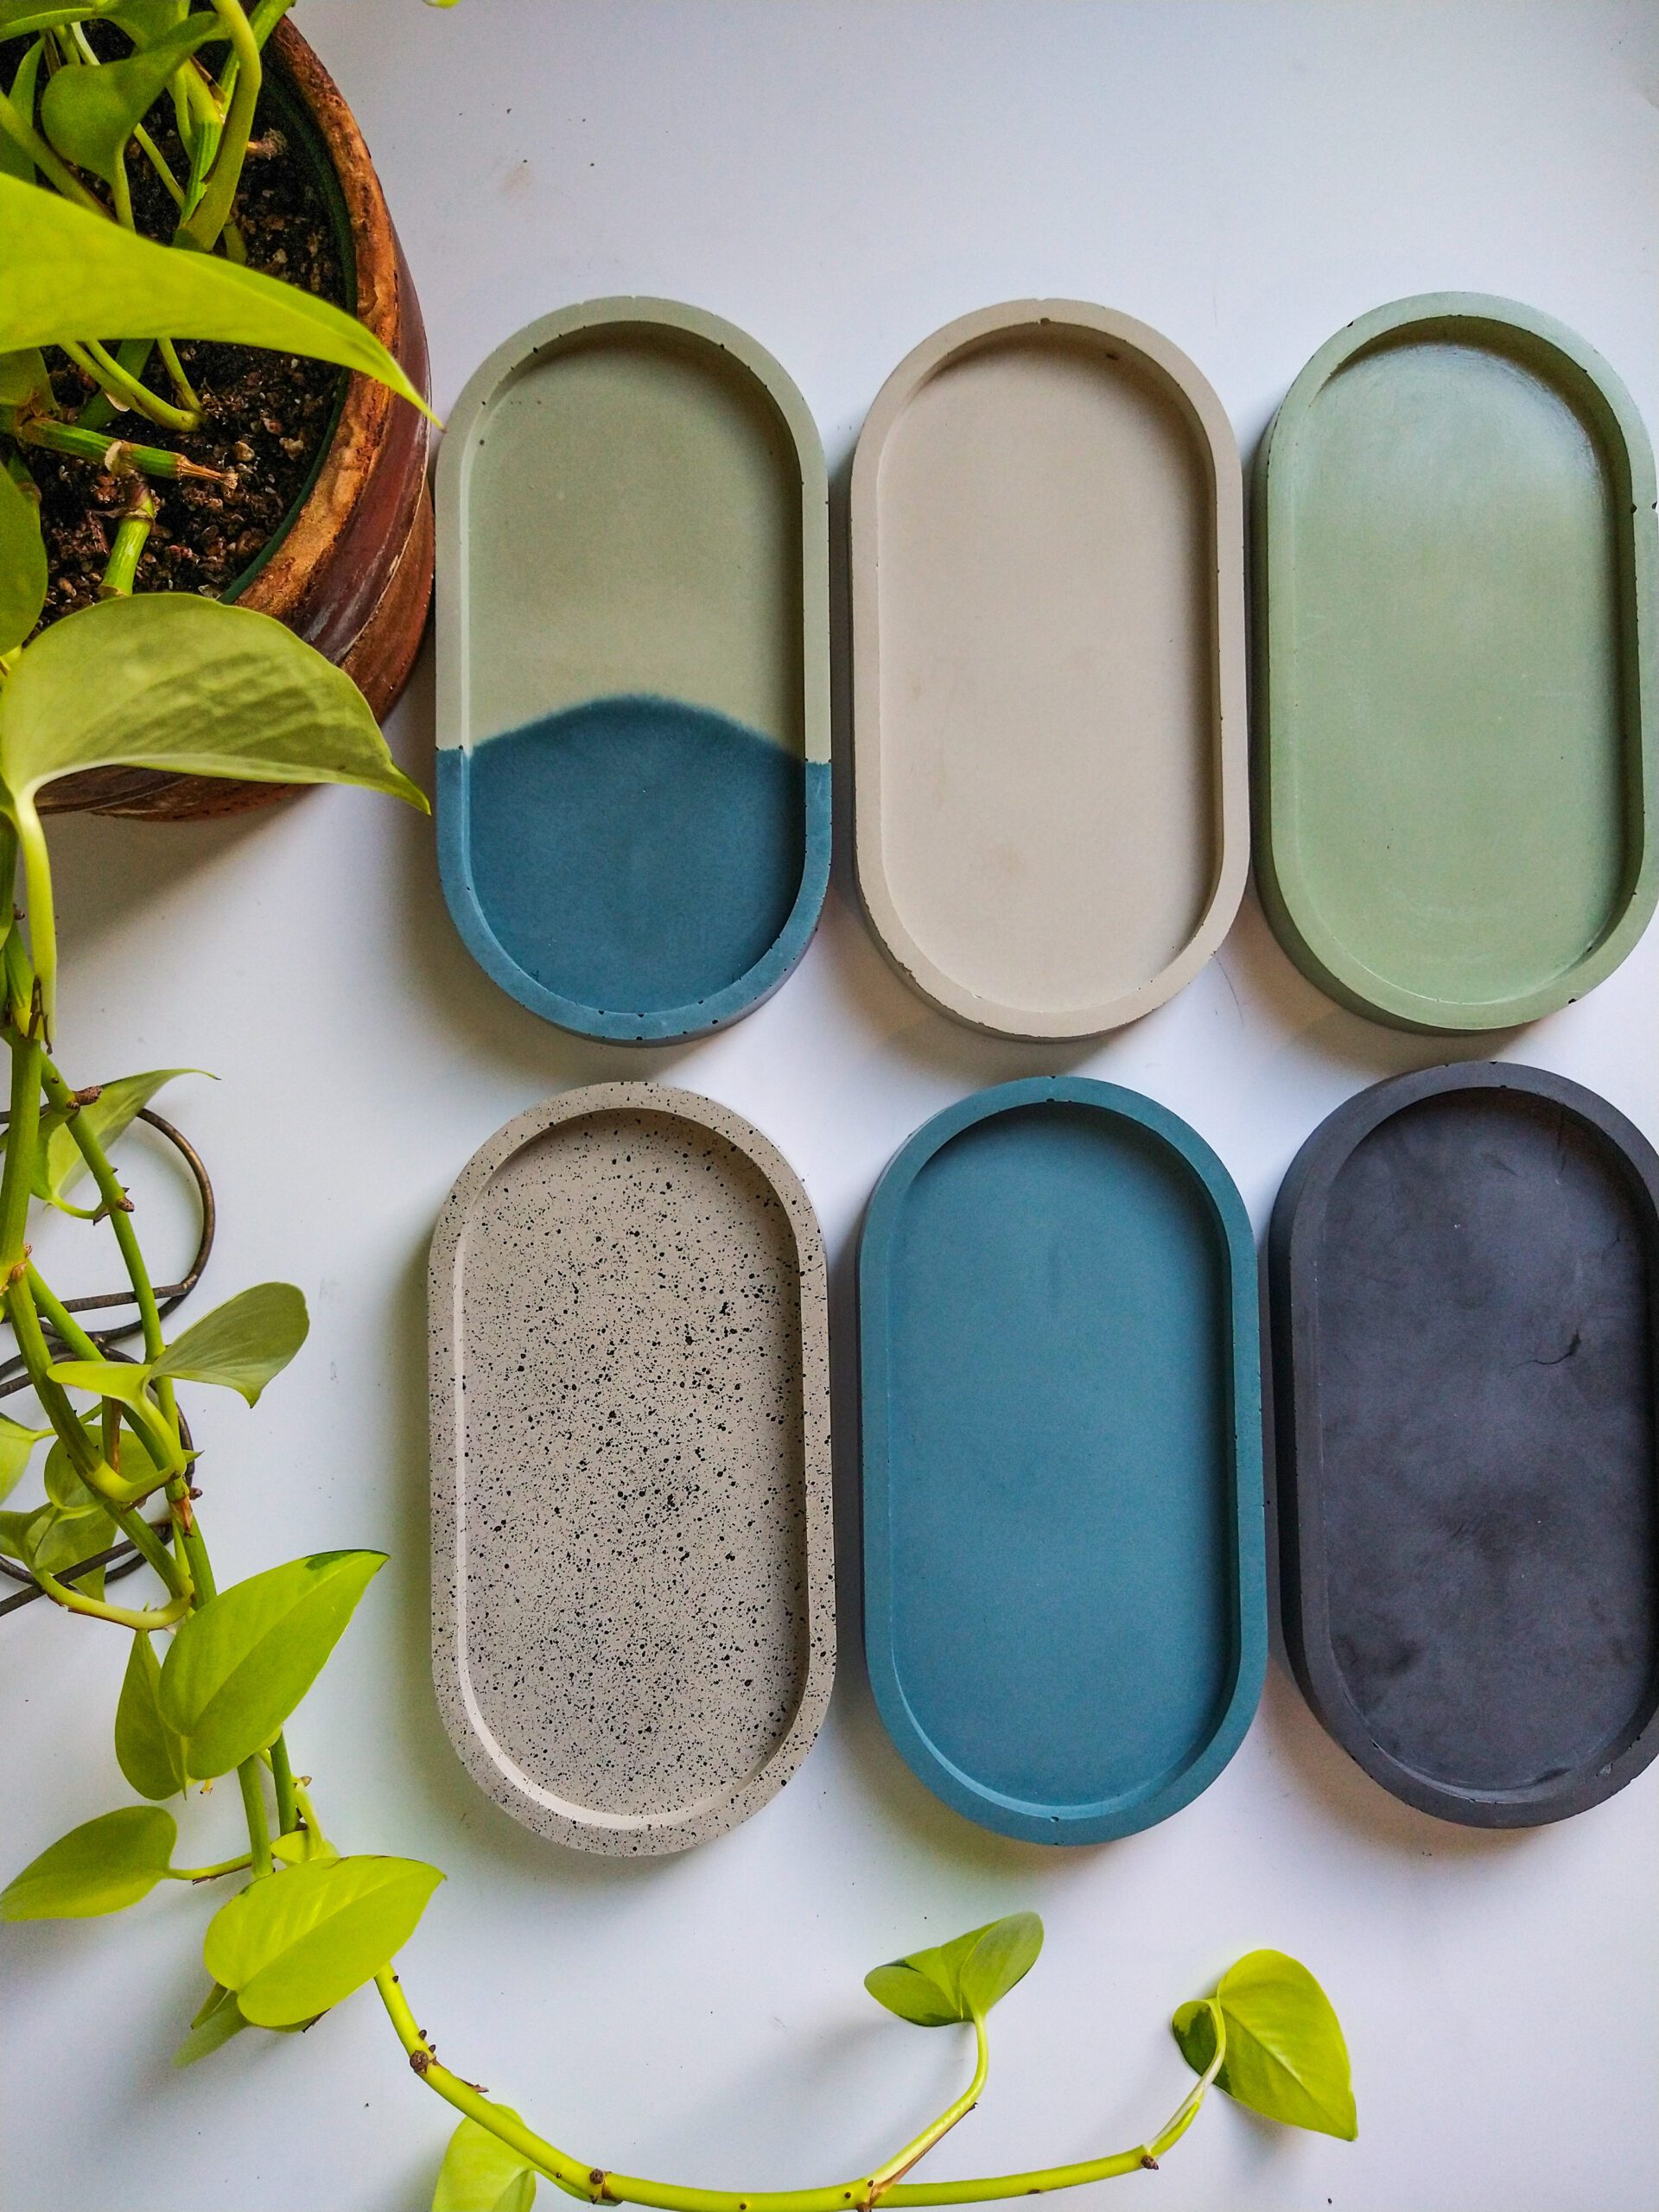
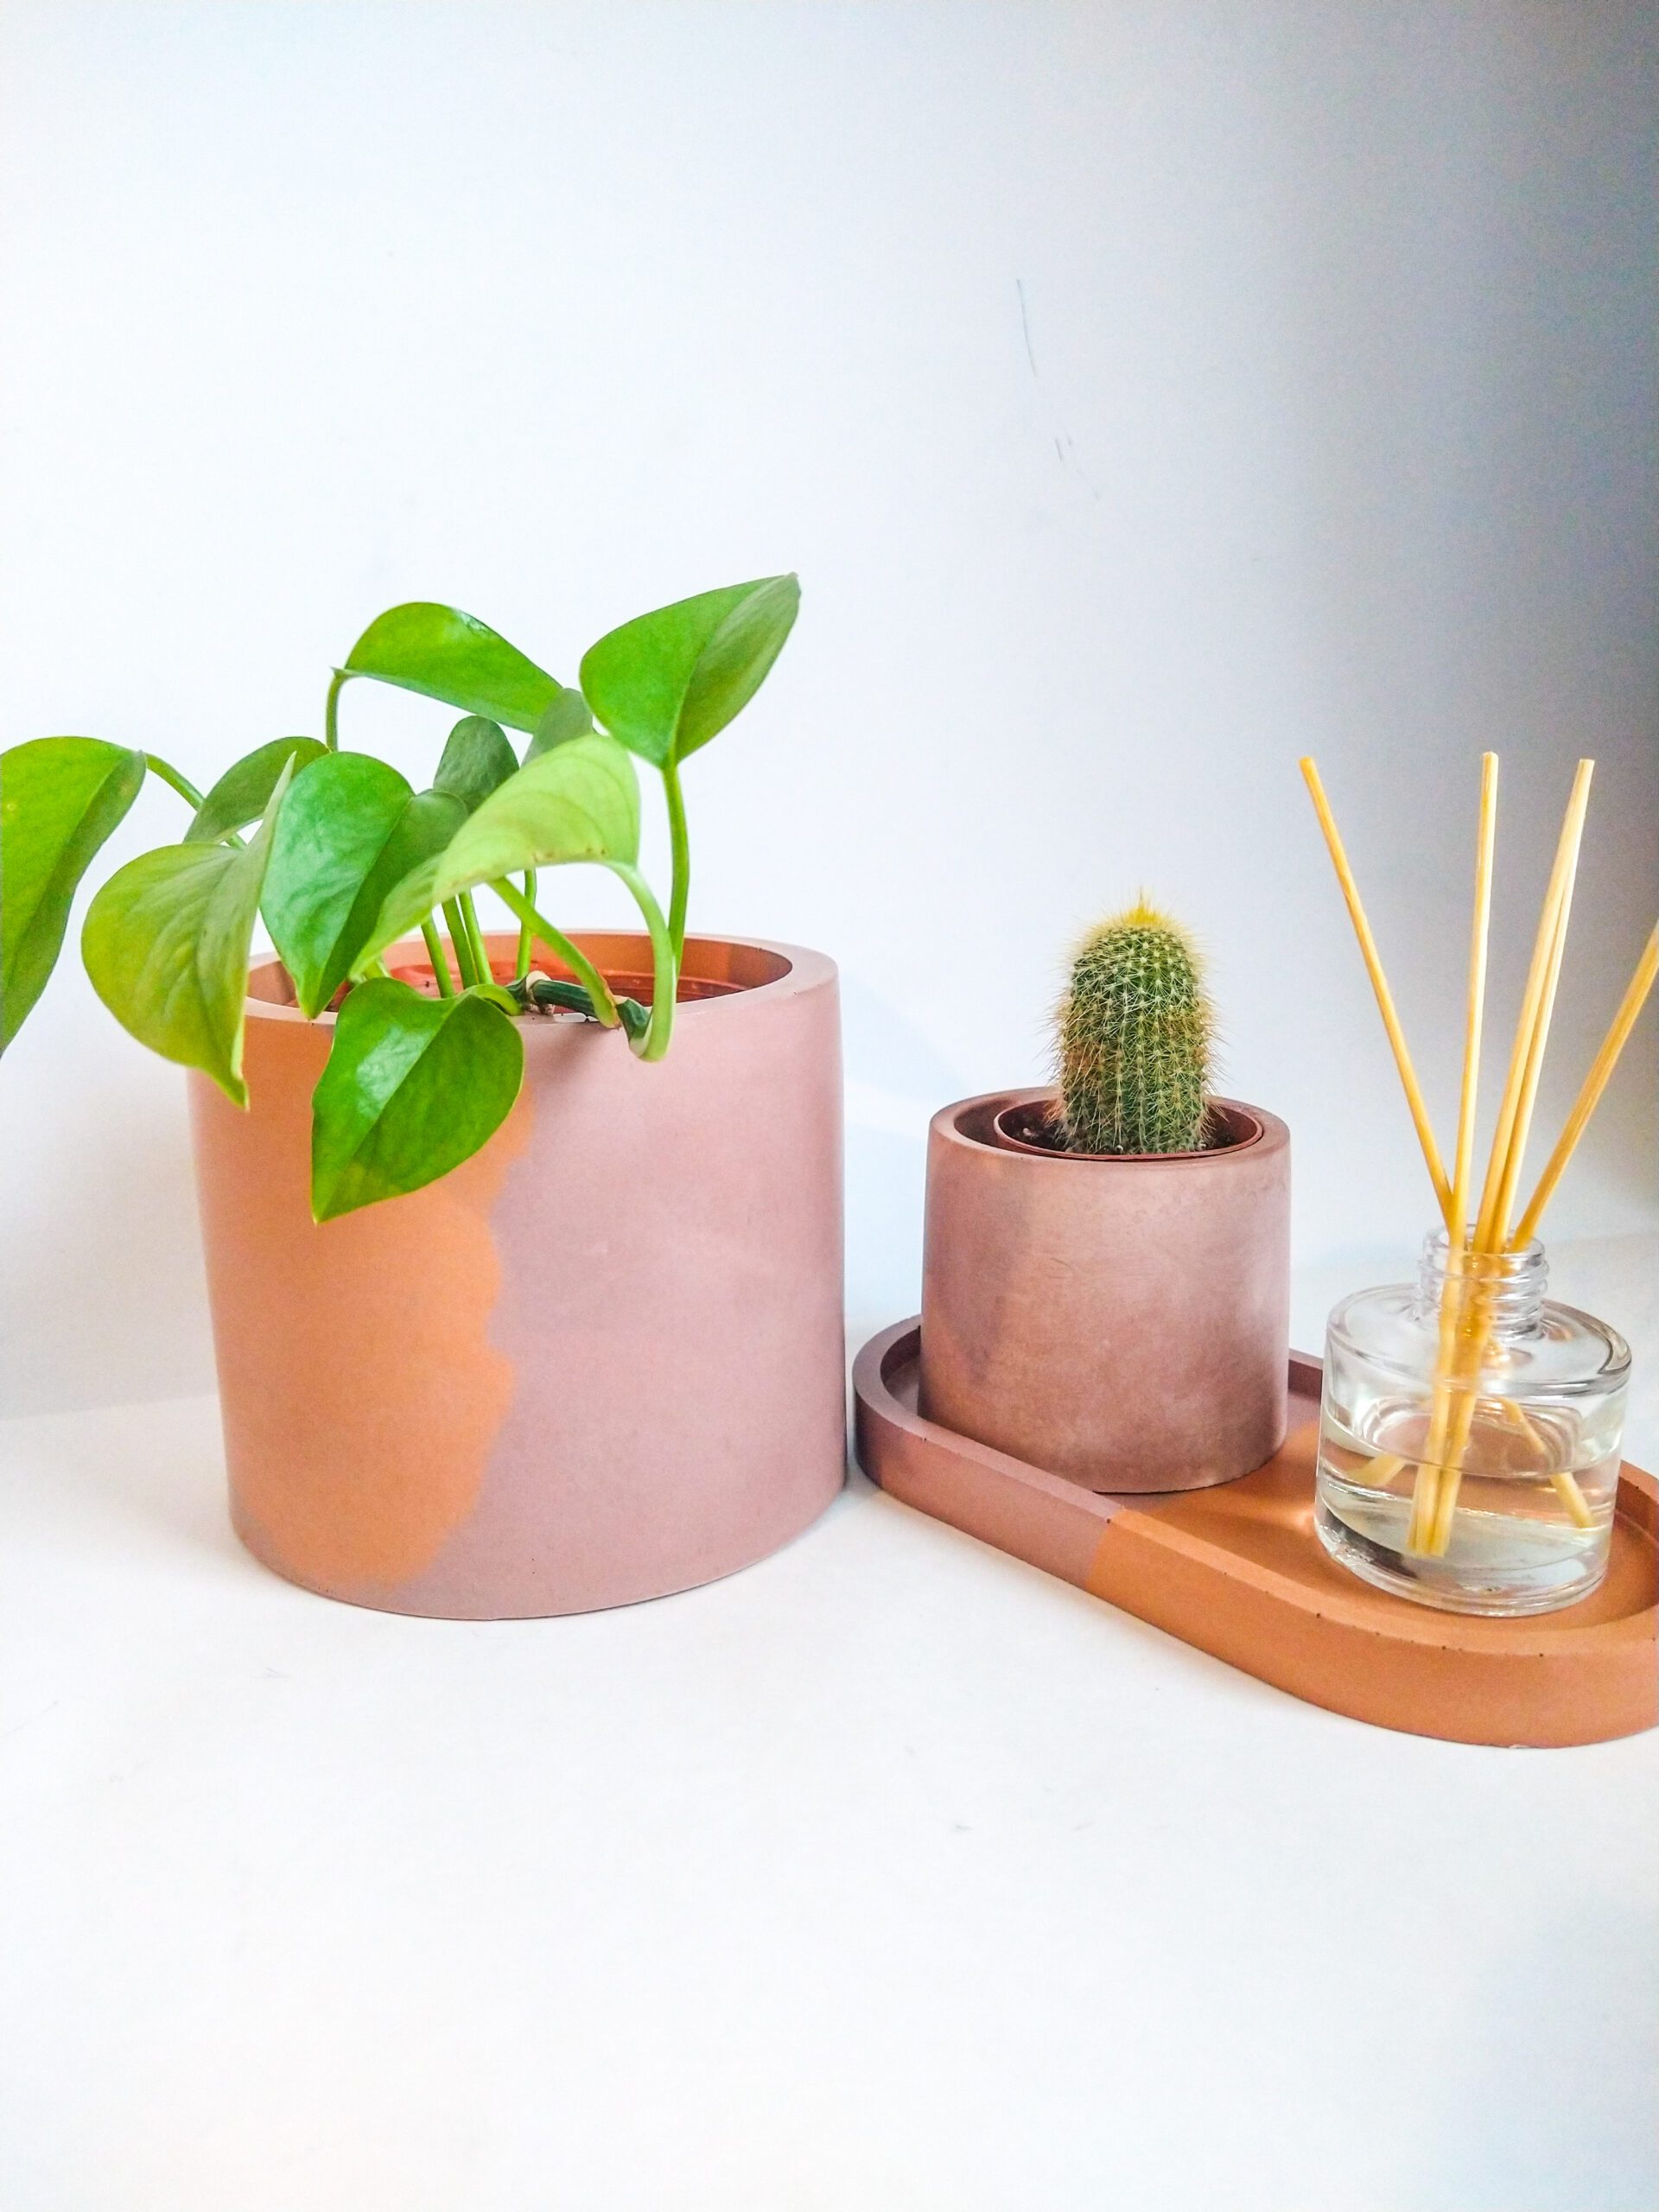
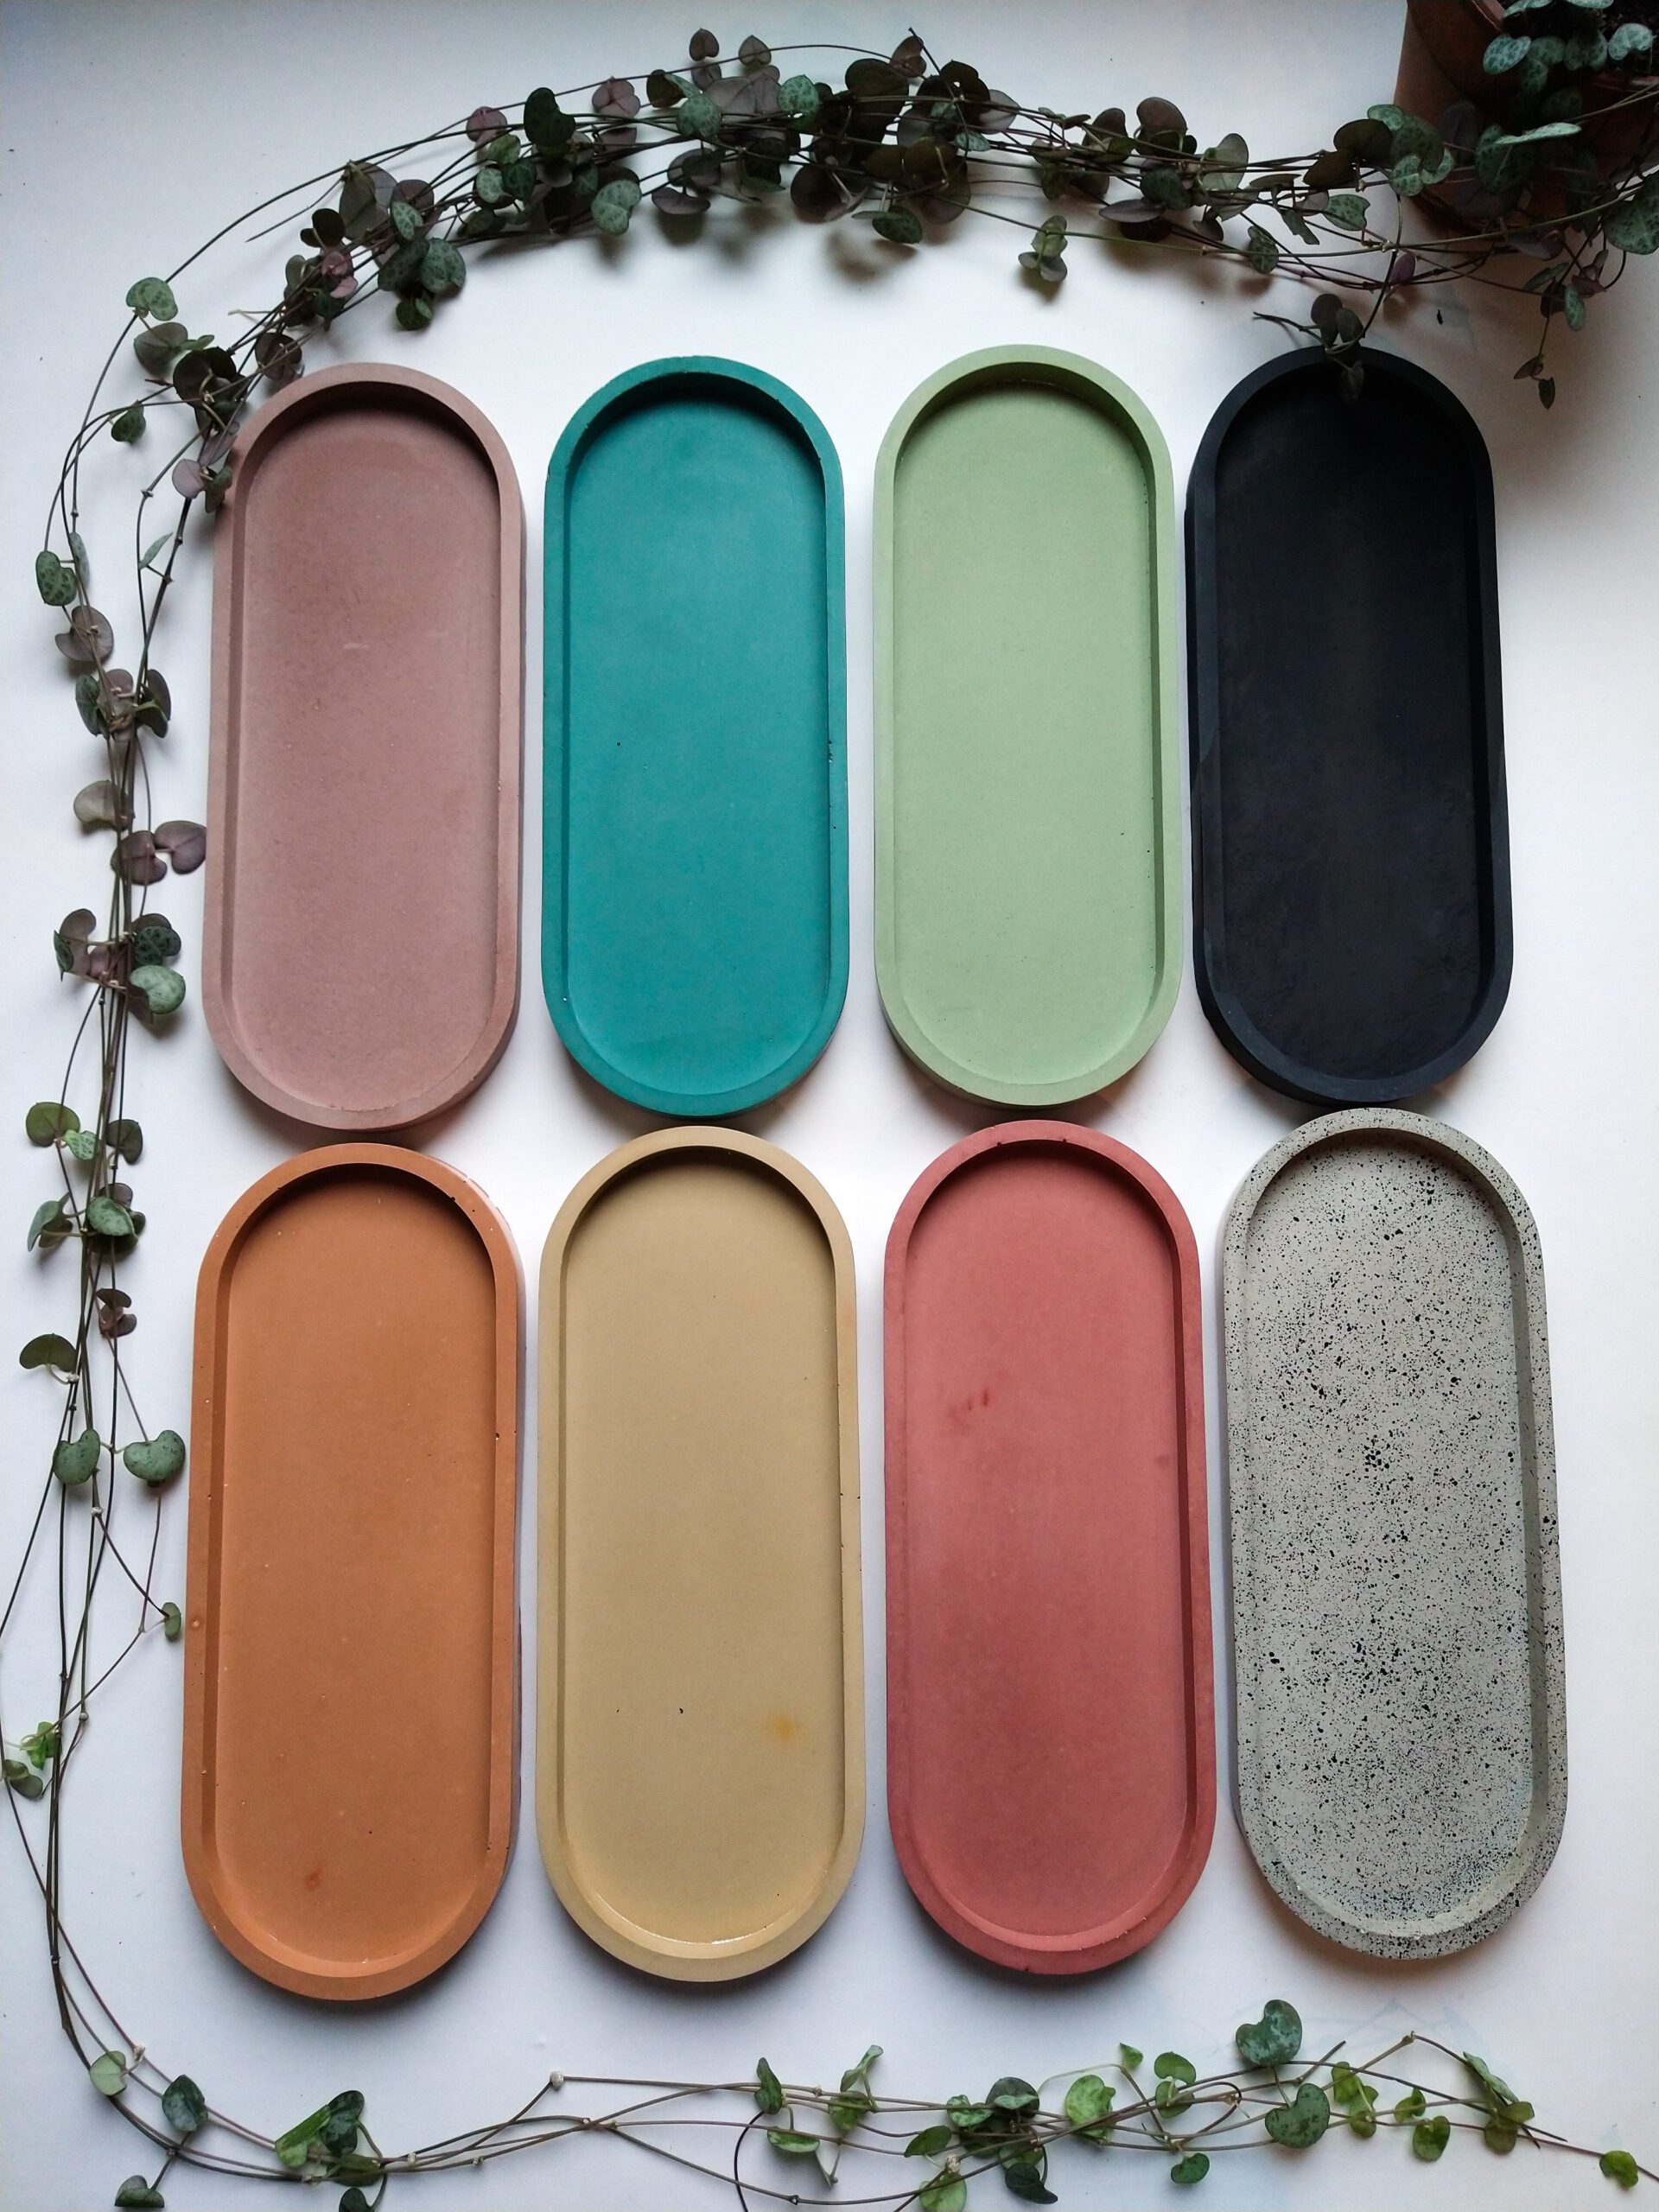
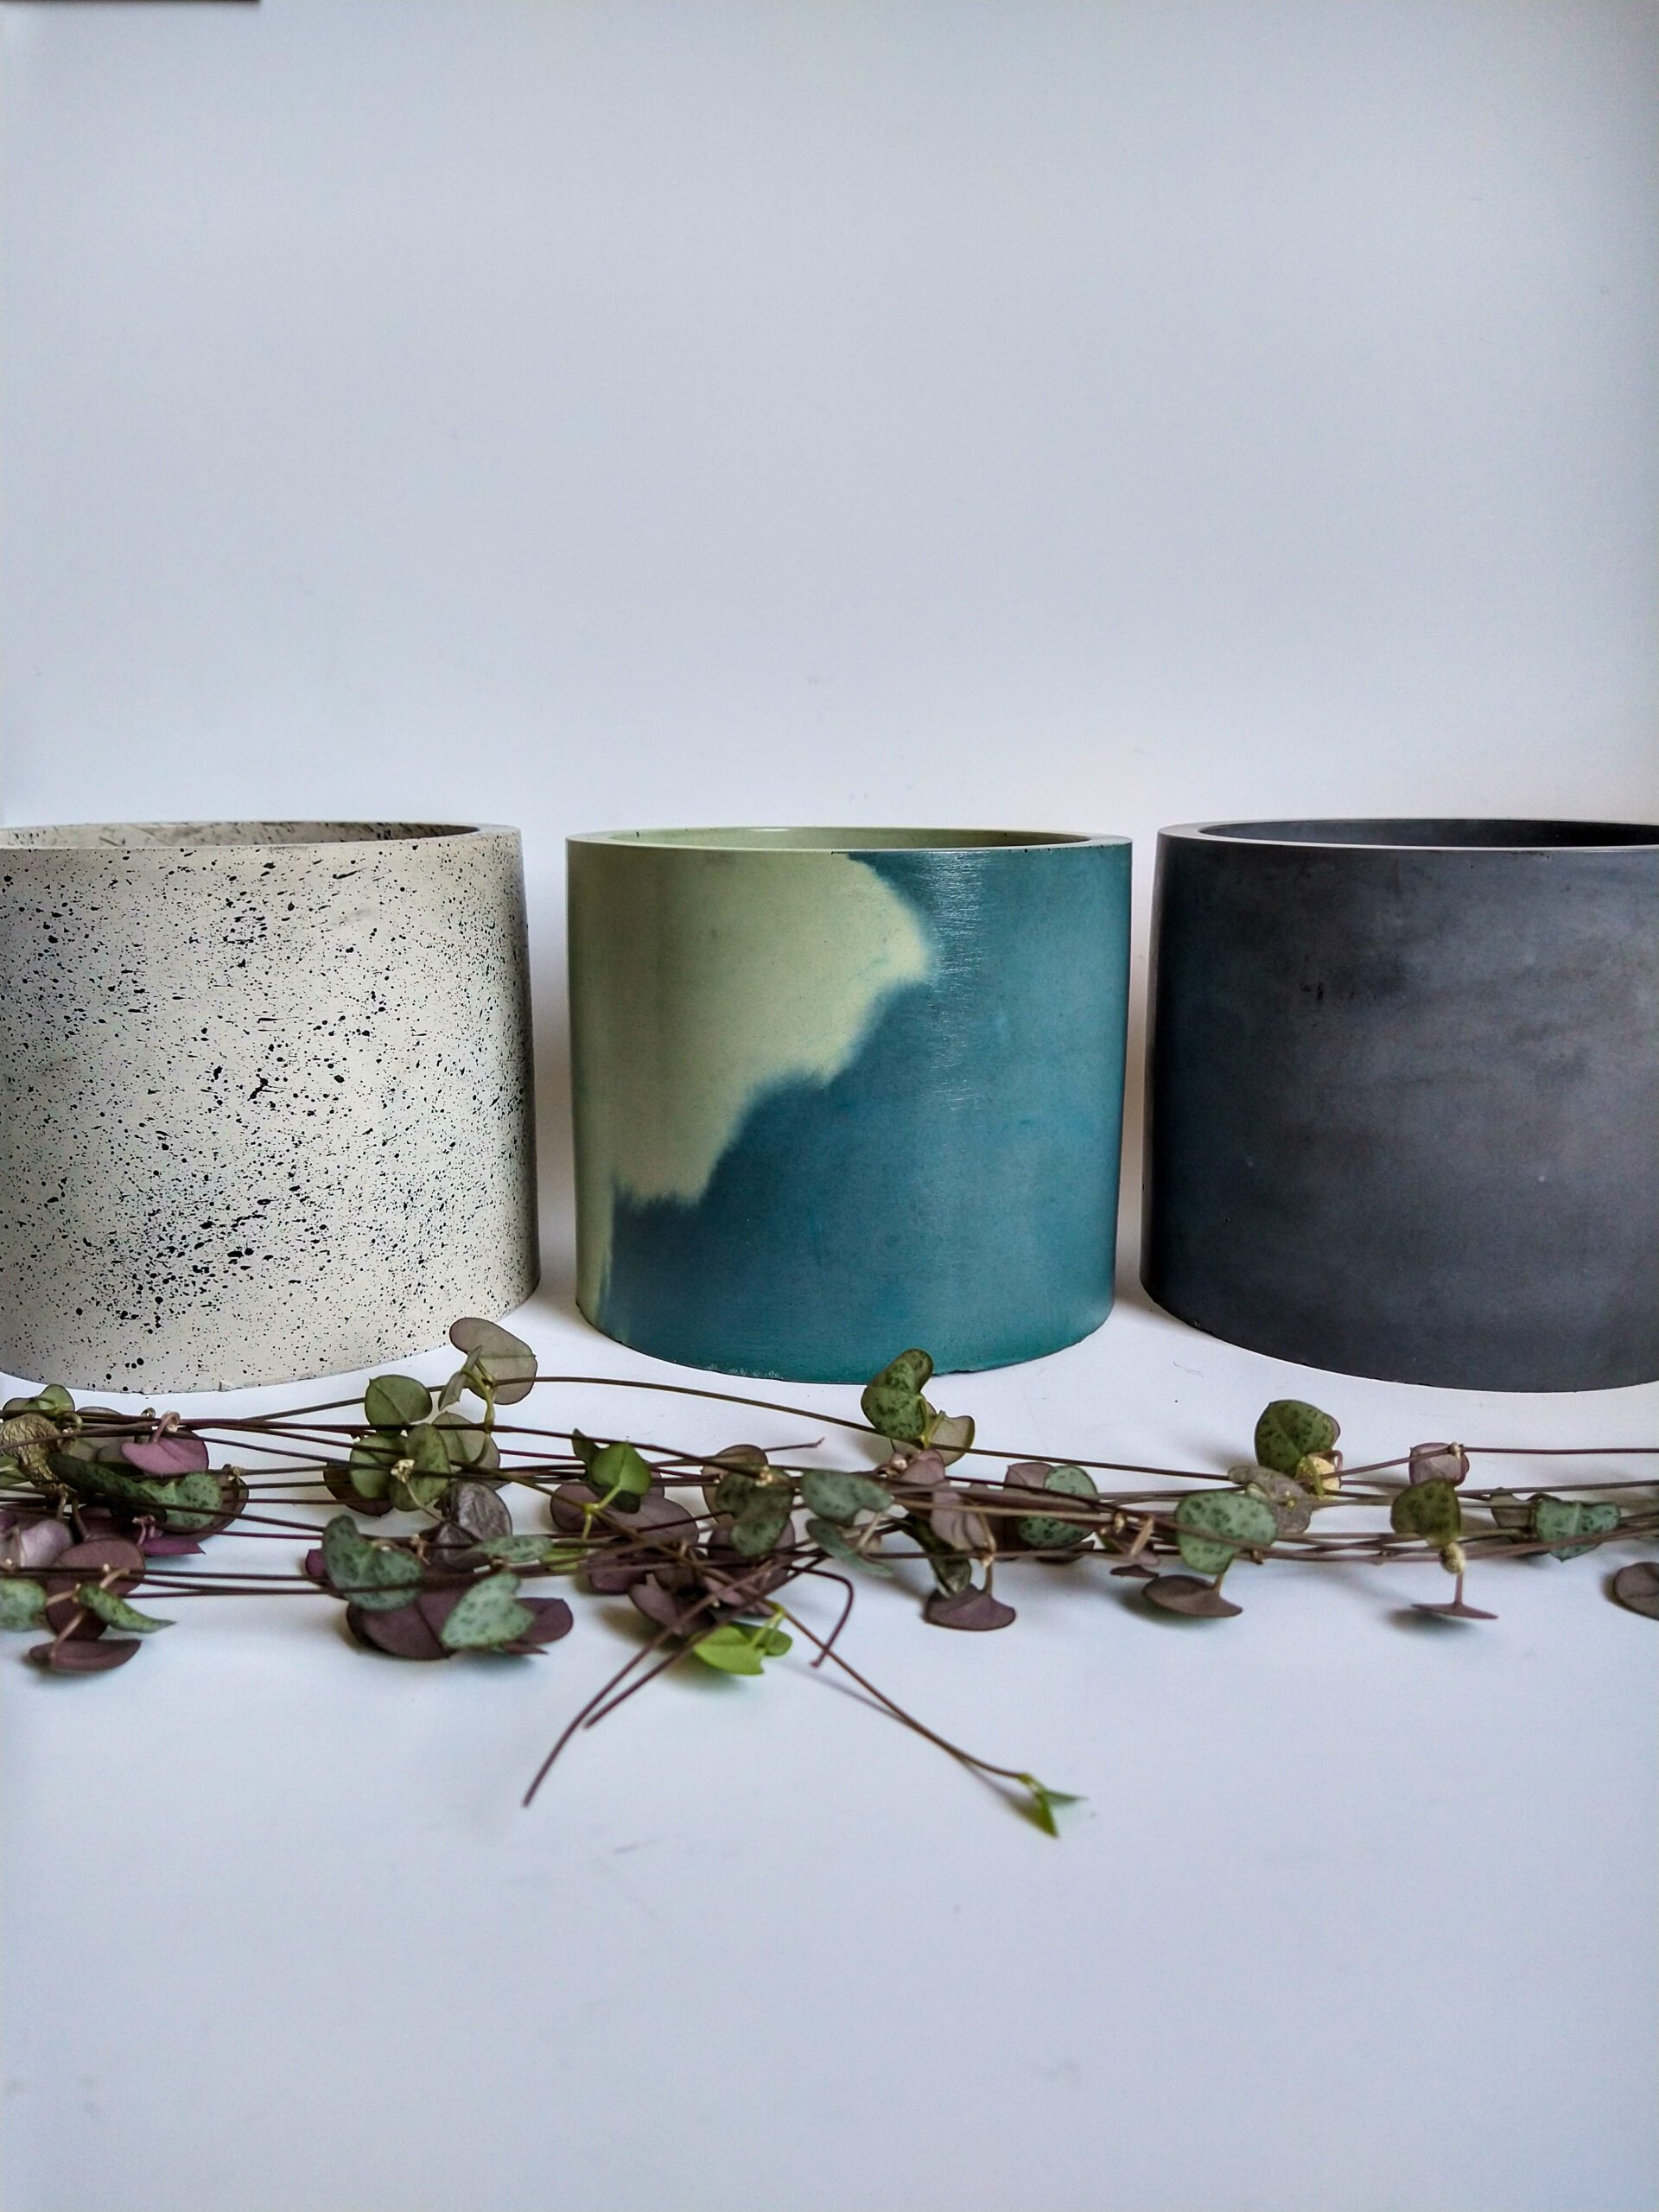
Project Info:
- Project Completed In: 4 day(s)
- Estimate of Square Footage: 25 sq. ft.
- Project Description:
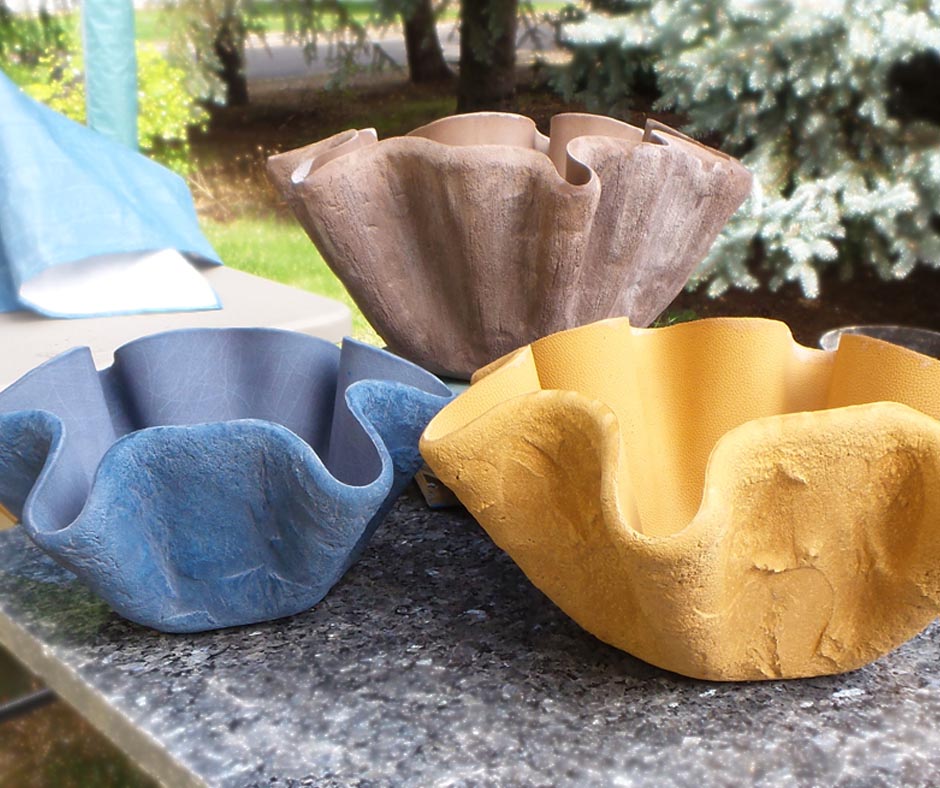
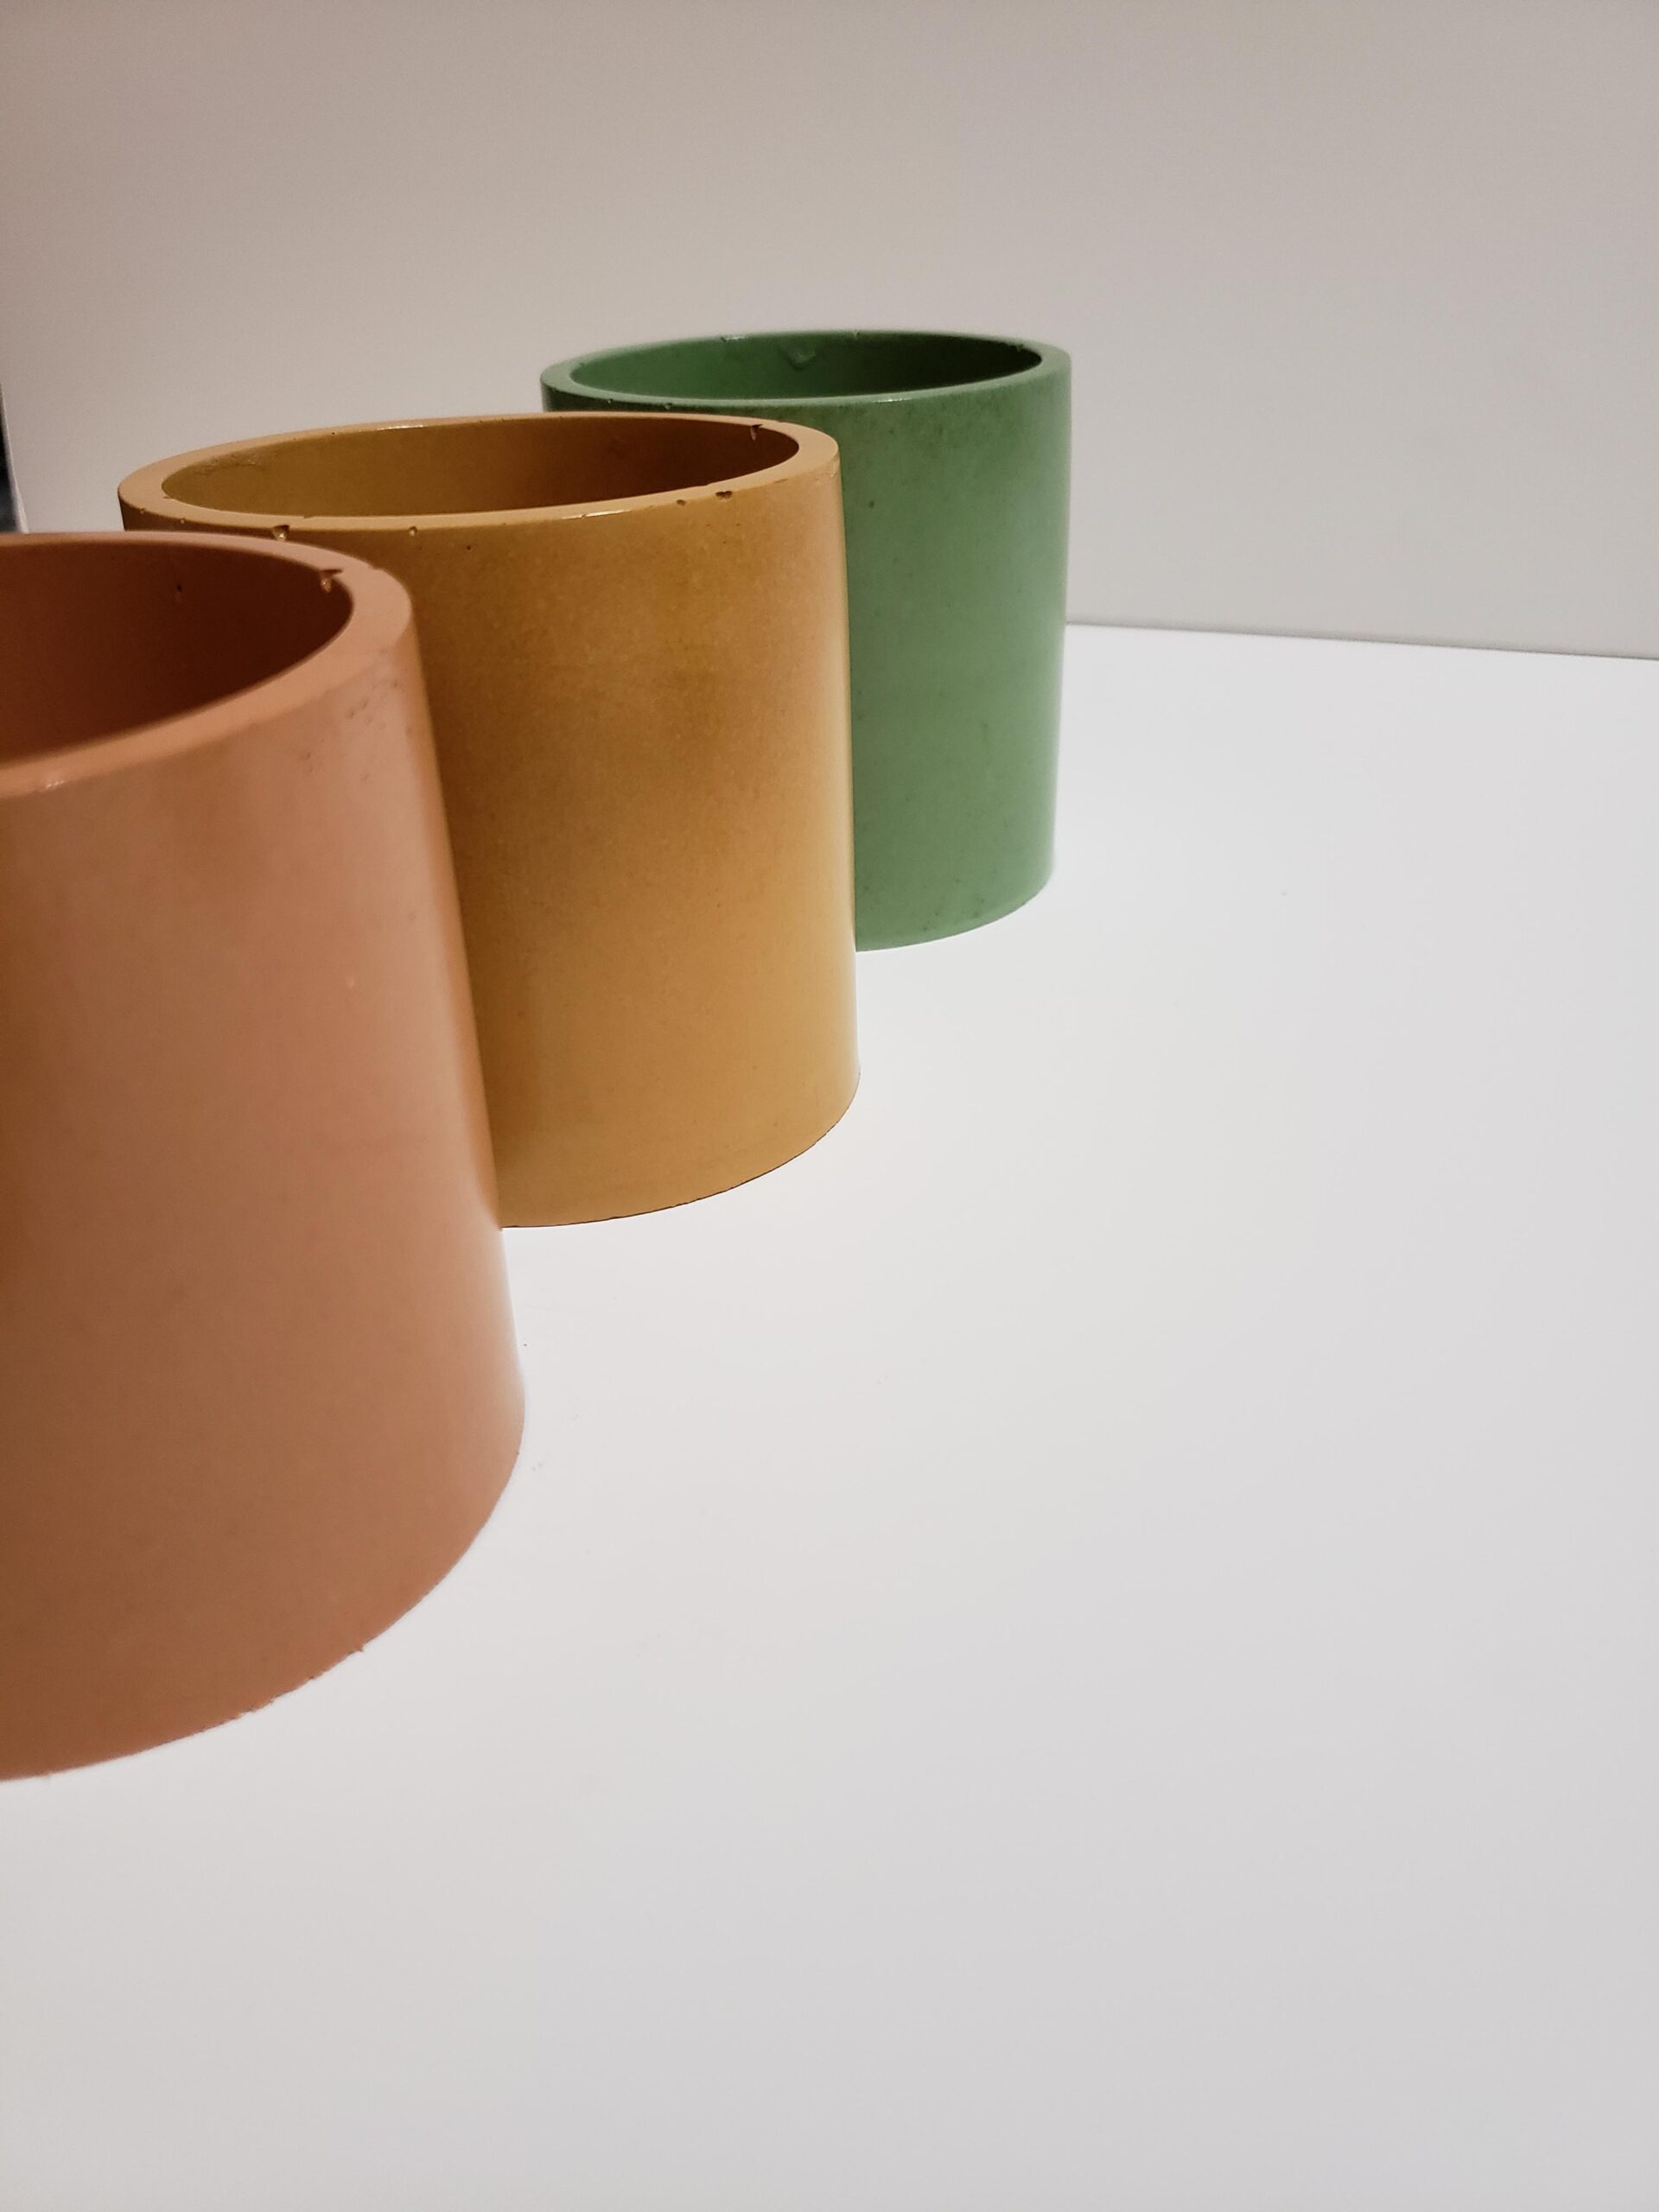
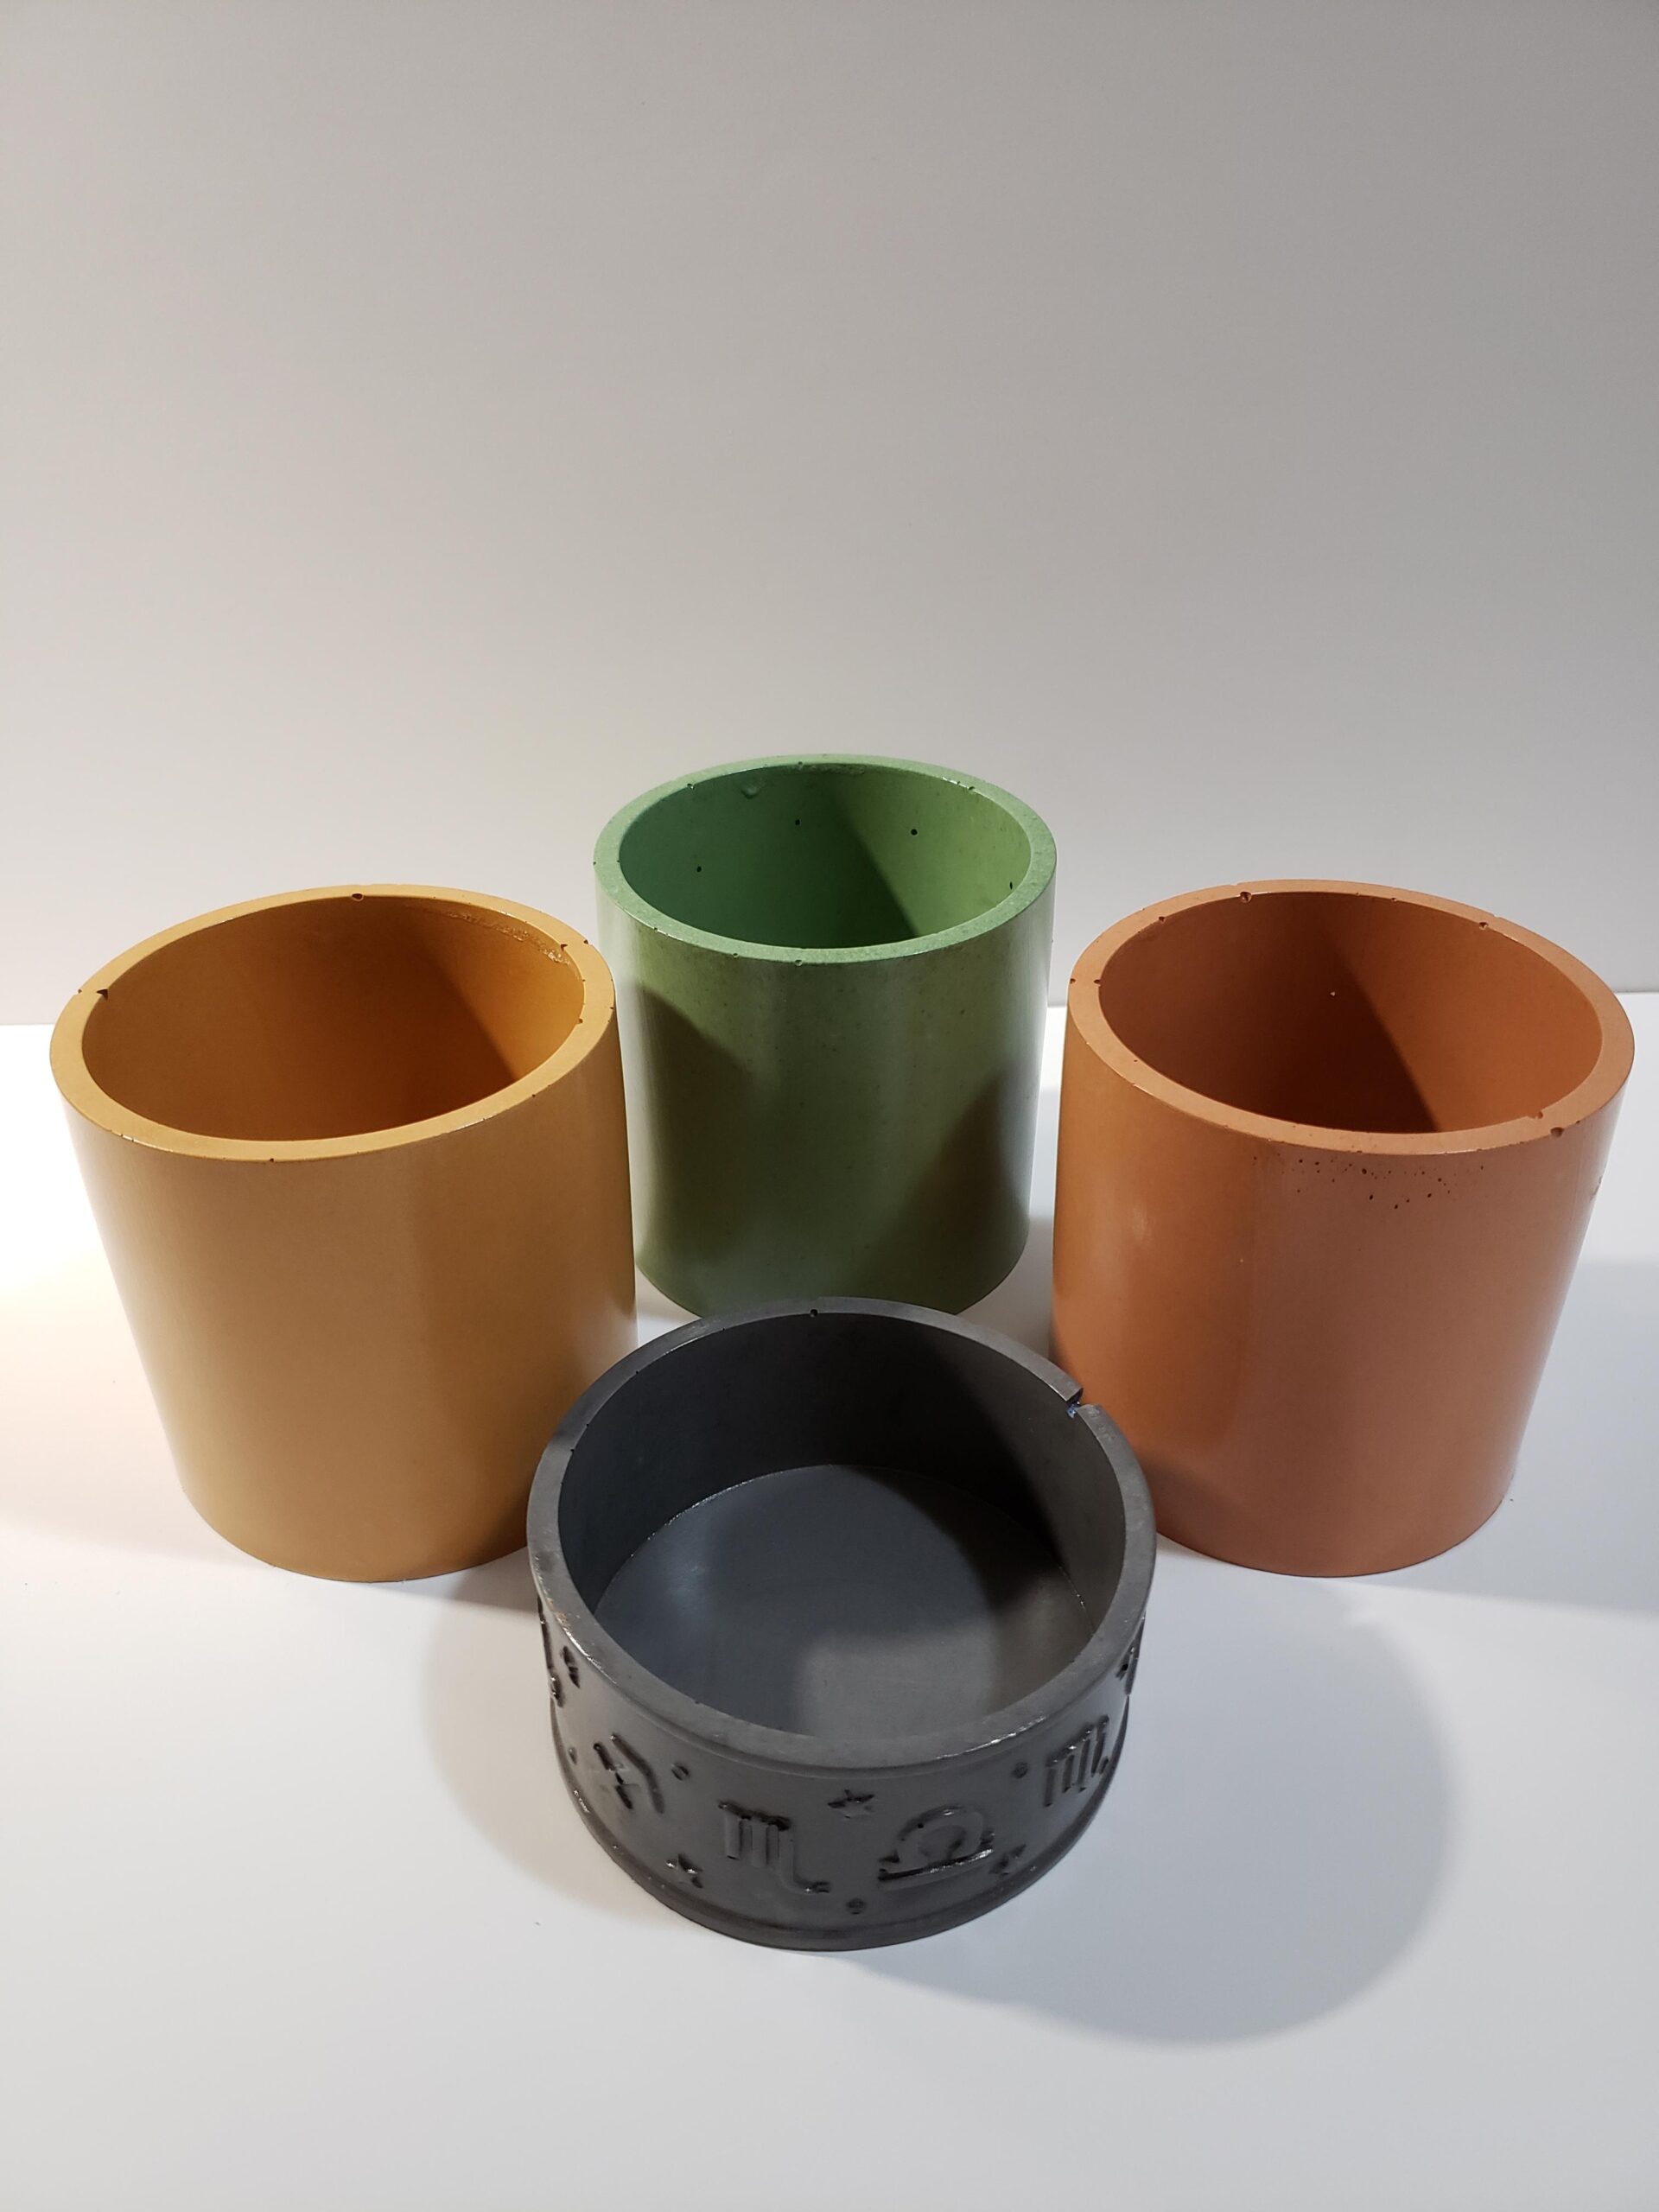
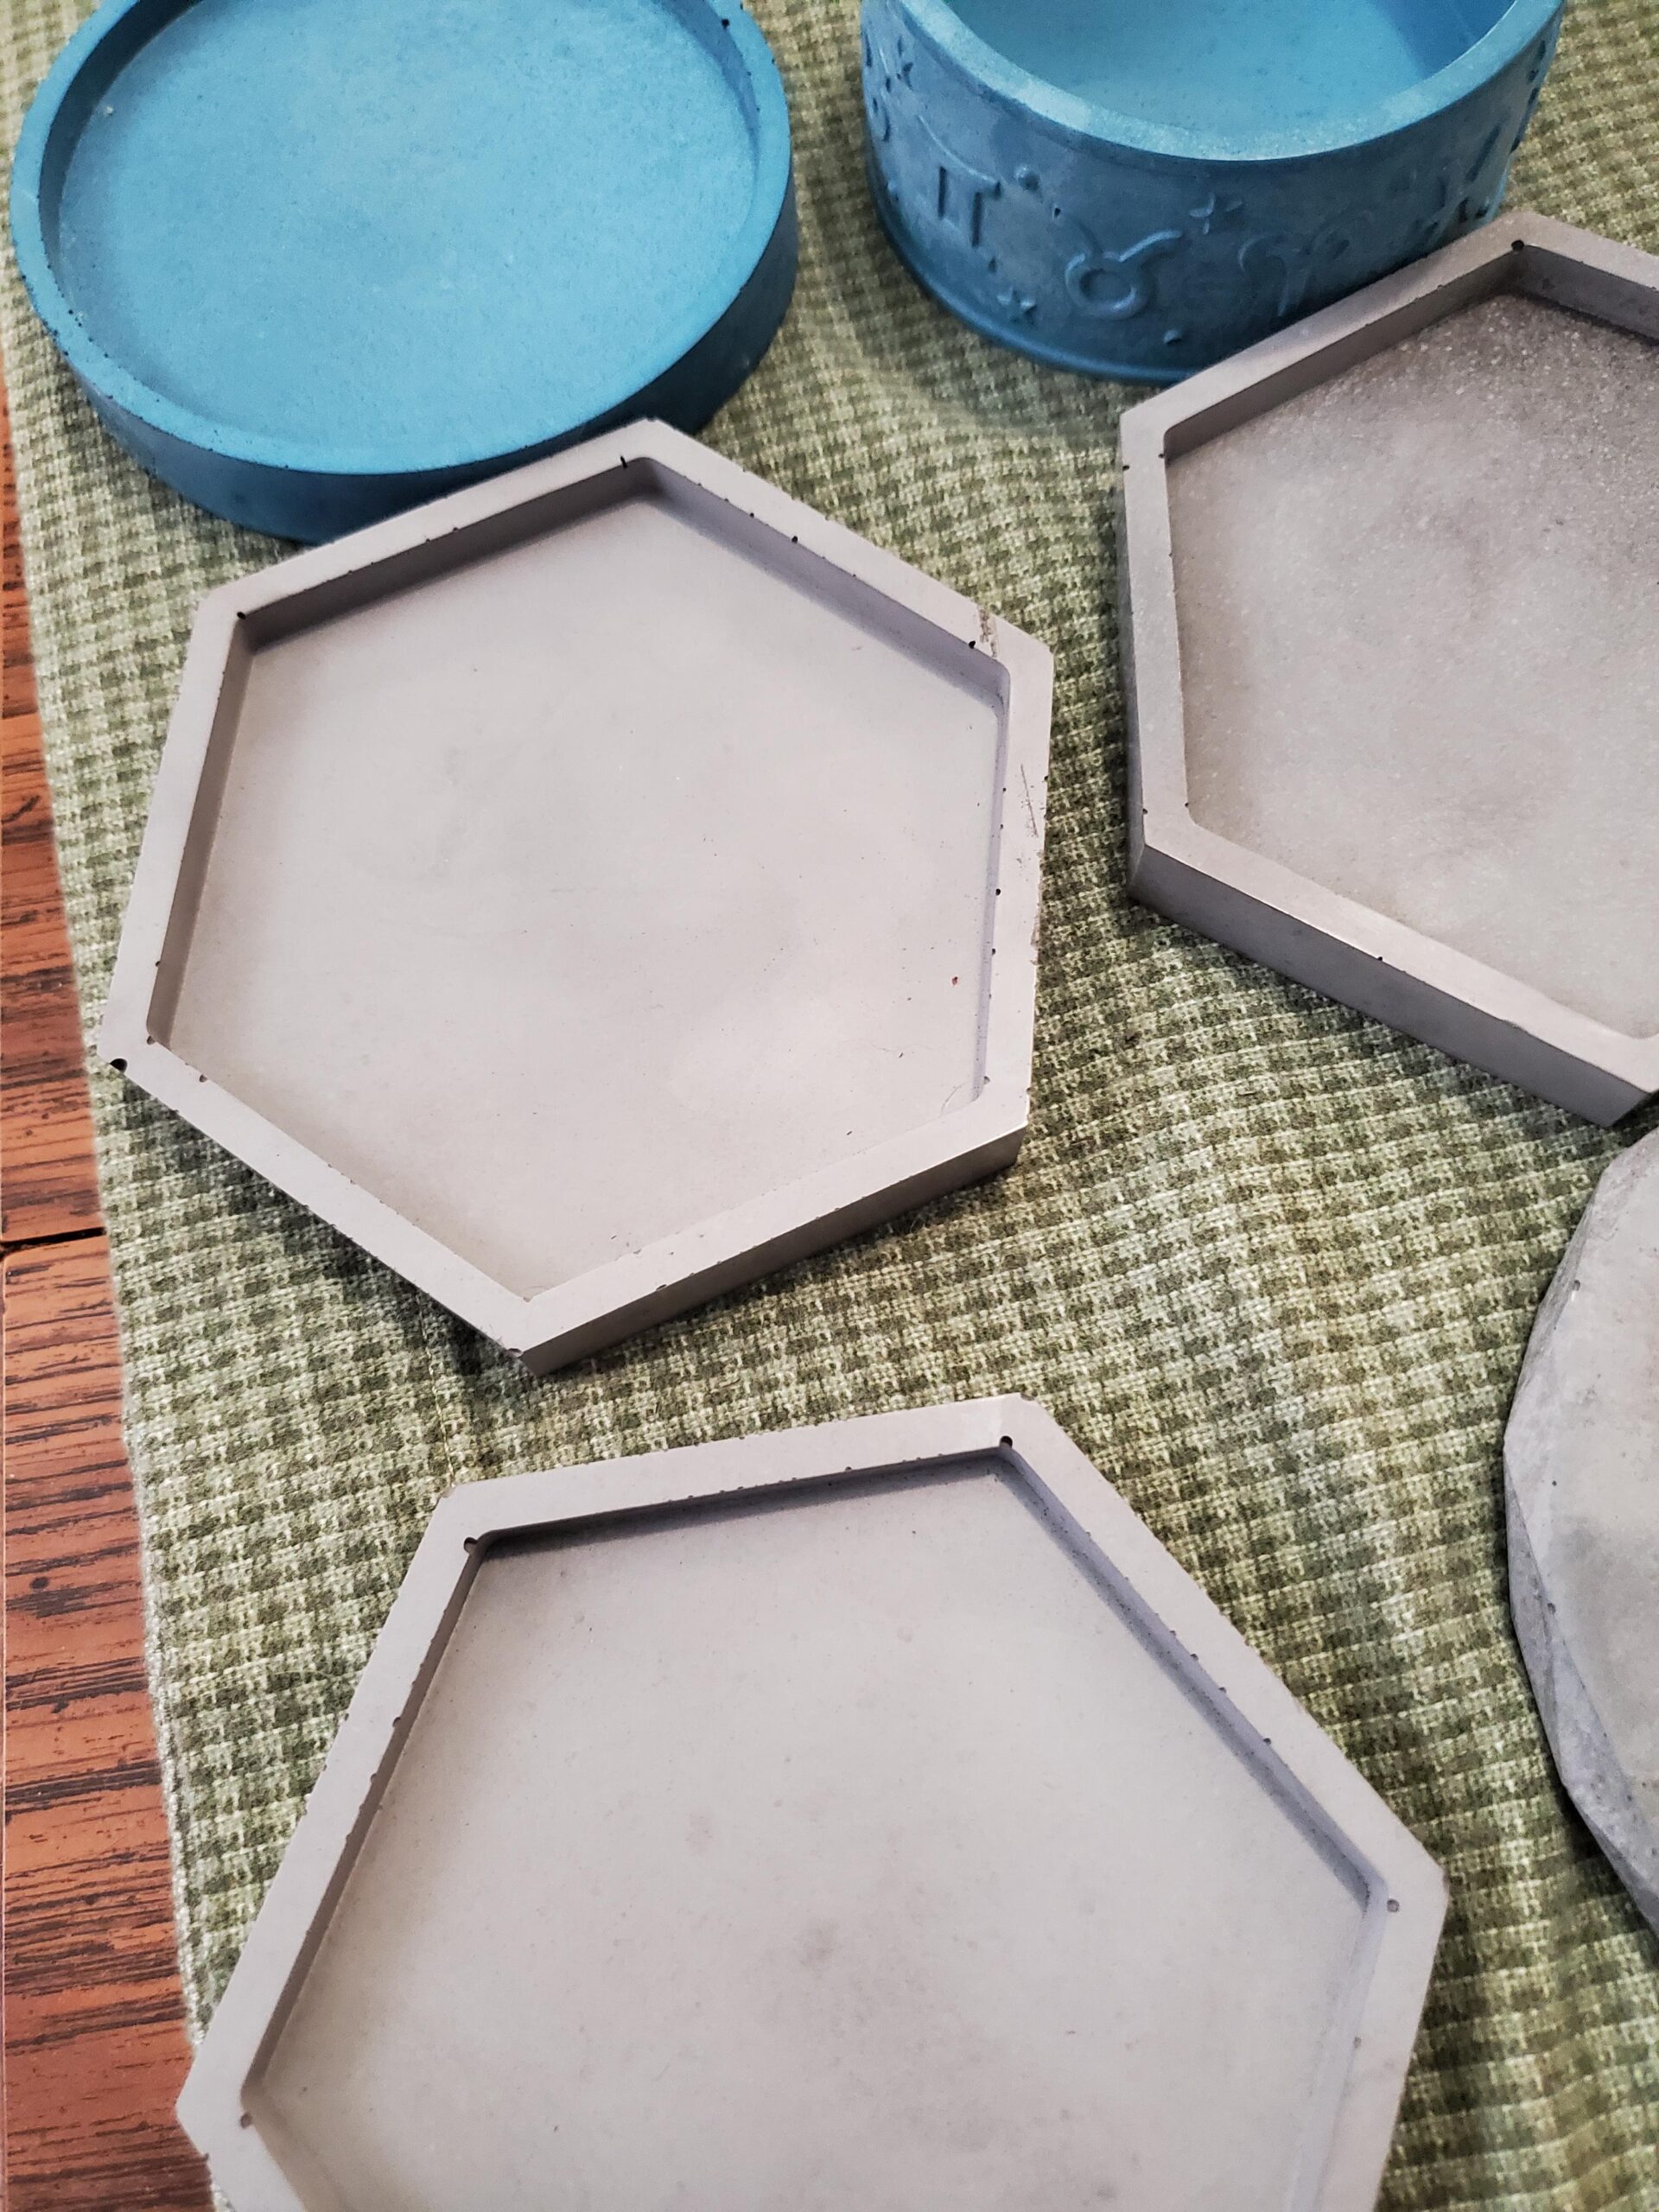
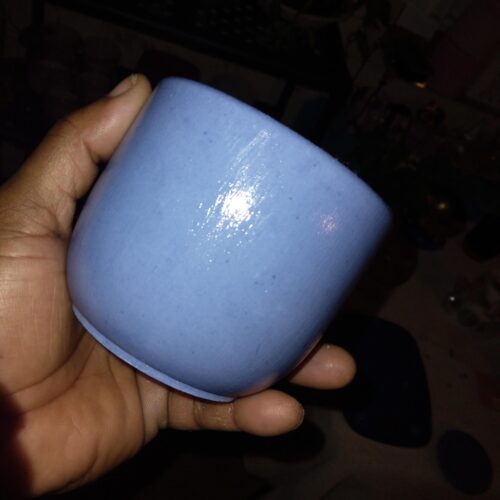
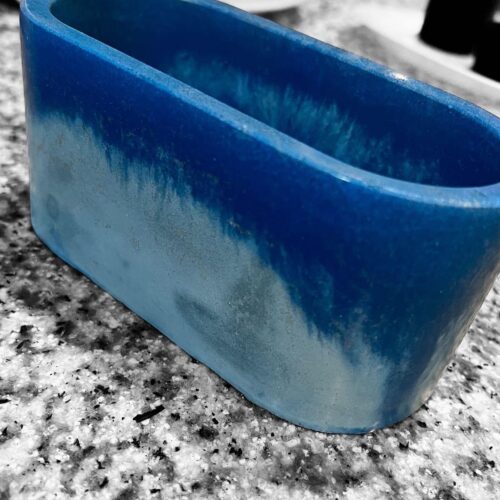
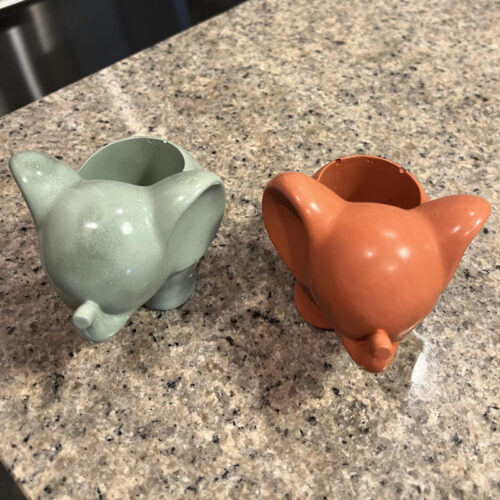
I have my own business and make concrete planters, trays and goods. I’m really impressed with the color payoff that I get from direct colors pigments. - Personal Tips:
I feel it’s very important to mix very well to incorporate the pigment into the concrete. Mix mix and mix some more.
Direct Colors Products Used:
I use many colors from direct colors. I use terracotta, evening shadow, turkey red, calamandin, and blue
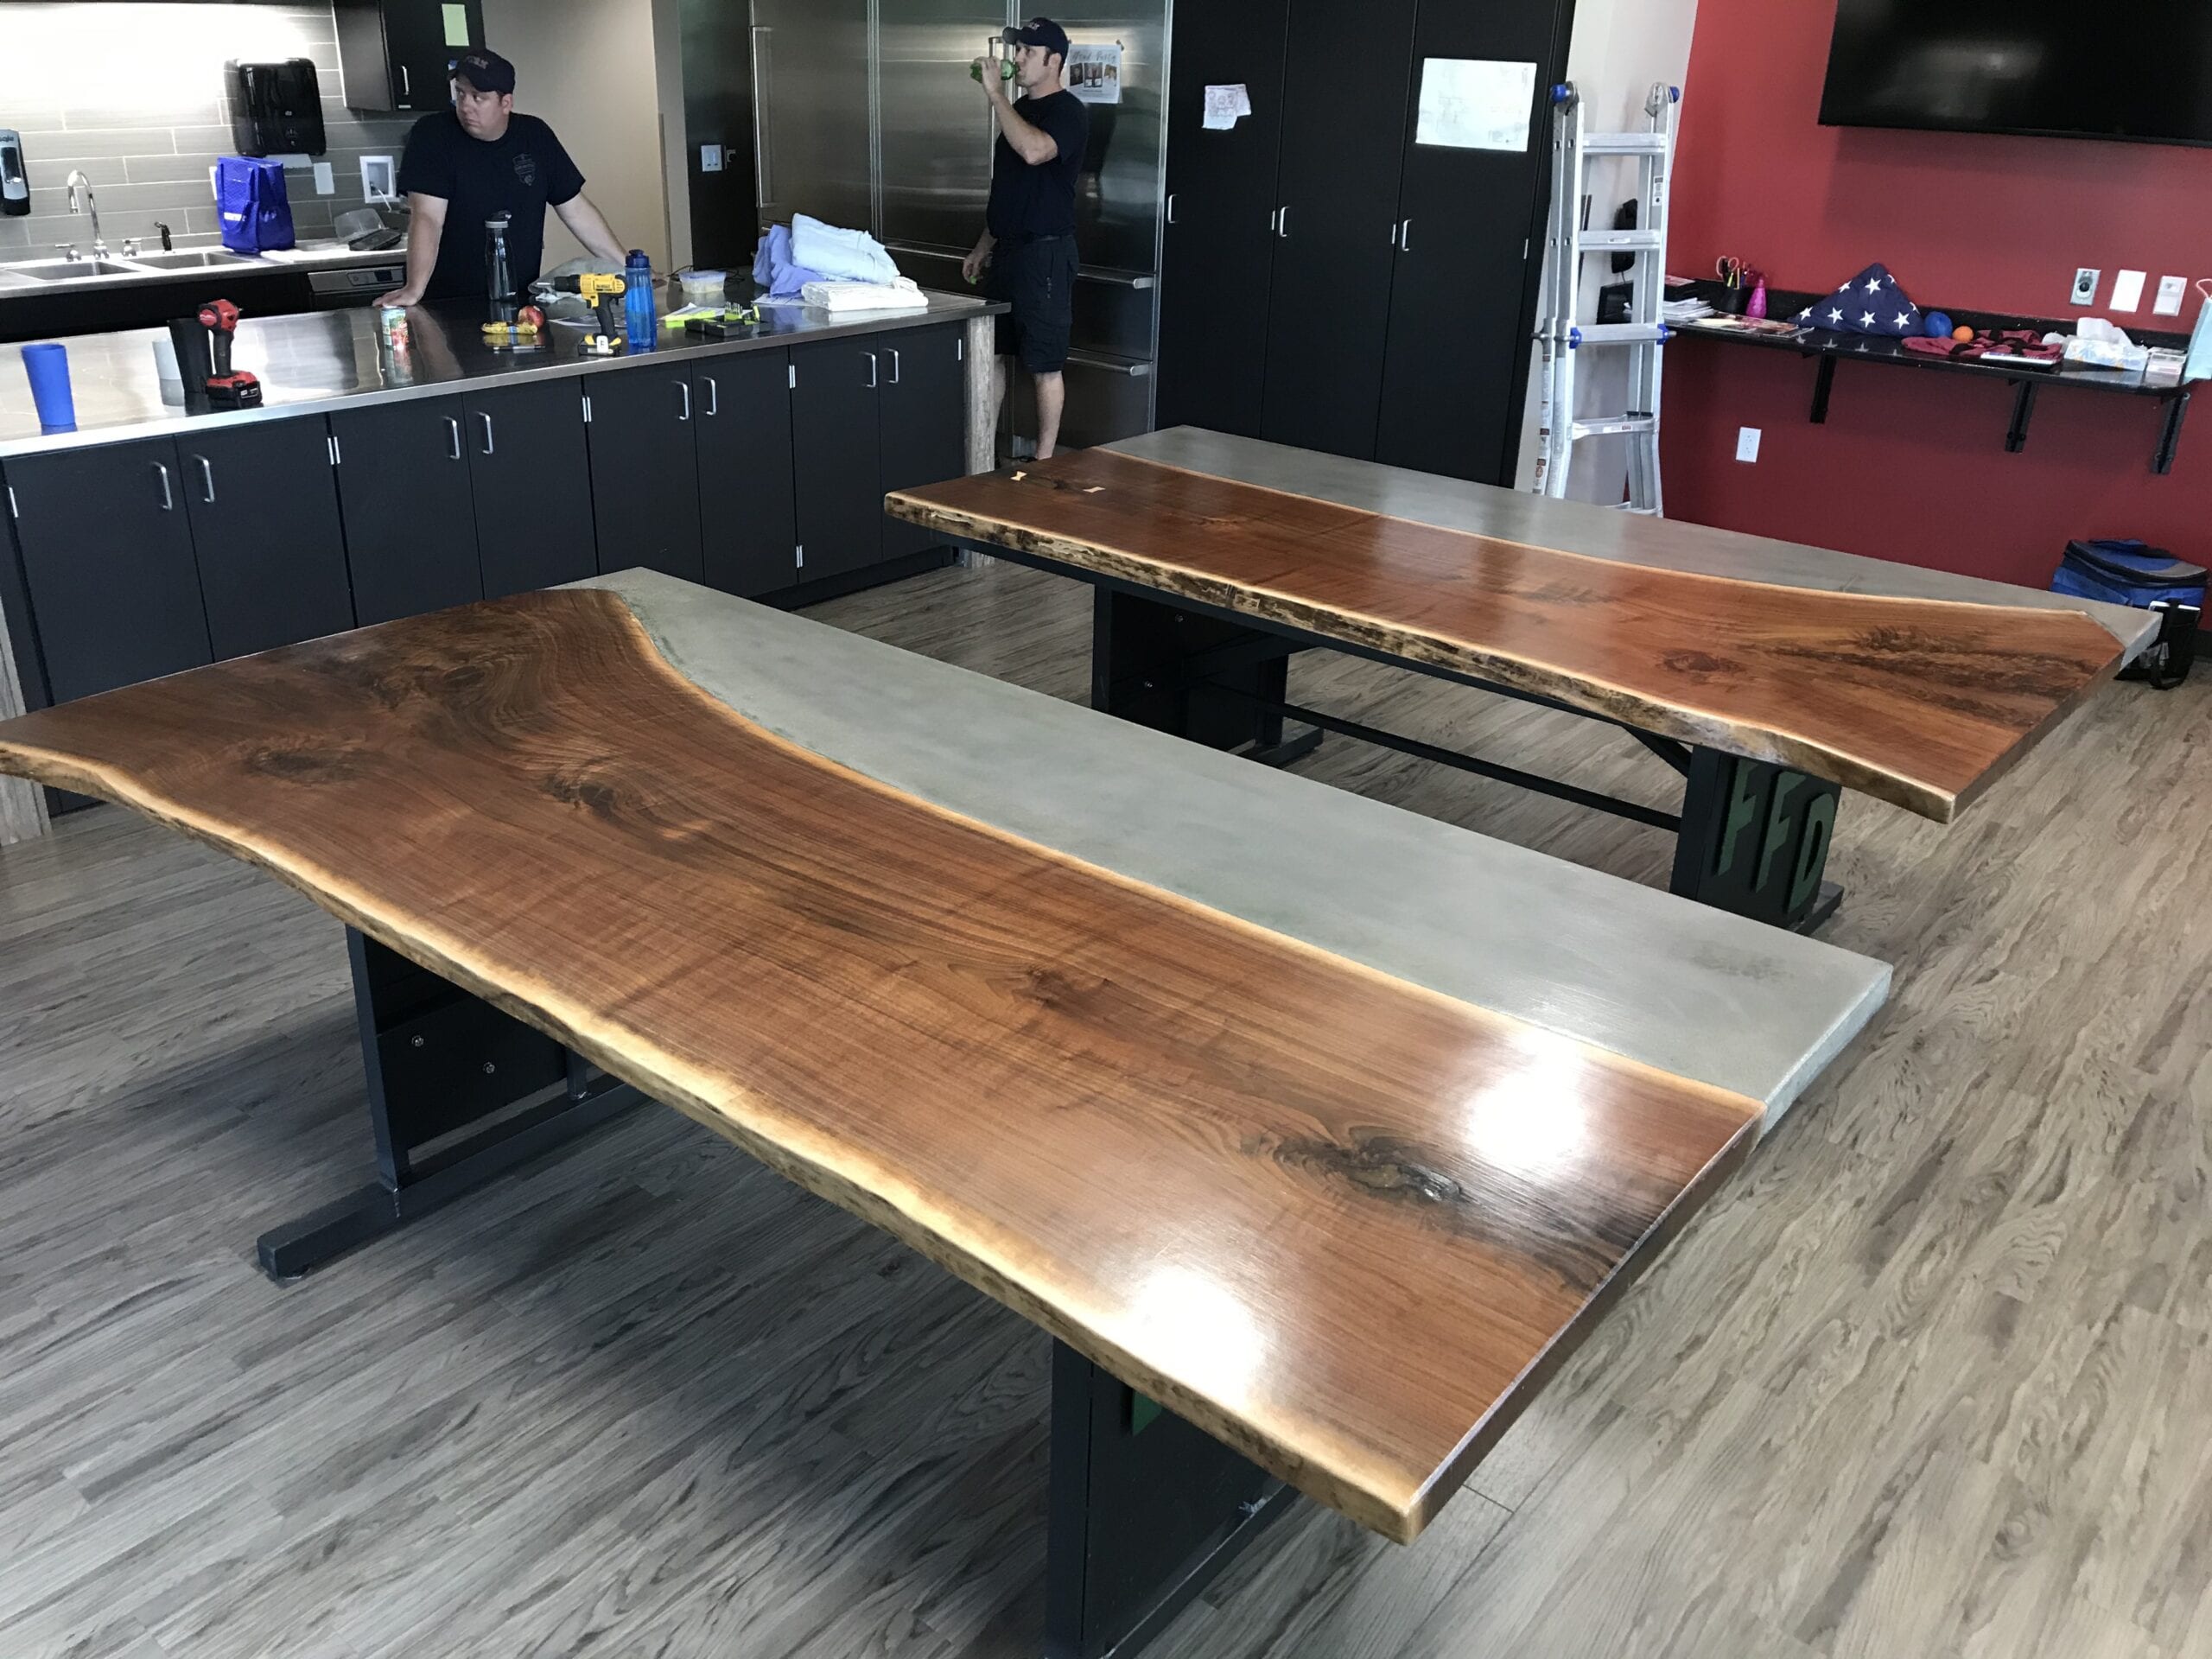
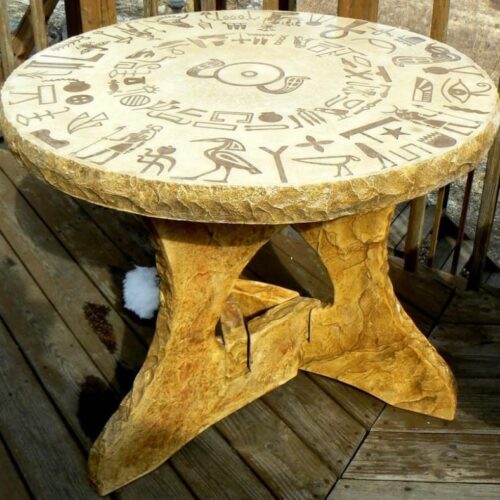
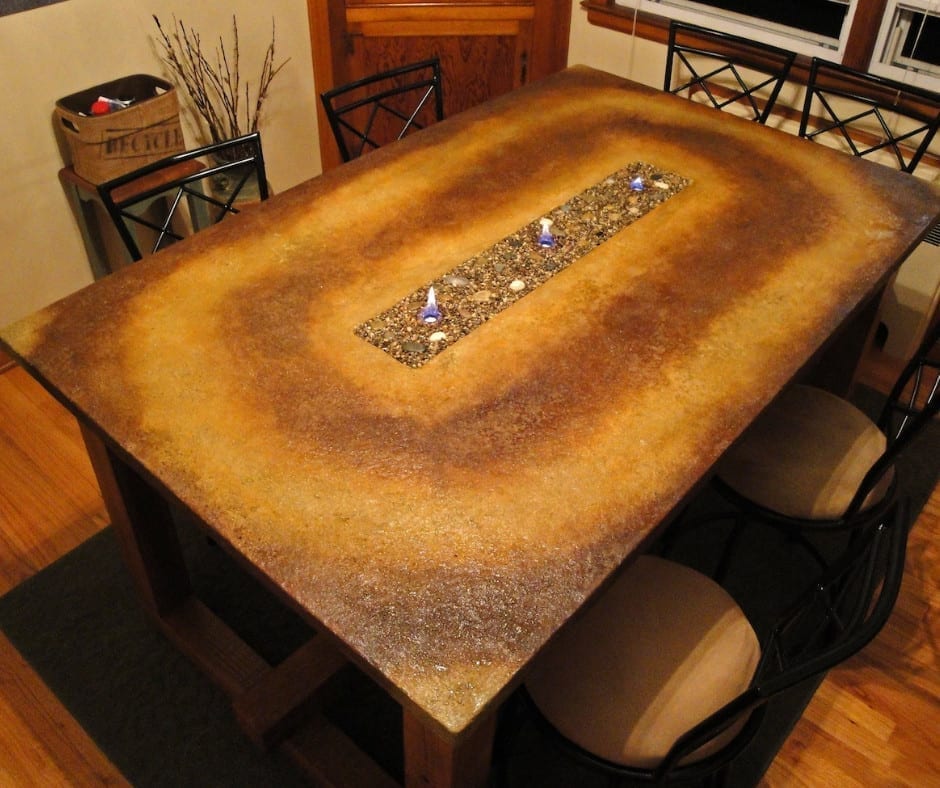
Concrete Tables
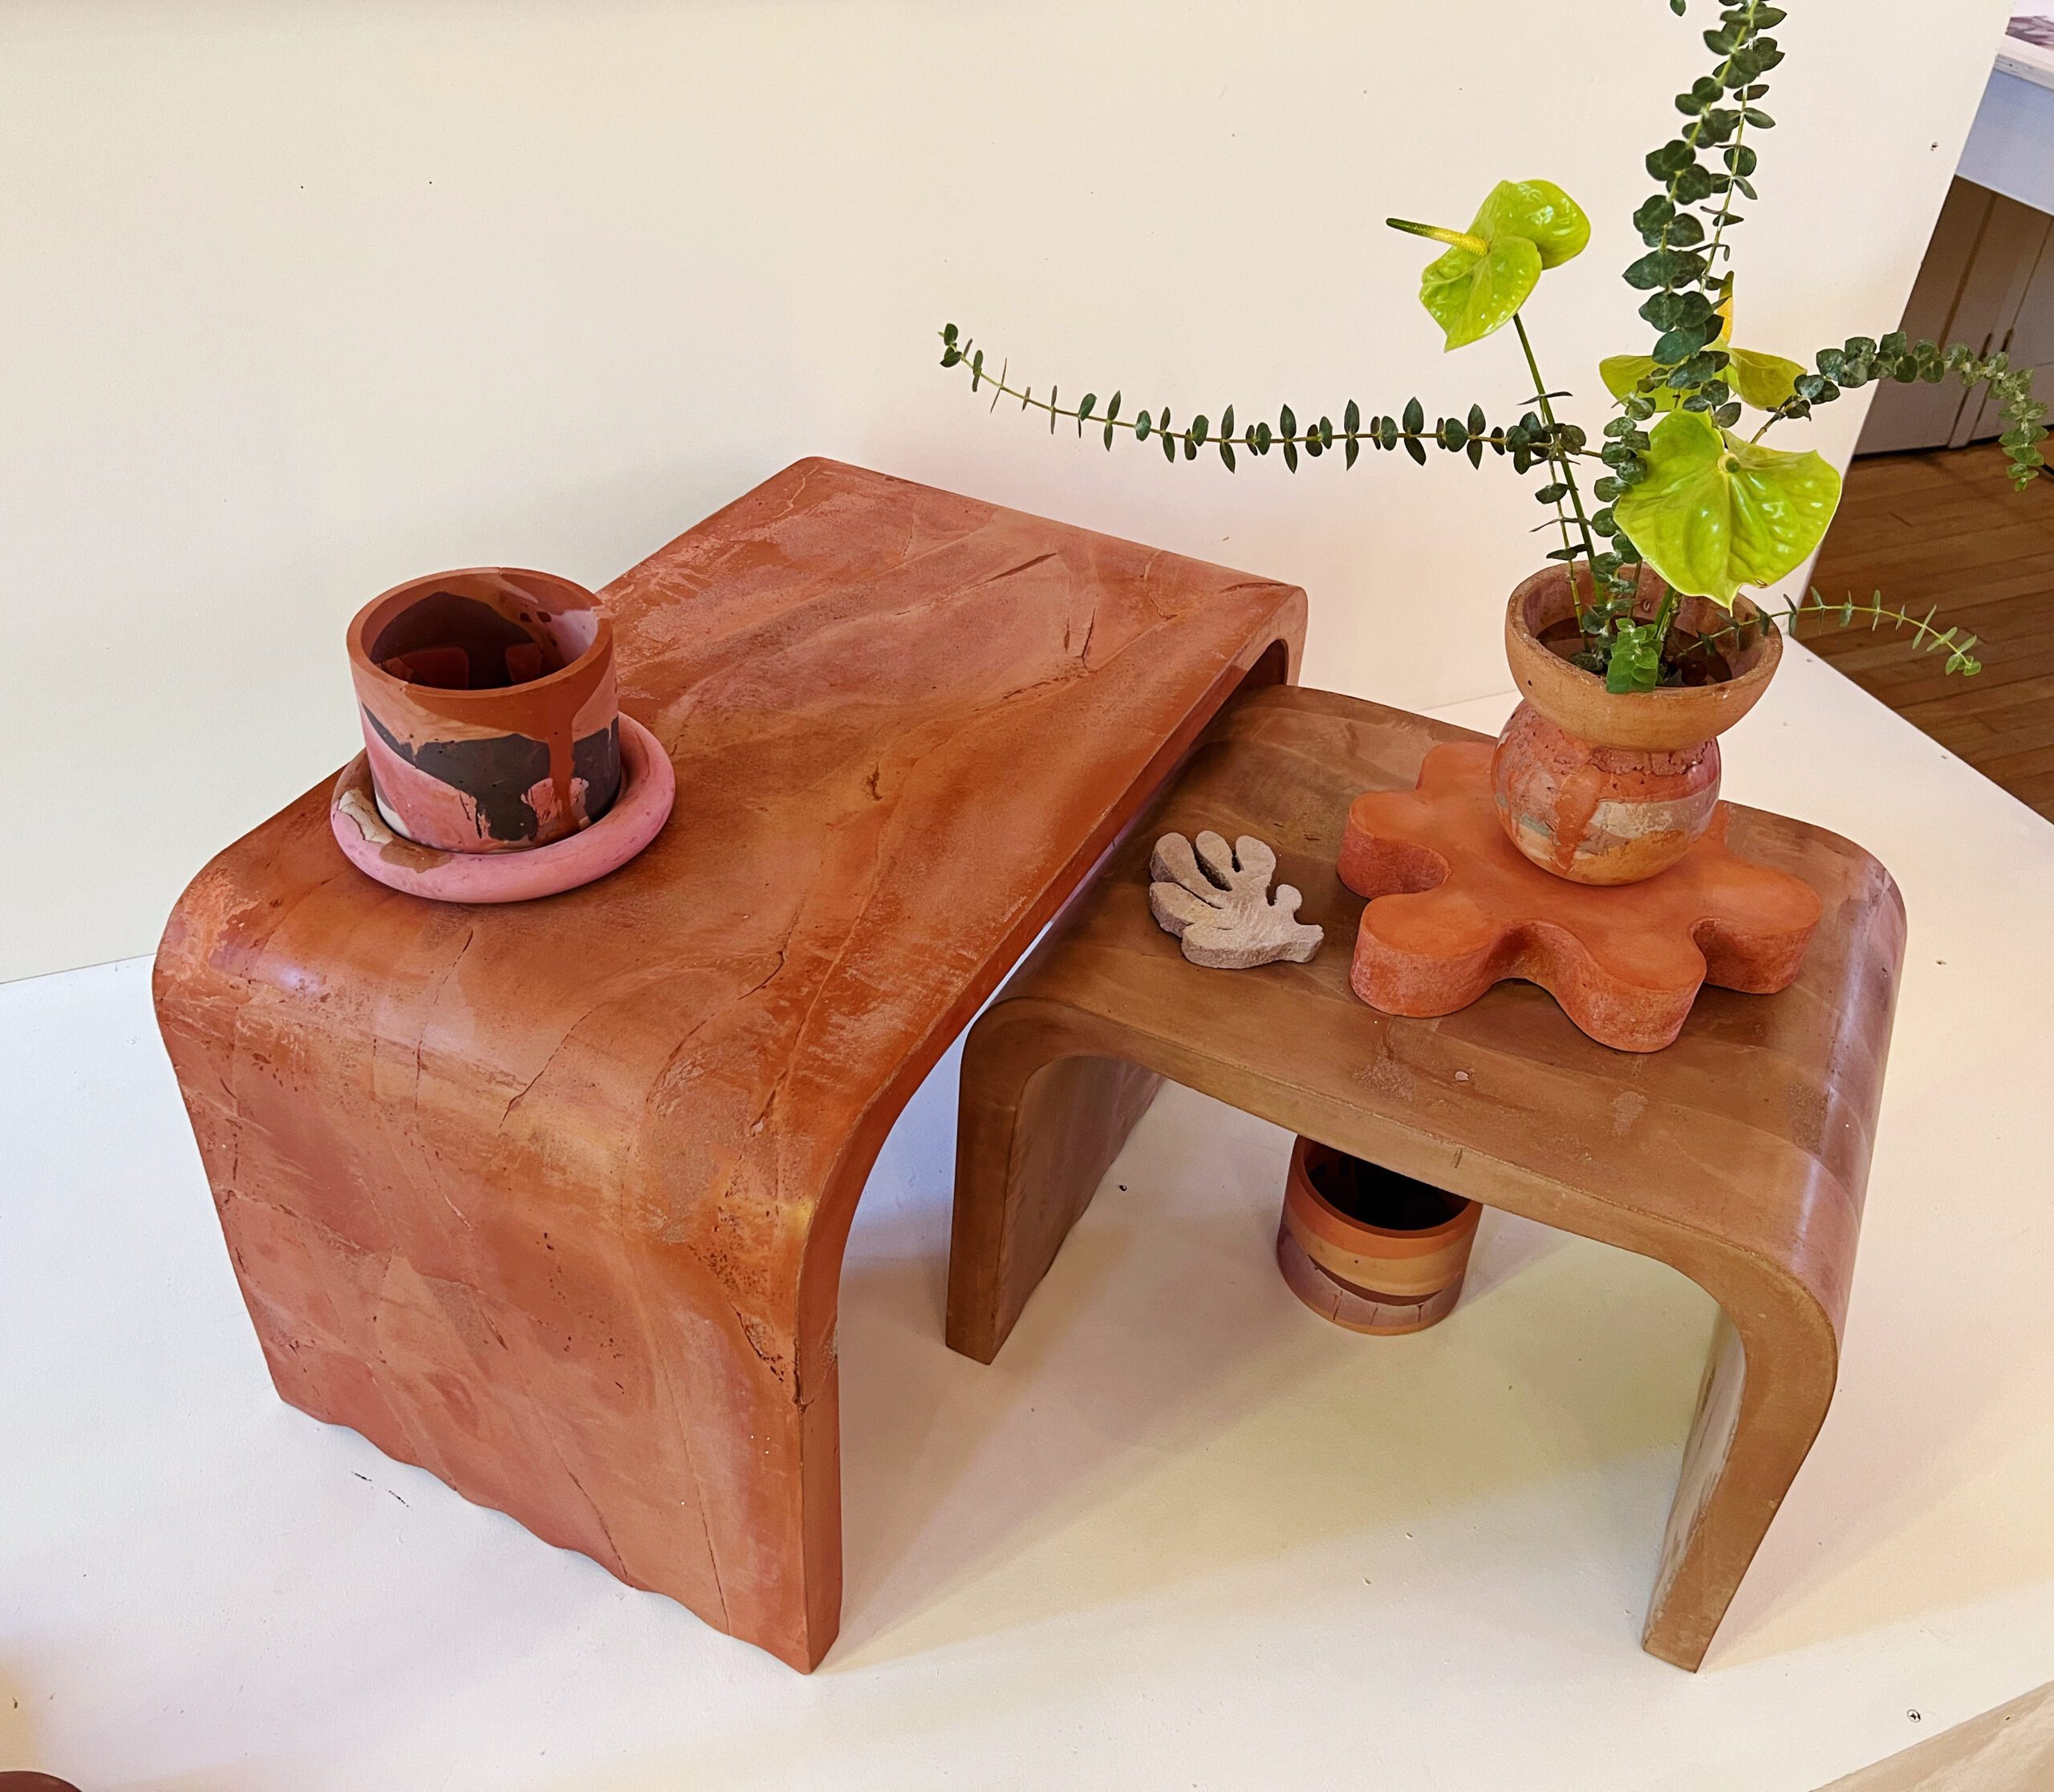
By Sydney Phetmisay – The Moody Cactus
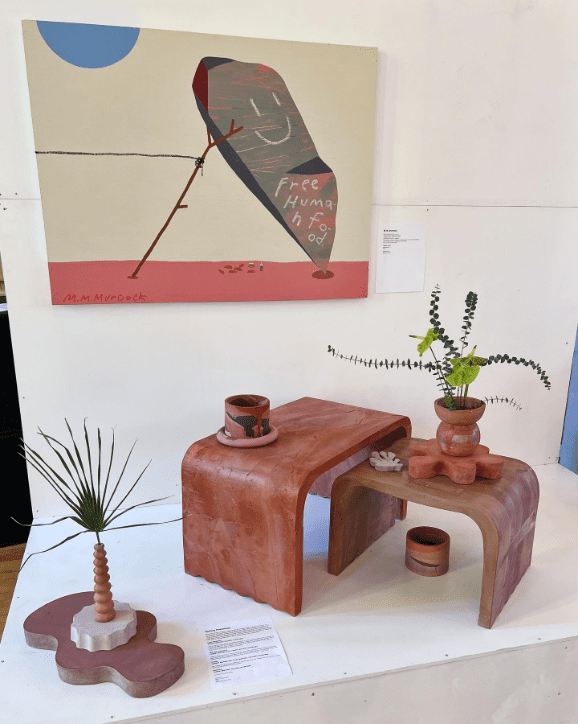
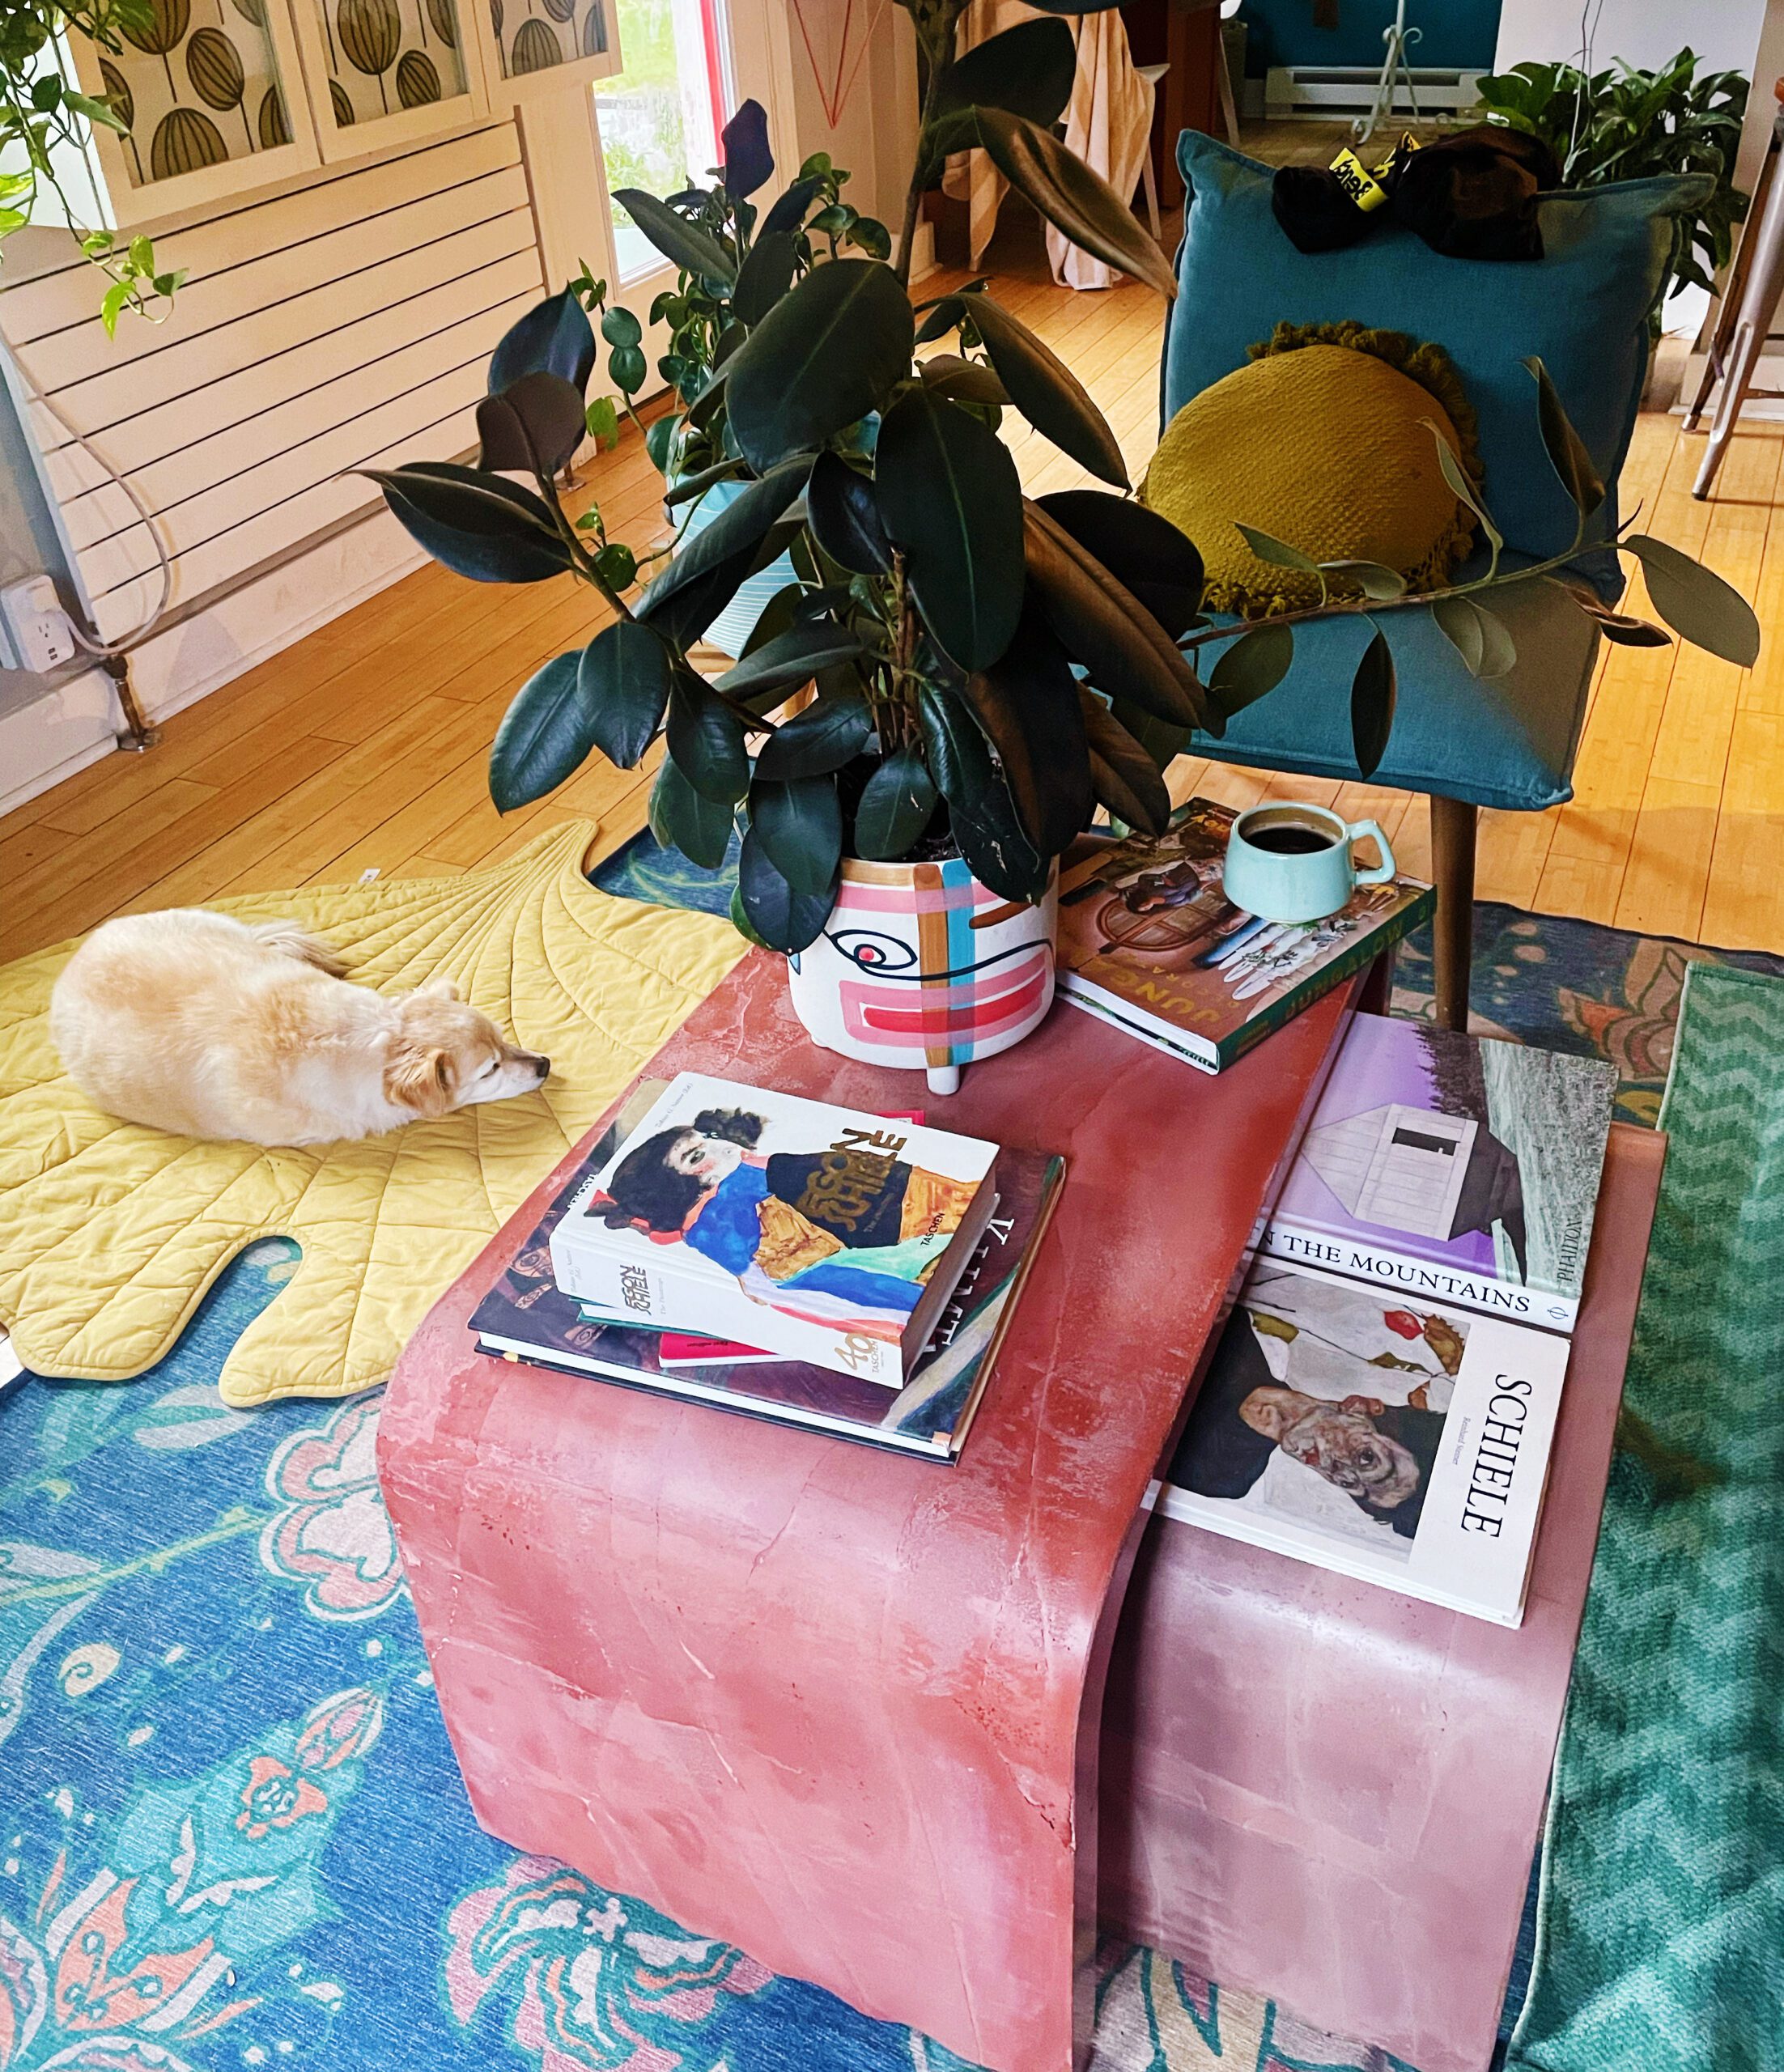
Project Info:
- Project Completed In: 20 day(s)
- Estimate of Square Footage: 8 sq. ft sq. ft.
- Project Description:
I typically use the direct color pigments to create various home goods. From house plant pots, to vases, to tables… I’ve been experimenting with various different forms.I recently made a few concrete tables for a Furniture Design Exhibit… they turned out stunning and I can’t wait to make more! - Personal Tips:
For my fellow creators/DIYers… concrete has unlimited capabilities because of its willingness to take any form. Find inspiration and give new life to recycled plastic, glass, etc. Add some direct color pigment to give your piece an unexpected pop of color. - Direct Colors Products Used:
Powdered Pigments – Mars - Other Products Used:
Cementall
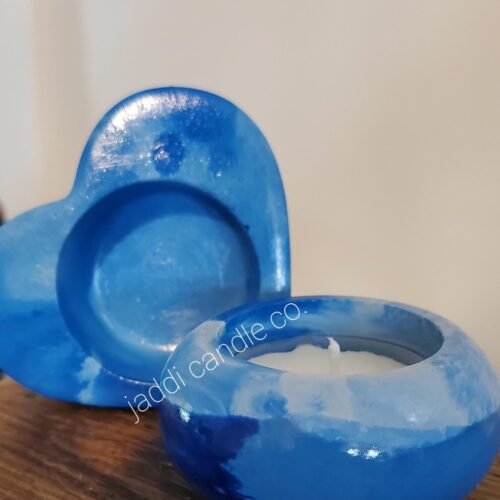
Thank you, Calafia Candle Co., for using our concrete pigments in your wonderful YouTube tutorials and spreading the love for our products!
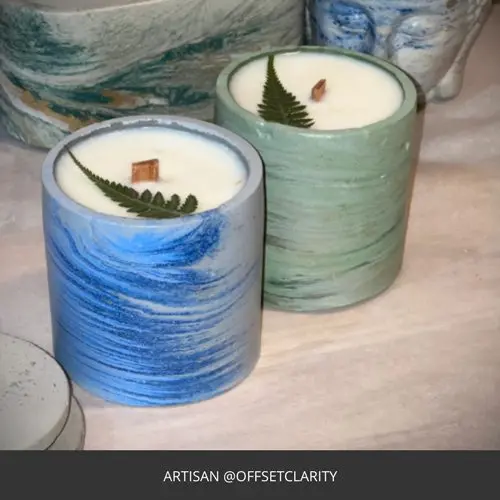
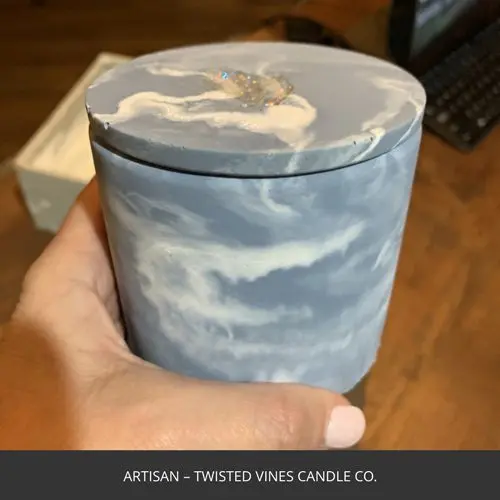
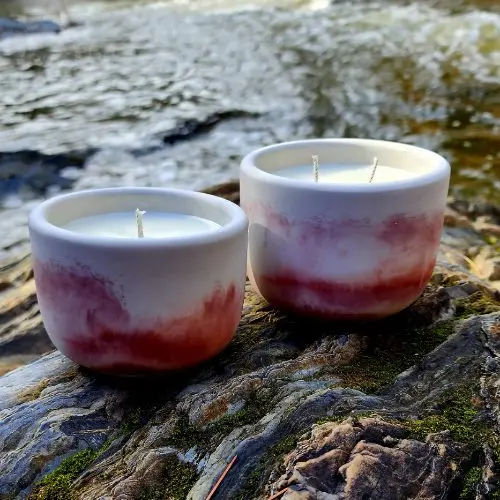
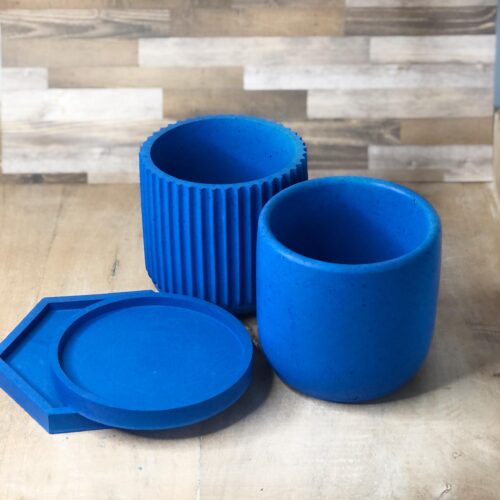
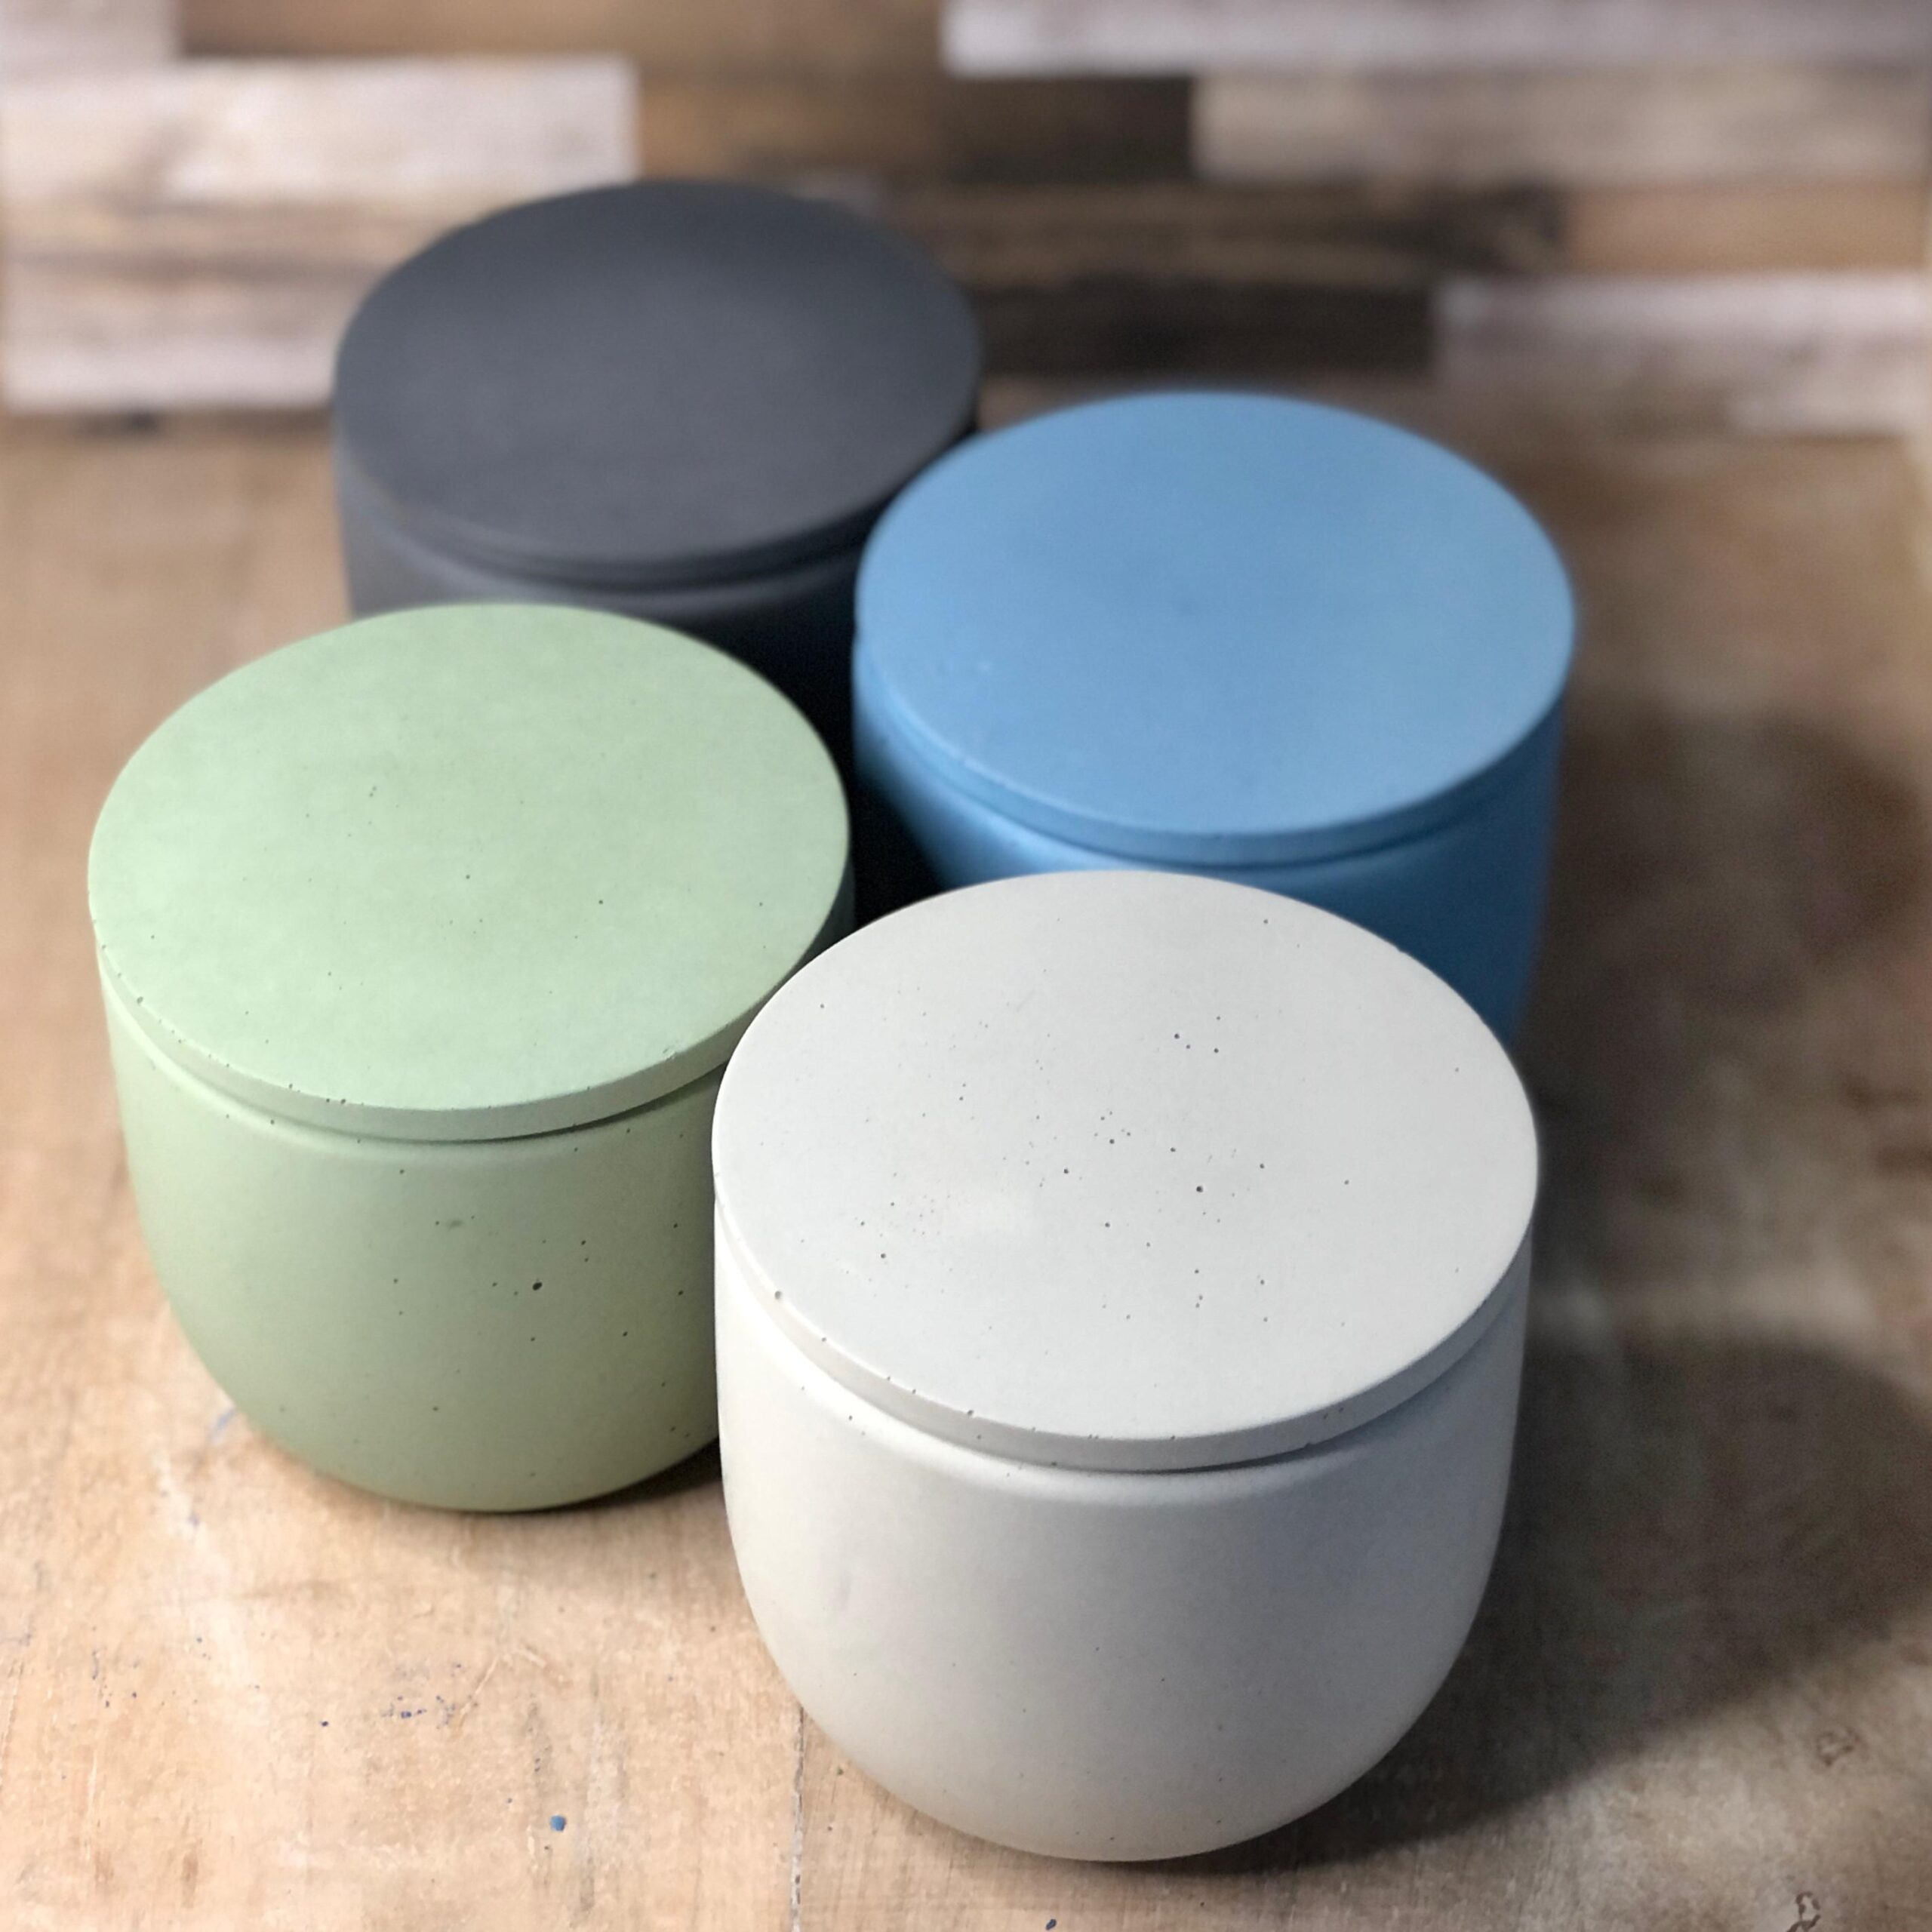
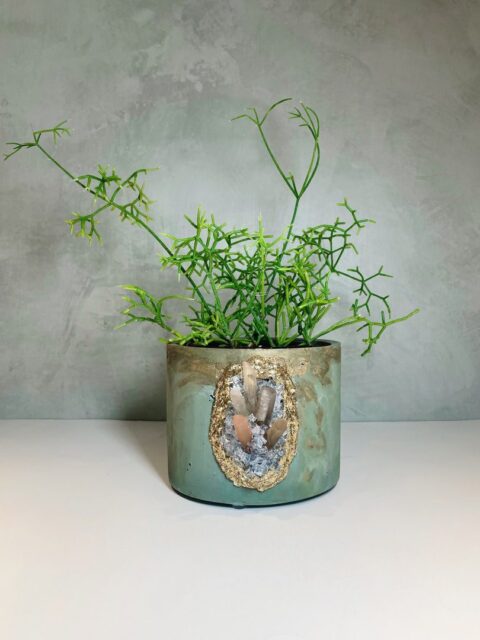
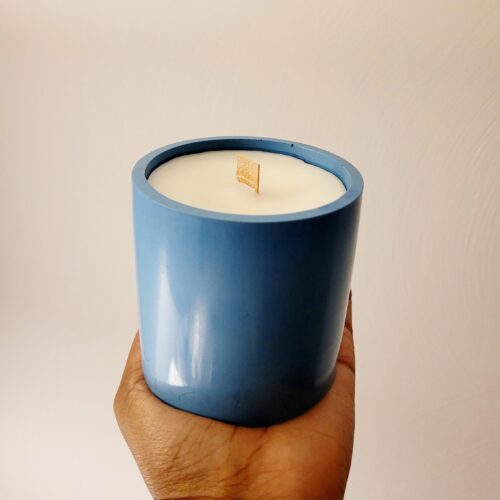
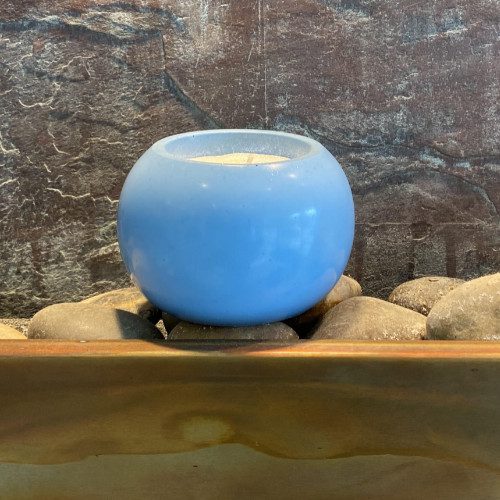
DIY Hand-Poured Concrete Candles & Vessels
By Direct Colors Customers
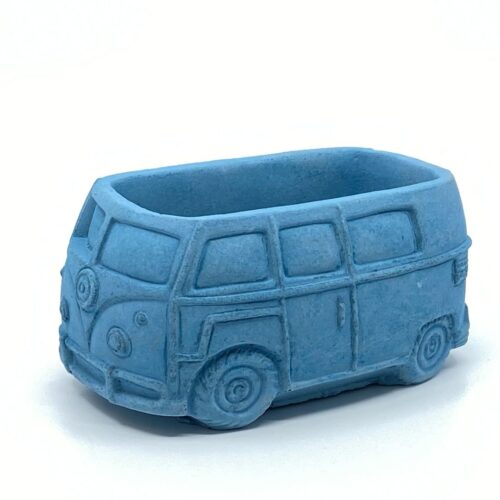
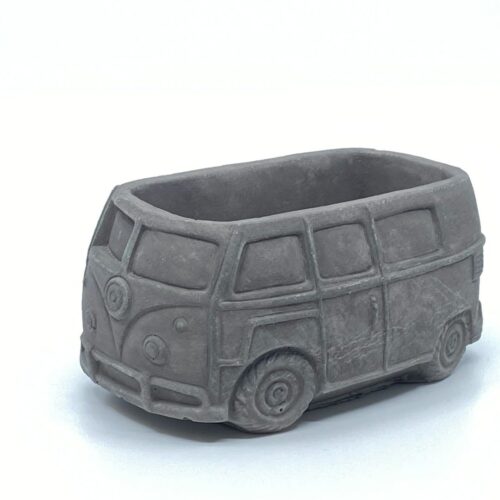
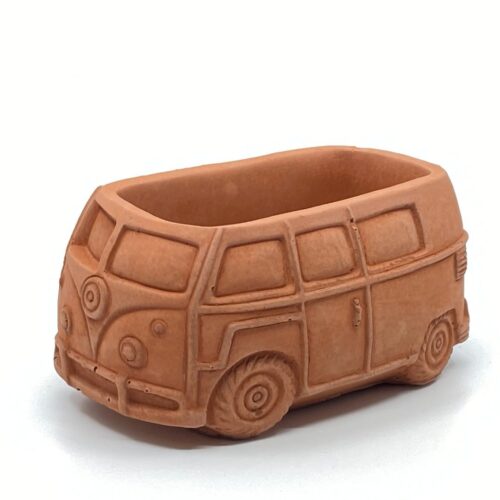
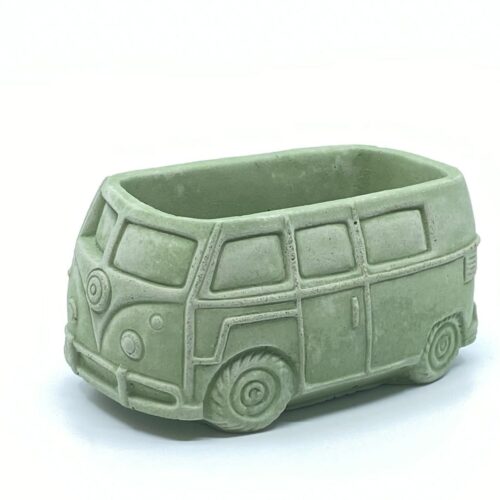
Concrete Anchor Art
By Patrick Gavin – Anchors A Weigh
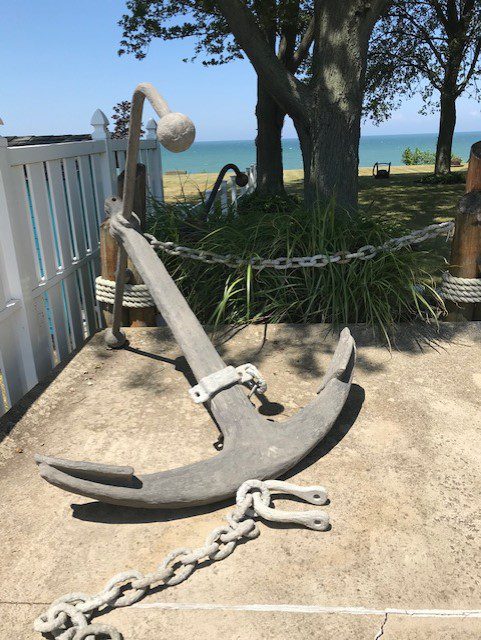
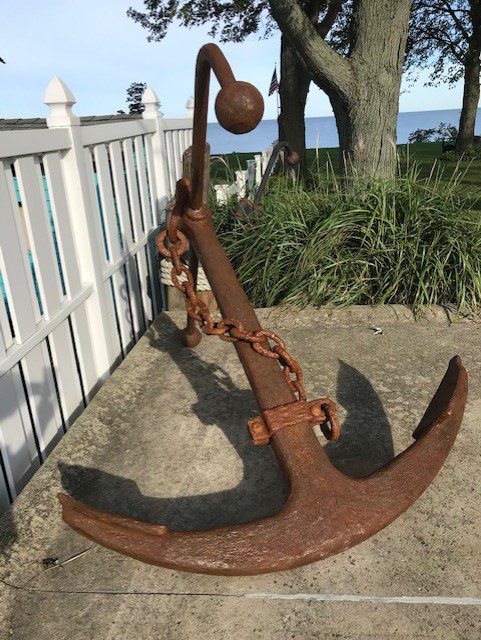
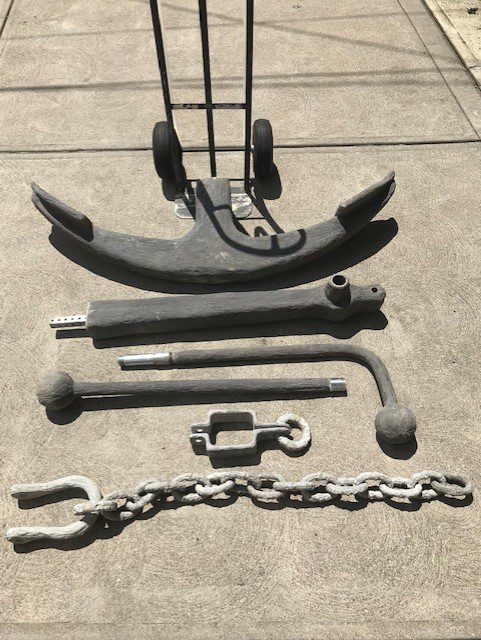
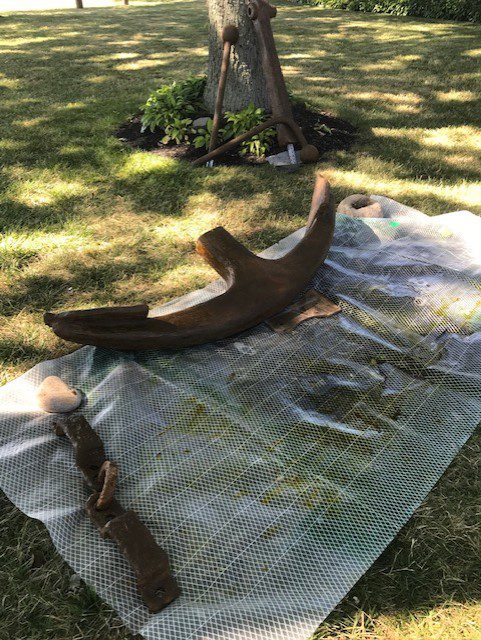
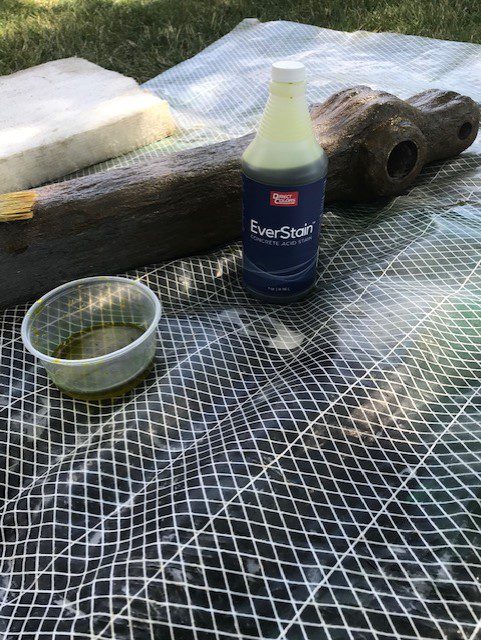
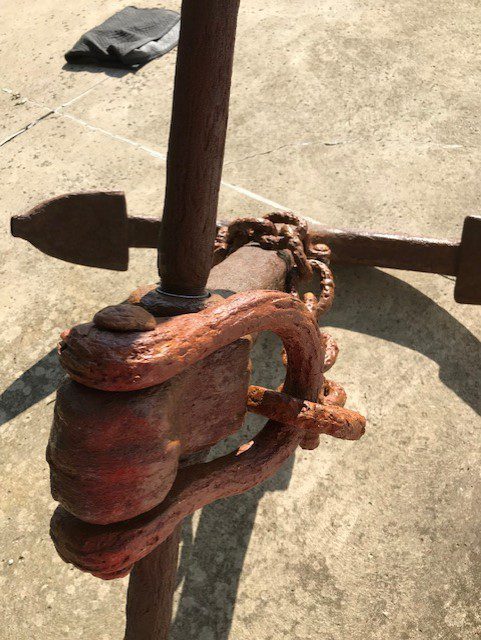
First of all, let me thank your Direct Colors team (Casey and Matt) for helping me choose the right products for my project. As you can see they worked excellently! Your shipping was fast. I received my order within 3-5 days. Never have I been so happy with the results of a product. I’m a customer for life! Hopefully this will show that the smaller concrete artisan doesn’t have to buy the products in bulk.
Tell us about your project:
- Removed all parts from the molds and soaked for 3 days in a water bath then let dry for a little over a month.
- Went over all the shiny areas with your hard-troweled floor pre-treatment solution.
- Sprayed all the parts with Everlast Cola acid stain. The colors were not deep enough so went over it with a 50/50 mixture of the cola and your English Red Everlast acid stain. Worked perfectly.
- To neutralize I mixed 1 tablespoon of baking soda with warm water in a quart squirt bottle. Covered all parts and let set for a short while. Rinsed with water and let dry for a couple of days.
- Applied two coats of Direct Colors Solvent-based Easyseal satin acrylic which really made the rust color pop!
Which Direct Colors products did you use?
- 1 pt EverStain™ in Cola
- 1 package of CitrusEtch™ concrete etcher
- 4 oz bottle of EverStain™ in English Red (that you were able to put in the same box for a second order that was last minute)
- 1 qt EasySeal™ solvent-based acrylic sealer
Describe your personal tips that might help others.
Please take your time and run some test strips. For the rust color I was looking for I needed a mixture of 50/50 Cola and English Red. The second coat took a little longer to dry because I think the first acid etched in deeper.
I attached a 5 million-year-old shark tooth I picked up in Venice Beach, Florida, on a dive to give the anchor a little nautical life.
It took me over two years to get to this point in fabricating my anchors, I’m still trying to perfect the design in pics I use 1/2 rebar in the lower part or crown, and in the upper or shank, I made a weldment out of 1/14 square tube and a piece of 2” schedule 80 pipe.
This makes it strong enough to support the stock or the two arms sticking out, and in all the small parts like the shackle, chain, and lifting ring I use micro rebar which is spiral stainless steel pieces about .020 thick by 1 inch long I put this in all my concrete mix designs. This gives it incredible strength.
I’m just trying to show the small concrete artisan that your company Direct Colors is the way to go when it comes to picking products for their projects, very knowledgeable staff to help navigate through your product line.
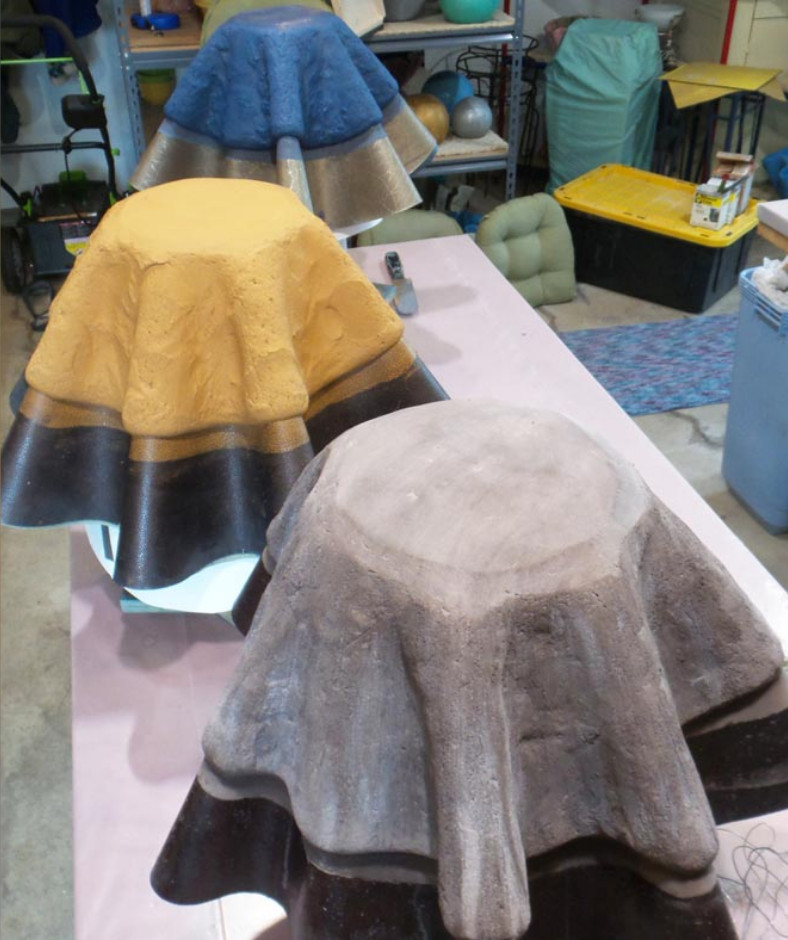
Doodle Pots
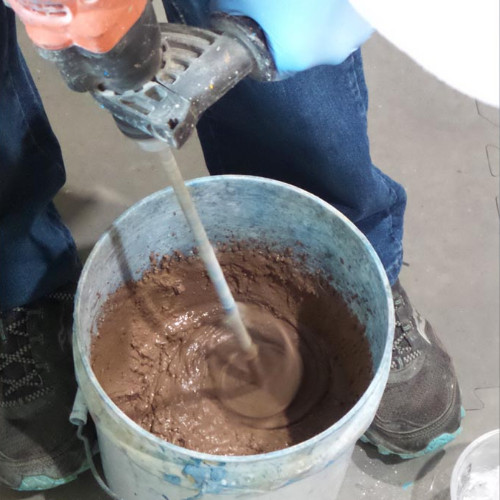
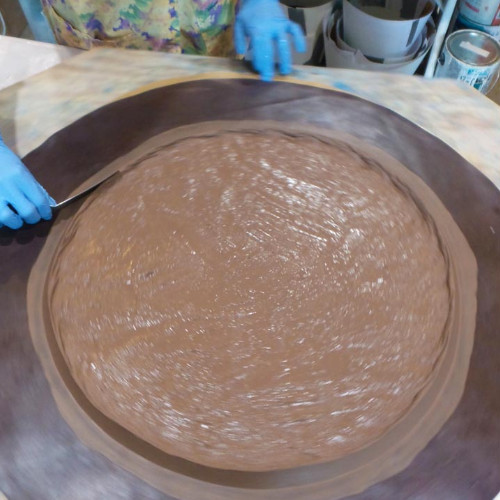
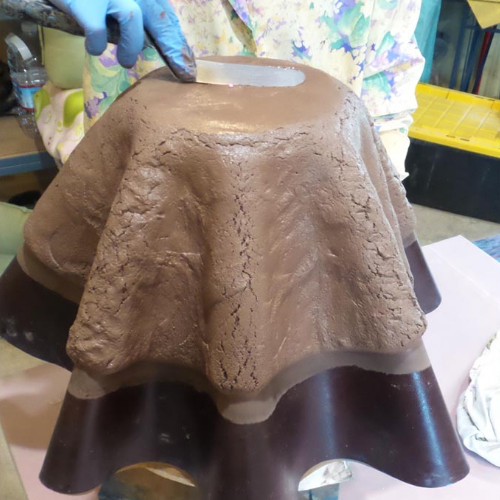
“There are about 30 steps, and at least that many variables, in the making of a doodle pot. It’s a process I developed in 2015. I love the process. It’s creative and it’s great fun.
Thank you, Direct Colors, for the excellent pigments that have withstood the test of time and UV stability.”
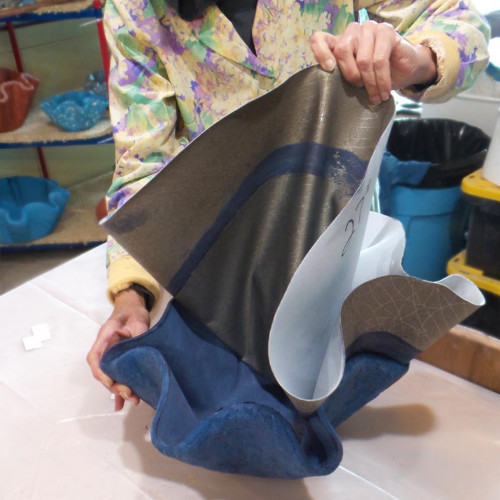
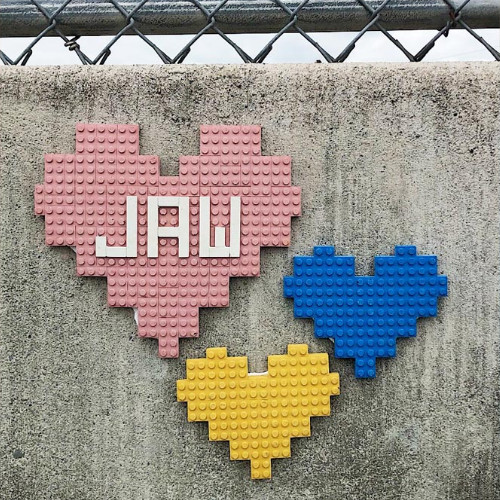
Lego Concrete Art
By Jacob Canini – @j.a.w
Project Info:
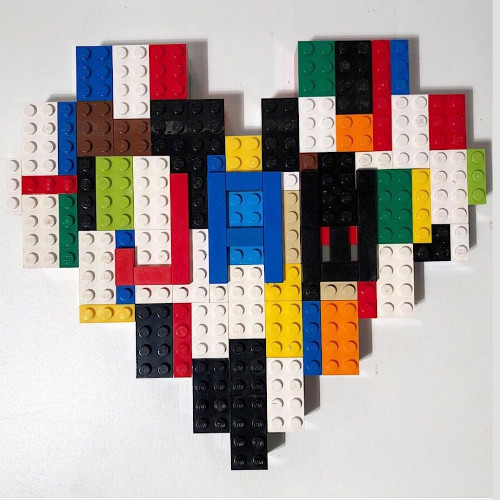
My hearts range from mini 1.5″x1.5″ all the way up to the XL pink heart in the attached image which is roughly 12″x14″. I have been putting these hearts up for the past 5 years and while I do not have an exact number of how many I have installed I estimate the number to be around 2500.
I used the following Direct Colors pigments:
- DC-PIG-121
- DC-PIG-119
- DC-PIG-203
- DC-PIG-204
- DC-PIG-205
I generally use the primary color pigments to make my own secondary colors with the exception of green. The green pigment you sell is perfect the way it is for the large Washington States I also make. You can see these on my instagram, @j.a.w . I also use the white pigment to change the value of the colors when desired, for example on the pink heart images I attached.
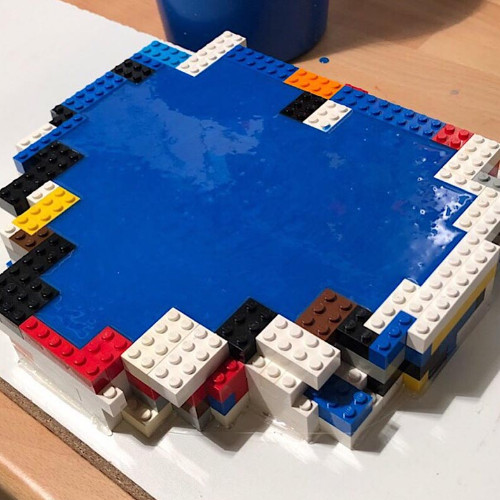
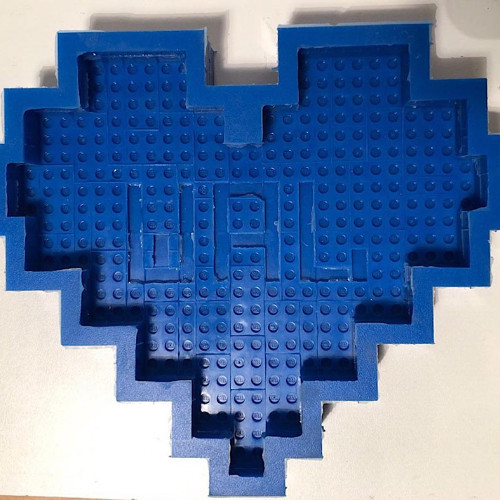
The only other products I use are Legos, Smooth On Mold Star 30 Silicone, and Rapid Set Cement All (which is the best concrete), and the adhesive to stick them up which I won’t tell you what I use, sorry.
To make a heart with a mold it takes about 4 house. 2 hours to inject the JAW and let it harden and then another 2 house to pour the heart color and let it harden. I usually have up to 6 molds going at a time so I can really crank these things out when I want.
Pro Tips: When creating your own custom colors MEASURE and write down results. It took me several attempts to get the pink, orange and purple that I like. Also, it took me a while to figure out that if I wanted all of the LEGO dimples to be filled with concrete I have to put on a glove when pouring the hearts, pour just a little into the mold to start and then press the concrete into all the dimples before filling up the mold with the rest on the concrete.
If there is any other info or photos you would like just let me know. I could send you any image off my instagram if you want.
Thank You,
JAW
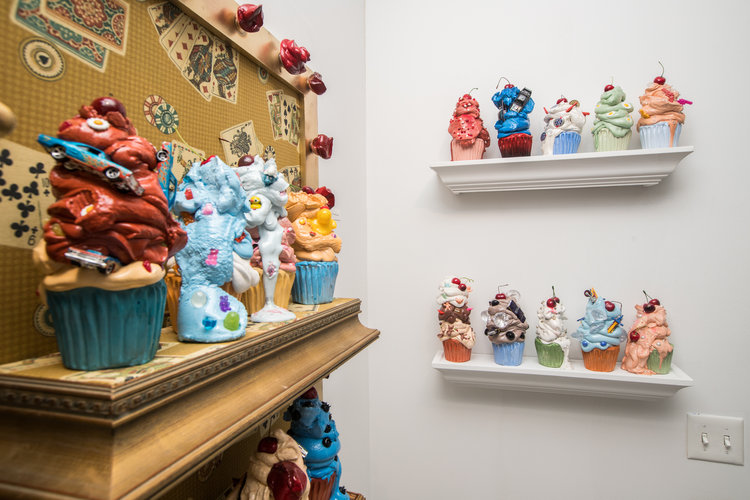
Cupcake Concrete Art
By Bonilla

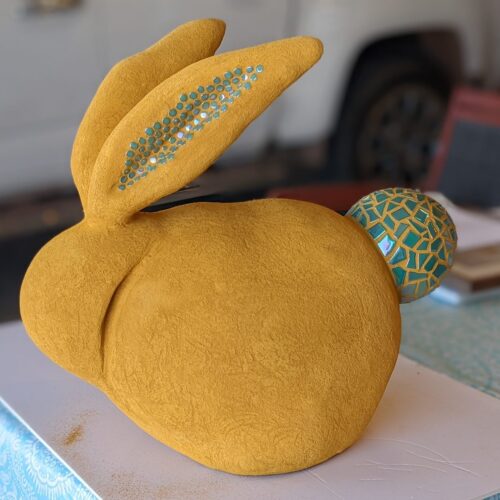
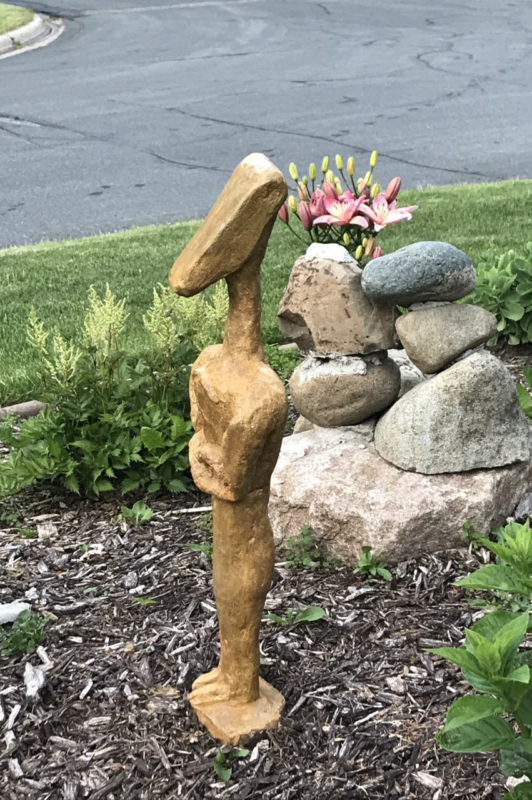
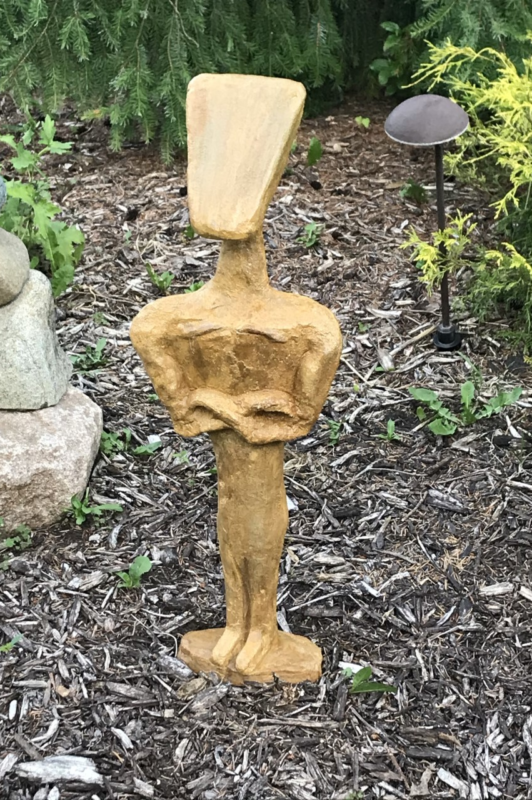
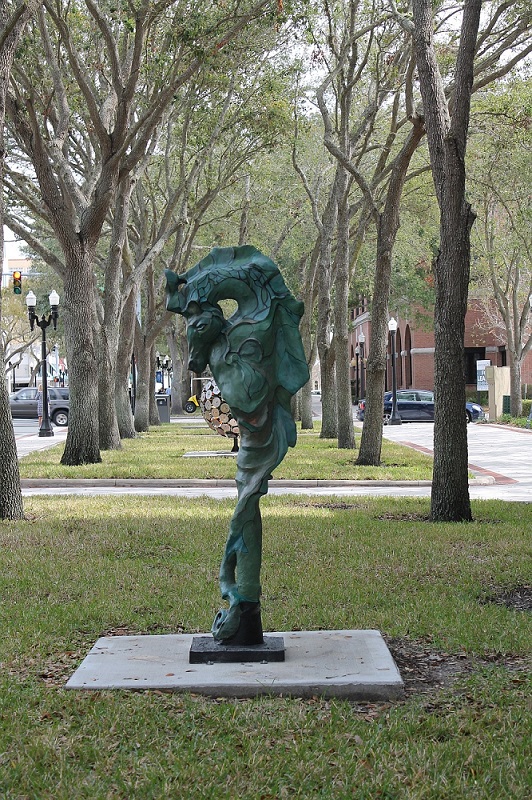
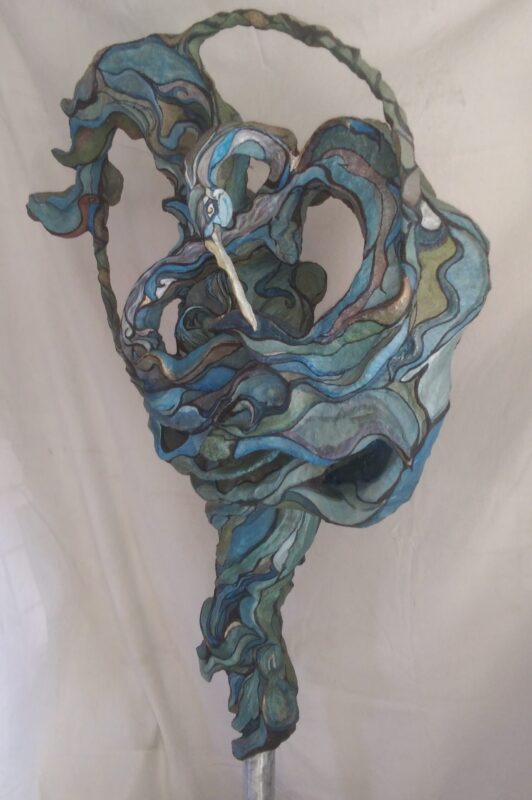
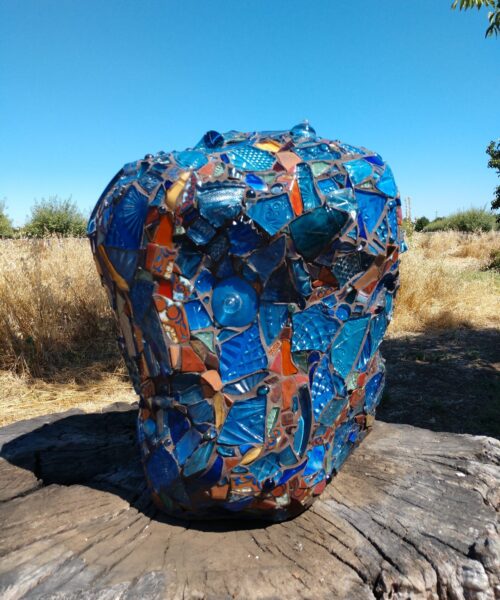
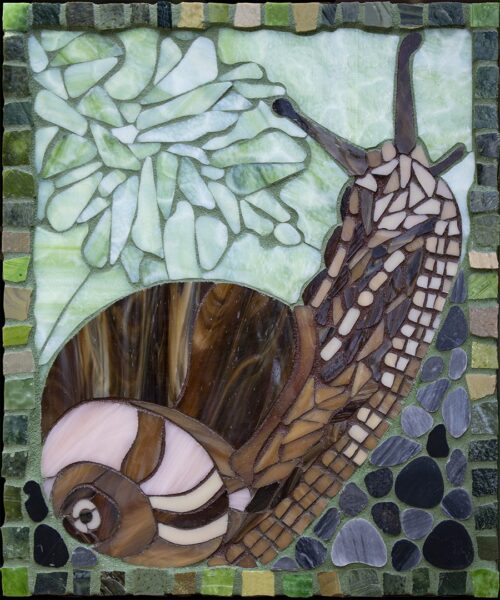
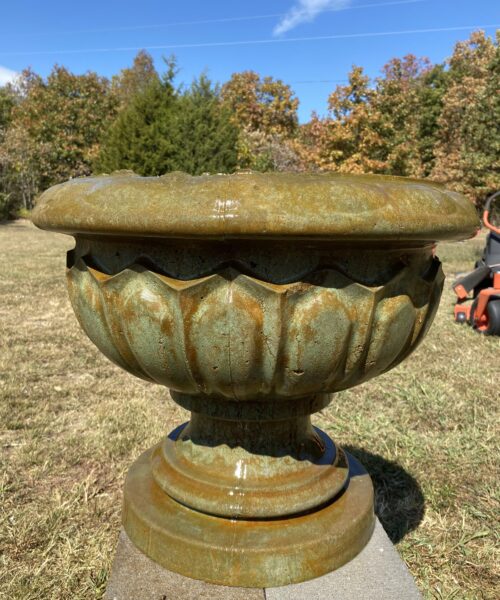
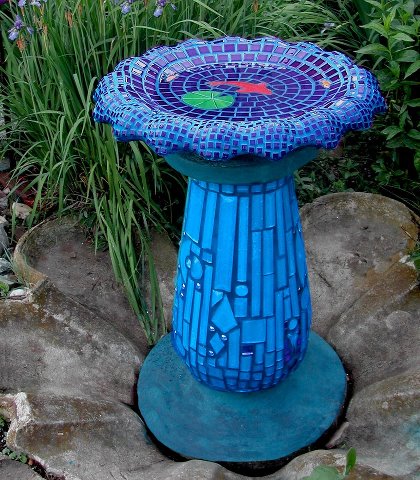
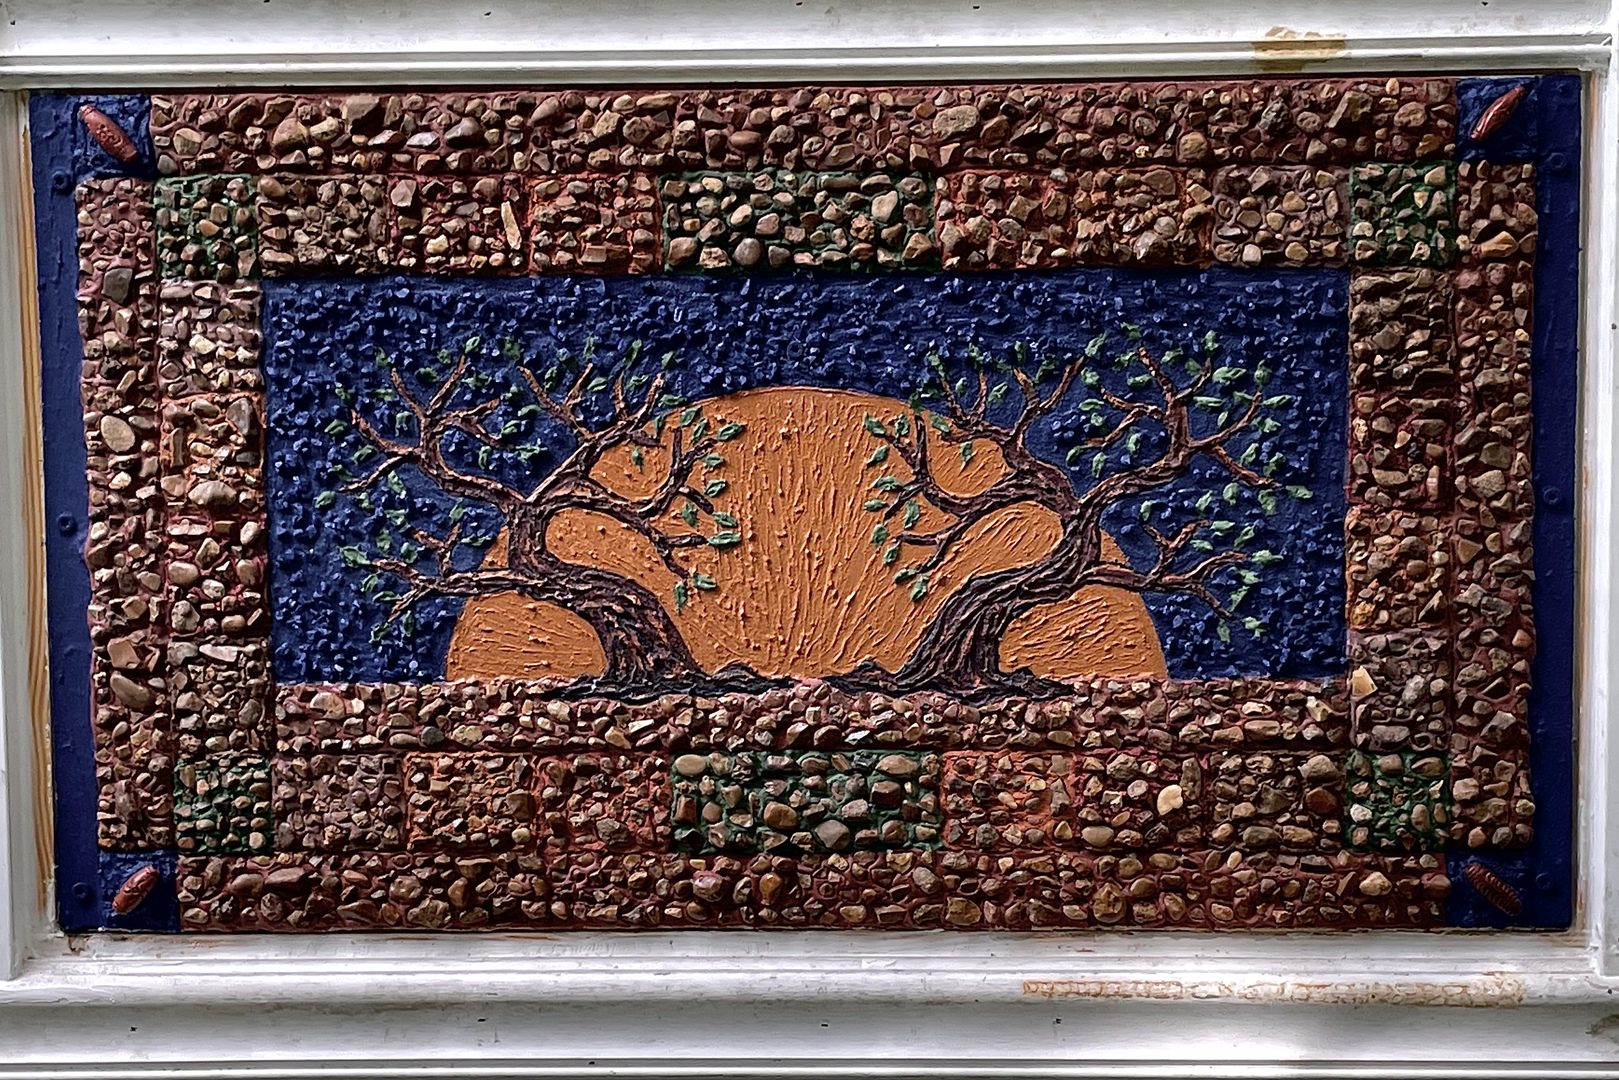
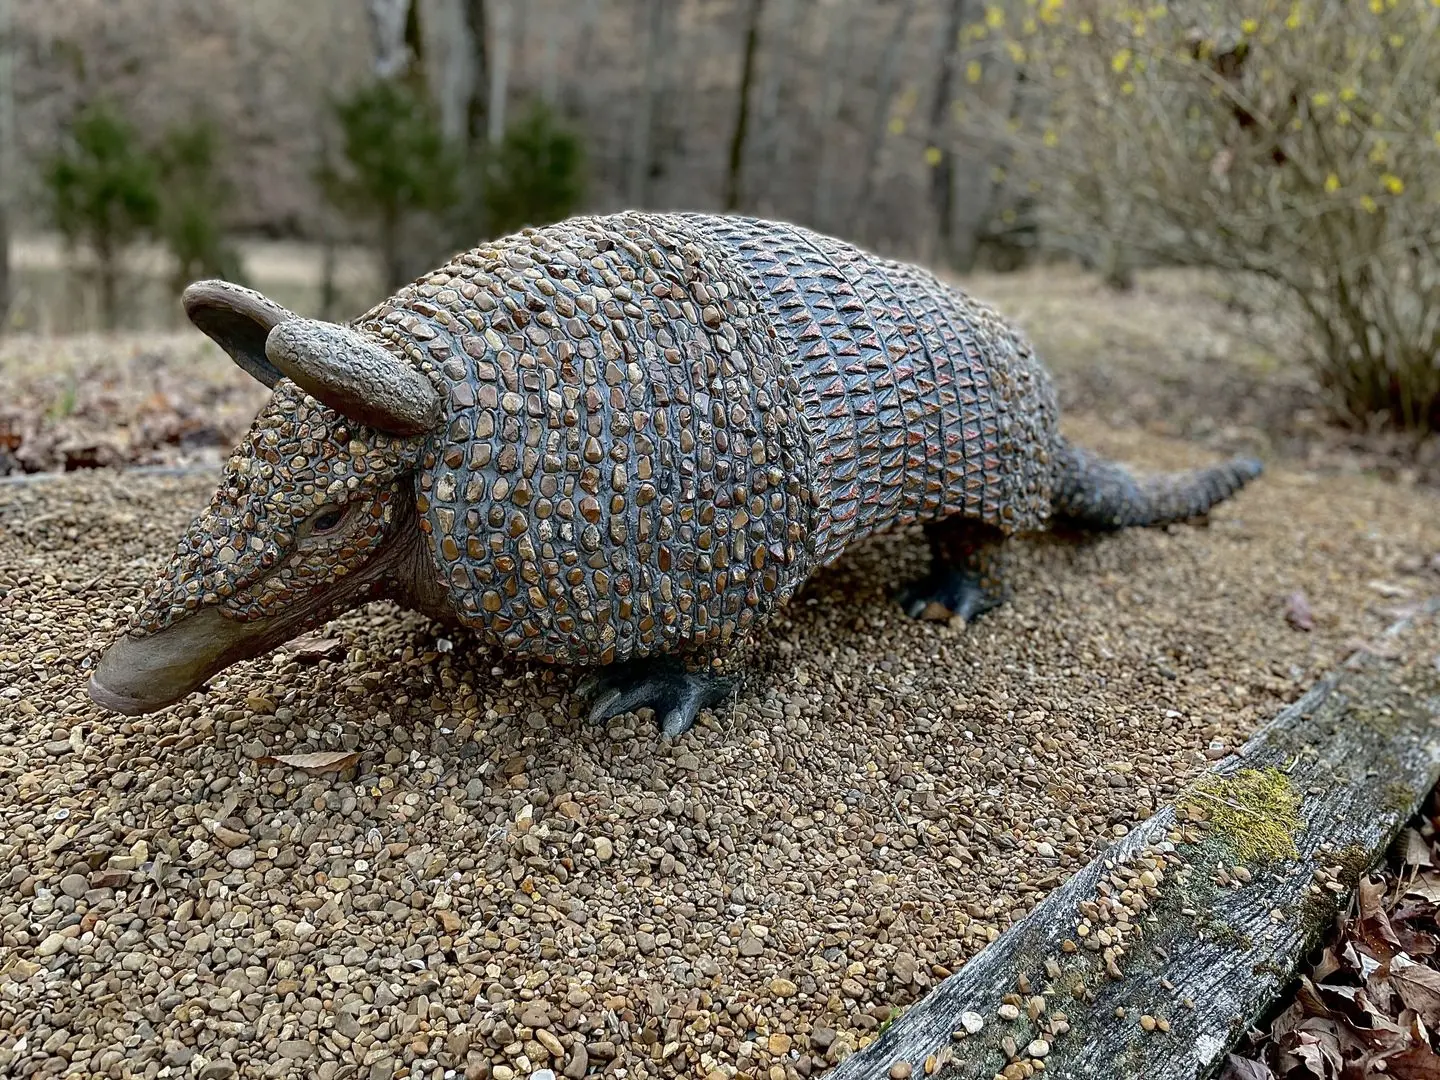
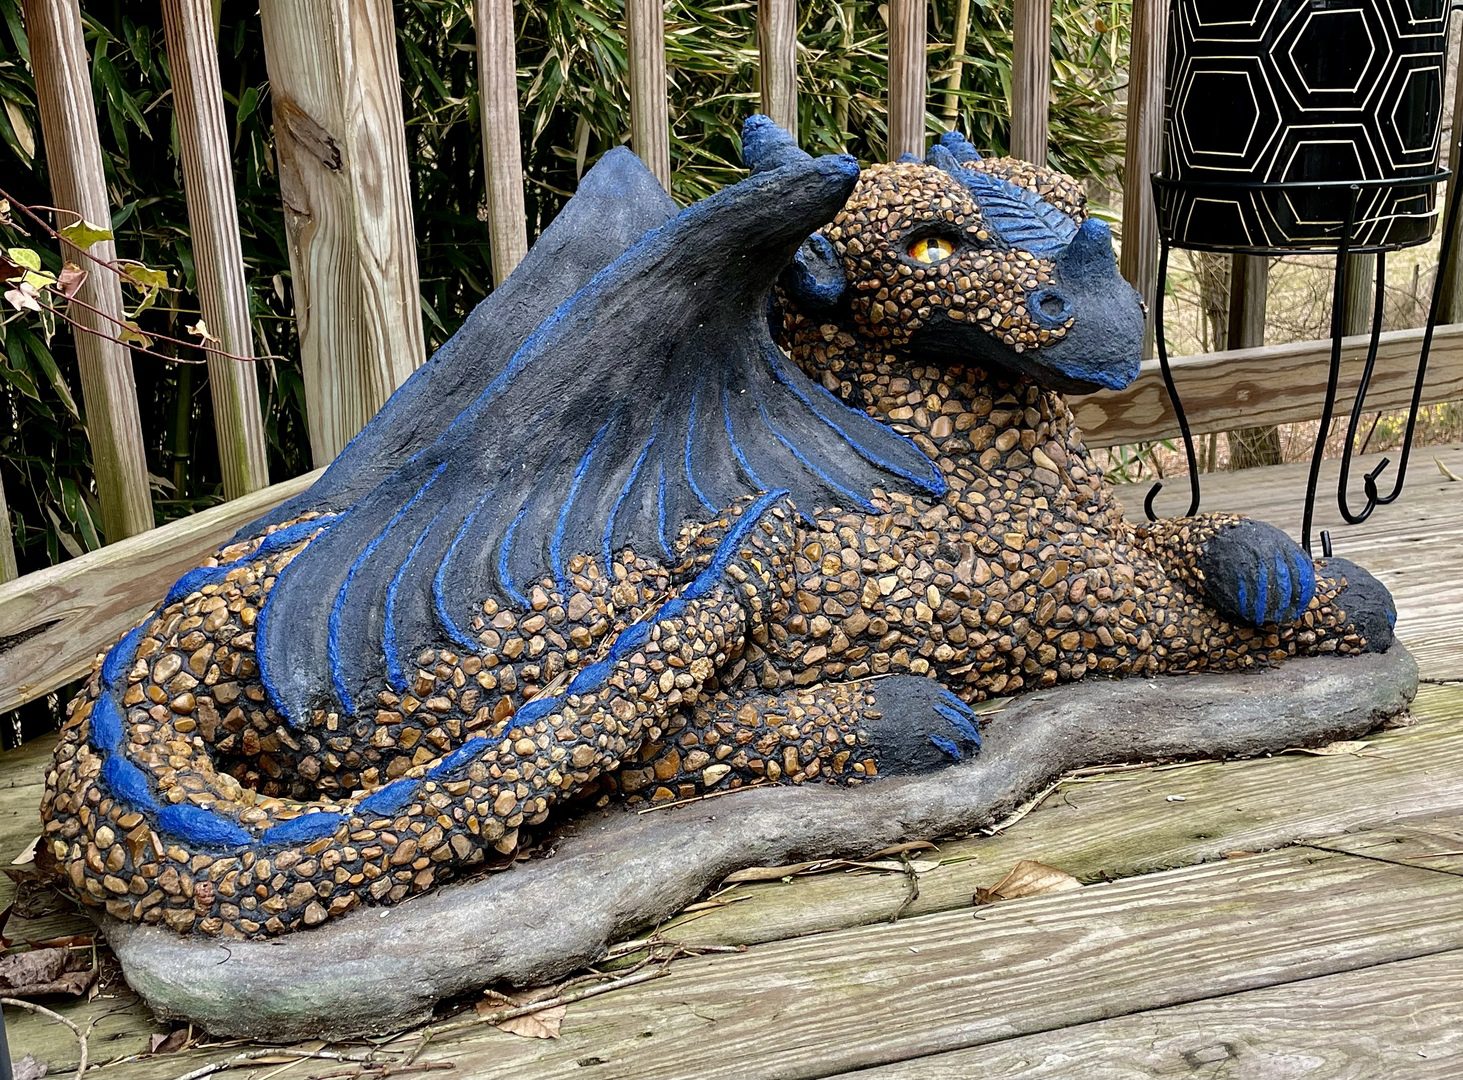
Concrete Statuary & Outdoor Concrete
By Direct Colors Customers
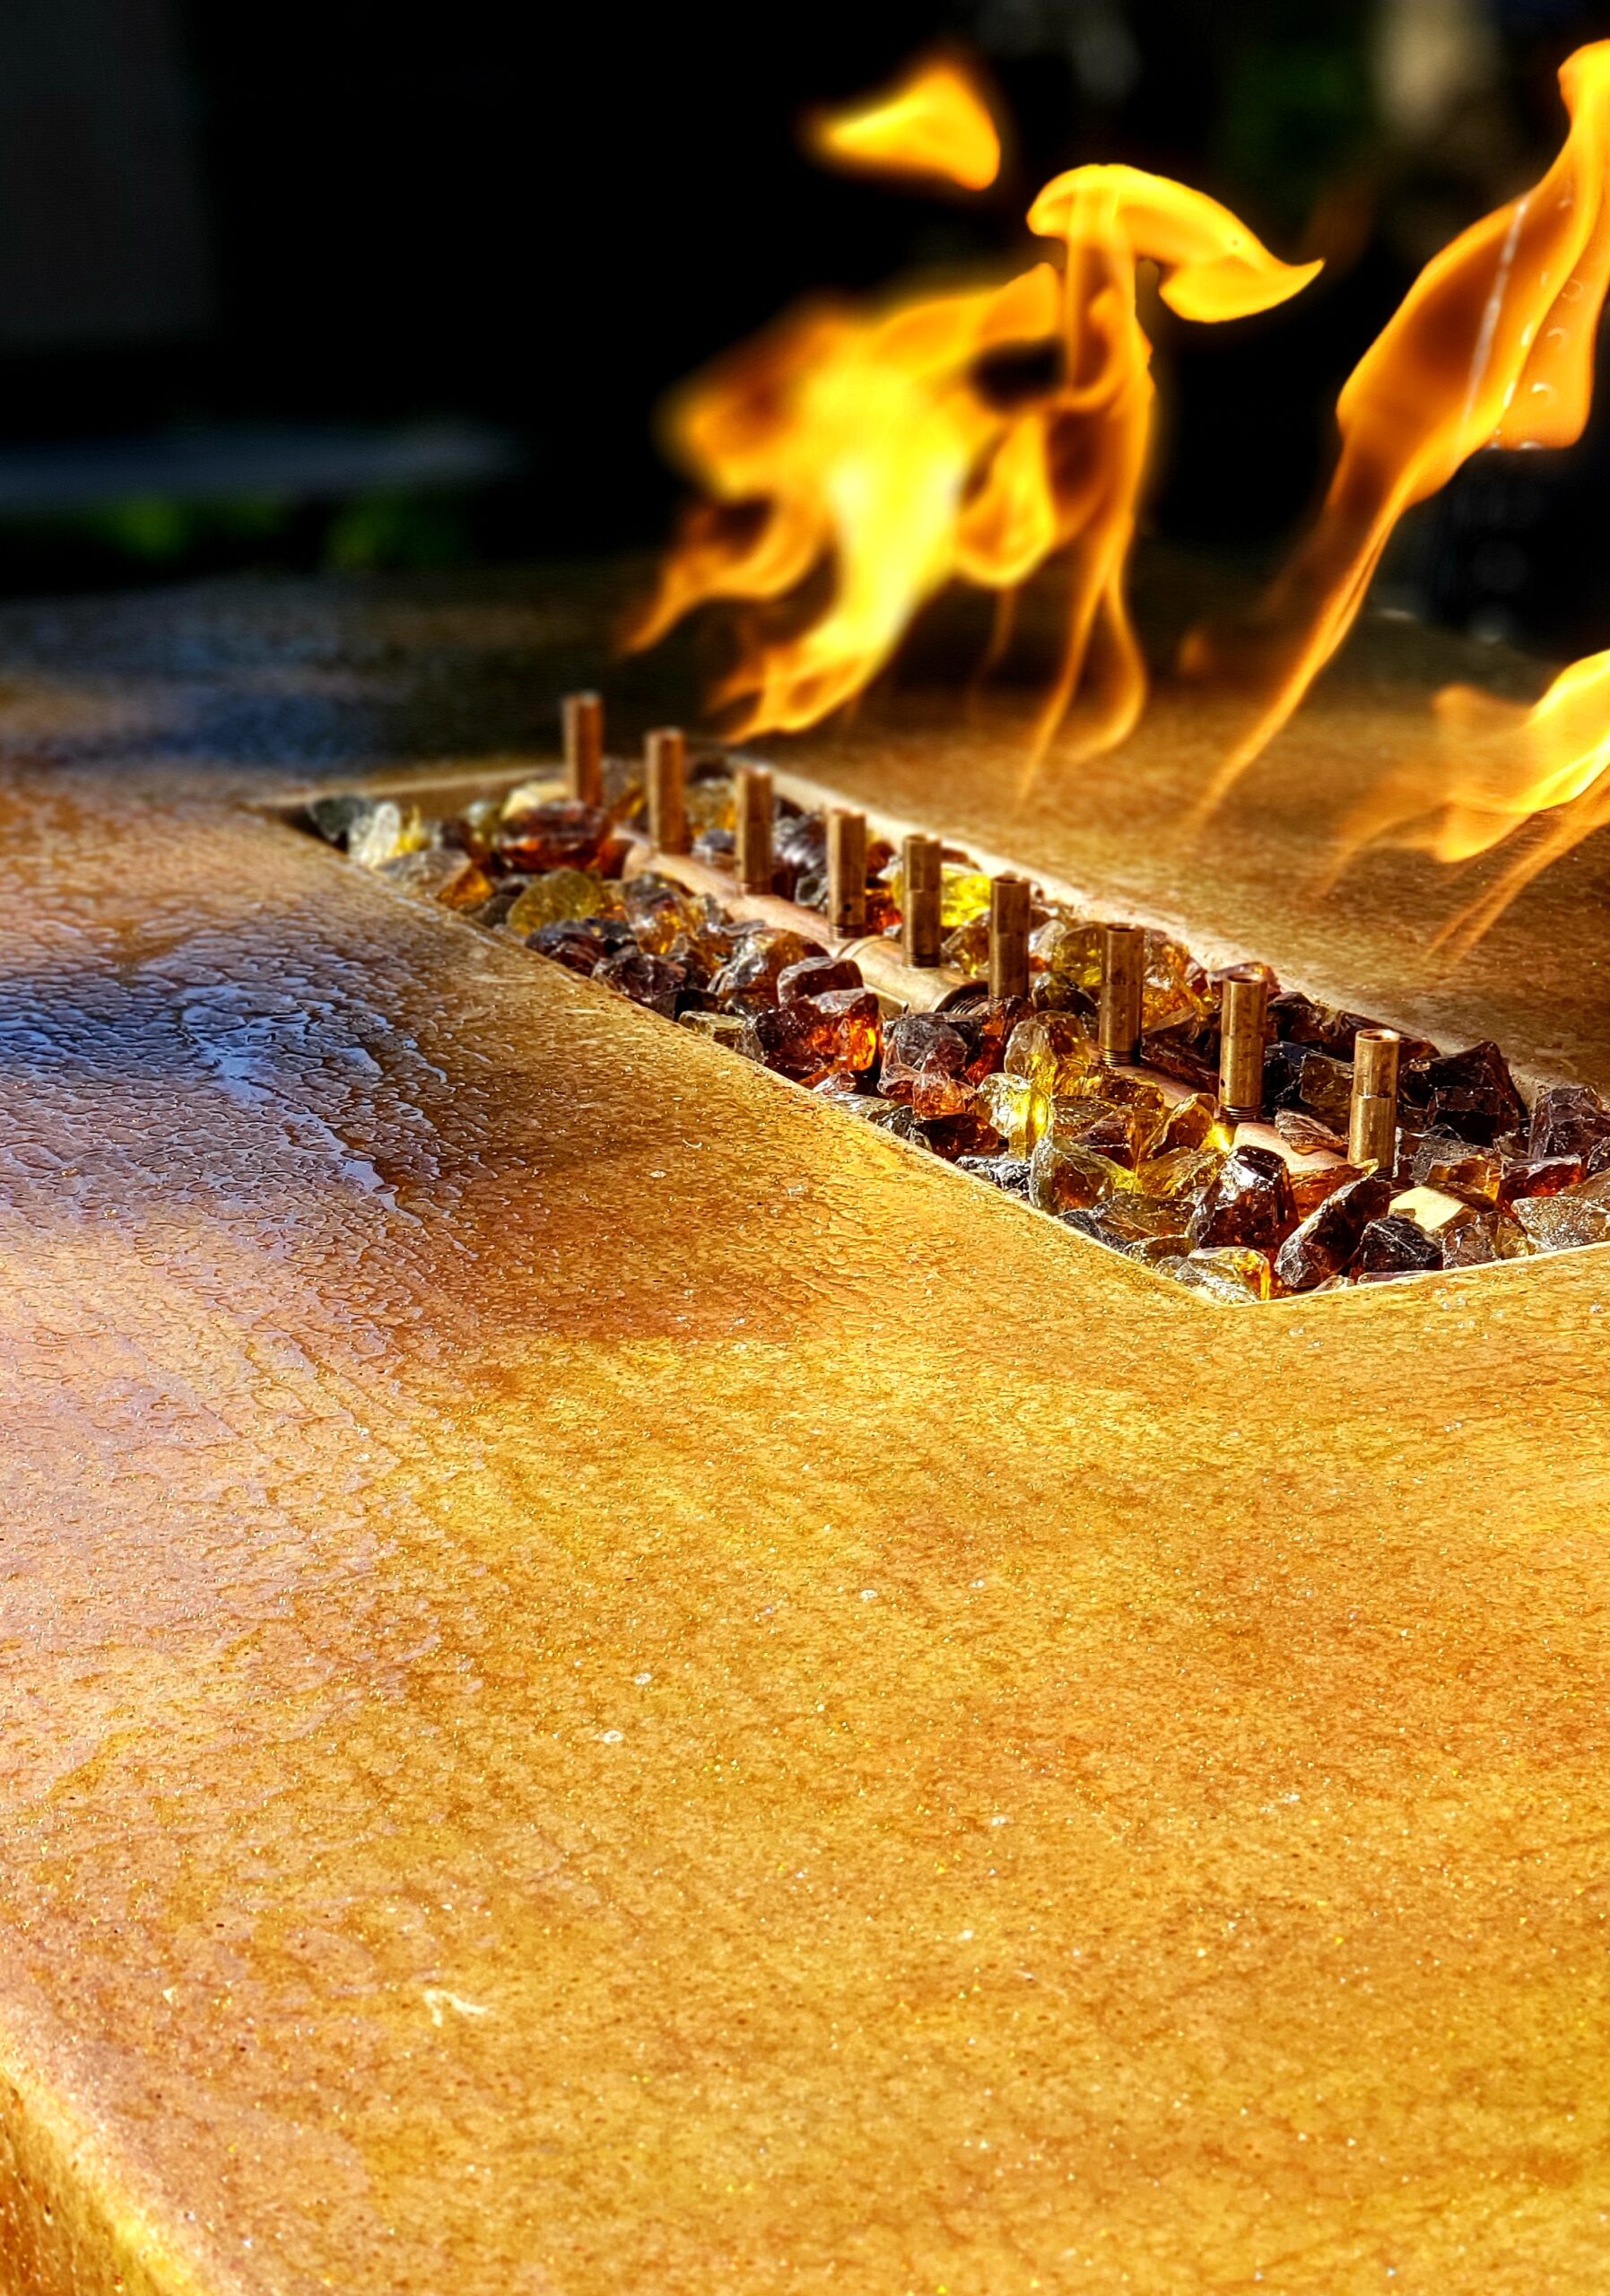
Concrete Tables
By Direct Colors Customers
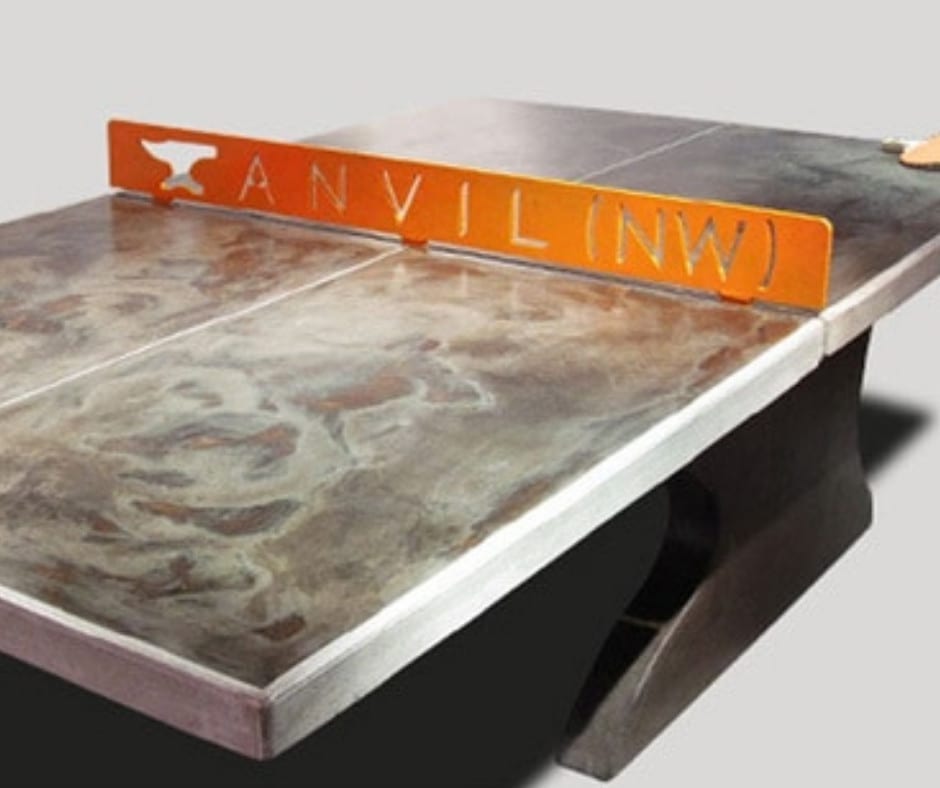
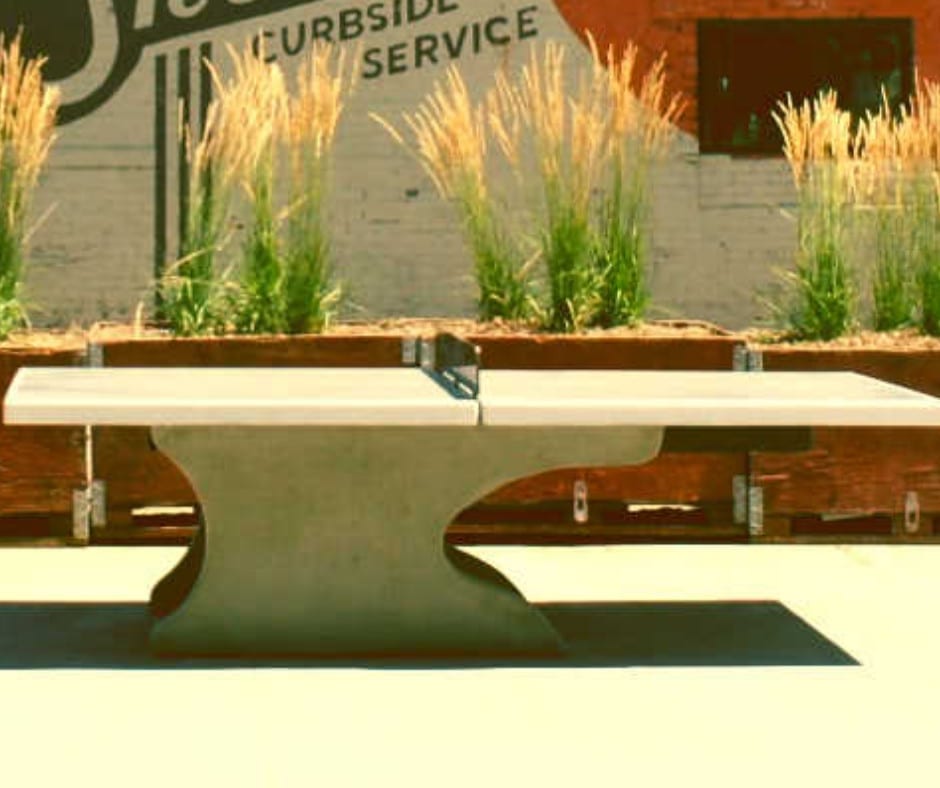
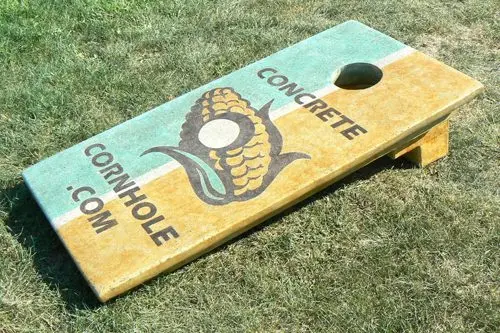
Concrete Game Tables
Kaleidoscope Patio: A Vibrant Journey in Concrete Pigment and Craftsmanship
By Don Tienter
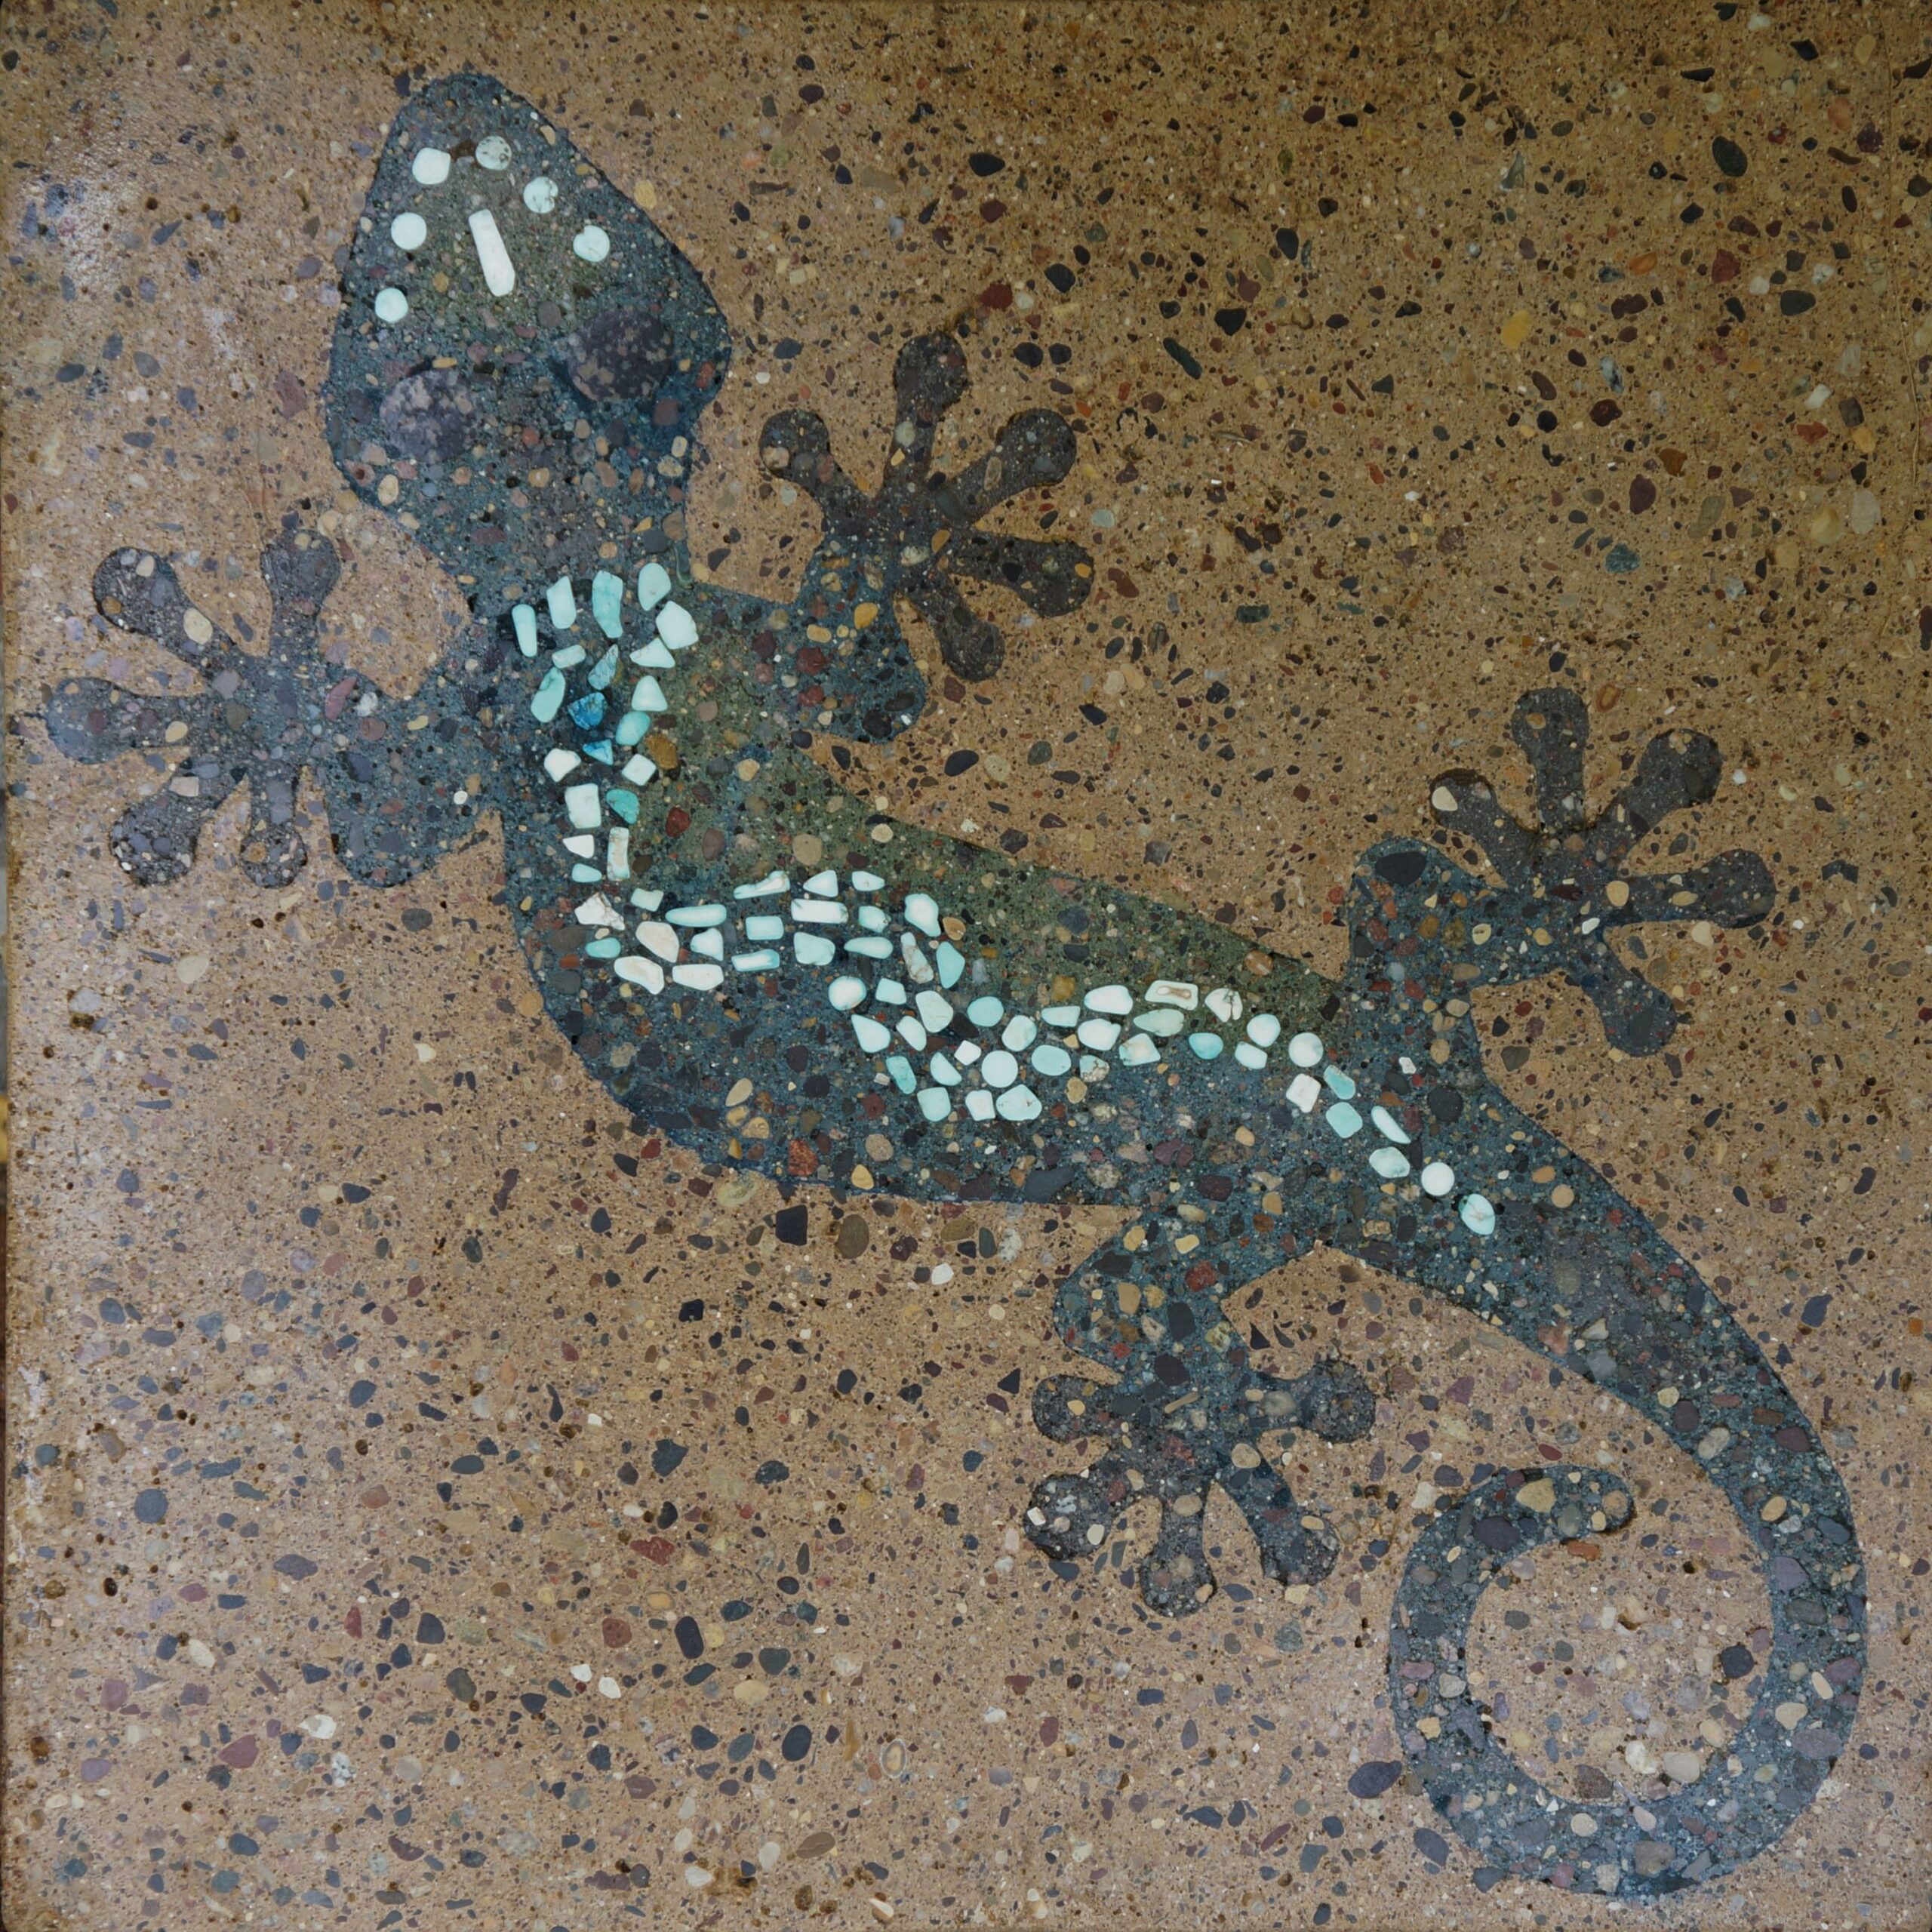
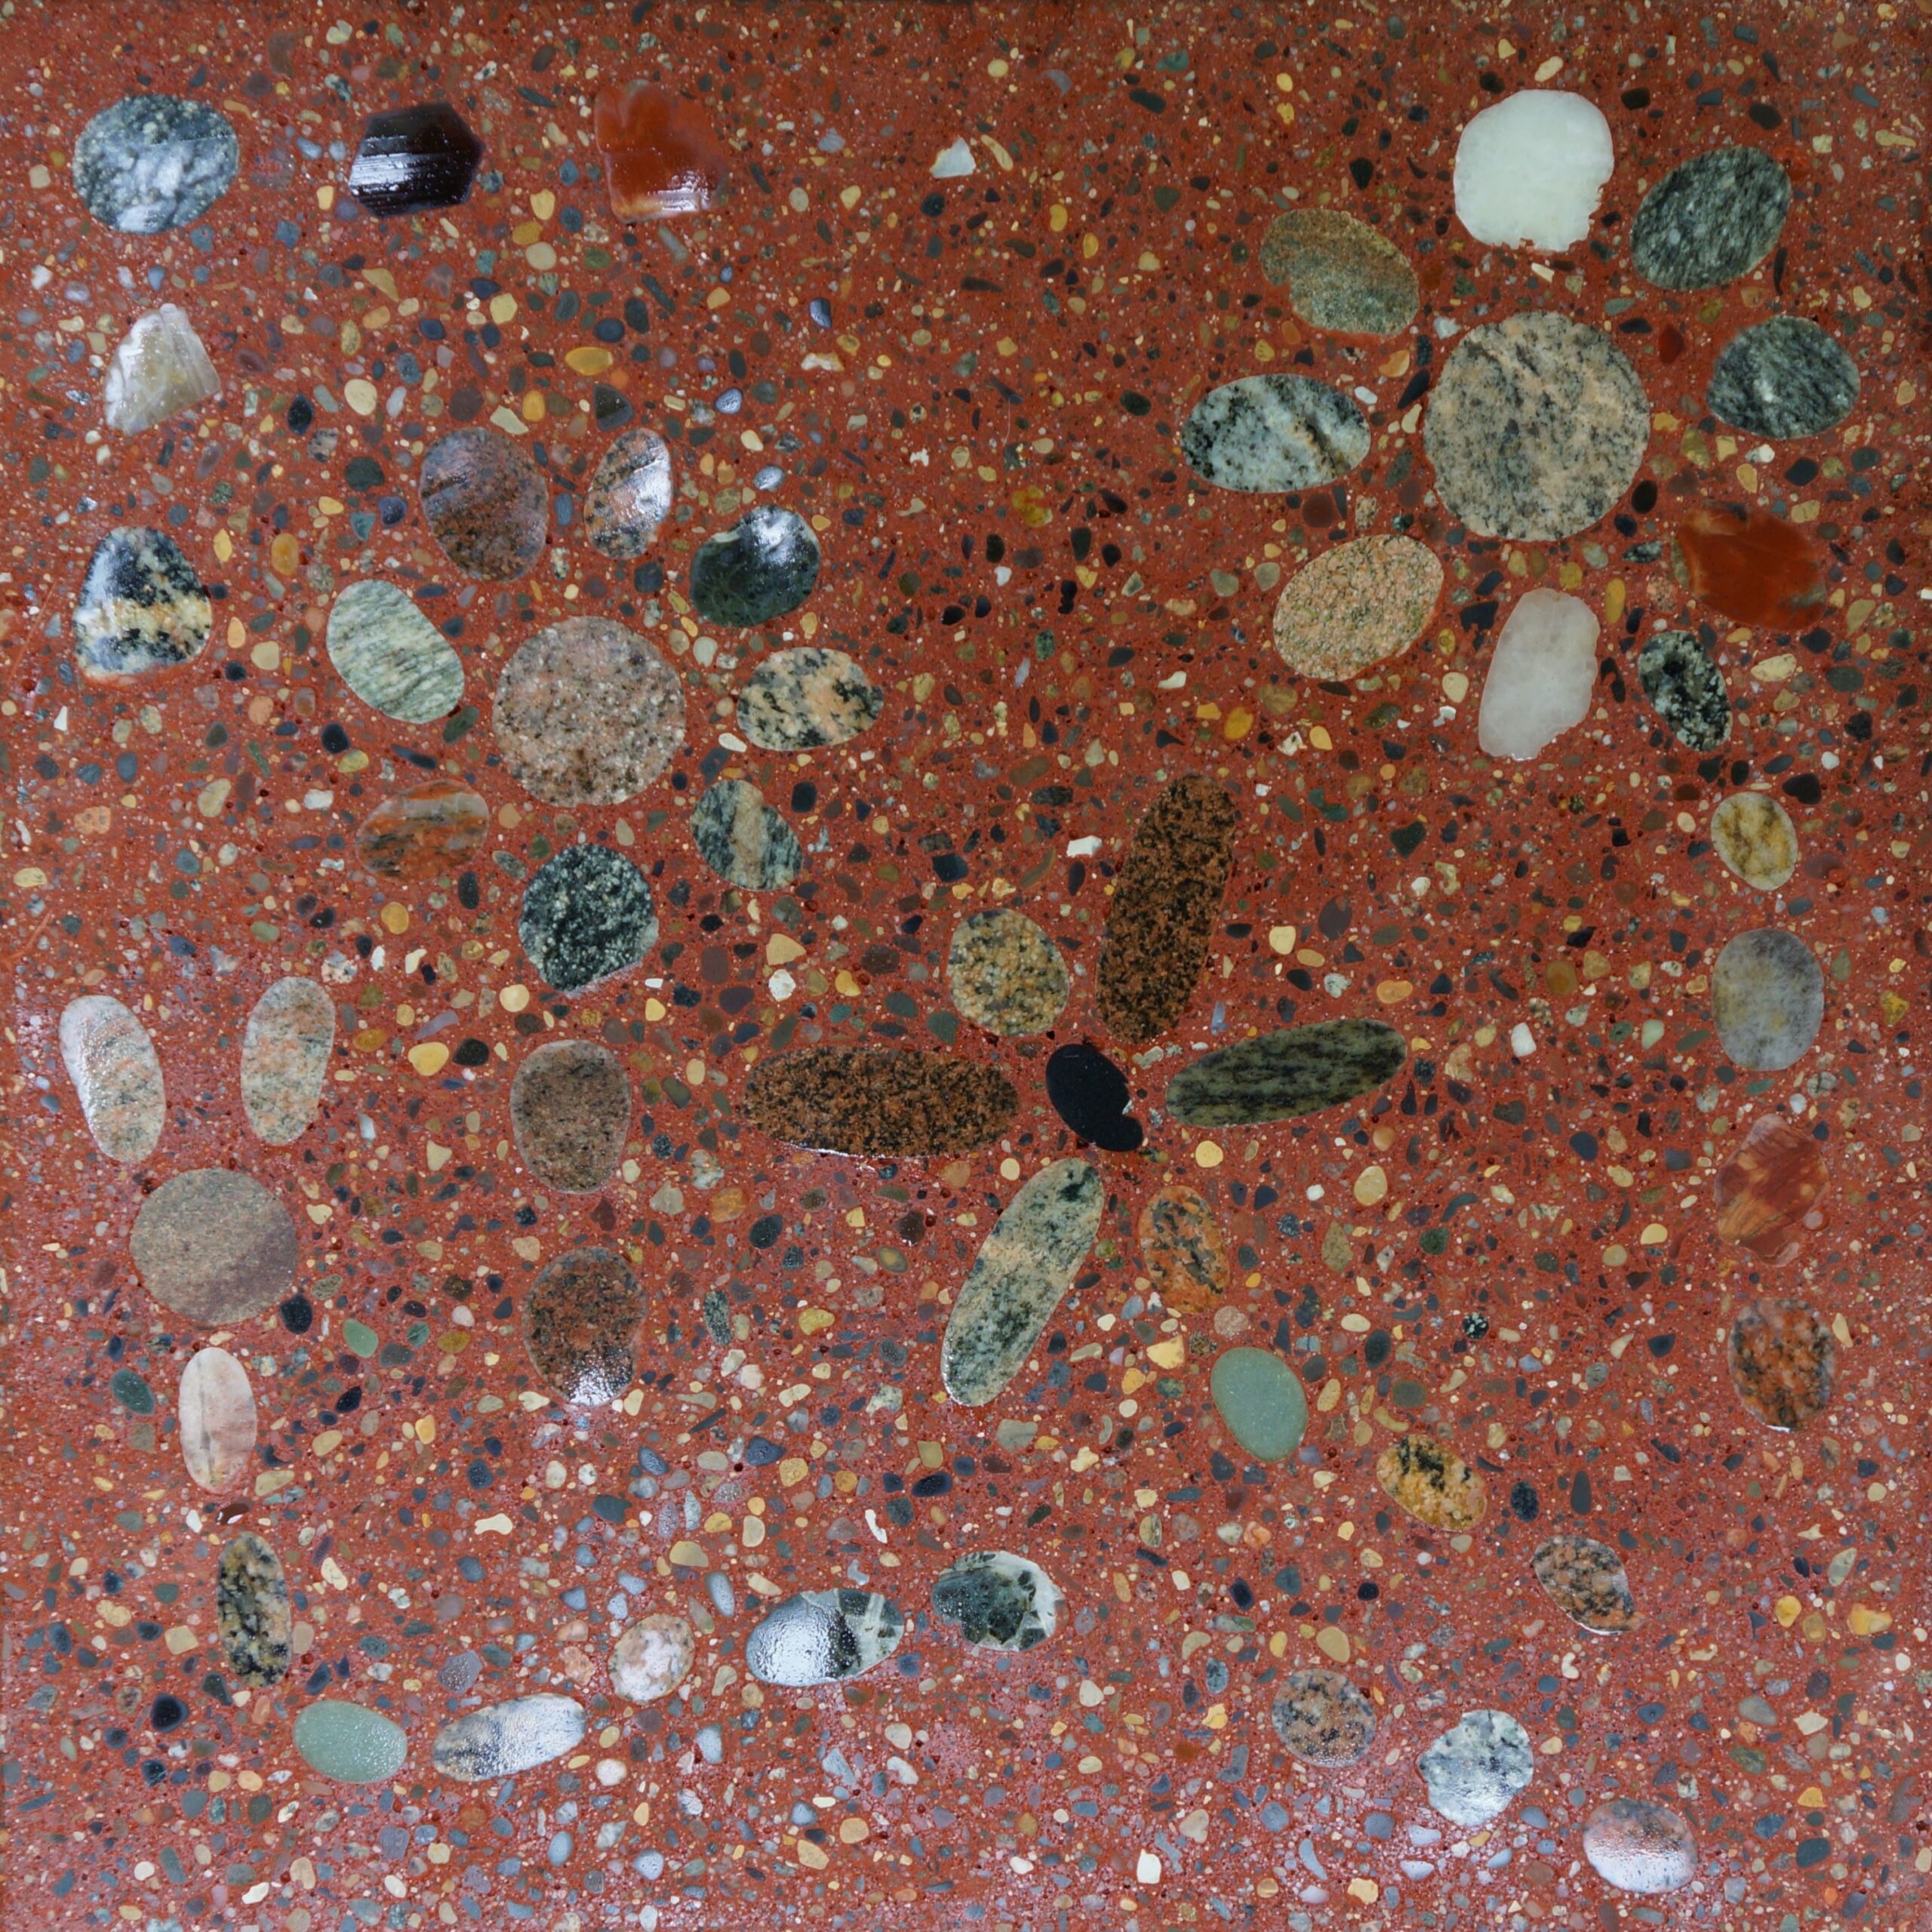
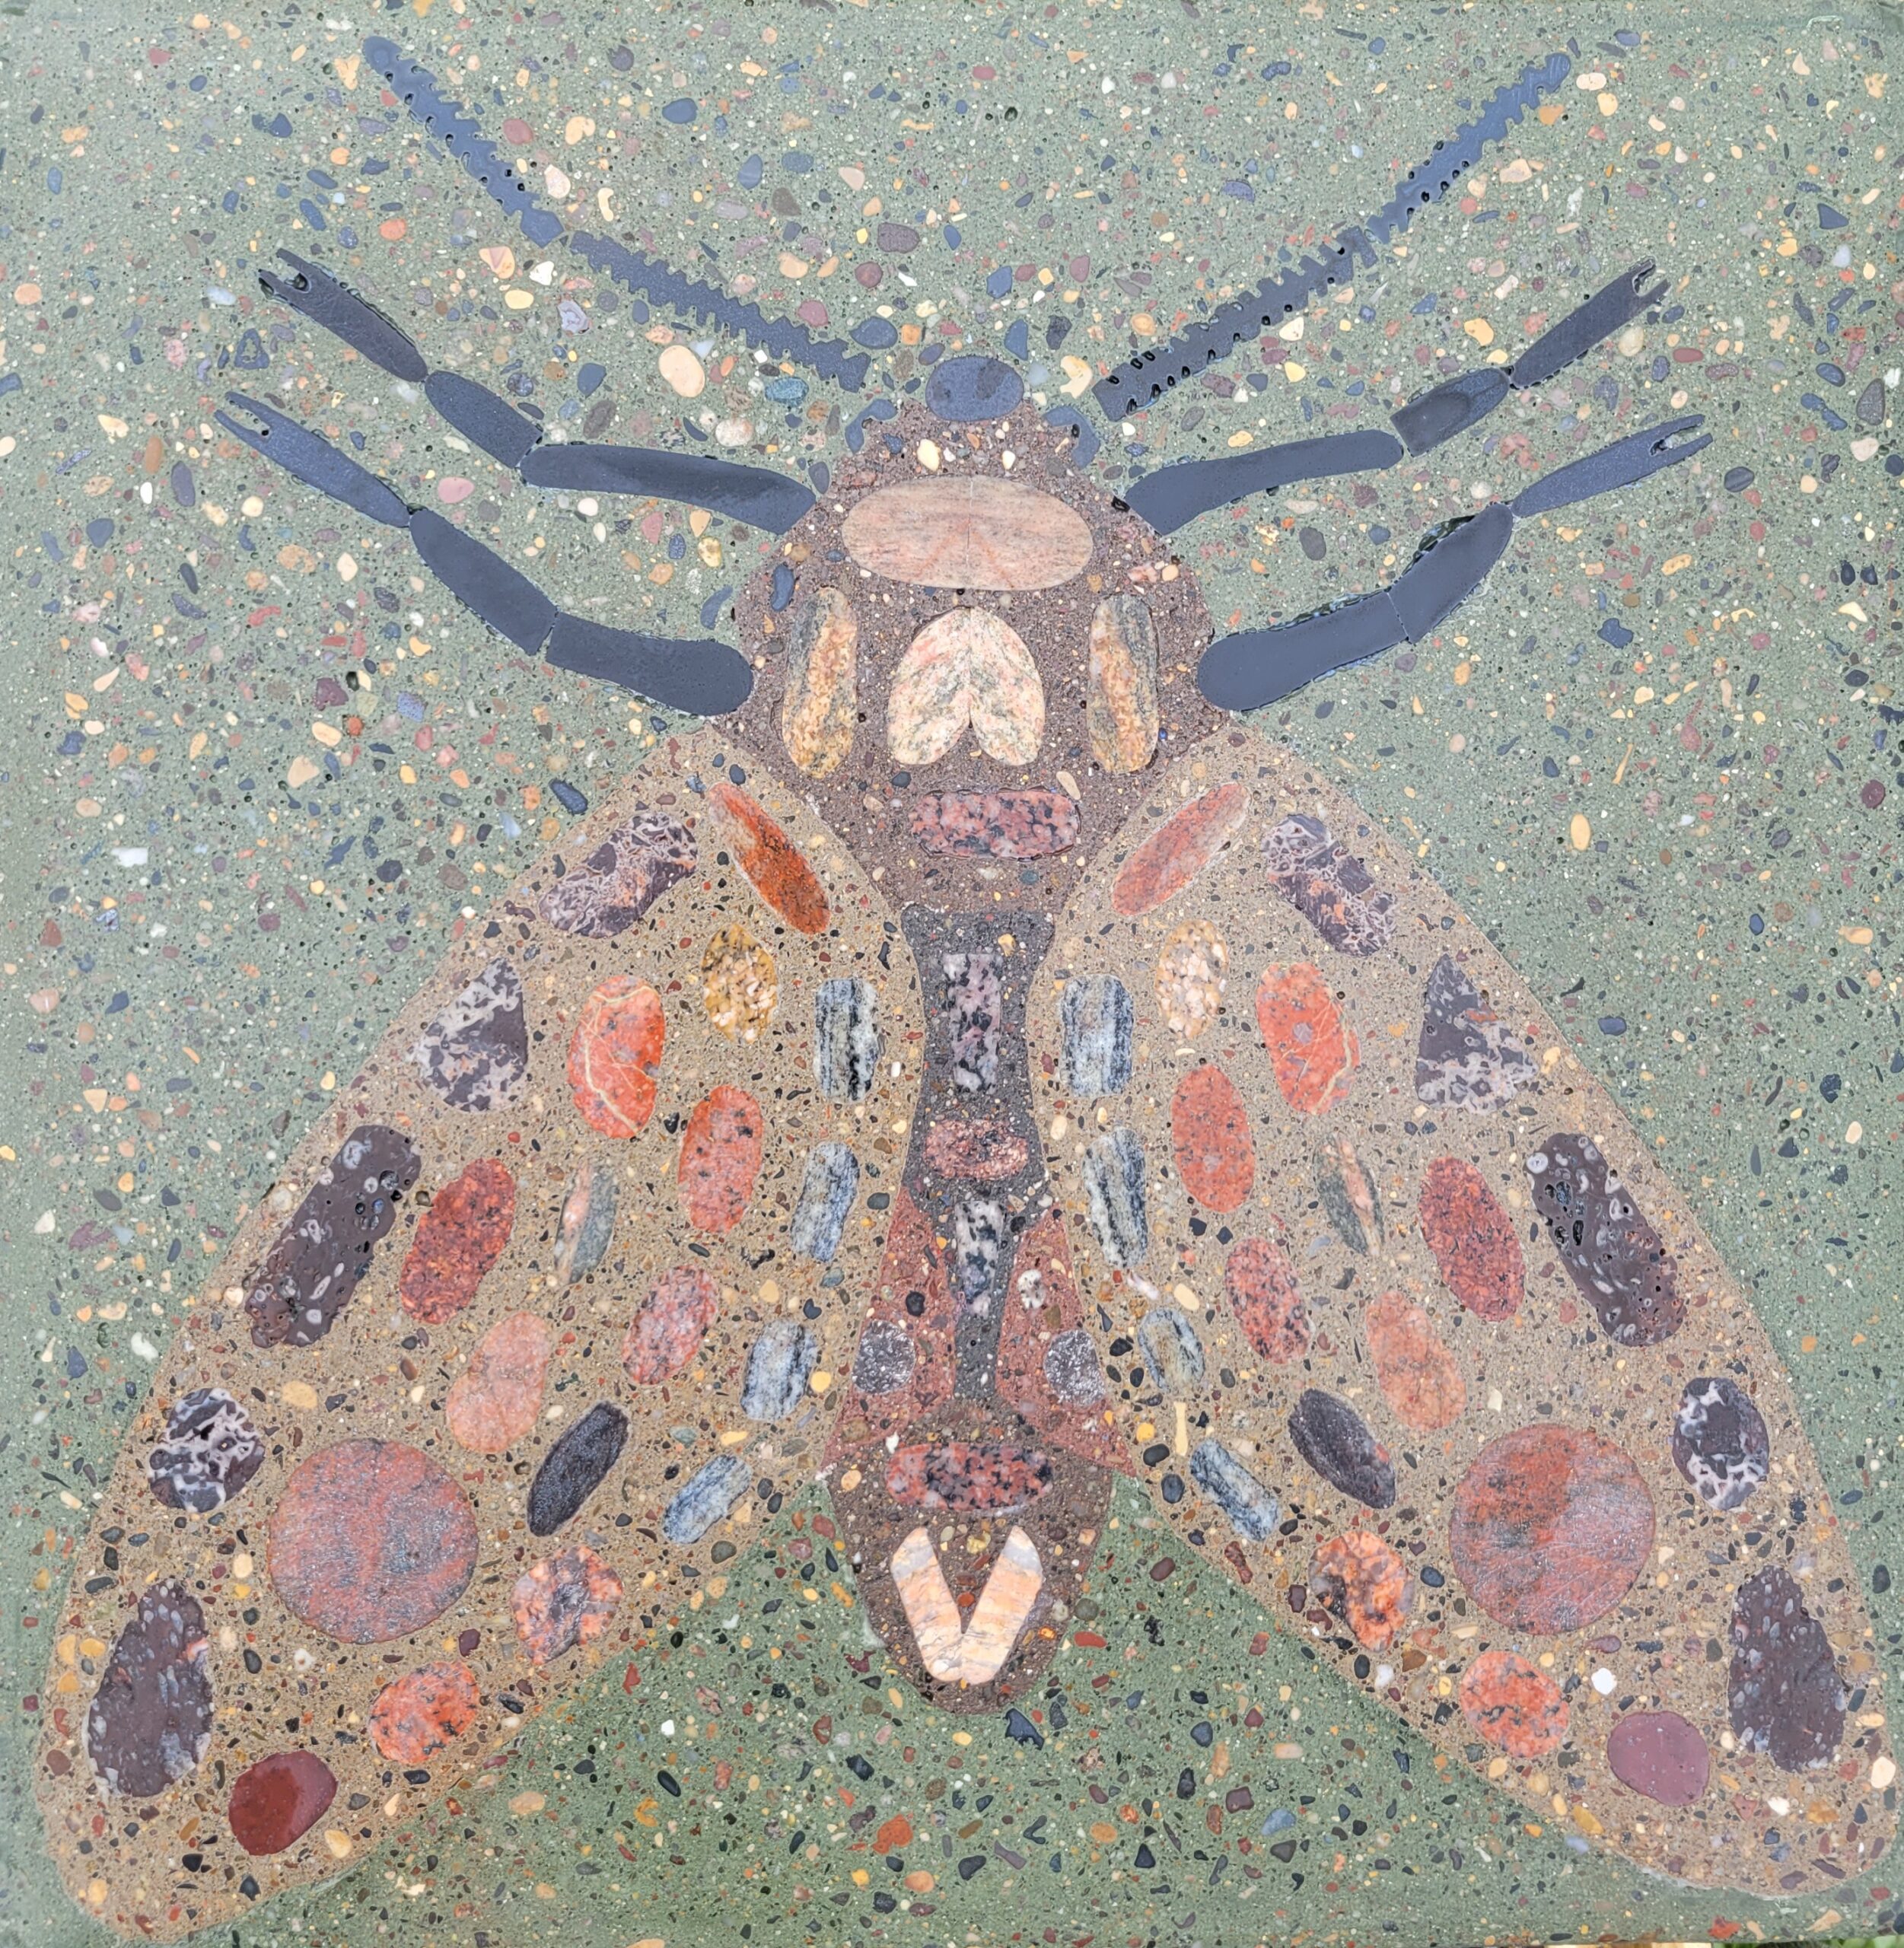
Project Info:
- Project Completed In: 600 day(s)
- Estimate of Square Footage: 90 sq. ft.
- Project Description:
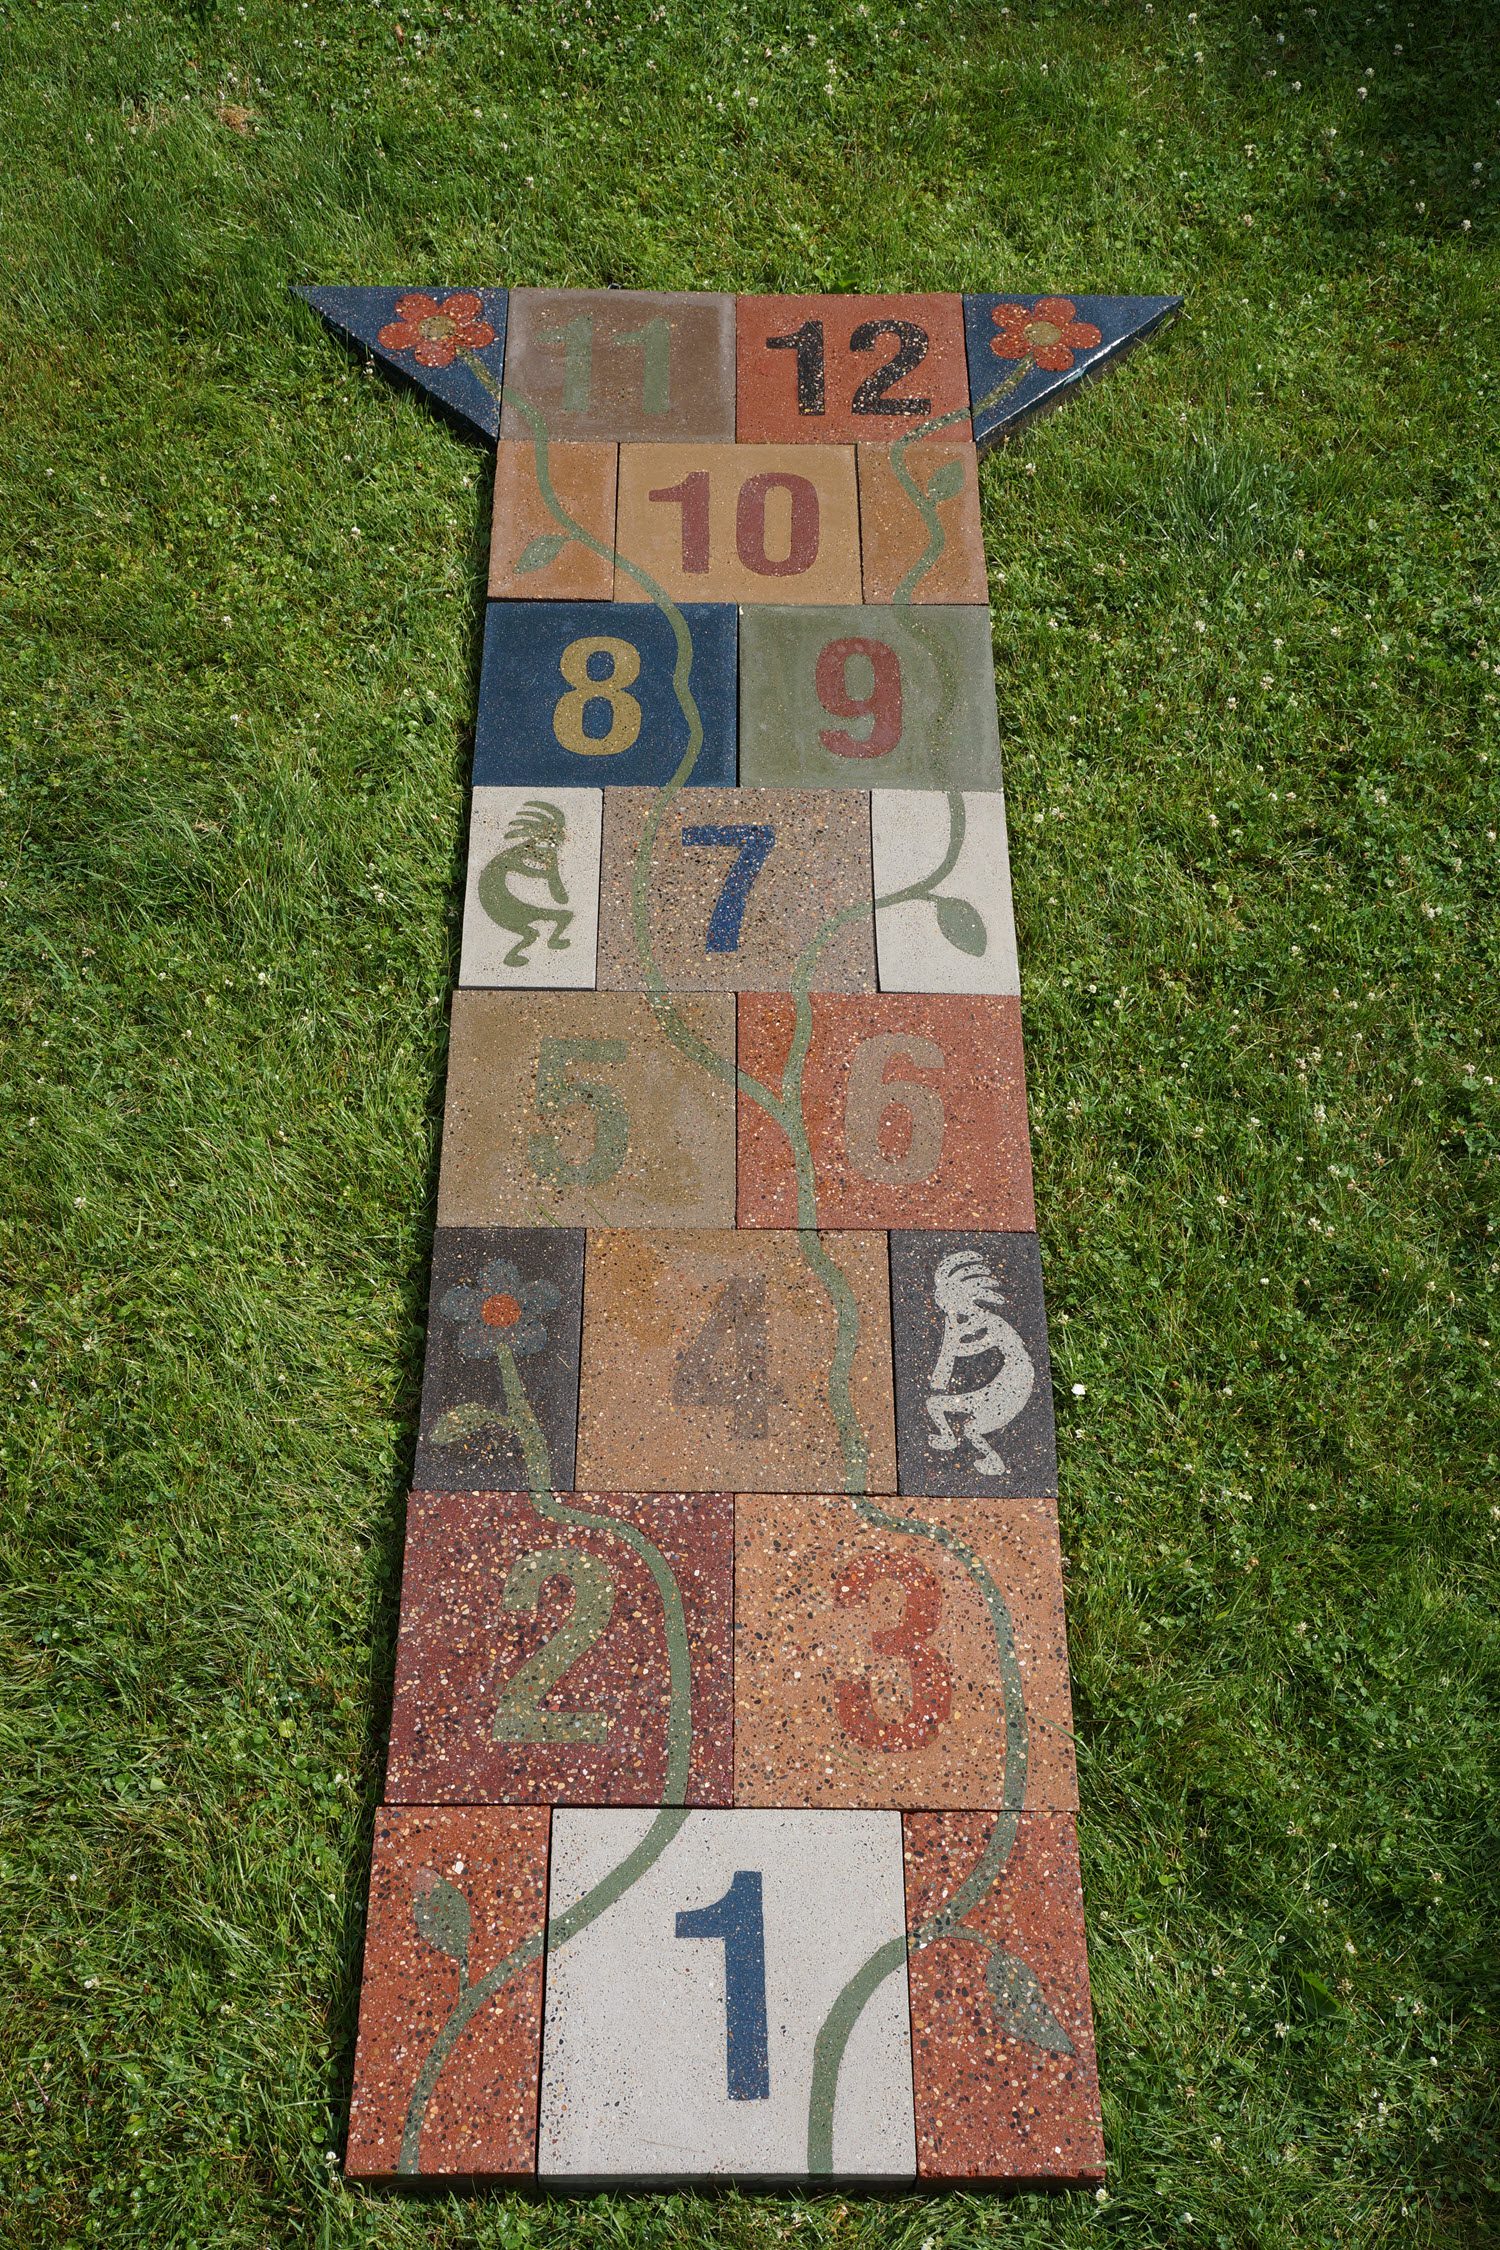
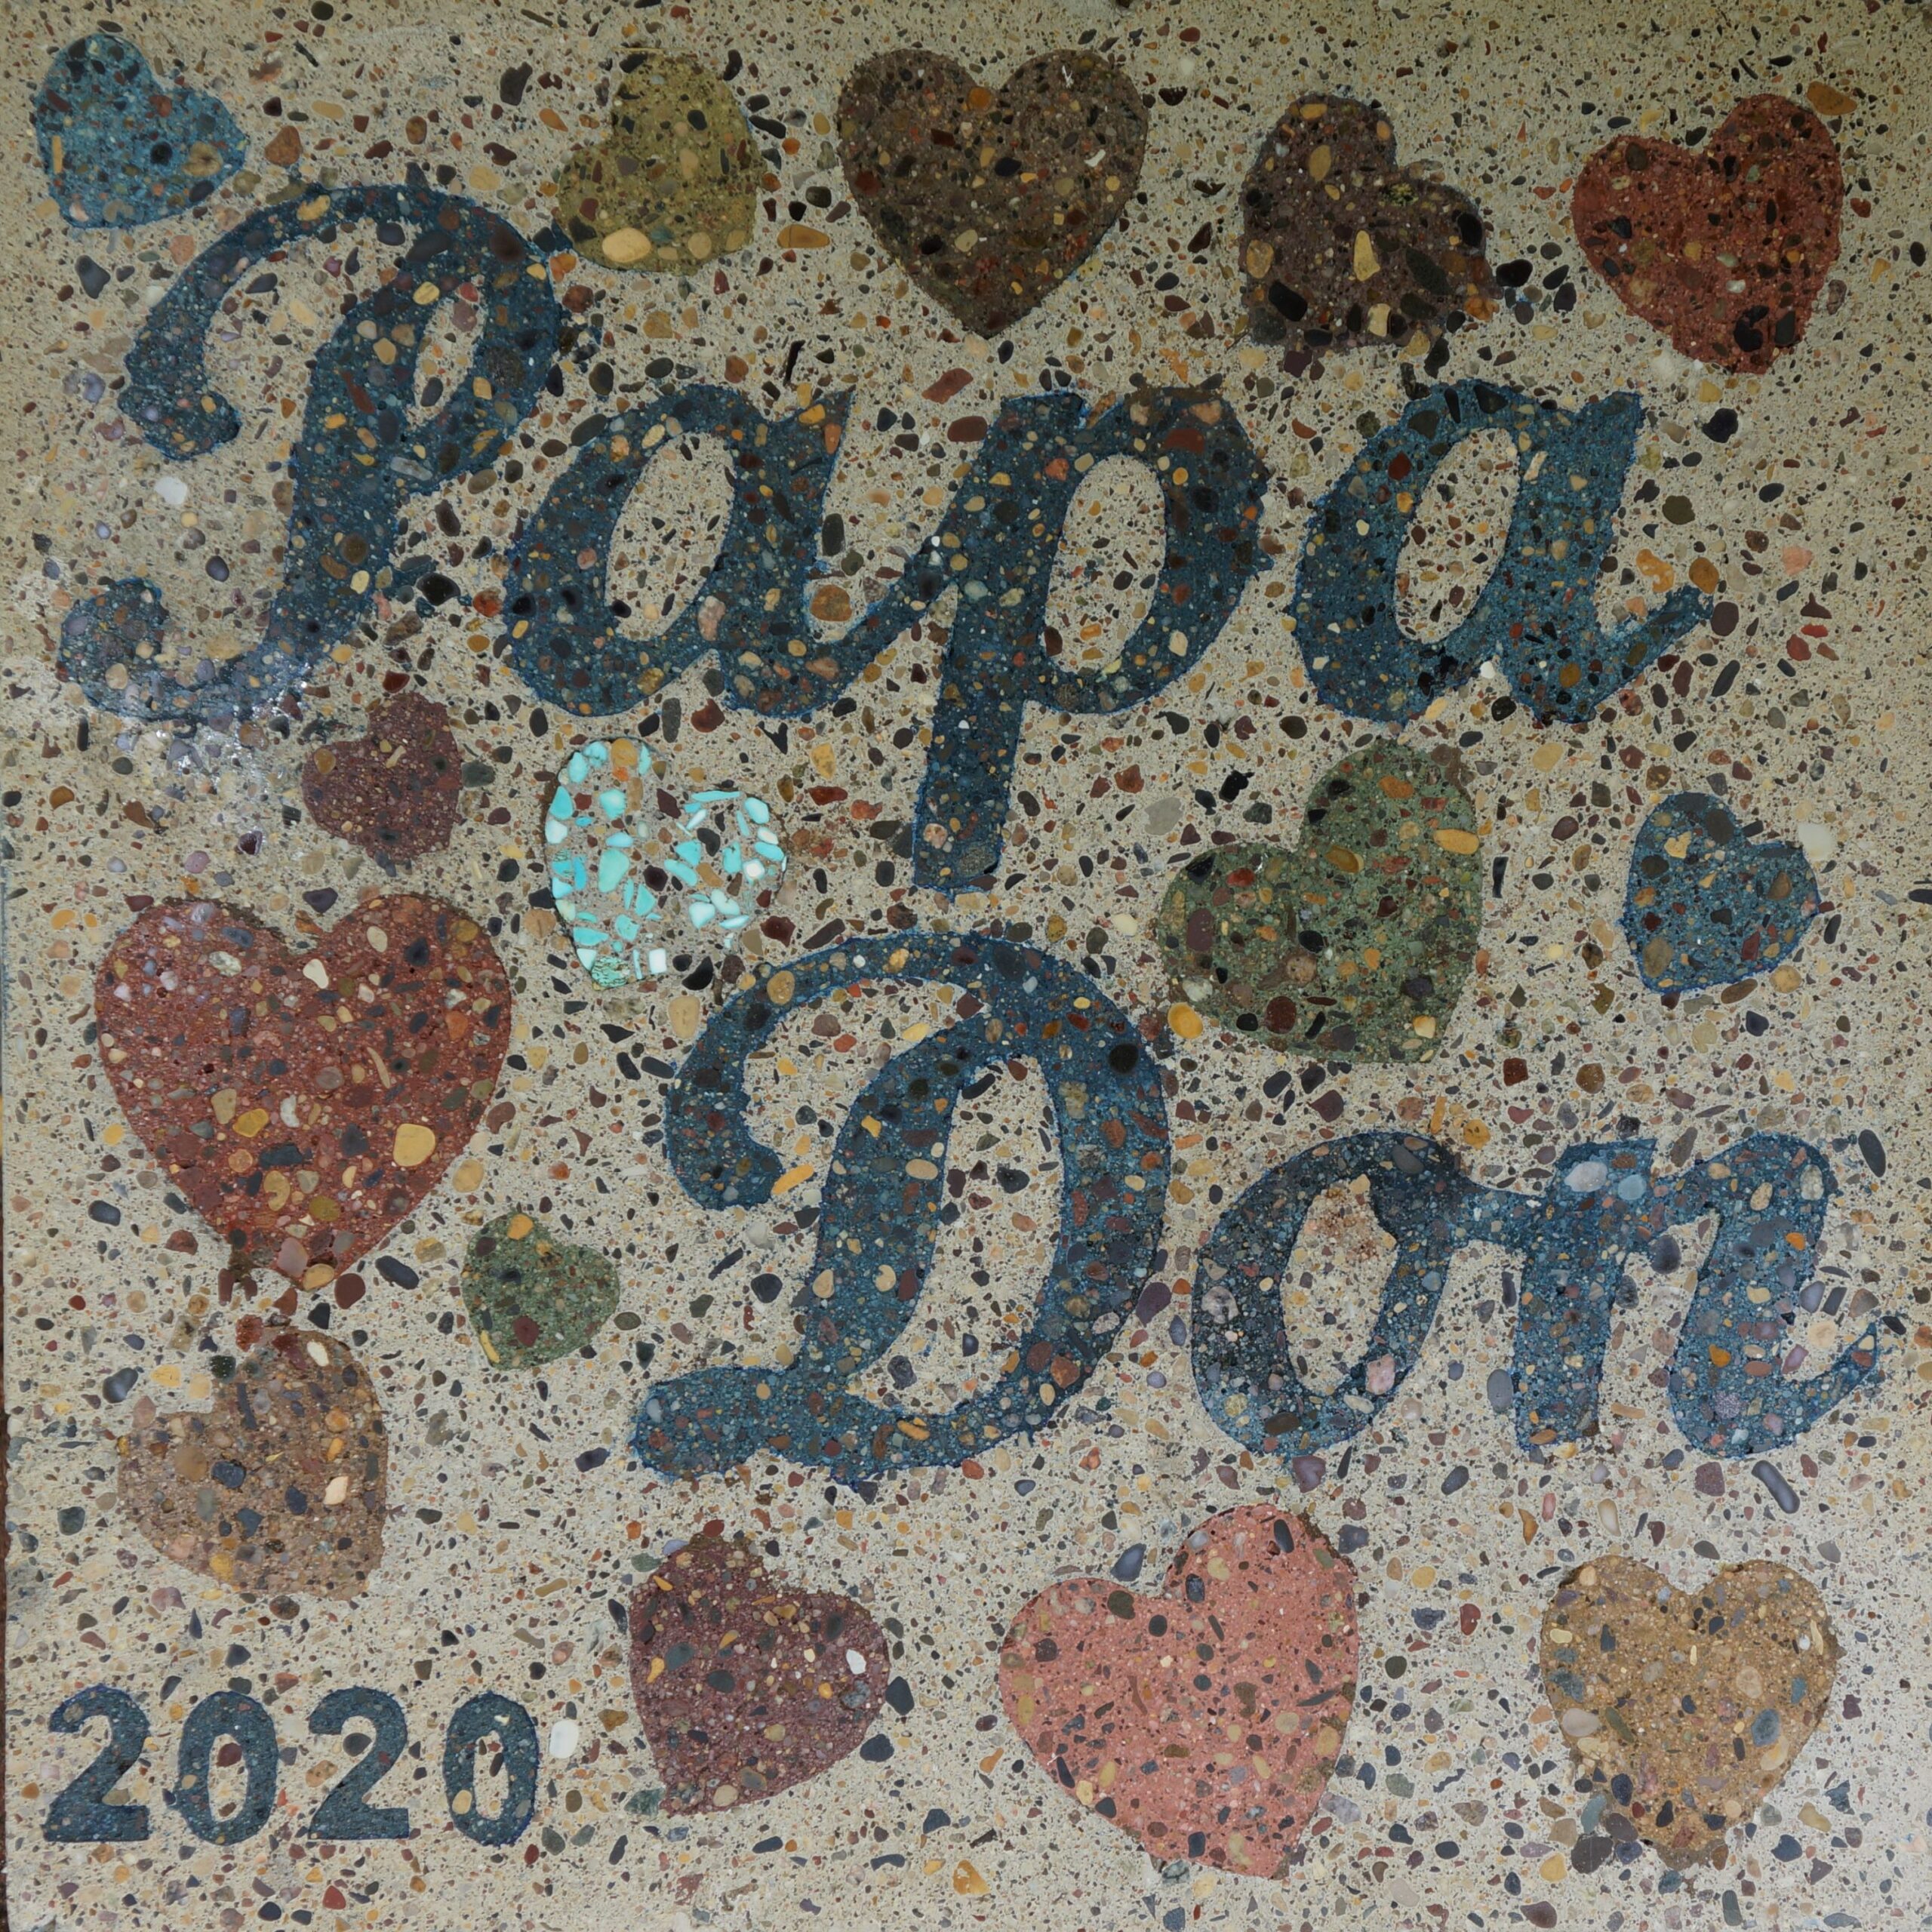
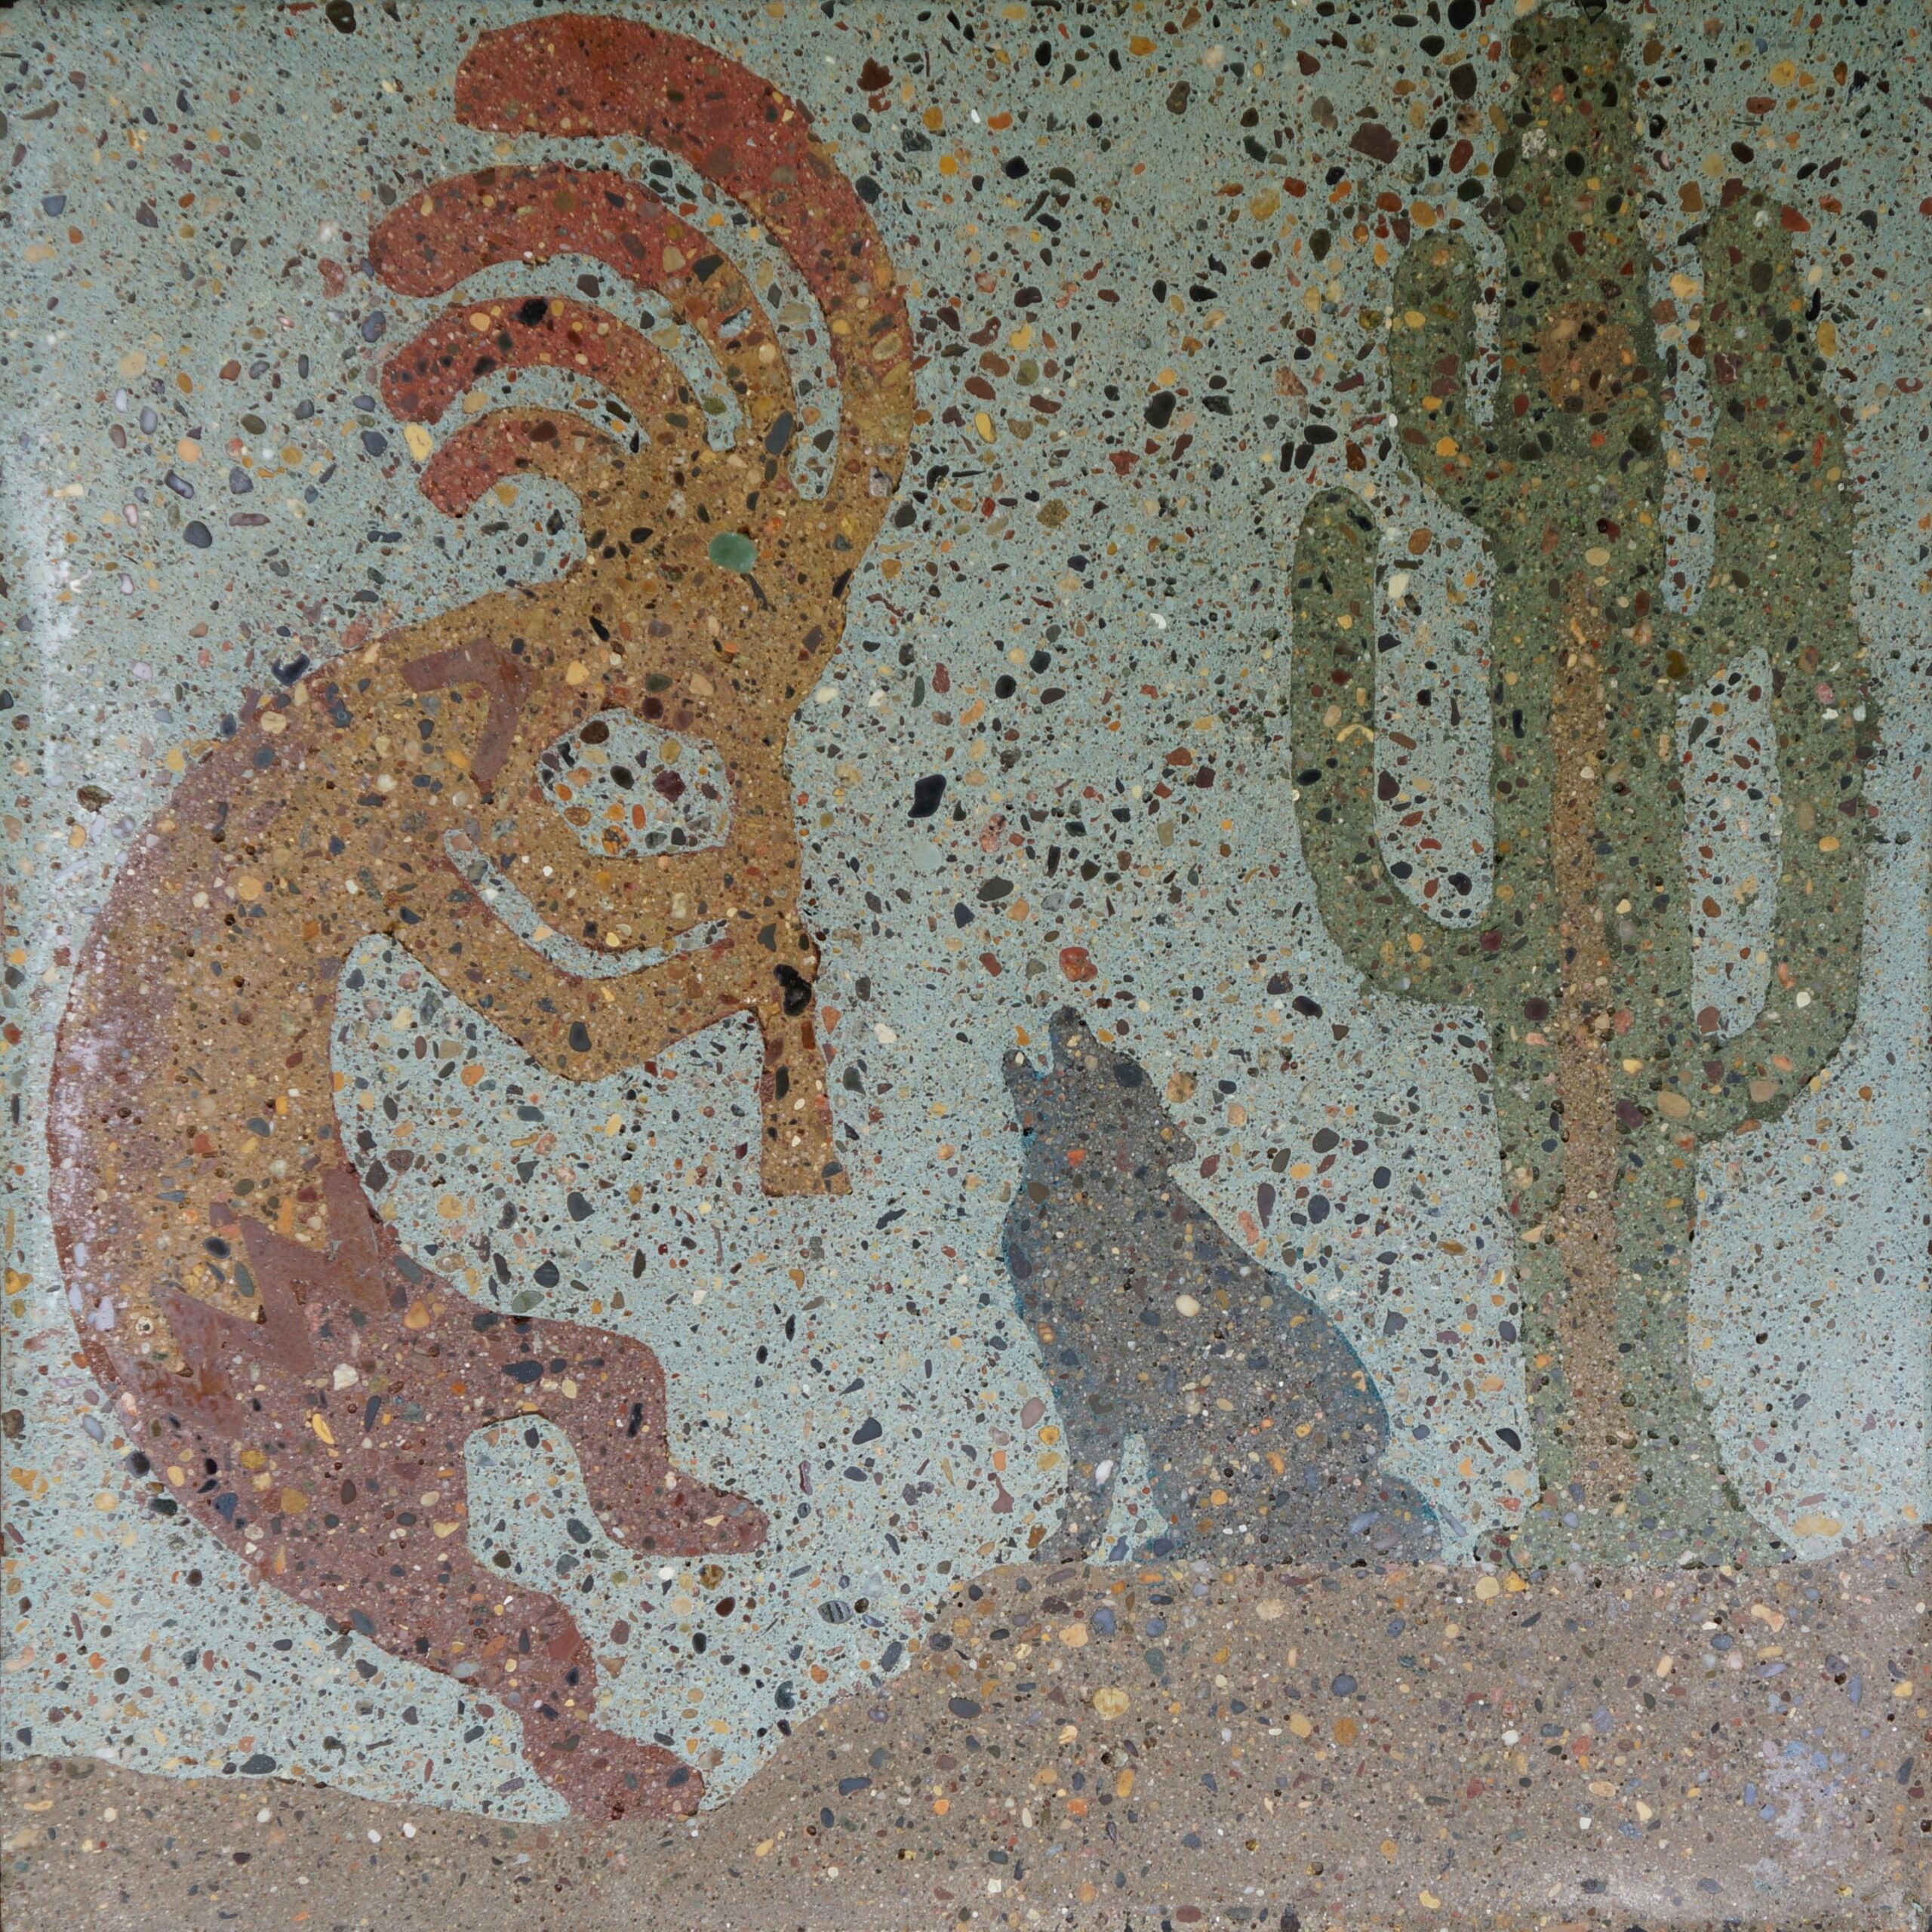
This started as a paver design and creation project at the beginning of the pandemic lockdown, April 2020, something to keep my mind and hands busy. I created 50 pavers, 16″x16″ 3″ thick for a small patio and hopscotch walkway in front of a Playhouse. The project ended up spanning over 3 summers, (kind of like the pandemic). Each paver required patterns cut from foam stock, and several pours of the different colors. After each pour, I would remove more segments of the foam pattern and pour another color. When complete and hardened, I polished most of the pavers with a wet grinder, exposing the aggregate. I created 5 forms, each batch took 2 to 3 weeks to complete. I have not installed the pavers yet, that will be next spring’s project. The primary jpg is with all the images arranged in Power Point. One image shows the hopscotch pavers laid out on the grass. The other images are sampling of the pavers. You will also notice glare on some of the photos.
Personal Tips:
Took much longer than expected!


