Revamp Your Sunroom Flooring: Tips & Tricks
by Jessica Pacheco
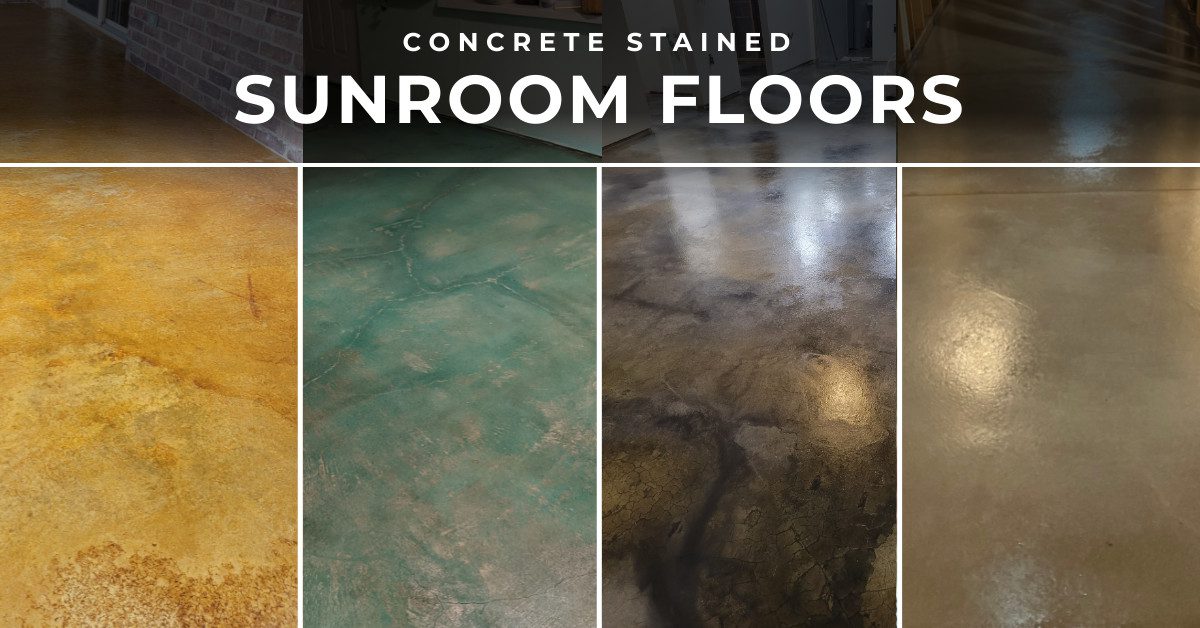
Are you looking to revitalize your sunroom flooring? Staining concrete with dye is a great way to give your space a new look. Dye can be applied to smooth concrete surfaces both indoors and outdoors, and offers vibrant colors with minimal preparation. It’s available in powder form, making it easy to transport and cost-effective, but keep in mind that you’ll need to purchase an acetone solvent separately, the surface must be completely dry, and the dye needs to be vigorously shaken during application. See the dramatic results for yourself with our before and after examples.
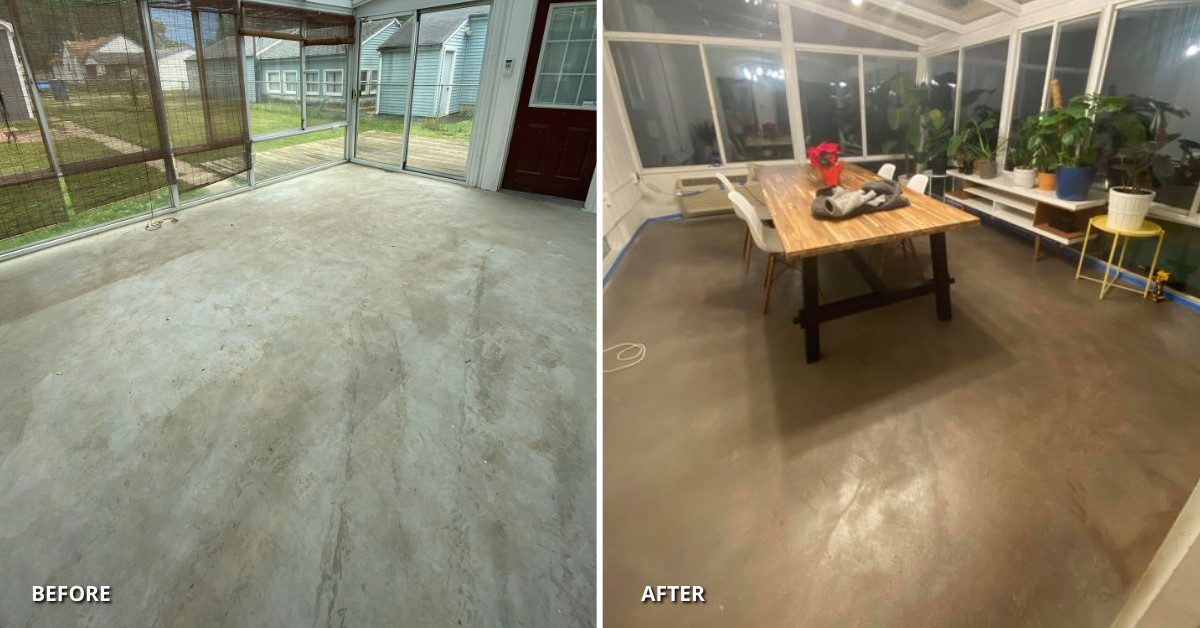
Want to know how to apply concrete dye to your sunroom floors? Here are the steps to achieve the perfect finish:
1. Check the Surface
Before applying concrete dye to your floors, it is important to ensure that the surface is properly prepared. For newly poured concrete, it must have cured for at least 30 days, depending on weather conditions. Cold weather can slow down the curing process and lead to weaker concrete, while hot and dry weather can leave the concrete un-hydrated and chalky.
Whether your concrete is new or old, it must be free of any substances that may prevent the dye from bonding to the surface. Indoor concrete may appear clean, but it can be covered with debris, dirt, oils, sealers, adhesives, and other materials that can interfere with the dyeing process.
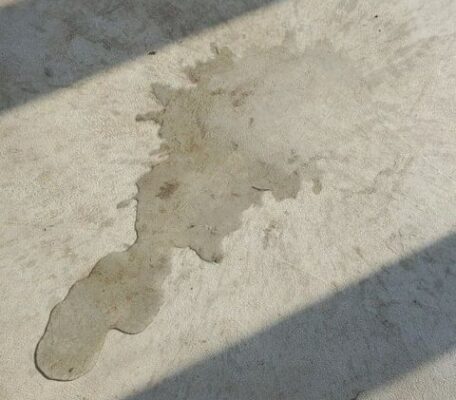
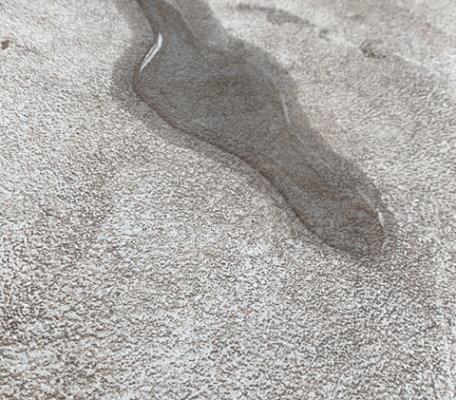
To determine if your concrete needs to be degreased or have a sealer removed, pour clean water on it and observe the results. If the water is absorbed within a few minutes, the surface is ready for dyeing. If you see little rainbows seeping up, you will need to degrease the surface. If the water just sits on the surface, you will need to strip the old sealer.
2. Prepare the Surface
To remove stains from the concrete surface, mix a degreasing dish soap with water and white vinegar or use an orange or citrus degreaser at medium concentration. Scrub the surface with a nylon brush, then rinse with clean water. In areas where water won’t easily run off, such as an enclosed room, use a mop, squeegee, or shop vacuum to contain the water and speed up drying time.
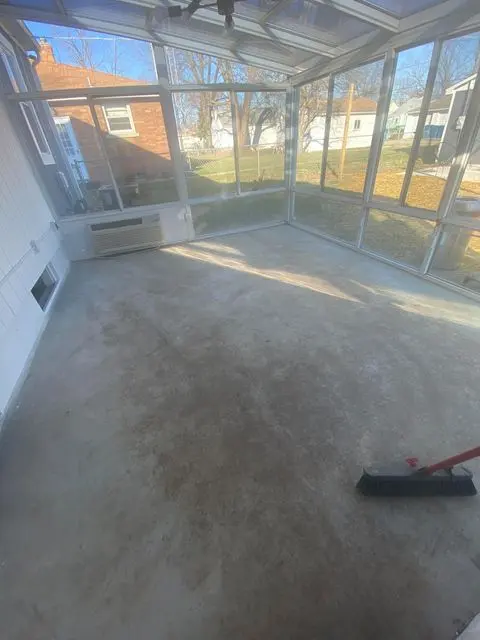
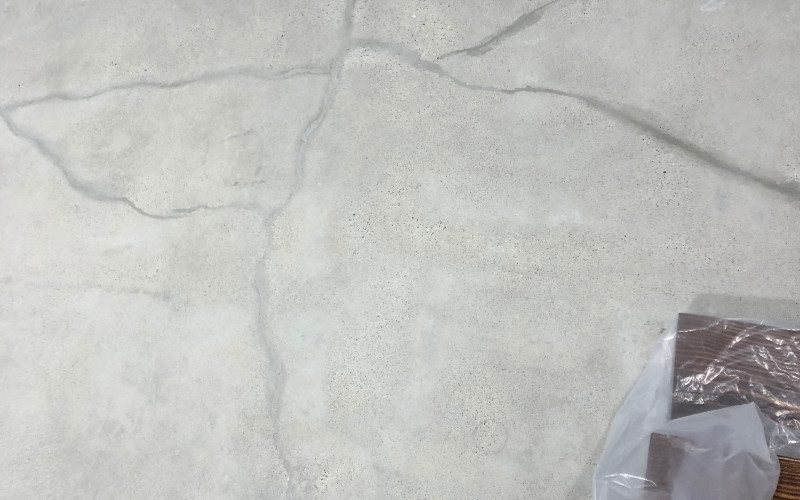
It’s important to remember that while concrete dye can cover minor imperfections, any cracks in your sunroom flooring should be filled and sanded smooth before the application process. Additionally, it’s important to mask off surfaces that will not be dyed such as walls, baseboards, and adjacent countertops or hardware. Use plastic sheeting and painters tape to cover these surfaces securely before beginning the dyeing process
3. Apply the primer base sealer
Apply a thin layer of the same sealer you will use at the end to the concrete surface and allow it to dry. This process can take 2-4 hours. The surface should not be tacky or sticky to the touch when dry. If the floor is rough, you may need to apply a second coat to ensure full coverage.
4. Prepare the dye
Before you begin applying the concrete dye, it’s important to properly mix the dye. Use a pre-measured dye packet from Direct Colors and mix it with the appropriate amount of acetone, depending on the size of your project. For example, mix the dye packet with 1 quart of acetone for small projects, 1 gallon of acetone for medium projects, or 5 gallons of acetone for larger projects.
CAUTION: When preparing the concrete dye mixture with acetone, it is important to use caution. Do not mix the dye and acetone in the sprayer using any type of electrical mixer. Acetone is highly flammable and using an electrical mixer could pose a fire risk. Instead, manually mix the dye and acetone using a stir stick or by shaking the container vigorously. As always, be sure to store and use acetone in a well-ventilated area and keep it away from heat, sparks, and open flames.
Pour the dye mixture into a can of acetone, tightly seal the lid, and shake vigorously for 20 seconds. Allow the mixture to sit for one hour before using.
5. Apply the dye
Once the dye is properly mixed, it’s time to apply it to the surface. Use an acetone dye sprayer to apply the dye in slightly circular motions with irregular overlaps. Shake the sprayer tank from side to side often to prevent the color from settling. It’s important to spray thin coats to avoid puddling. If you want a deeper color, you can apply up to four thin coats, waiting at least eight hours between each coat.
IMPORTANT:
- Use an acetone-grade sprayer for the application of this product. Standard deck and fence sprayers cannot be used to spray acetone dye.
- When using a 3-gallon or similar large acetone sprayer, do not carry it by the pump handle while spraying. Carry the sprayer by the strap at a 30 to 45-degree angle.
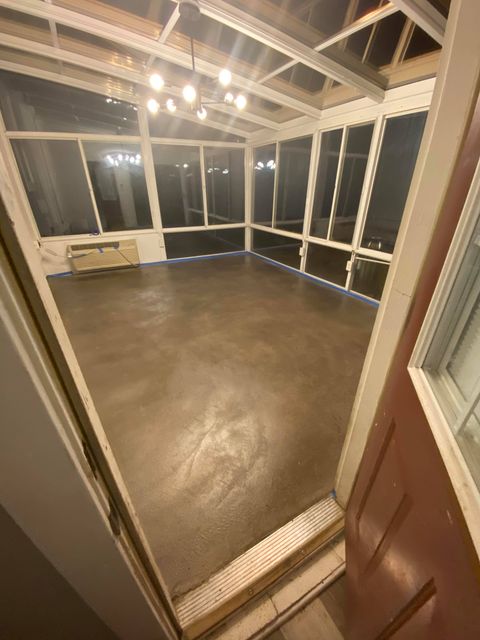
After applying the dye on your sunroom flooring, allow it to dry for at least eight hours before applying a sealer. You can use a dust mop or microfiber mop very lightly to remove any excess dye that is not bonded to the surface.
Tips:
- Keep a bucket and rag nearby in case the spray drips, so you can quickly fix the dye on the surface and clear the end of the sprayer nozzle.
- Practice makes perfect, so try the sprayer out on a piece of cardboard to see if the misting is adjusted properly and to get a feel for how quickly it will lay down coverage. Also, test a small corner area of the concrete first with a shot of color to see how dark it will appear on initial application.
- Work with the thinnest layers possible. The more you lay down, the darker the color will be. Avoid allowing the dye to pool up, and wipe excess off of any such areas promptly.
- Clean out the sprayer thoroughly with acetone, and store it for re-use.
6. Seal the surface
After the dye has fully dried, it’s time to seal the surface with the same product used as a primer before dyeing. To avoid damage, remove your shoes and walk on the concrete in stocking feet or using spiked shoes specifically designed for concrete surfaces.
Method 1: Spraying (preferred)
- Remove all filters from pump-up sprayer
- Shake AcquaSeal well before pouring into the sprayer
- Apply AcquaSeal to the surface in circular motions with irregular overlaps Spray thin coats to avoid puddling
- Allow 12 hours before applying the second coat (maximum of two thin coats) -Use a thumbnail to check if the coat dents or scratches, if so, allow more time to cure
- Apply a second coat following the same method
Method 2: Rolling
- Shake AcquaSeal well before pouring it into the paint tray
- Use a 3/8th nap roller to apply the first thin coat and roll in one direction only
- Do not apply pressure to the roller as it will cause streaking, let the weight of the roller do the work
- Allow 12 hours before applying the second coat (maximum of two thin coats)
- Use a thumbnail to check if the coat dents or scratches, if so, allow more time to cure
- Apply the second coat in the opposite direction following the same method
It’s important to note that when using a roller with sealer, you should not press down hard to get more product out of the nap, as this will leave visible roller lines that will ruin the final finish and require the process to be redone.
CAUTION: COLD TEMPERATURES: If the temperature of your floor or surface is less than 65ºF (18ºC), do not apply a water-based sealer, as it may result in a cloudy finish that would need to be removed and reapplied. To prevent this, ensure the floor is at a temperature of 60-65 degrees by using central heating or in-floor heating units. Use a flat thermometer or infrared thermometer to check the temperature in various places to ensure consistency. Once the appropriate temperature has been achieved, turn off all heating sources and fans before applying the sealer. You can then turn these back on to accelerate the drying process.
6. Enjoy the results
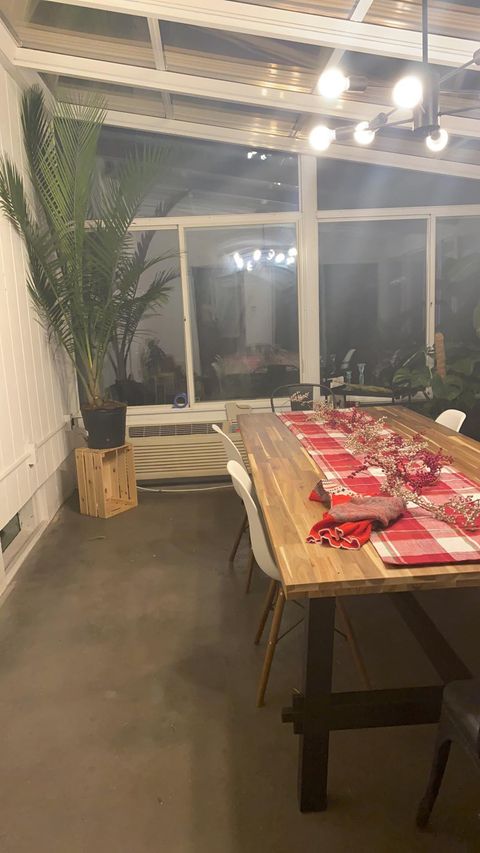
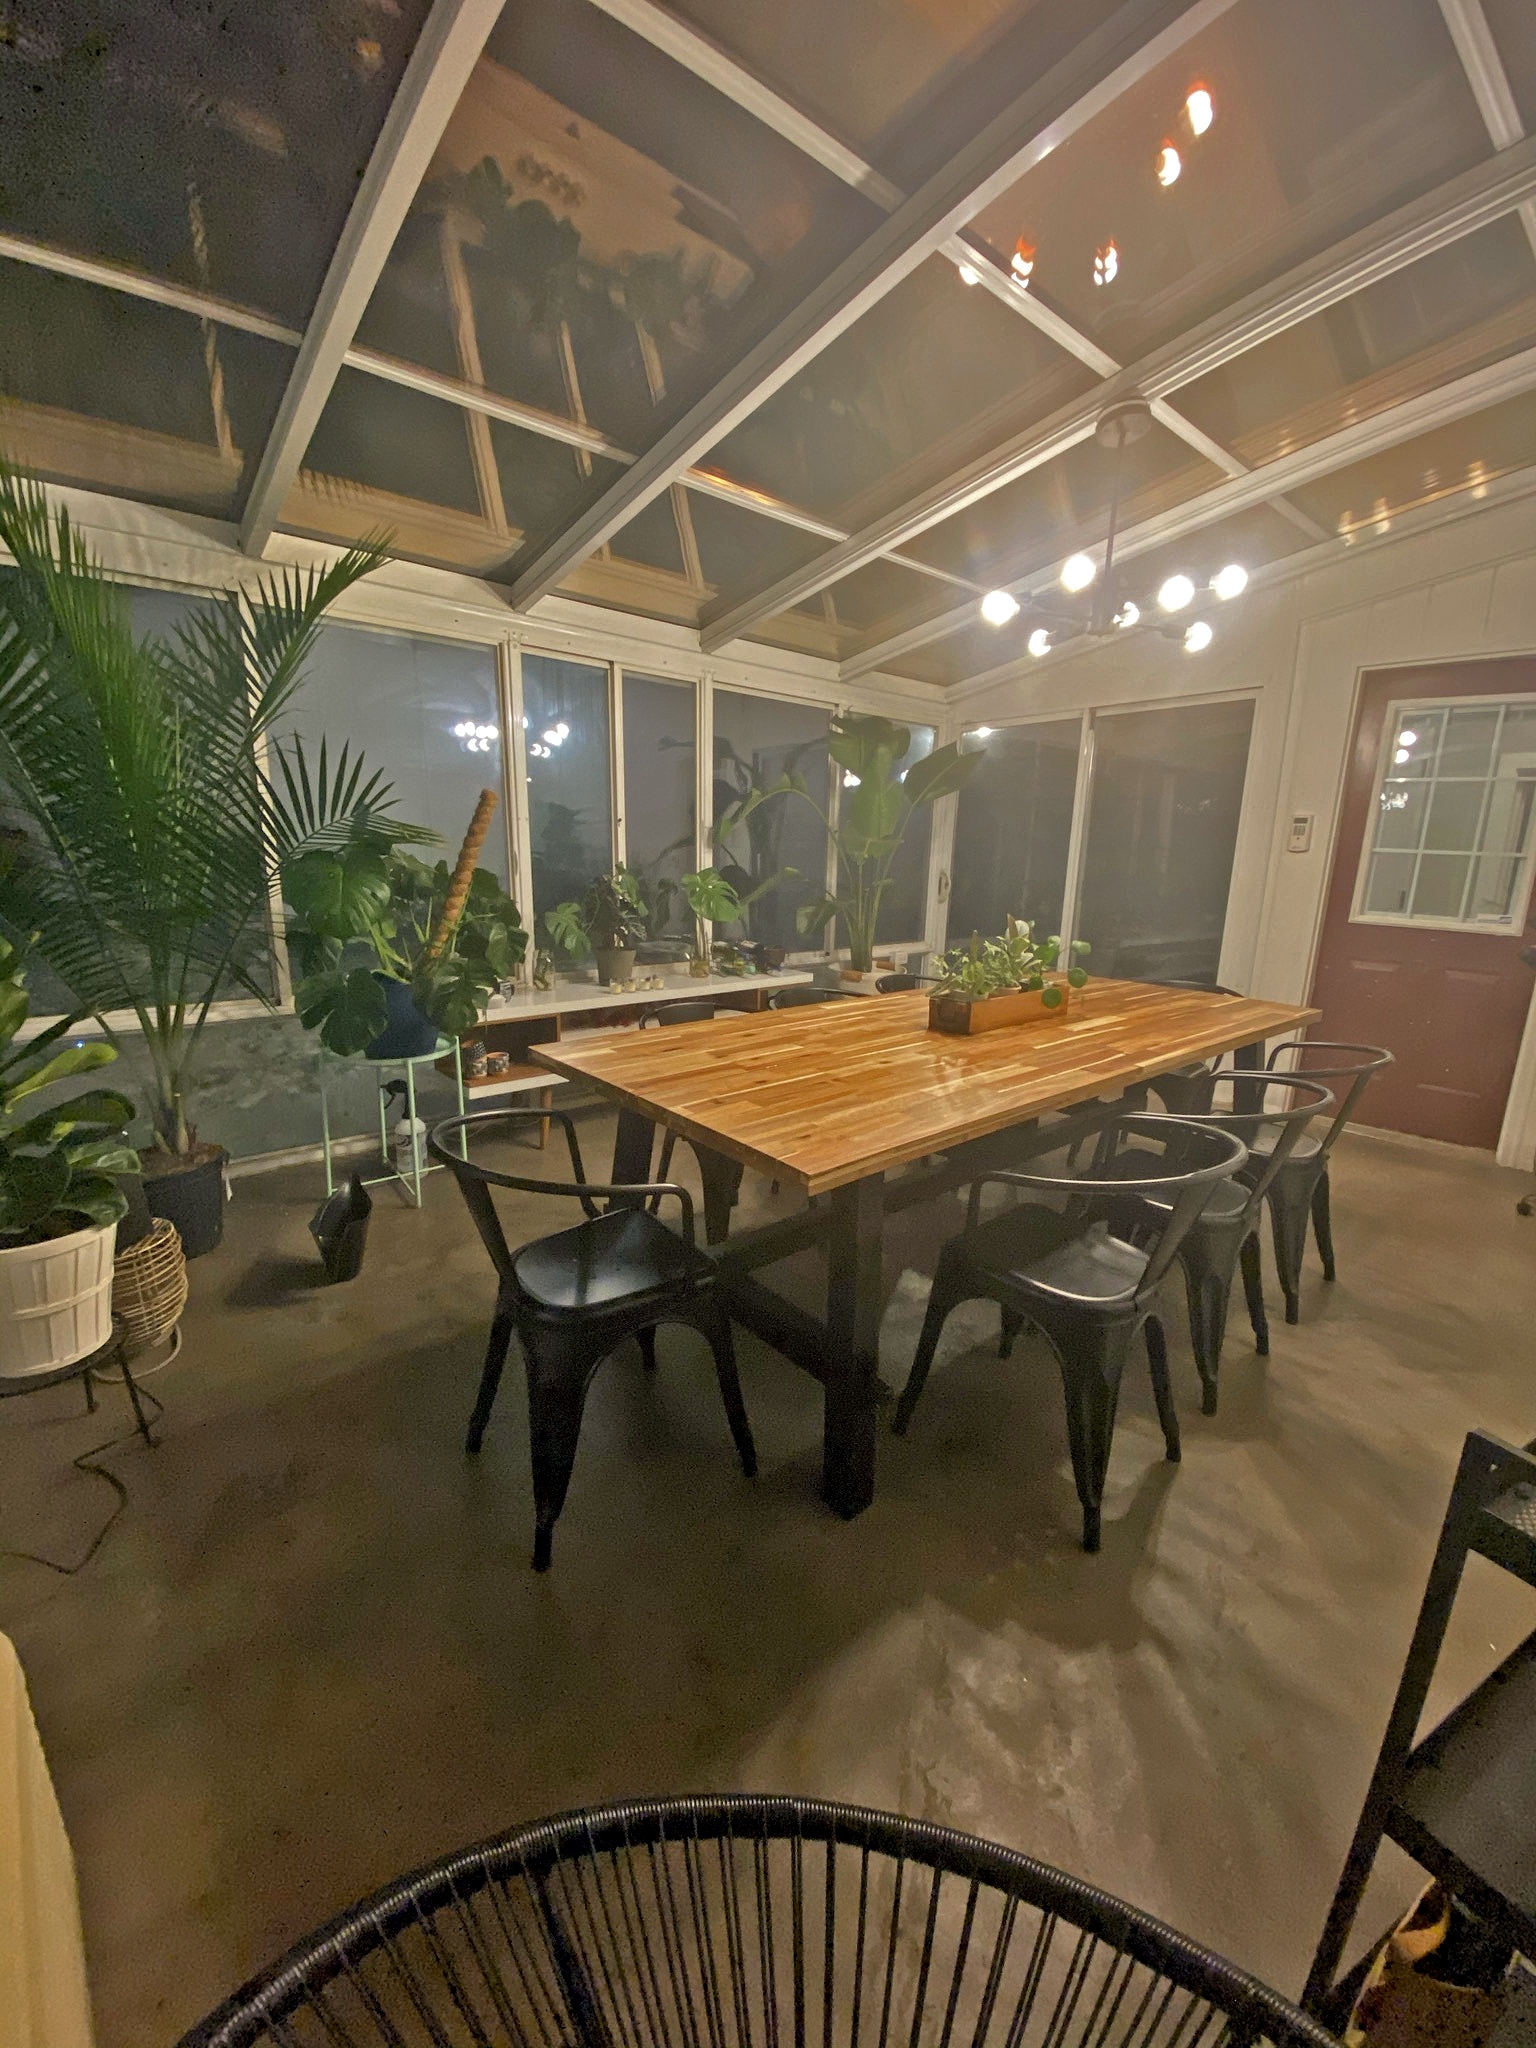
Congratulations! You’ve just transformed an important part of your home and made it a more inviting and pleasant space for your family and friends to enjoy. The new addition of style to your sunroom will bring enjoyment for years to come and you can take pride in the fact that you did it all by yourself!


