Charcoal Outdoor Stains: Real DIY Outdoor Projects You’ll Love
Check out these awesome outdoor projects from our handy customers, all using our Charcoal Outdoor Stains. This page is chock-full of ideas to help you see just what you can do with our stains.
By Justin Richardson
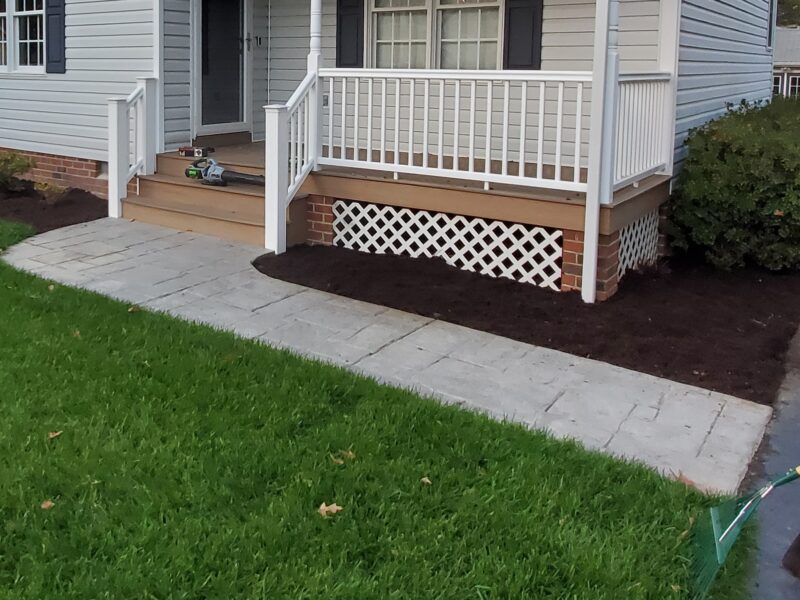
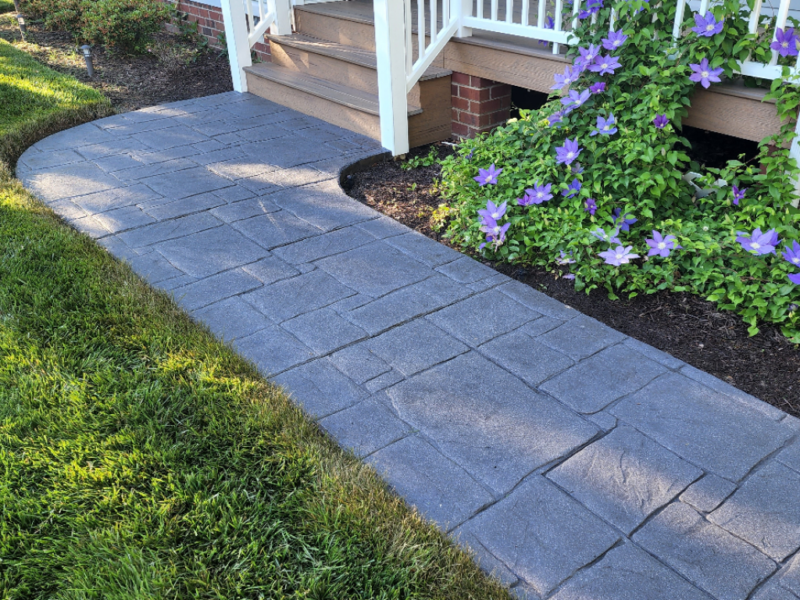
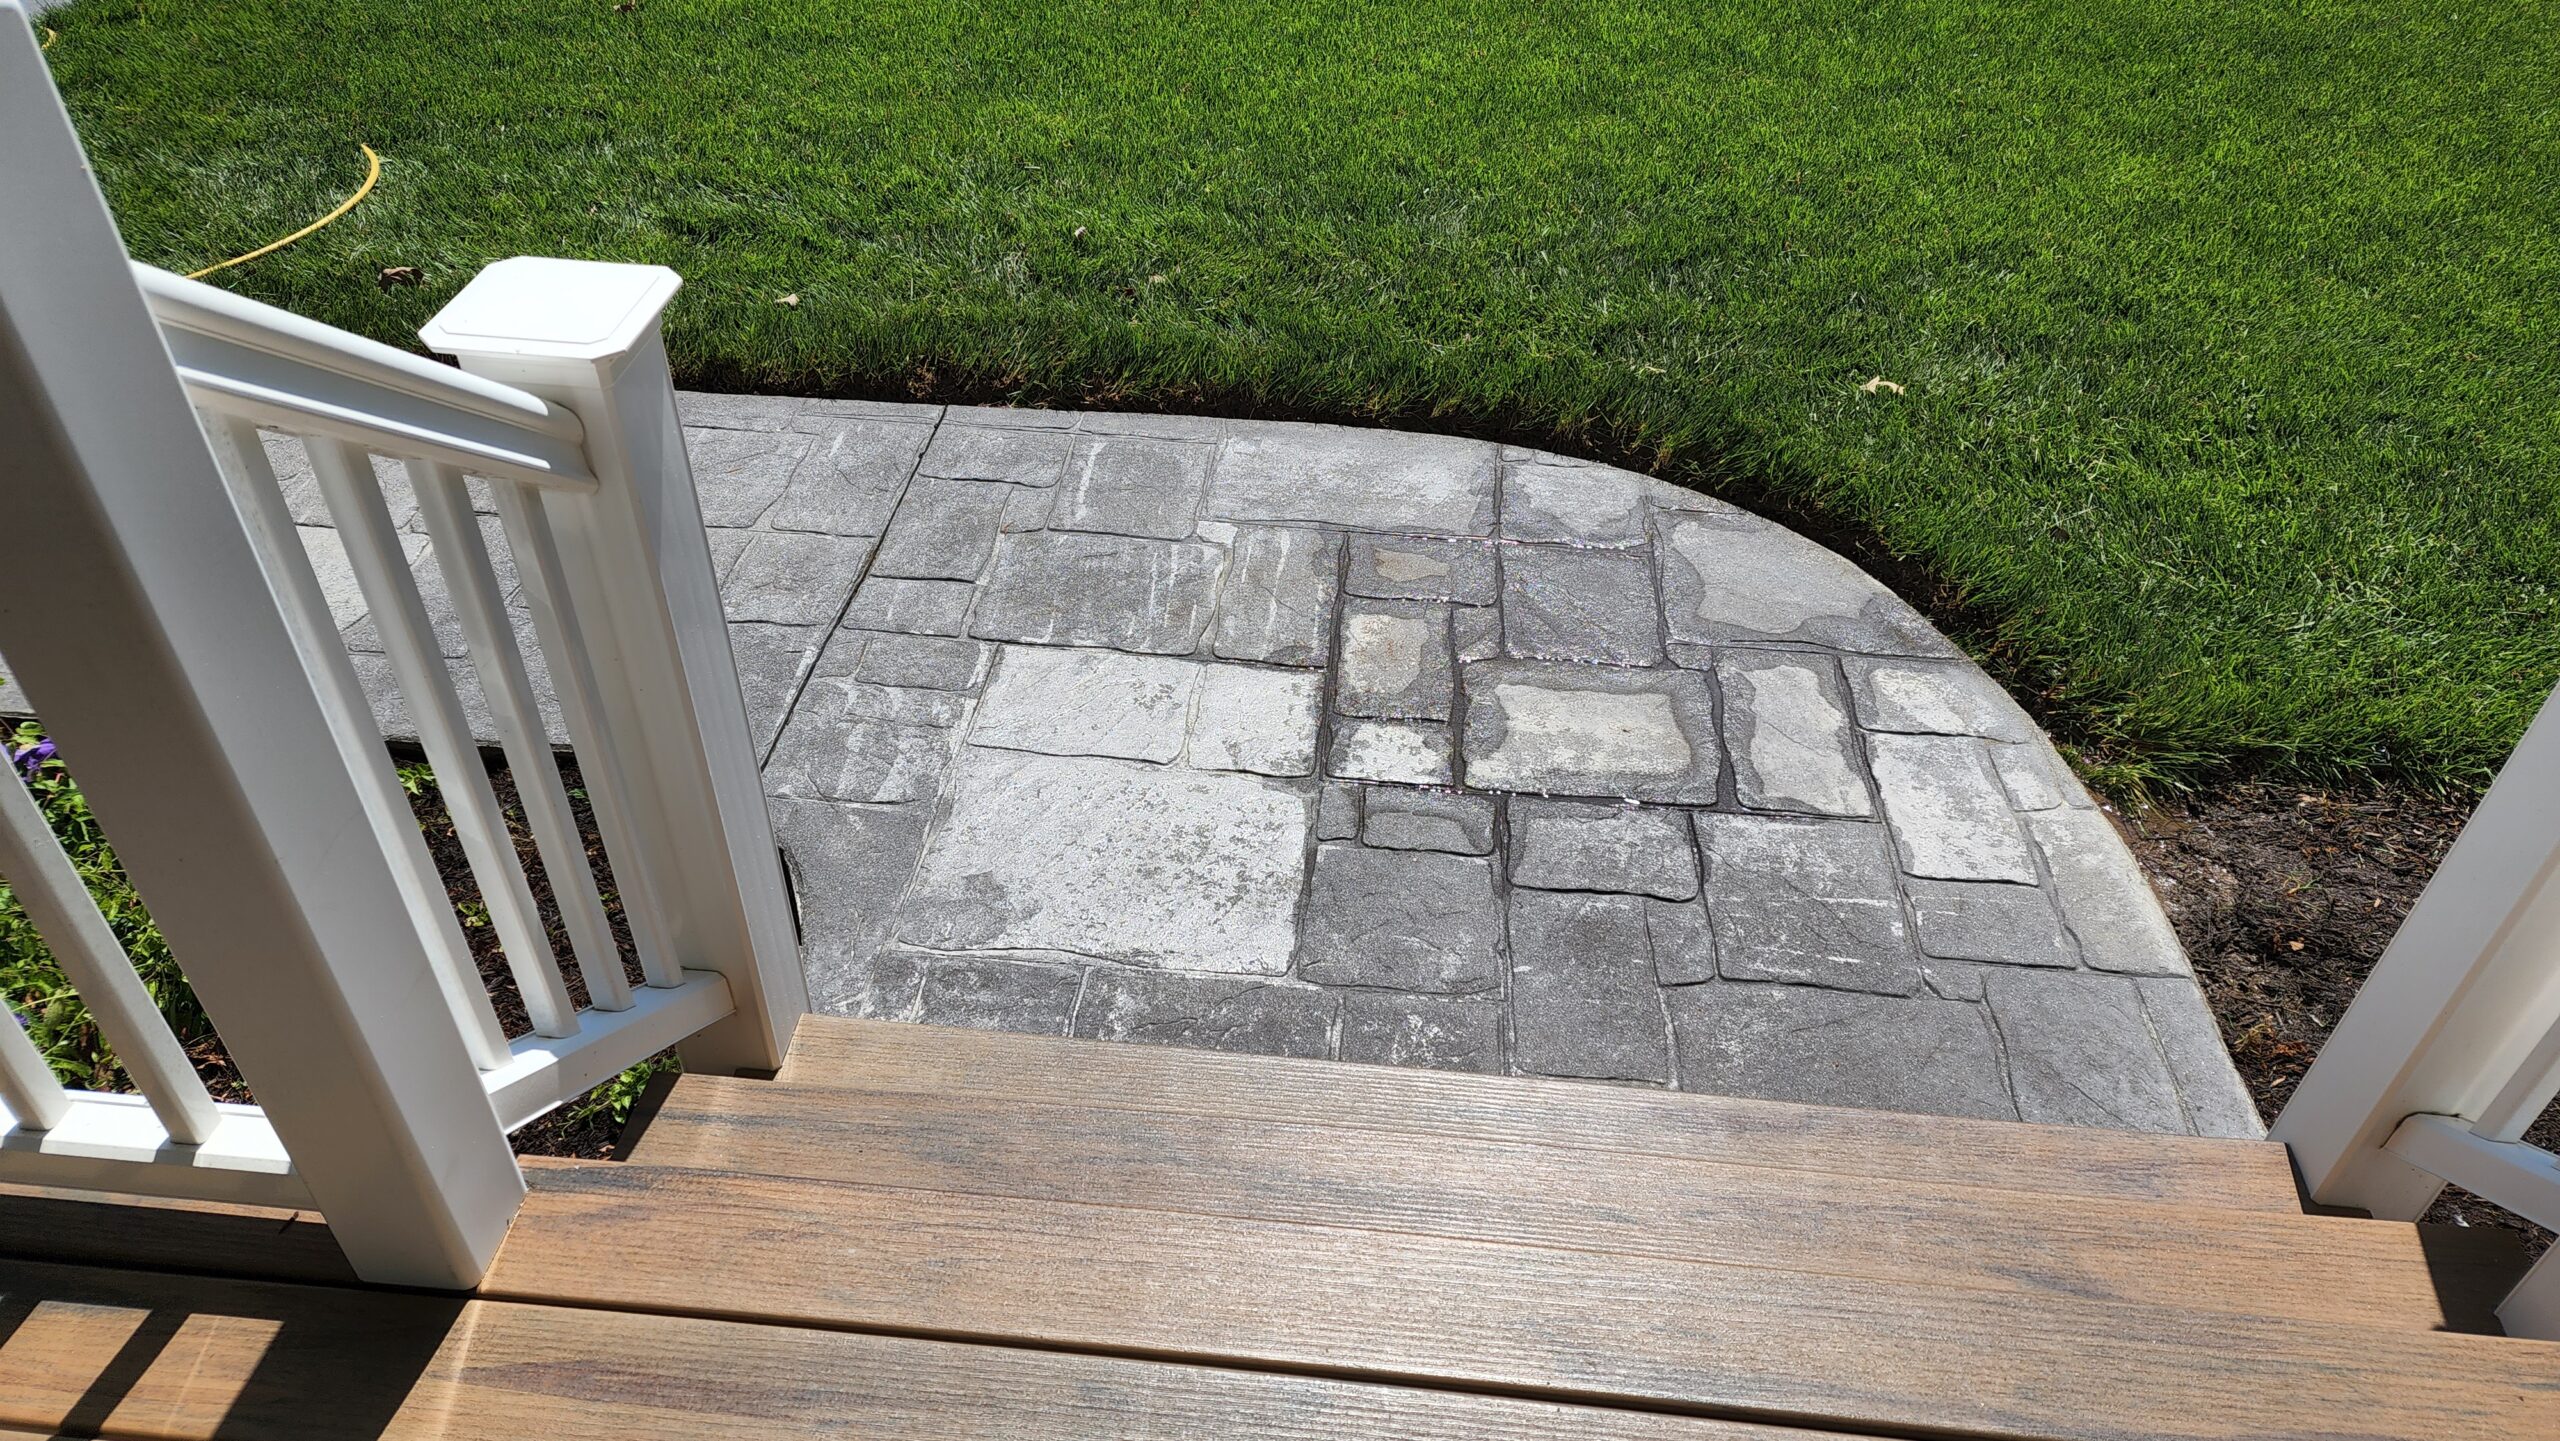
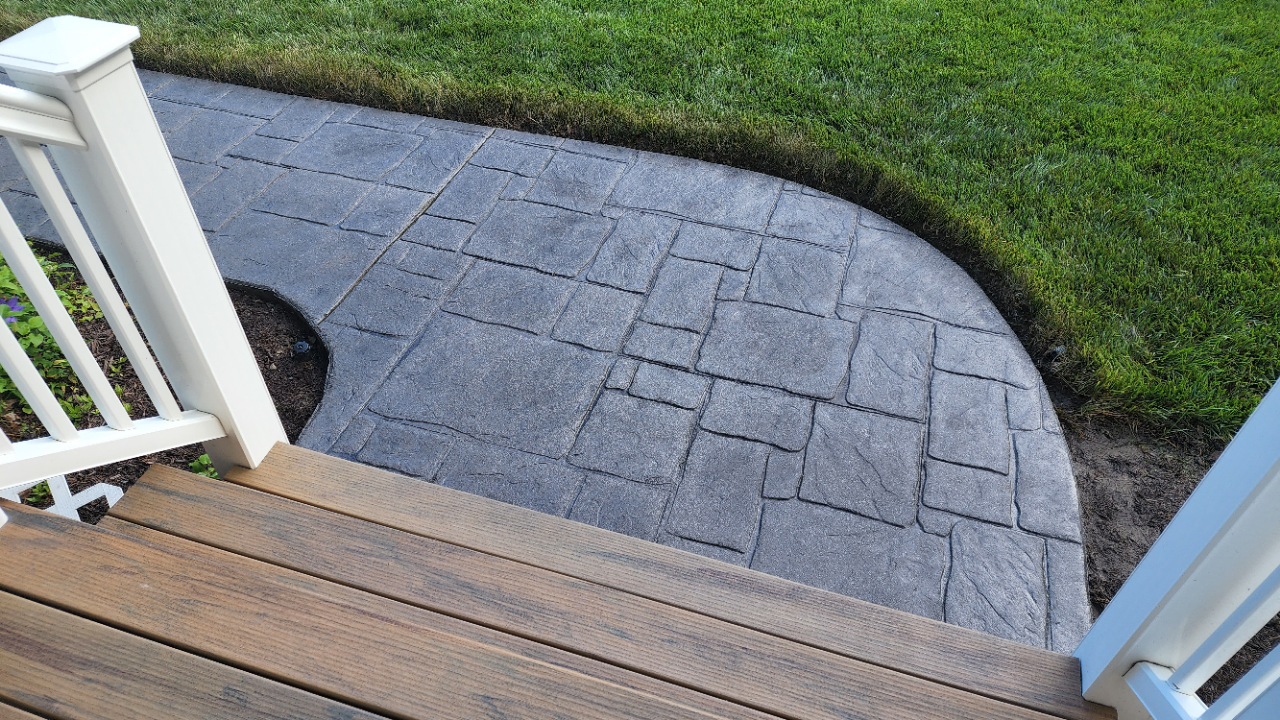
Stamped Sidewalk Rescue: From Worn Out to Waterproof
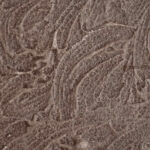
This DIY project gave a 20-year-old, color-faded stamped concrete sidewalk a complete facelift. After stripping the old sealer, the DIYer applied a fresh coat of our Charcoal Antiquing™ Stain, followed by a satin finish sealer. The result? A refreshed sidewalk that shrugged off the next day’s rain like a freshly waxed car.
Project Info:
- Project Completed In: 3 day(s)
- Estimate of Square Footage: 230 sq. ft.
- Project Description:
20 year old stamped concrete sidewalks had lost color and were horribly finished from old sealer.. Stripped sealer, put down new charcoal antiquing then sealed with a satin finish… Rain the next day beaded up like a freshly waxed car… - Personal Tips:
Make sure to remove all of your old sealer if it is sitting on the surface of your concrete.. - Direct Colors Products Used:
1 Gal. Charcoal DIY Antiquing™ & EasySeal™ Satin Kit
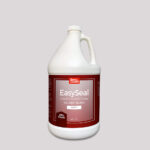
1 Gal. EasySeal™ Satin Concrete and Paver Sealer - Other Products Used:
Xylene/surface stripper
Every image in this gallery depicts projects using our concrete stains, shared by actual customers. However, due to the semi-transparent nature of the stains, the end look will be influenced by your concrete’s original color and condition. Outcomes may differ. For best results, we advise a test patch on your surface before full application to ensure desired appearance.
Party Garage Creation: From Scratch to Starry-eyed Stained Floors
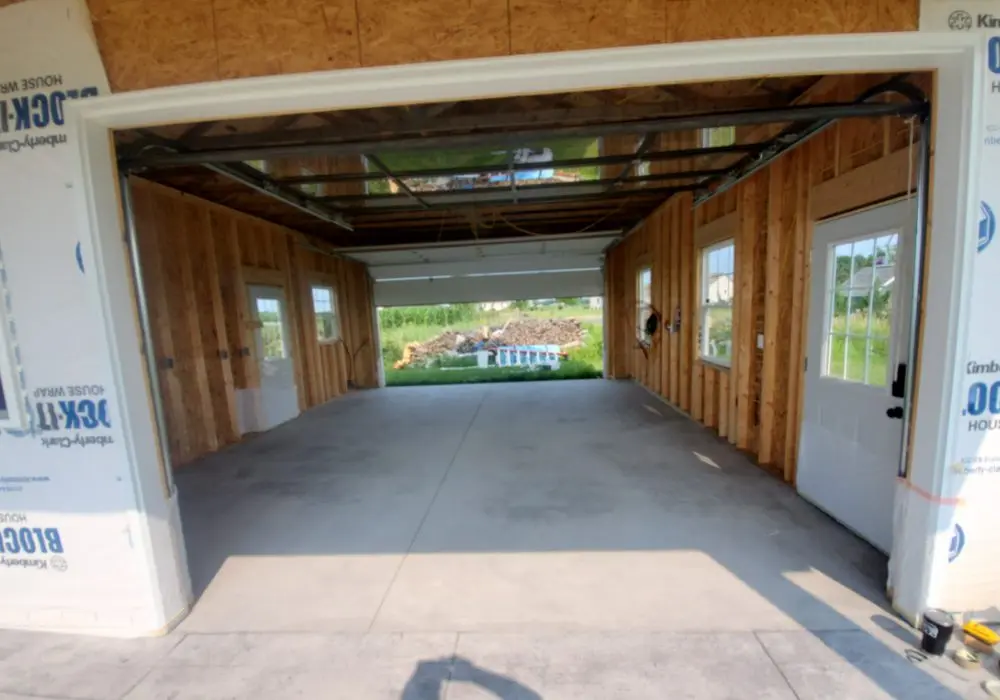
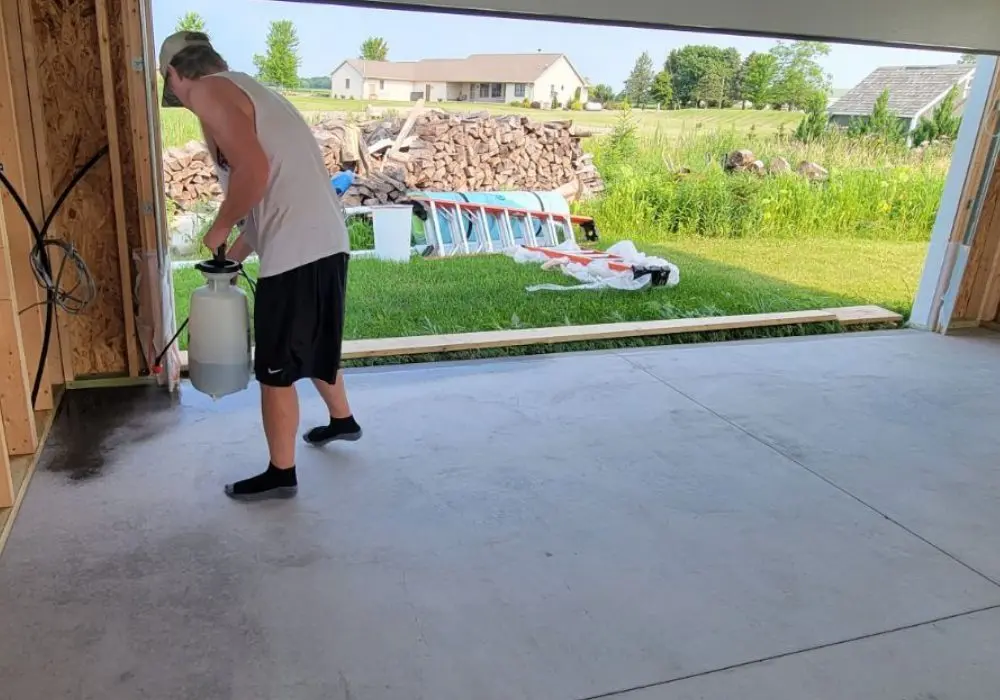
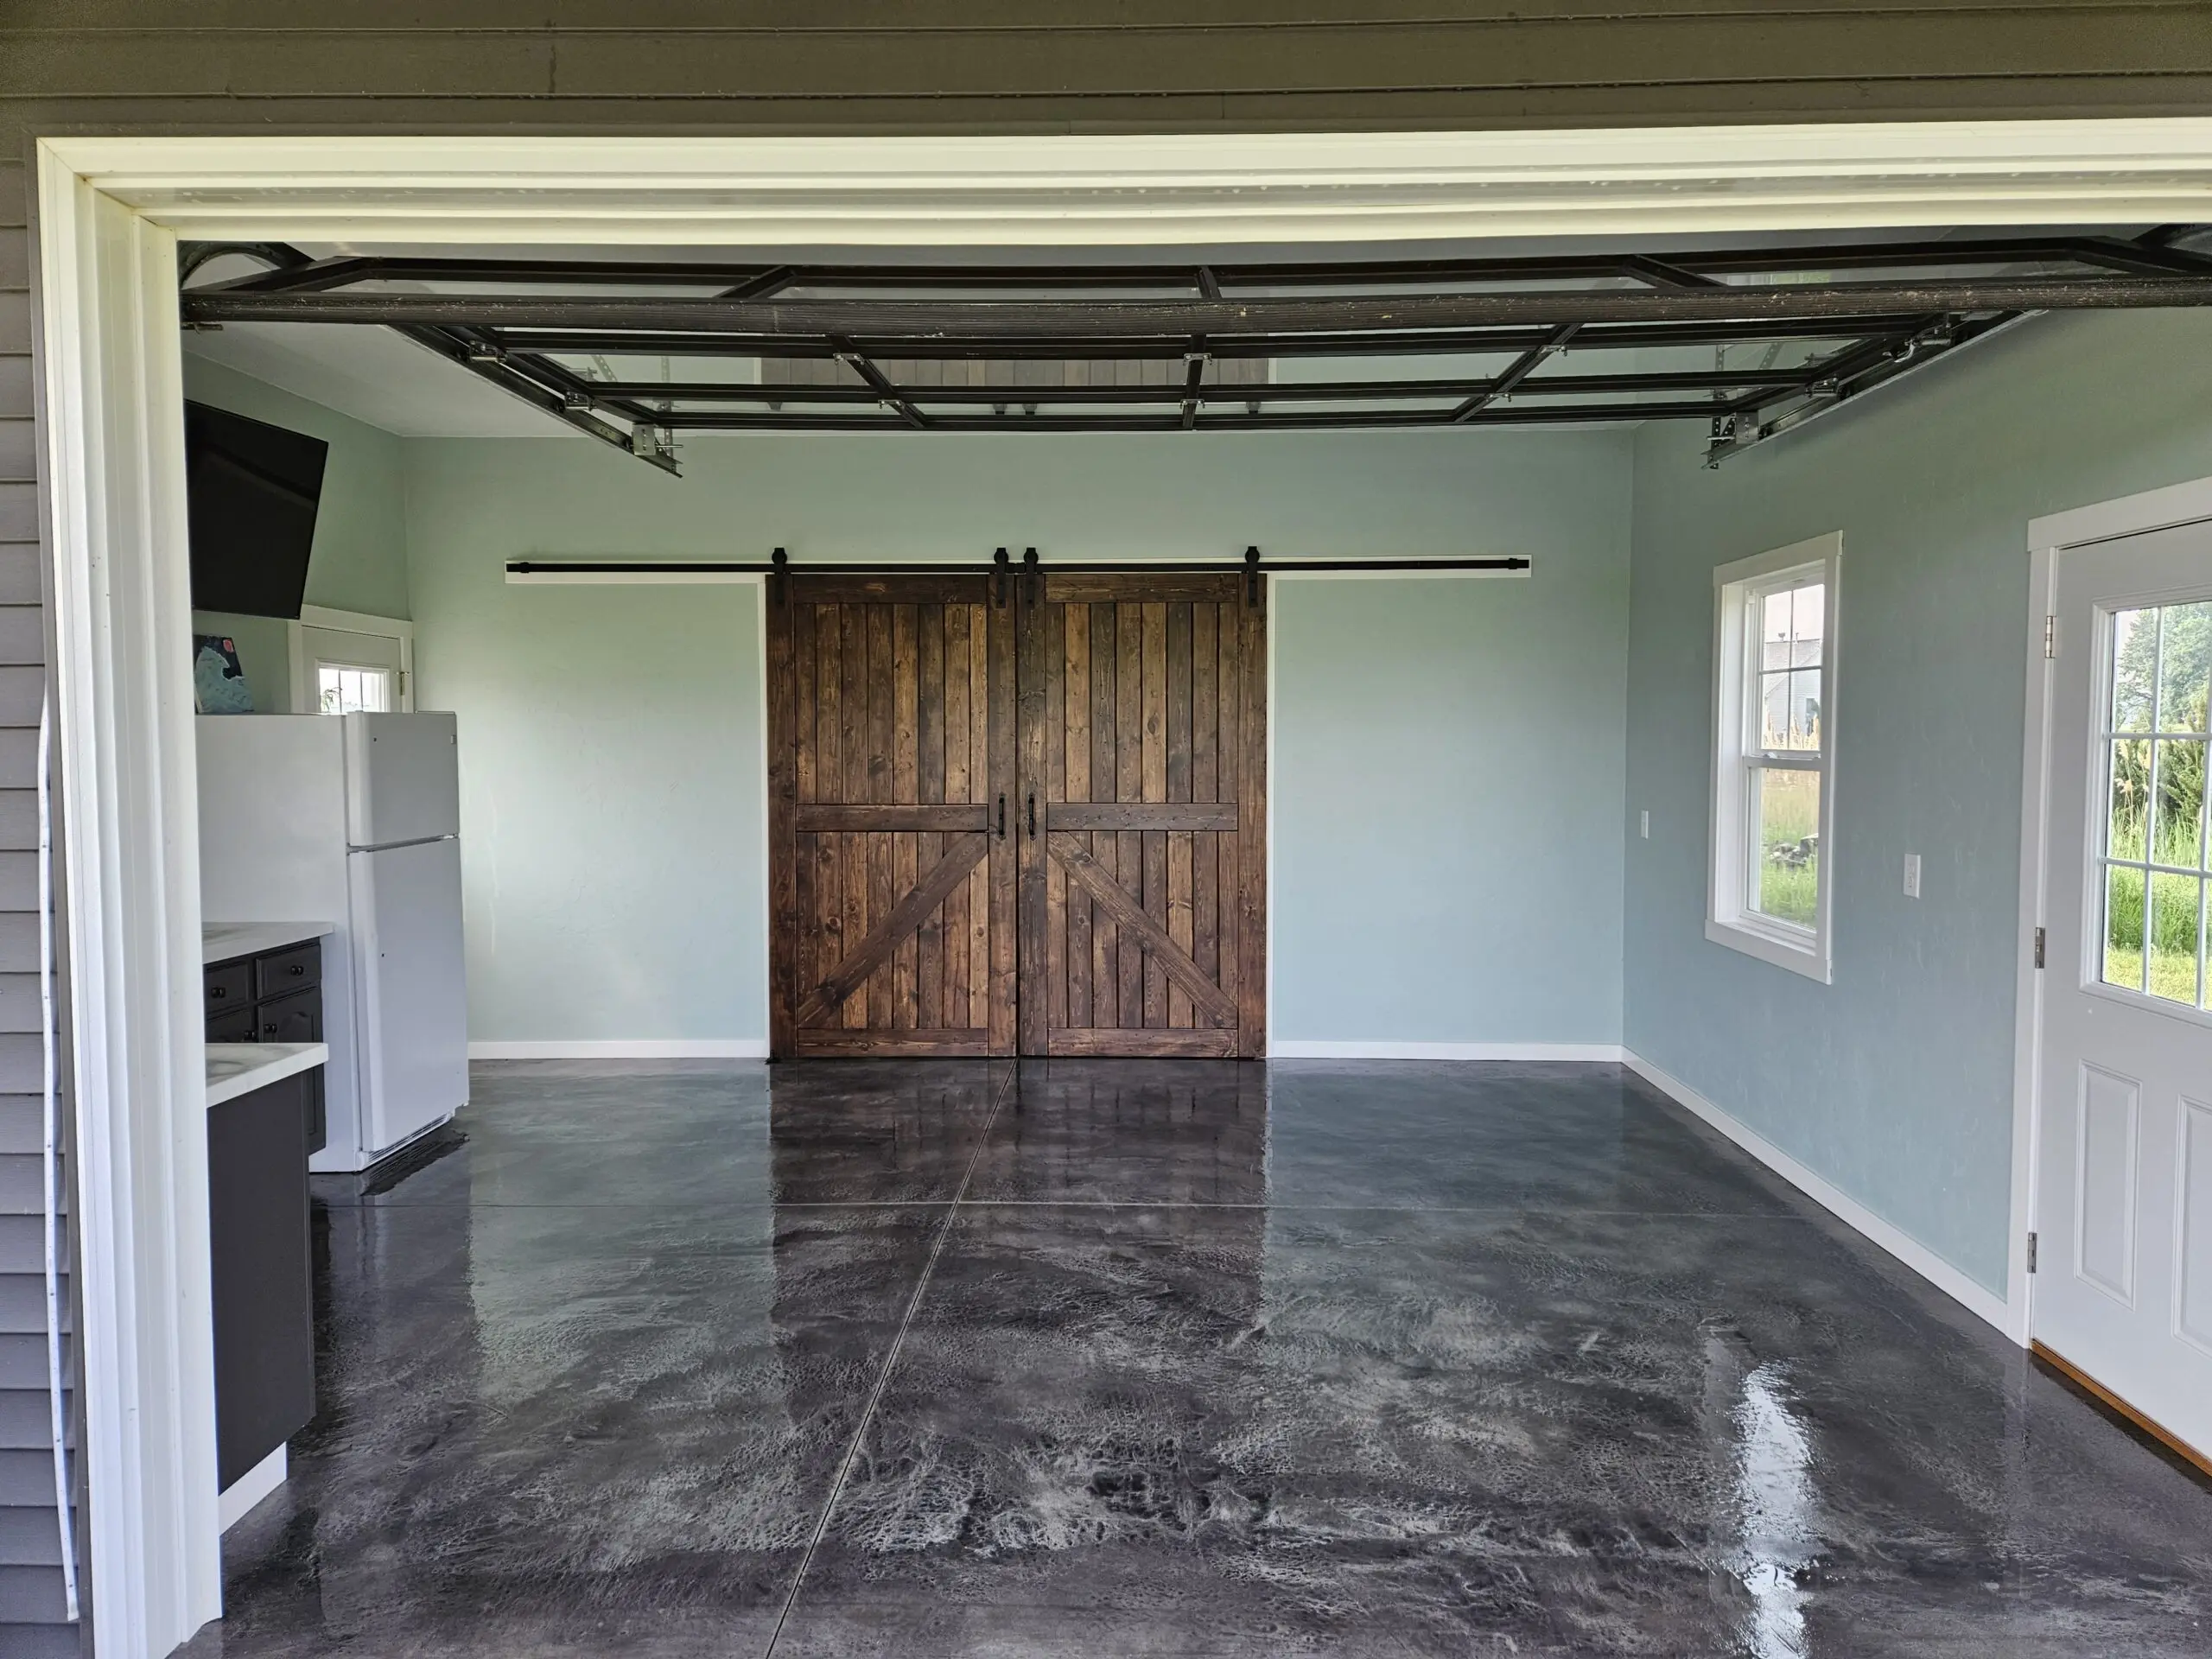
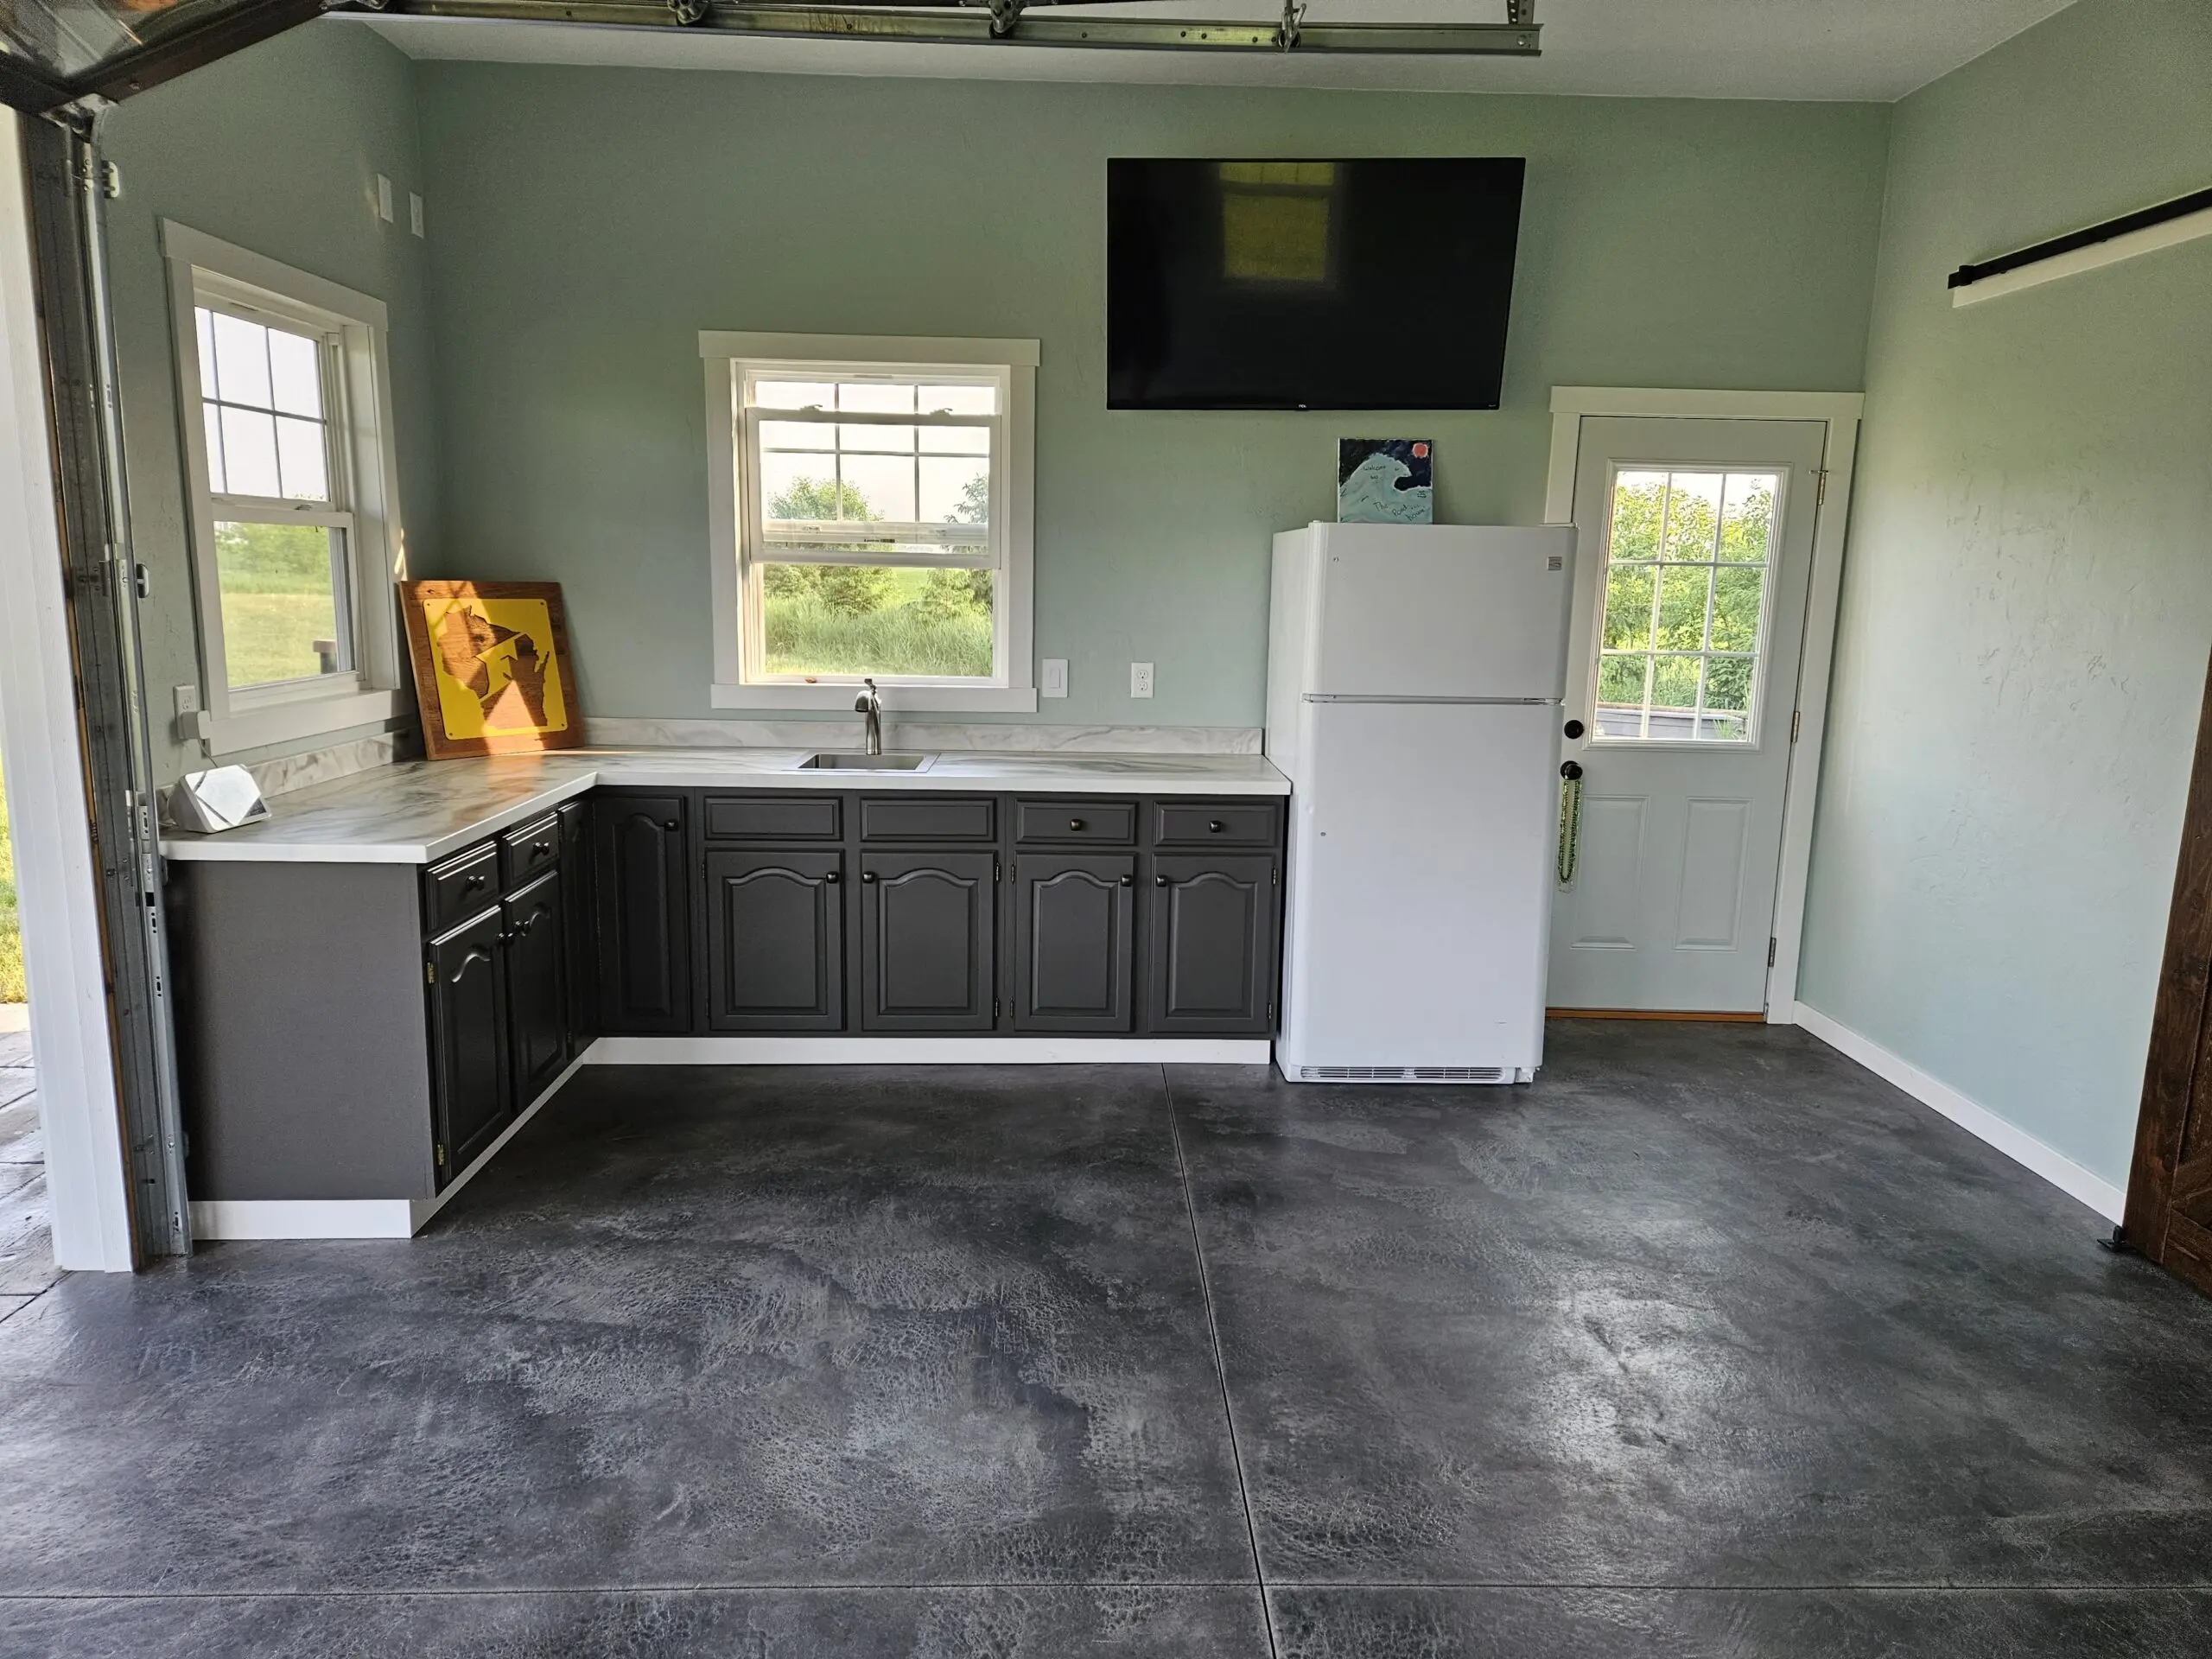
This DIYer built a non-slip, hand-troweled concrete floor for a new party garage near their pond. Using our Antiquing™ Stain, they added an impressive touch to the textured floor. Lessons learned included using the correct footwear during application and using a fresh sprayer for the second sealer coat. Despite minor mishaps, the project was a success, with the beautiful stained floor earning praise from all visitors.
Project Info:
- Project Completed In: 2 days day(s)
- Estimate of Square Footage: 480 sq ft sq. ft.
- Project Description:
We wanted a place to hangout by our pond and decided to build a party garage.
We didn’t want the floor to be slippery for kids with wet feet so we hand troweled the concrete so it would have some texture. This texture is what makes the floor look amazing with the direct colors antiquing stain. Everyone who has come over has commented on how nice the floor looks. - Personal Tips:
I used my plastic baseball cleats when spraying on the 2nd coat thinking it would be ok instead of buying the spiked shoes. This left a couple foot prints that can be seen. Luckily they were only in the back storage area.
I also used the same cheap pump sprayer for the 2nd coat of sealer. This left some white specs on the floor that you can only see if you look close. Next time I would buy a 2nd sprayer for the 2nd coat.
The first day I hosed off and scrubbed the floor with water and let dry, then sprayed the stain.
On the second day I sprayed the sealer.
I also dropped an air nailer from the ceiling when framing the interior wall. This chipped the concrete. I was able to throw some more color down on the chipped area and seal it and you can barely see it.
Other than that it went super easy and turned out great. - Direct Colors Products Used:
3 X 1 Gal. Charcoal Antiquing™ Stain
5 Gal. EasySeal™ Satin - Other Products Used:
The cabinets were refurbished and painted with Sherwin Williams Urban Bronze
The counter tops were poured epoxy from Stone Coat Countertops
Brown to Charcoal: A Stamped Concrete Transformation
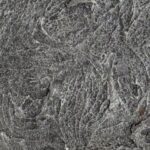
With our Charcoal Antiquing™ Stain, this DIYer transformed a 13-year-old, faded brown stamped concrete area into a chic, multi-toned space. Despite the challenges of prep work and weather, the project turned out stunningly, proving that the right tools and products can make a huge difference.
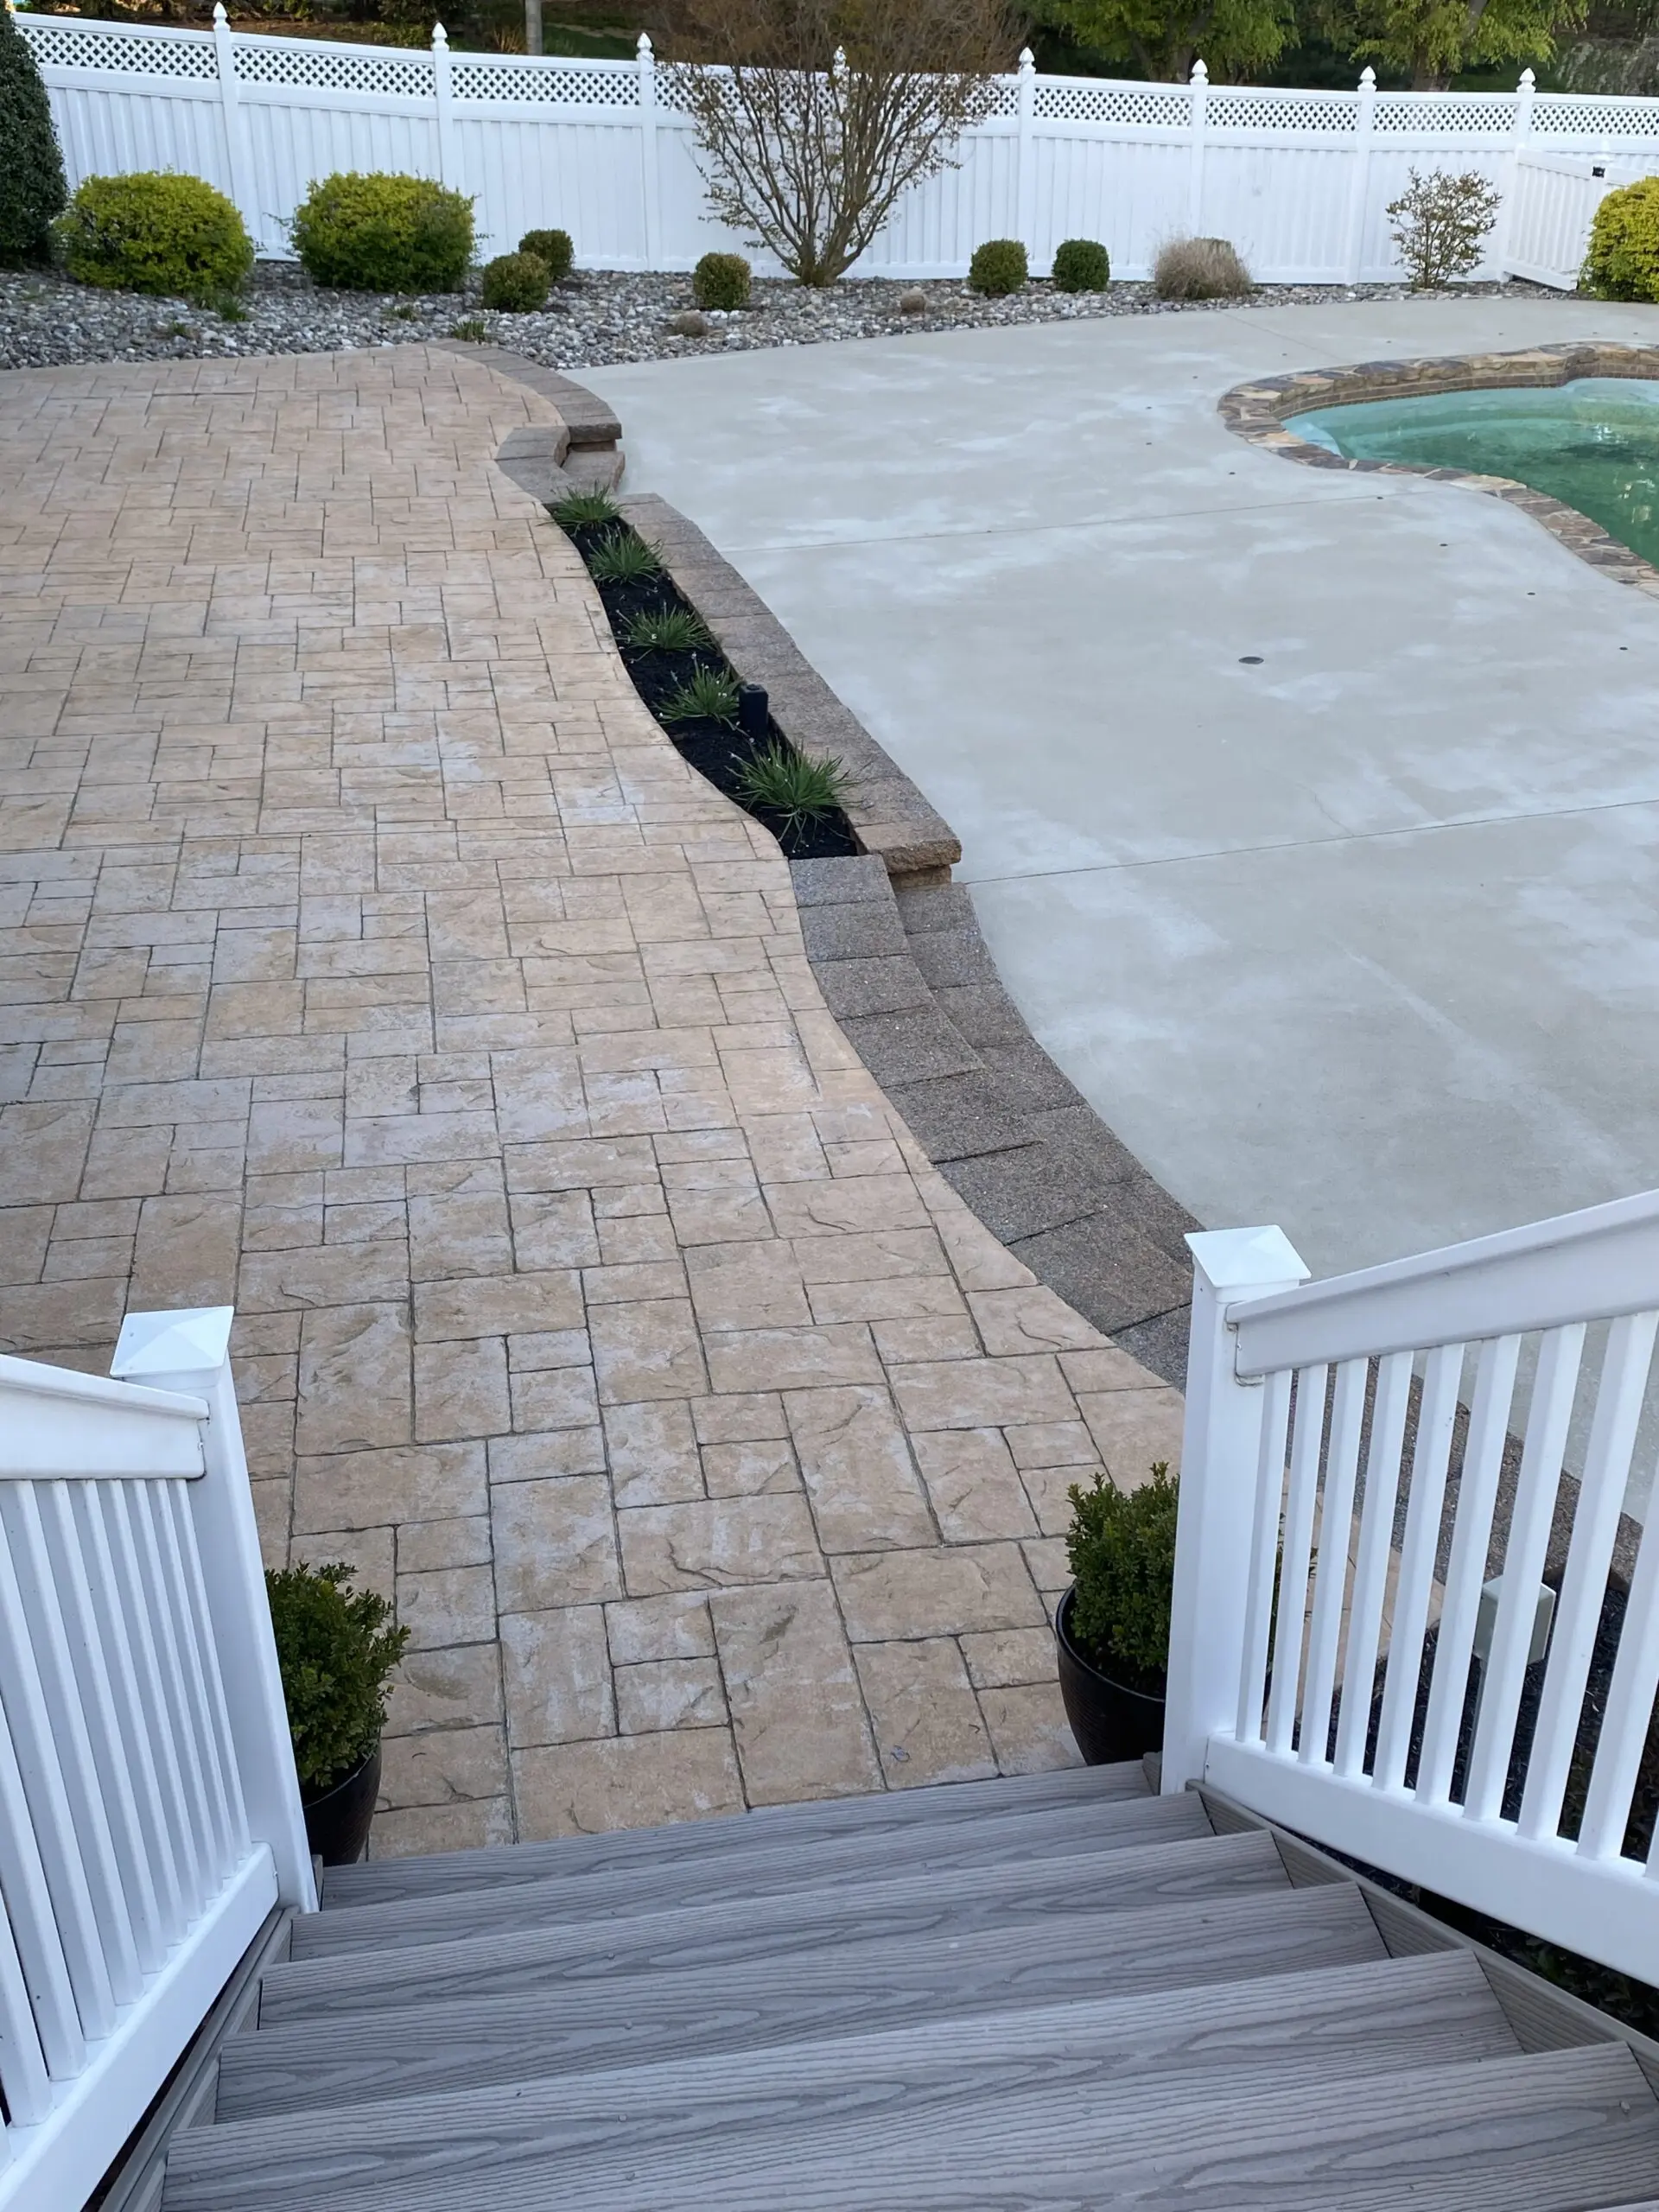
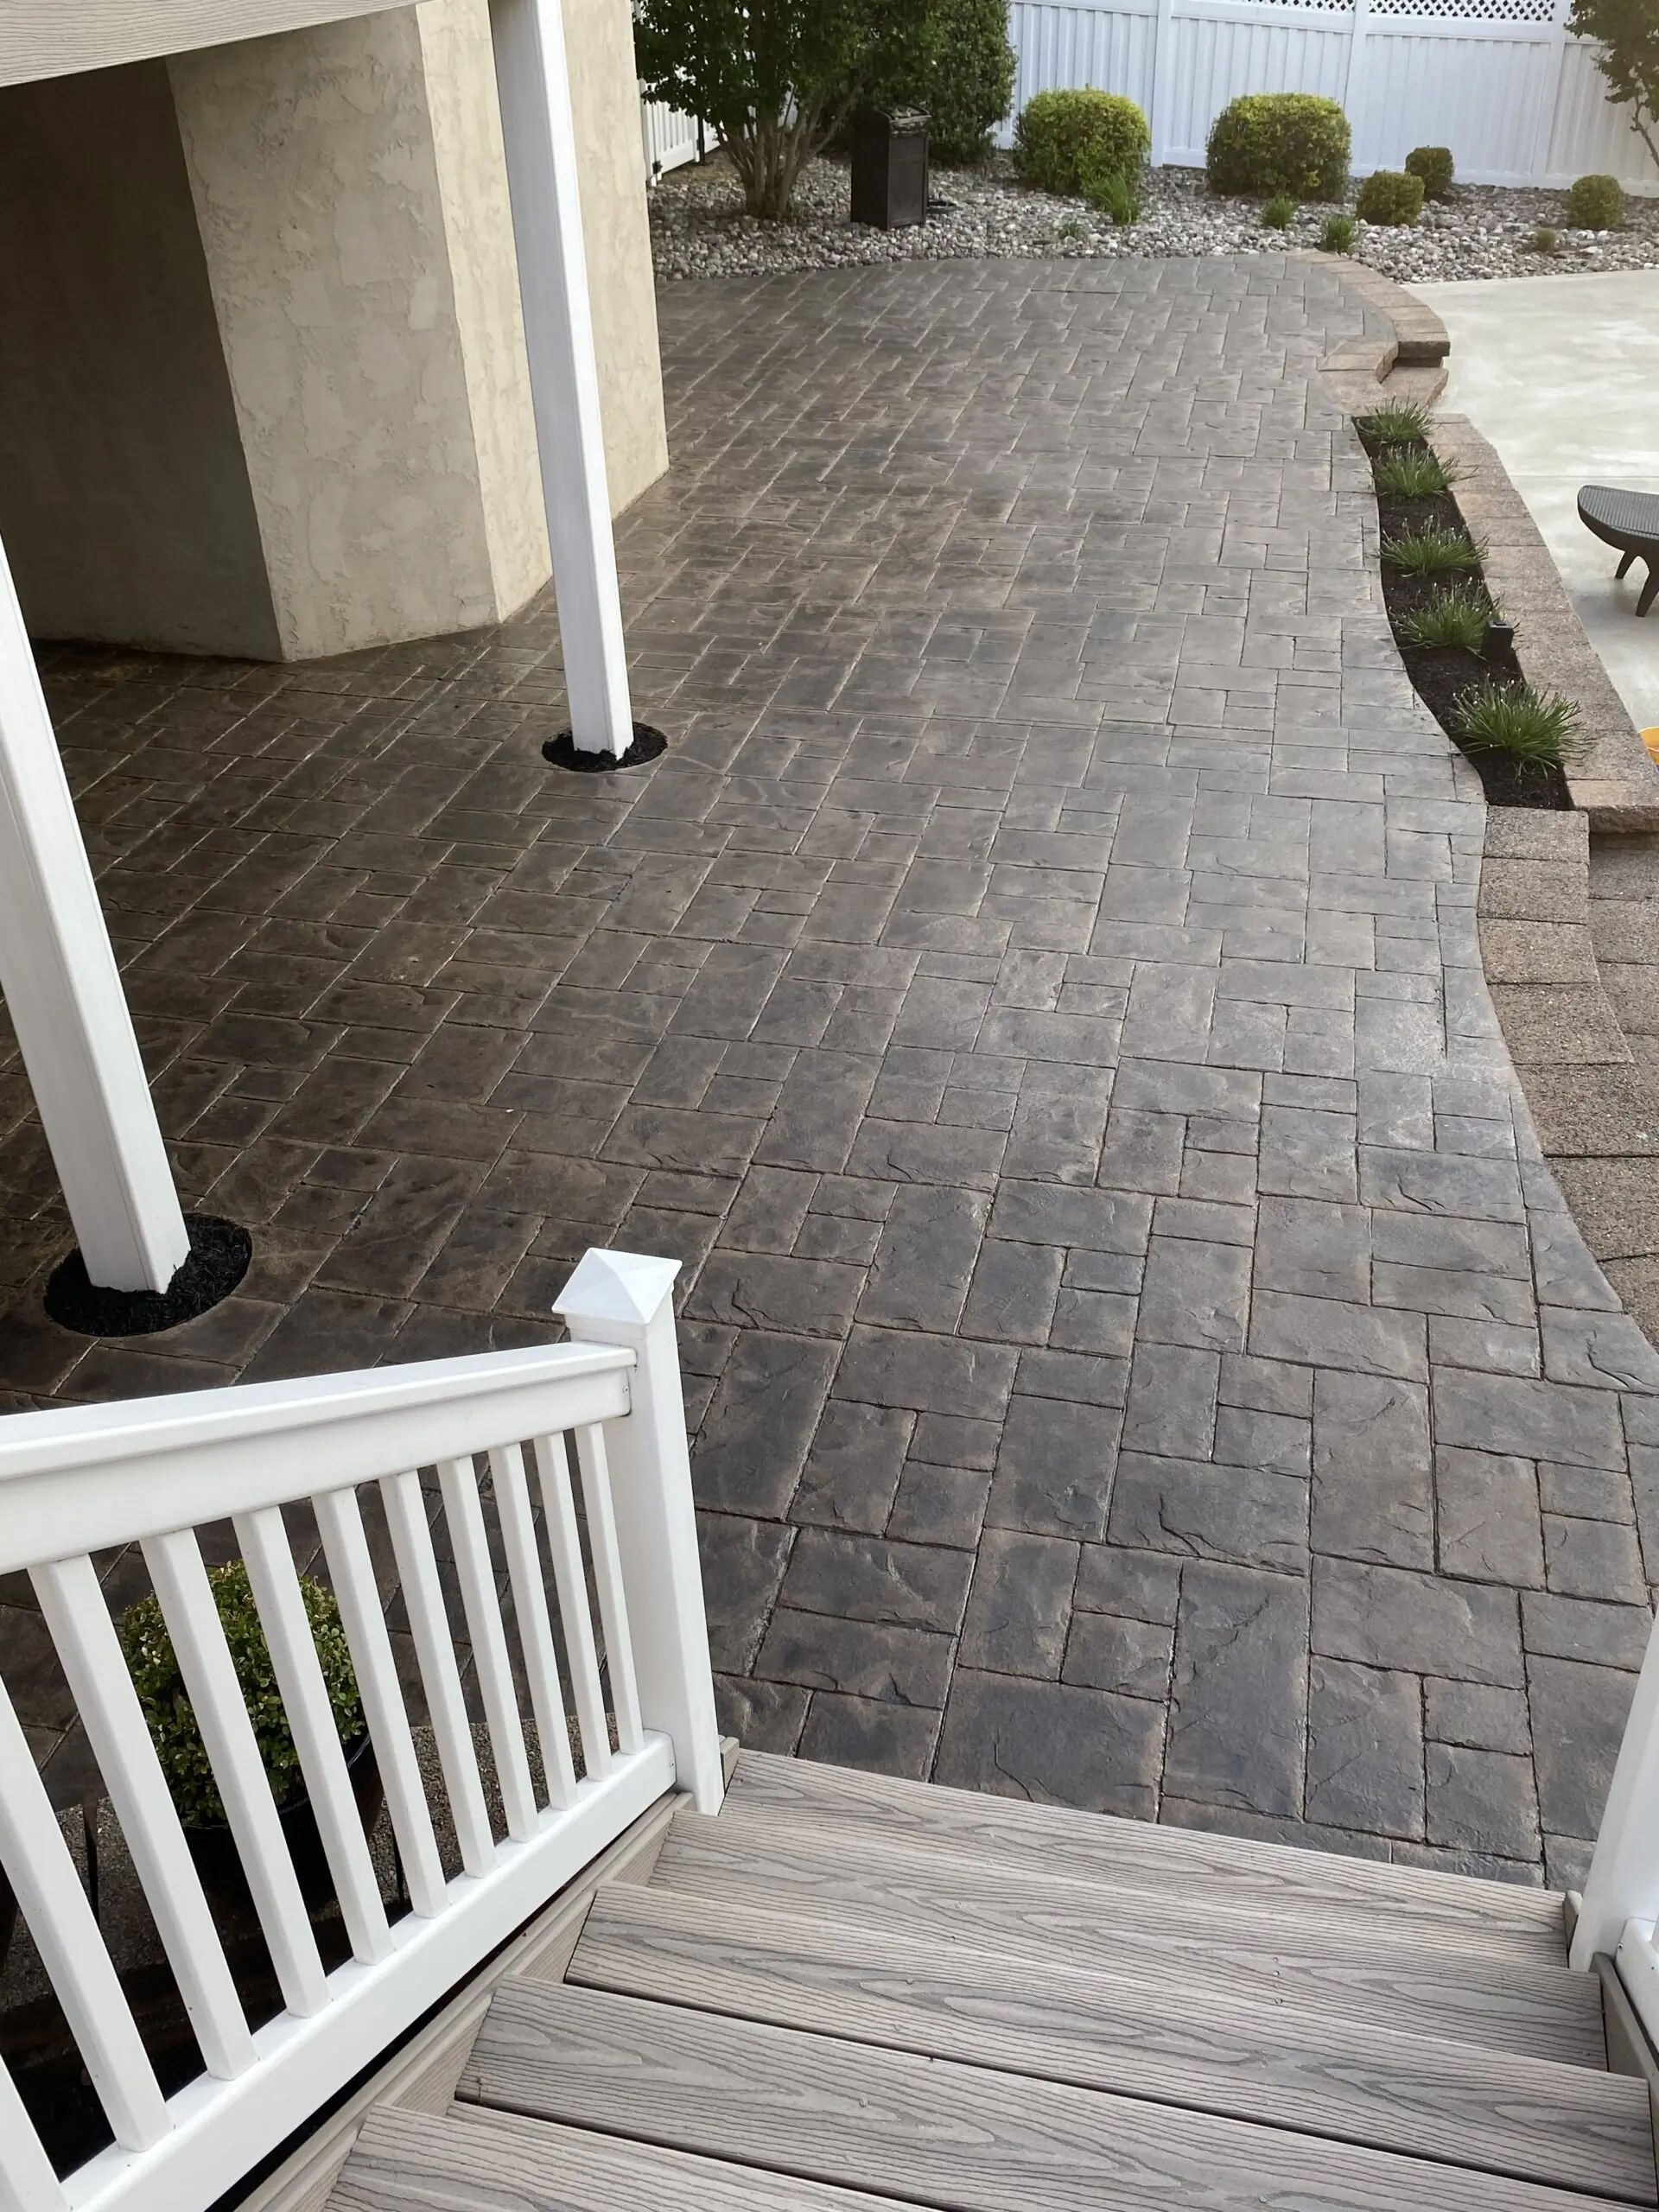
Project Info:
- Project Completed In: 5 day(s)
- Estimate of Square Footage: 900 sq. ft.
- Project Description:
Very faded stamped concrete. Over 13 years old. Time for a makeover that I decided to tackle myself. The longest part of project was getting some old sealer off of the areas that were under the deck a prepping the area for the stain. Undertones were faded brown but decided to go with the charcoal Antiquing stain to add some variation as our deck is a mix of gray a tan an we have different tones of flagstone around our pool. Happy with the color choice. I didn’t want it to be just a solid color. I completed this project all by myself from start to finish so it can be done😊 - Personal Tips:
Prep work is the key to having a great project. An a nice window of good weather. - Direct Colors Products Used:
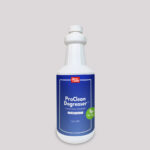
1 Qt. ProClean Degreaser™
5 Gal. Black Antiquing™ & EasySeal™ Satin Kit
16 Oz. Non Slip Concrete Sealer Additive - Other Products Used:
Bristle brush for scrubbing
Power washer.
2 Gallon sprayer
Courtyard Comeback: Revitalizing Aged Stamped Concrete
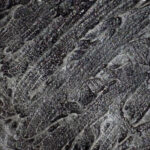
In this DIY project, our customer breathed new life into a worn-out stamped concrete courtyard. The process began with hands-on scrubbing, power washing, and thorough drying. After masking and dusting off the area, Charcoal Antiquing™ Stain was applied, immediately adding vibrancy back into the space. The finishing touch of EasySeal™ Gloss gave the courtyard an impressive makeover, inspiring the DIYer to use Direct Colors for all future stamped concrete projects. A key tip they shared is to limit traffic on the freshly stained area and to spray on the sealer for a perfect finish.
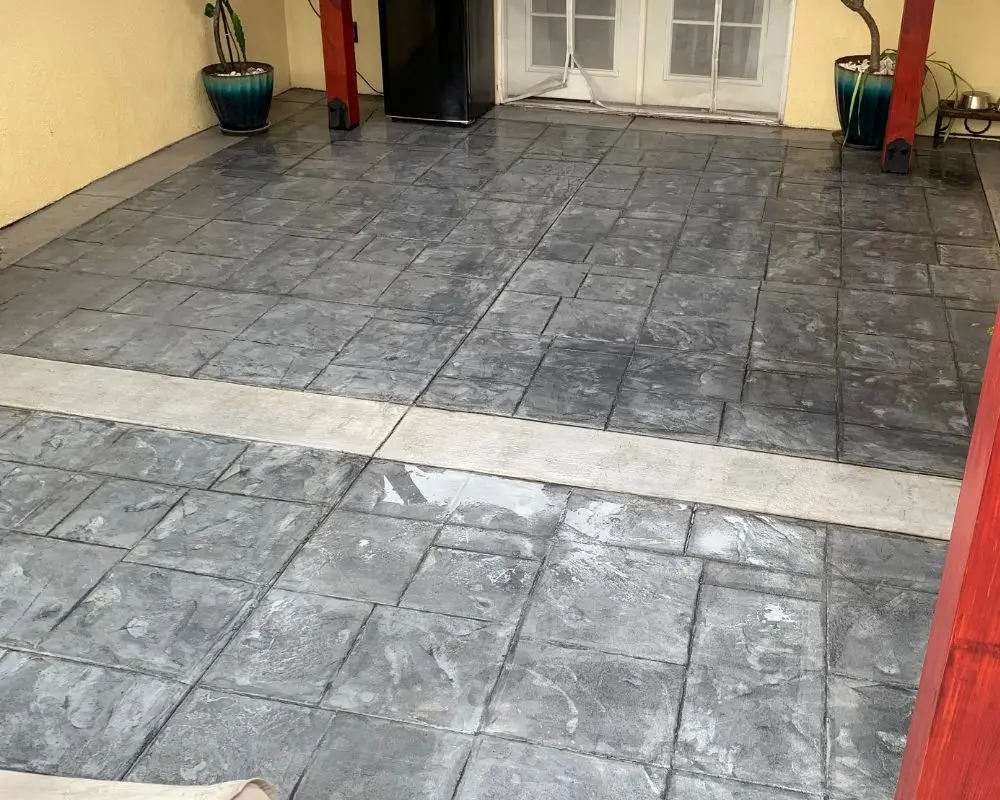
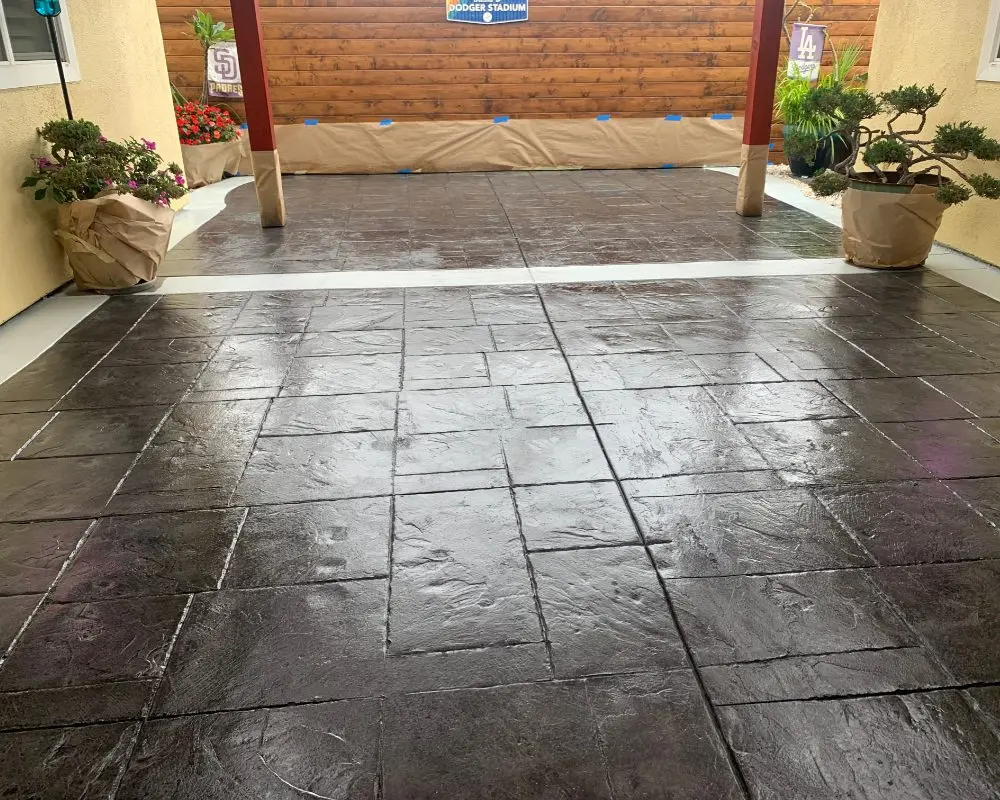
Project Info:
- Project Completed In: 5 day(s)
- Estimate of Square Footage: 350 sq. ft.
- Project Description:
I had stamped concrete that had lost all its luster and furniture scratches etc….. I found Directcolors doing search for ideas and was very easy to see their products and videos that explain every step of the process…… scrubbed floors on hands and knees then power washed then let them dry for a full day before I started process with masking and blowing off any dust or dirt. I put down the stain and had multiple calls into customer service which was amazing every time to answer all my questions and concerns. I was impressed with the stain process but WOW once the first coat of stain went down it was all worth it brought my courtyard back to life!!! I will use Directcolors for all my stamped concrete on my home!!! Thank you all at Directcolors!!! - Personal Tips:
Once stain is down limit all traffic to zero.
Spray the sealer - Direct Colors Products Used:
1 Gal. Charcoal Antiquing™ & EasySeal™ Gloss Kit
1 Qt. Charcoal Antiquing™ Stain
1 Qt. EasySeal™ Gloss Concrete and Paver Sealer - Other Products Used:
Pump sprayer
Power washer
Scrub brush
Masking paper
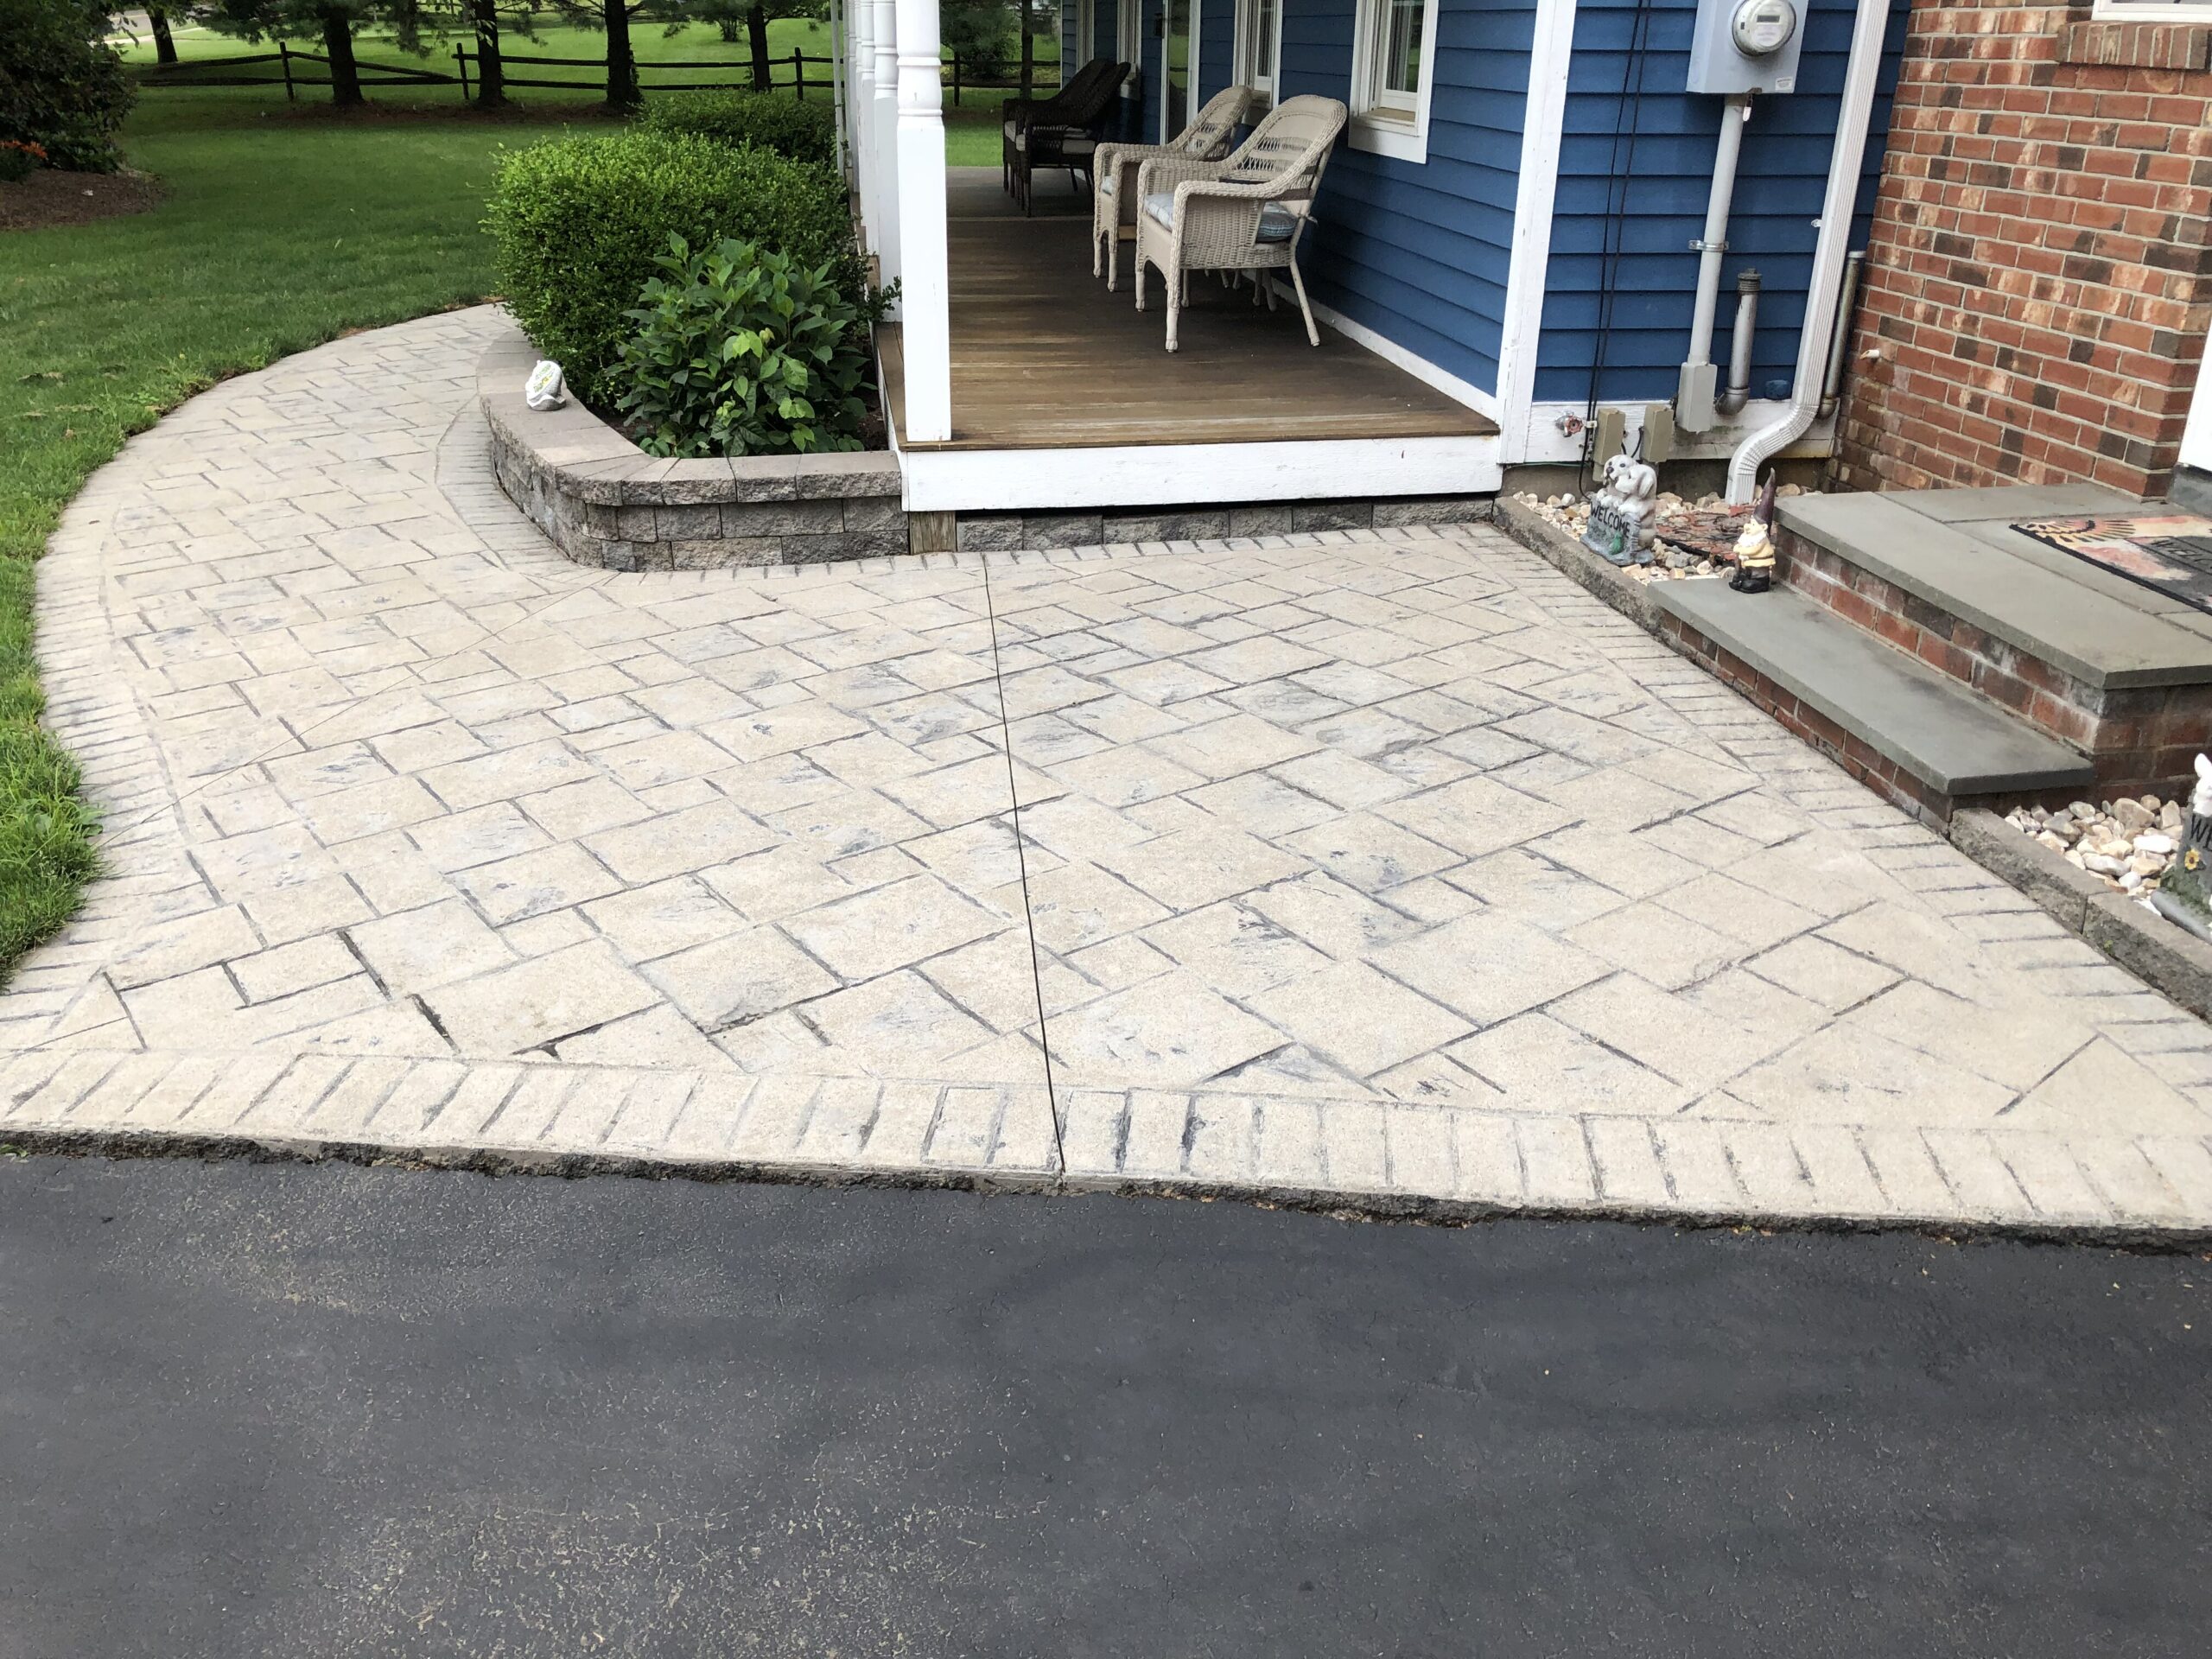
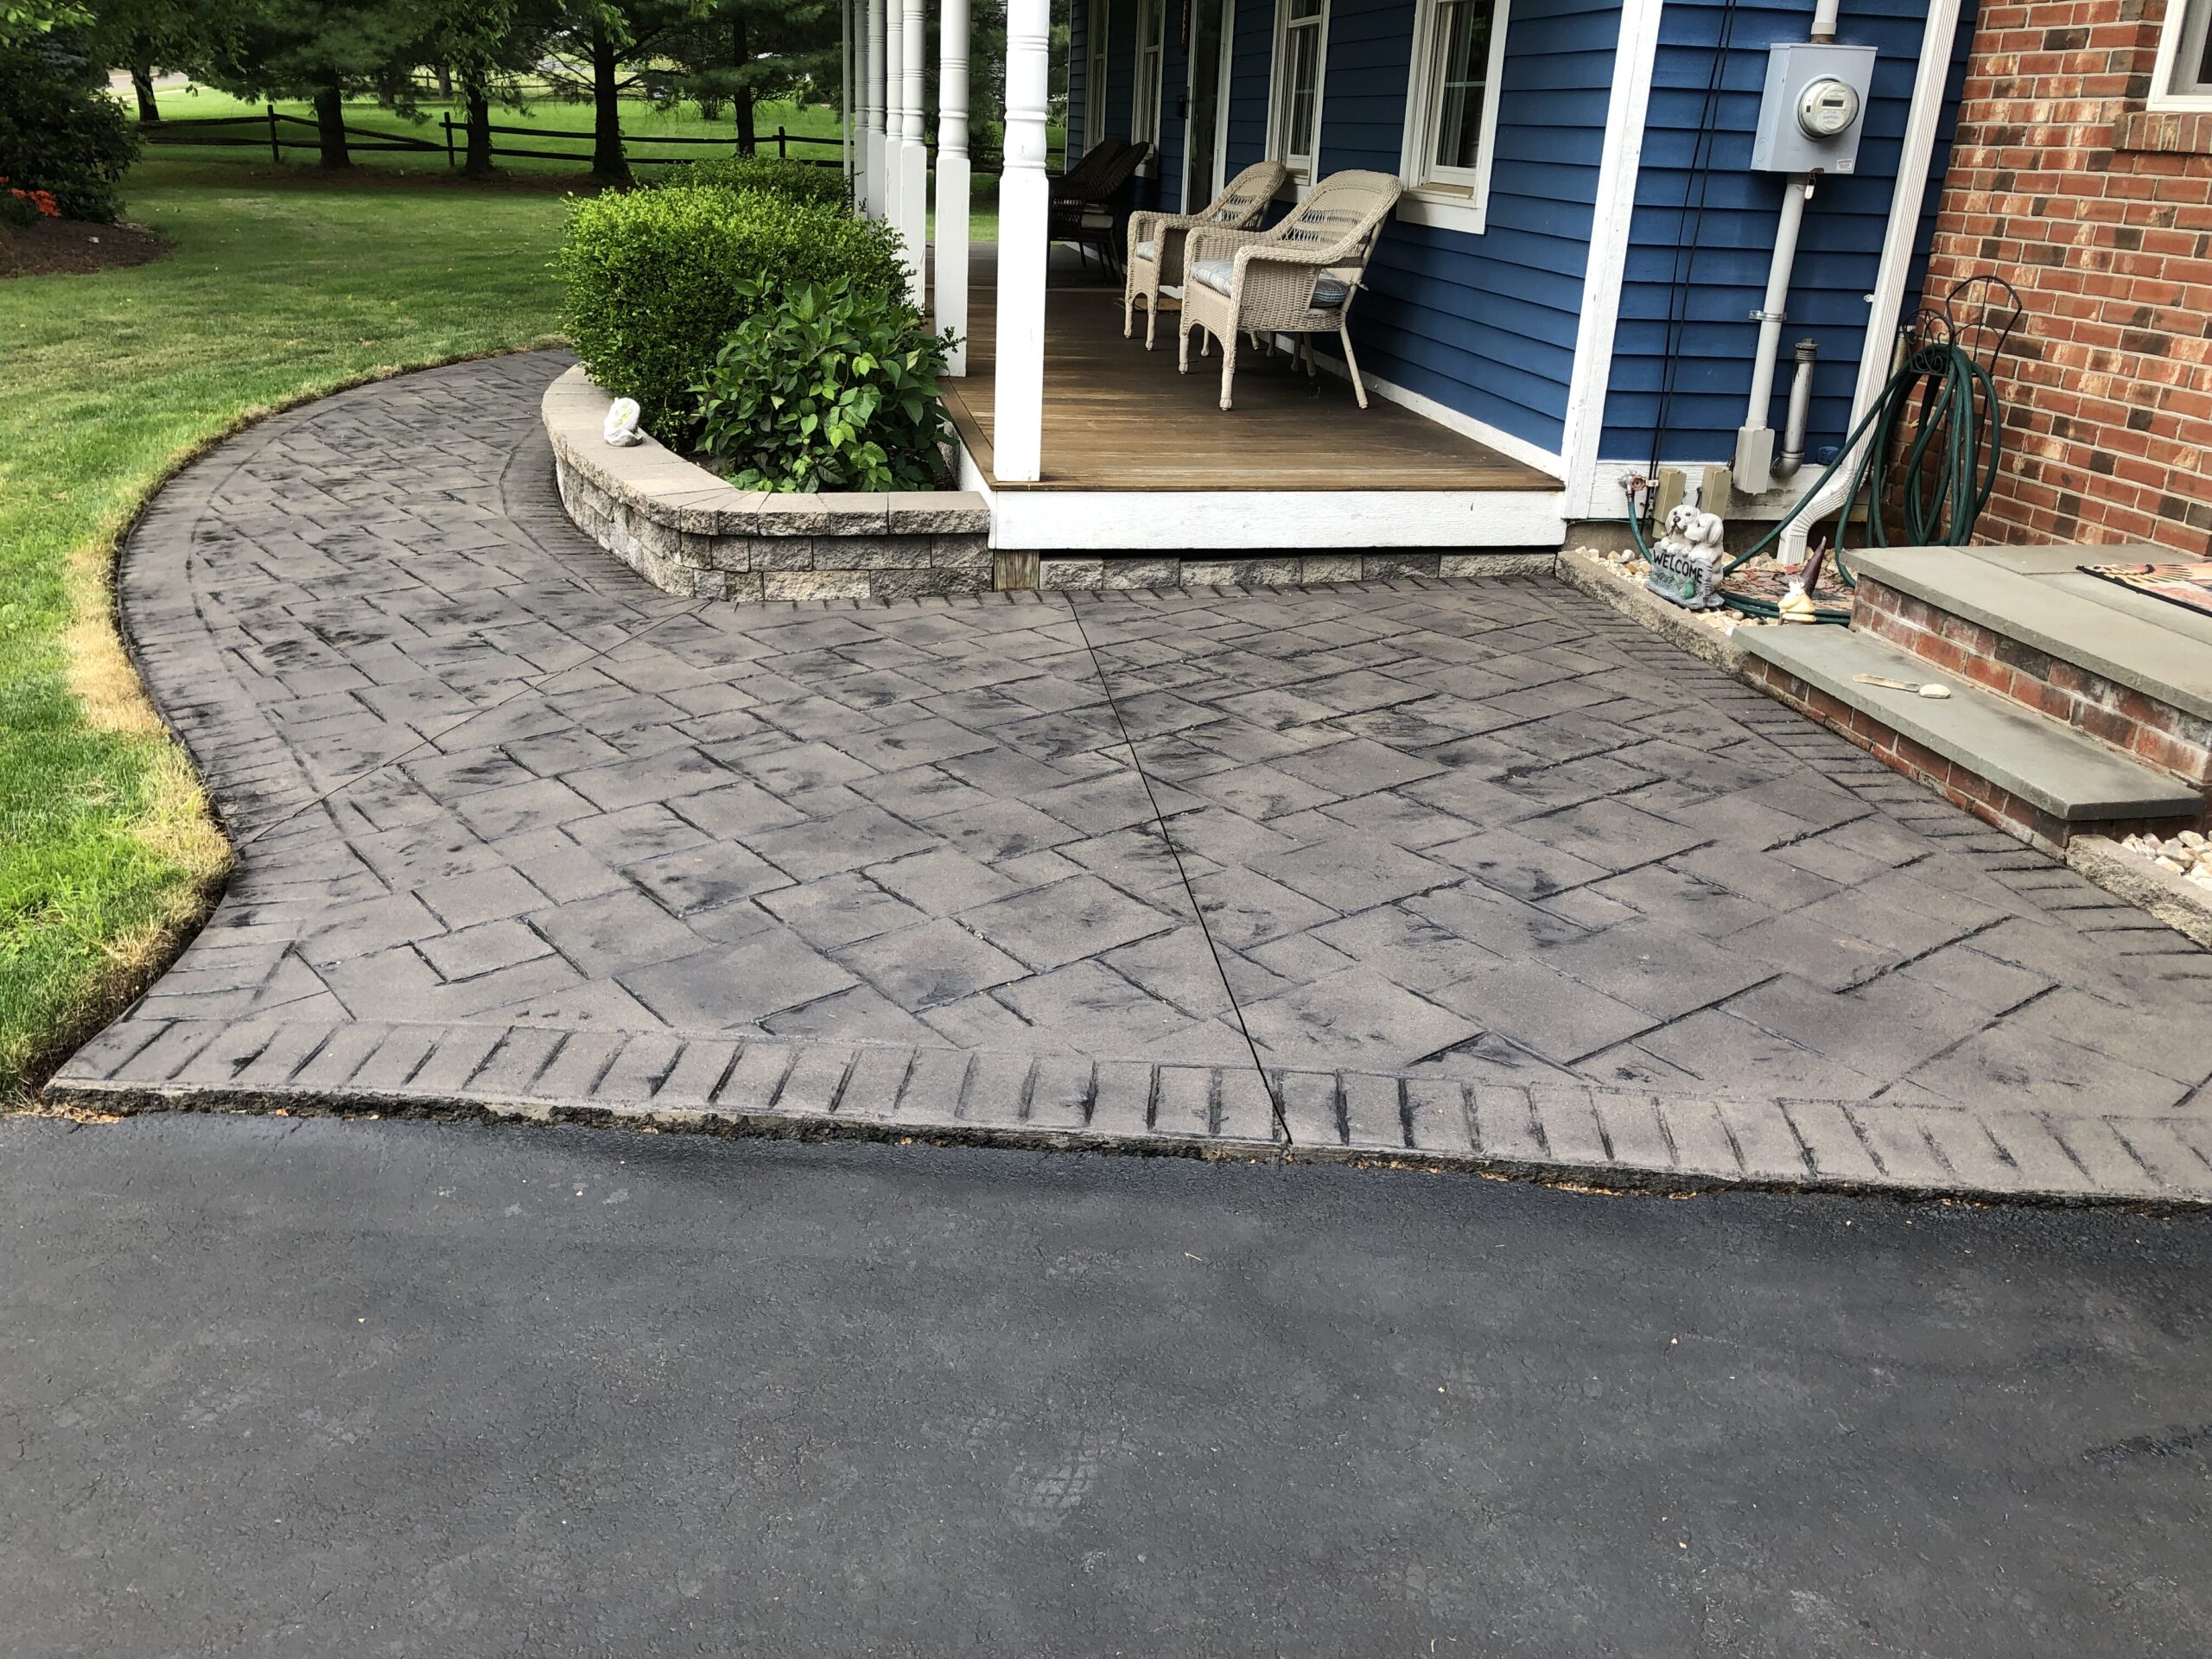
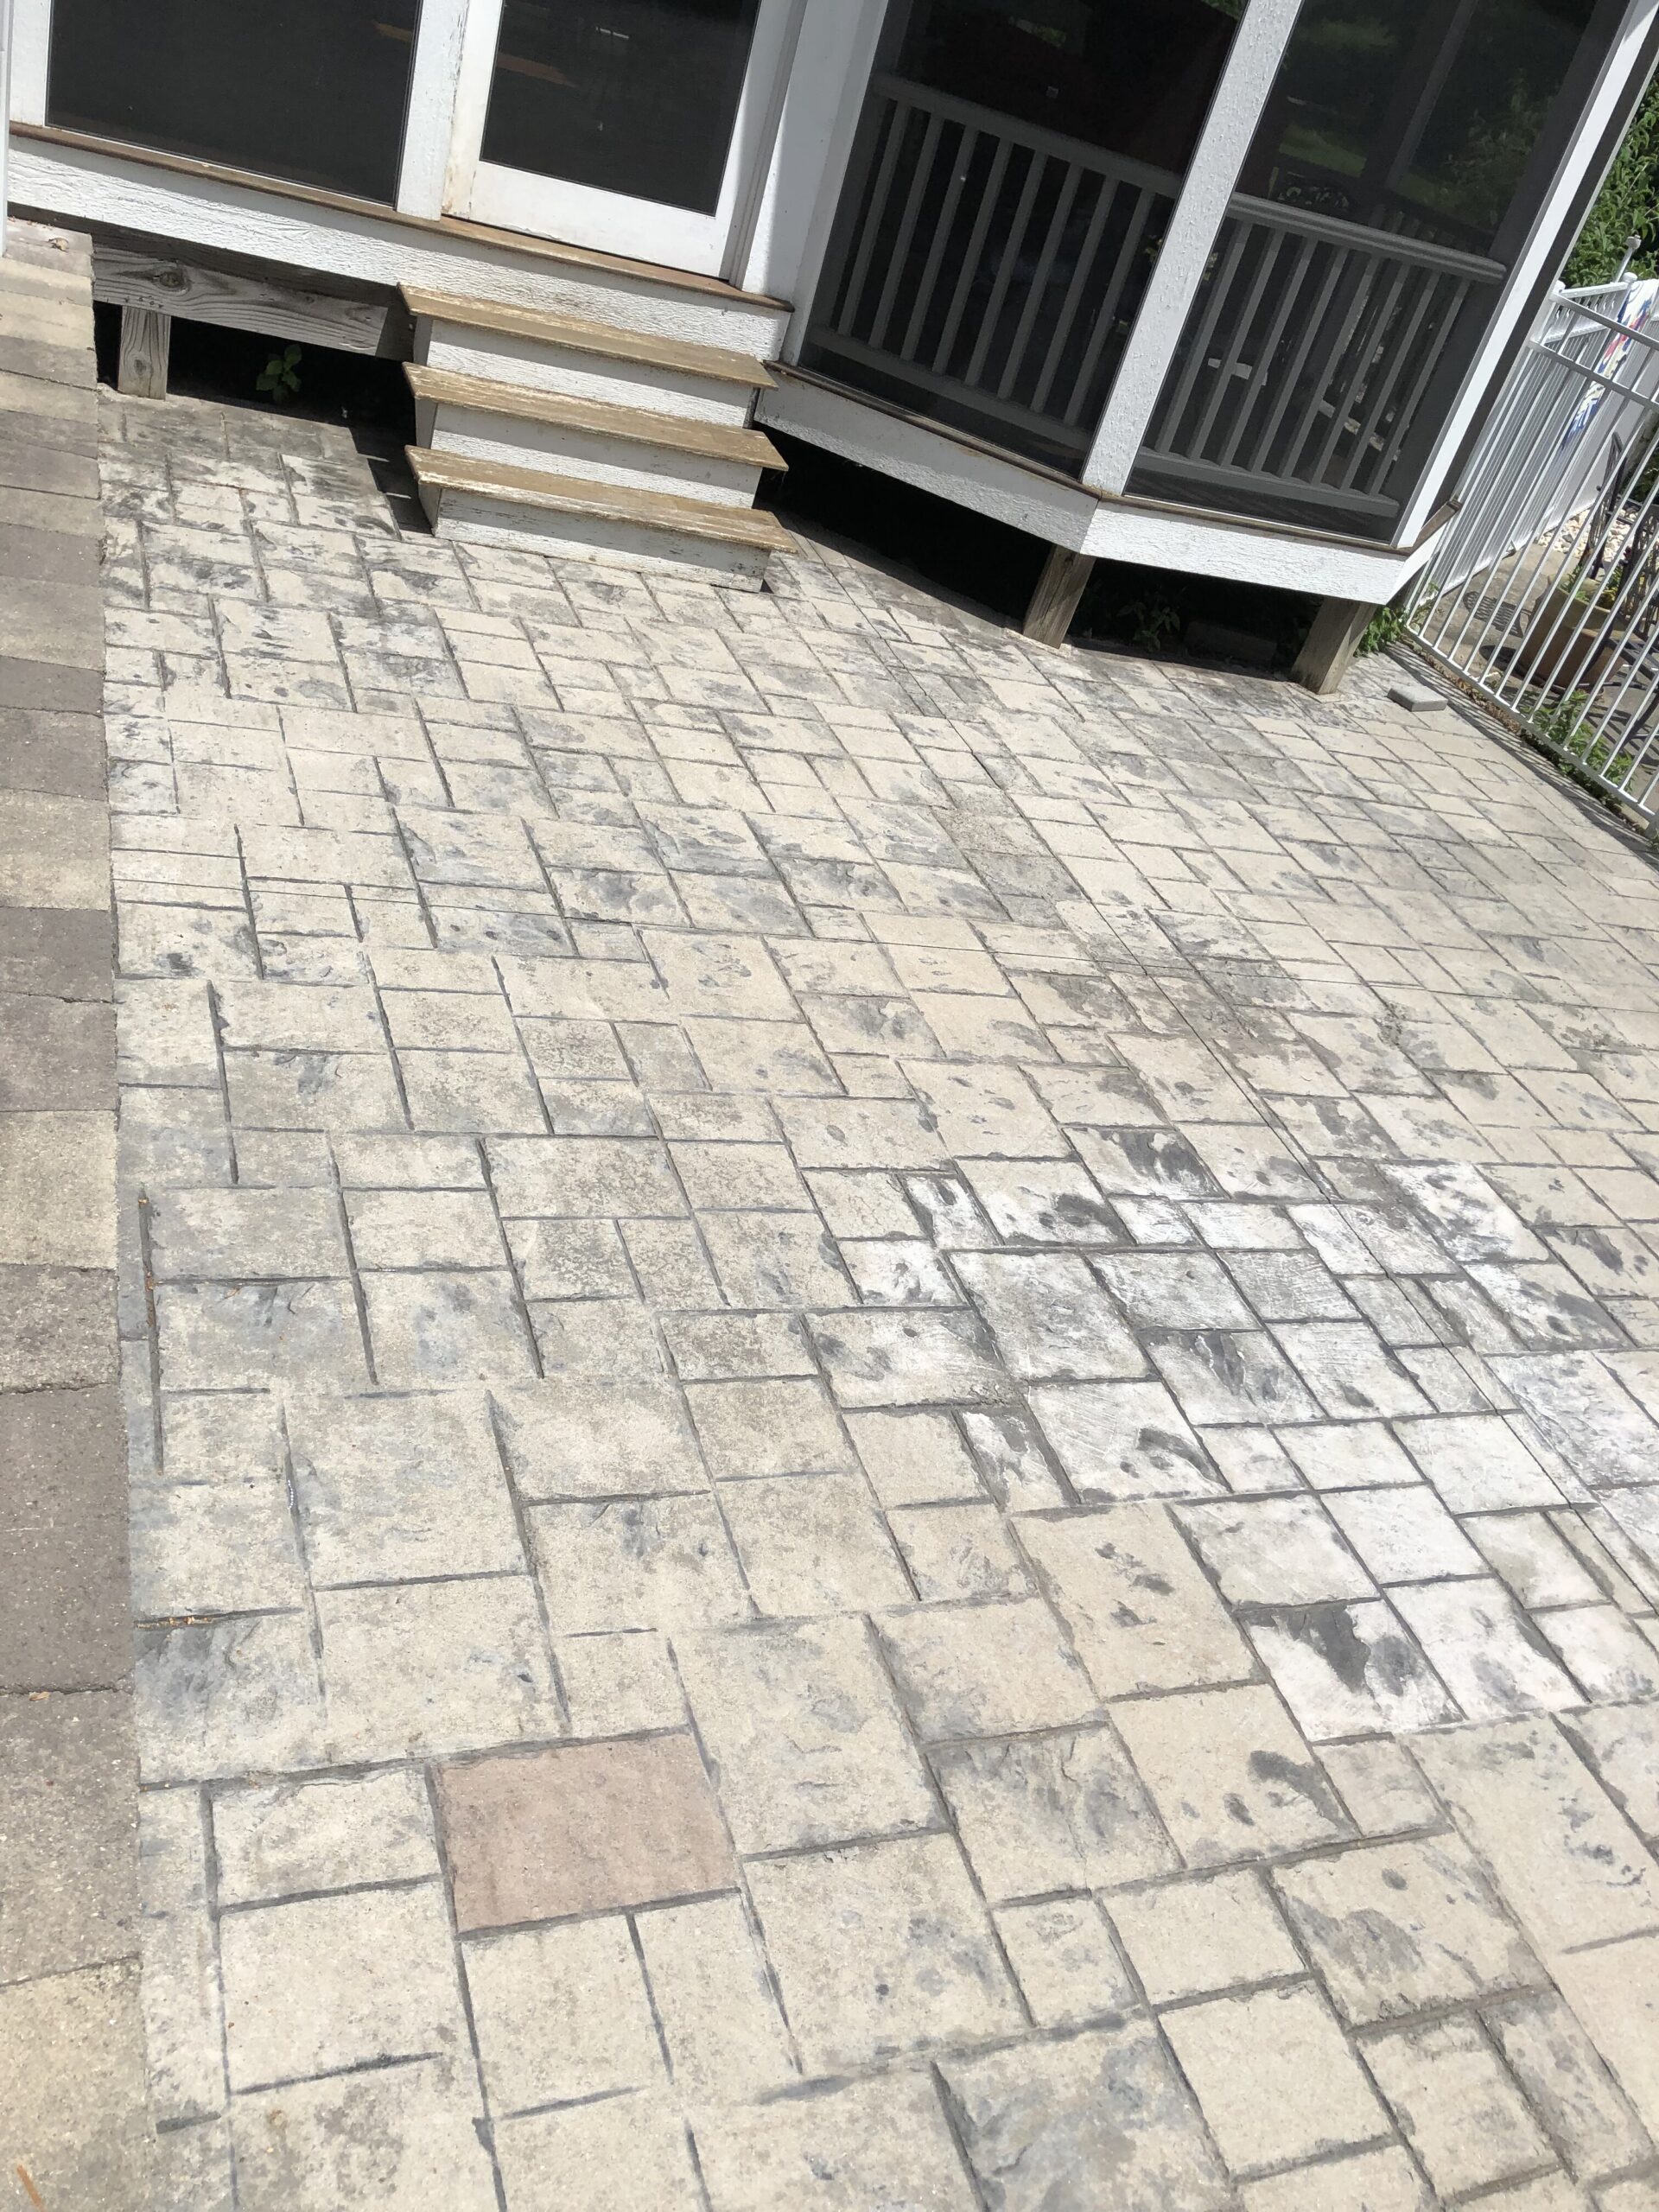
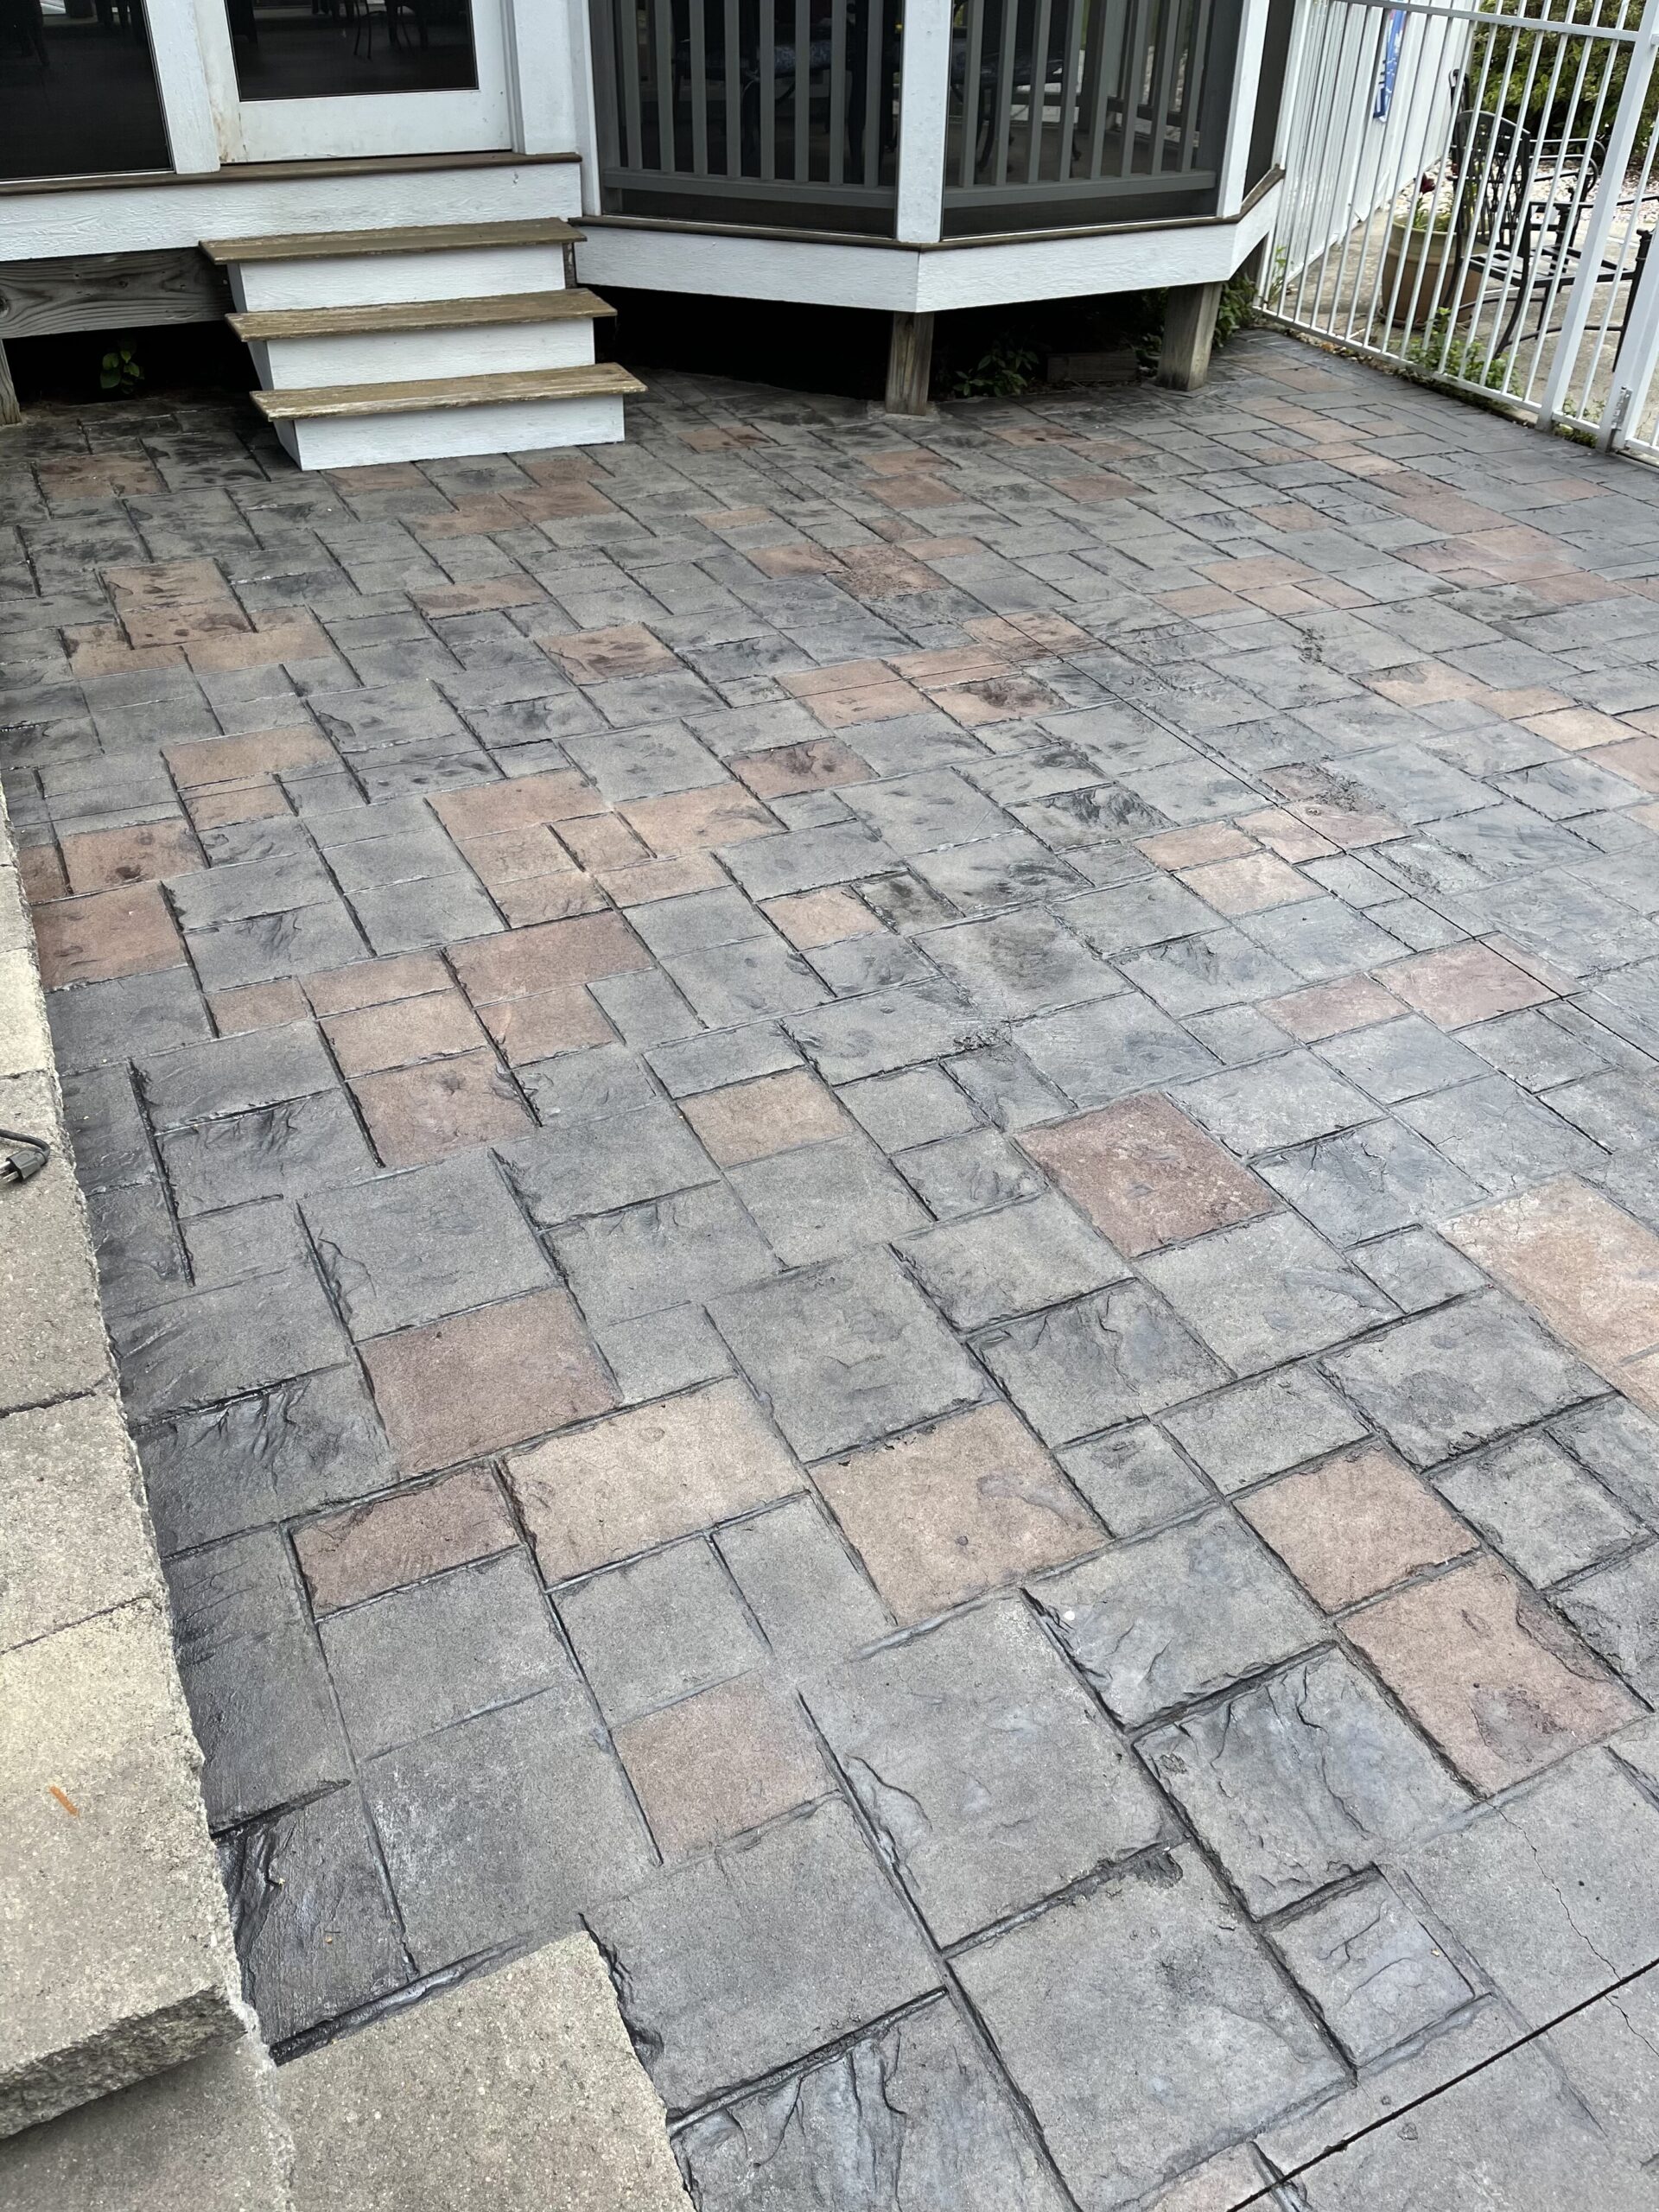
Walkway and Patio Refresh: Charcoal and Auburn Antiquing™ Stain Makeover
This project brought new life to a 12-year-old faded walkway and patio. The walkway was transformed using a two-tone approach with light and dark Charcoal Antiquing™ Stain, followed by a Satin EasySeal™ Sealer.
Project Info:
- Project Completed In: 4 day(s)
- Estimate of Square Footage: 770 sq. ft.
- Project Description:
We had a front walkway and back yard patio poured about 12 years ago. Both had worn badly and lost all color.
The front walkway we wanted darker, so we decided on charcoal for the color. The walkway is approx 260 sq ft. We power washed, applied one coat of light charcoal antiquing stain, then went over it with dark charcoal for the second coat, followed by two coats of the acrylic satin sealer. Total labor time was about 8 hours.
For the back patio, it was just as worn as our walkway, but we had put in a small paver walkway this year leading to it and the pavers had a mix of grey and auburn, so we decided to match the pattern. The patio is about 510 sq ft. We first power washed, then took a foam brush and stained random sets of blocks with the auburn antiquing stain. When that was complete I sprayed the entire patio in light charcoal, trying to not overspray the auburn blocks. The Auburn only needed 1 coat because we didn’t want it too dark. The light charcoal we did 2 coats and finished off with two coats of the satin acrylic sealer. Total labor for the patio was approx 10 hours. - Personal Tips:
When using a sprayer for the sealer, it’s good to go over with a foam roller, if you are covering stamped concrete. The sealer will pool in the seams and if there is too much can bubble. Also find a good way to clean out the sprayer, because after the 2nd coat, our sprayers wouldn’t work. - Direct Colors Products Used:
1 Gal. Charcoal Antiquing™ Stain
1 Gal. Light Charcoal Antiquing™ Stain
1 Gal. Auburn Antiquing™ Stain
5 Gal. EasySeal™ Satin Concrete and Paver Sealer - Other Products Used:
Four pump sprayers
Self-Taught Patio Makeover: From Neglected to Stunning
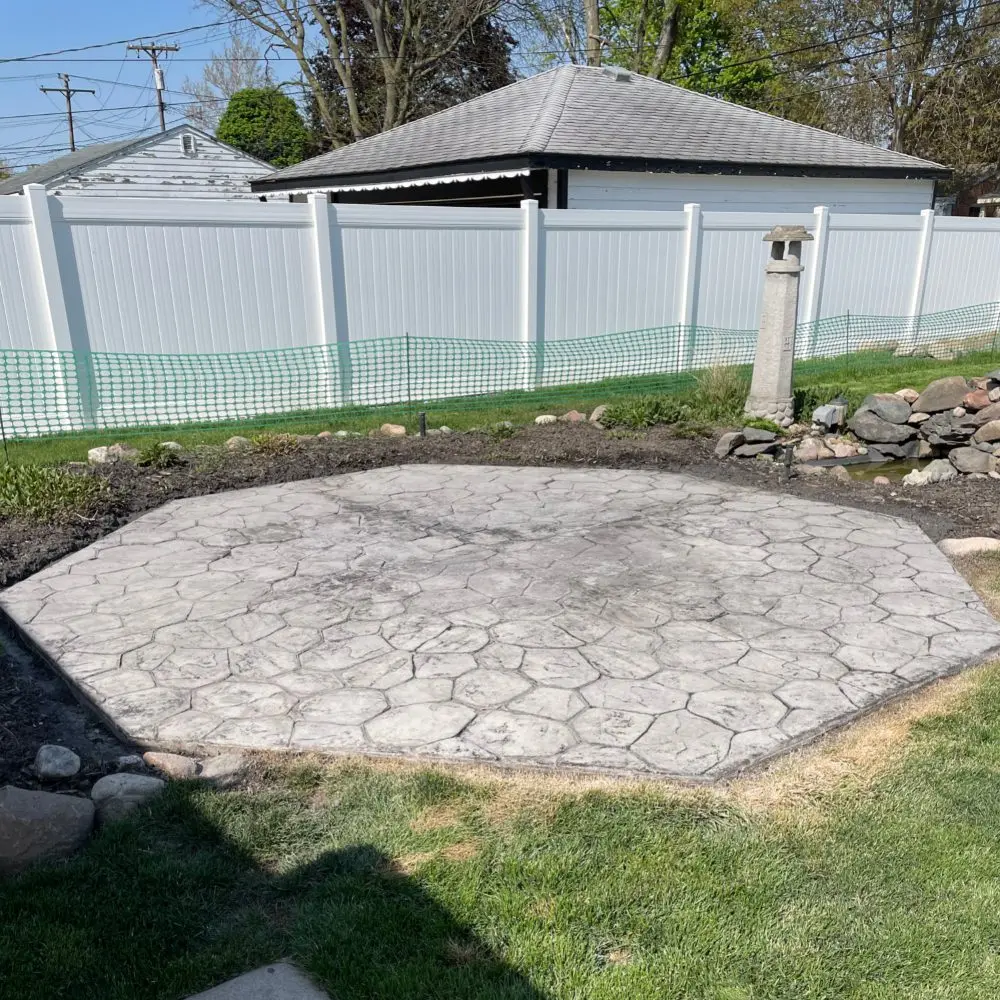
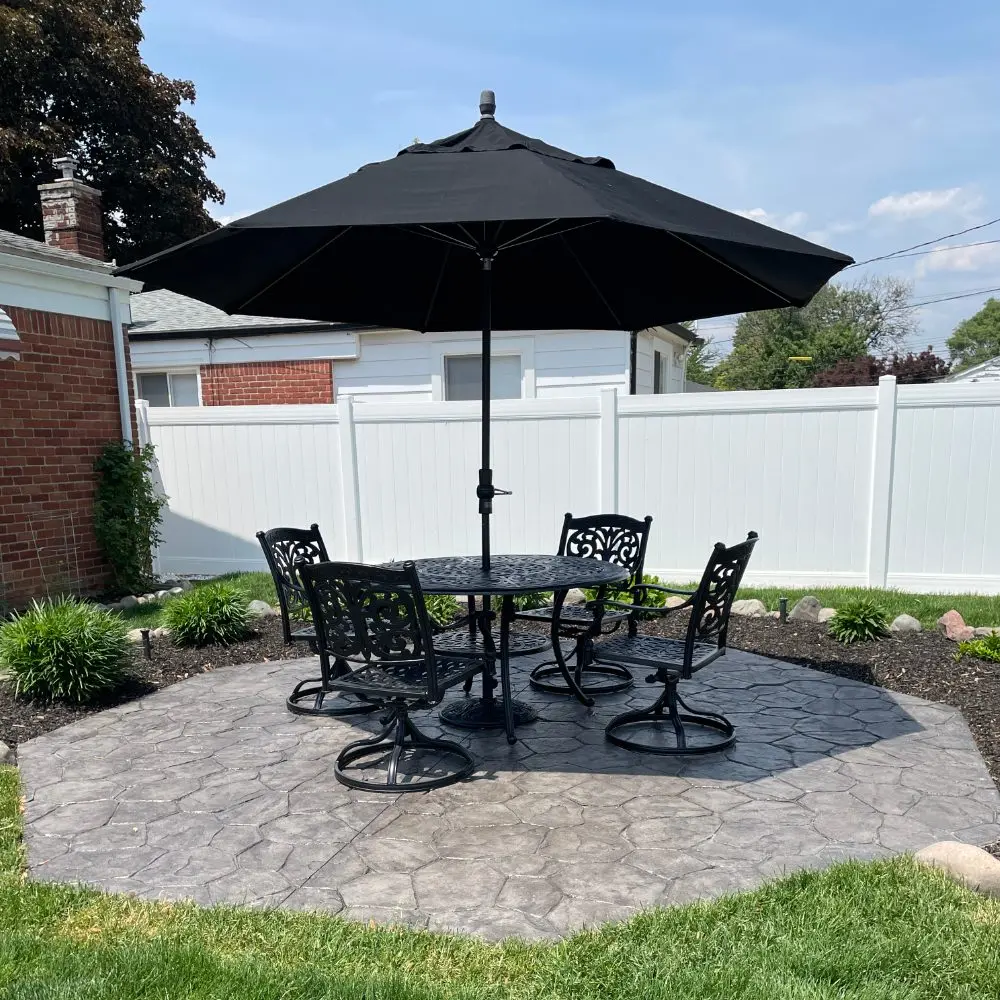
This DIYer took the plunge to revive a neglected, faded patio after finding no professionals for the job. Armed with our DIY Antiquing™ Stain Kit and the helpful advice of our patient customer service, they tackled the project with enthusiasm. After a meticulous process of soy gel stripping, degreasing, staining, and sealing, they watched their patio spring back to life. The highlight? A new self-stained concrete block step that matched the patio perfectly. A key tip: always consider the weather for outdoor projects and shake your stain well before and during spraying.
Project Info:
- Project Completed In: 6 day(s)
- Estimate of Square Footage: 180 sq. ft.
- Project Description:
After neglecting my patio for 3 years the color faded so I tried to get a professional to fix it. I couldn’t find anyone to do job. So I googled how to restore my patio. That’s where I found Direct Colors. After spending a few days looking over a lot of the how to videos, that were very informative, I decided I can do it. I called to place my order for DIY Antiquing stain kit and I believe I talked with Heather very patient and answered all of my questions and concerns. After receiving my kit I went over everything that I had to do and had a few more questions. I called, I believe that I talked with Heather, I’m sorry if I got your name wrong, and once again she answered all of my questions which gave me the confidence to go for it. Thanks Direct Colors. I give you a 5 star rating. - Personal Tips:
Make sure that the weather will not interfere with your project.
A couple of days after I finish my project, the wind blew a bunch of tree seeds all over the place. I was so thankful that the gloss sealant was long dry.
Having a stamped patio with an uneven surface made it a little difficult to remove the soy gel stripper. I spent the rest of the day using my power washer cleaning it up.
Once you get to the degreasing part it’s all downhill hill. I let it dry overnight.
I blew it off with a leaf blower and proceeded to get the stain ready. Tip. When you think that you shook it enough shake it a little more and definitely while spraying. It was really easy with the sprayer that came in the kit that I bought. This is the beginning of watching my patio come back to life. Following the directions, 2 thin coats. Applying the second coat I wore the one size fits all to avoid any shoe footprints. They worked well. I let it dry overnight and double checked the weather and applied the sealer. Two thin coats. After putting that on my patio just popped. I love how it turned out the feeling of I did it myself with a lot of money still in my pocket. I also bought a concrete block to use as a step to the patio. I degreased it, stained it and applied the sealant. It looks pretty close to my stamped concrete. - Direct Colors Products Used:
1 Gal. Soy Gel Stripper
1 Gal. EasySeal™ Gloss
1 Gal. Charcoal DIY Antiquing™ & EasySeal™ Gloss Kit
I used everything in the kit:
Pro Clean Degreaser
2 sprayer pumps, one for the stain and one for the gloss sealant
Spiked shoes. Tip. Don’t try golfing with them.
Safety goggles
Gloves
Cleaning cloth
And Gloss Easy Seal. I bought an extra gallon of this after I inquired about the shelf life so it is on hand for next time. - Other Products Used:
Floor brush and a bucket.
Squeegee and some plastic scraper.
Power washer.
Everything else that I needed was supplied from Direct Colors
No More Ugly Orange Concrete Patio
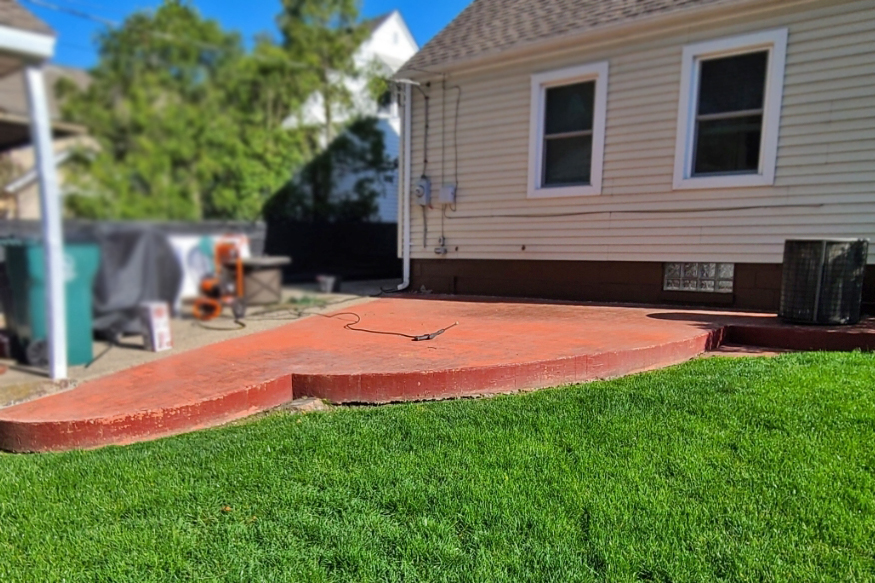
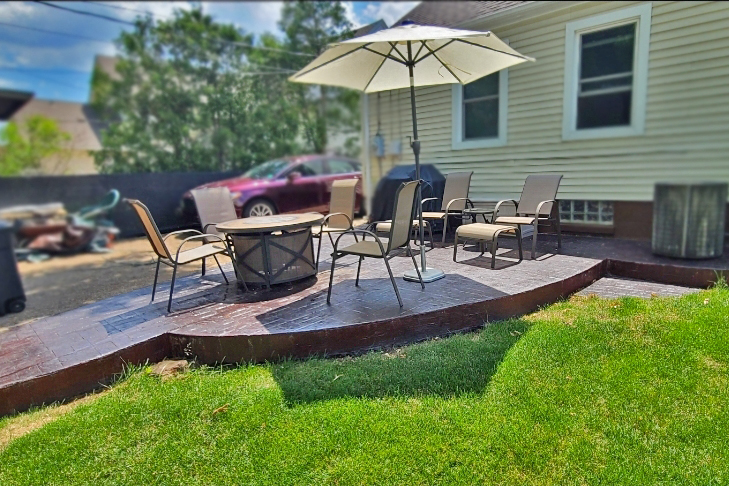
If you are covering an old color that is very bright, make sure to buy enough stain. It took me multiple layers due to the bright orange that was there before. Other than that, it was a rather simple process.
- Project Completed In: 4 day(s)
- Estimate of Square Footage: 350 sq. ft.
- Project Description:
I was looking to recolor and stain my rather ugly orange patio that was there when I moved in. The patio was stamped so I knew there had to be a way to make it look good. Luckily, I found Direct Colors and got just the result I wanted. I mixed charcoal and black Antiquing stain to create a deep dark color which slightly showed the previous orange, creating a natural look. Then I sealed it to pop the color. I love it! - Personal Tips:
If you are covering an old color that is very bright, make sure to buy enough stain. It took me multiple layers due to the bright orange that was there before. Other than that, it was a rather simple process. I mixed some anti slip into the final sealer to ensure a finish that was also safe. - Direct Colors Products Used:
1 Gal. Charcoal DIY Antiquing™ & EasySeal™ Satin Kit
1 Gal. Black Antiquing™ & EasySeal™ Satin Kit
16 Oz. Non Slip Concrete Sealer Additive - Other Products Used:
Two pump sprayers & deck brush
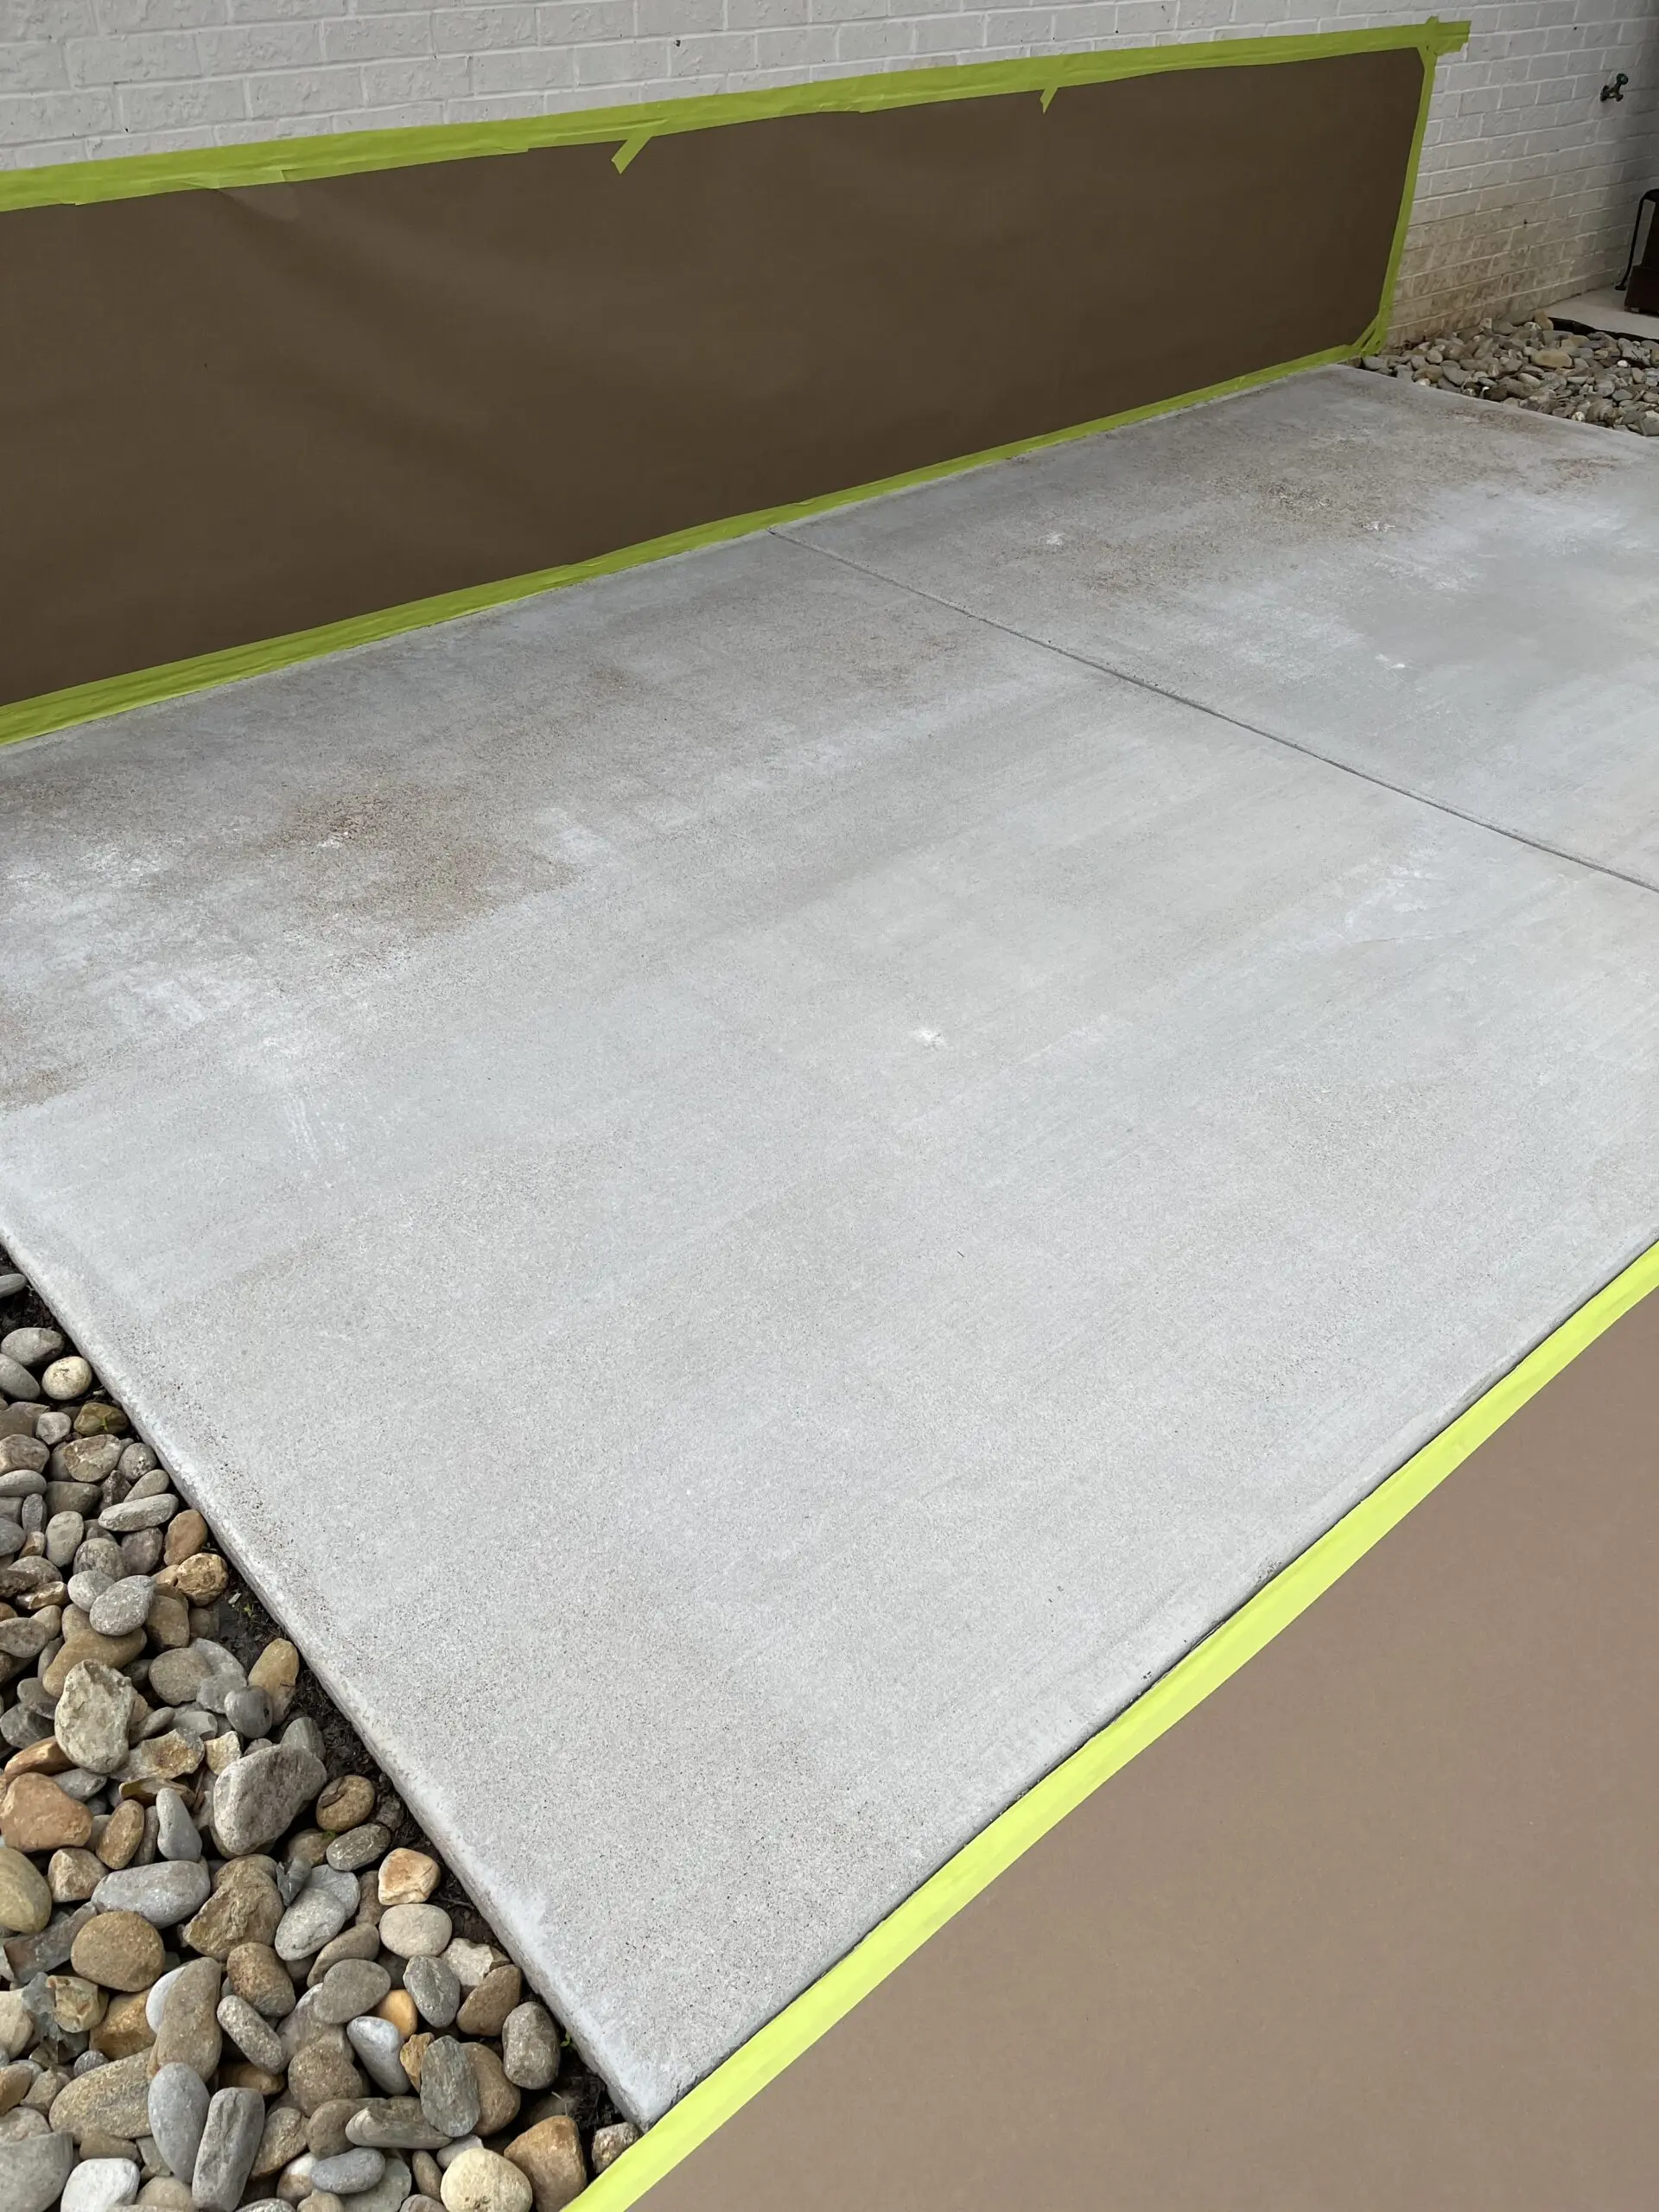
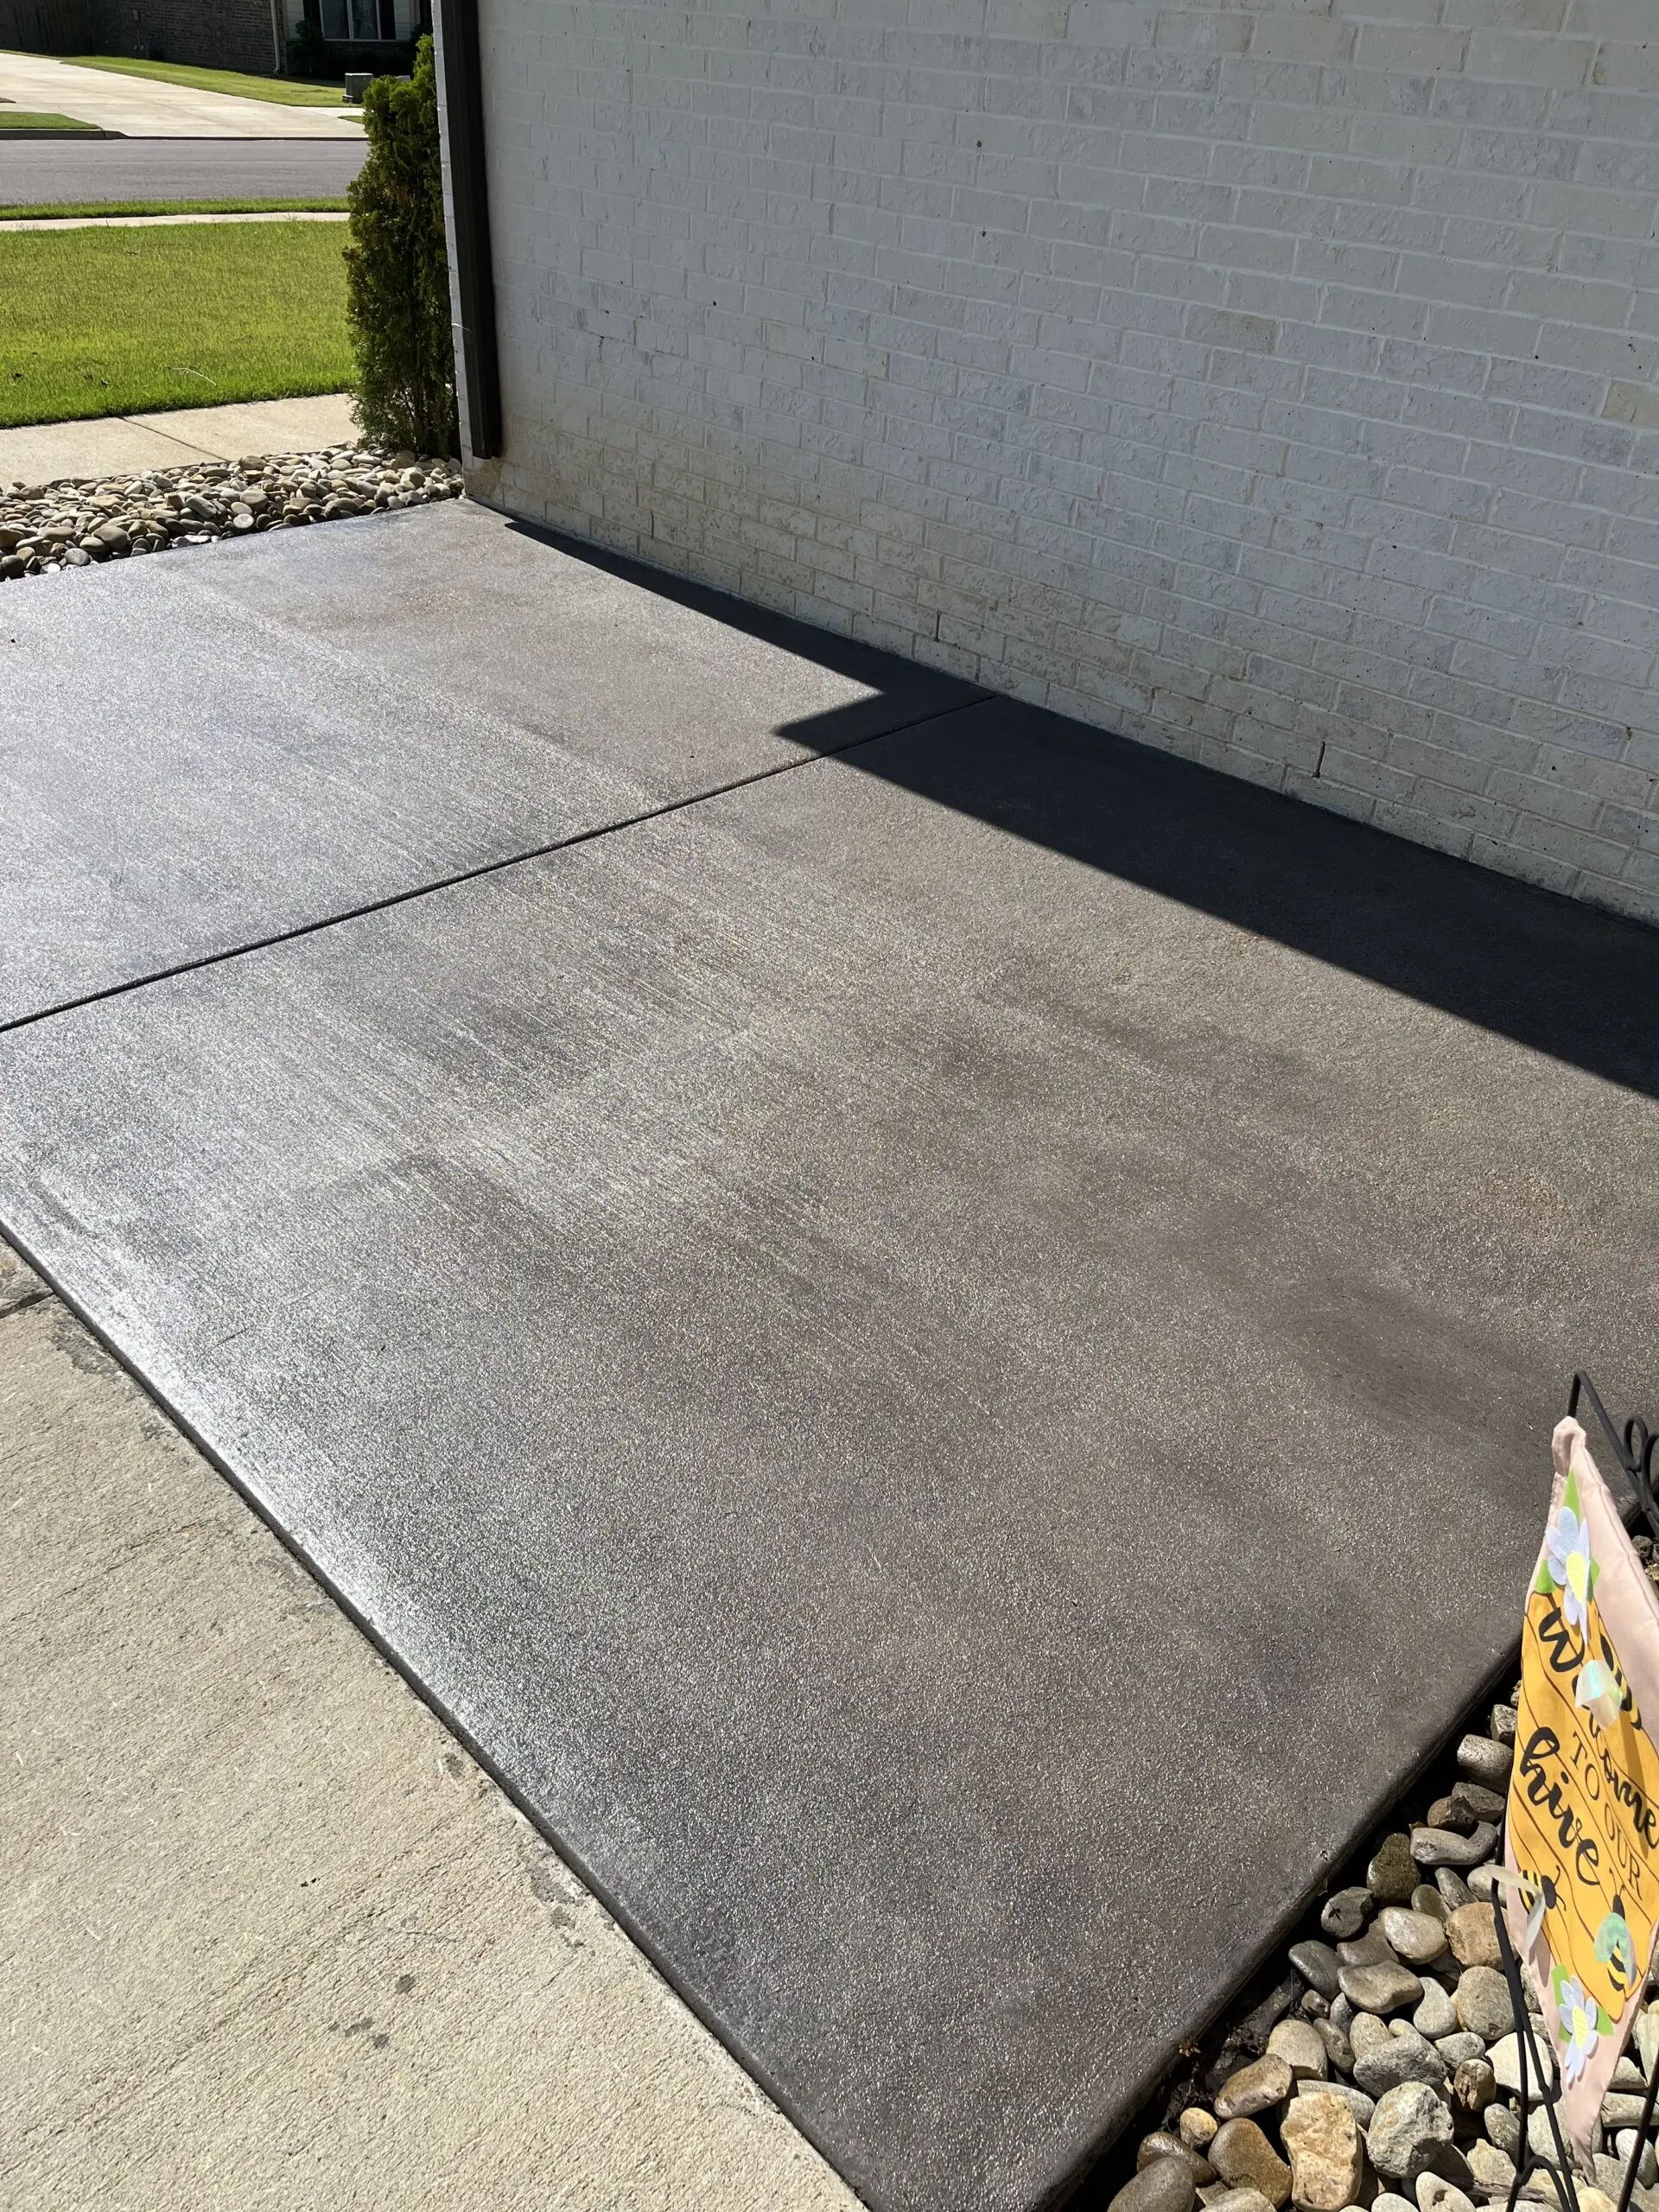
Efficient Makeover: Broomed Concrete Patio Revamp
In this project, our DIYer rejuvenated a front patio made of broomed concrete using our Charcoal Antiquing™ Stain and EasySeal™ Satin DIY Kit. The pro-tip for this job: Spray in 100 sq ft increments to ensure efficient usage of stain and maintain proper mixing within the sprayer. An easy and effective way to transform your outdoor space.
Project Info:
- Project Completed In: 2 day(s)
- Estimate of Square Footage: 170 sq. ft.
- Project Description:
Front patio with broomed concrete. - Personal Tips:
Spray 100sq feet at a time so you use 1/2 gallon at a time. This way you know how much to spray without wasting any. Also you are able to keep the stain mixed up better in the sprayer. - Direct Colors Products Used:
1 Gal. Charcoal Antiquing™ & EasySeal™ Satin Kit

