How to Stain Concrete Patio: The Best Concrete Stains for Your Outdoor Space
by Justin Richardson
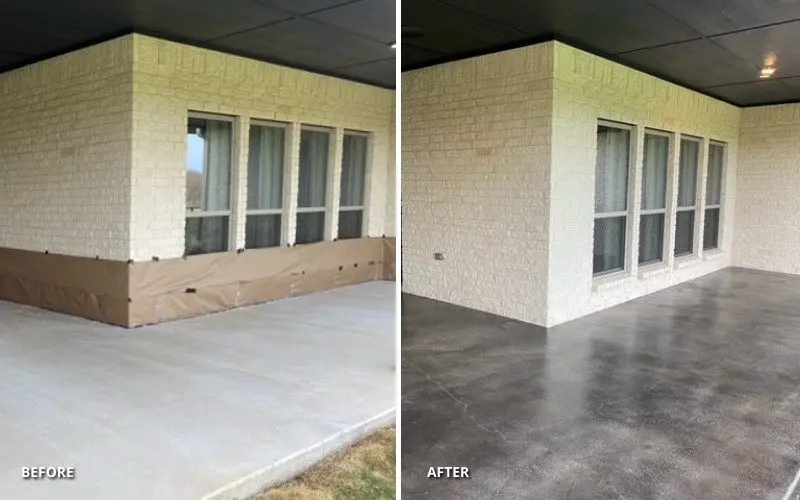
Staining concrete patios can enhance the look and feel of your outdoor space. To achieve the best results, it’s important to choose the right concrete stain. Antiquing Stain is considered the preferred stain for concrete patio projects due to its versatility, durability, and ease of application. This stain is great for stamped, brushed, broom, swirled, and poured concrete.
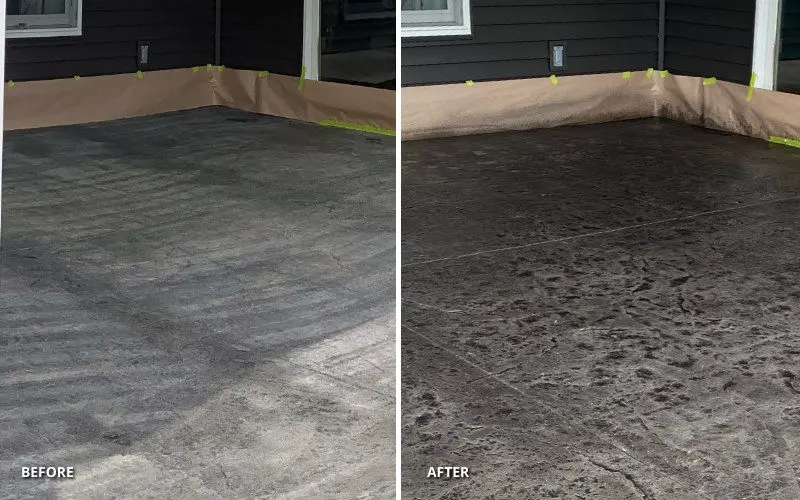
This specially formulated concrete stain is perfect for repairing and restoring color to concrete surfaces with minimal surface preparation. It penetrates into the concrete to provide long-lasting color and does not react chemically, allowing you to blend patchy areas with the rest of the surface. With over 30 available colors, you have a wide range of options to choose from.
Here’s a step-by-step guide on how to stain your concrete patio with Antiquing Stain:
Step 1: Preparation
Ensure newly poured concrete has cured for 30 days before application.
- To protect surrounding areas from over-spray, cover walls, landscaping, and other nearby items with plastic drop cloths or paper before staining the concrete patio. This will ensure that the area remains clean and free of any unwanted stains.
- Remove any paint or previously applied sealer.
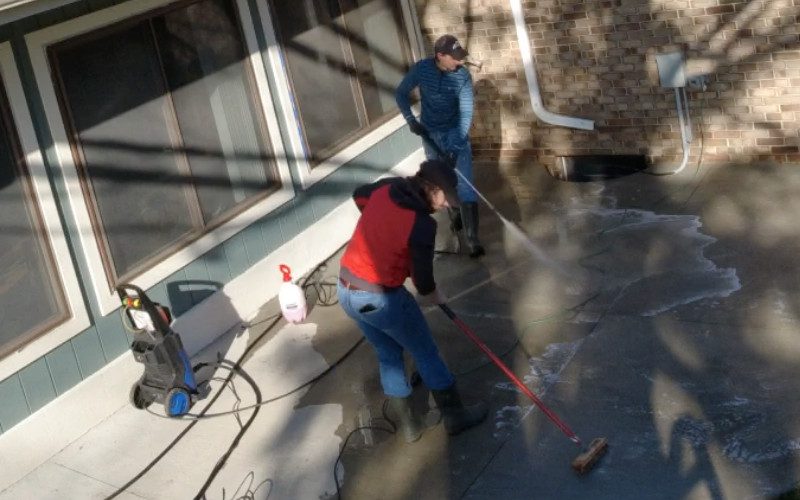
- Clean the surface of oils, dirt, and debris using a scrub brush and ProClean Degreaser™.
- Test the surface’s absorption by pouring a cup of water in various areas. If not absorbed within five minutes, etch the surface with CitrusEtch™, then neutralize with ProClean Neutralizer™ and rinse thoroughly.
- Allow the concrete to thoroughly dry before application.
For more detailed information on how to prepare concrete for staining read How to Prep Concrete for Staining
Step 2: Application
NOTE: Only apply Antiquing™ Stain when the surface temperature is between 40°F (4°C) and 95°F (35°C).
CAUTION: Antiquing™ Stain is flammable and harmful if swallowed or inhaled. Store and use with adequate ventilation and keep away from heat, sparks, and flames. Before applying, open windows and doors and extinguish all open flames. Do not smoke or use anything that could cause a spark.
1. Remove all filters from the pump-up sprayer.
2. Shake Antiquing™ well before pouring into the sprayer.
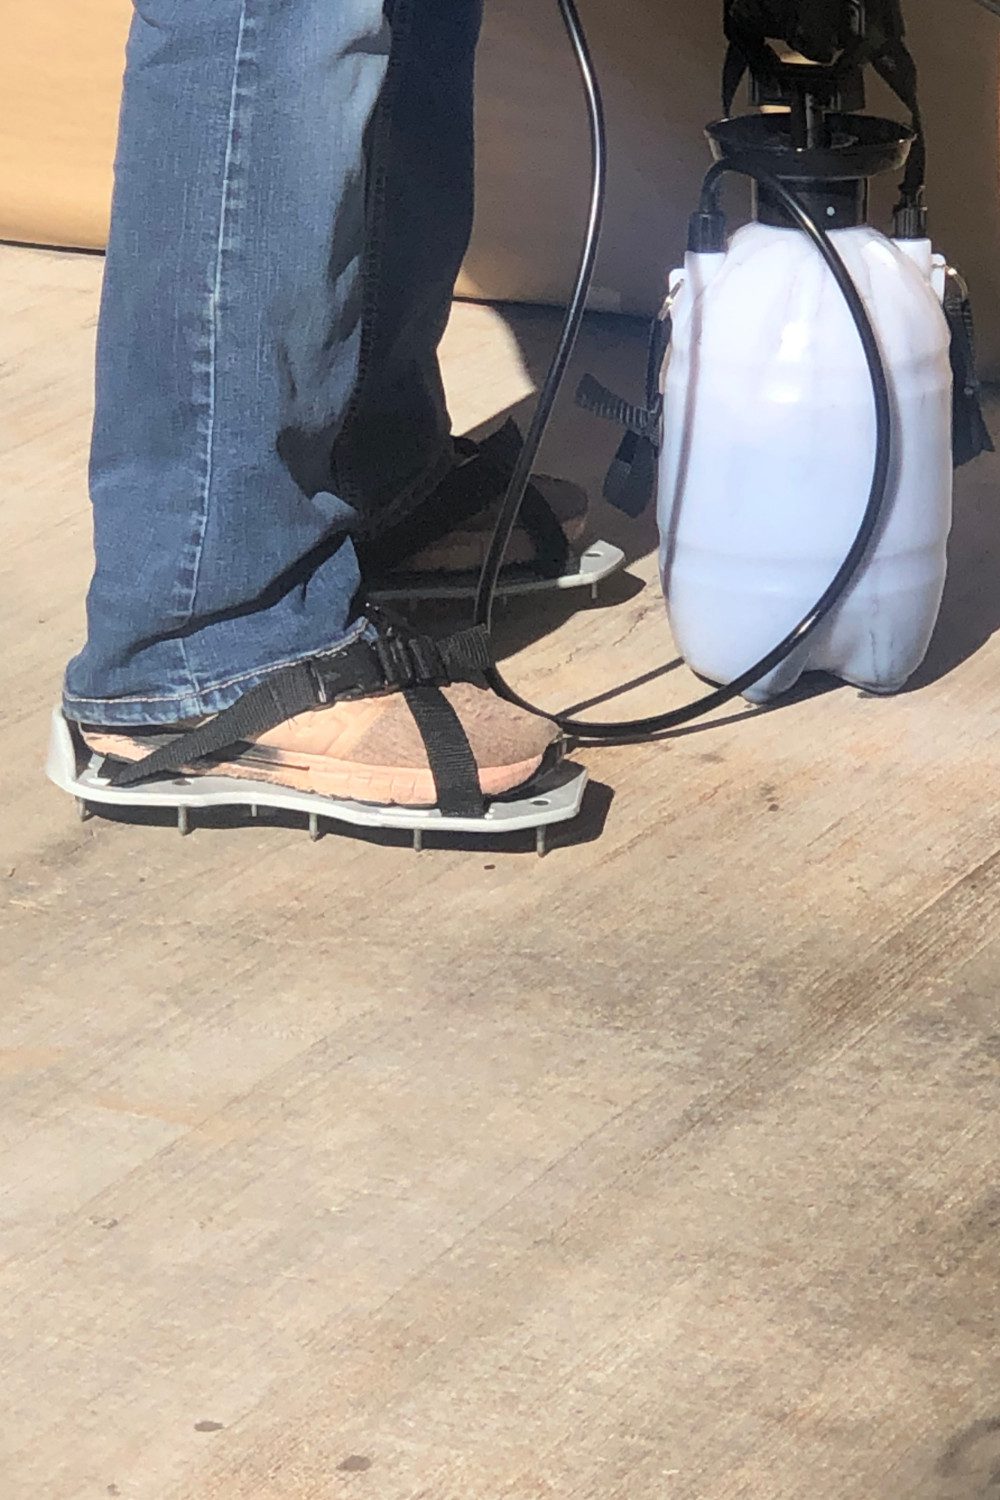
3. Achieve an even and flawless finish by spraying Antiquing™ stain on the concrete in circular motions with random overlaps. Protect your newly stained surface by wearing spiked shoes to prevent any unsightly shoe prints.
4. Ensure an even and consistent color application by shaking the sprayer tank frequently. Start spraying from a corner farthest from your exit to avoid any obstacles. If a second coat is desired, there’s no need to wait for the first coat to dry. To prevent drips, place the sprayer tip in a bucket before releasing the trigger.
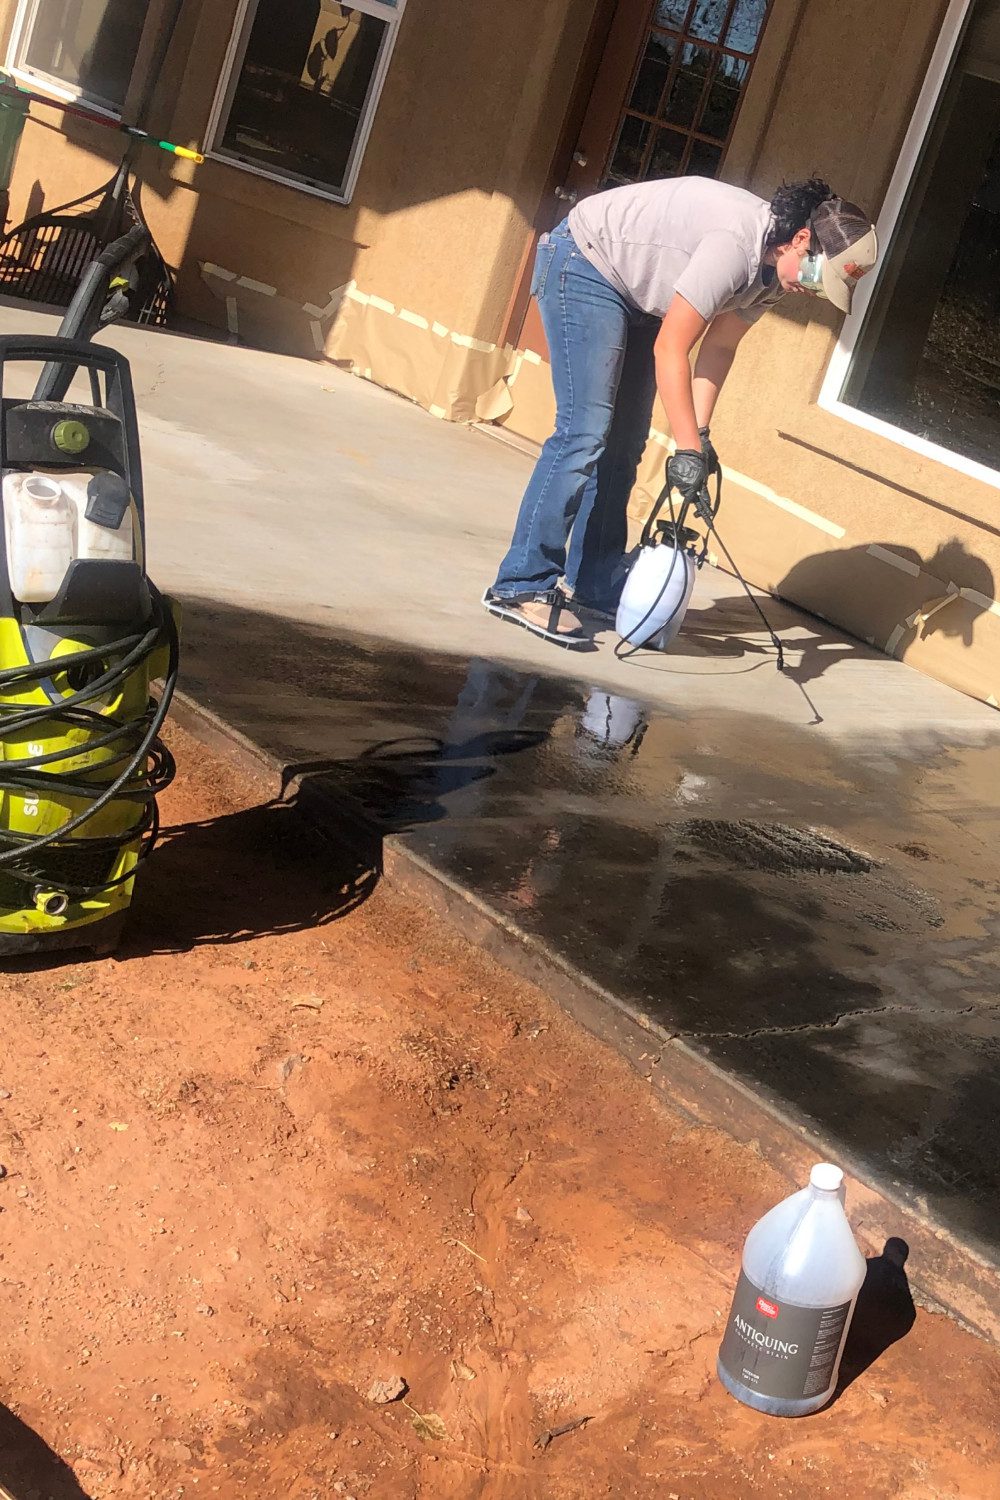
Don’t be alarmed if the color appears faint after the Antiquing stain has dried, the sealer will bring the color to life and make it vibrant.
Step 3: Seal & Protect Finish:
1. To ensure the best results, use a fresh pump-up sprayer for the EasySeal™.
CAUTION: EAsySeal™ is flammable, harmful if swallowed, or inhaled. Keep away from heat, sparks, and flame. Store and use with adequate ventilation, allowing airflow to disperse vapors. Before applying EasySeal™, open windows and doors and extinguish all open flames such as gas appliance pilot lights, candles, etc. Do not smoke, use a lighter or matches, or anything that could cause a potential spark.
2. Remove all filters from the pump-up sprayer.
2. Shake Antiquing™ well before pouring into the sprayer.
3. Begin the application from a far corner to maintain a clear path and apply EasySeal™ in circular motions with random overlaps.
4. Apply thin coats to prevent puddling and wait 8 hours before applying a second coat.
Tip: To maintain the longevity of your spray applicator, it is recommended to clean it after each use with a quart of Xylene. By recycling the Xylene, you can conserve resources and only need one quart for the entire project.
5. Check the cure by using a thumbnail to see if the coat is dented or scratched. If so, wait longer for it to cure before applying a second coat.
6. After applying the second coat, clean the sprayer with Xylene. Allow foot traffic only after 16 hours.
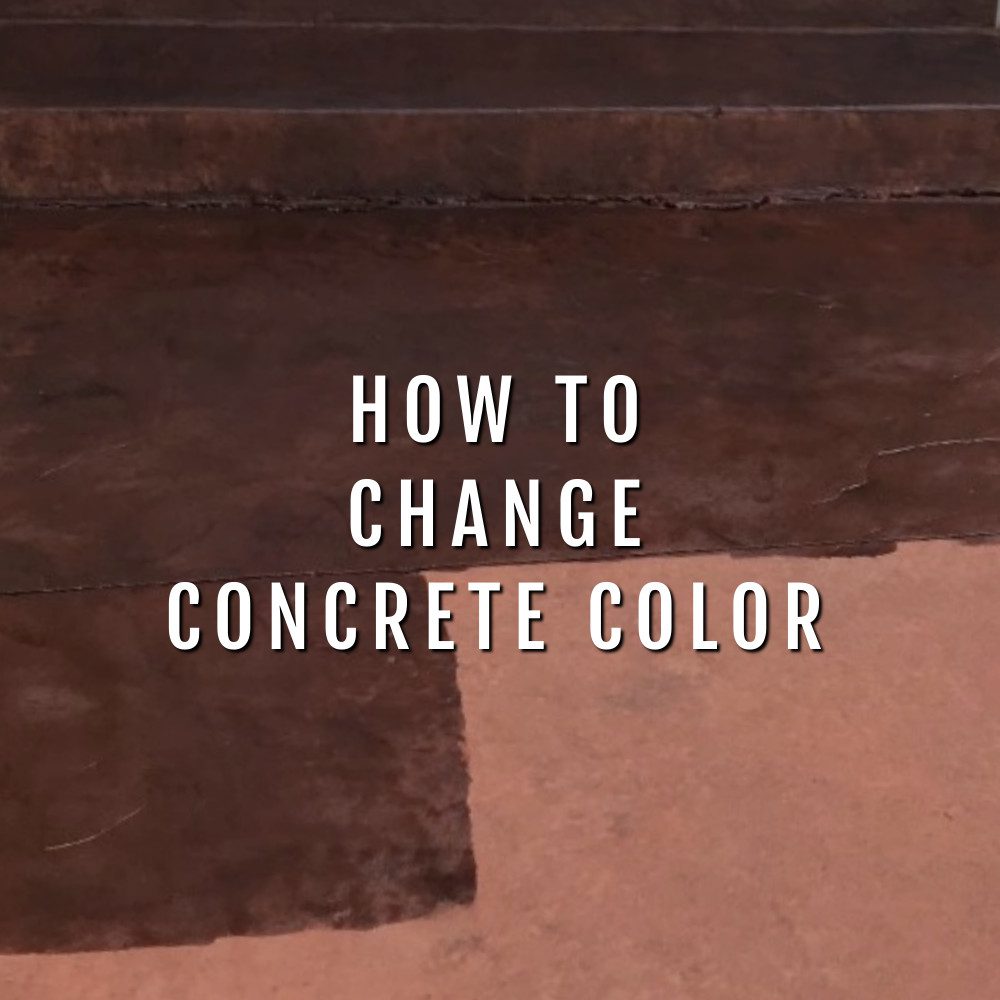
Looking to change the color of your concrete patio? Our blog, “How to Change the Color of Already Colored Concrete,” offers a cost-effective solution to give your outdoor space a fresh new look. Check it out!
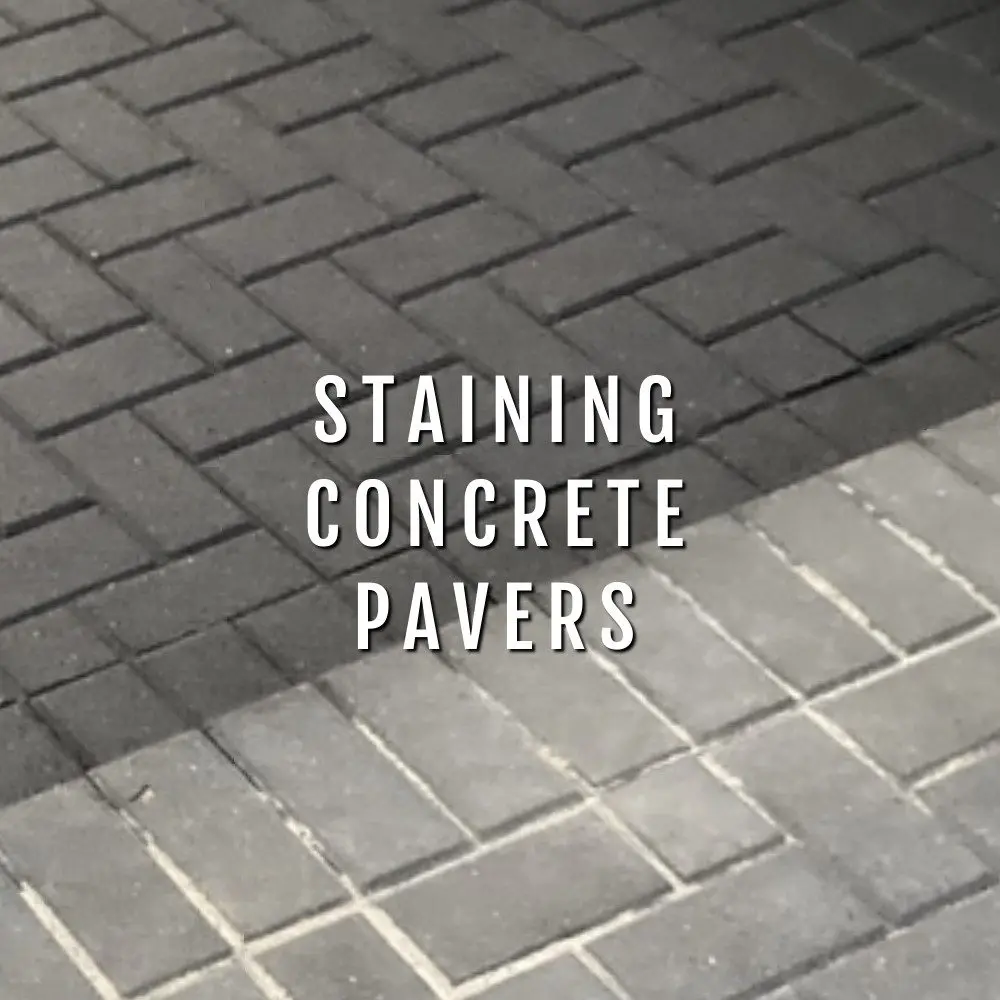
Looking to update the look of your concrete pavers? Discover a cost-effective solution by following our guide on “Staining and Sealing Concrete Brick Pavers.“
Looking to change the color of your concrete patio? Our blog, “How to Change the Color of Already Colored Concrete,” offers a cost-effective solution to give your outdoor space a fresh new look. Check it out!


