Transform Your Outdoors: Concrete Stain Projects for Walls & Facades
By Justin Richardson
Explore our gallery of customer projects showcasing stunning transformations of concrete walls and facades using our specialized stains. Discover how each unique project comes to life with vivid colors and expert techniques, complete with before and after photos. Get practical tips and step-by-step guidance to inspire and help you achieve similar results for your own home or property.
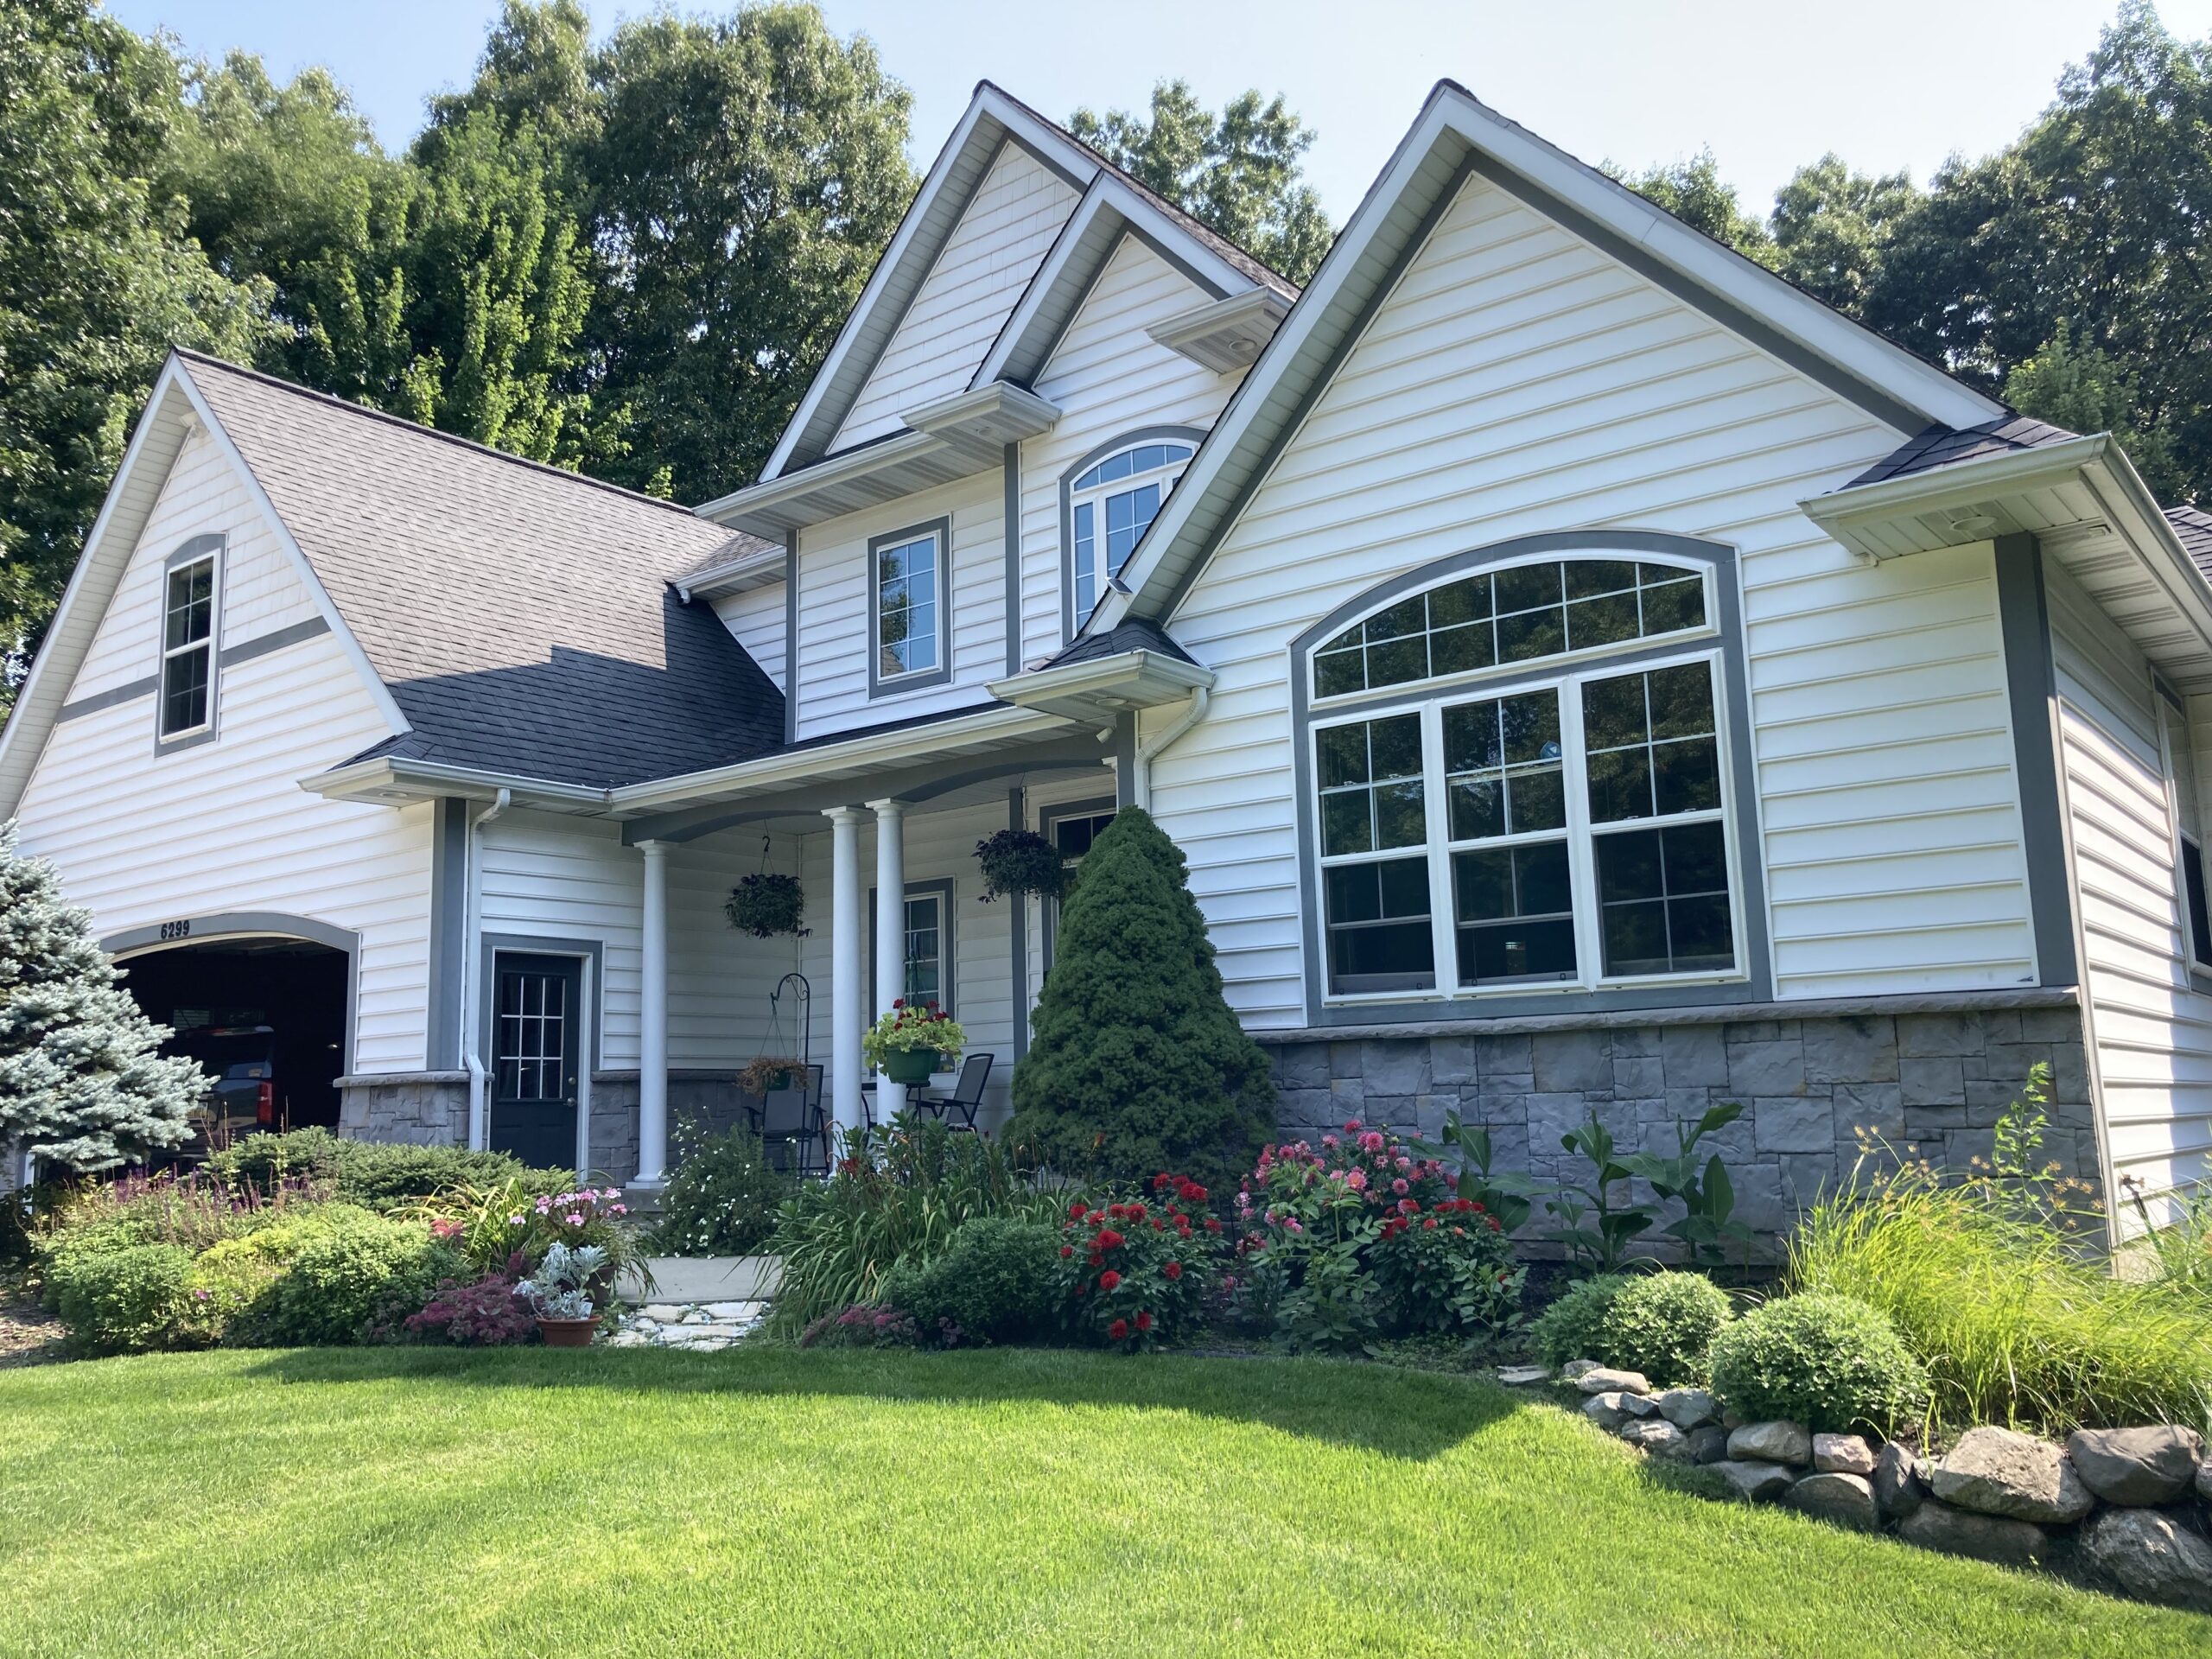
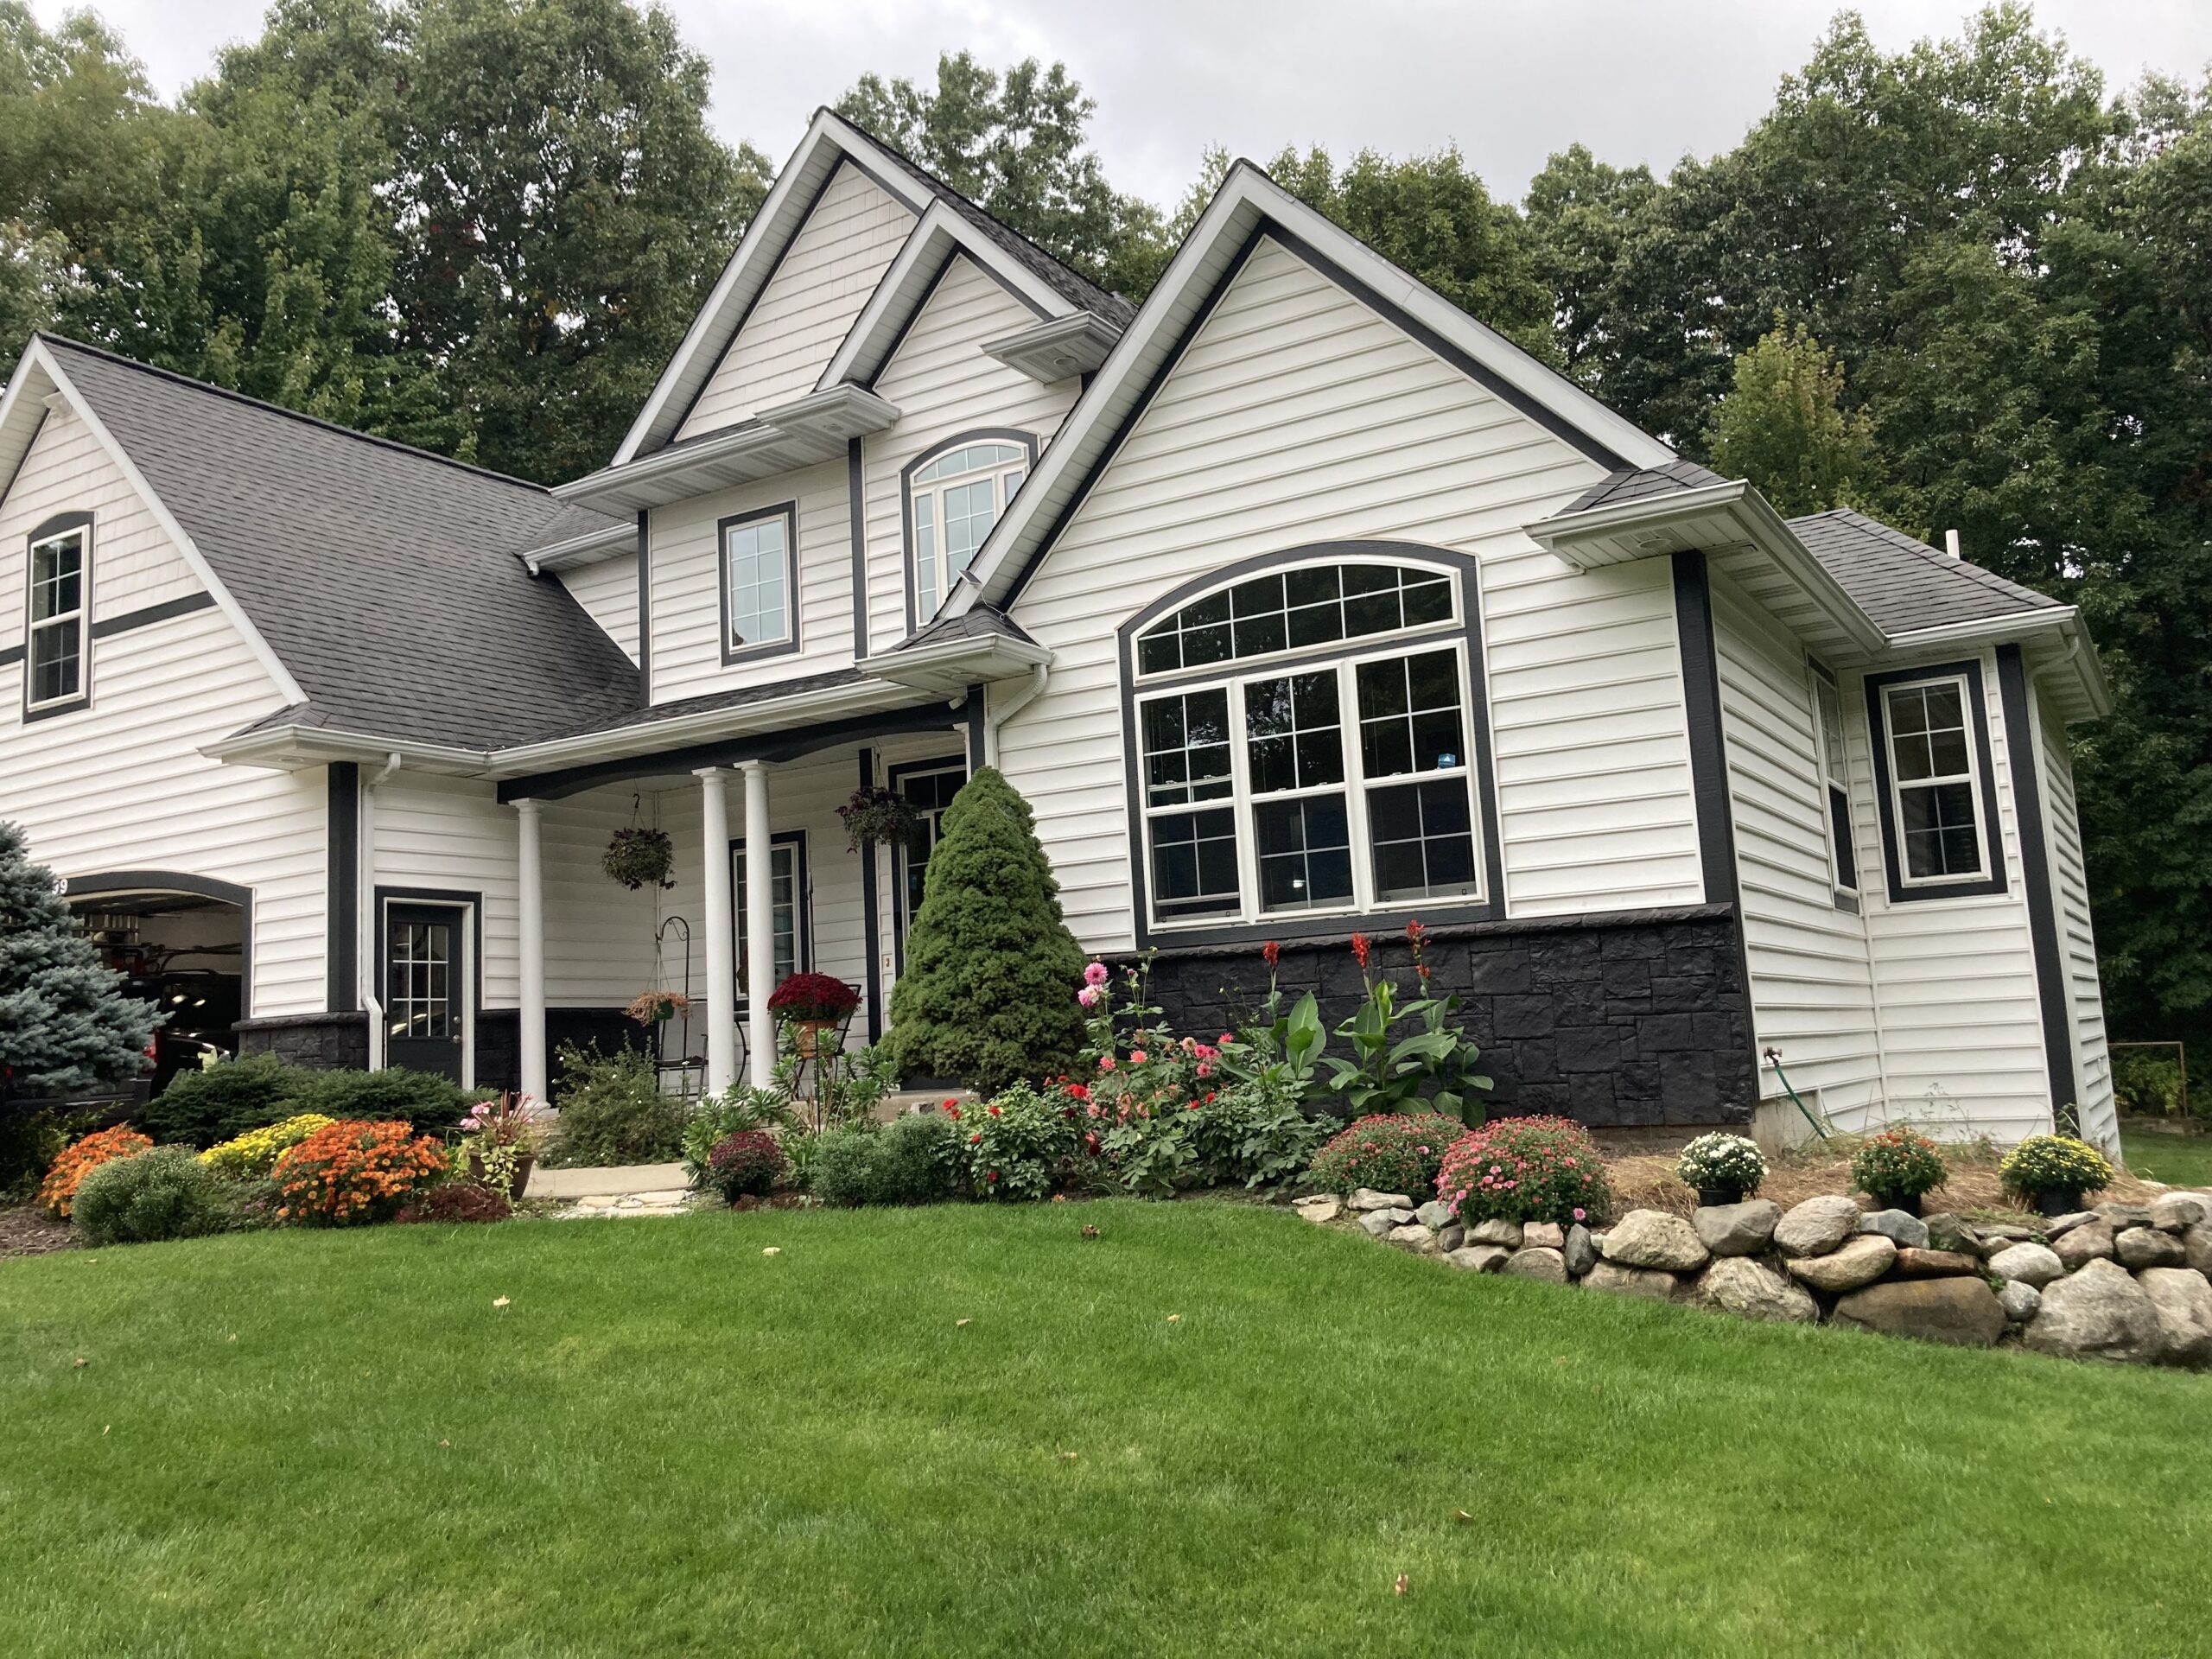
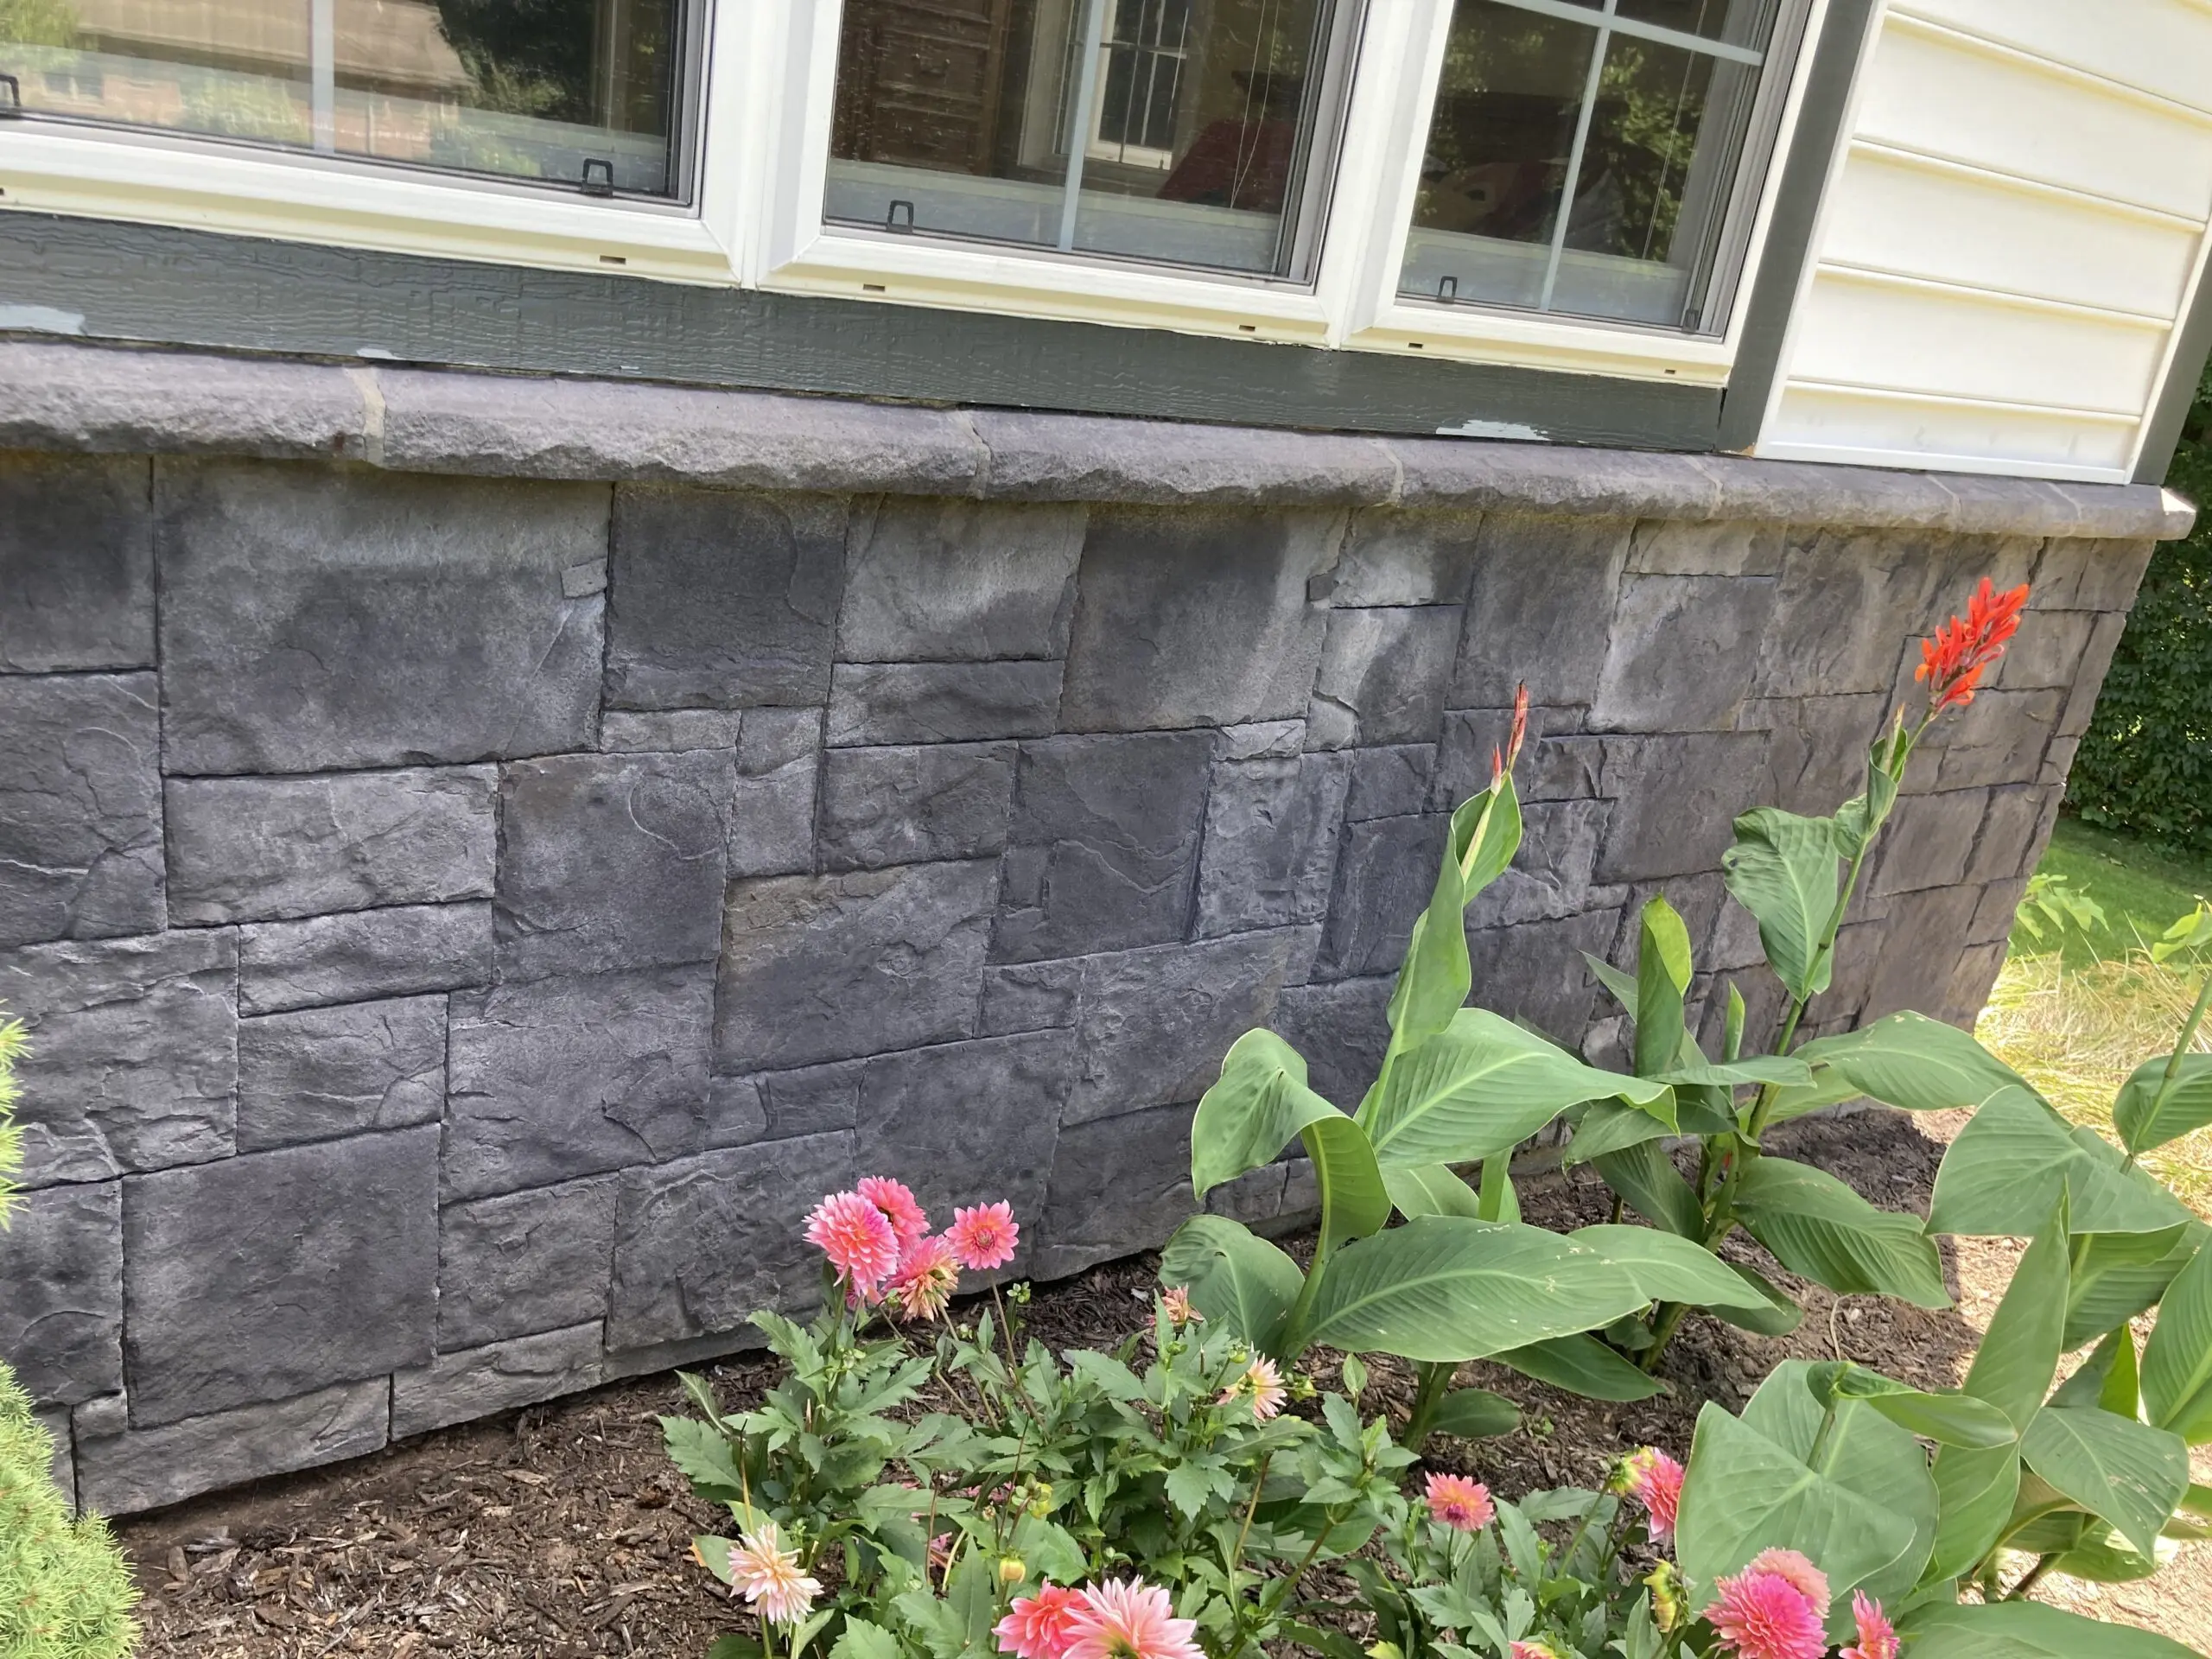
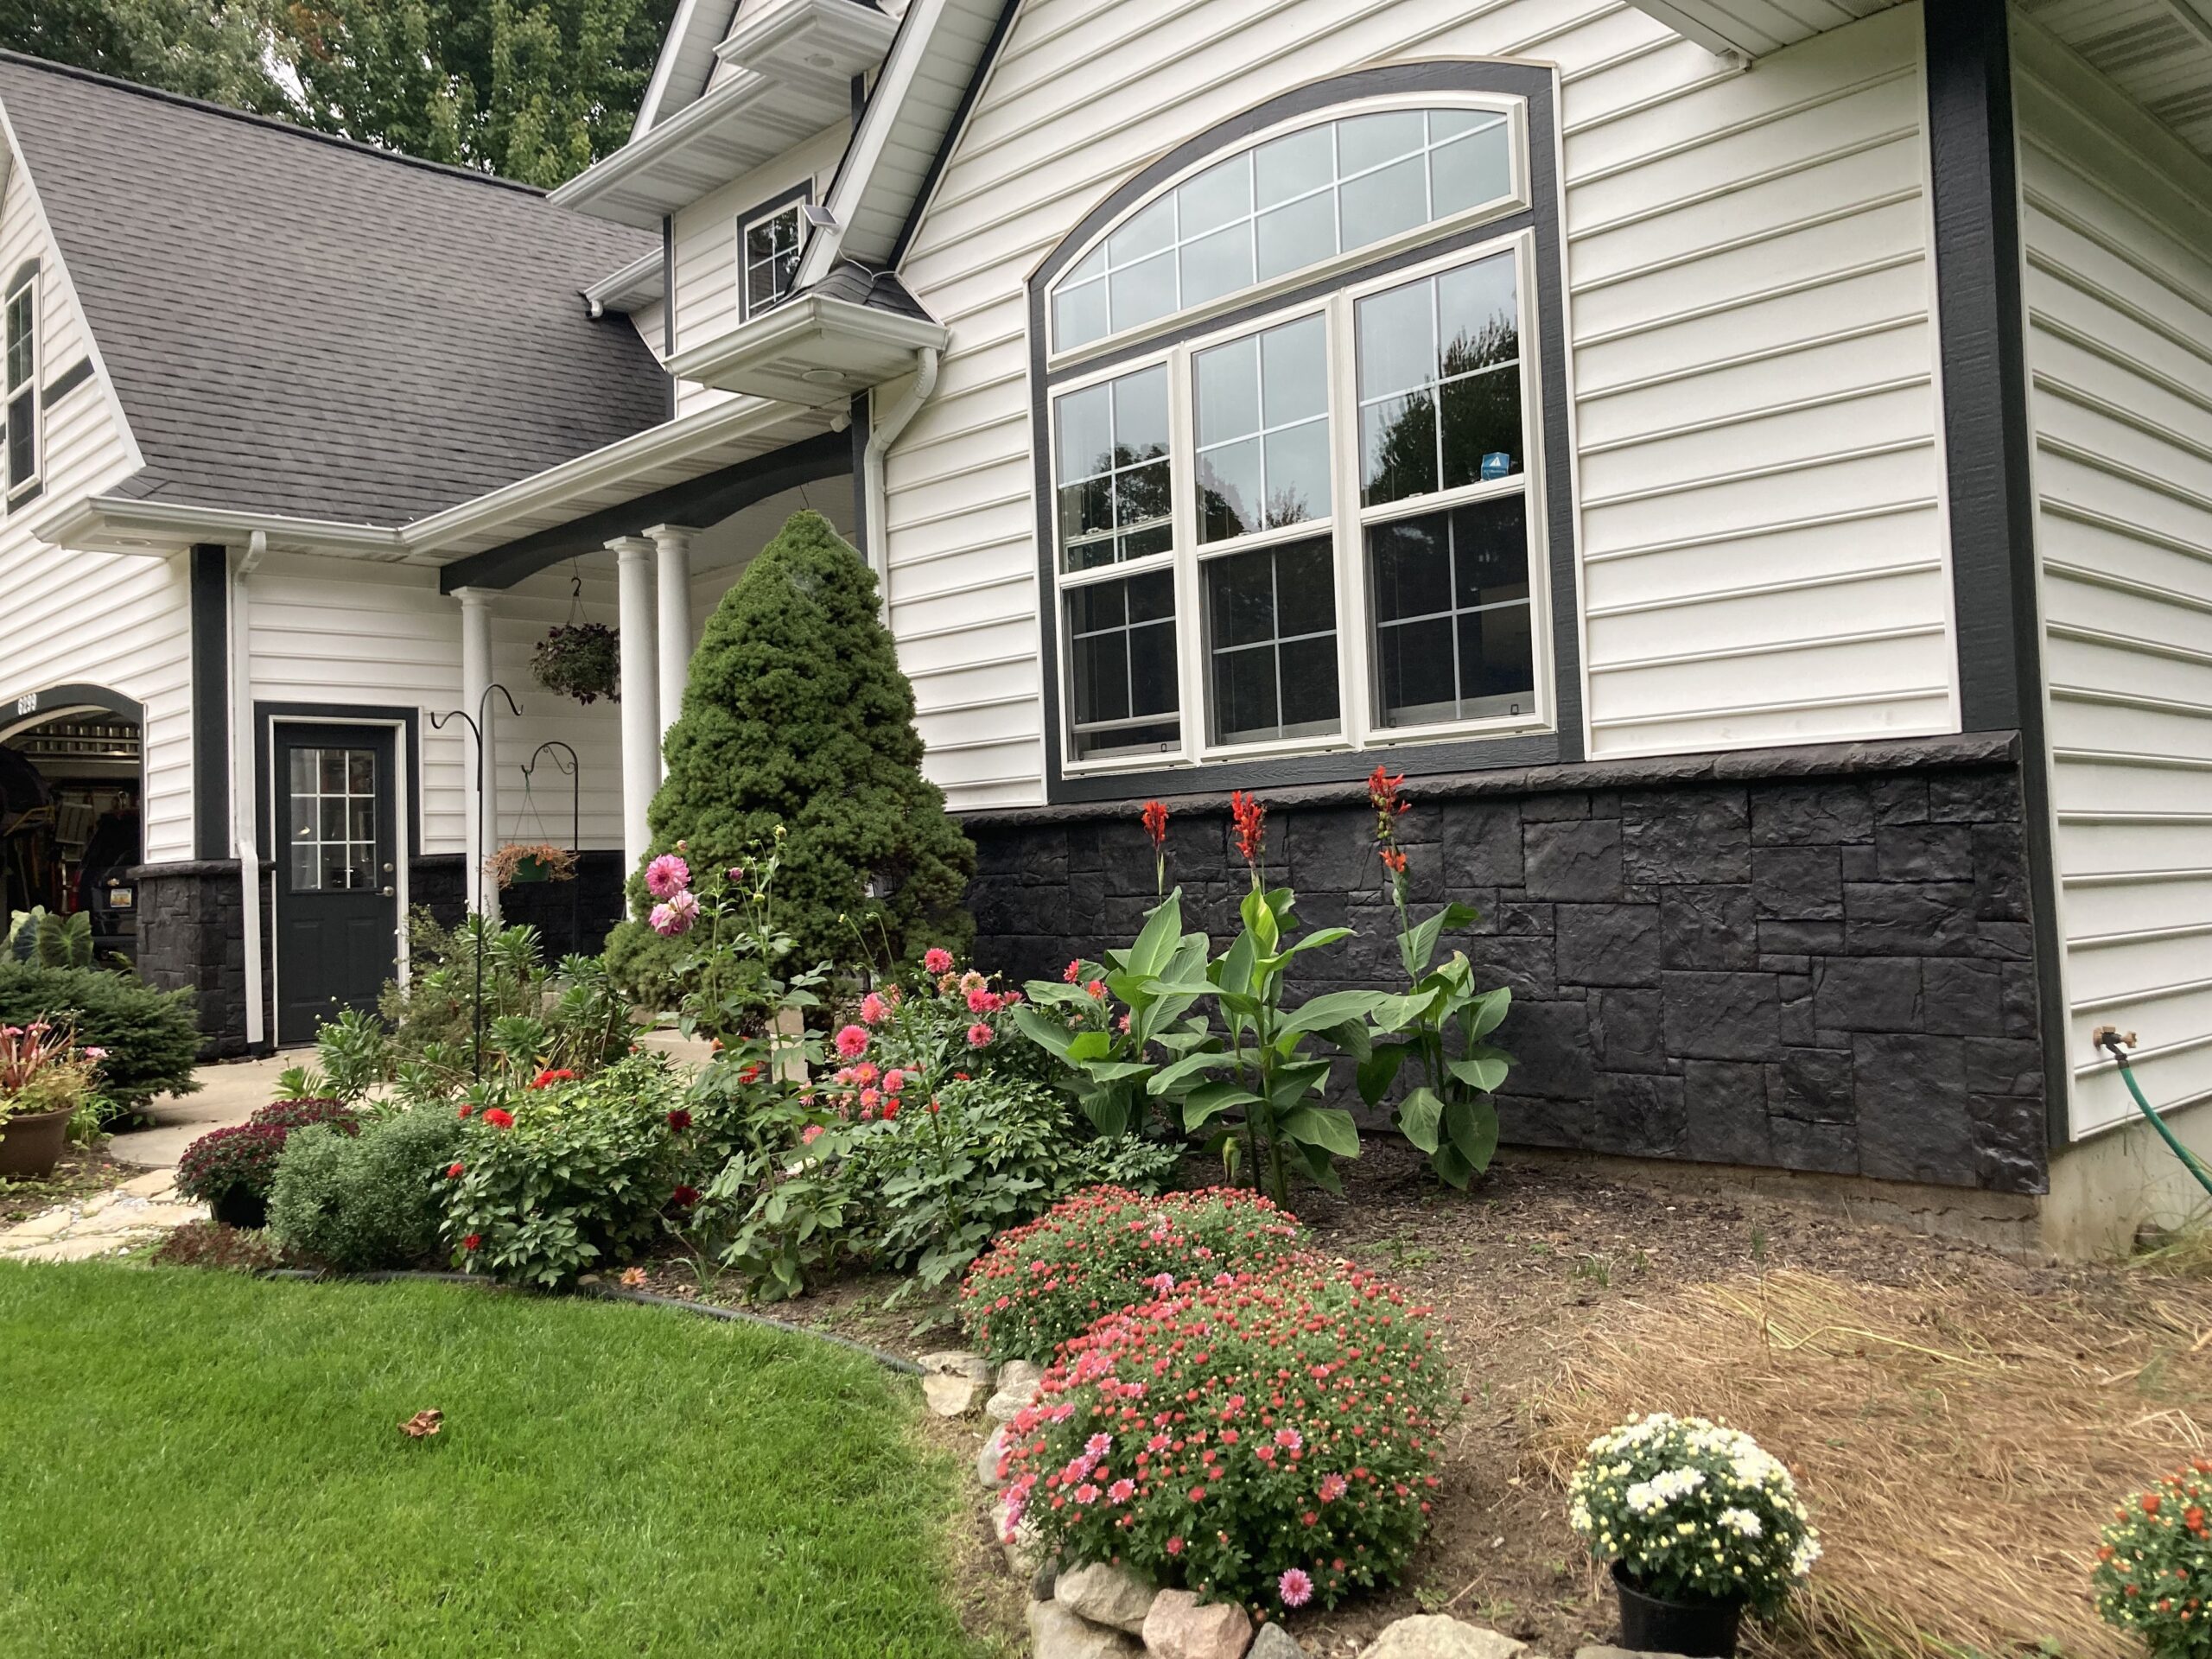
Black Portico™ Charm: A Stone & Trim Tango!
Swapping out grey for a dashing dark charcoal, this home’s stone facade got a radiant revamp. Complementing wood trim follows suit, creating a harmonious, eye-catching ensemble.
Project Info:
- Project Completed In: 4 day(s)
- Estimate of Square Footage: 400 sq. ft.
- Project Description:
Wanted to update the stone facade on the house from grey to charcoal. Also need to paint wood trim so I matched it to the stone color. It turned out great and I think the house really pops now as I’ve had several neighbors comment on it. - Personal Tips:
Spraying the stain on a vertical surface is a must. Initially tried a roller but the stain is so thin most of it drips off the roller before you can get it on the wall. I was able to get the hang of putting down a uniform coat of spray after a few minutes. I did two coats of stain and two coats of satin sealer. I also sprayed the sealer followed by rolling for a uniform coat. I used painters tape/paper to protect the siding/windows etc, but drop clothes for the porch and walkways–paper didn’t work well for vertical surfaces as it bled through. Lacquer thinner or acetone worked well to clean up overspray of stain or sealer. - Direct Colors Products Used:
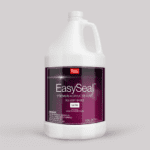
5 Gal. Black Portico™ & EasySeal™ Satin Kit
Each photo in this gallery showcases real customer projects to inspire you. Keep in mind that our semi-transparent colorants mean the initial color and condition of your concrete will influence your final look, possibly leading to varied results. For best outcomes, please do a test patch on your specific surface before full application.
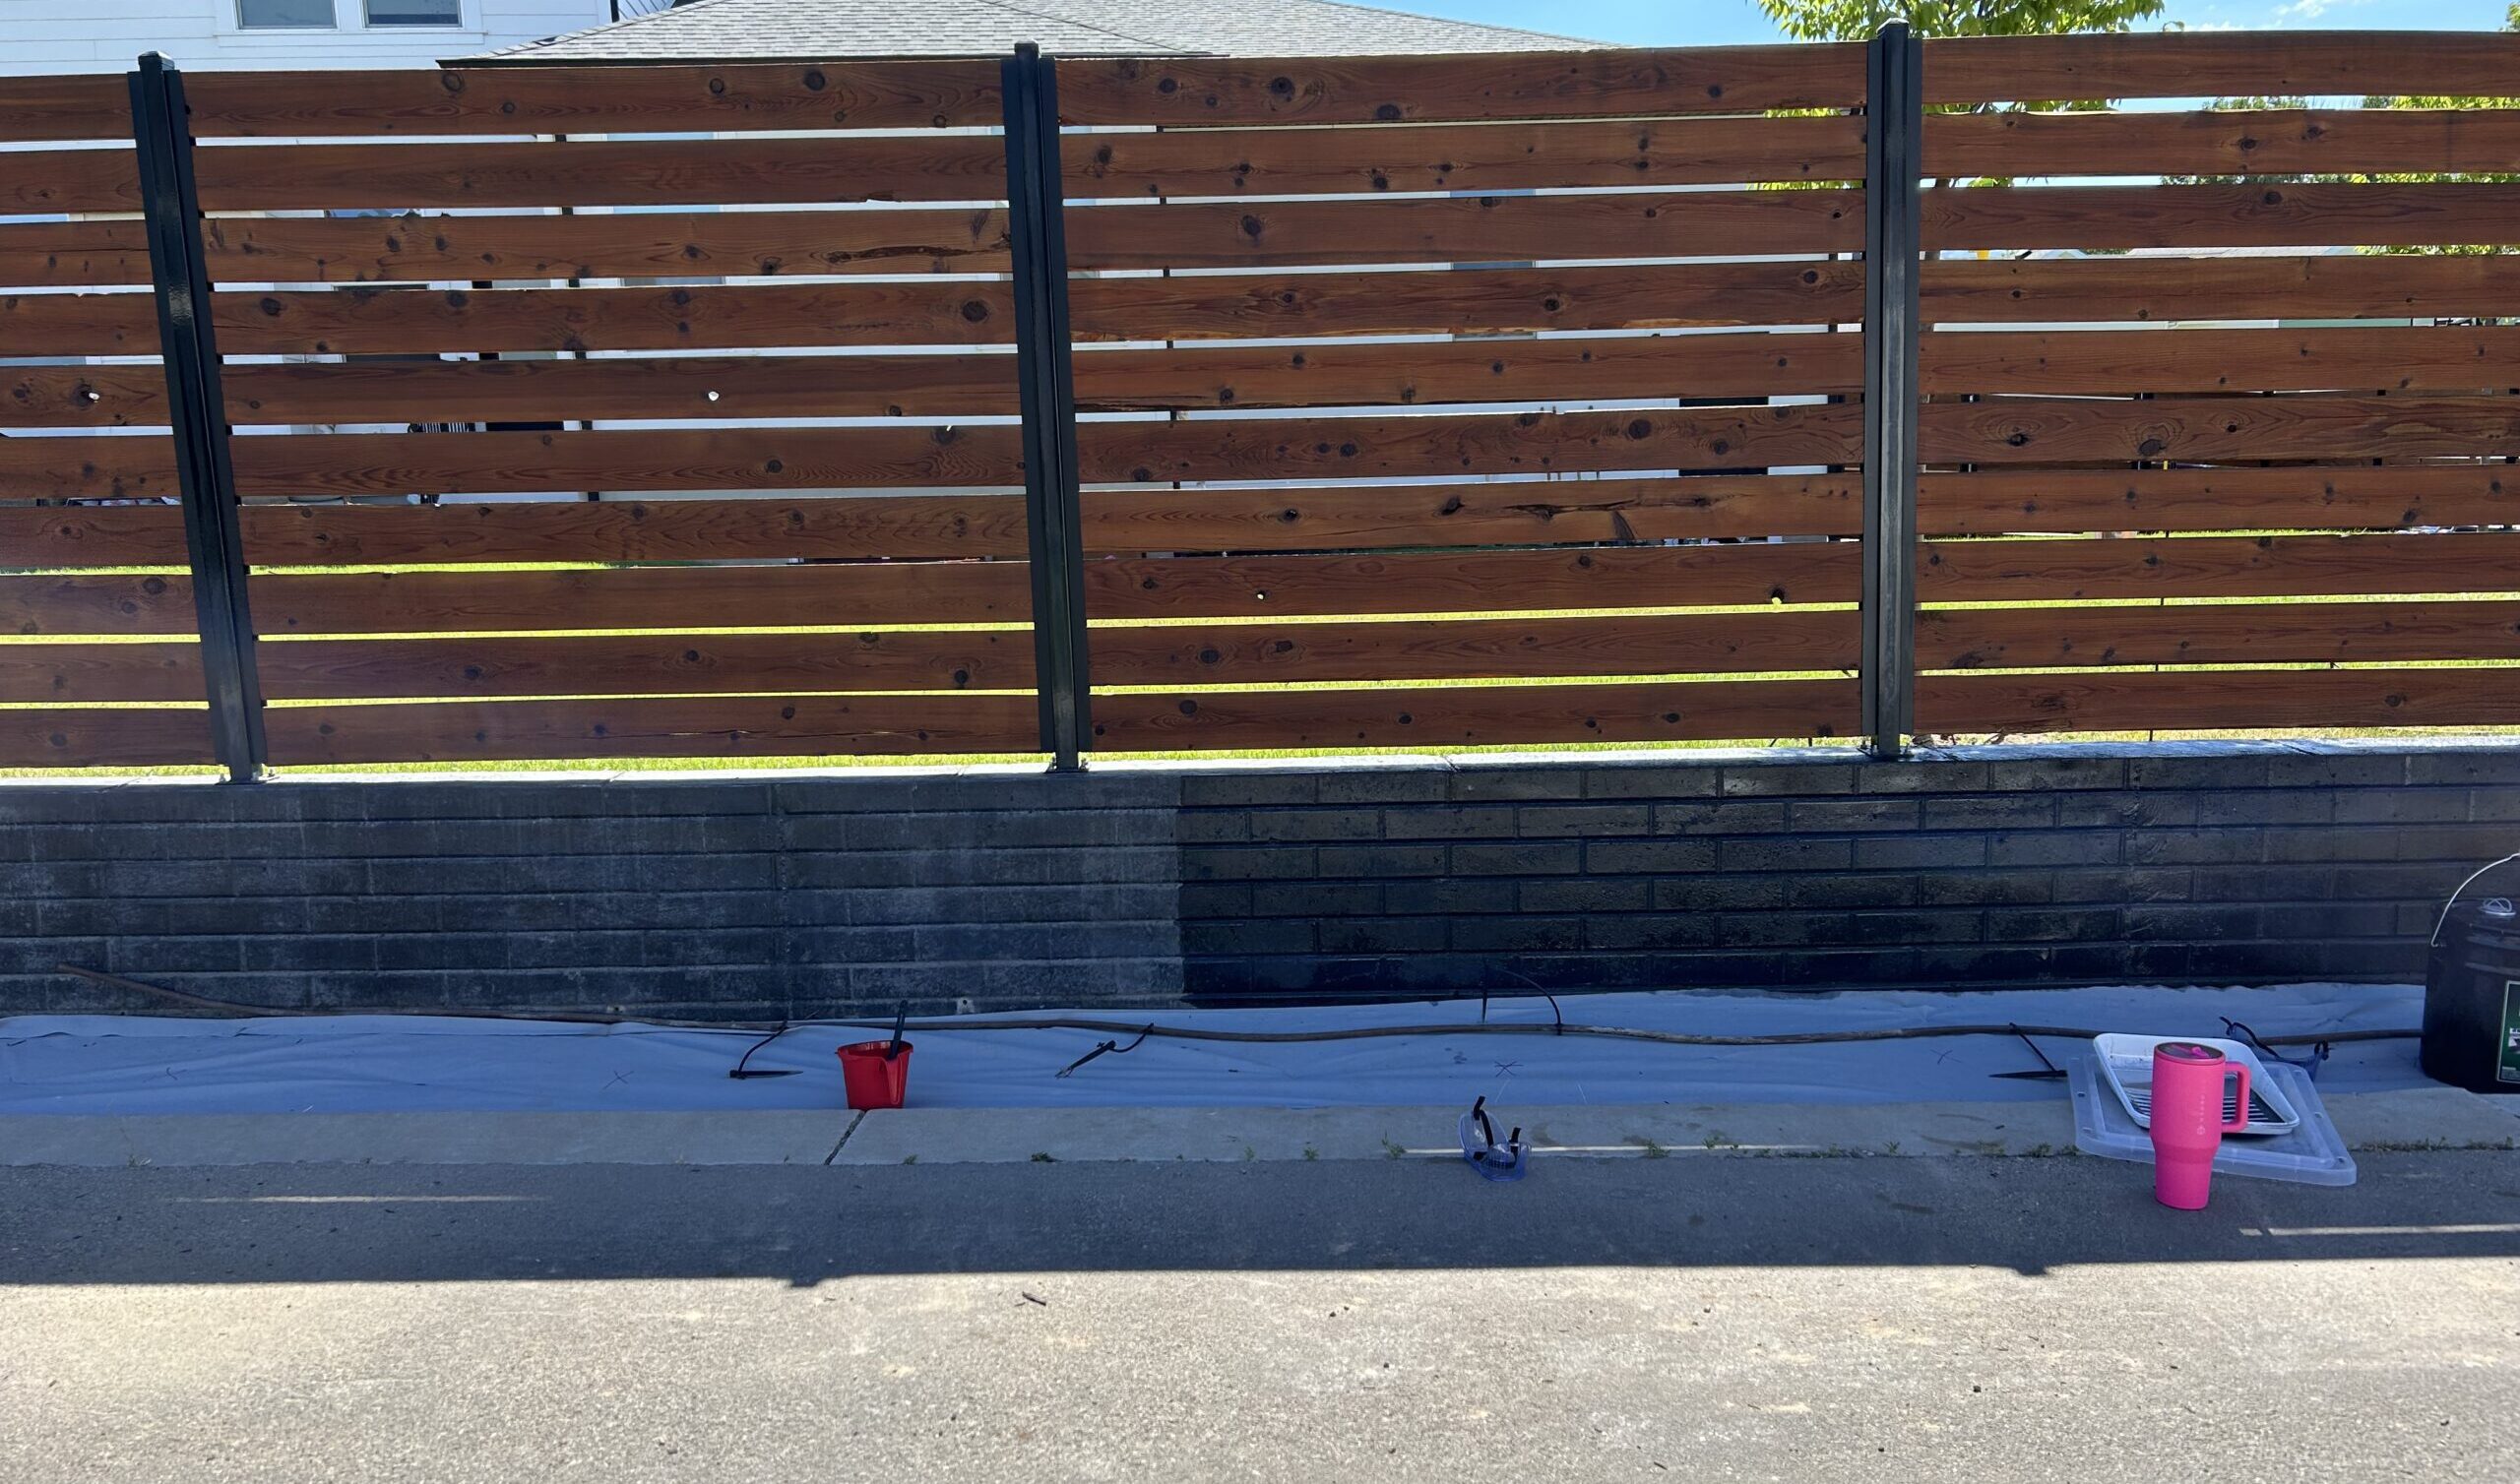
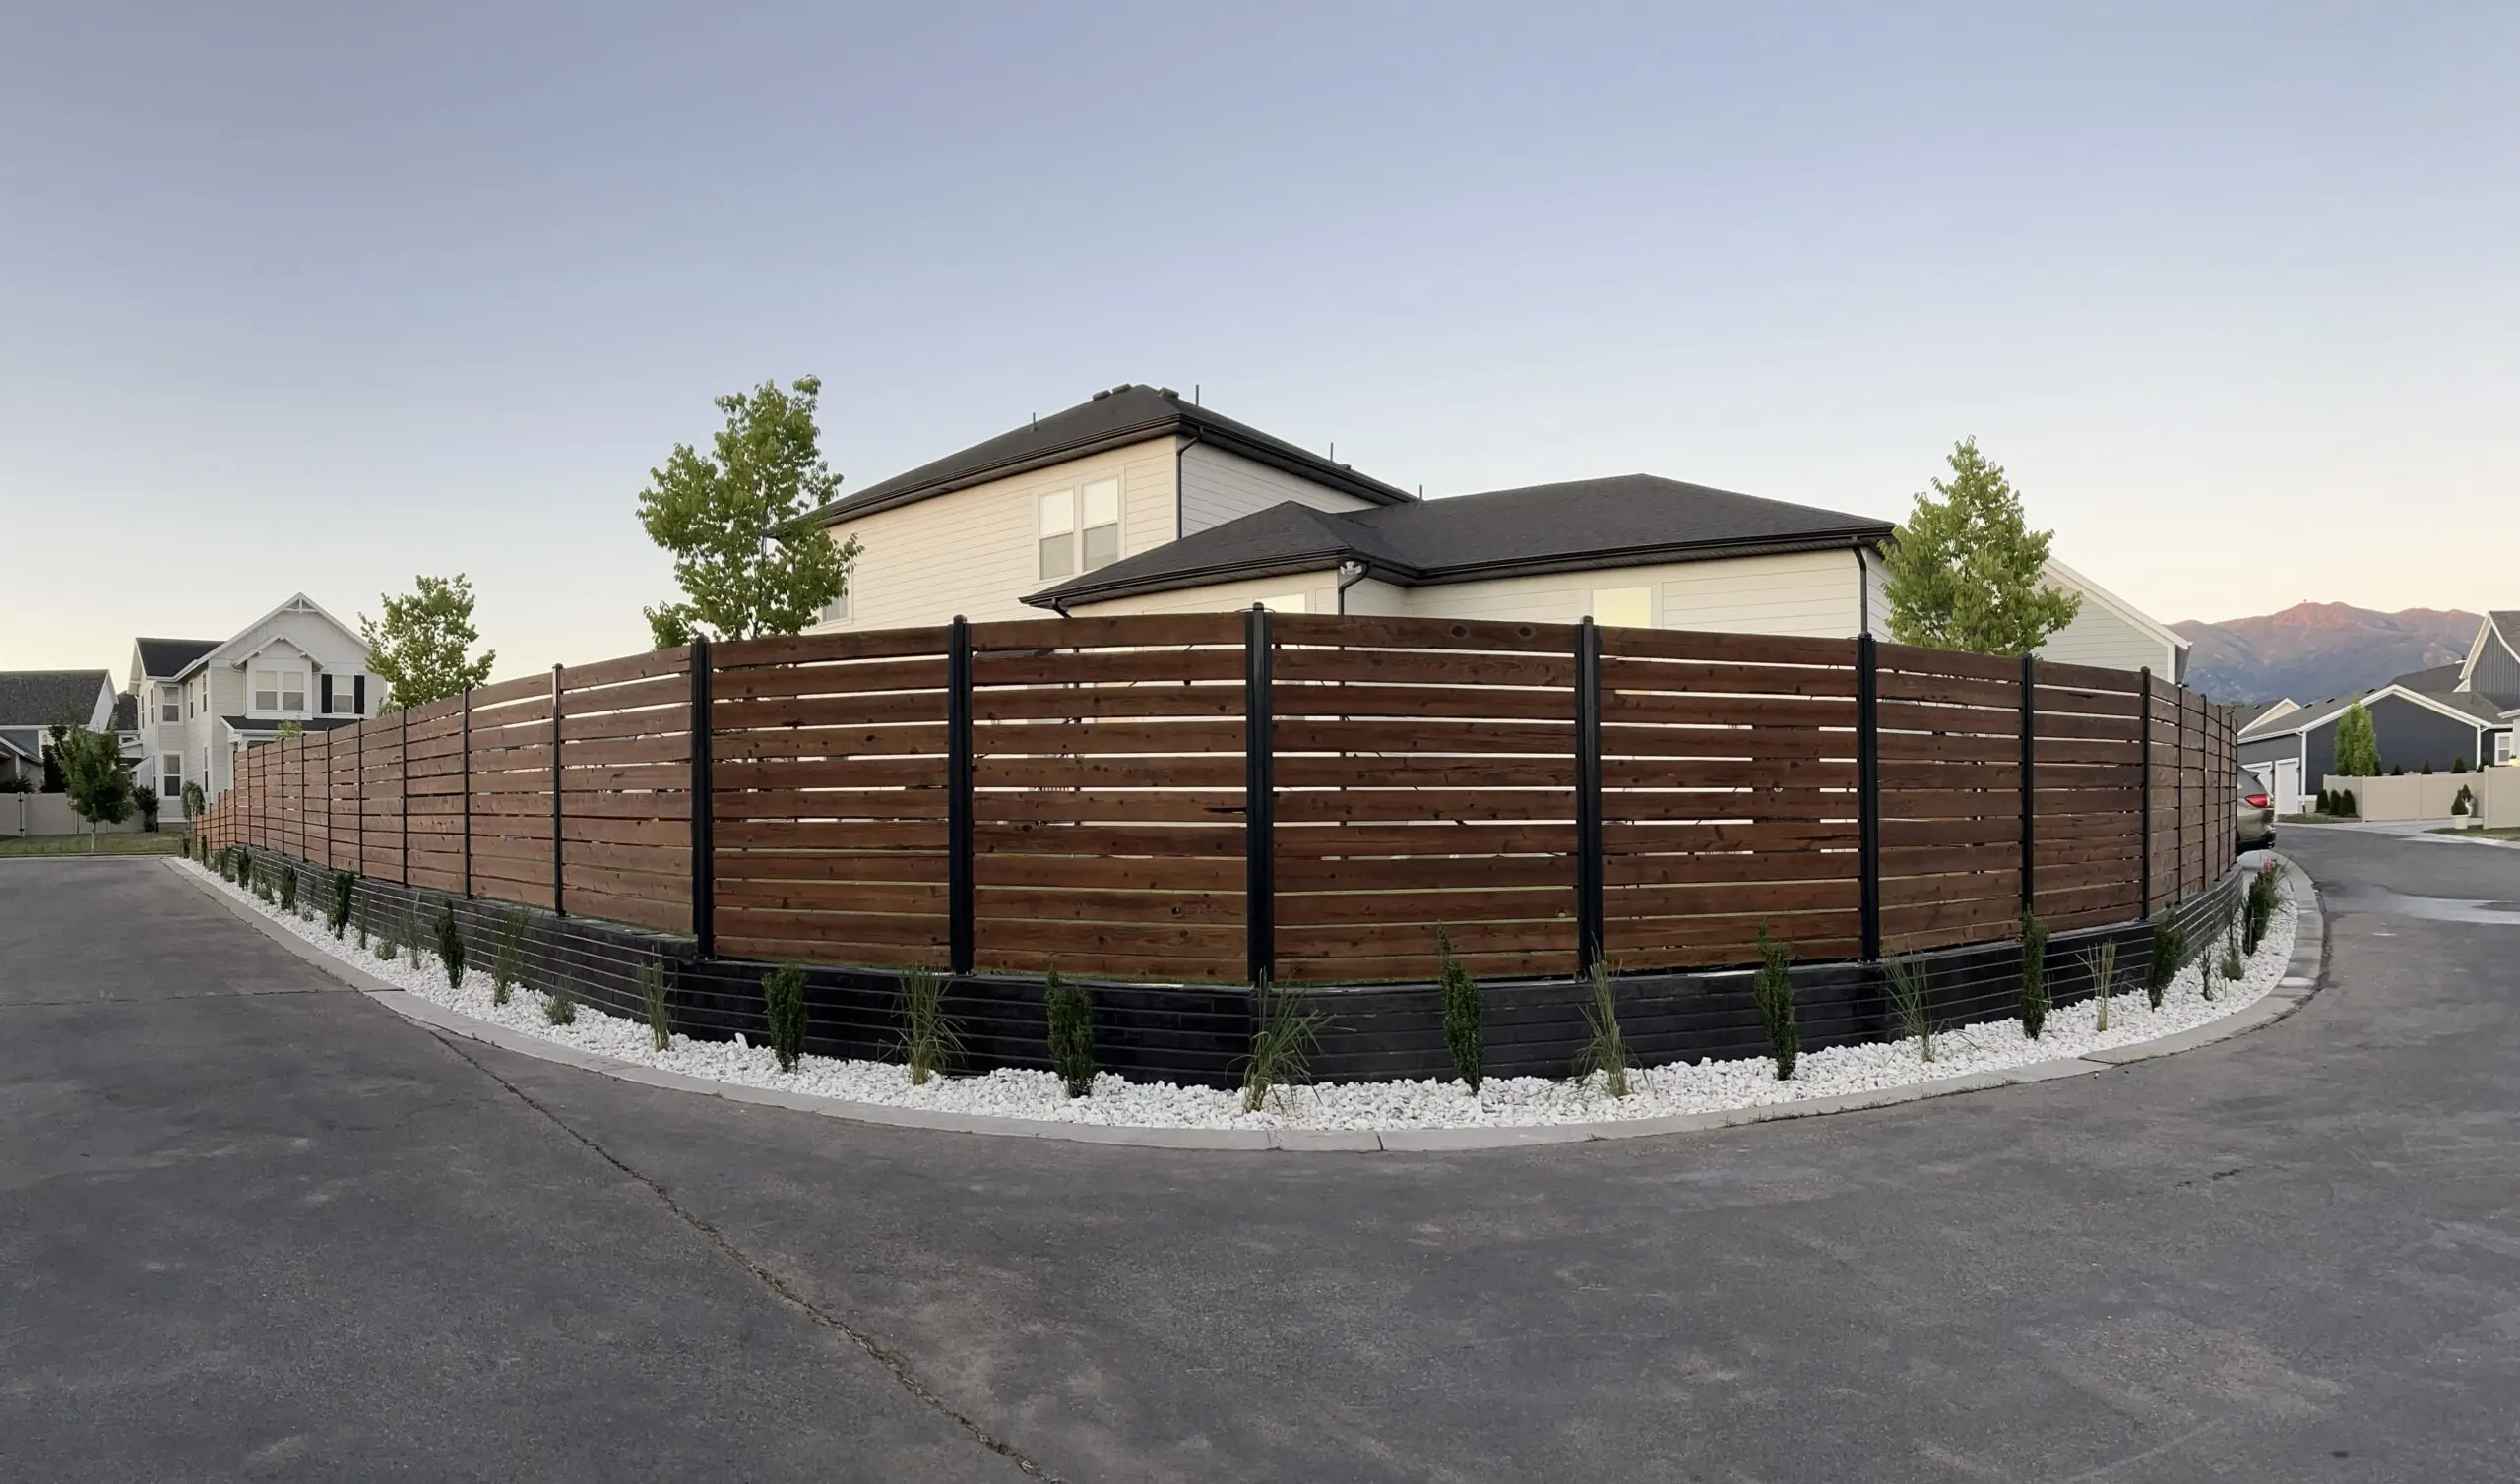
Black Concrete Retaining Wall Revamp
Originally installed in 2021, this black concrete retaining wall was initially stained using a pump sprayer. To enhance its appearance, a second round of staining was done this year using a paintbrush for crevices and a roller for broader areas. The application of two coats made a significant difference, resulting in a more polished and durable finish just in time for planting season.
Project Info:
- Project Completed In: 4 day(s)
- Estimate of Square Footage: 600 sq. ft.
- Project Description:
We installed a black concrete retaining wall in 2021, we used a pump sprayer and back rolled one coat of Easy Tint over it. This year before putting in plants, we decided to stain it again. We used a paint brush in the crevices and rolled it on this time. It went on much better. We did two coats this time and it made a huge difference. - Personal Tips:
Three years ago we used a pump sprayer and the sprayer clogged a lot and it just wasn’t a consistent way to apply it. This year we a paint brush in the crevices and roller. It drips (at least on vertical surfaces) and dries quickly, so it’s best to have two people and only work in small sections at a time. Brush and roller was a much better route and it saved us a lot of stain. We could have bought half what we did.
It does dry quickly and gets sticky, at least in mid July, and it cannot be rolled or painted once that happens, as stated before, cover small sections at a time. - Direct Colors Products Used:
5 Gal. Black Satin EasyTint™
Verti-Block Retaining Walls: From Bland to Bold with EasyTint™
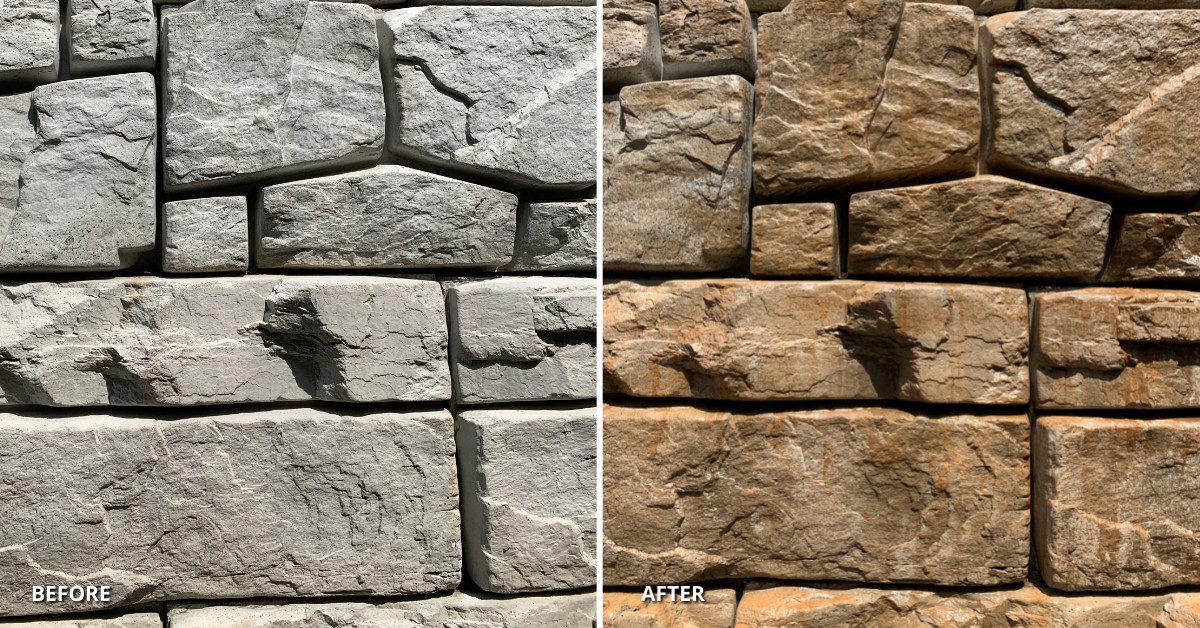
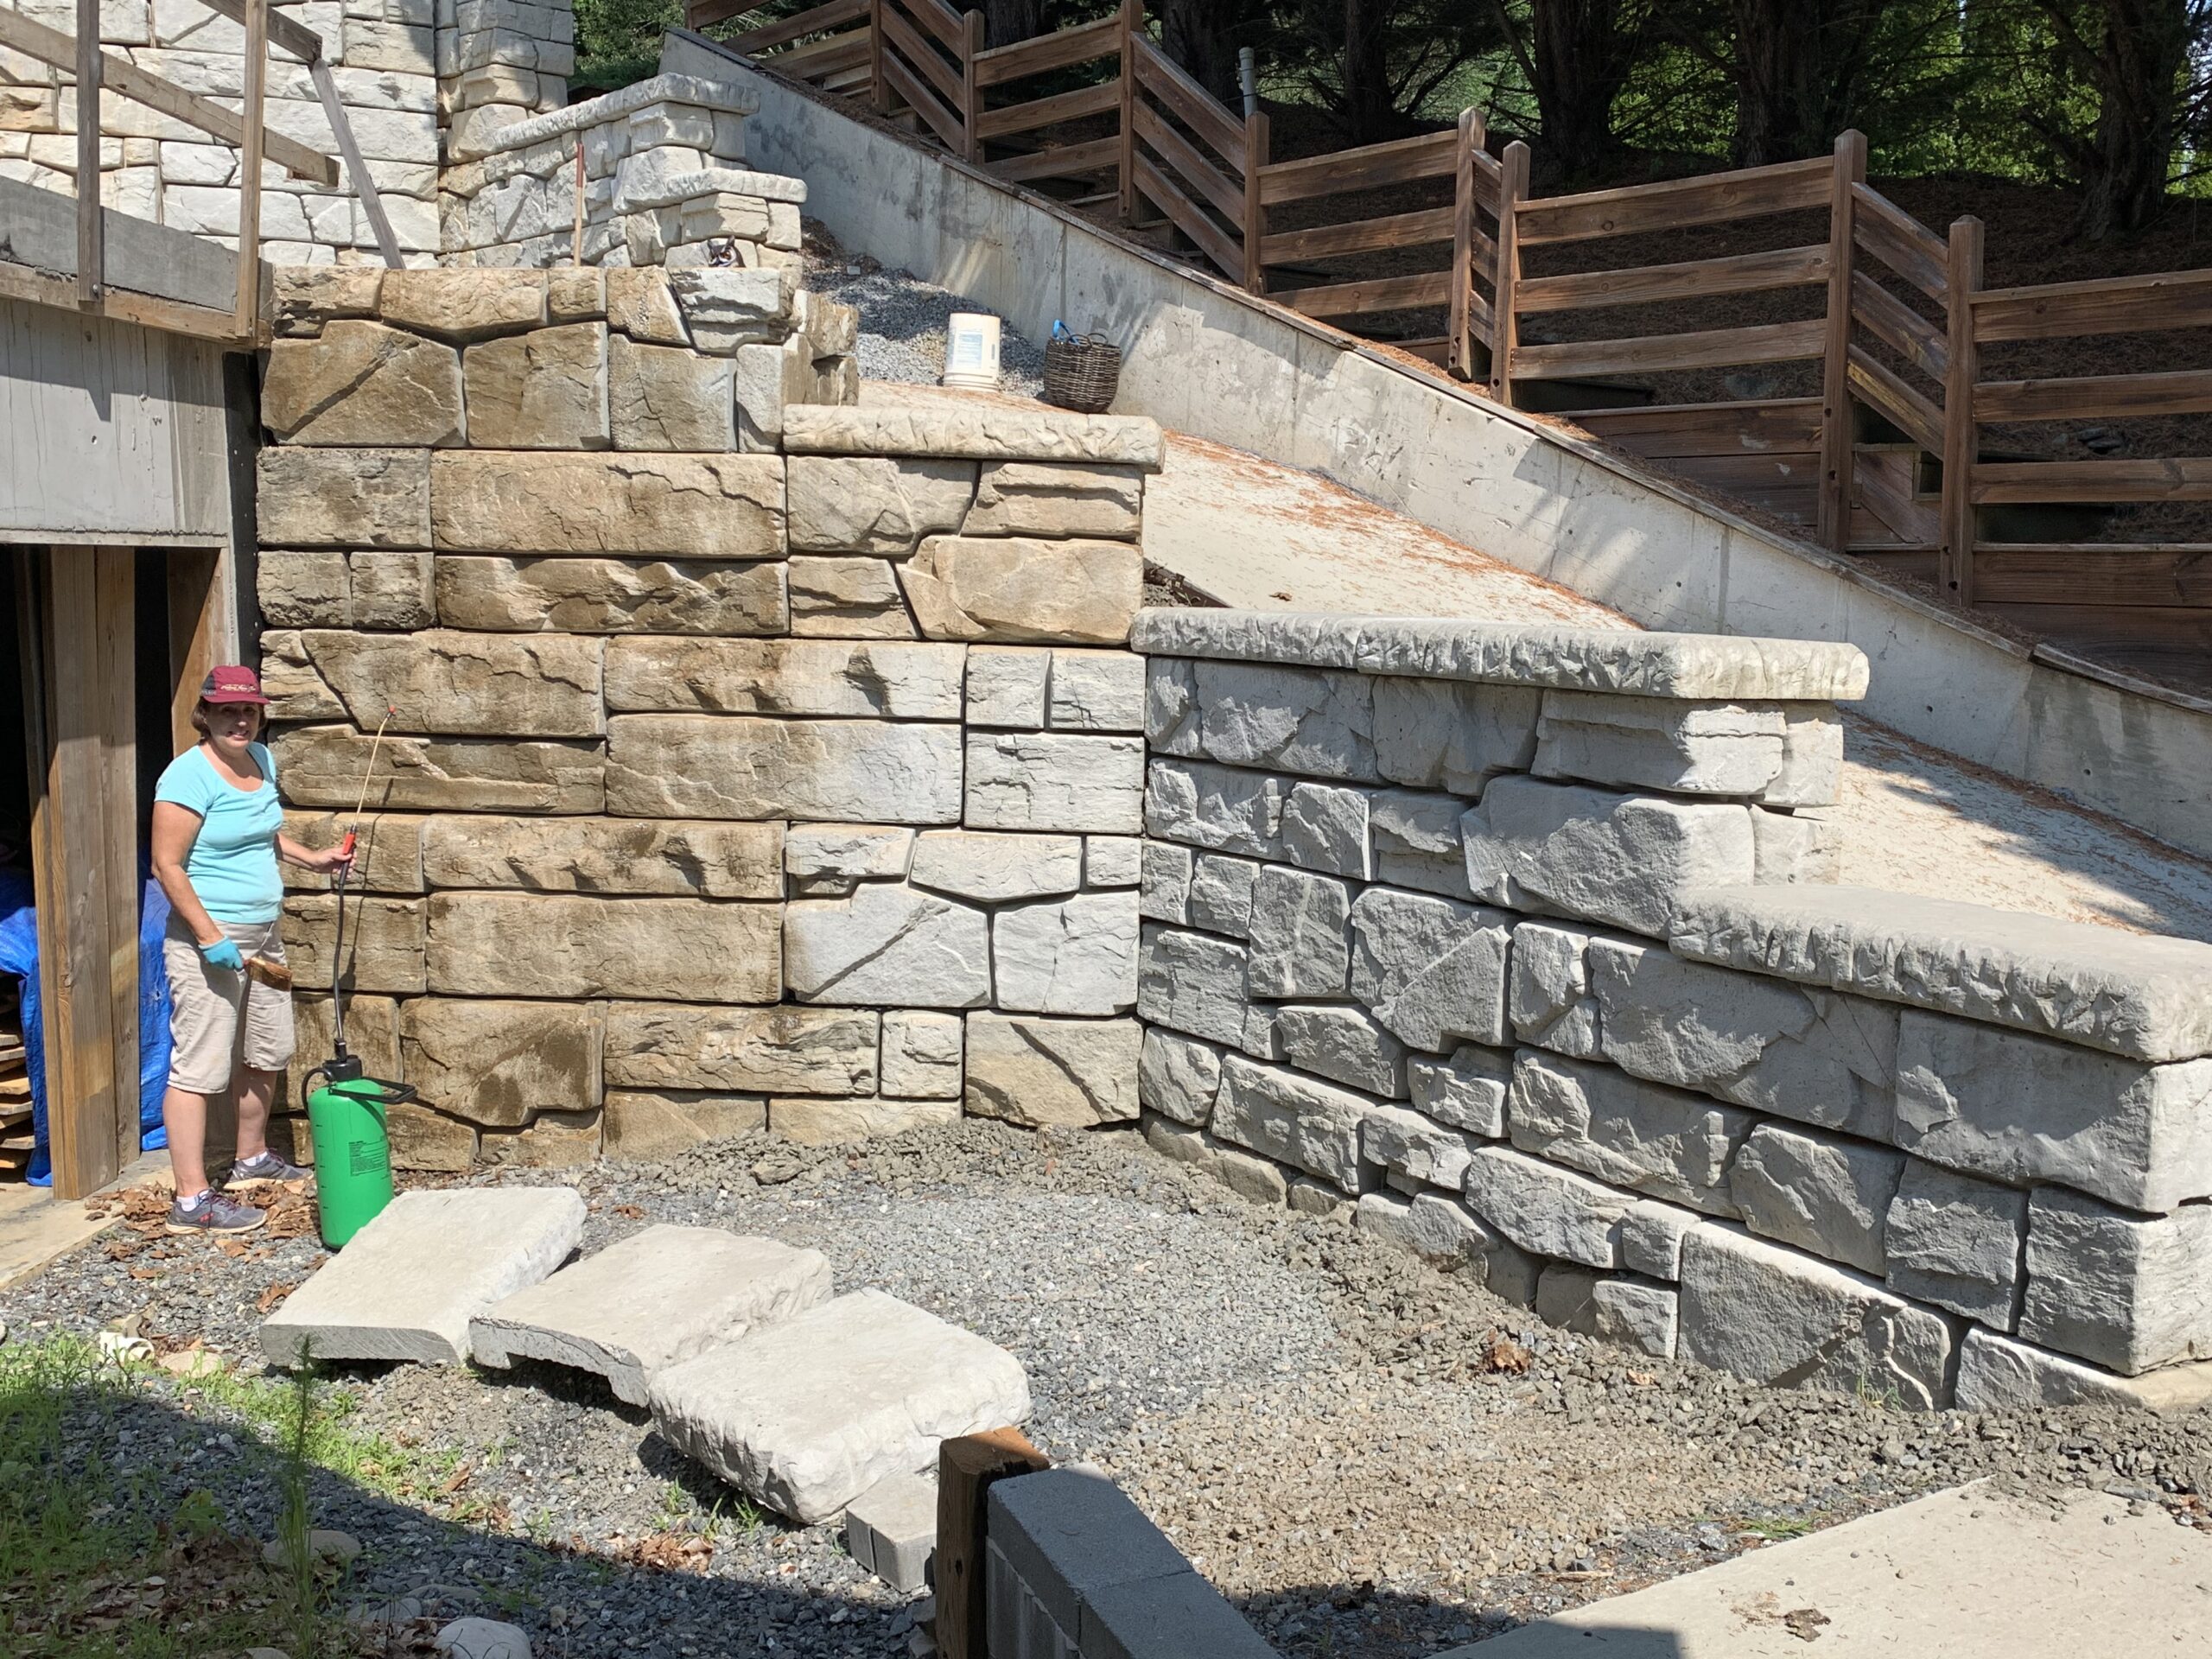
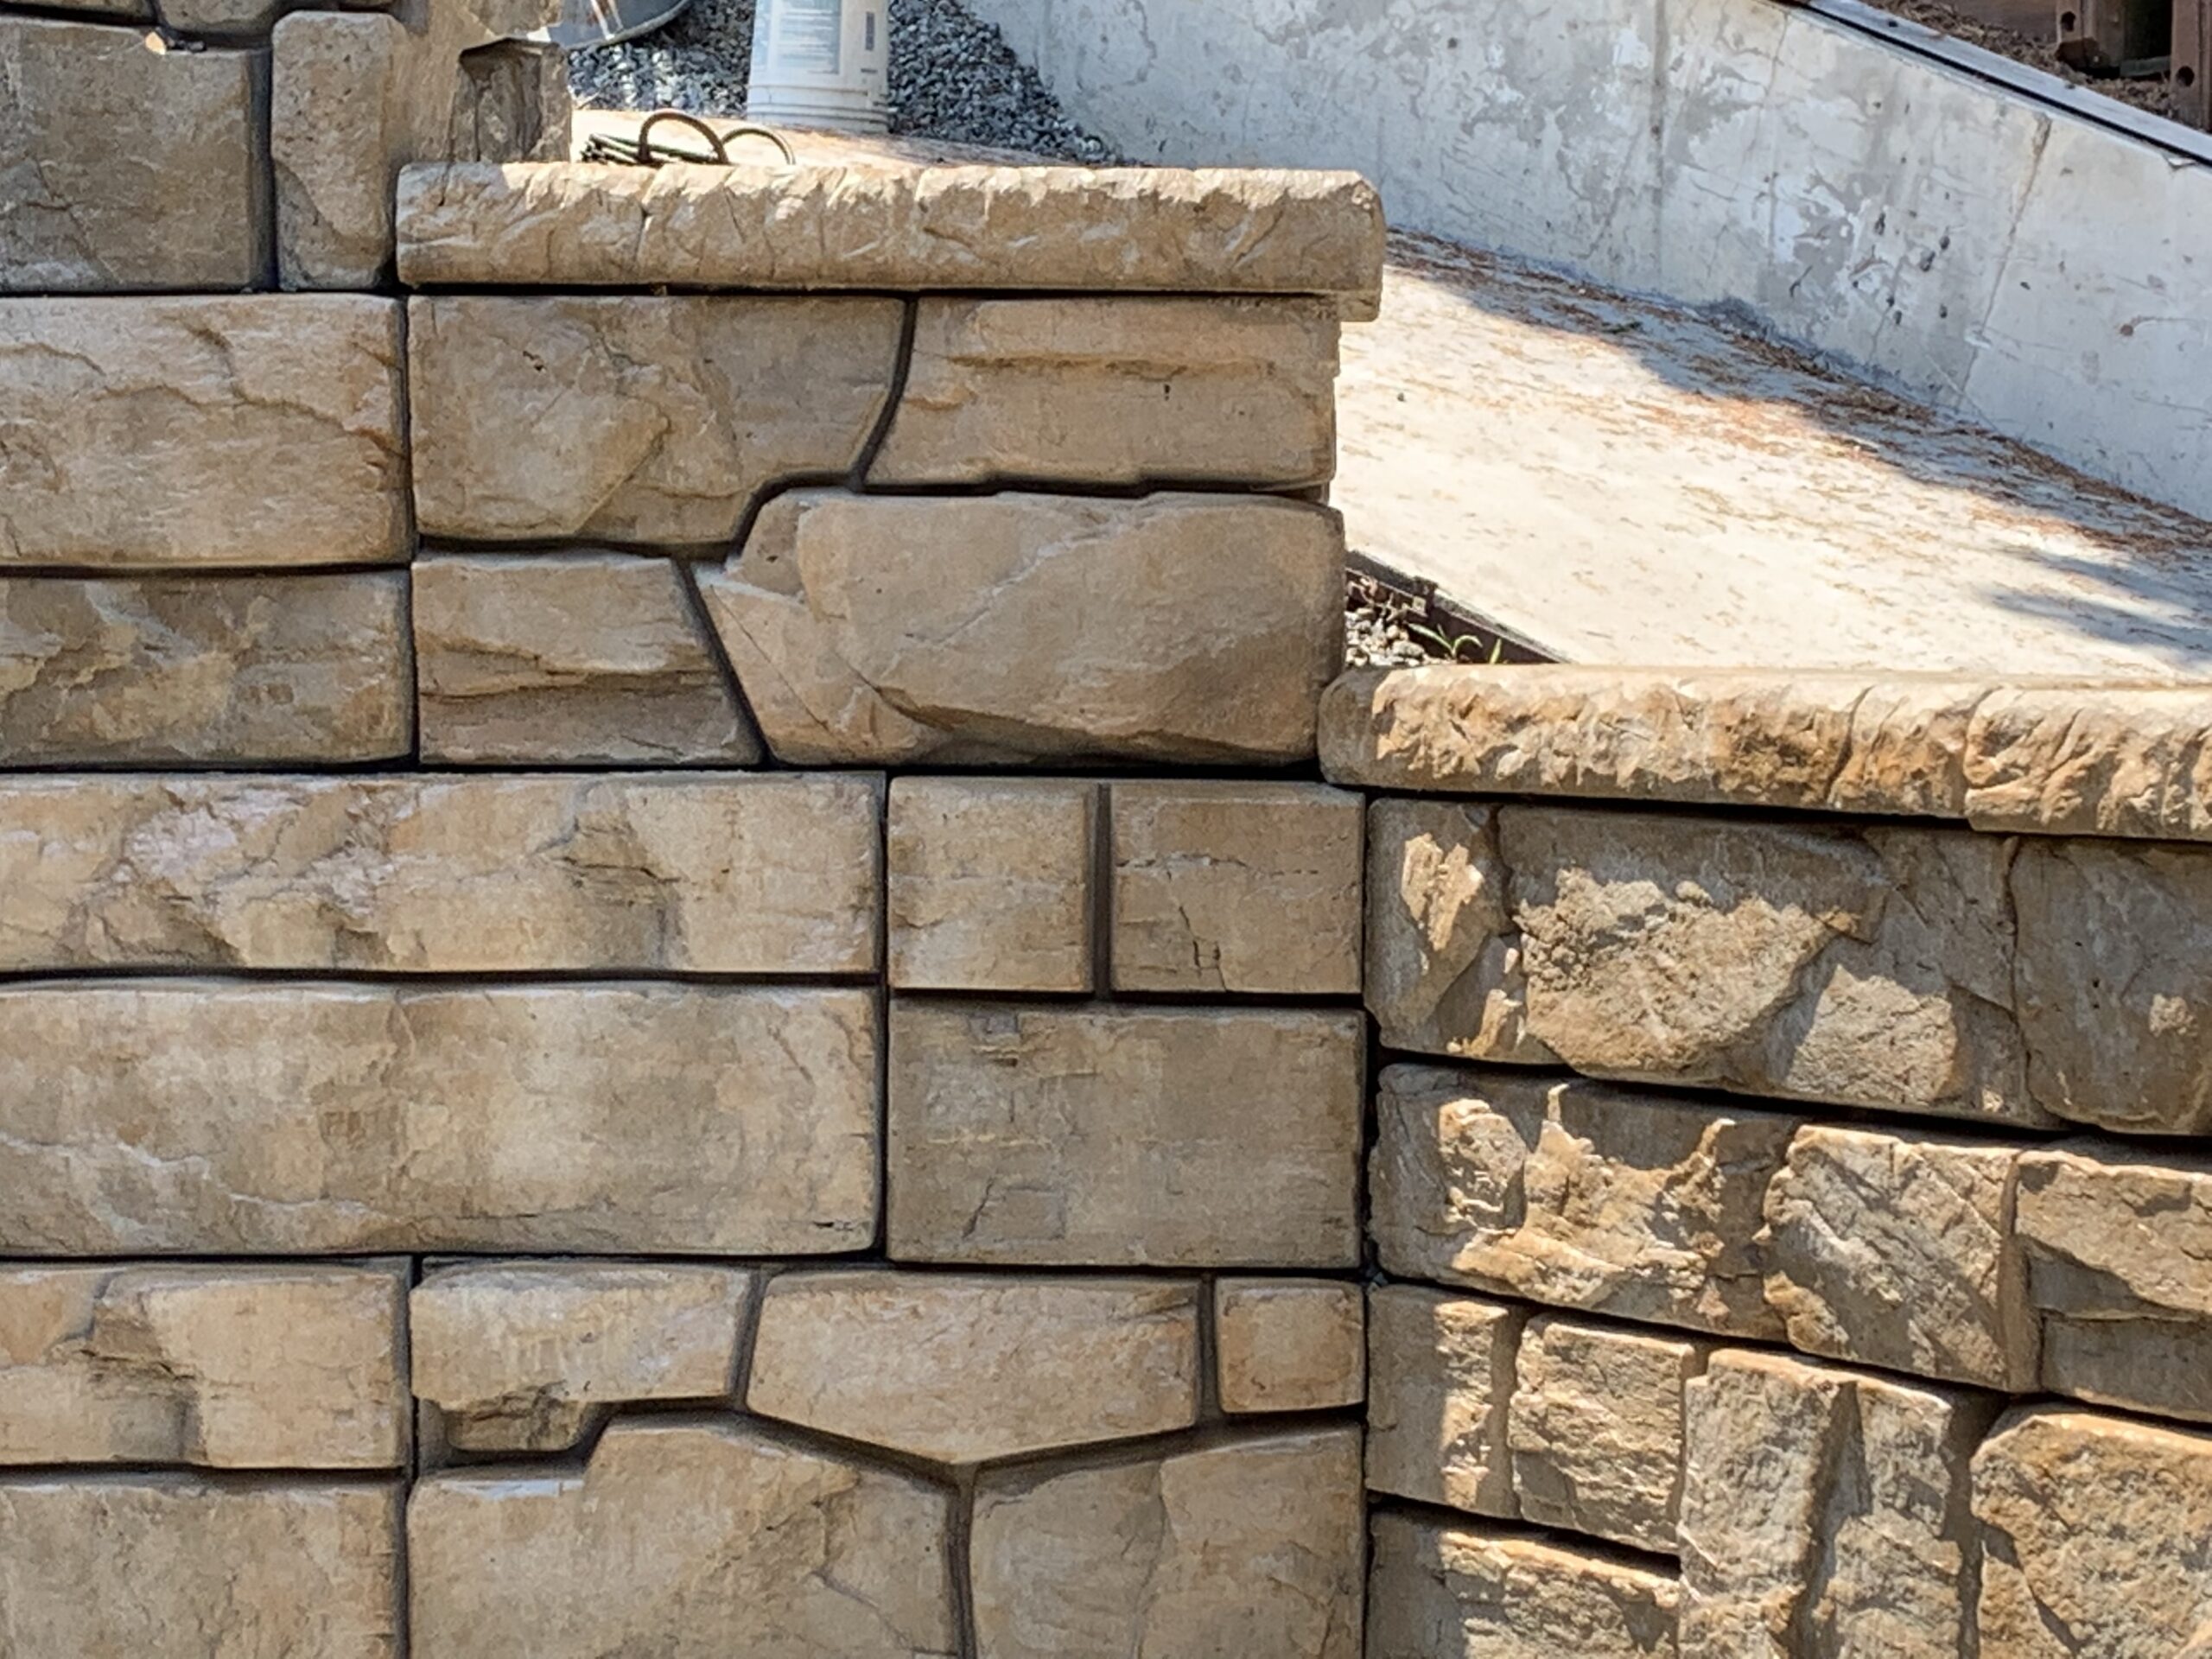
See how our EasyTint™ stain transformed these large Verti-Block retaining walls from bland gray to vibrant Café Royale. This project was a leap for our customer, who tackled the large scope with ease using our all-in-one stain and sealer. The result? A beautiful satin finish that adds character to their outdoor space. Discover tips on application and how to avoid common pitfalls like drips on vertical surfaces.
Project Info:
- Project Completed In: 7 day(s)
- Estimate of Square Footage: 1000 sq. ft.
- Project Description:
We have several large retaining walls construct with Vertablock. The grey concrete color was bland and soul sucking. I have wanted to stain the block from the start but was intimidated by the scope of the project. I was so excited to come across your EasyTint product. Stain and sealer in one!! It was what I needed to take the leap and I’m so excited I did. - Personal Tips:
Any one can do it!
Use a good sprayer and wait for a calm day.
Less is more. Drips ( vertical surface) are your enemy. You can always come back and add more color to some areas.
Even the satin finish has some sheen to it. - Direct Colors Products Used:
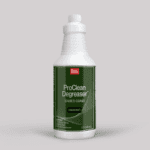
1 Qt. ProClean Degreaser™ Concentrate (Makes 5 gal)
5 Gal. Cafe Royale EasyTint™ Satin
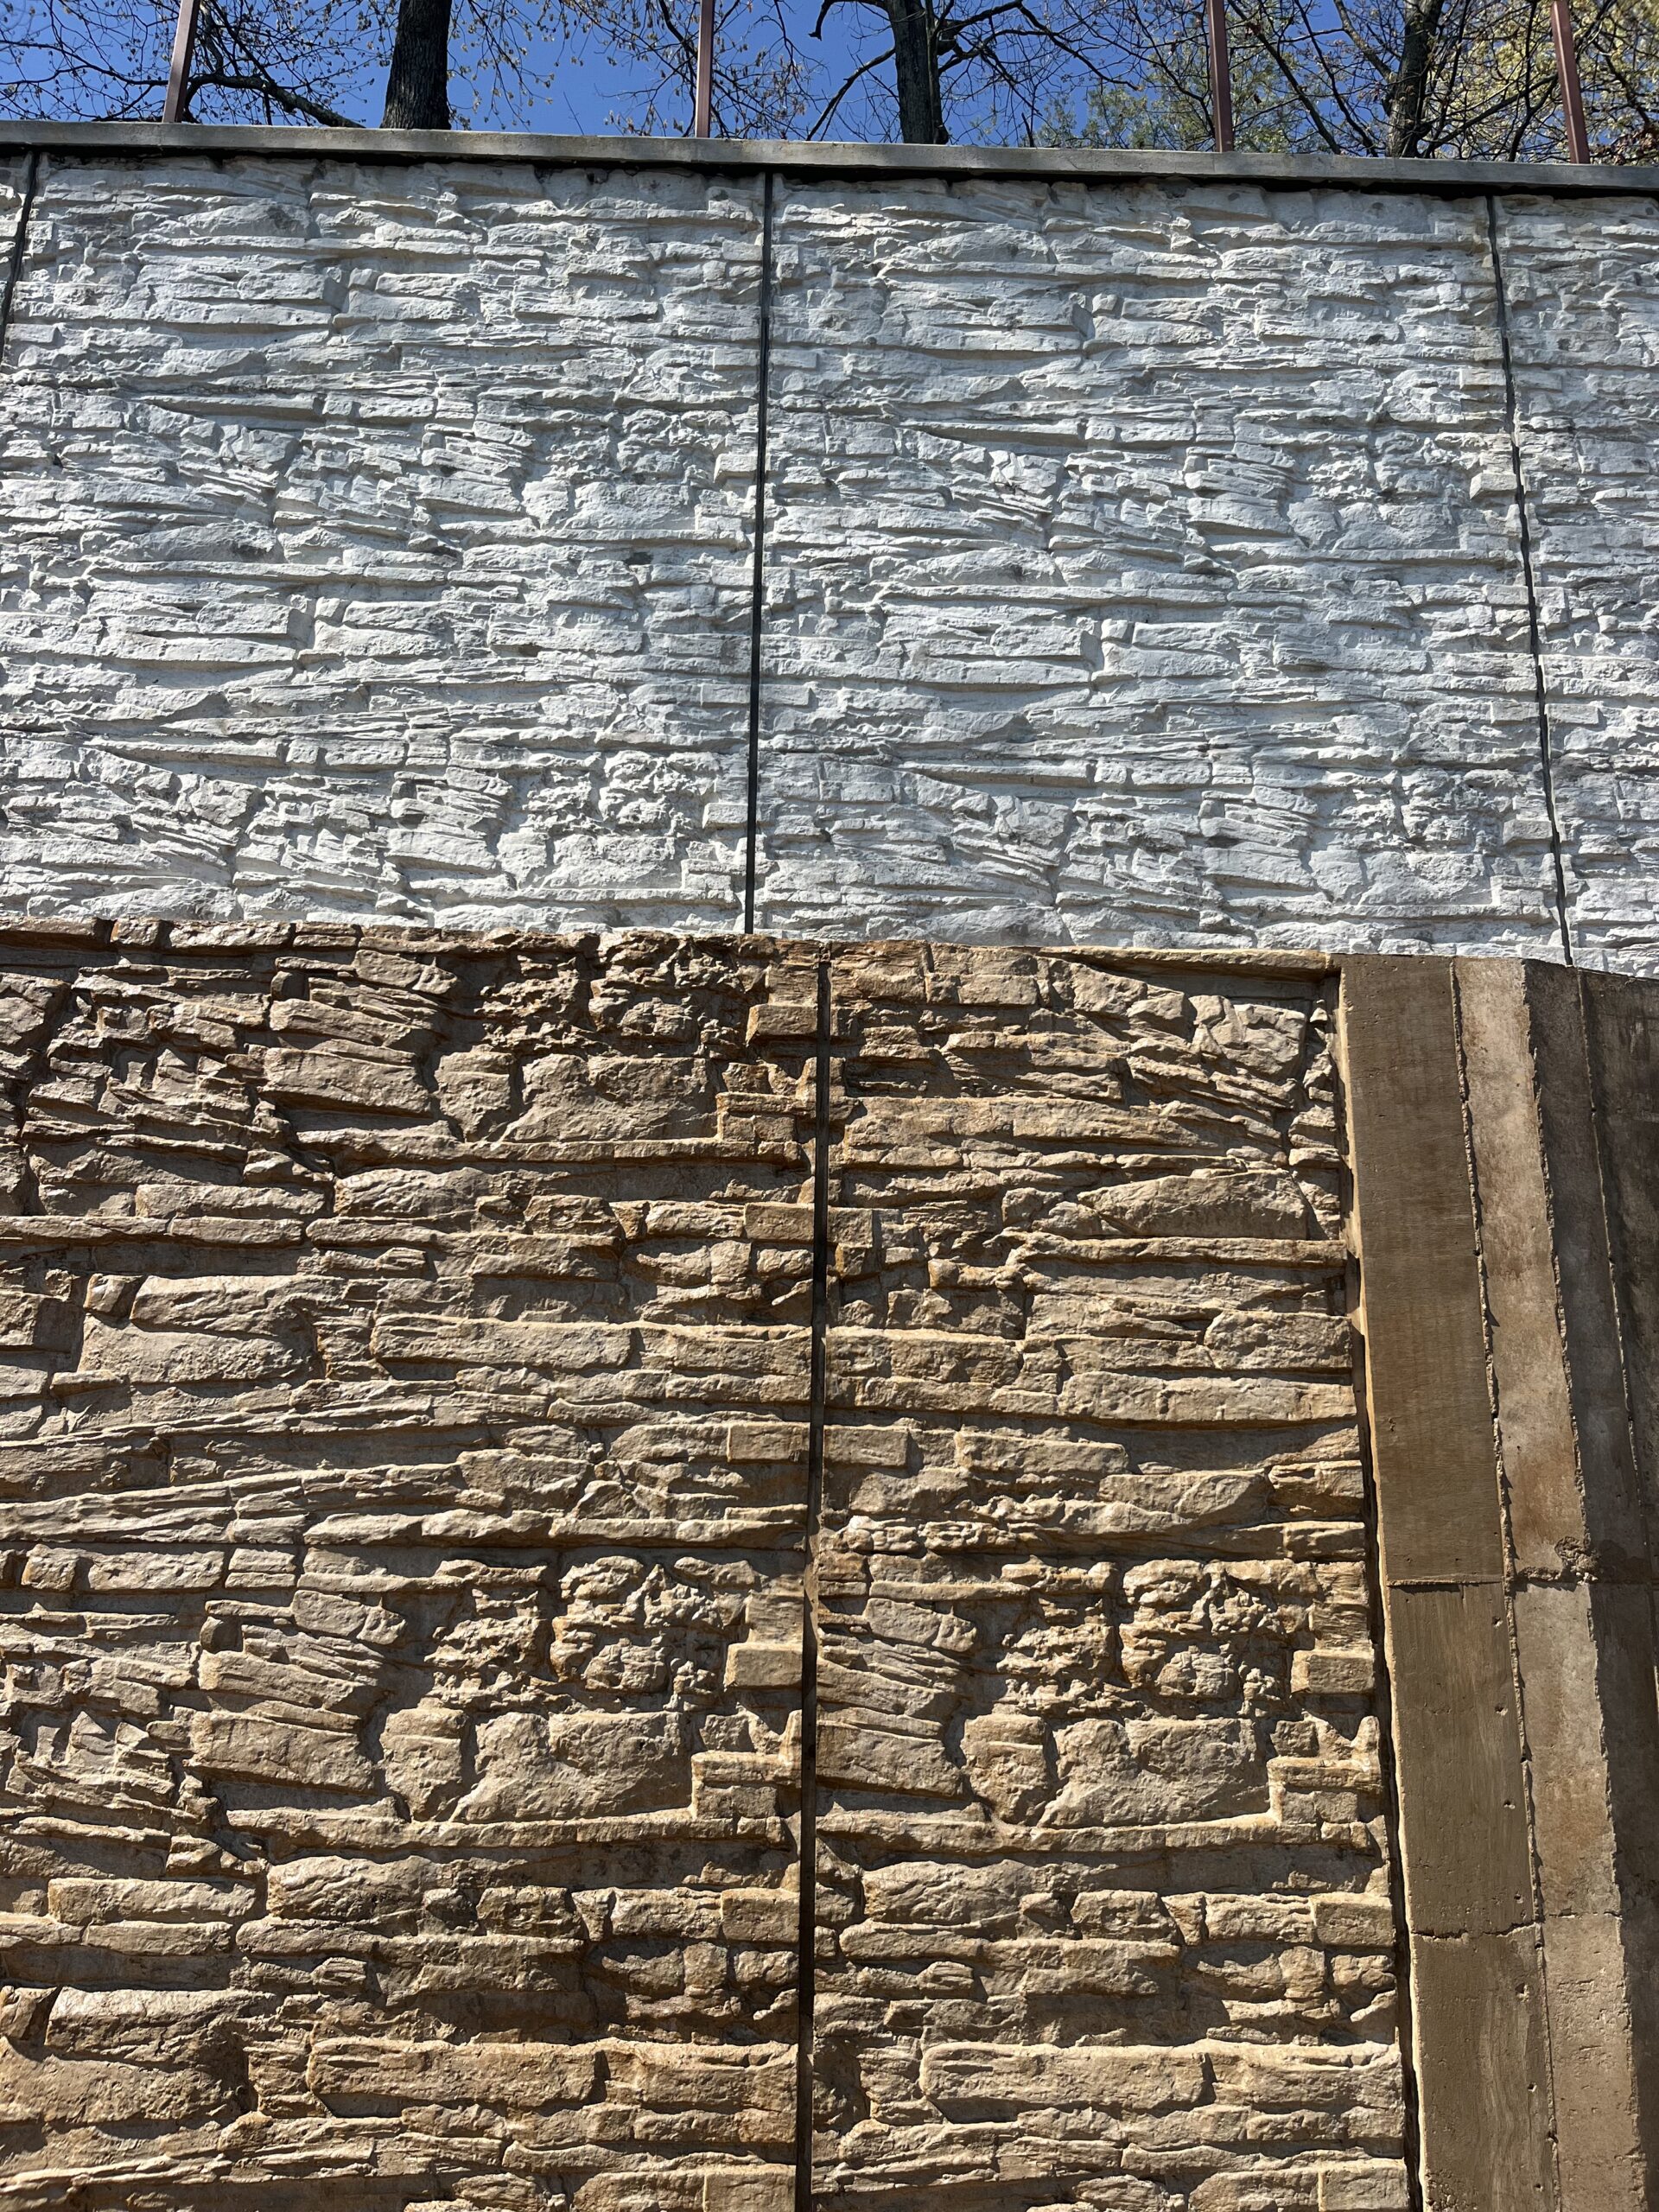
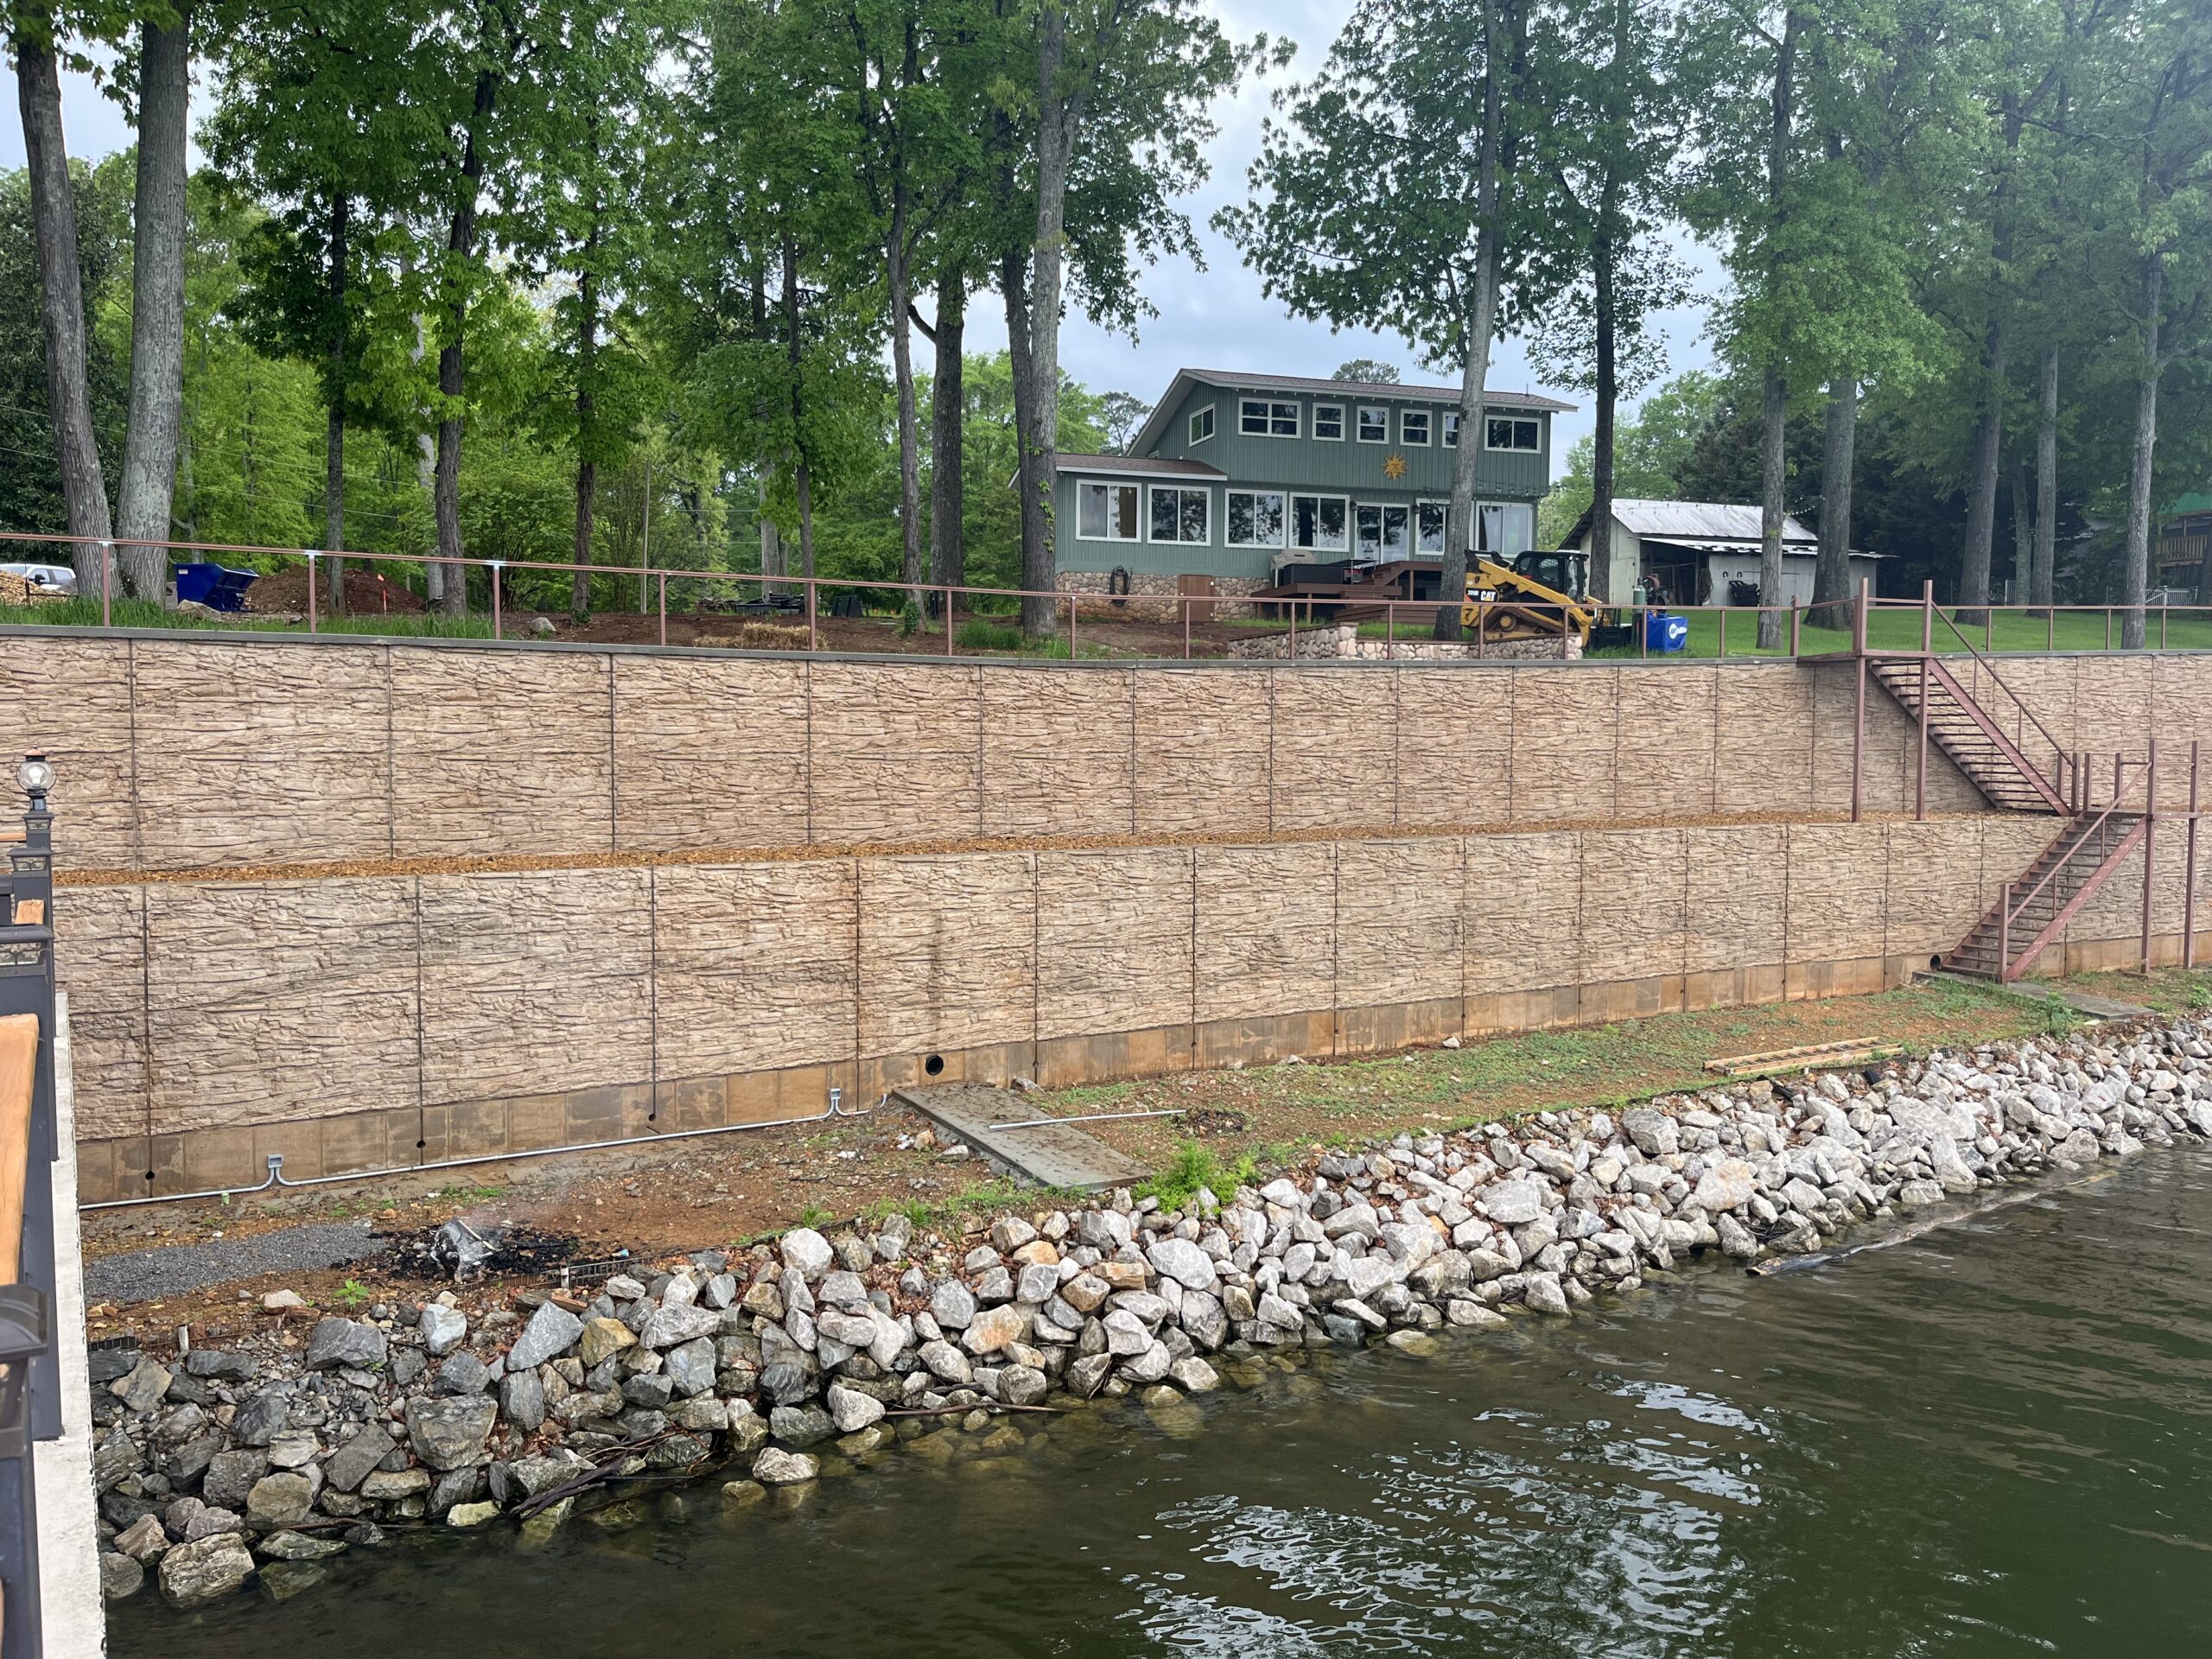
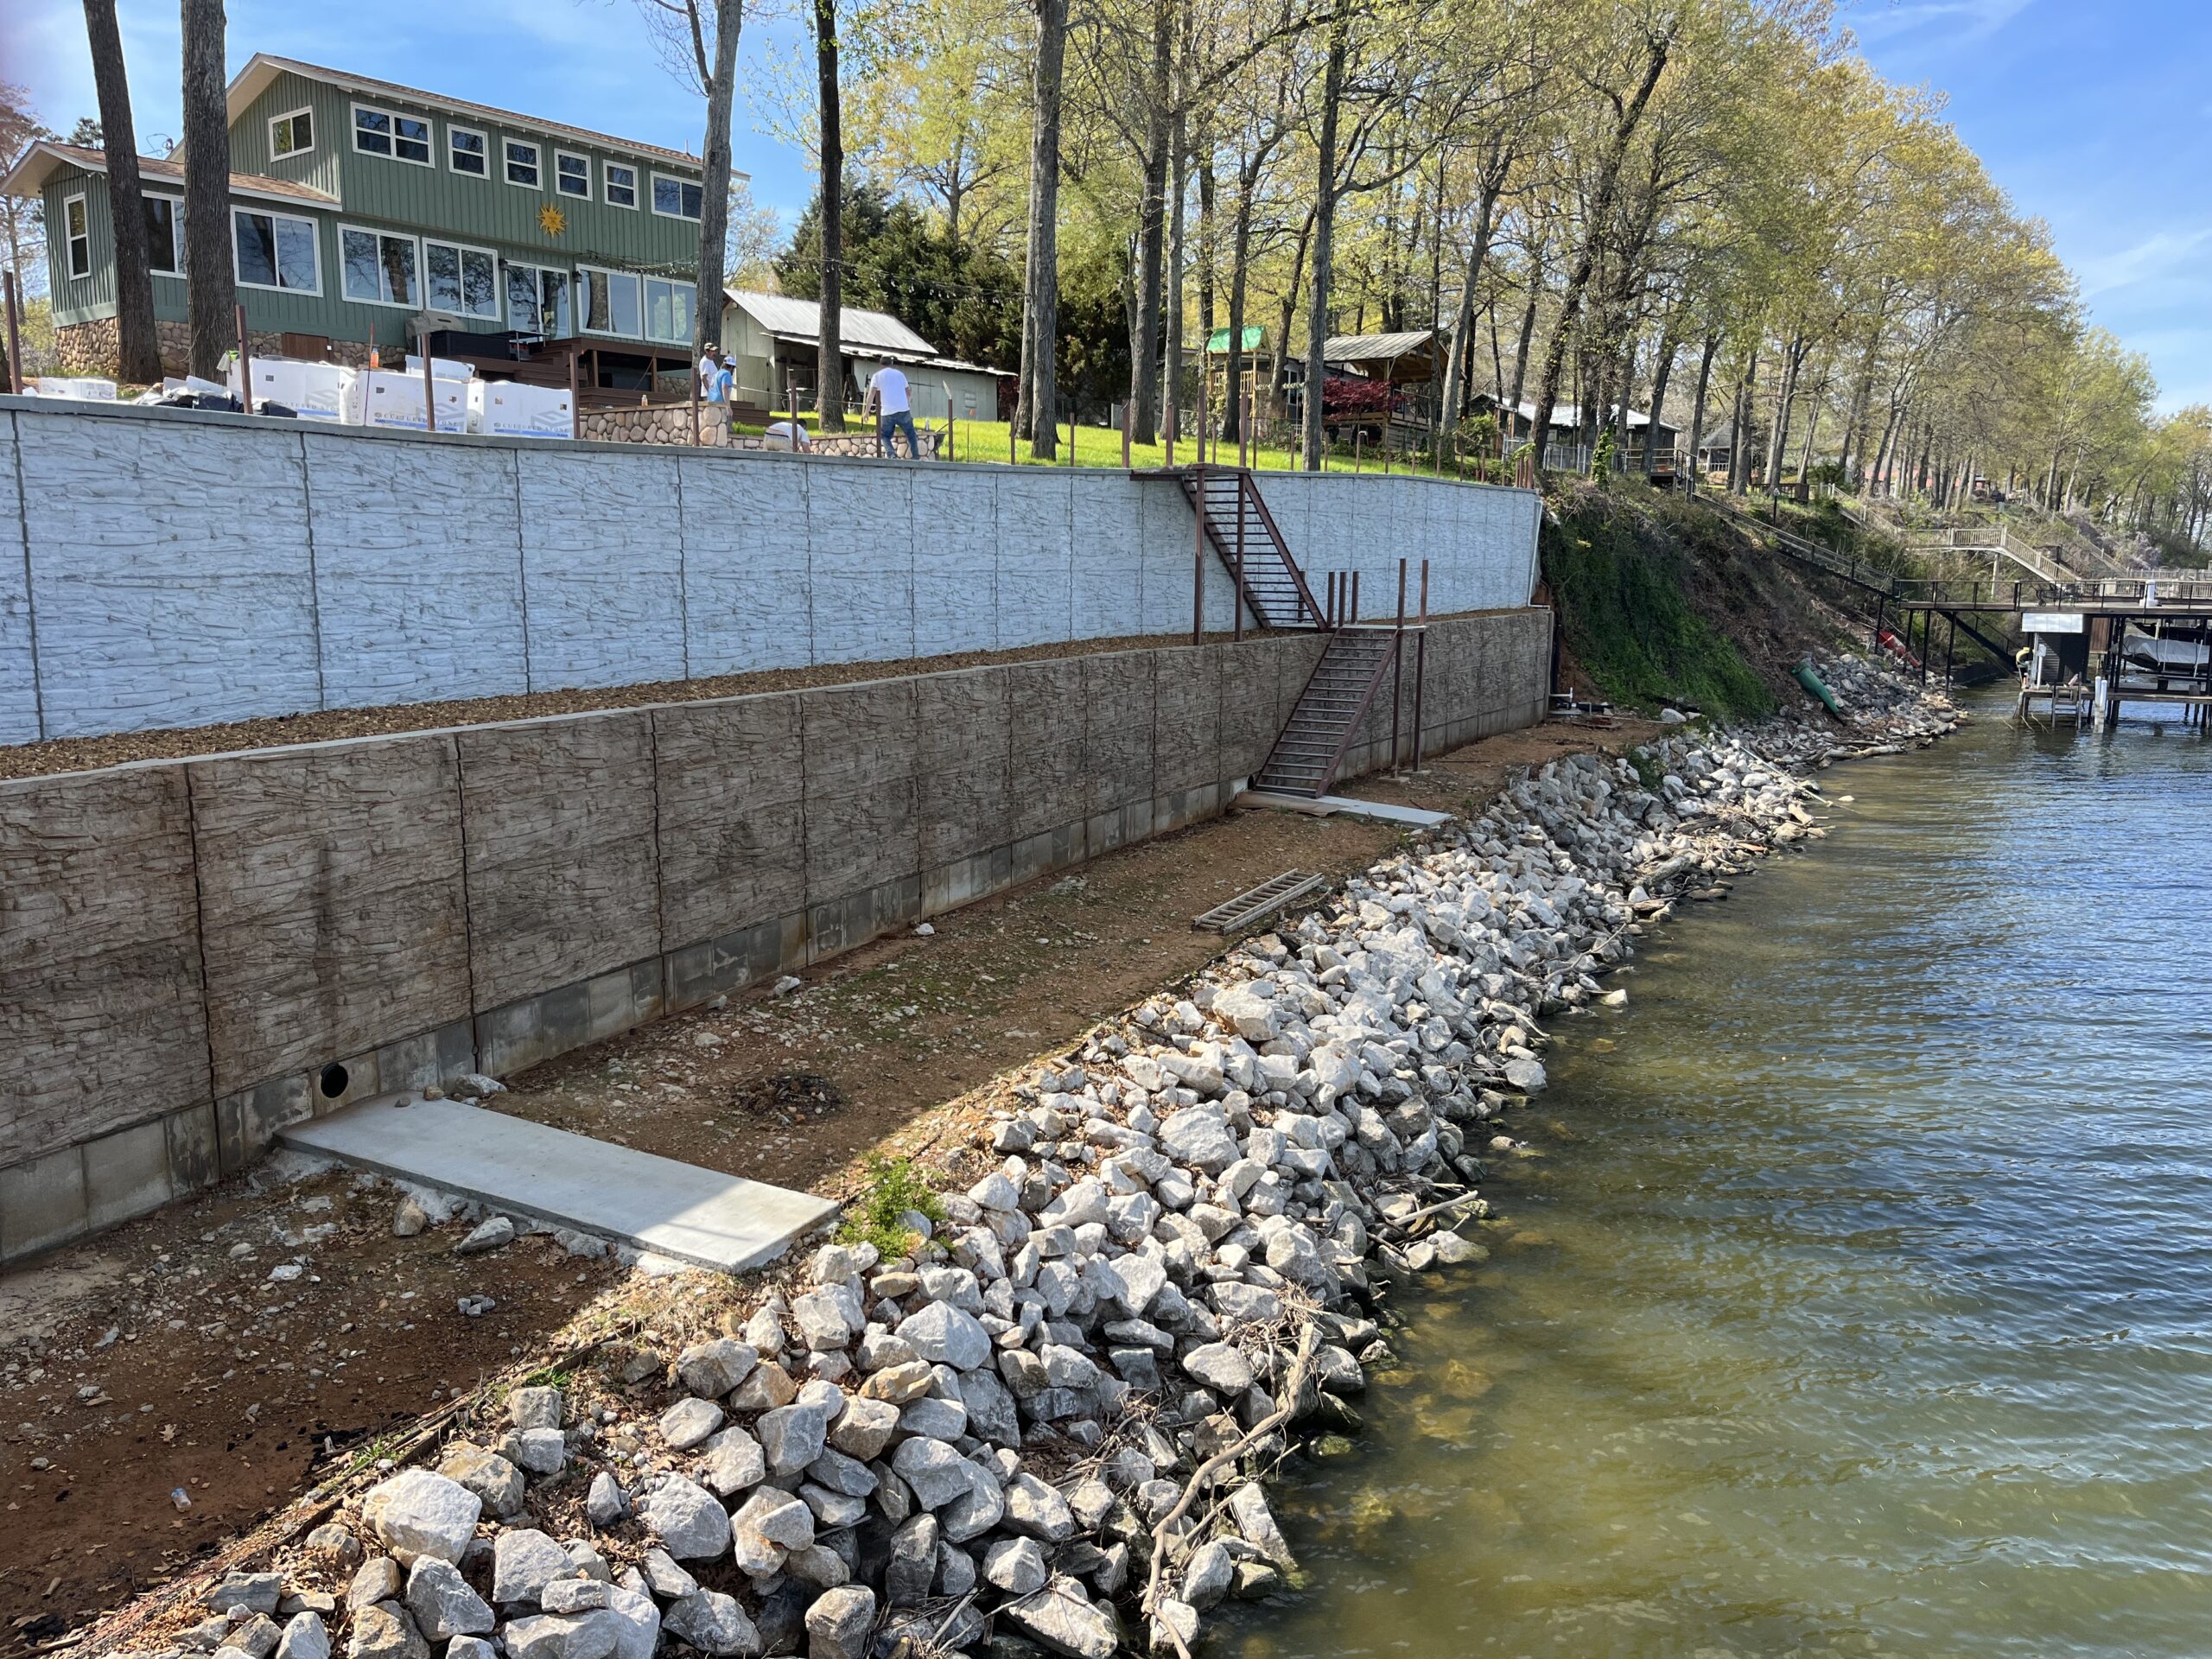
Riverbank Transformation: 7200 Sq. Ft Concrete Wall Stained with Cafe Royale EasyTint™
See how Cafe Royale EasyTint™ transformed a stark white, 7200 sq. ft concrete retaining wall along a riverbank into a natural-looking barrier that blends seamlessly with its surroundings. The results brought harmony between man-made structures and nature, greatly enhancing the aesthetic appeal of the area.
Project Info:
- Project Completed In: 7 day(s)
- Estimate of Square Footage: 7200 sq. ft.
- Project Description:
Concrete wall at riverbank. This stain made the stark white concrete wall blend in with the natural surroundings. Very happy with the results. - Personal Tips:
Pressure washed the wall a few days before application. Used an electric garden sprayer to apply one coat easy tint cafe royale satin stain , after few days used a pump sprayer and applied one coat easy seal satin concrete sealer. - Direct Colors Products Used:
7 x 5 Gal. Cafe Royale EasyTint™ Satin
7 x 5 Gal. EasySeal™ Satin
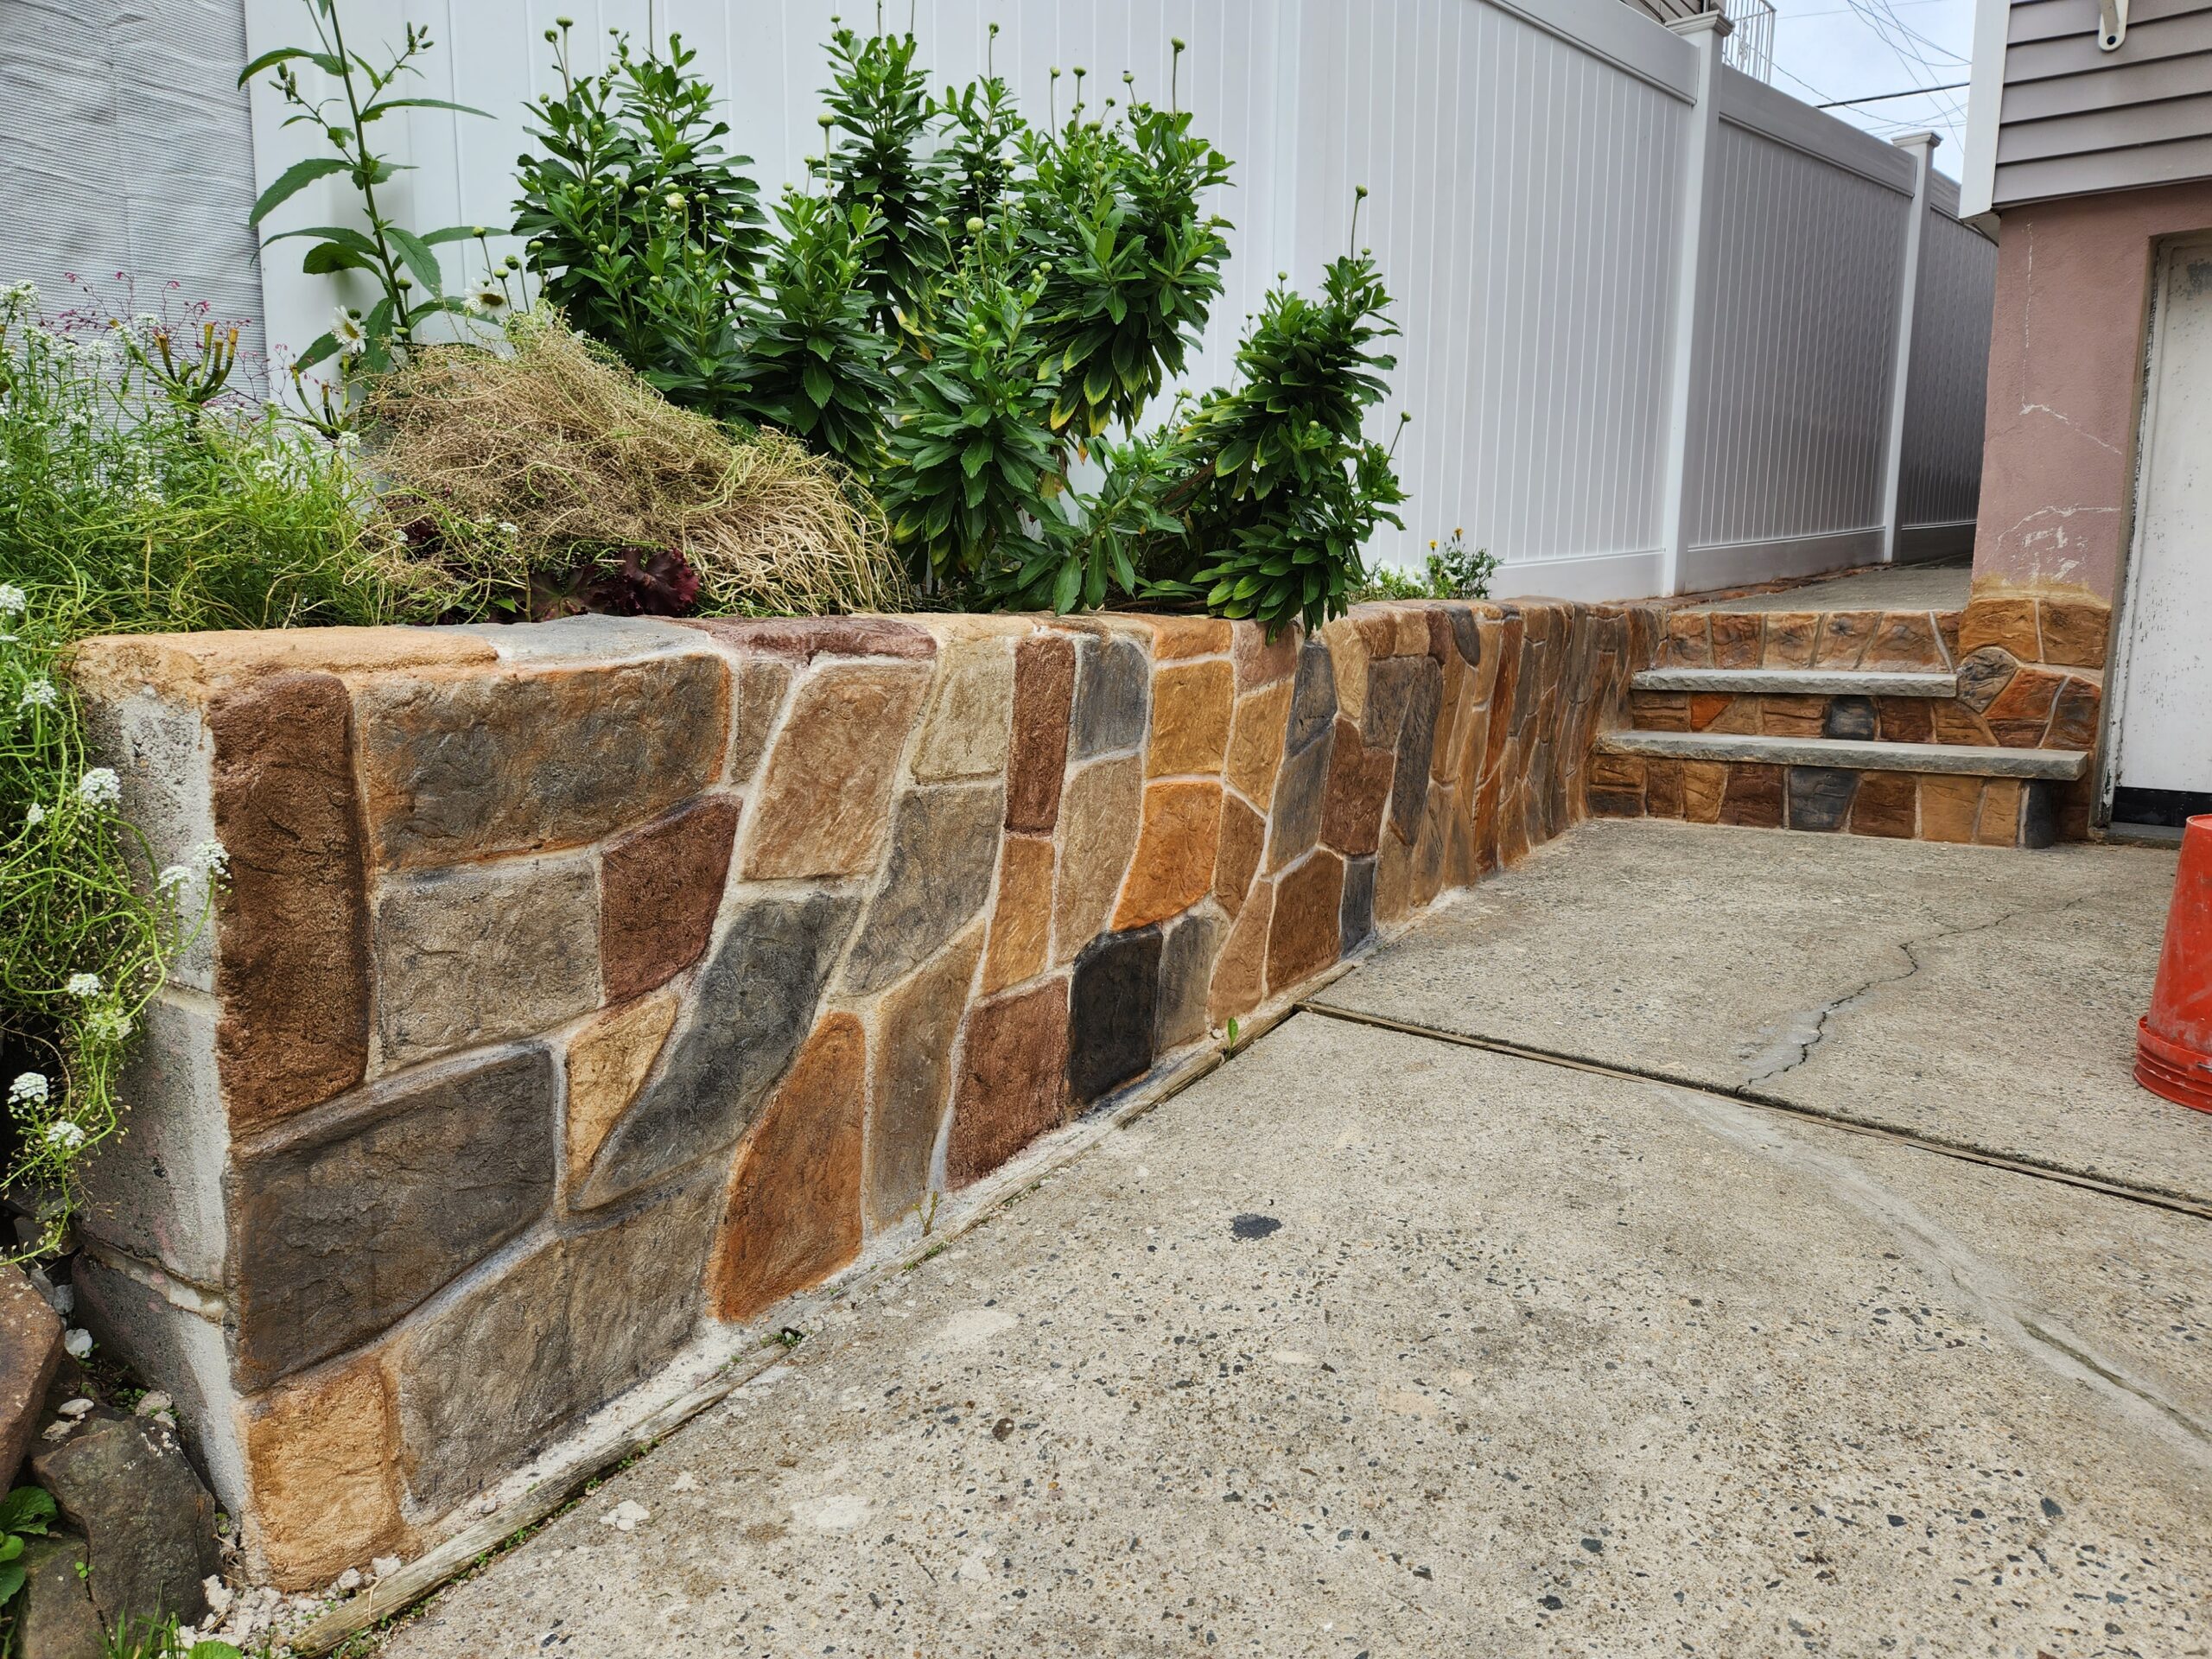
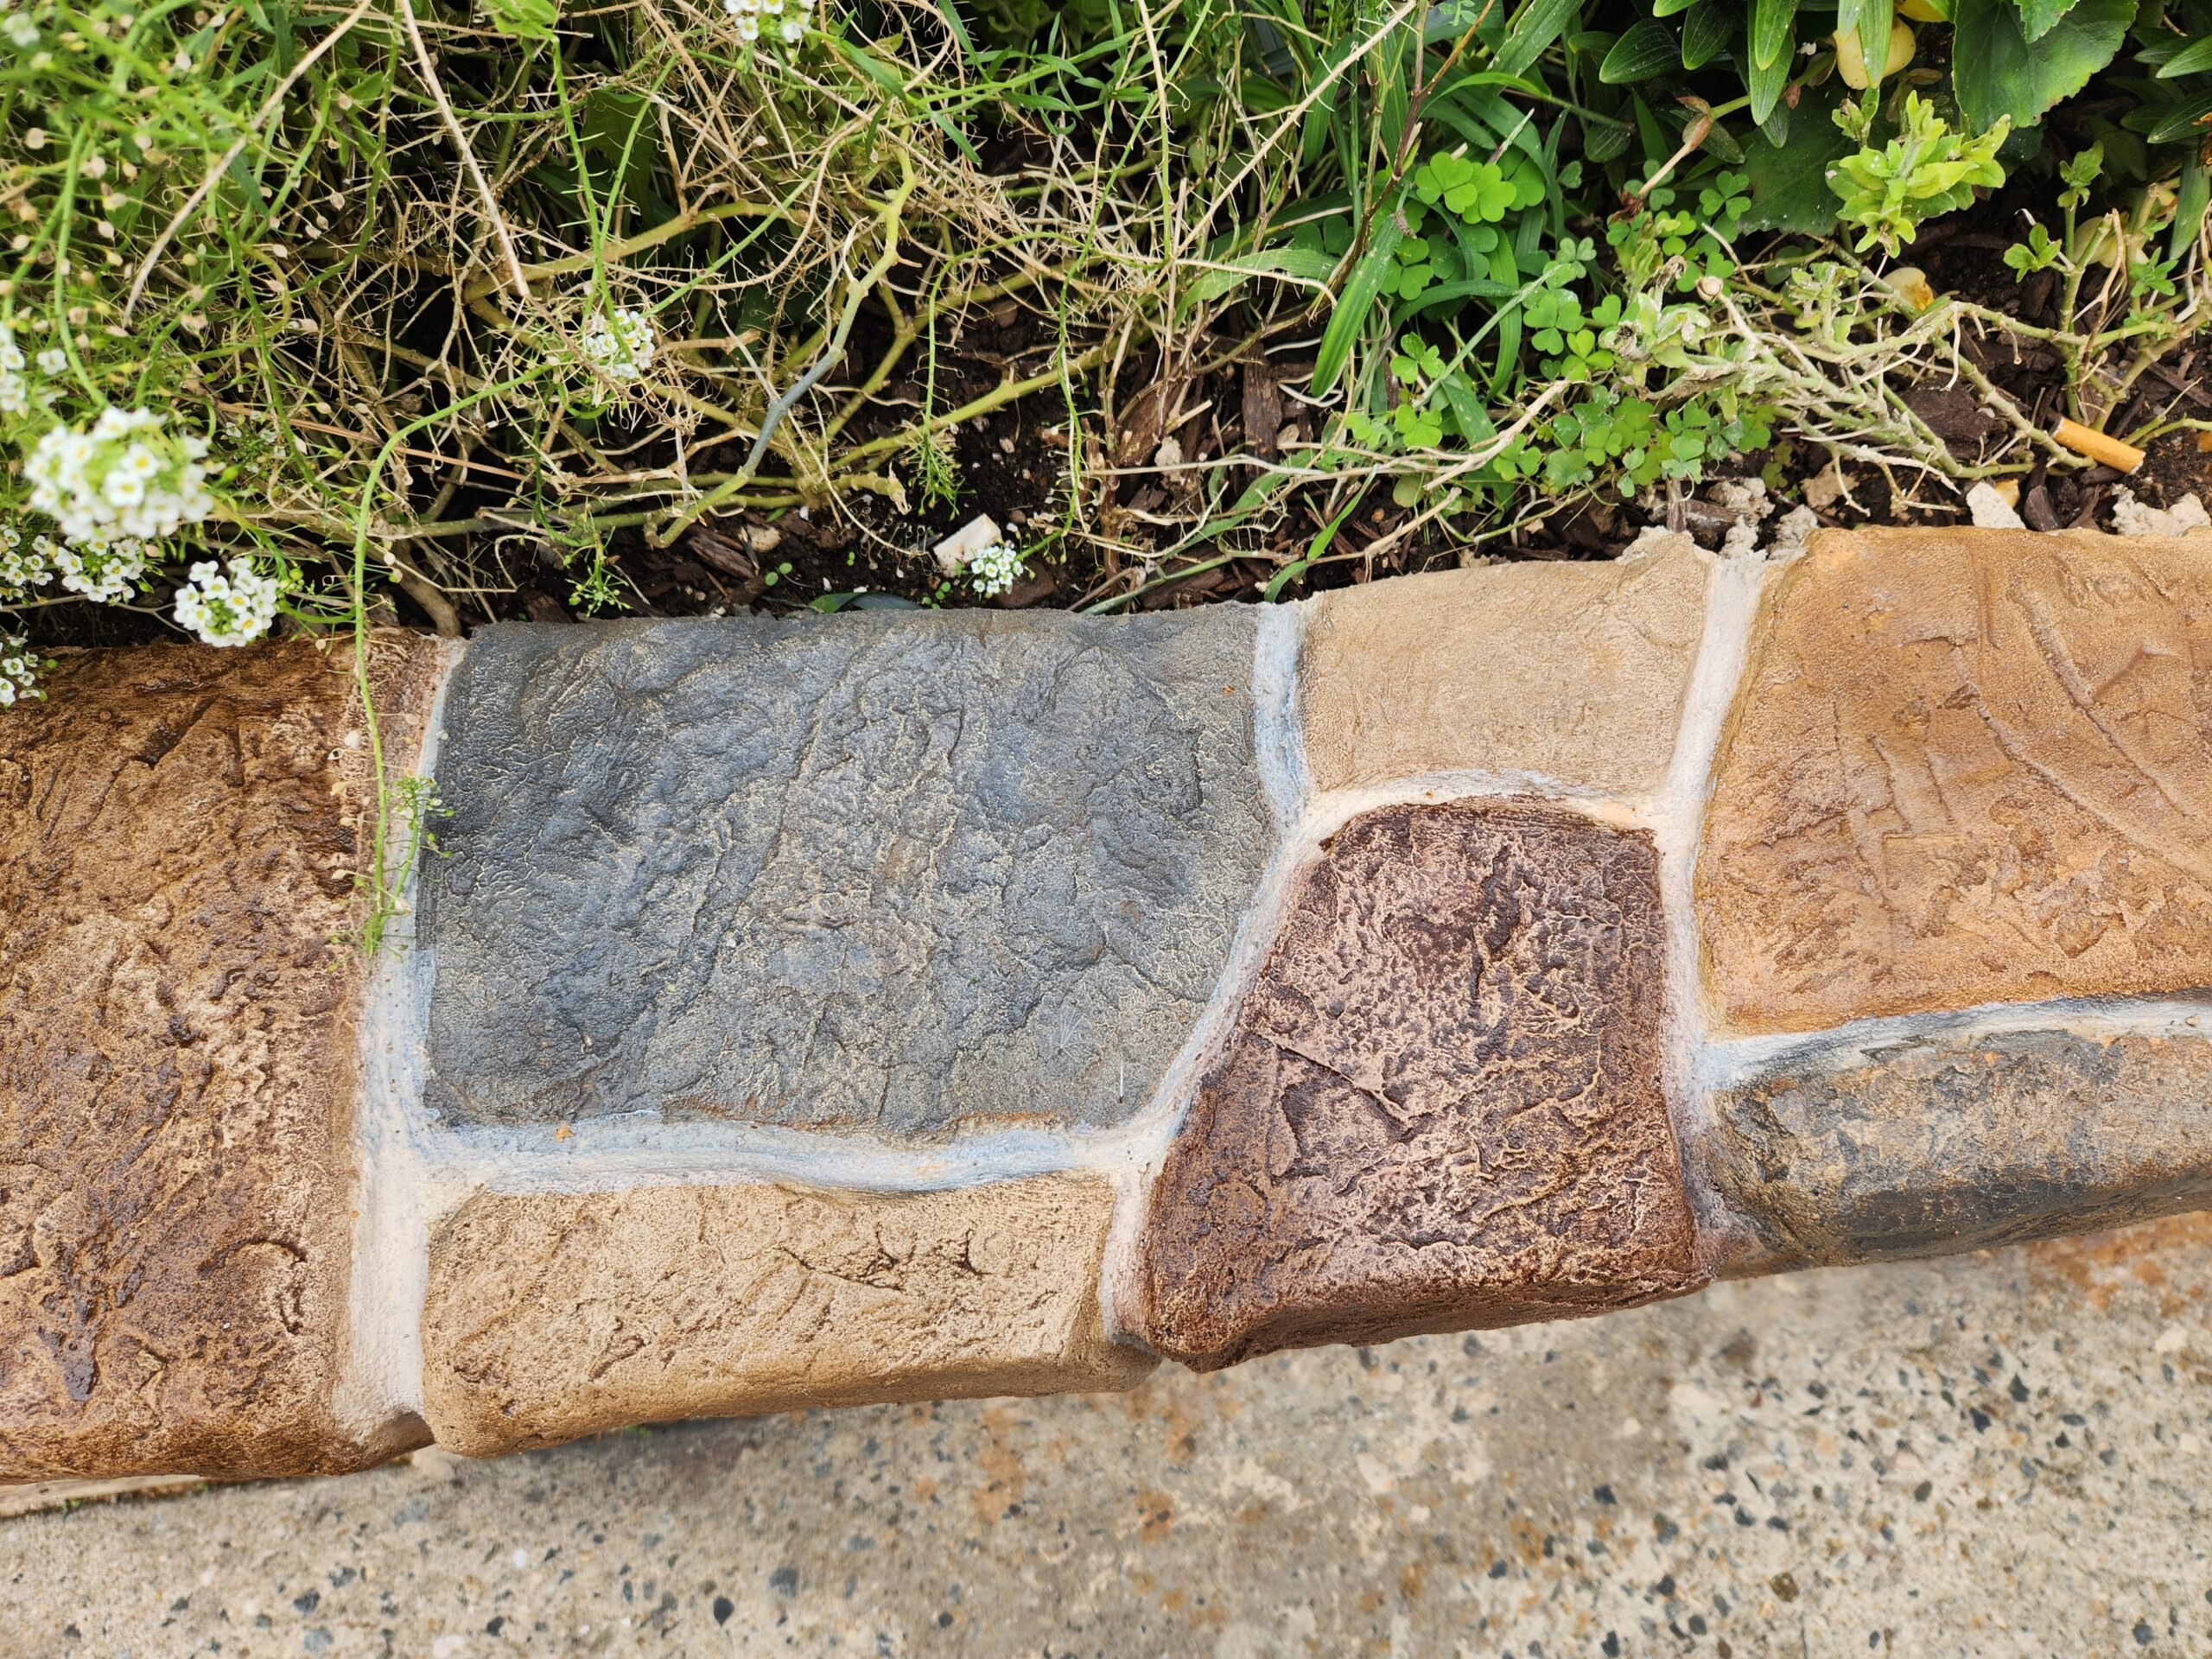
Faux Stone Mastery: Concrete Cinder Block Wall Transformed
This project highlights the transformation of a standard cinder block retaining wall into a stunning faux stone masterpiece using concrete. The use of varied stains such as Aztec Brown, Cumin, Driftwood, and Terracotta gave depth and authenticity to the faux stone, enhancing the wall’s aesthetic and blending seamlessly with the natural garden setting.
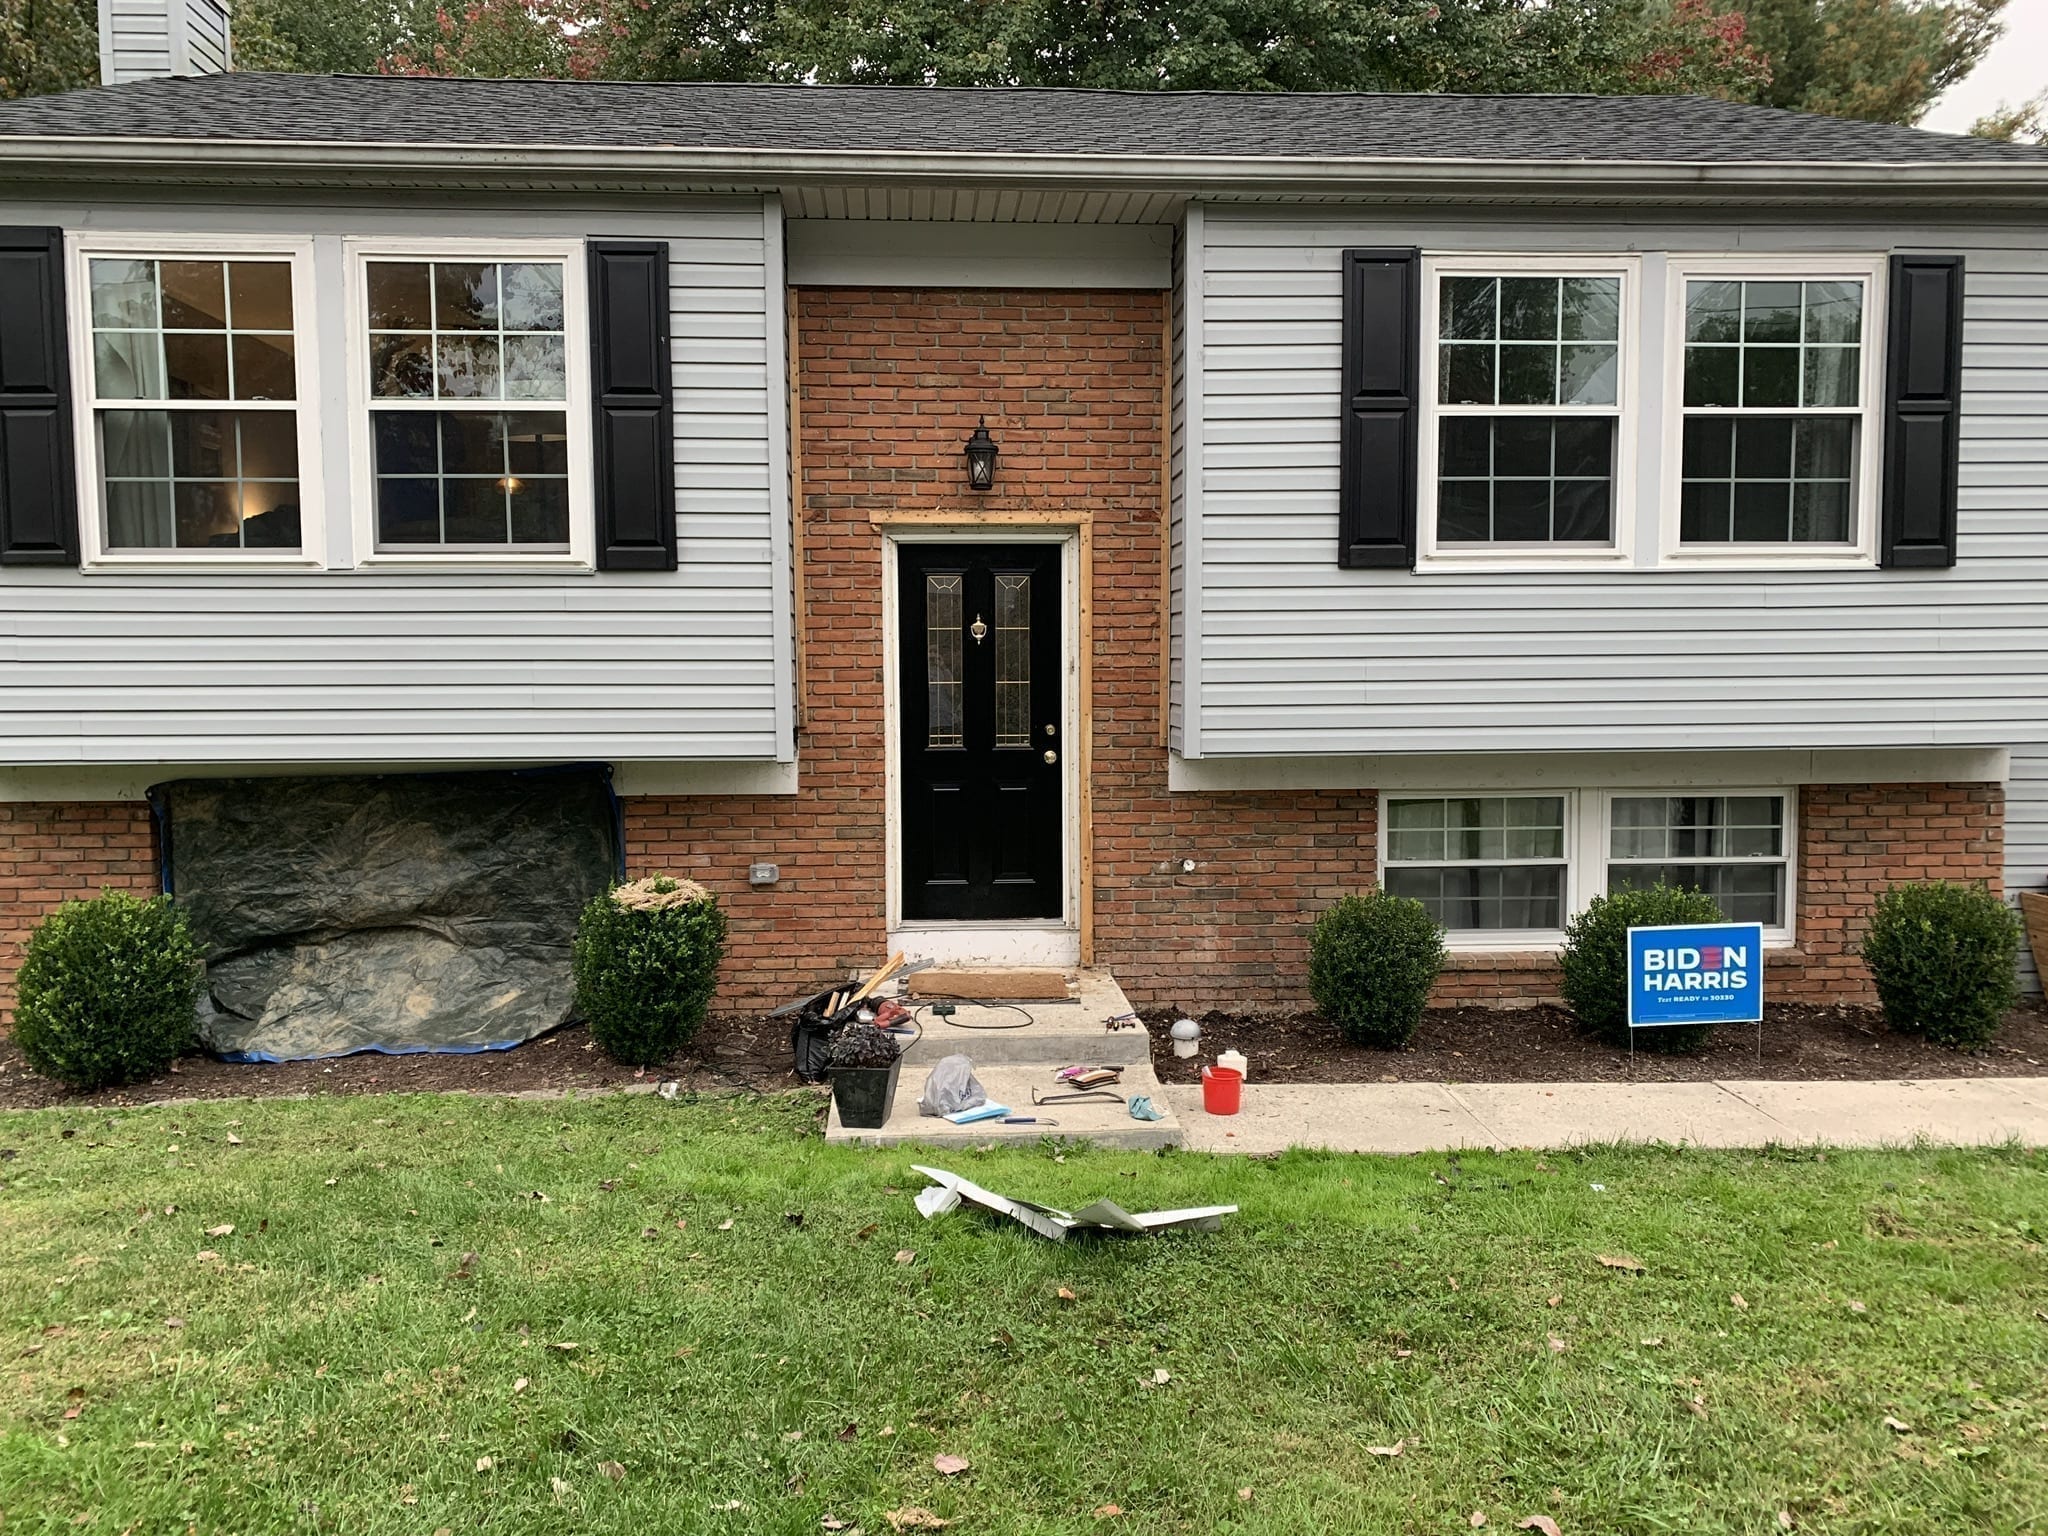
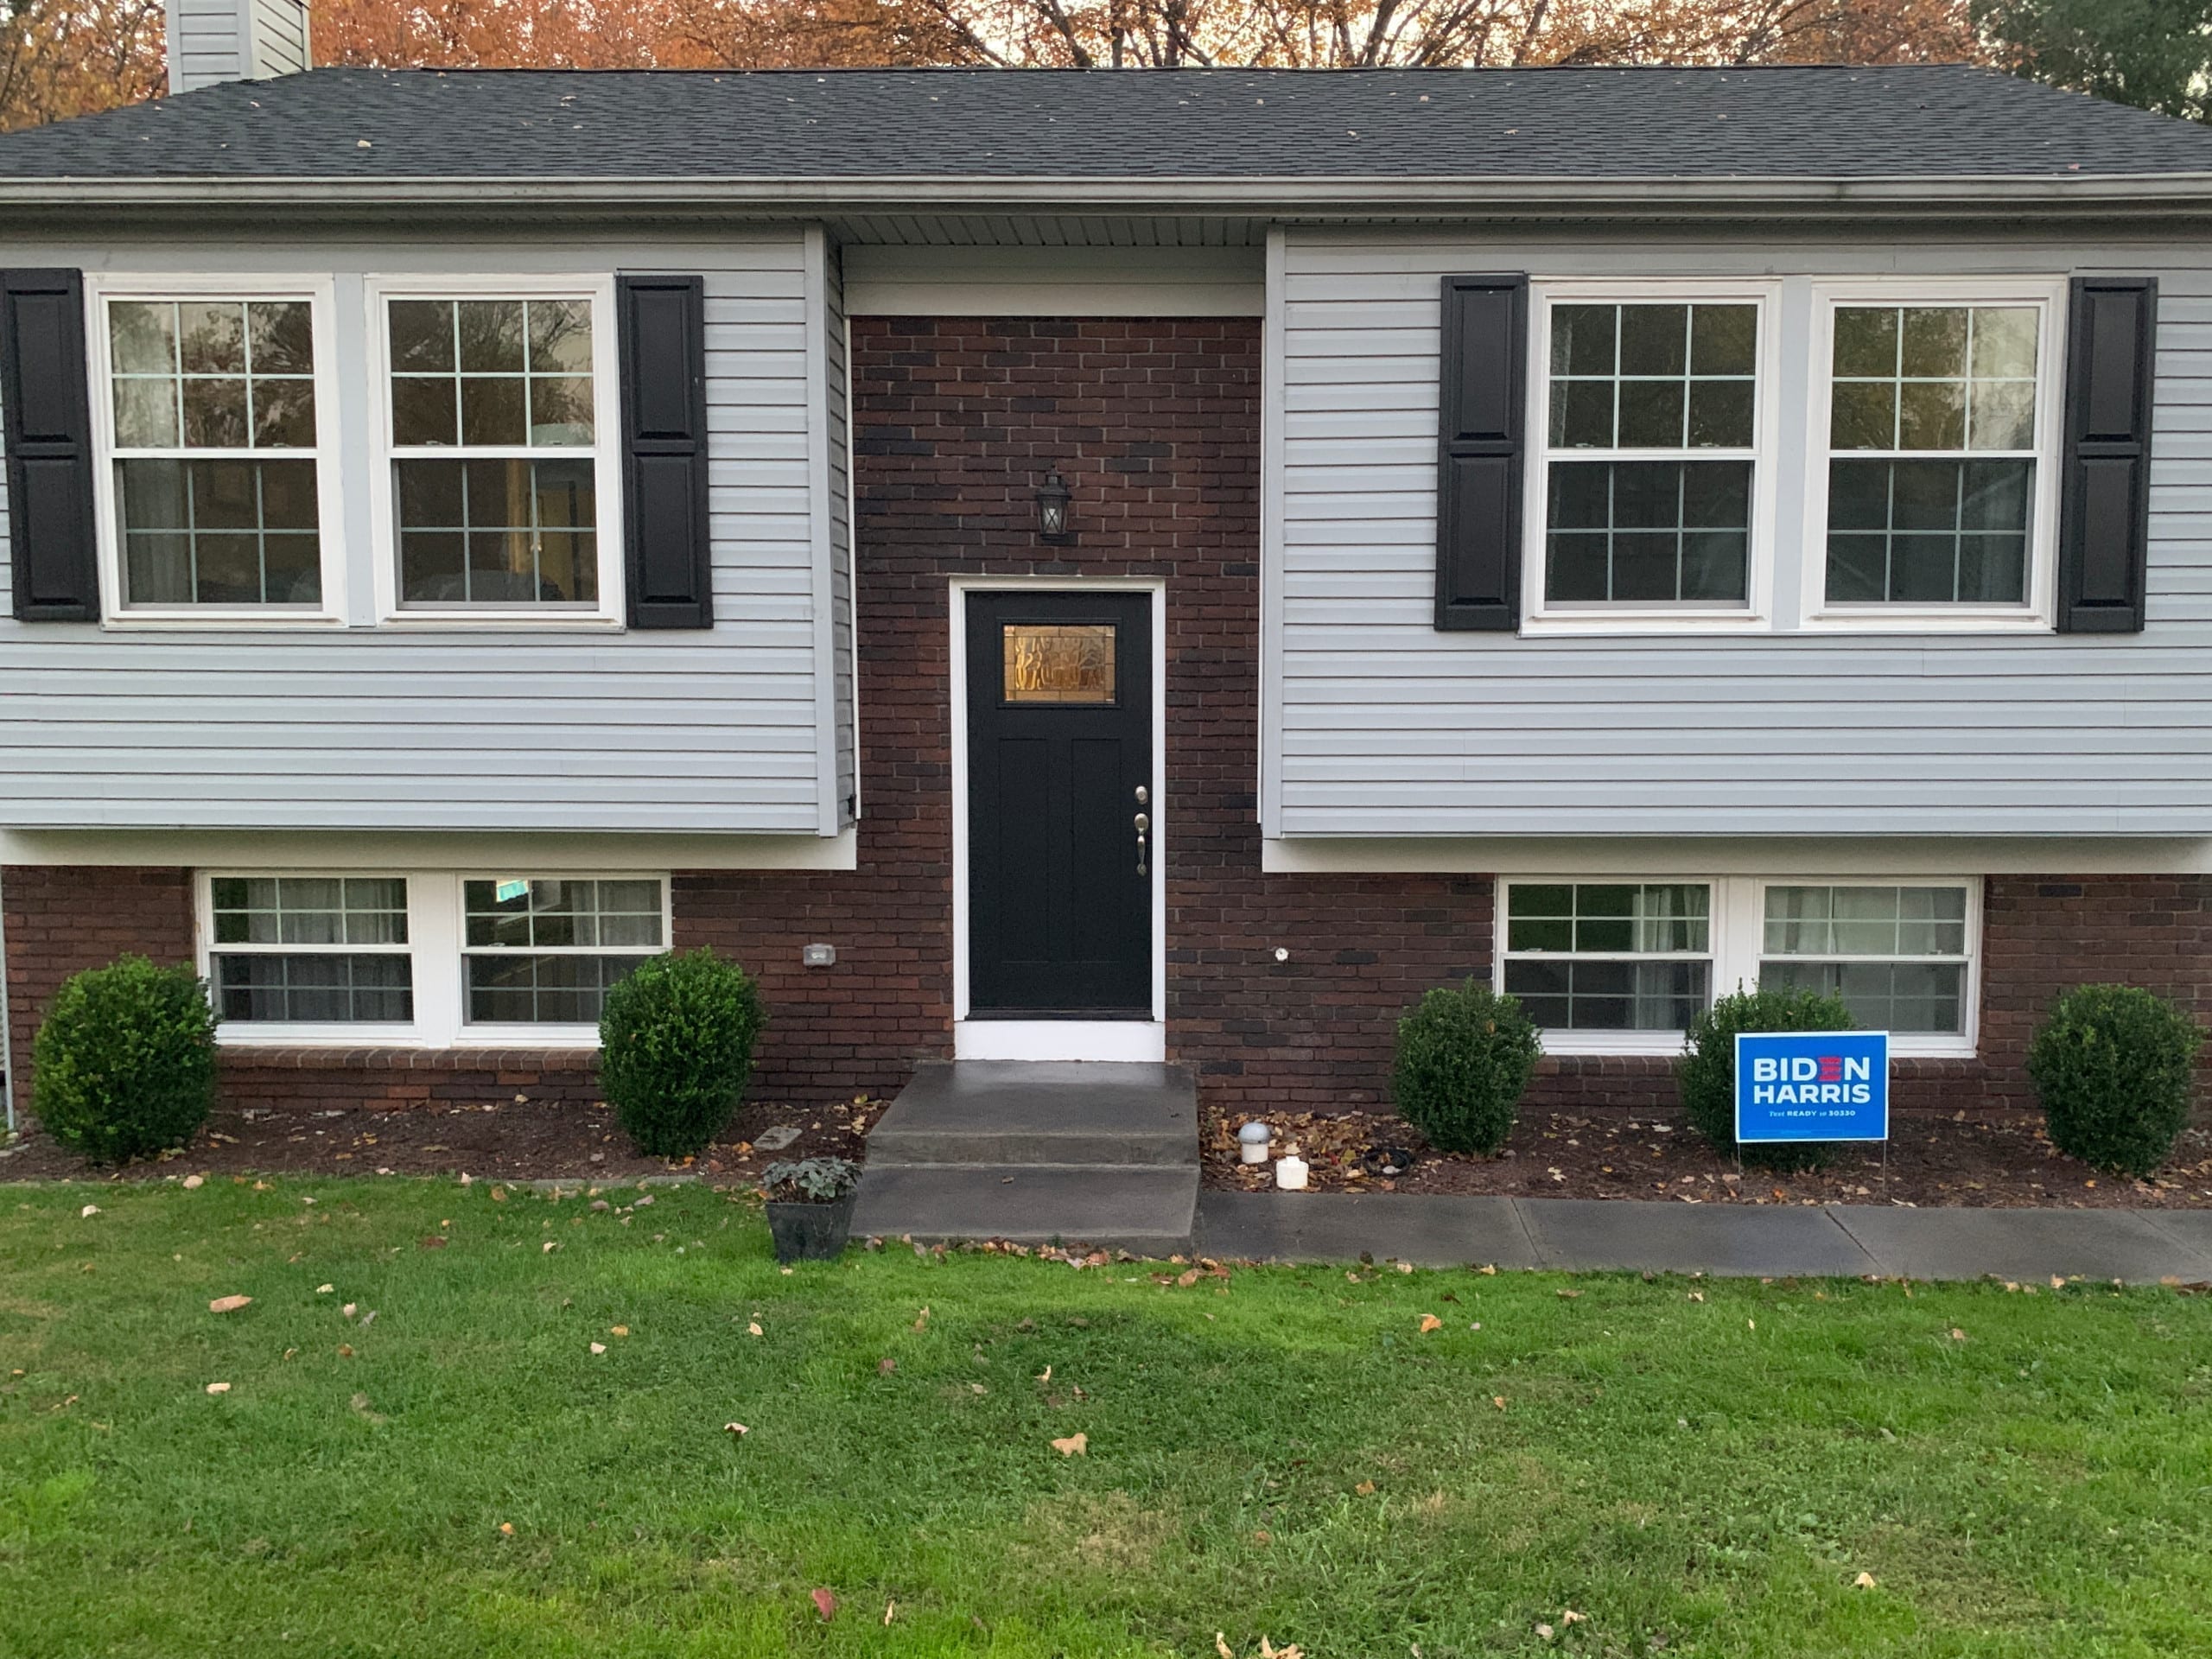
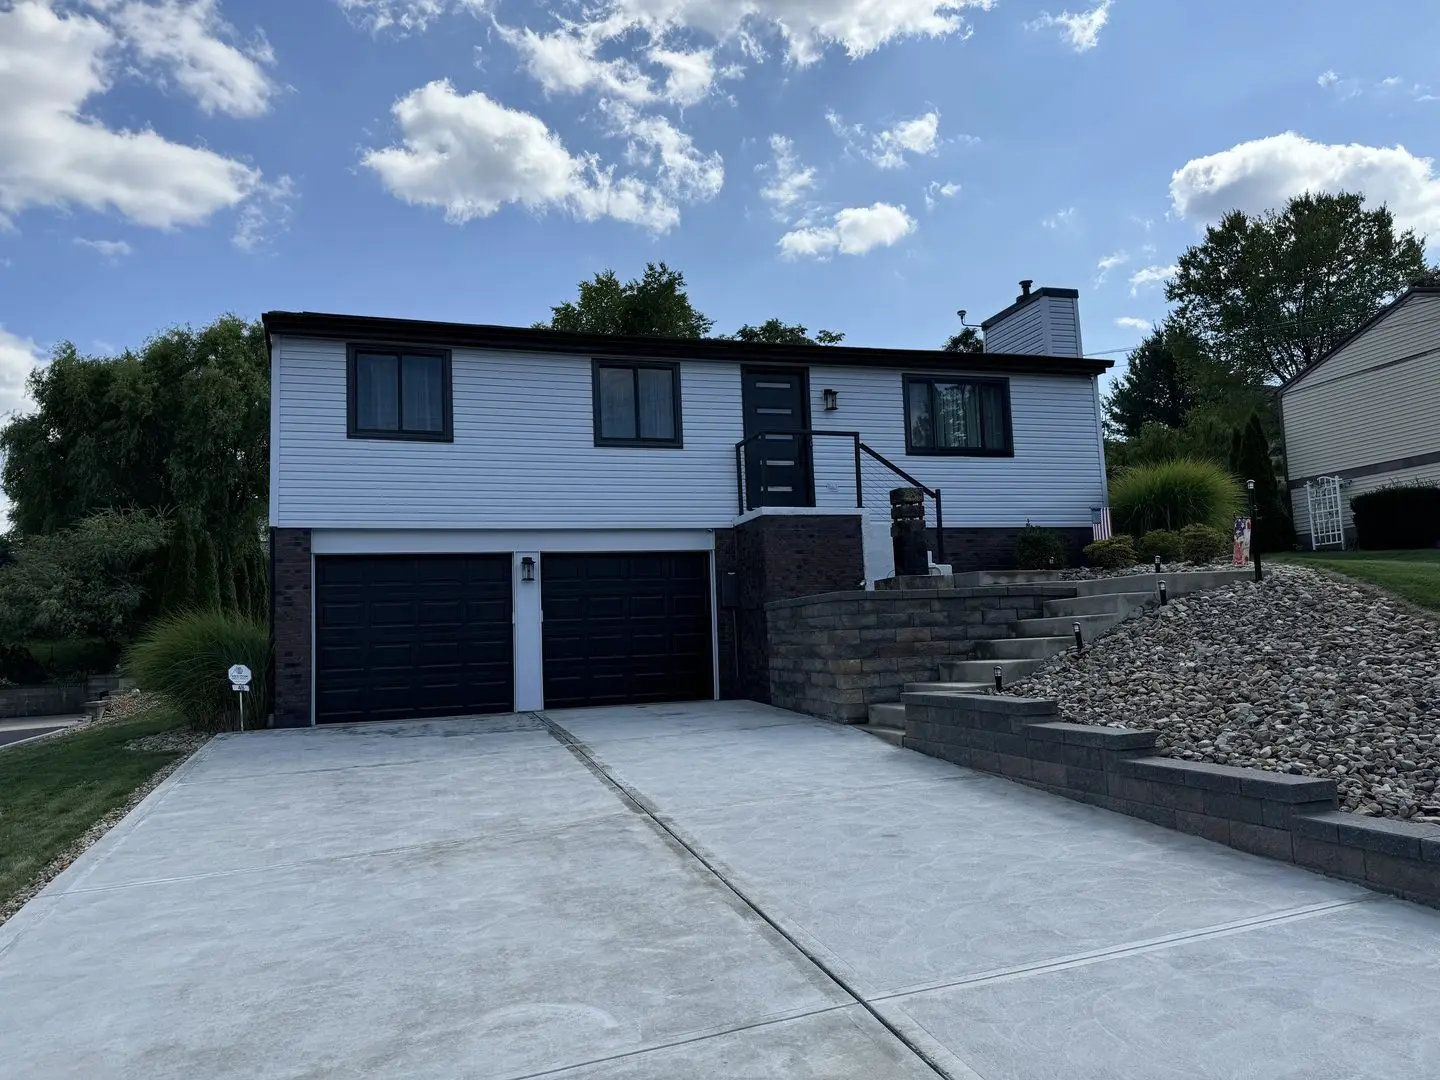
Brick Facelift: Transforming a Bilevel Home with Charcoal Stain with Portico™ Stain
Discover the stunning transformation of a bilevel home’s exterior. Originally covered with siding over brick, the homeowner reclaimed the brick using our Portico™ Charcoal and Light Charcoal stains. The detailed staining project, spanning over four weekends, involved meticulous layering on the bricks and base staining for the mortar to achieve a harmonious, dark brick tone. The result is a seamlessly revitalized facade that the homeowner highly recommends.
Project Info:
- Project Completed In: 4 day(s)
- Estimate of Square Footage: 150 sq. ft.
- Project Description:
We have an bilevel home where the brick was covered with 1×2 lathing strips (nailed into the brick) and siding. When I bought the home in 2016 I knew I wanted to reclaim the brick under, but wasn’t sure how. Pulling the nails out or cutting them off left me with broken brick that either needed repointed or replaced so I needed to be able to mask differences in color with replacement mortar, and I wanted a darker brick tone overall. After doing a lot of research, I decided to take a leap and try your product to dye the brick. IT WAS AMAZING!!!! I used the charcoal color on the bricks in various layers, and the light charcoal as a base for the mortar in between the bricks to bring it together. The process was overall easy, even considering we were staining on a horizontal wall. The actual project time took 4 weekends, however this stretched out due to waiting for more product to ship because I didn’t not anticipate how much I would need for multiple layers. Shipping time was good though, I even received my last shipment 3 days before expected! 10/10 would recommend to friends/family and if I did the project over again I would pick Direct Colors again! Thank you!!. - Personal Tips:
We used sponge brushes for the stain, but a normal stain brush for the sealant. We stained on a vertical wall, so it was important to stain from the top down to even out any drips. Shake, shake, shake. When you get this product (portico stain) shake well. Every time you pour more shake again. There may be some separation and deeper dye as you go. I used this in my favor to create depth in my final version. I went and specifically put deeper stains over certain areas. I wasn’t looking for a uniform look. If you are, shake even more!Order more than you think you will need, especially if using in layers or on a surface that will soak up more stain. I used 3x more than I anticipated! - Direct Colors Products Used:
1 Gal. Charcoal Portico™ & EasySeal™ Satin Kit
1 Gal. Light Charcoal Portico™ & EasySeal™ Satin Kit
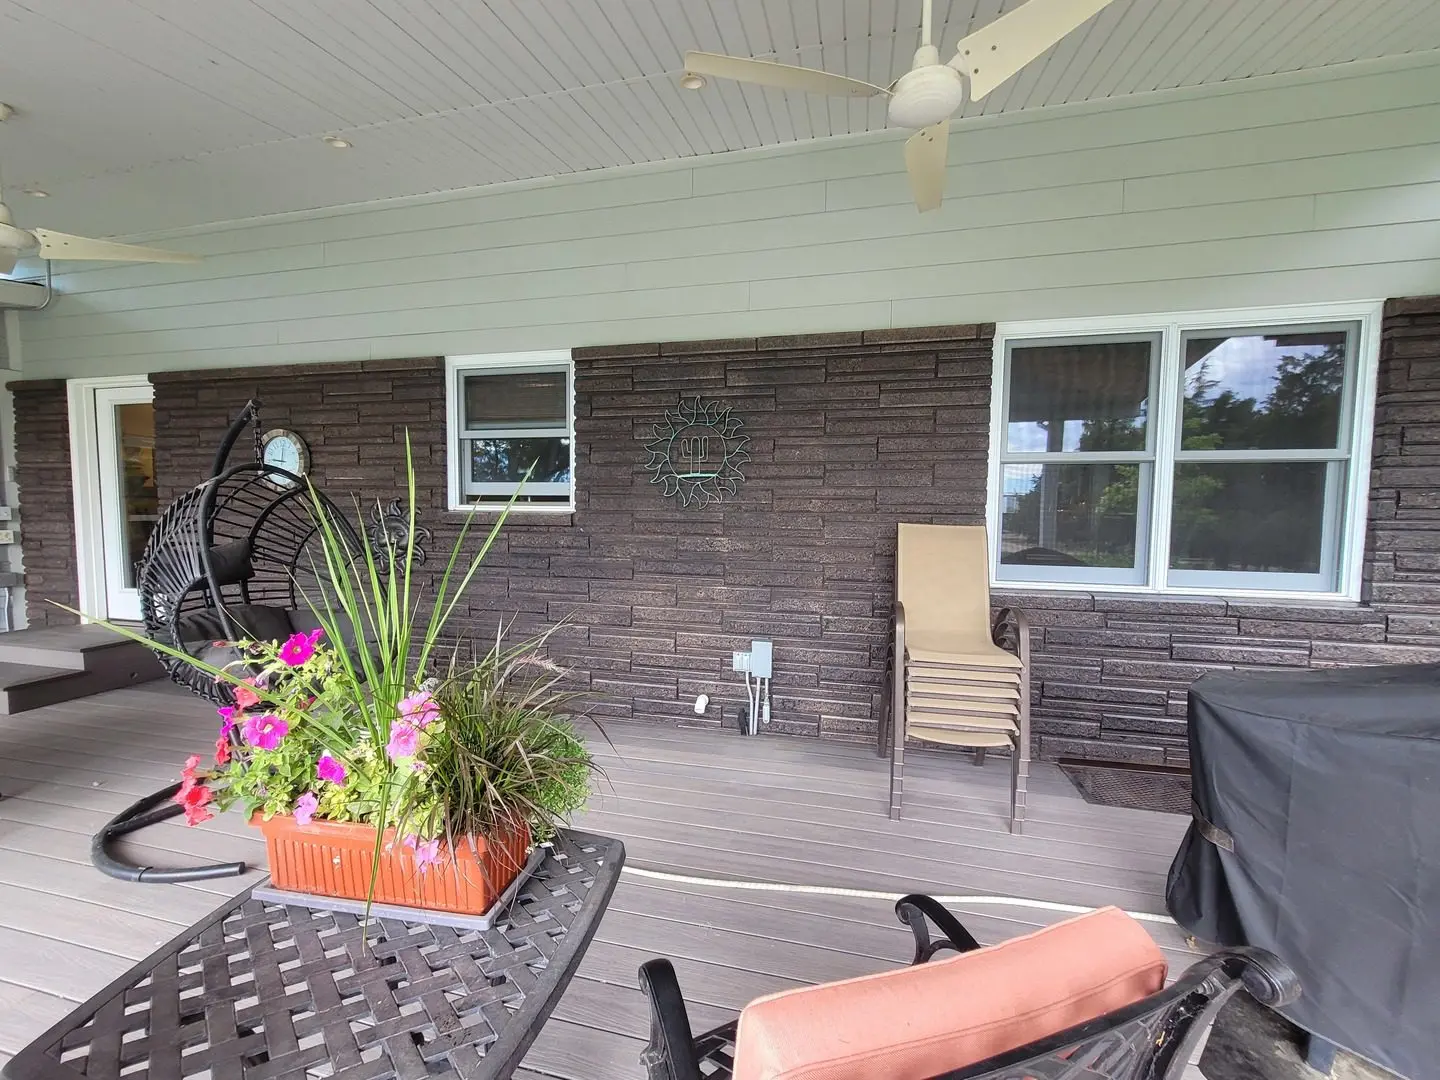
Sophisticated Facade Upgrade with Portico™ Stain
This series of images captures the transformation of a home’s facade using Portico stains in Black, Charcoal, and Light Charcoal. The project highlights the depth and texture added to the exterior, turning a simple home into a statement piece with a modern touch.
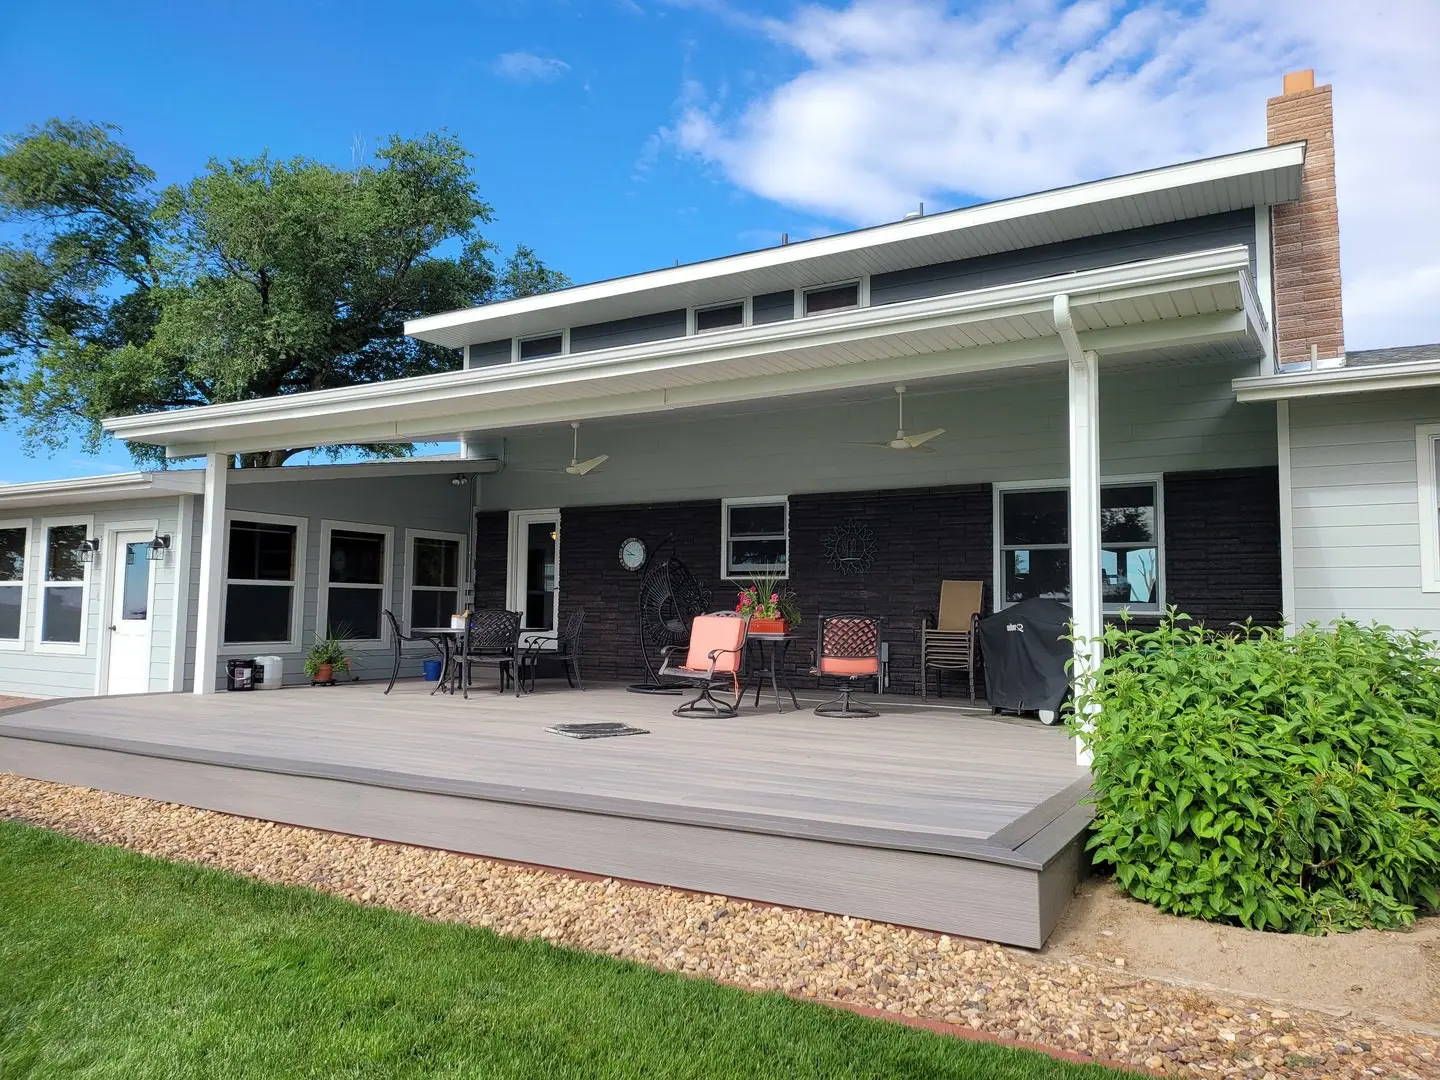
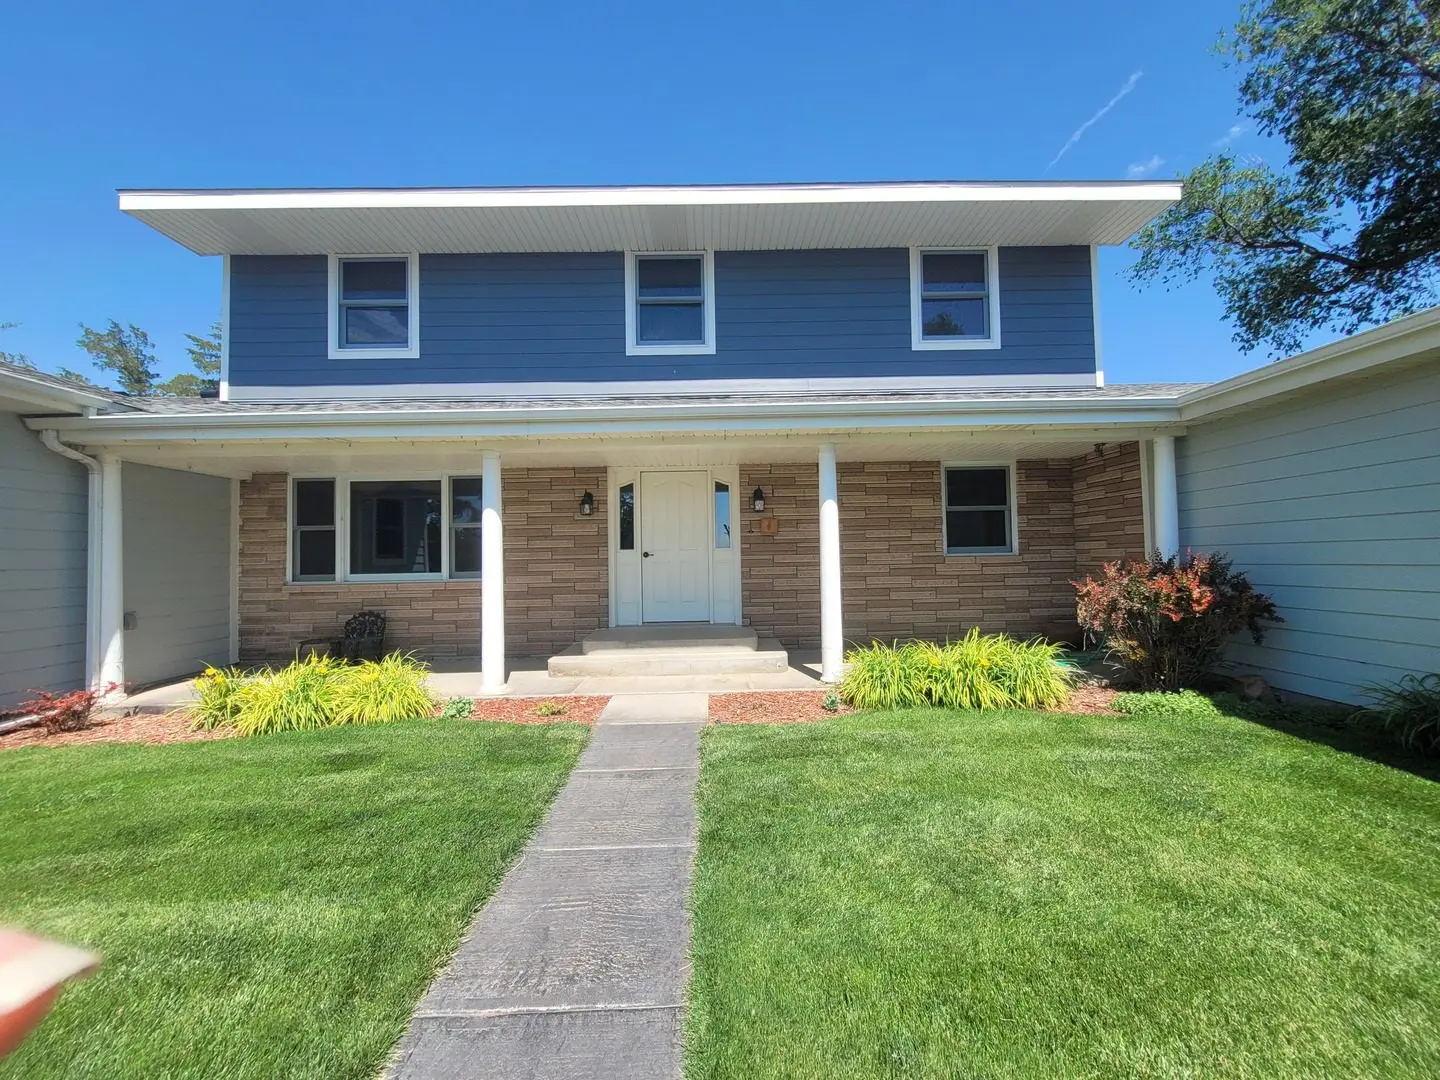
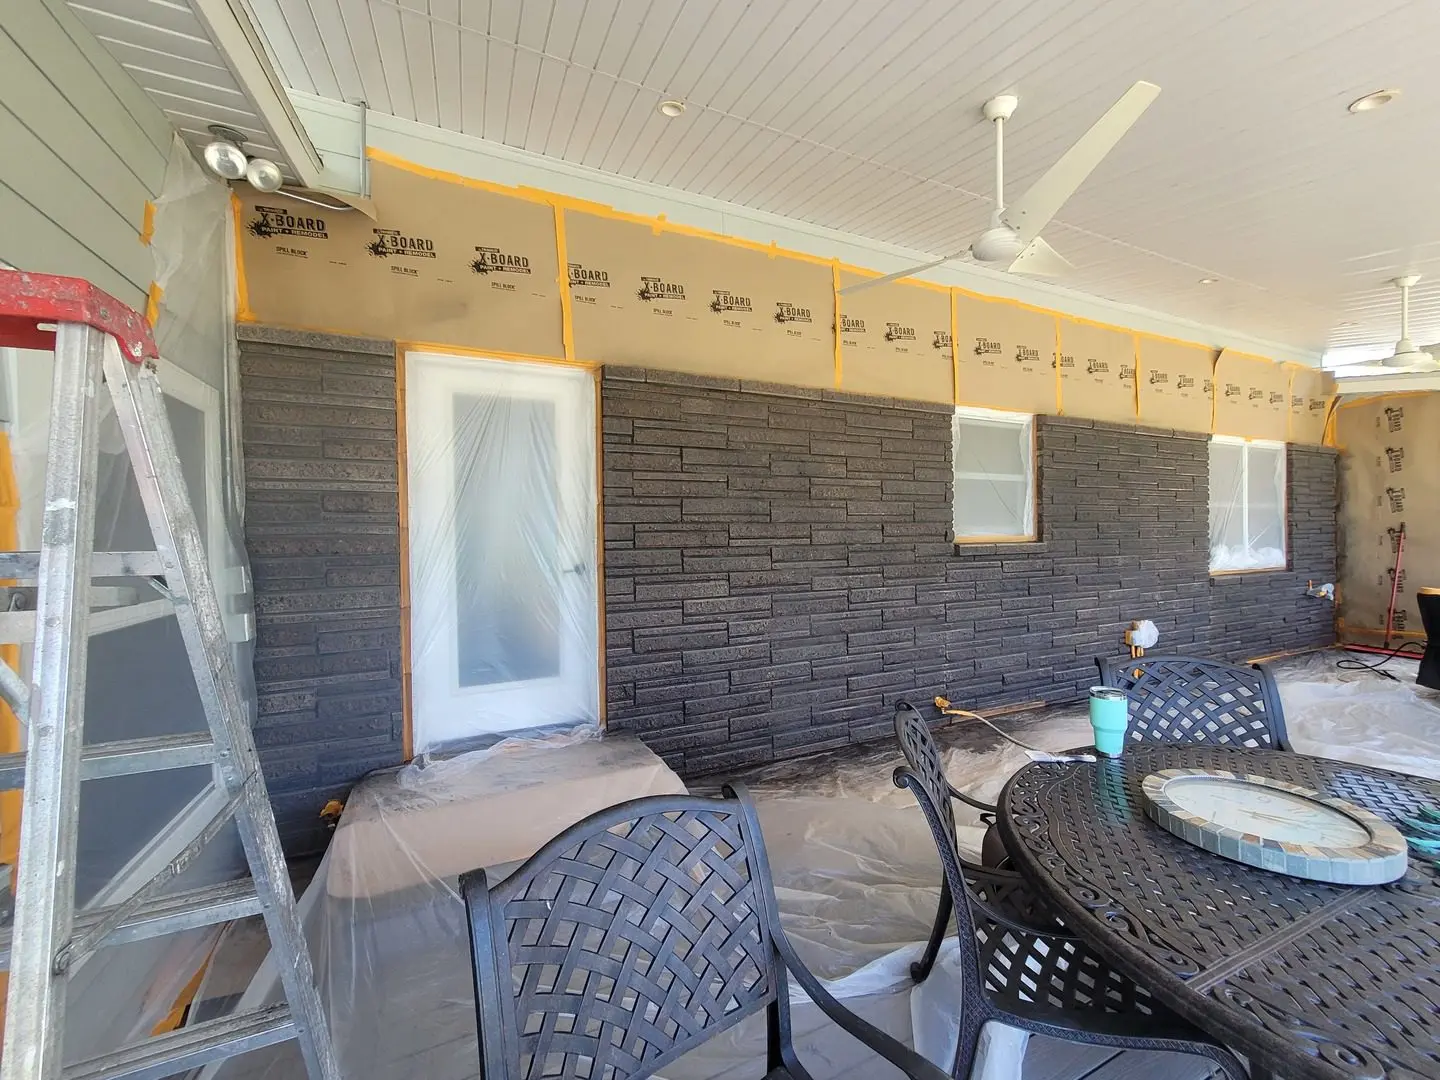
Charcoal Magic: Transforming a Home Facade with Portico™ Stain
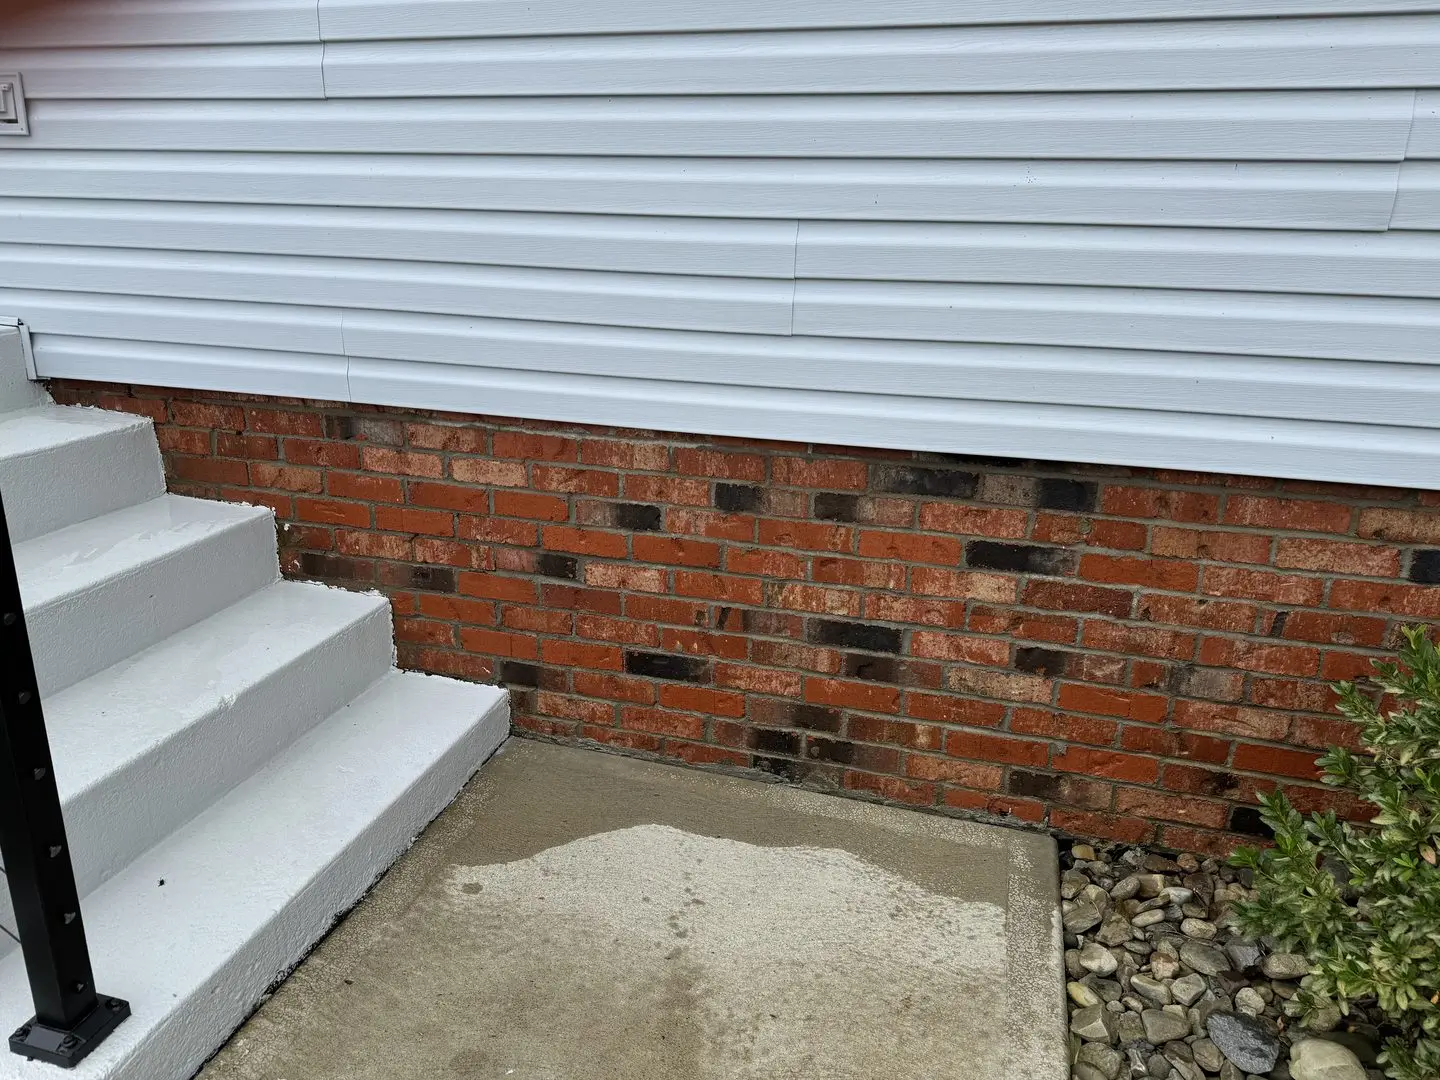
Witness the striking transformation of a home facade where a traditional red brick wall is enhanced with our charcoal Portico™ stain. This project illustrates the dramatic change that can be achieved, giving the home a modern, sophisticated appearance.
Brightening Up the Backyard with a Pop of Blue Stucco
Looking to add some color to your outdoor space? This DIY project transformed a masonry wall by covering it with a bright blue stucco, inspired by the designs of Mexican architect Luis Barragan. The interior side of the wall was coated with a mixture of Pigment 202 from Direct Colors and white stucco, creating a bold and eye-catching feature in the outdoor entertainment area.
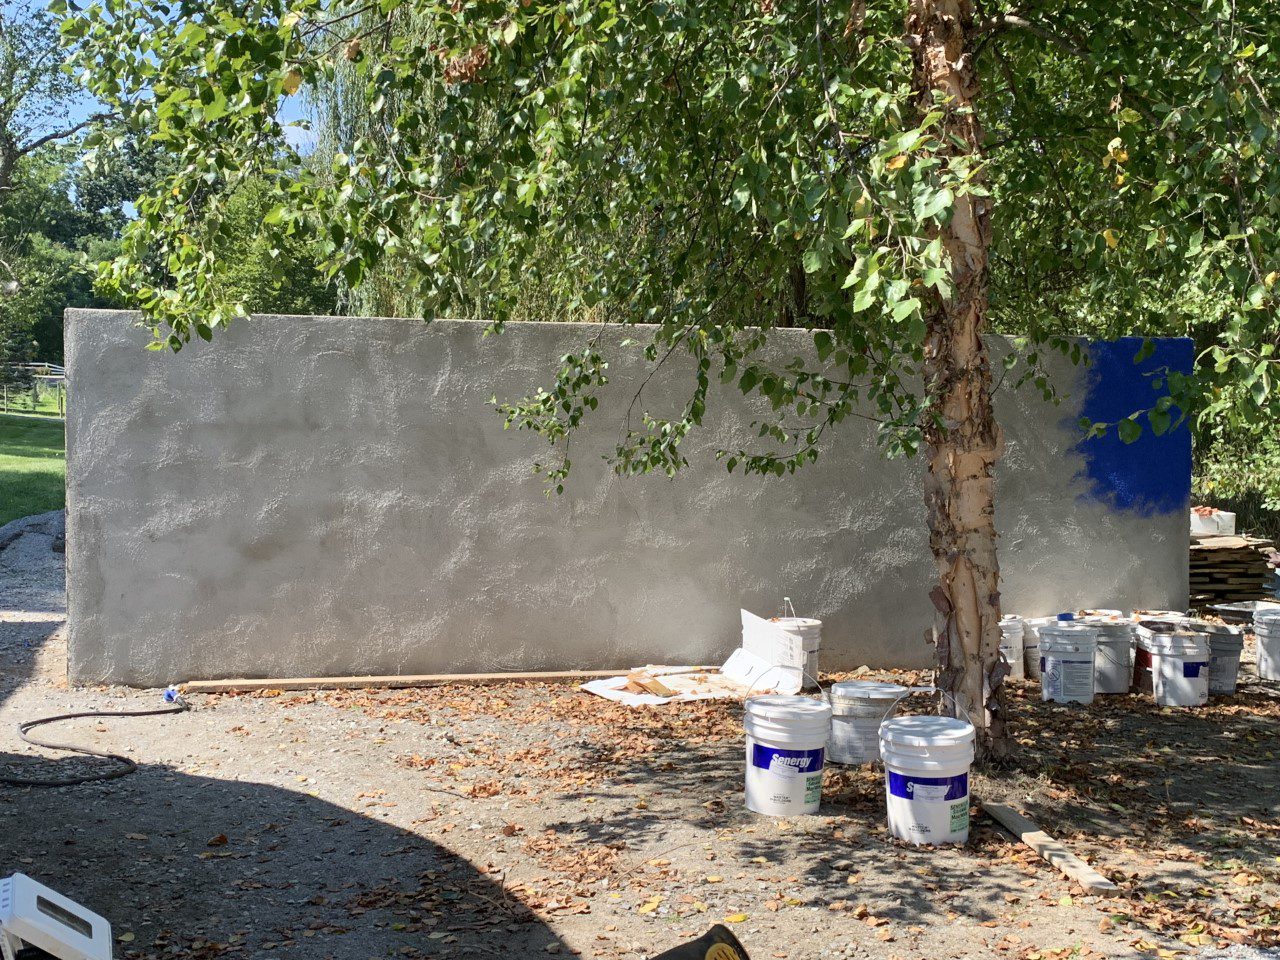
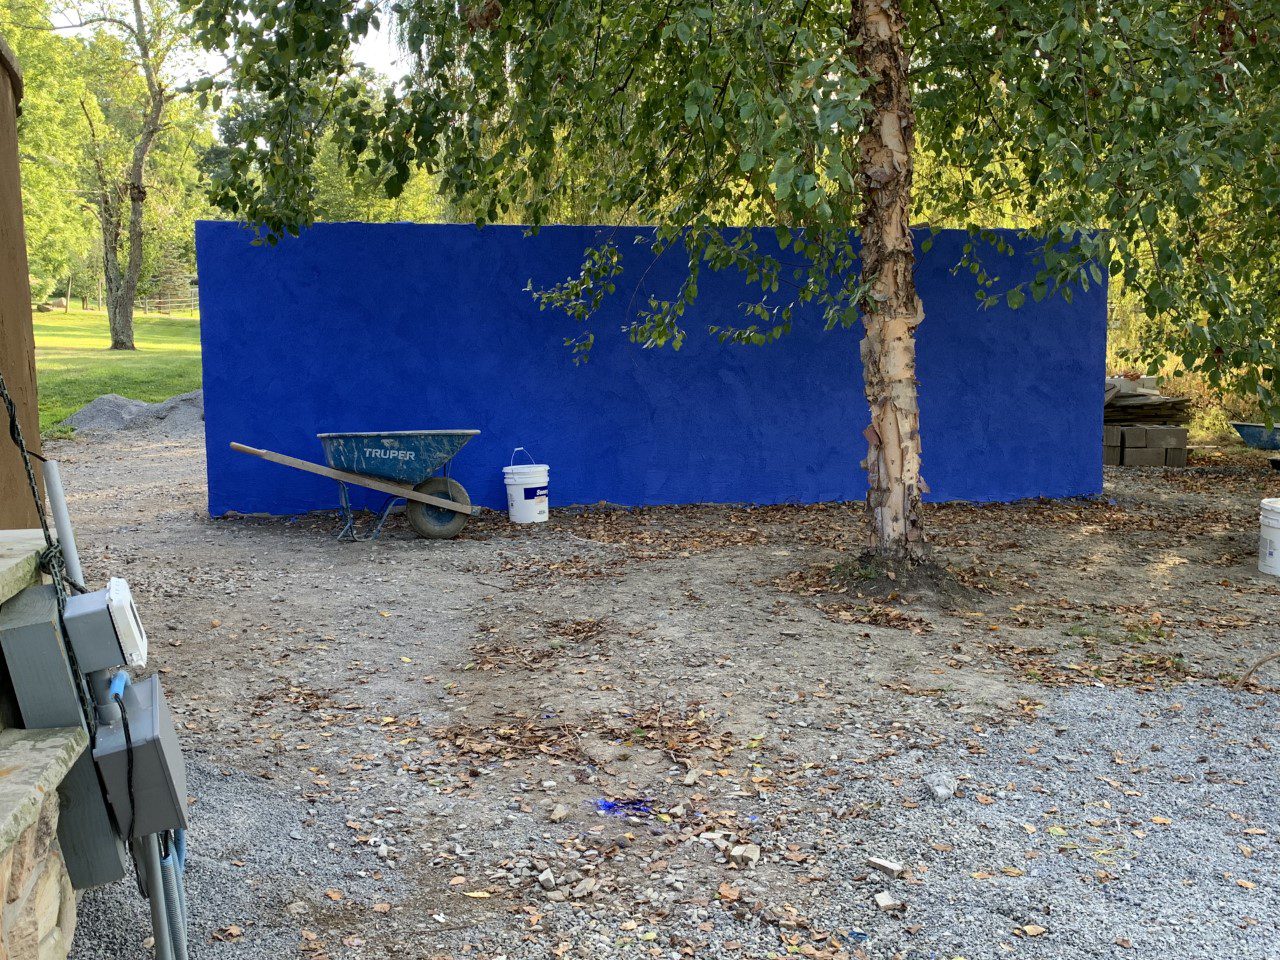
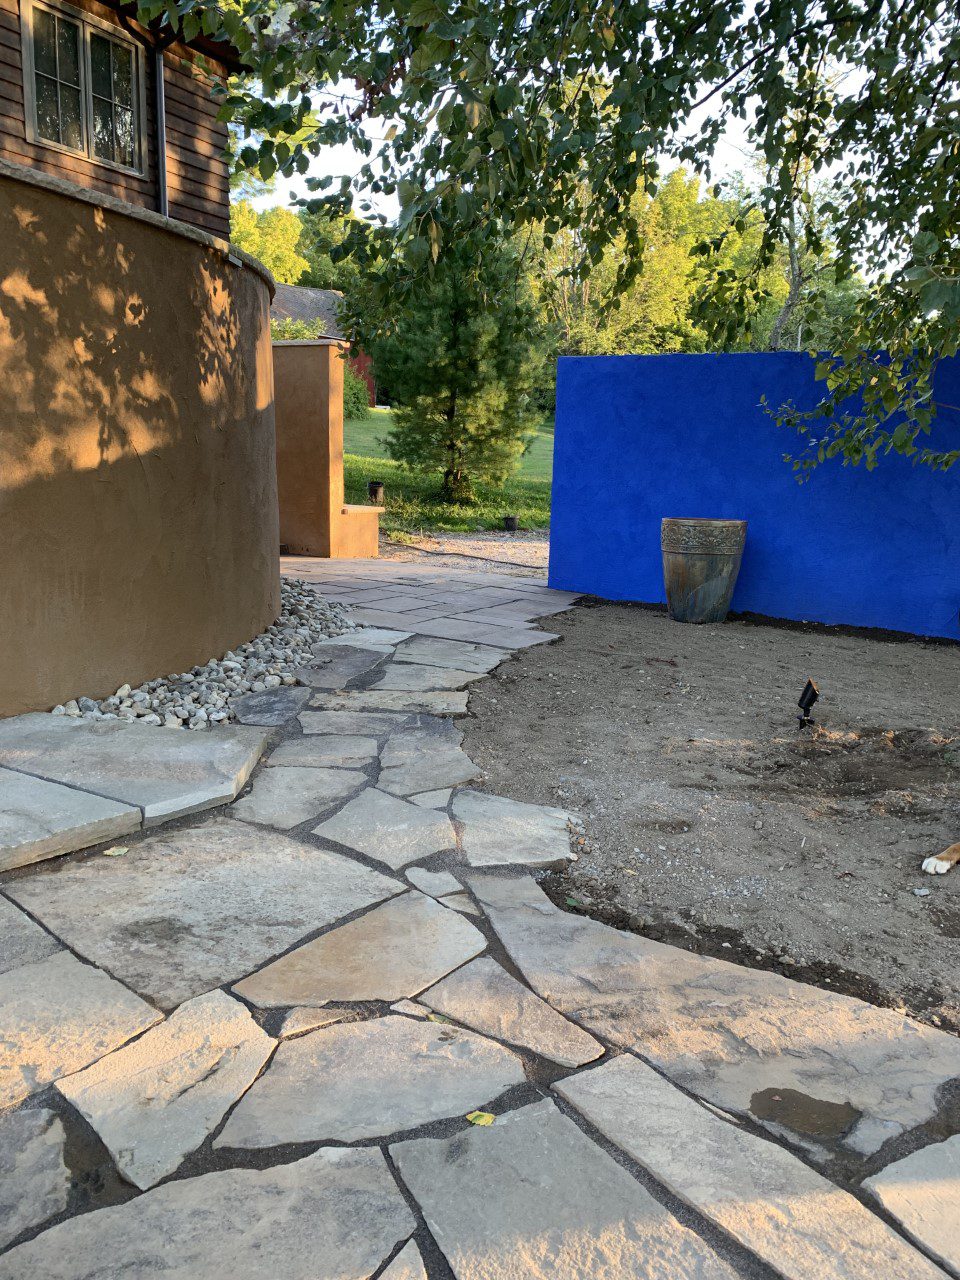
The project was completed in just one day, covering an estimated 120 square feet. By using only three pounds of Pigment 202, the color is able to add interest to the corner of the space without overwhelming the overall design. If you’re looking to add a pop of color to your outdoor walls, consider using Direct Colors Pigment 202 for a vibrant and long-lasting finish.
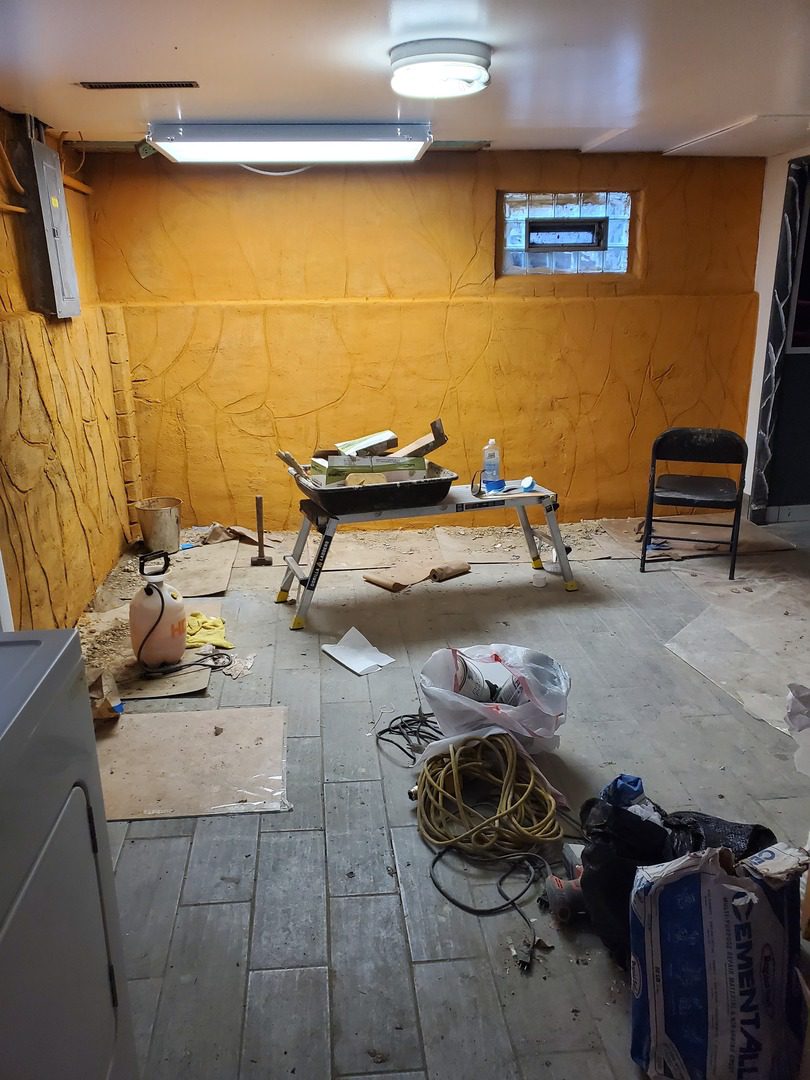
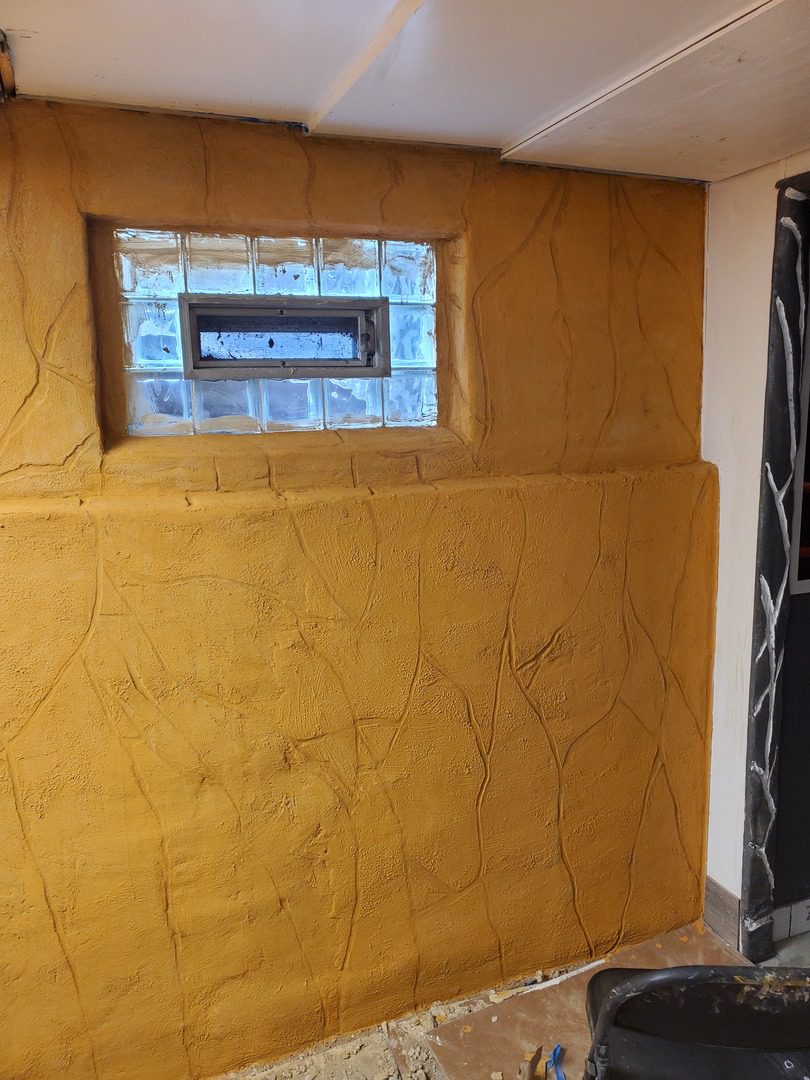
Maize Colored Stucco Coat: A Bright and Bold Basement Wall Finish
A stucco coat colored with maize pigment, adding a warm, vibrant hue to the surface. The pigmented stucco provides a durable and decorative finish for walls and other surfaces.
Interested in projects specifically using acid stain? Explore our dedicated Black EverStain™ Acid Stain Project Gallery for inspiration


