Cumin Concrete Stain Photo Gallery
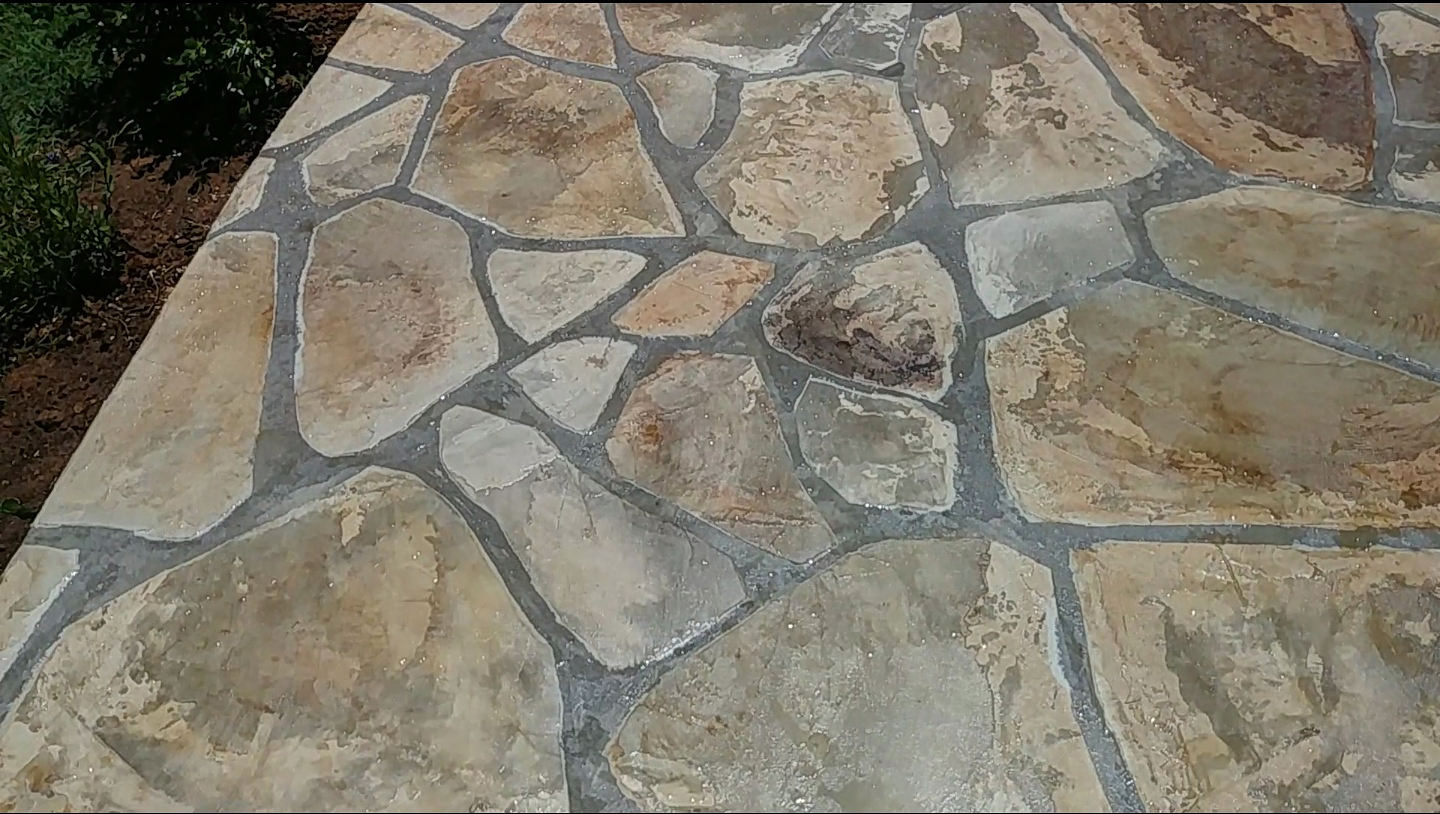
Find Cumin color inspiration for your next concrete stain project. Discover all the possibilities with Direct Colors DIY guides. Browse today, begin tomorrow.
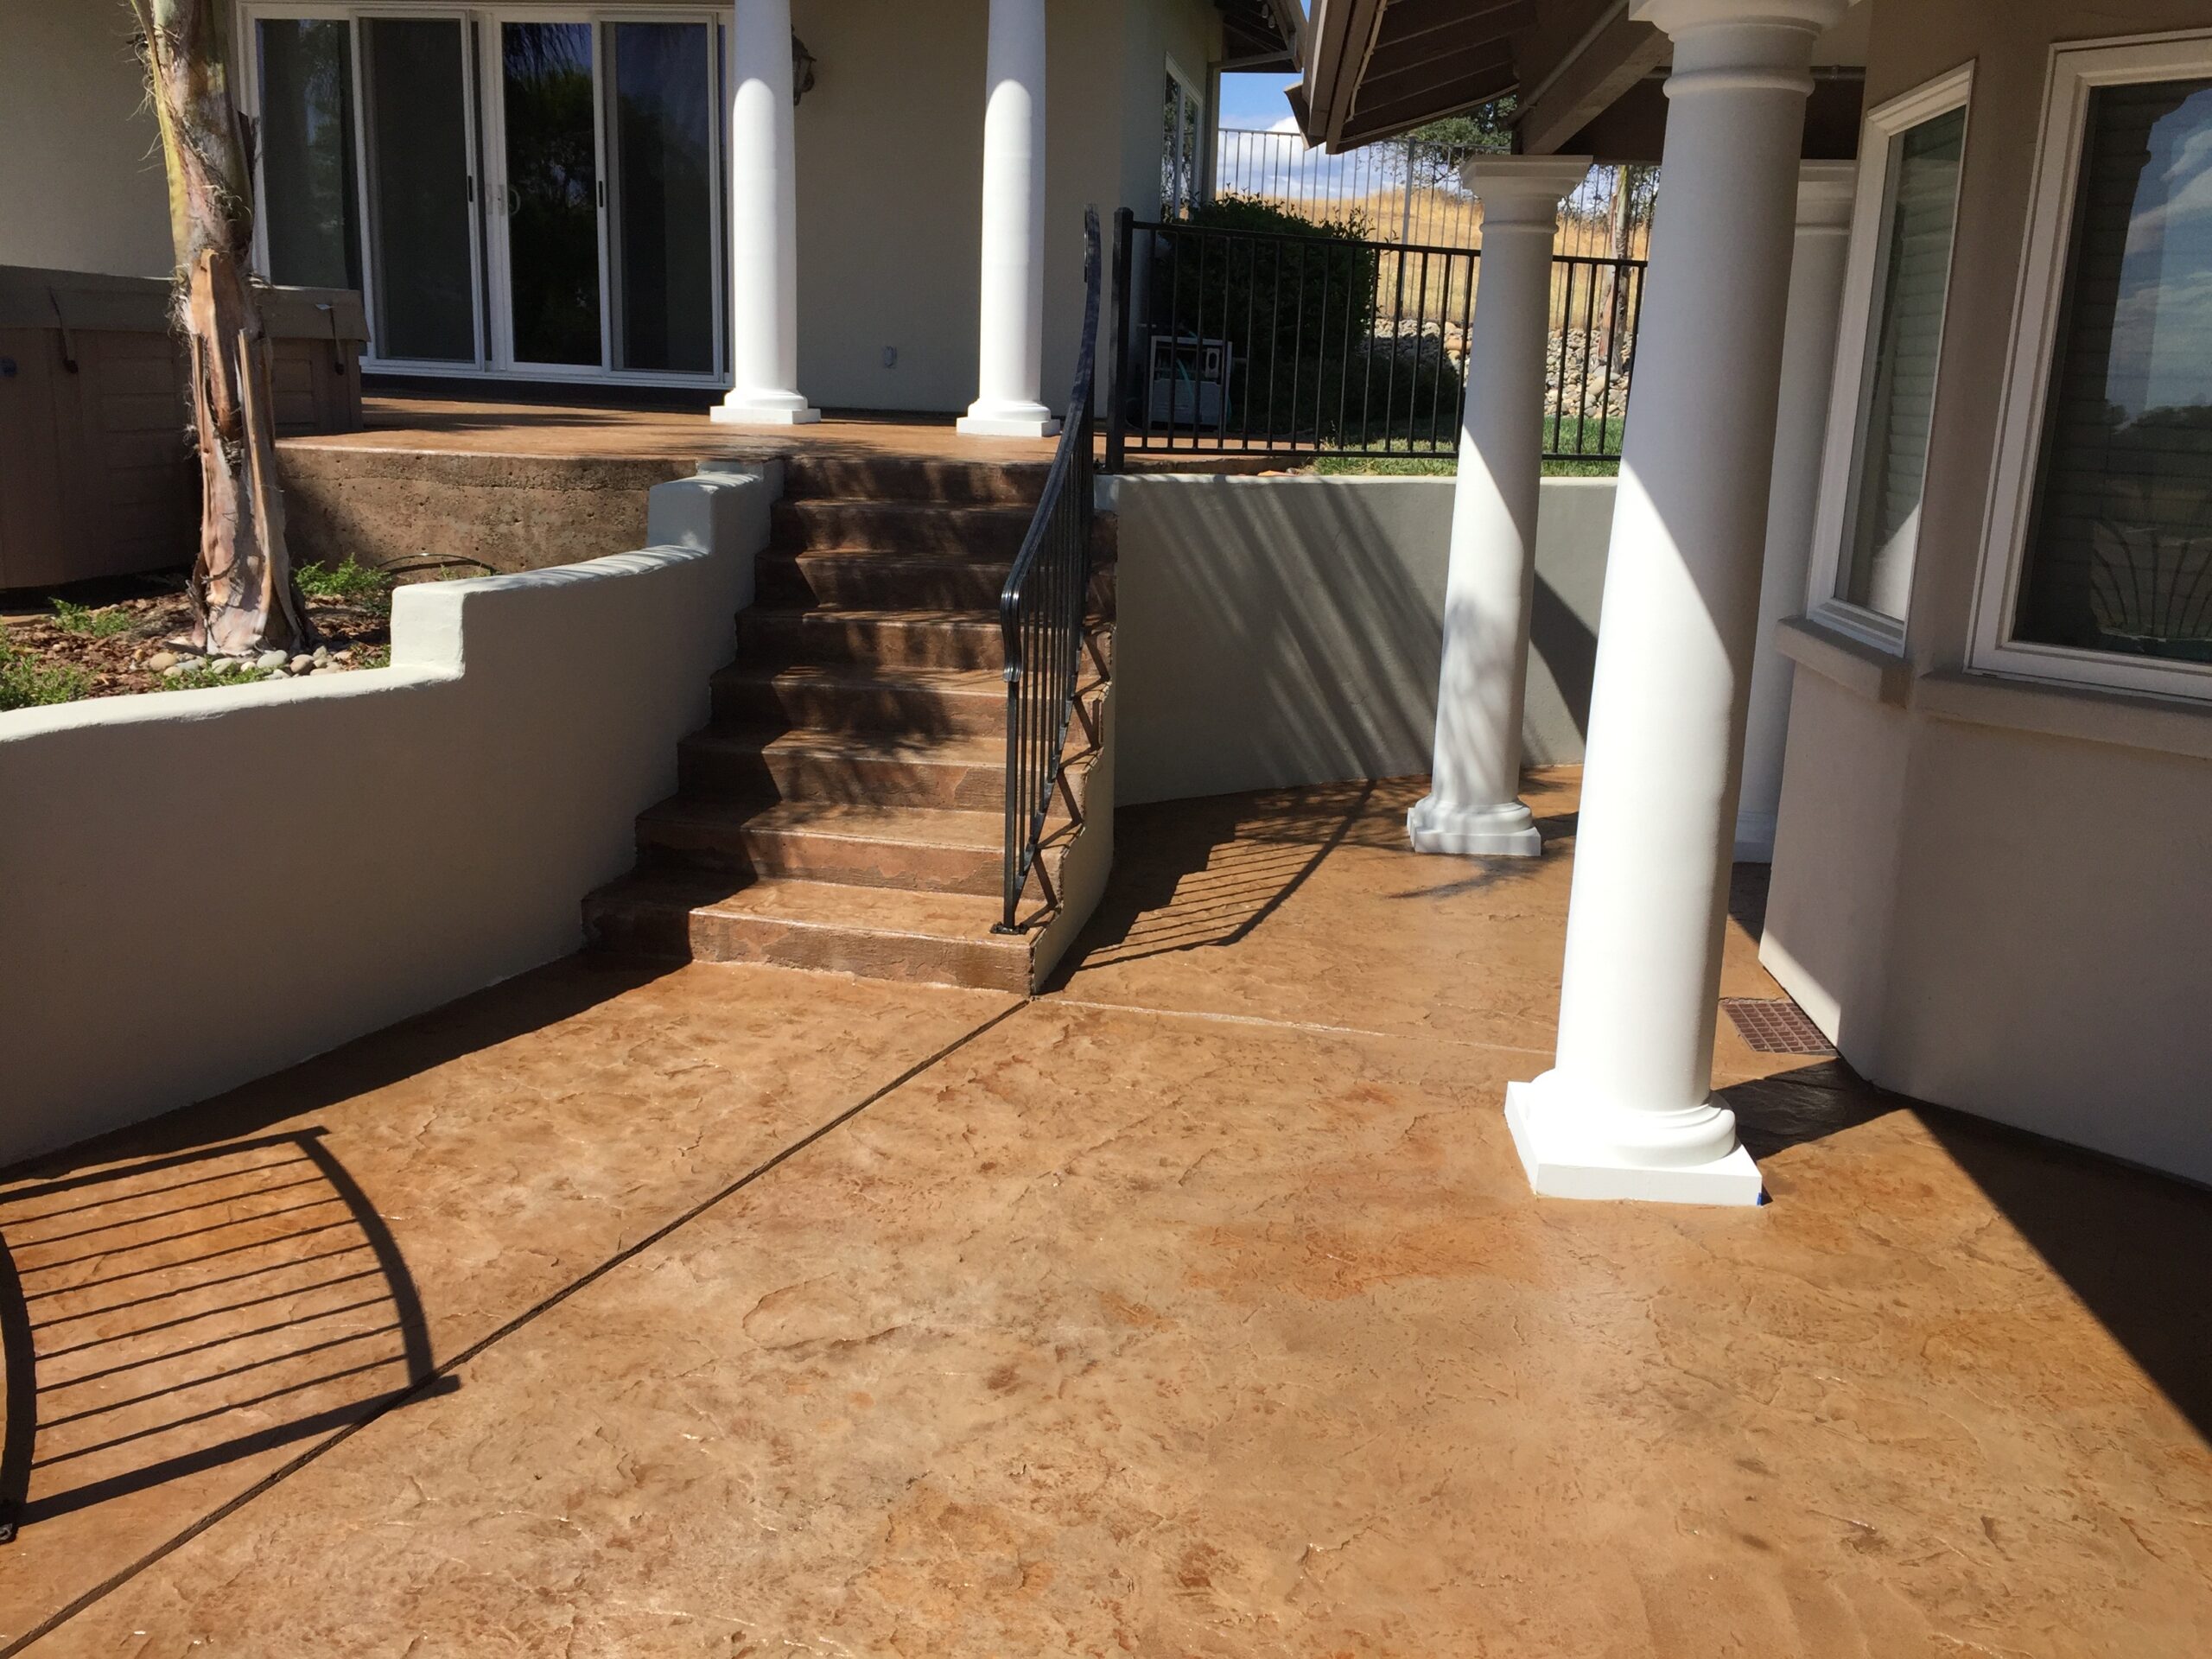
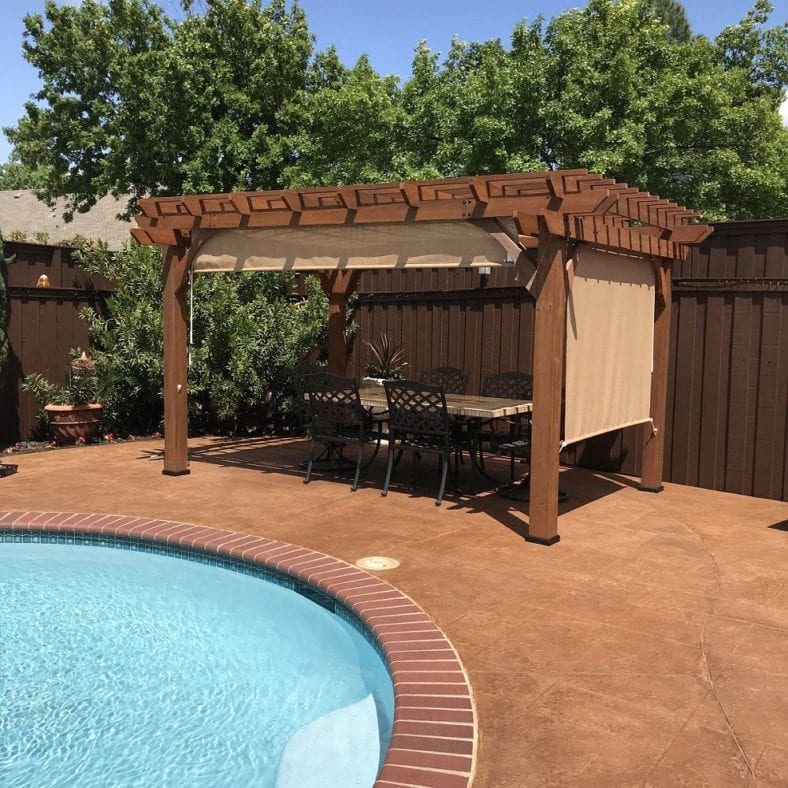
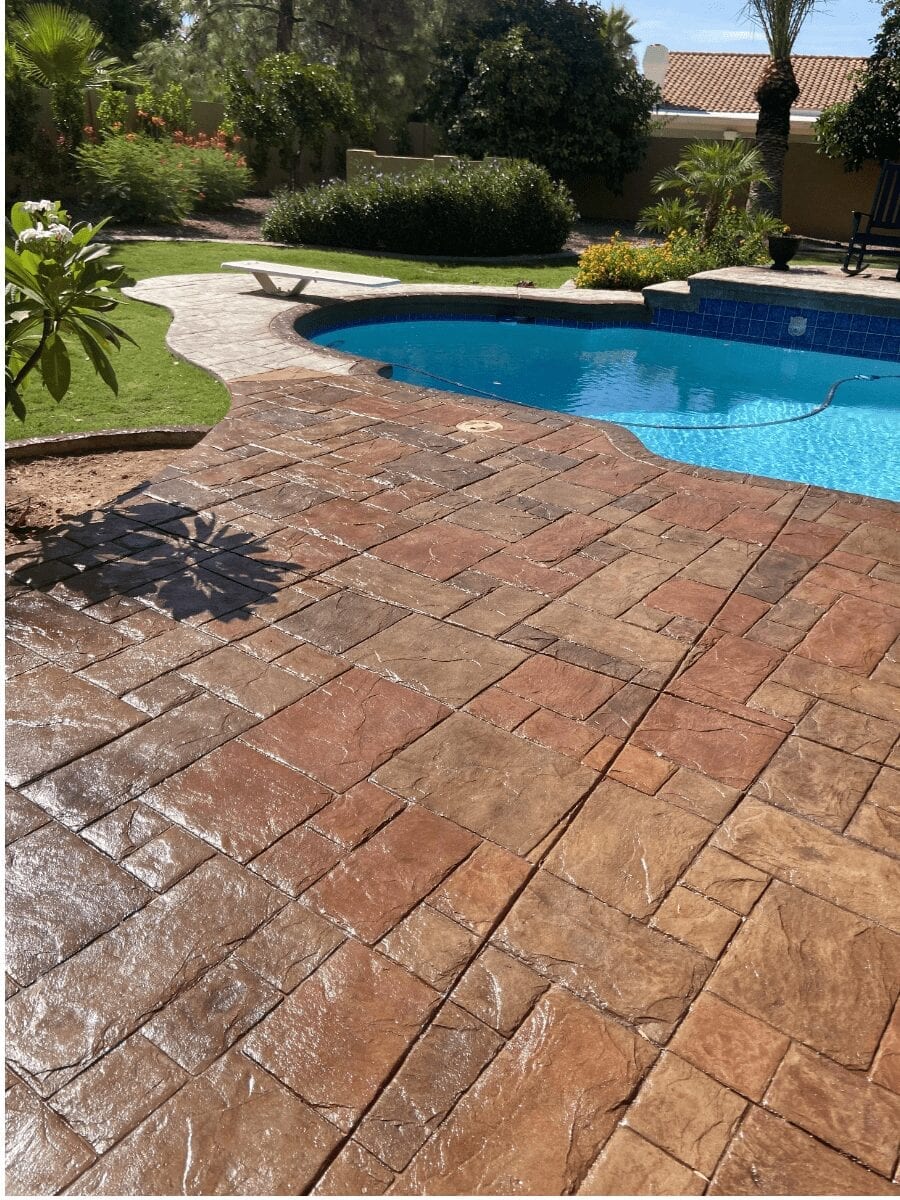
Project Info:
- Project Completed In: 5 day(s)
- Estimate of Square Footage: 1800 sq. ft.
- Project Description:
We have a 20 year-old concrete that hasn’t been taken care of. I was intimidated to stain because I’d seen DIY failures. Direct Colors Antiquing stain was super easy and came out great. I loved the opportunity to try samples before we decided to go with it. - Personal Tips:
Clean your sprayer Well! I had trouble with clogging until I took apart the stay tip and rinsed well. Try the samples. It gives you a sense of what happens first and second coats, as well as what sealing adds to the depth of the color (besides letting you try different colors)
- Direct Colors Products Used:
1 Gal. Cumin DIY Antiquing™ & EasySeal™ Satin Kit
3 x 5 Gal. Cumin Antiquing™ & EasySeal™ Satin Kit
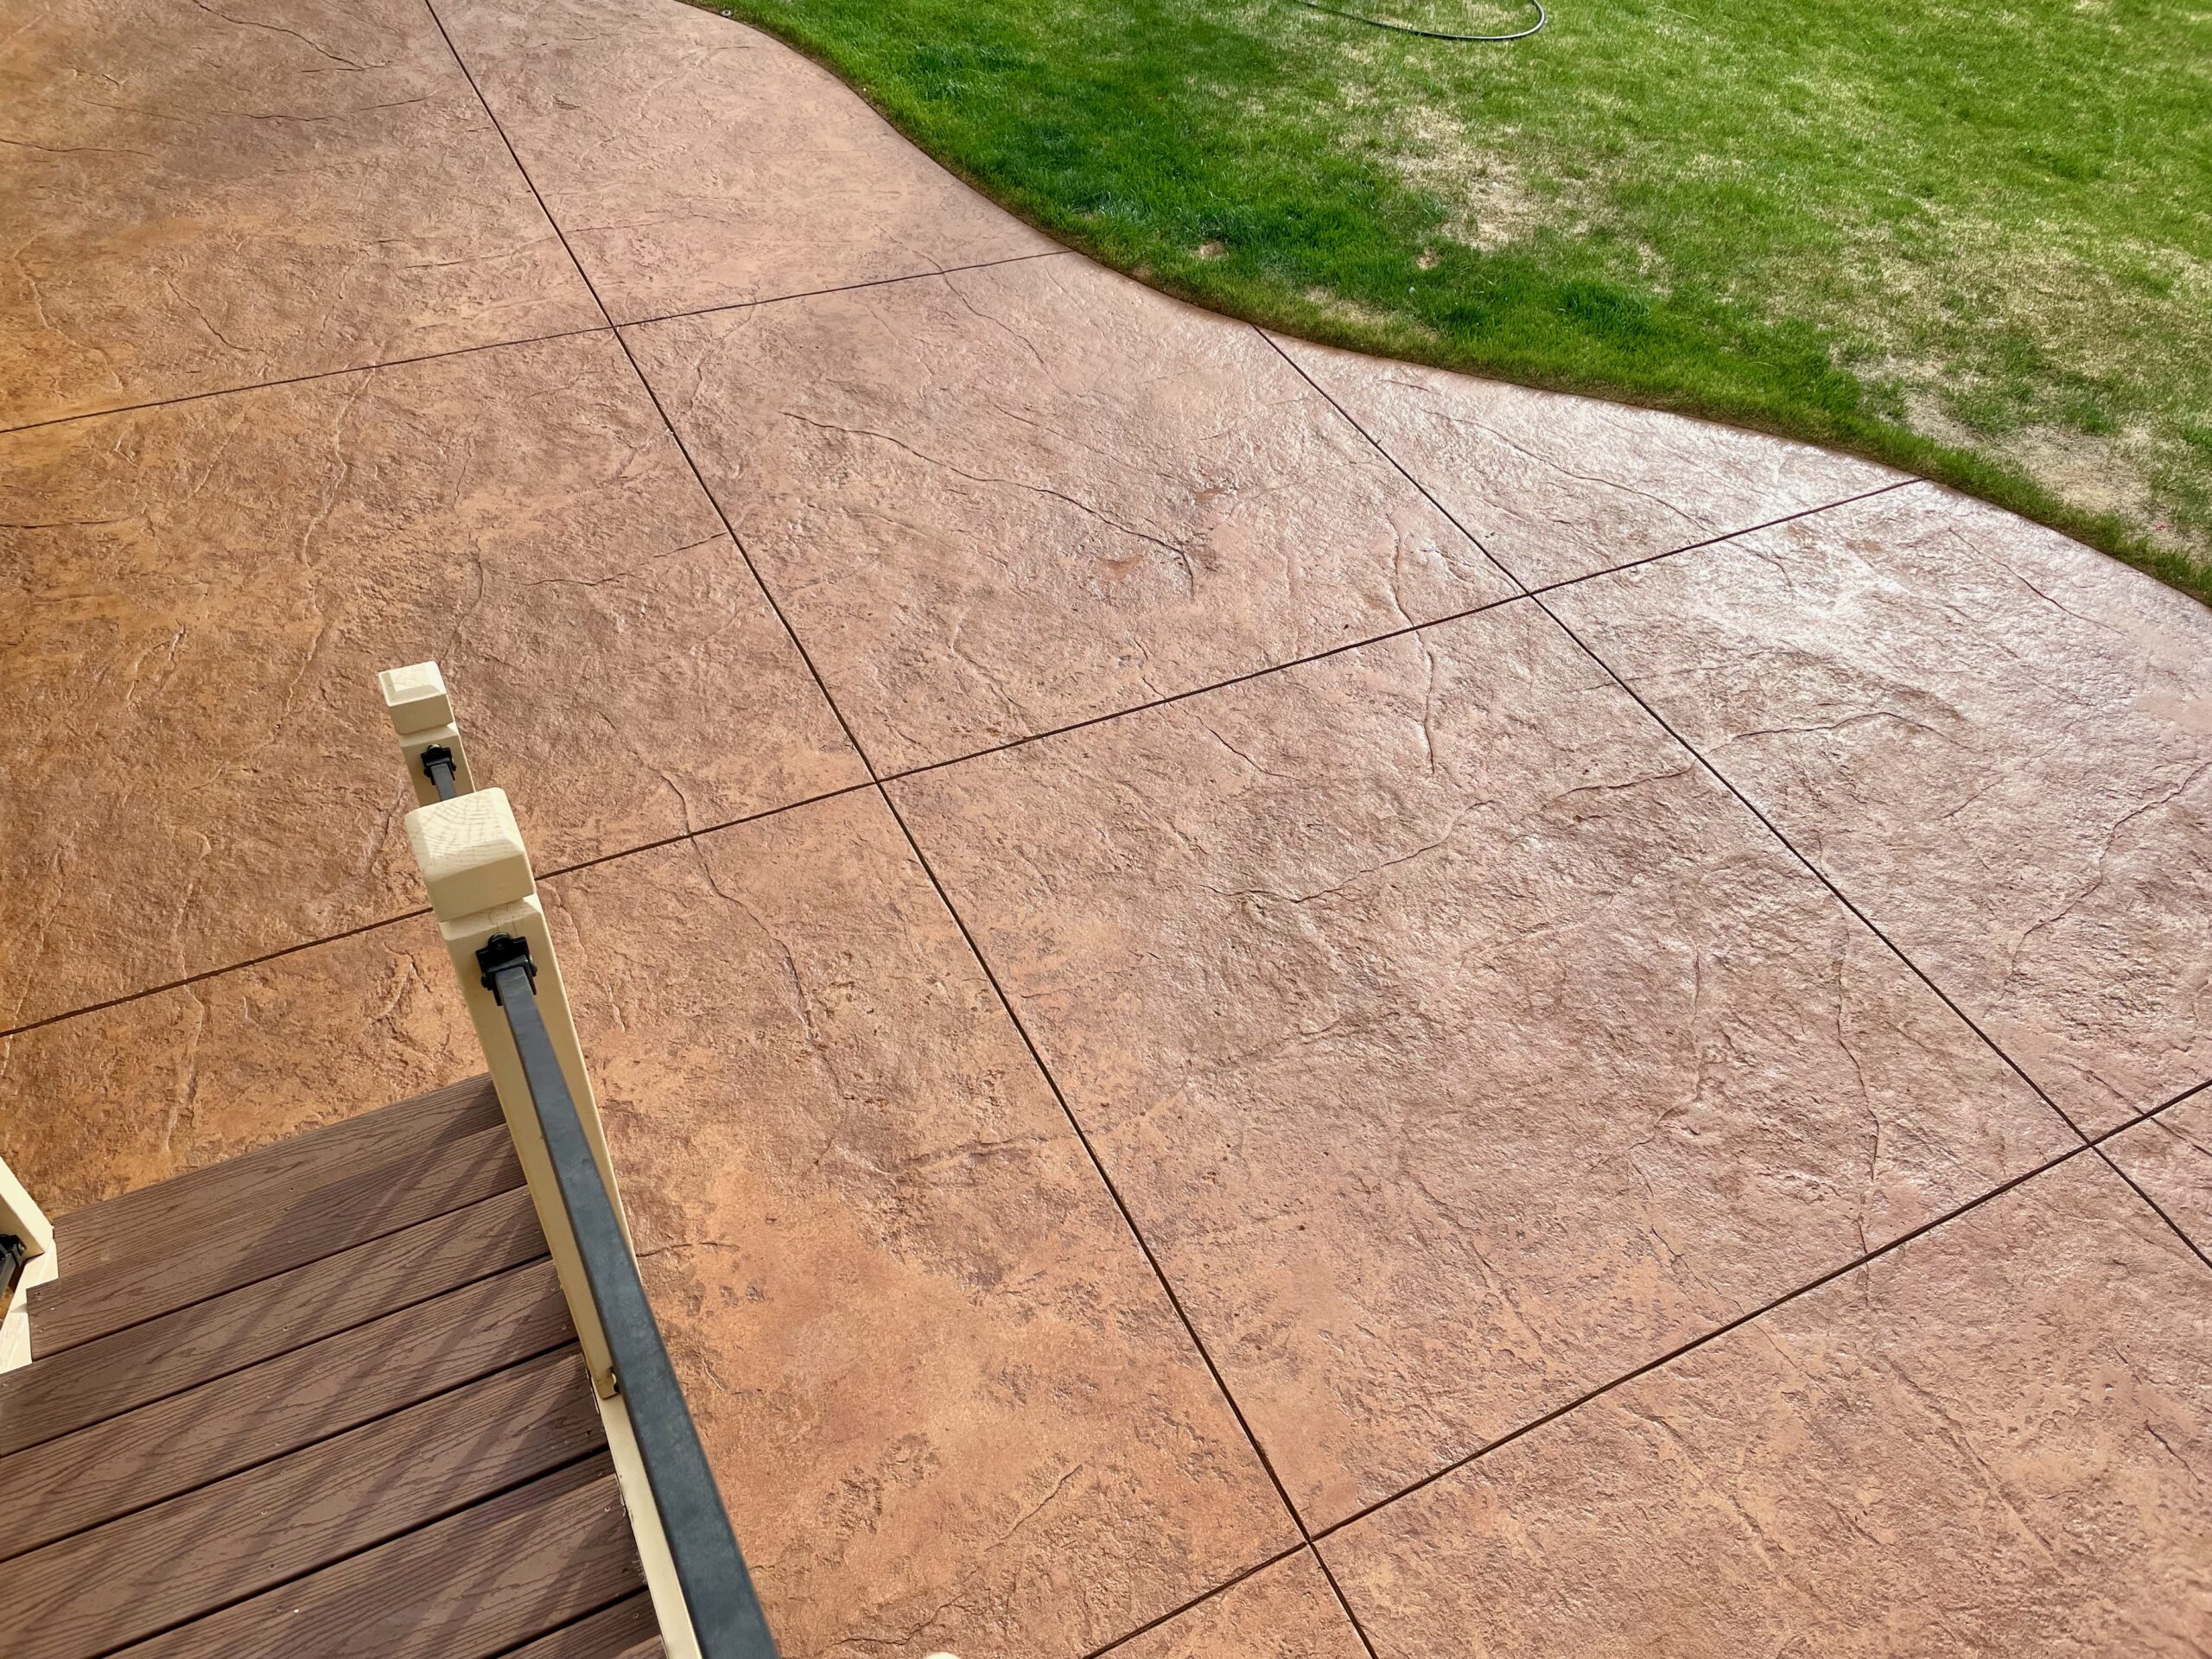
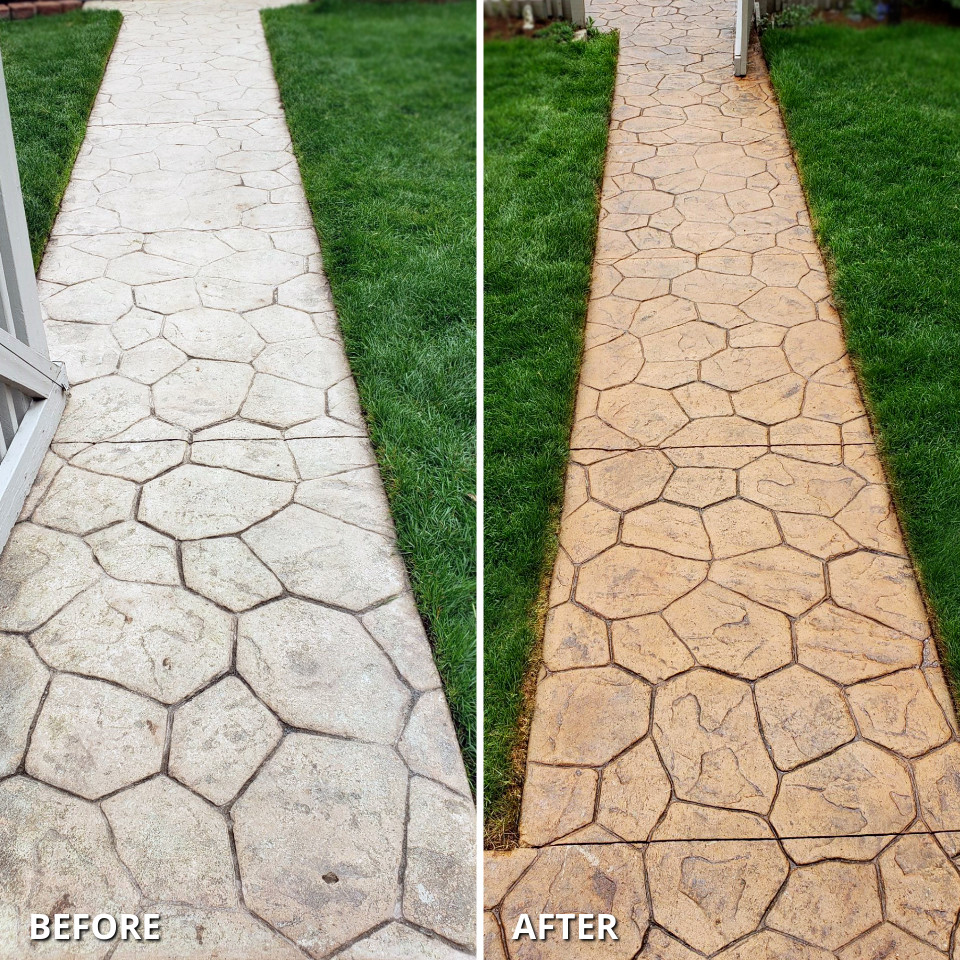
Project Info:
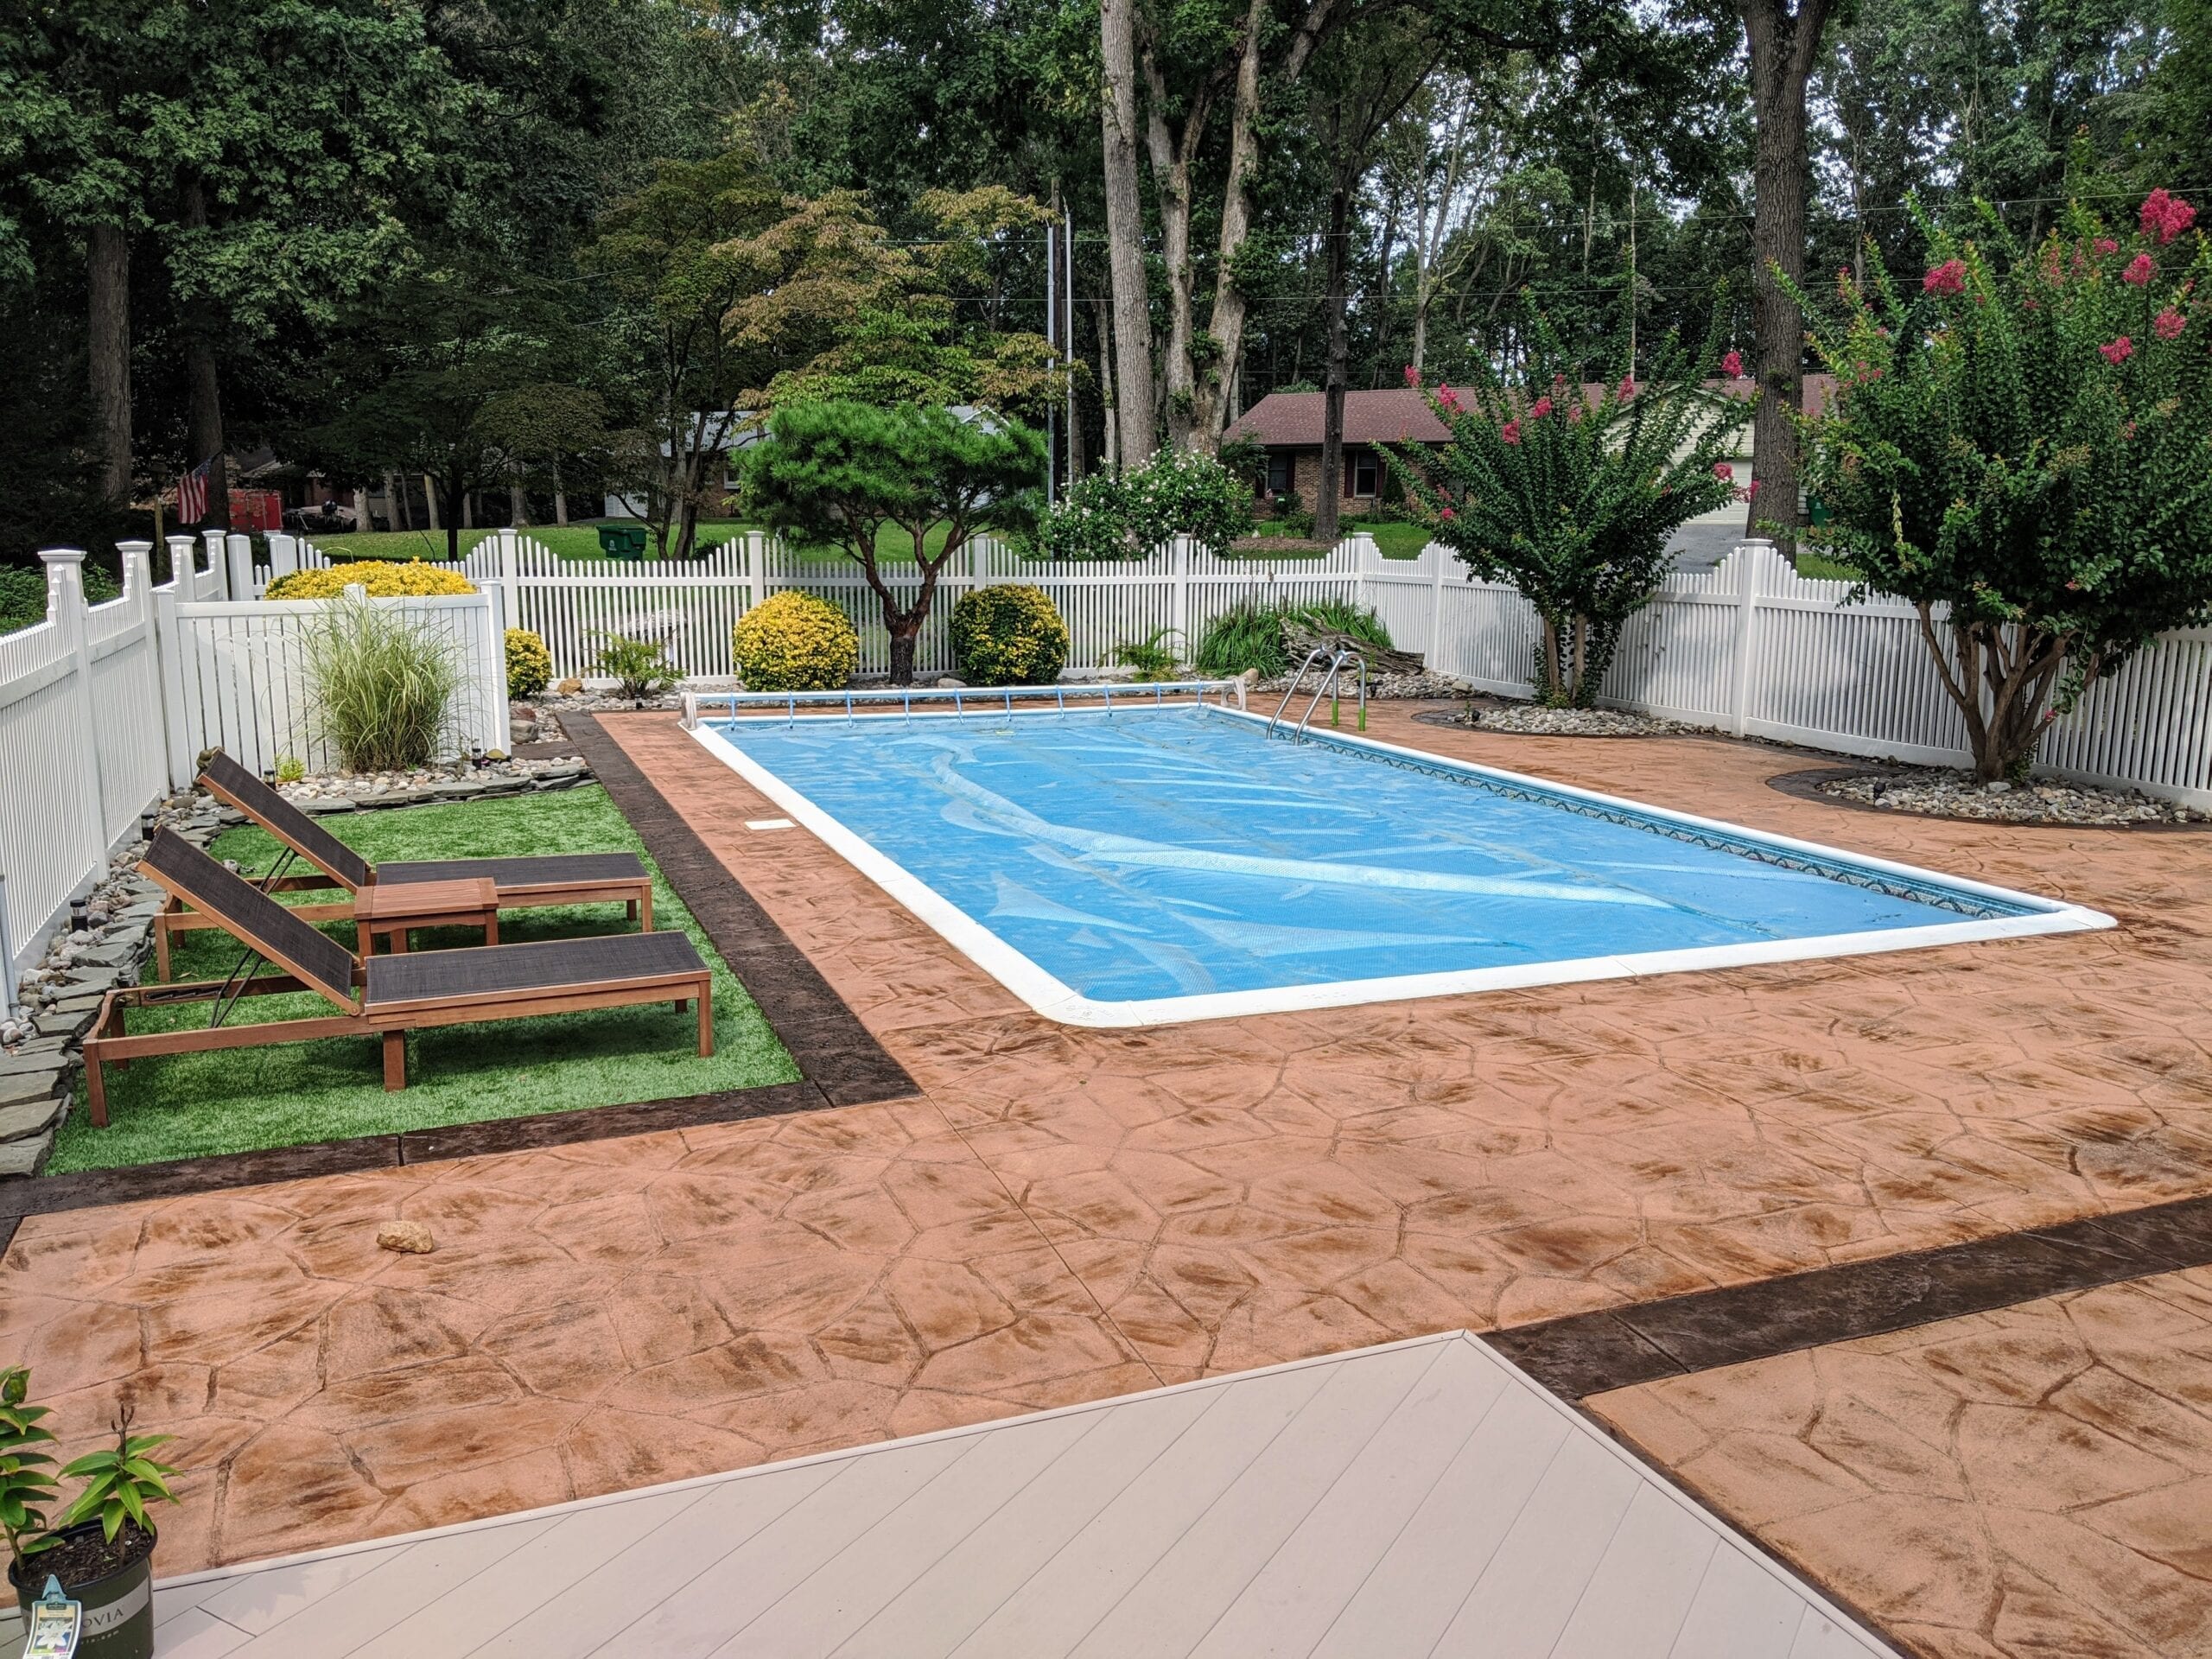
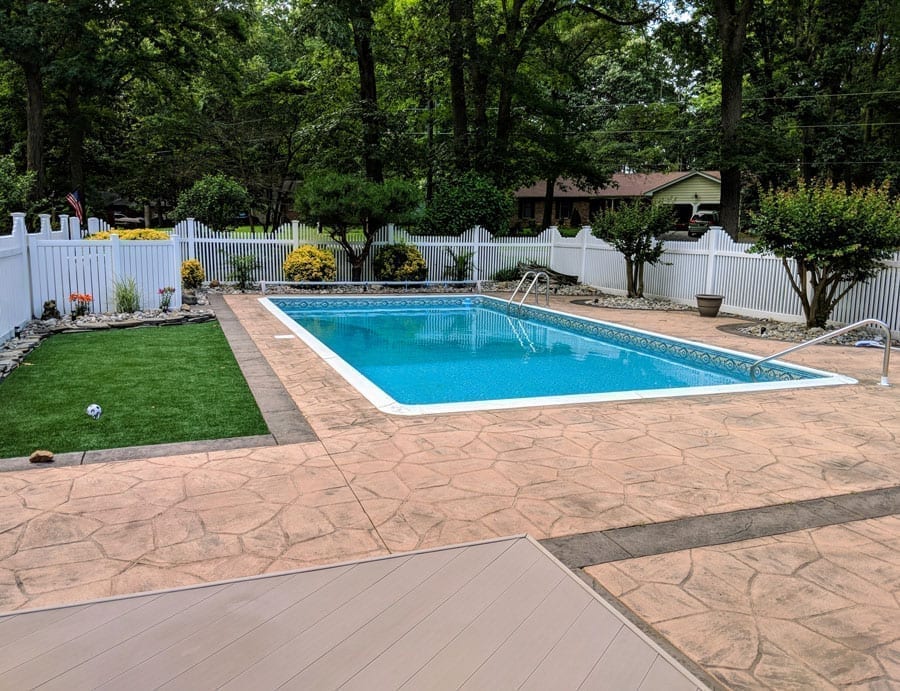
- Project Completed In: Longer than anticipated, which is where my tips come into play.
One week of stripping old sealer
One day for Procleaner & Degreaser and drying overnight
three days for sealing 3 layers letting them each dry overnight (ran out of sealer and tarped off for one week before being able to apply more sealer in two consecutive days
- Direct Colors Products Used:
1 Gal. Cumin Antiquing™ & EasySeal™ Satin Kit
1 Gal. Driftwood Antiquing™ & EasySeal™ Satin Kit
1 Gal. Cumin DIY Antiquing™ & EasySeal™ Satin Kit
1 Gal. Driftwood DIY Antiquing™ & EasySeal™ Satin Kit
2 x 1 Gal. EasySeal™ Satin
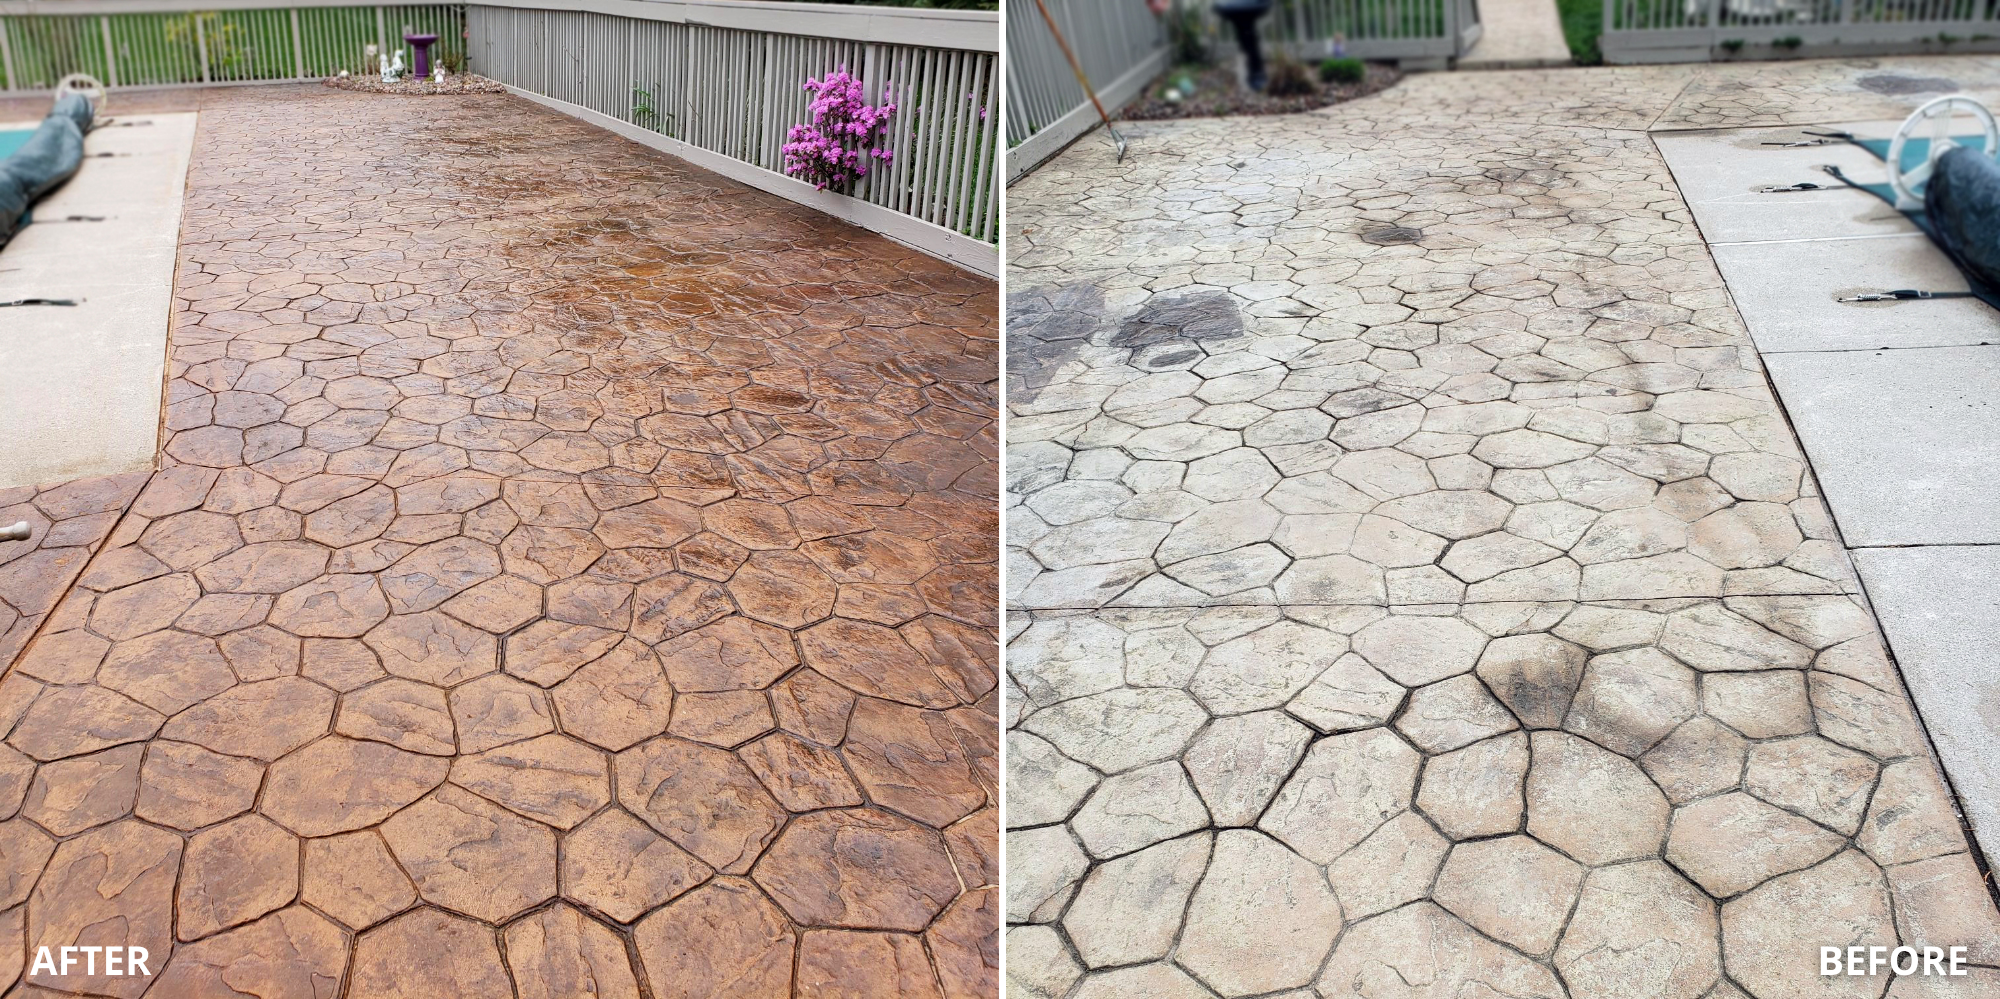
Read How to Recolor Faded Stamped Concrete for more details
- Project Completed In: 5 day(s) –
- Estimate of Square Footage: 520 sq. ft. – Back patio which is covered but about 30% is exposed to sun and blowing rain.
- Project Description:
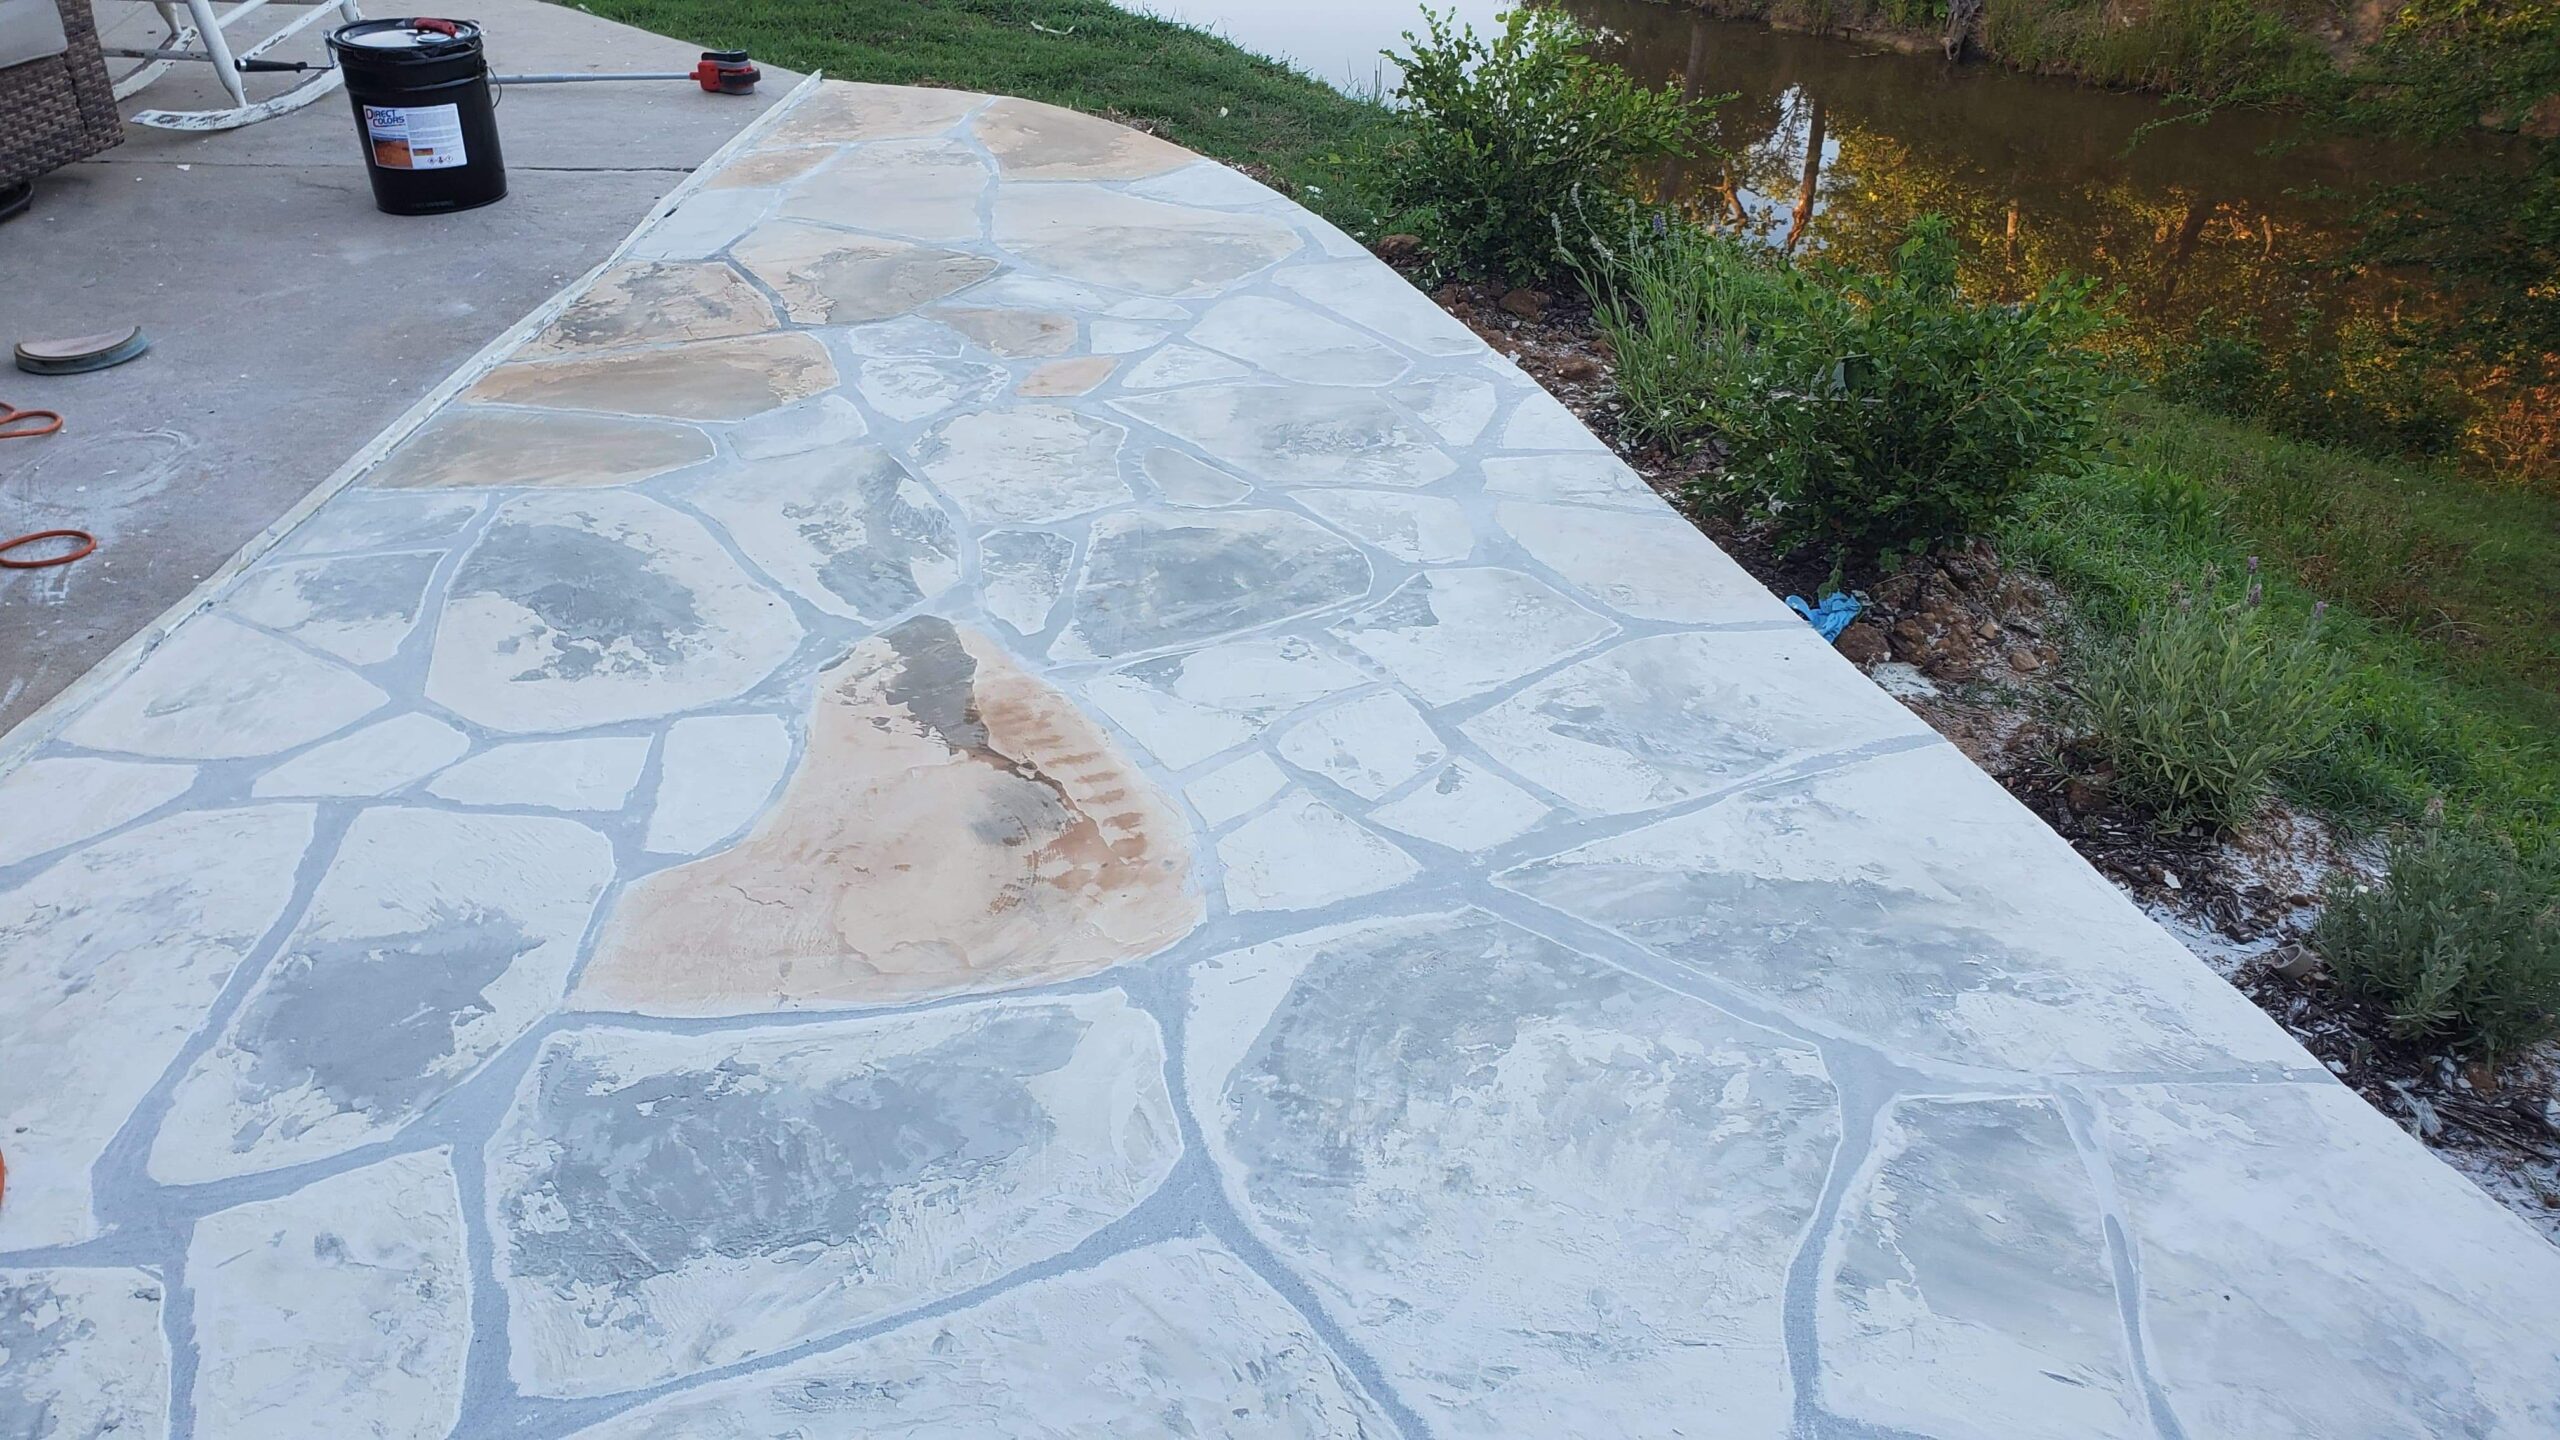
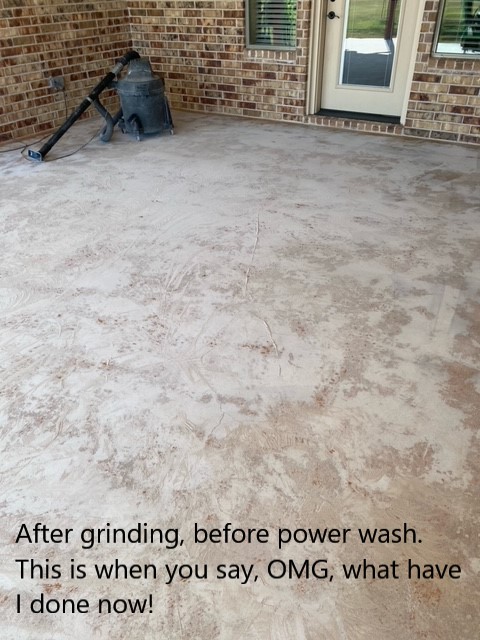
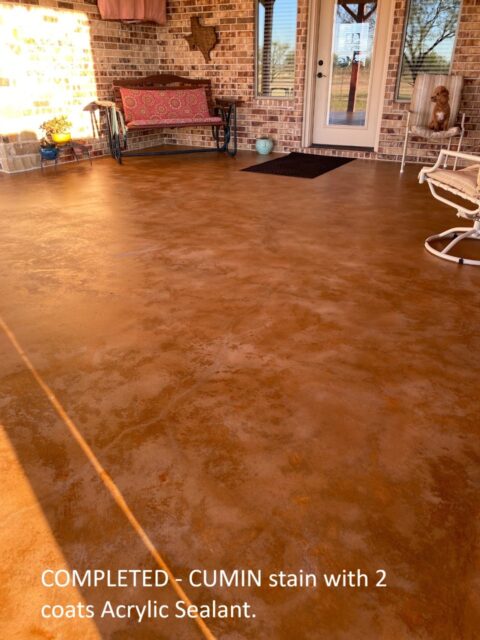
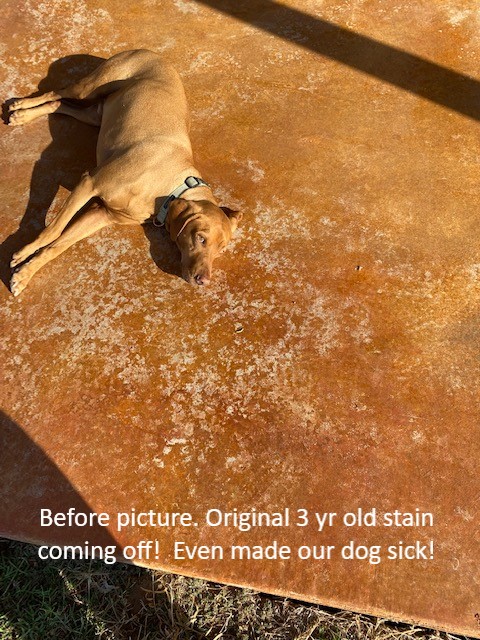
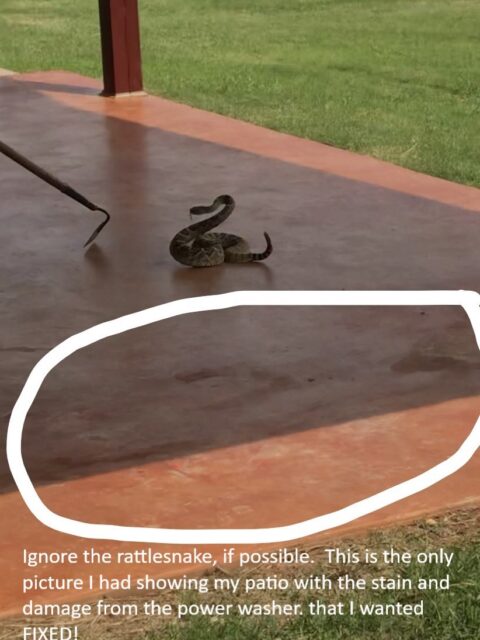
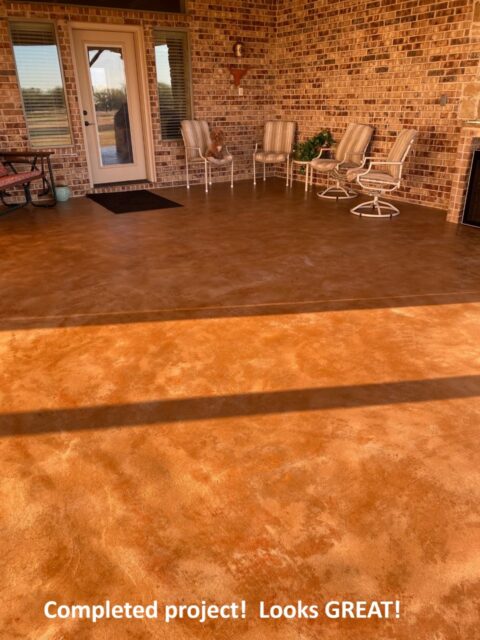
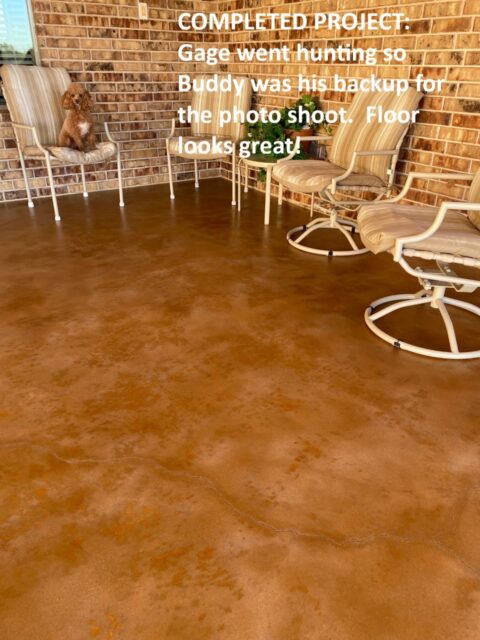
Concrete is approximately 7 years old. It was originally stained with a water-based stain approx. 3 years ago. When my house was built, our building crew cooked some of the best smelling food on the back patio, to get out of the rain, and unfortunately splattered quite a bit of grease on the concrete that we didn’t notice until after clean up and preparation to move into our new home. We attempted several degreasers but with no luck. Our contractor was great and he tried several things to clean it but since it was “new” pour, we didn’t want to be too aggressive. I decided it was okay and we were so pleased with everything else, I told him not to worry about it. Then, I fussed about those stains so much through the years, my husband decided to give it one more attempt to clean them with his new power washer…bad idea. Concrete was roughed up and obvious circles from the power wash now added to the problem. I then tried a water-based stain (not Direct Colors). It looked good for year or so, but then the stain began to come up in spots. Only picture I have is with our family dog…LOL. That picture reflects where the stain and sealer were coming off but doesn’t show the “bad spot” where the power washer damage still showed through…except now it was stained Pumpkin Spice. Not good.Unrelated to the staining process really but required to prepare the surface, I rented a concrete grinder, with the help of my son and good friend. Our good friend got the 250-300 pound grinder delivered and my son ran it. It was really amazingly easy to do. Hope ok to say, it was rented from Sunbelt Rentals. It had an attachment for shopvac to control the dust but it still was not bad at all. I actually could run this myself (I’ll be 68 soon and weigh around 115 pounds. I could hardly move it when not running but once it was running, it was easy to weave back and forth over the surface.) I mainly ran the vacuum to keep the dust picked up so we could see the surface. I have no idea how many times I emptied our big shopvac…it did clog up the filter quickly but it survived the project even though it has got to be over 30 years old (they don’t make’em like that anymore)! Getting the old sealer and as much stain as possible up was okay on the main part of my patio…around the edges next to the brick wall, much more of a challenge. That actually took more time than the grinding the whole rest of the patio. We went through a whole lot of 40-60 grit sand paper on an orbital sander and a Black & Decker mouse sander.I decided to stop the grinding after we went over the entire surface several times to be sure all sealant was off and left the remaining spots of the original Pumpkin Spice stain to add some “dimension”, “character” or “interest” whatever you want to call it, to my project. I didn’t want one solid color anyway. Up to this point, we had about 8-9 hours into the project.After washing the surface several times, sweeping and washing again, I allowed this to dry 24 hours. Good old Texas wind took care of that!Then using a pump-up sprayer, I applied my first coat of Direct Colors Antiquing – Cumin. Watch the videos on the Direct Colors website. Make that coat good coverage and wet as instructed. Really very easy to do and so much easier than my original staining project from years ago which had such vague instructions of get it wet, don’t let it puddle….impossible to decide how to do it exactly. The first coat went on great. Mine looks way more “spotted than a application on bare concrete due to my original stain left over after grinding showing through. That took less than an hour to do on my approx. 520 sq. ft. I used about 1.75 gallons of stain. I let this dry overnight…approx. 14 hours.At this point the new color, Cumin, looked great. A few spots of the gray concrete showed through a little more than I wanted but the original Pumpkin Spice was definitely showing through, as well. Before I began application of the next coat of stain the following day (as we were having wind gust of approx. 20 miles per hour) I put on my spike shoes, which I ordered from Amazon….great idea and so glad I did this so I didn’t have to worry about foot prints on the unsealed stain. Even with a bit of breezy conditions, I applied the second coat, really concentrating on the areas where the original stain was not showing through. I couldn’t wait any longer to get that second coat down. This second coat still allowed the original stain to show through, although now muted a bit more and the grey concrete was covered just perfect.At that point I think it looked great. Again, I had to weight extra time due to the windy conditions but all my masking on my brick and posts, etc was beginning to blow off so I decided to just go ahead and apply the Water Based Acrylic Stain Concrete Sealer. There was possible rain in the near future and I couldn’t wait any longer to get the sealer applied. I applied the first coat of sealer, again with the pump-up sprayer. BE SURE YOU get the kind which has the “fan” adjustment on the nozzle. I did not have that on the first coat and easy to see I didn’t get a good even application. The following day, I bought a new pump-up sprayer with a multi-adjust nozzle and with the “fan” application the coverage was so much more even. I was a little concerned with a few bubbles that appeared when I first started but a call to Direct Colors support gave me the encouragement to keep going.I couldn’t be more pleased. It looks so much better than it did and considering that I was fixing several mistakes that were originally on my patio, I think it turned out great! Wish I had taken more pictures through the whole process….but I was a busy gal! I can’t say enough about the support from the Direct Colors staff. I spoke with Matt several times before I decided to place my order or even tackle this project on my one and to get his input on the best product for my application and then also, I had answers from a question I emailed after I ordered and then one last call to Matt with my concerns during the sealer application. After my experience with my original staining job several years ago and also my son’s previous staining jobs at his home with products from local concrete stain suppliers, honestly, I feel like those people really have no idea how to apply or what is best for your specific application. It was good to have the experts at Direct Colors to gu ide me and the videos.
If this “almost” 68 year old widow can do this DIY….anybody can. (Of course, I did have some excellent help from my son and friend on the concrete grinding/preparation step…but the staining was all ME!)
Thanks for listening to my story! I hope you have as much success with your finished project as I did. I am seriously thinking about my interior floors….it looks that good! - Personal Tips:
Check your weather for rain before you begin.
Use a good quality pump-up sprayer with fan nozzle.
Get the spiked shoes…you can always wear them for ice and now later! - Direct Colors Products Used:
Cumin Antiquing STain
Water-Based, Satin Acrylic Sealer - Other Products Used:
Rental of diamond blade concrete grinder.
Shop Vac
Read How to Recolor Faded Stamped Concrete for more details
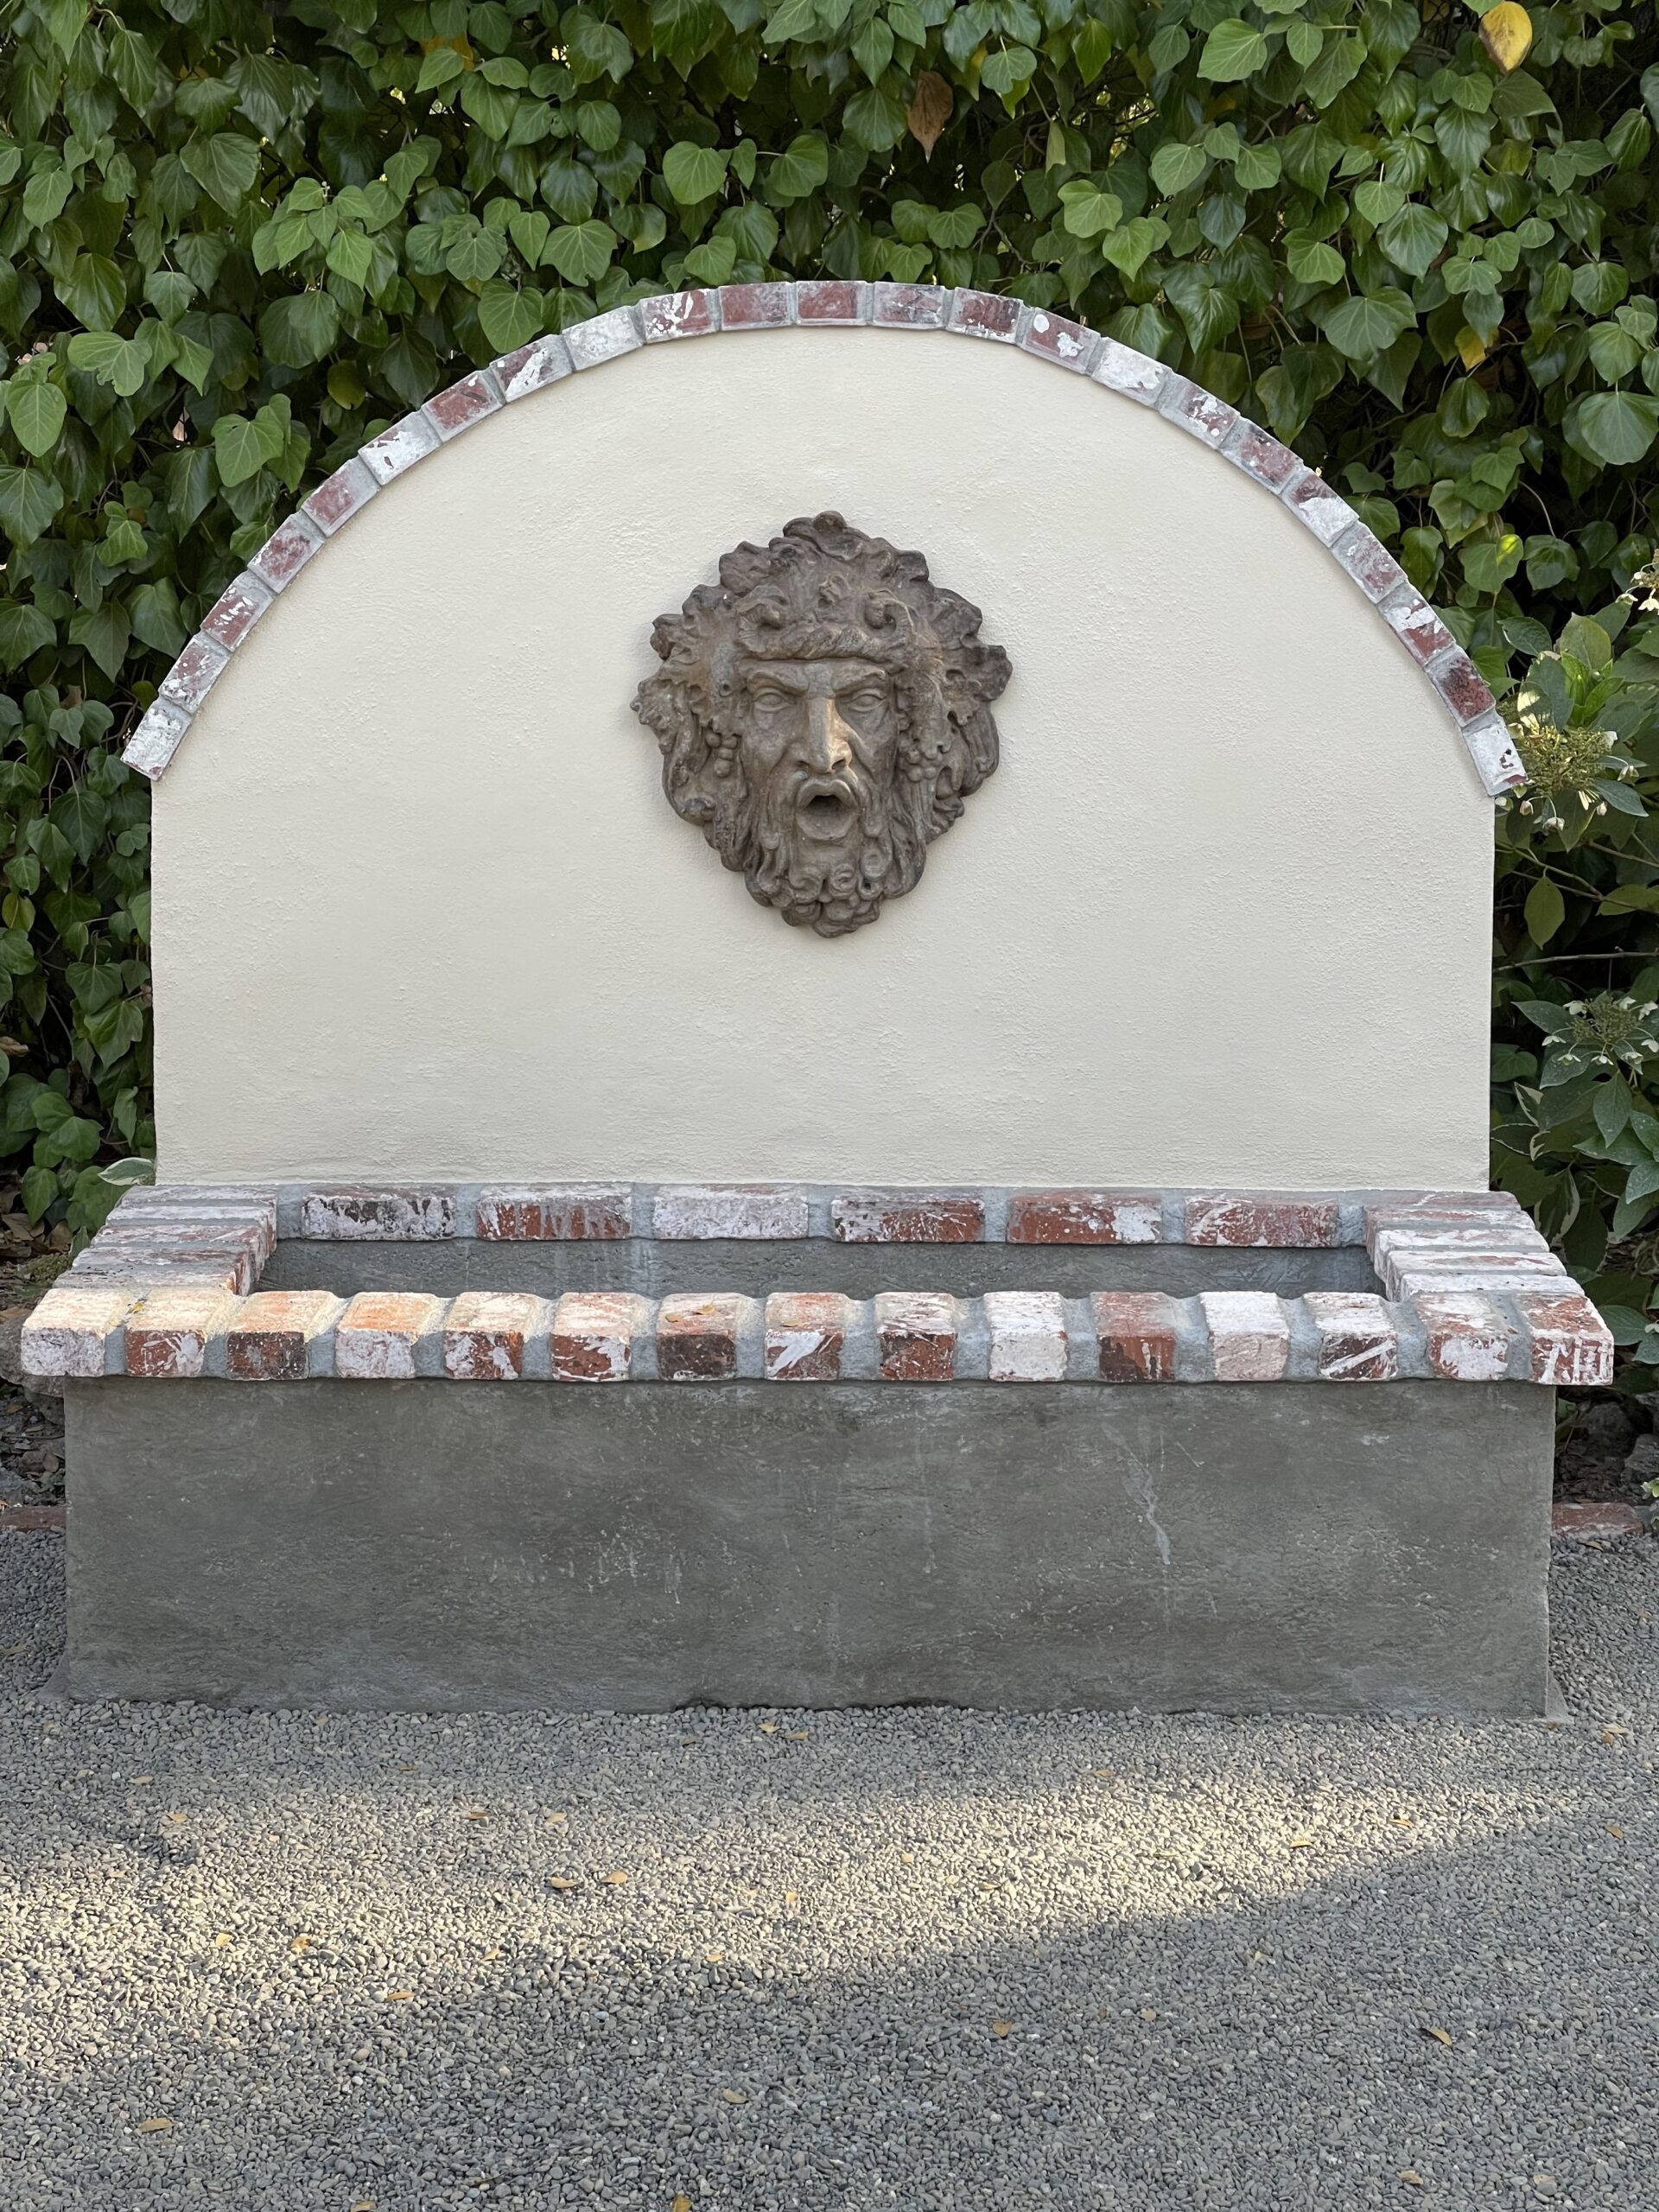
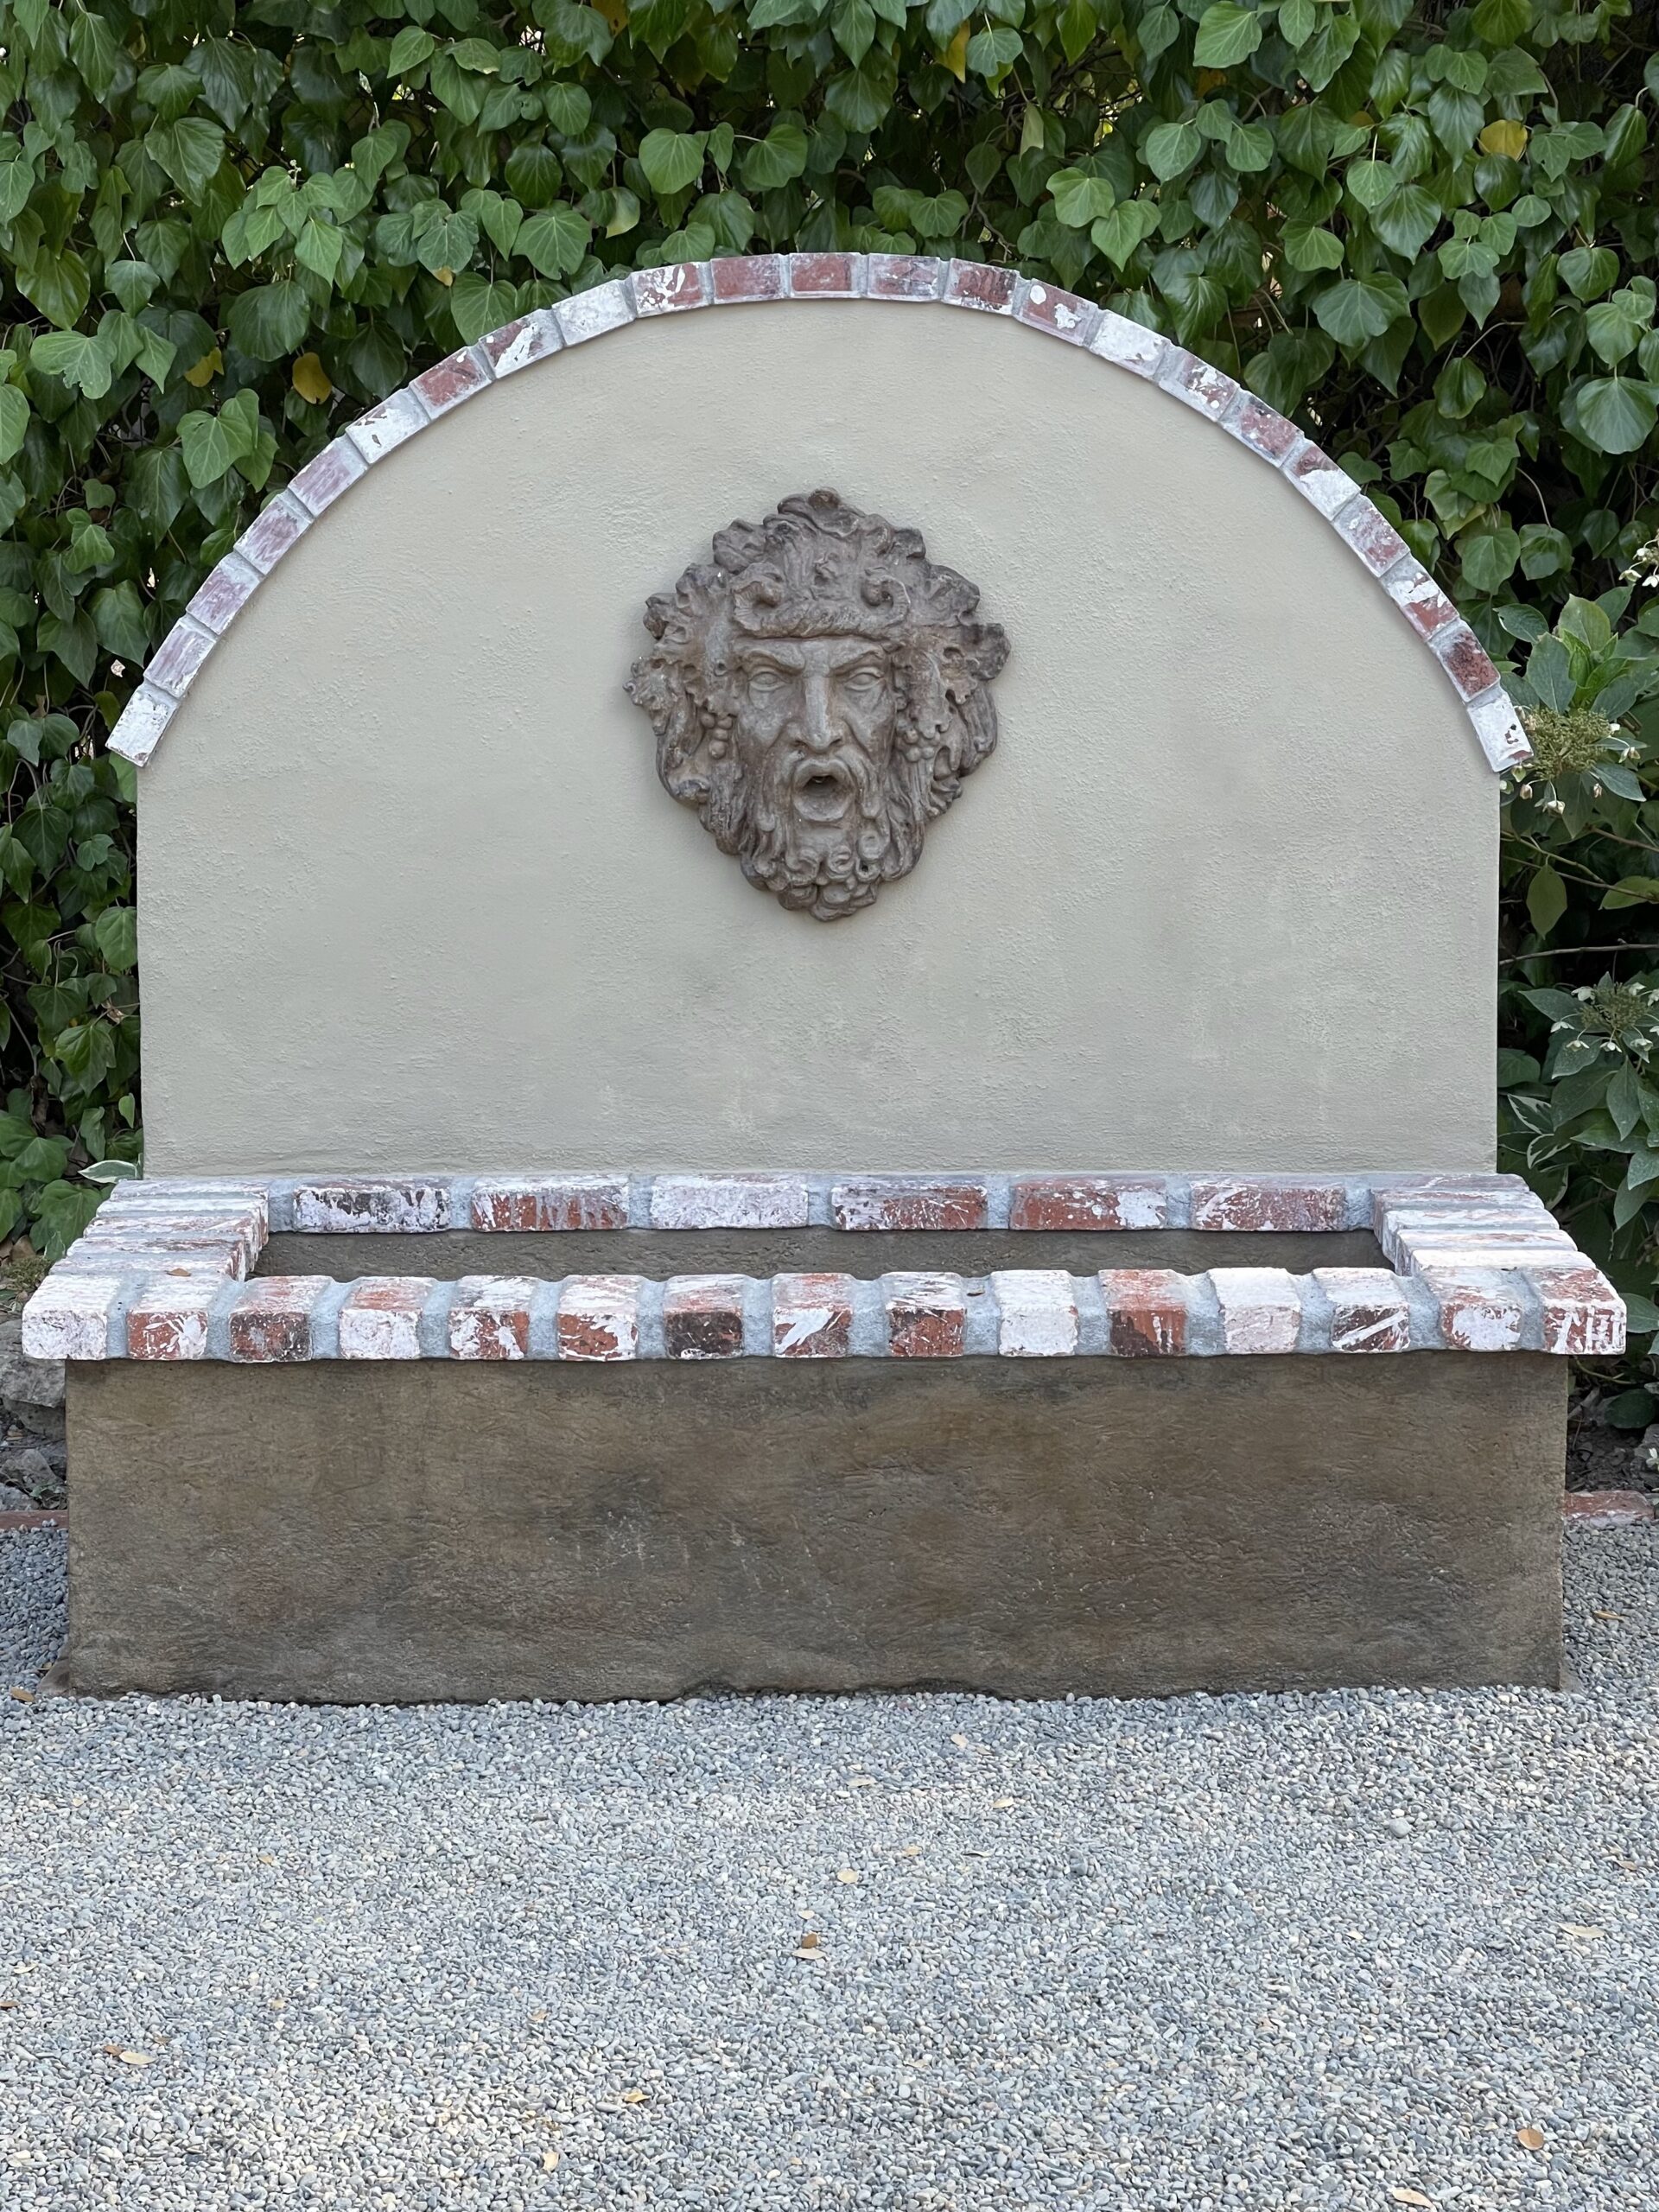
- Project Completed In: 3 day(s)
- Estimate of Square Footage: 80 sq. ft.
- Project Description:
I created a cast concrete basin for a wall fountain in my backyard. I then stained the concrete to match the face that I already owned. Using the free design consolation was really helpful in choosing the correct stain color to match, and which sealants to use. - Personal Tips:
One tip is to make sure to properly mask off any areas you don’t want stained. Another tip is to contact Direct Colors with any questions you have. The final stain color is exactly what I wanted and the customer service team really helped choosing the perfect match. - Direct Colors Products Used:
Antiquing Stain (Cumin), Acrylic Solvent Based Exterior Sealer (Satin), and Penetrating Sealer - Other Products Used:
Water and baking soda to clean concrete; spray bottle, foam brushes, and nap roller.
