Grayscale Greatness: Unleashing the Chic Side of Gray Concrete Stain for Your Outdoor Spaces
Who said gray was boring? It’s time to kick ‘blah’ to the curb and redefine your outdoor spaces with the untapped magic of gray concrete stain! Pool decks, patios, porches – you name it, we’ve got it covered in gorgeous shades of gray.
by Justin Richardson
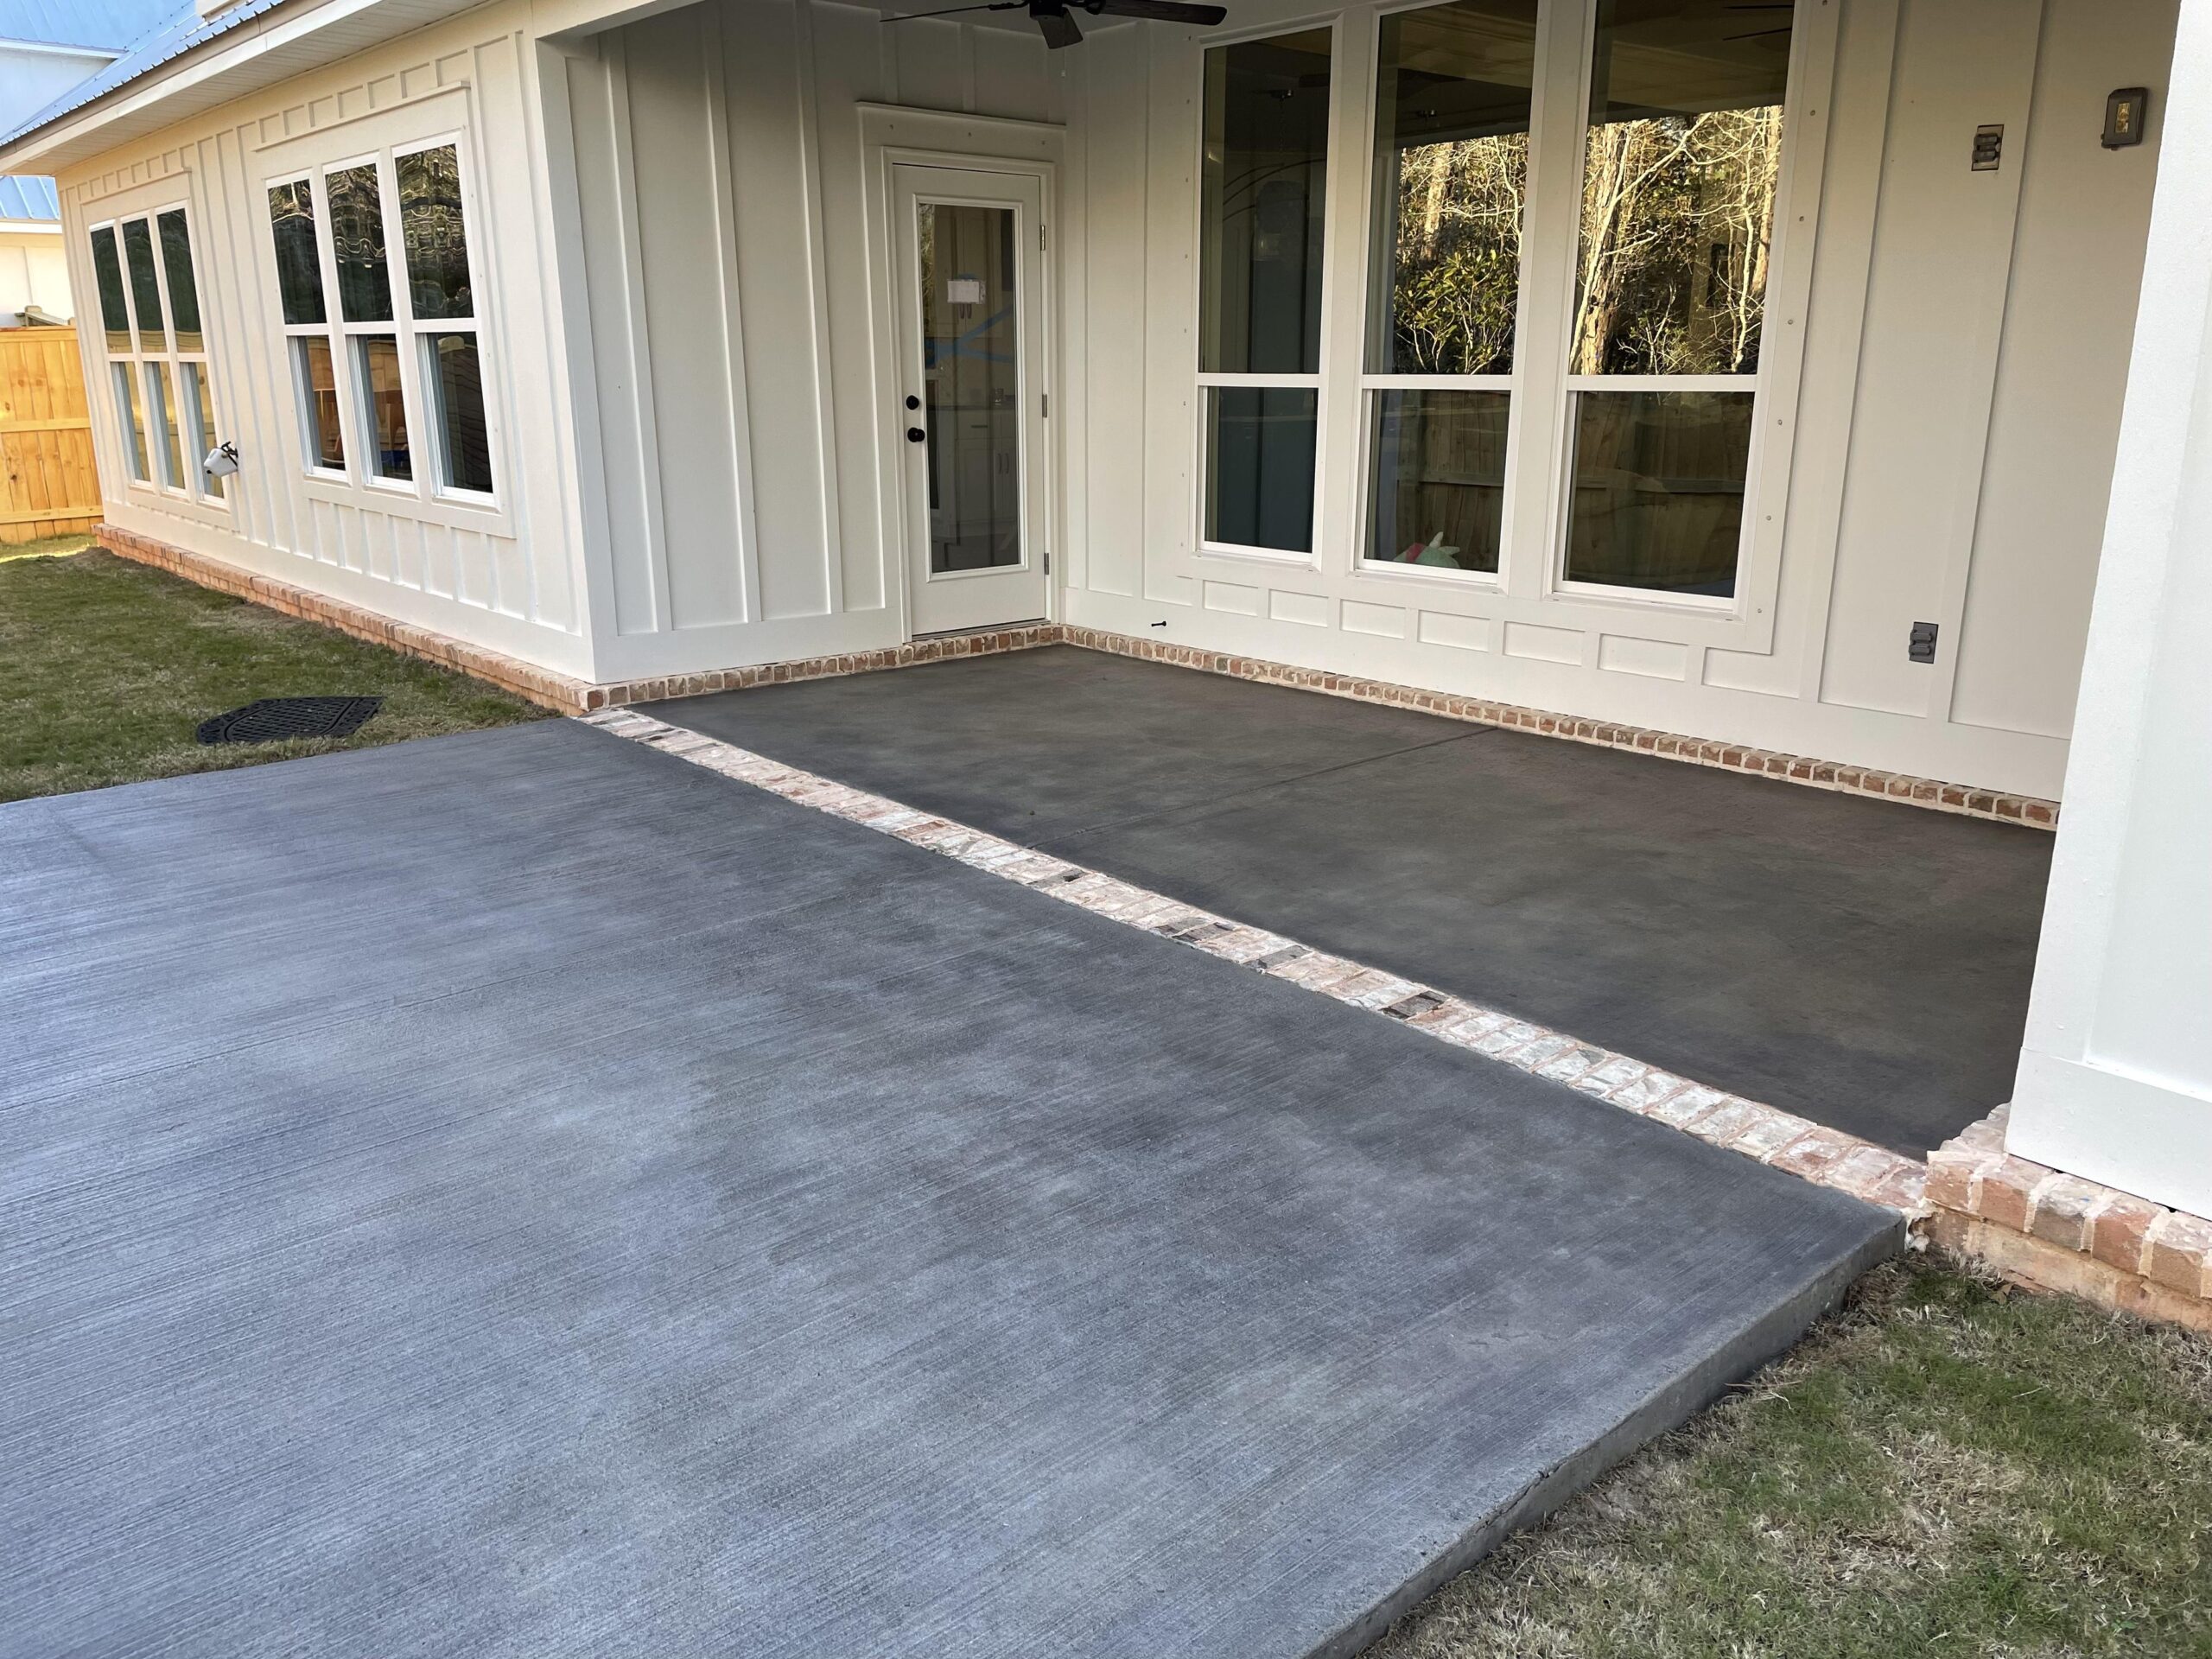
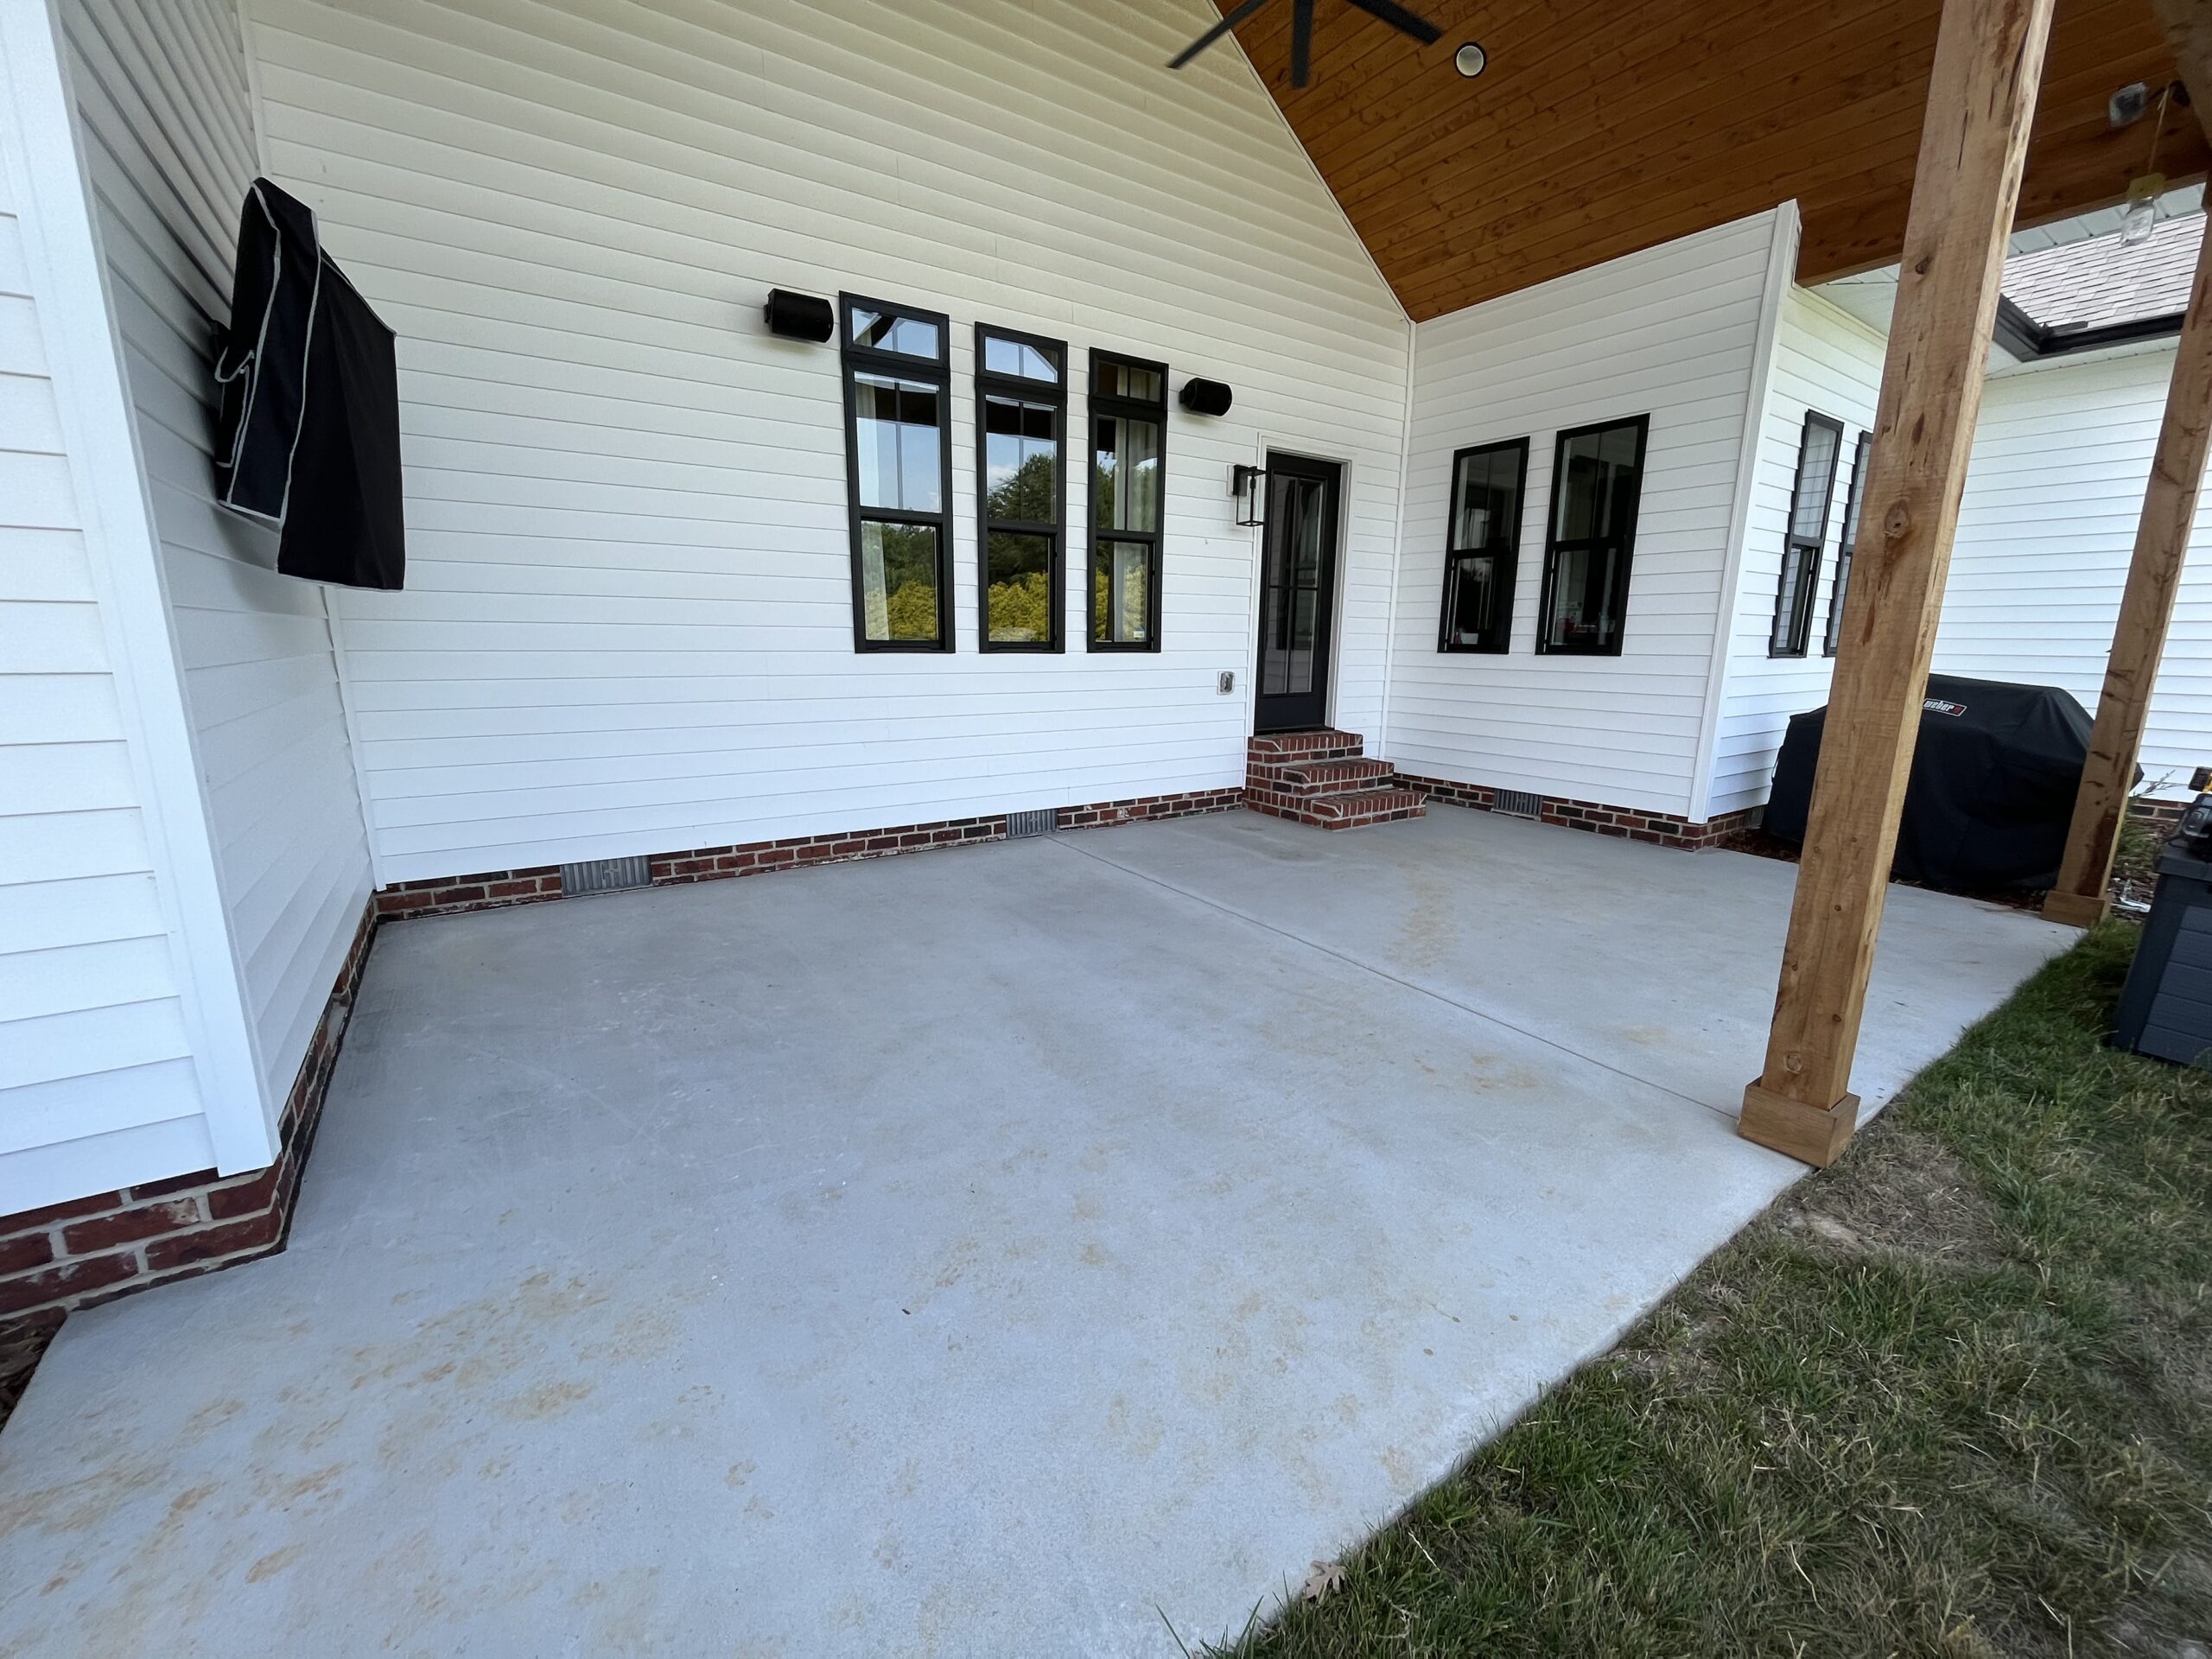
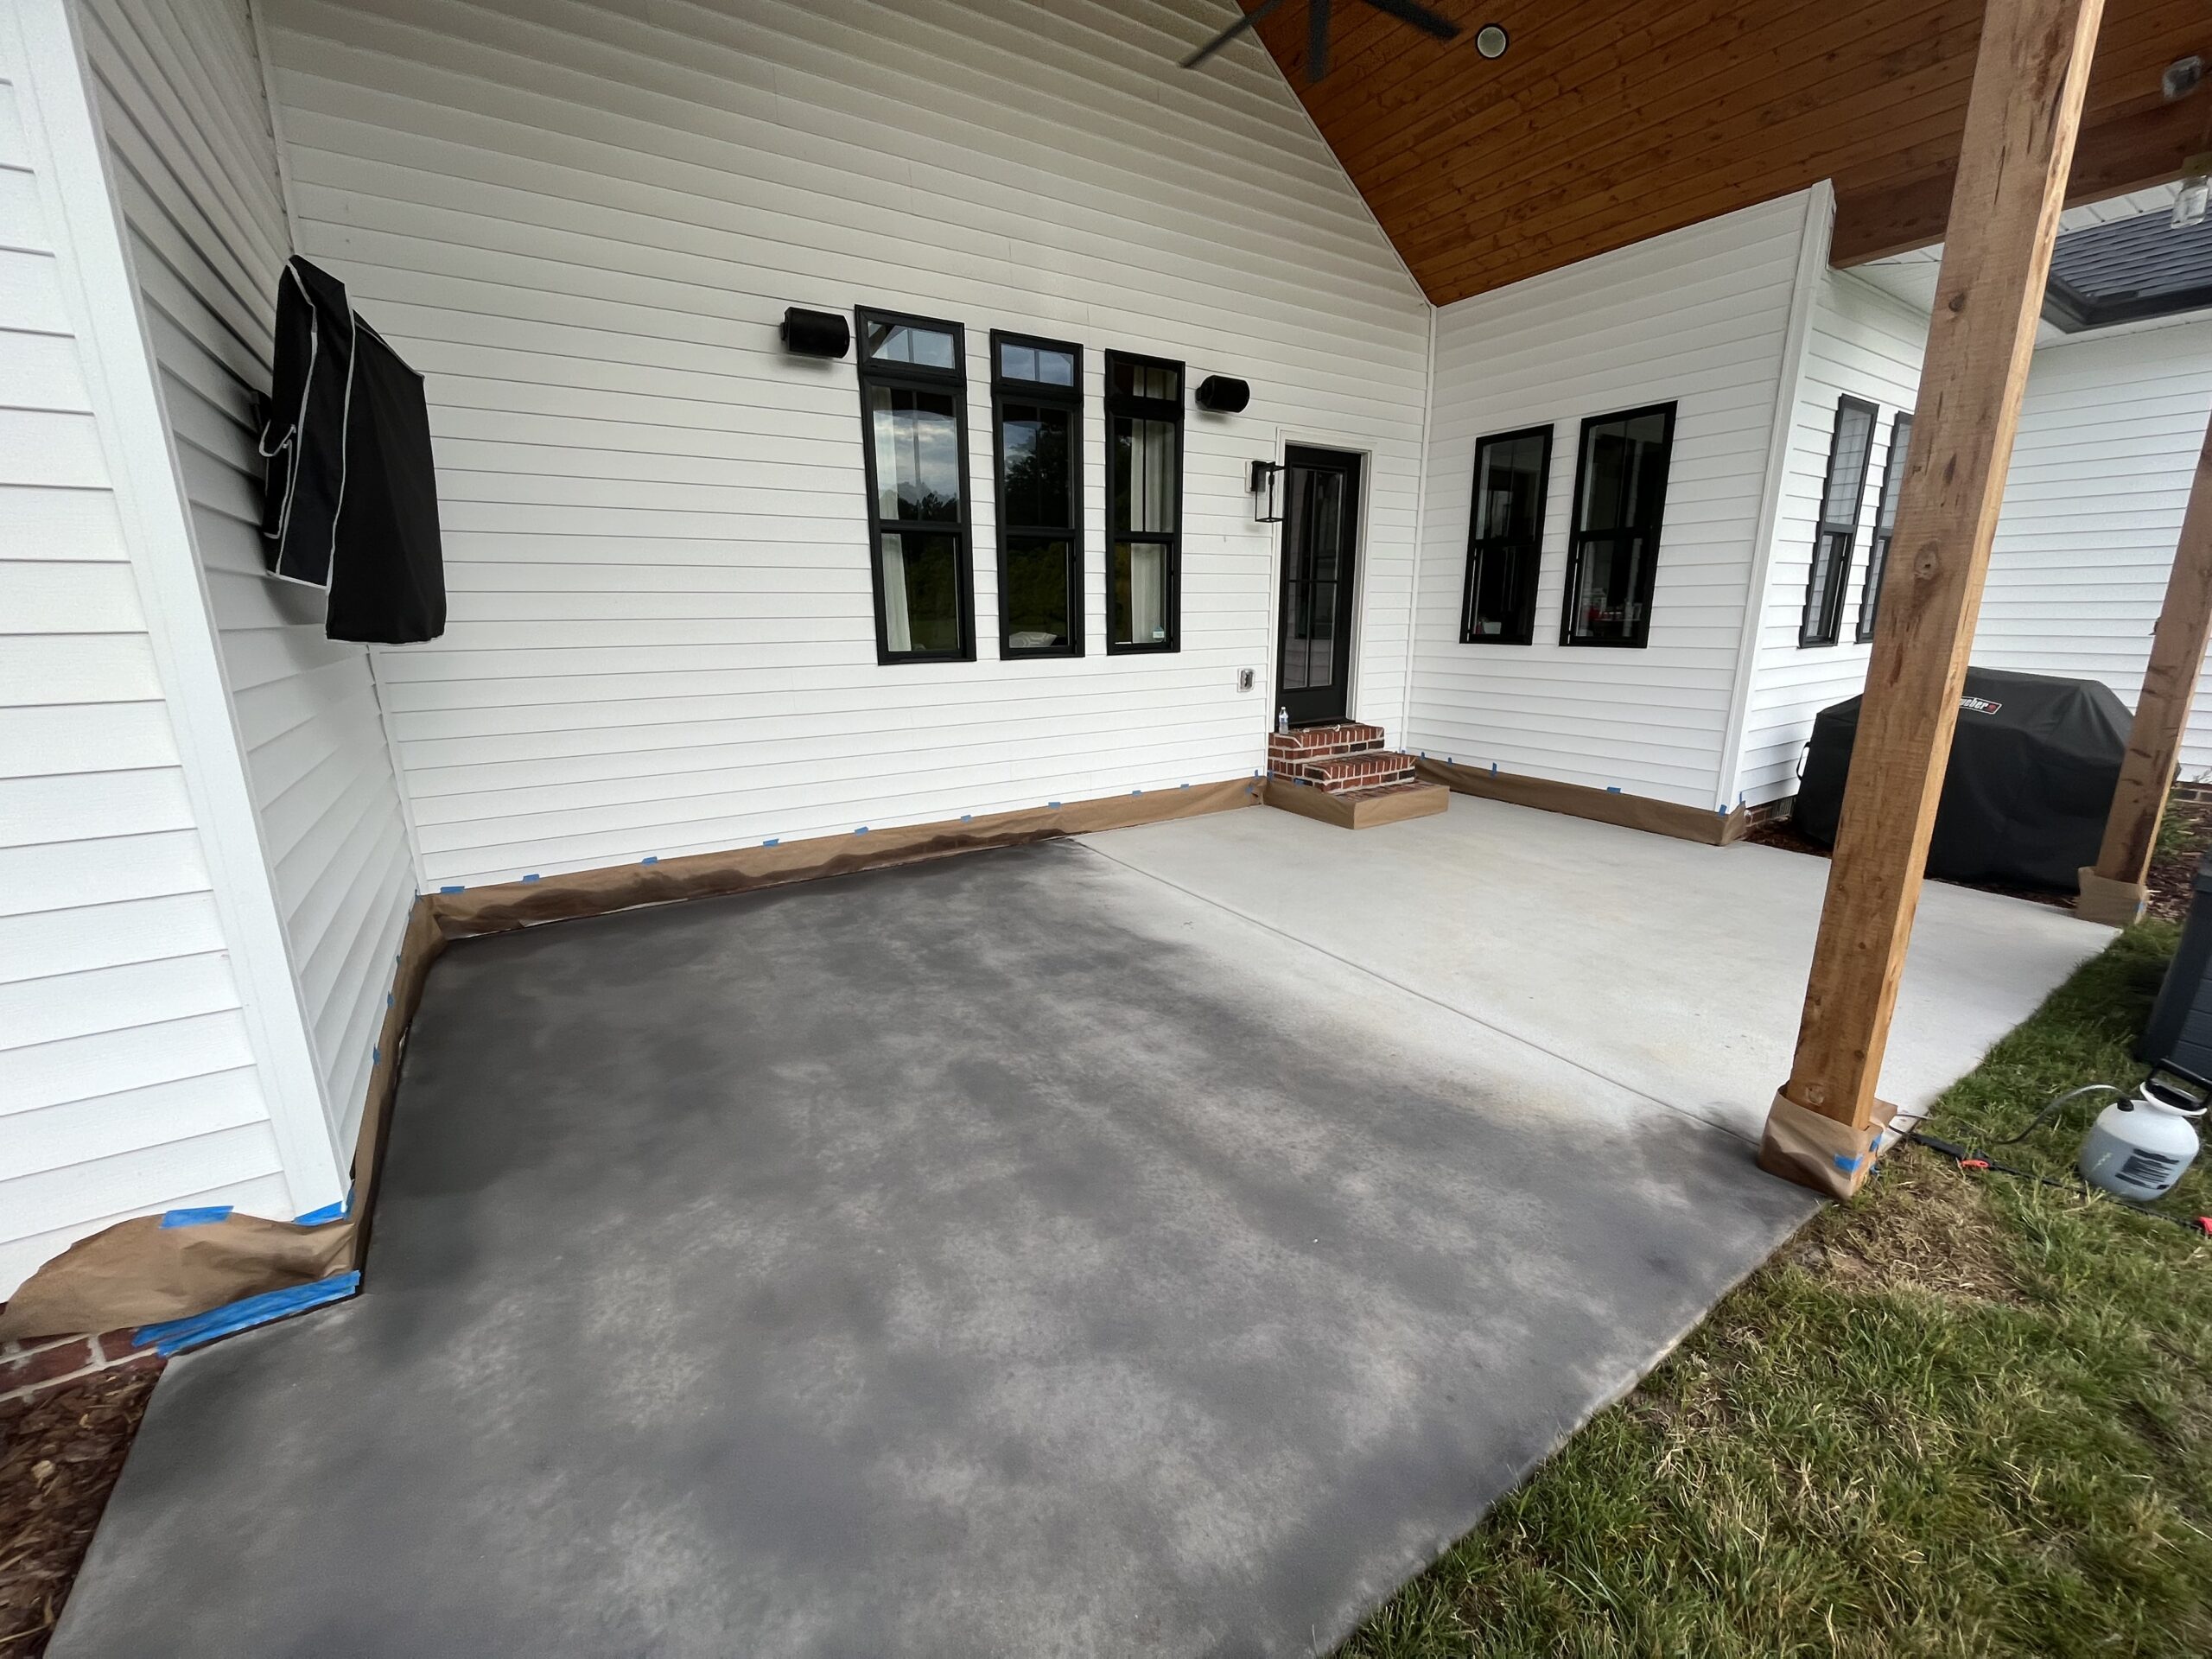
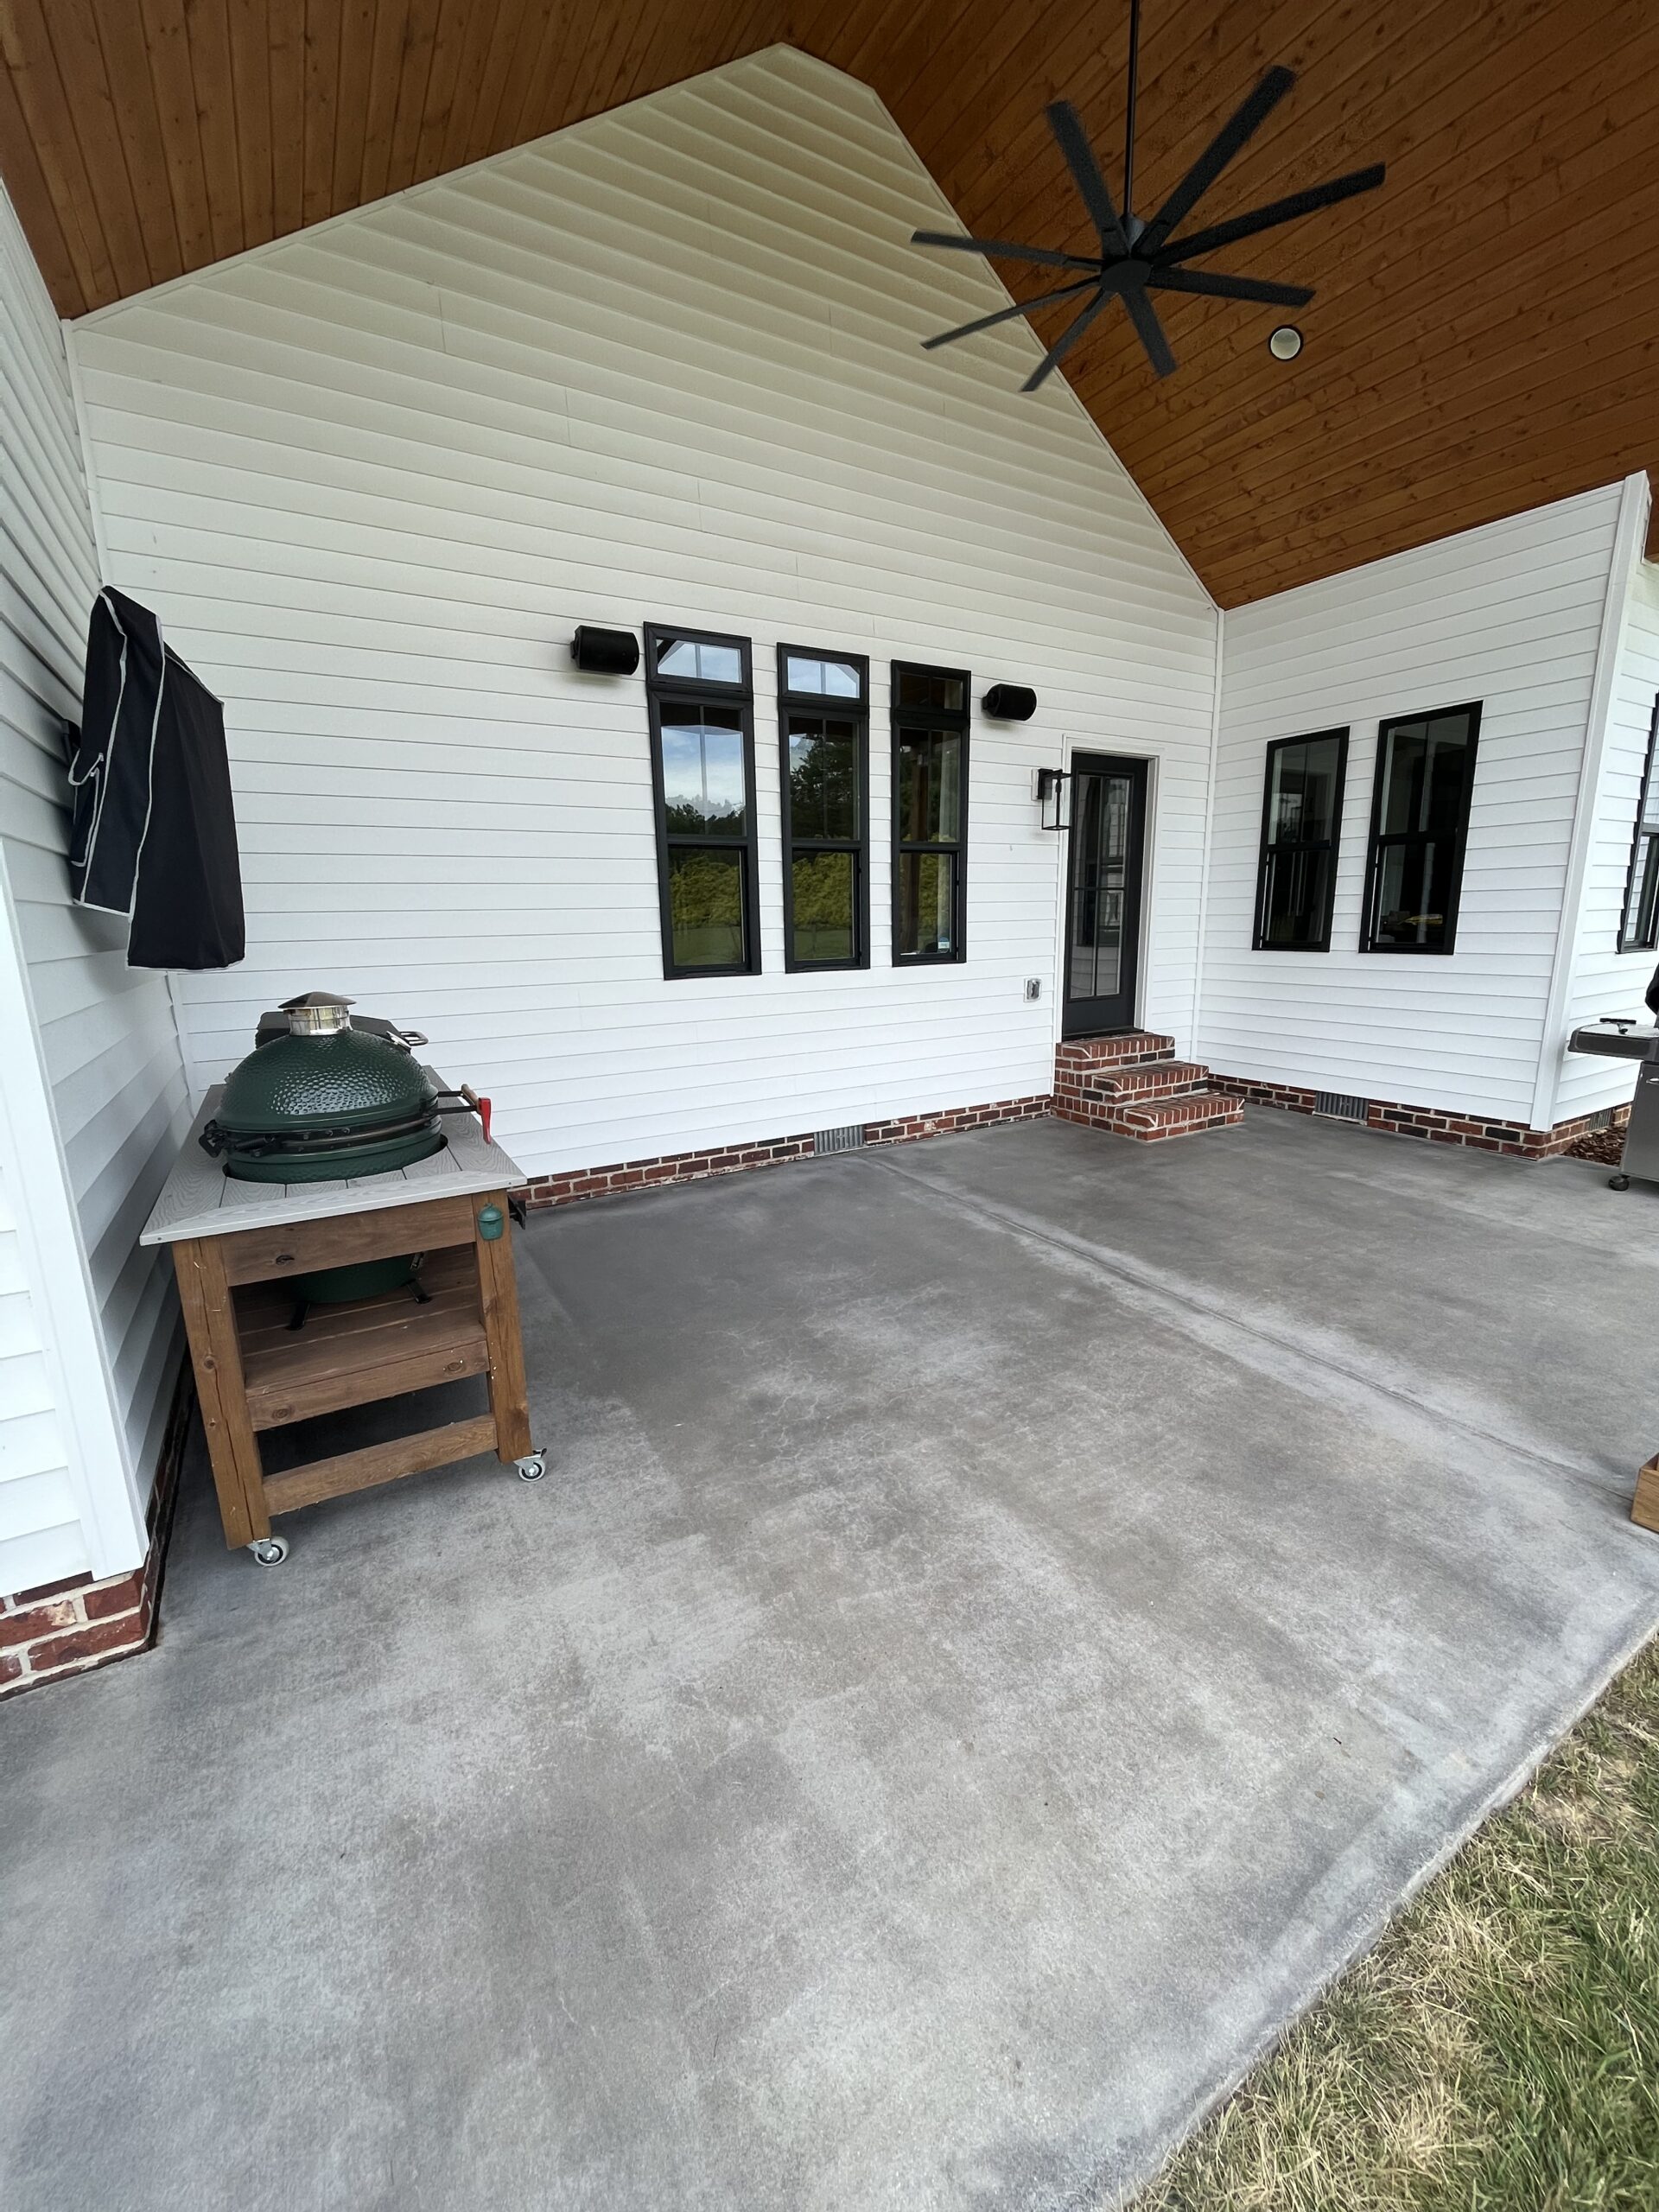
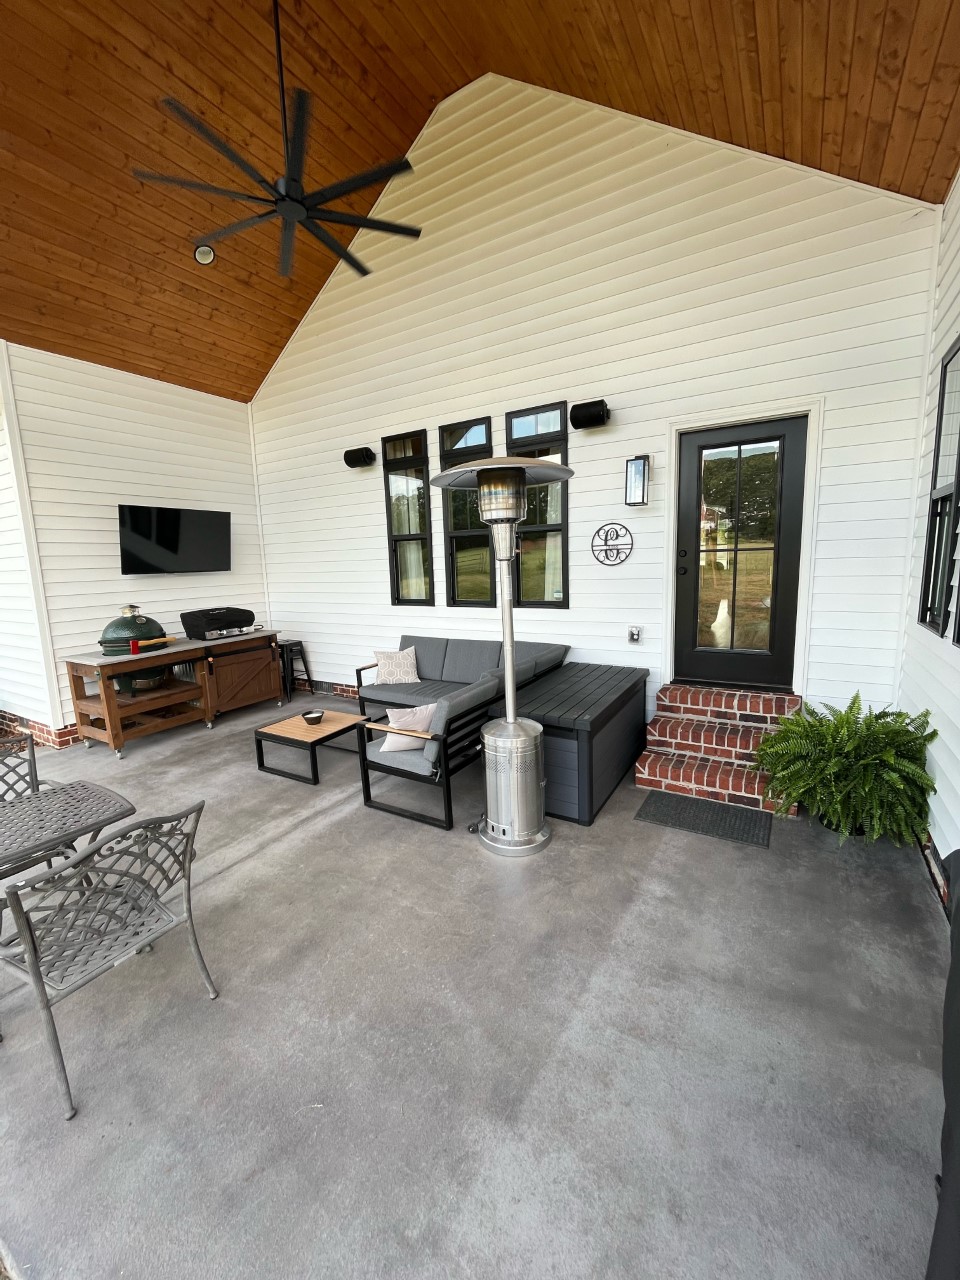
Fresh Farmhouse Fashion: A Broom-Finished Patio with a Sophisticated Gray Stain
Ever imagined a new construction farmhouse patio donning a modern gray robe? We did, and the result is stunning!
Project Info:
- Project Completed In: 3 day(s)
- Estimate of Square Footage: 380 sq. ft.
- Project Description:
Antiquing stain on a broom finish concrete covered patio on my new construction farmhouse. - Personal Tips:
I sprayed the antiquing stain with a pump sprayer and rolled two coats of sealer with a wide roller. - Direct Colors Products Used:
1 Gal. Silver Gray DIY Antiquing™ & EasySeal™ Satin Kit
1 Gal. Silver Gray Antiquing™ & EasySeal™ Satin Kit
Every image in this gallery depicts projects using our concrete stains, shared by actual customers. However, due to the semi-transparent nature of the stains, the end look will be influenced by your concrete’s original color and condition. Outcomes may differ. For best results, we advise a test patch on your surface before full application to ensure desired appearance.
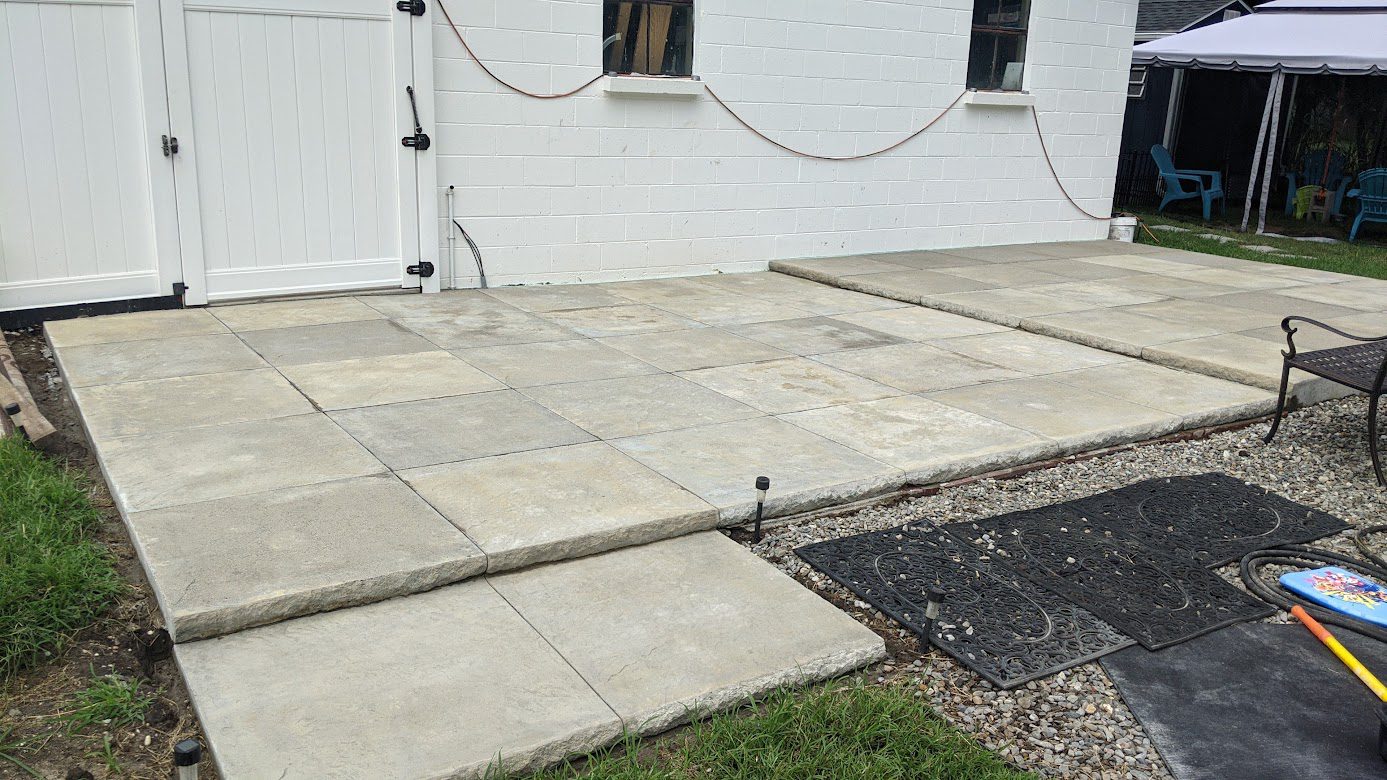
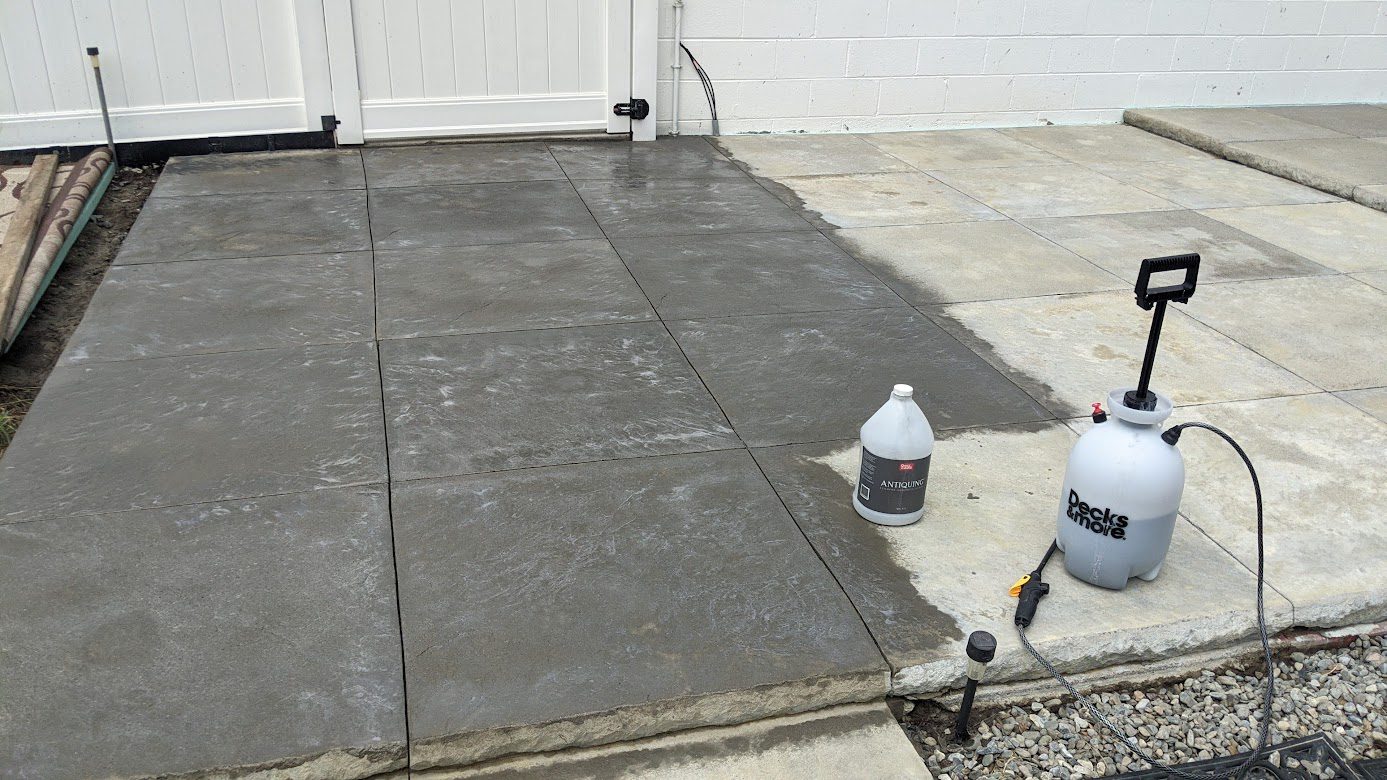
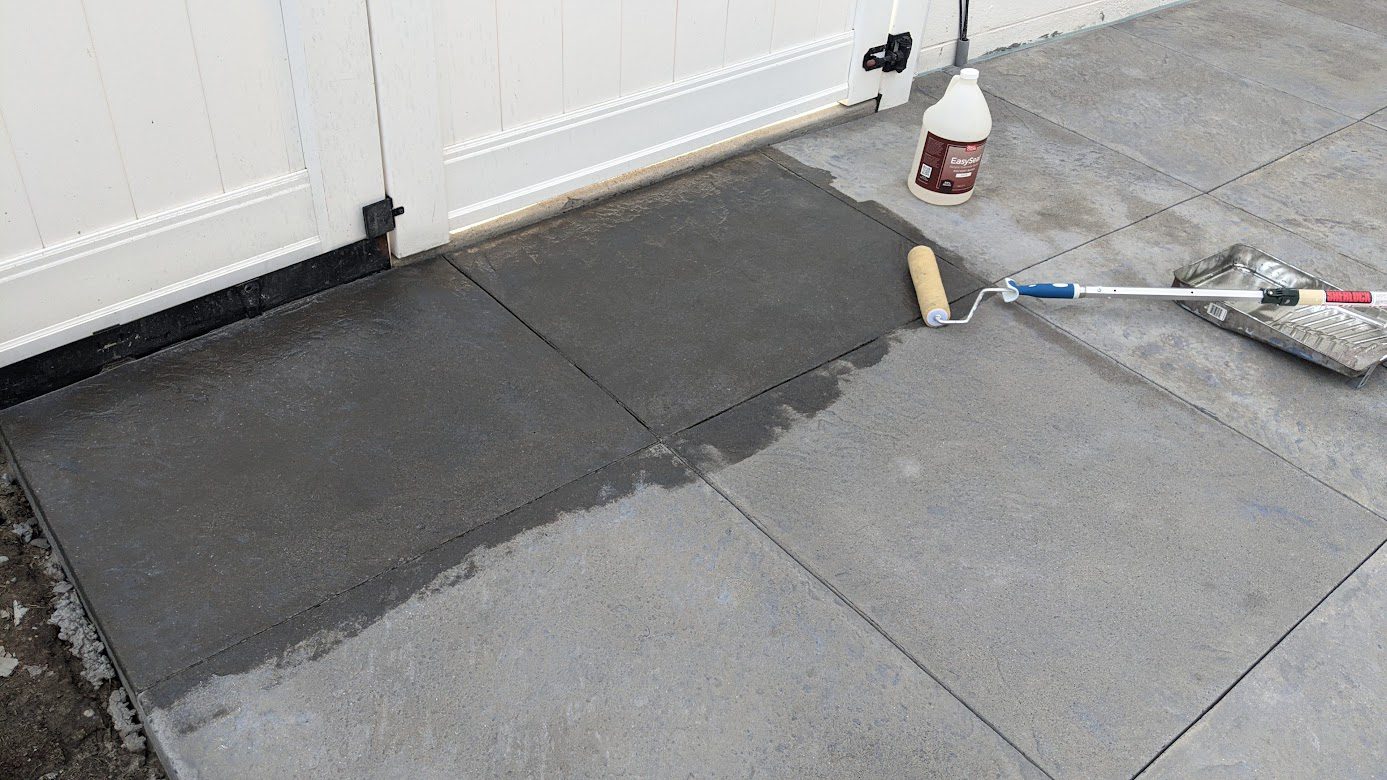
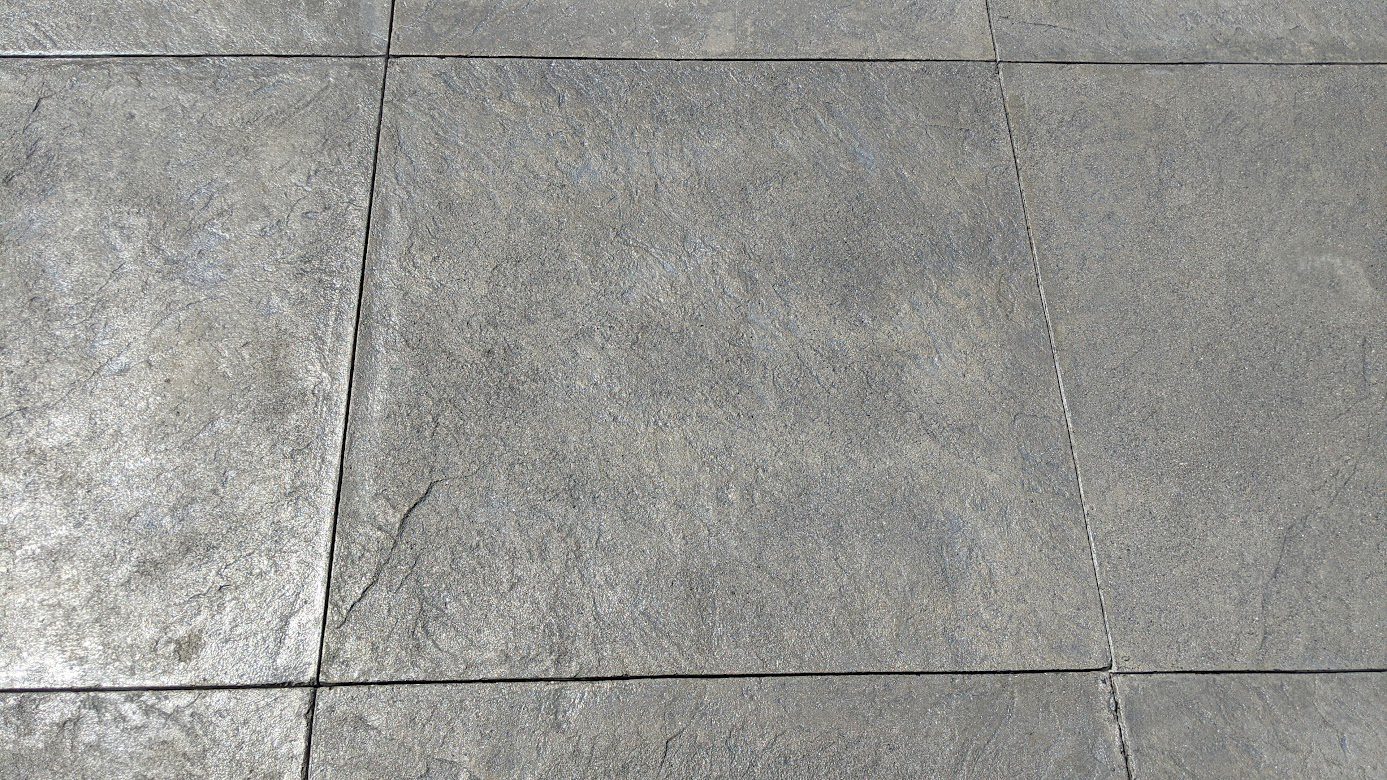
Square by Square: Crafting a Slate Look-Alike Patio with Silver Gray Magic
Get ready to step into a world where hand-poured concrete squares can mimic the beauty of slate. That’s right! We embarked on an adventure to create a patio with 36″ hand-poured squares, each one stamped to perfection to look just like slate. The secret ingredient? Antiquing™ Silver Gray from Direct Colors. Our tip to you: Keep the YouTube tutorial handy and follow along. So, put on your DIY hat and join us as we create magic, one square at a time!
Project Info:
- Project Completed In: 3 day(s)
- Estimate of Square Footage: 550 sq. ft.
- Project Description:
individual 36″ hand poured squares stamped to look like slate - Personal Tips:
follow the youtube directions - Direct Colors Products Used:
1 Gal. Silver Gray DIY Antiquing™ & EasySeal™ Satin Kit
2 x 1 Gal. Silver Gray Antiquing™ & EasySeal™ Satin Kit - Other Products Used:
Rubber stamp and edge mold
The DIY Patio Makeover: From Drab to Fab with Gray Concrete Stains
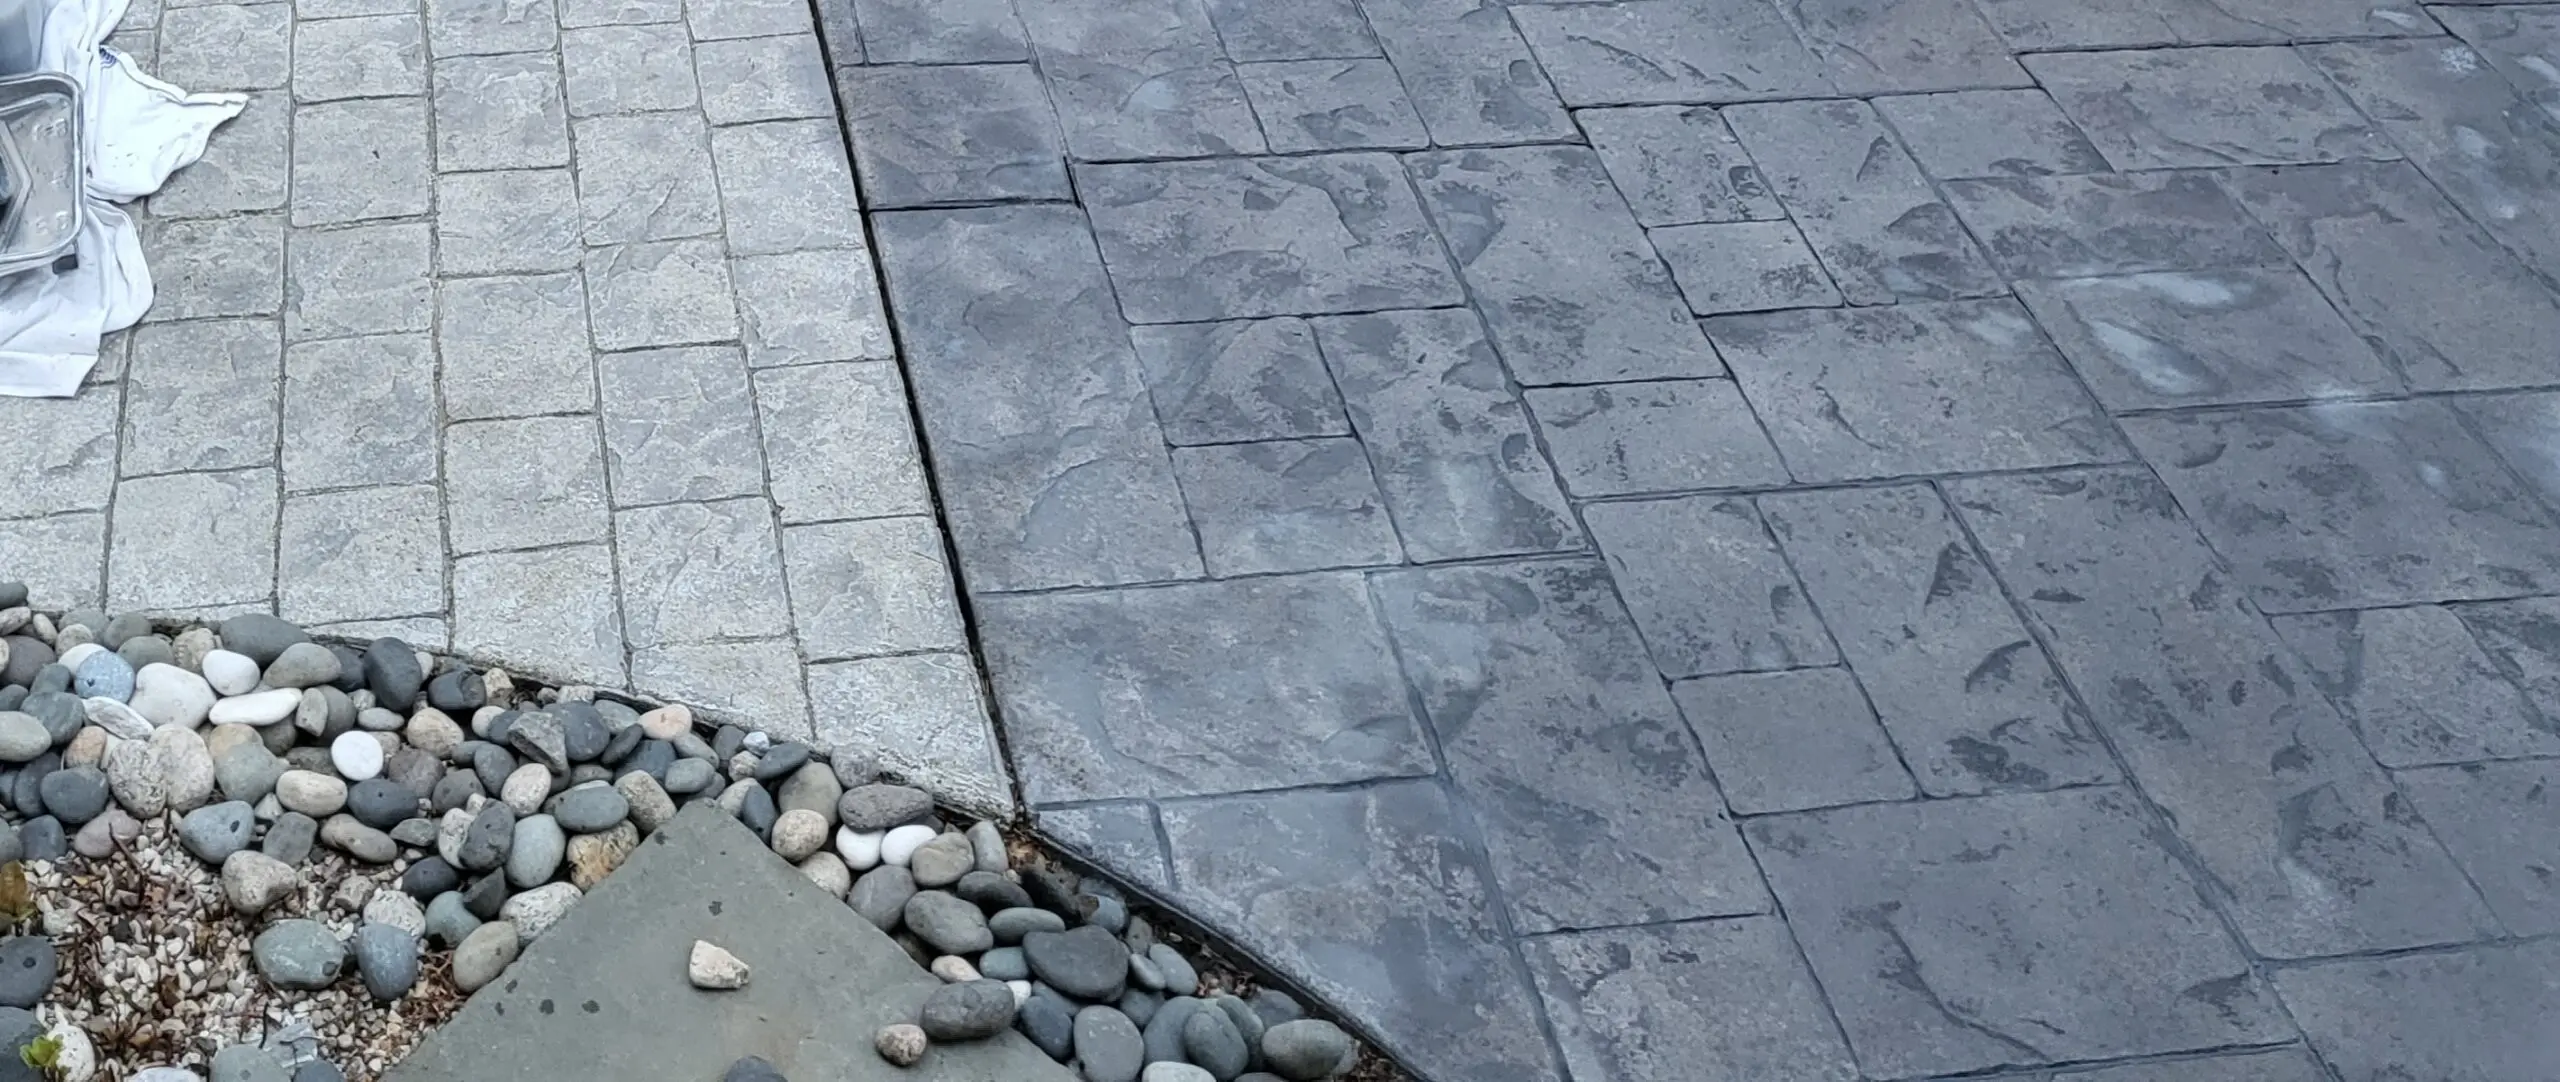
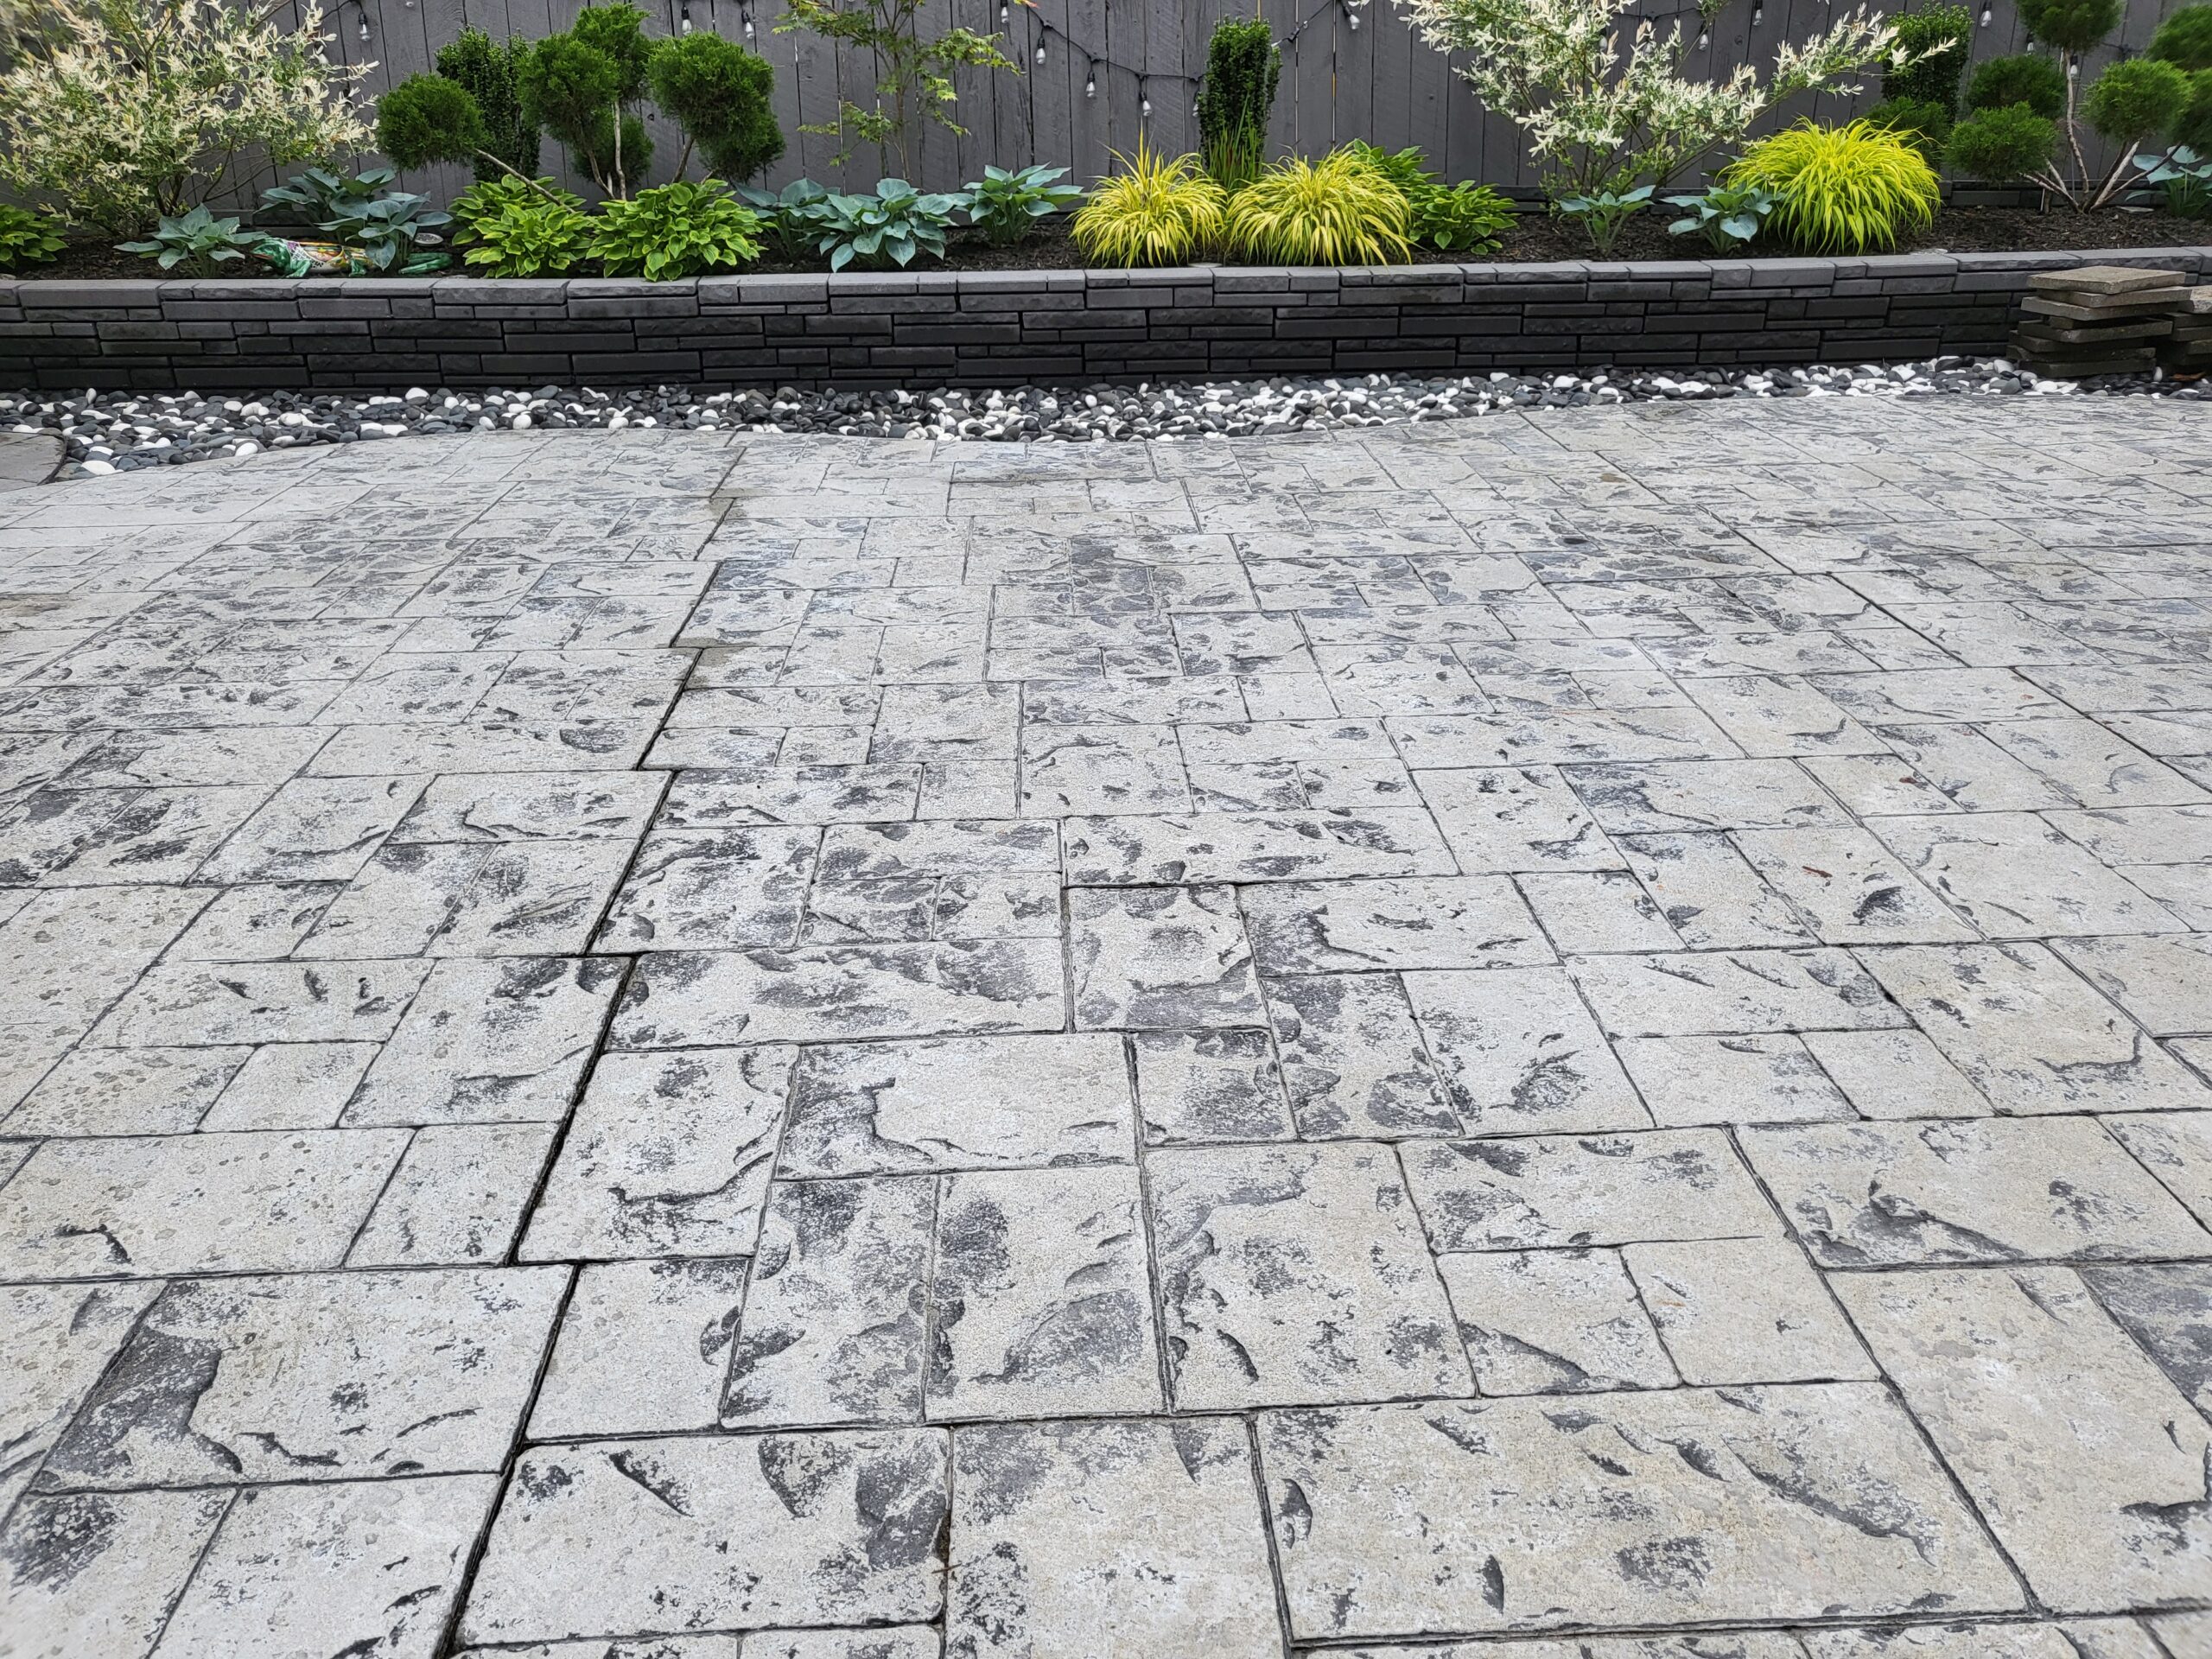
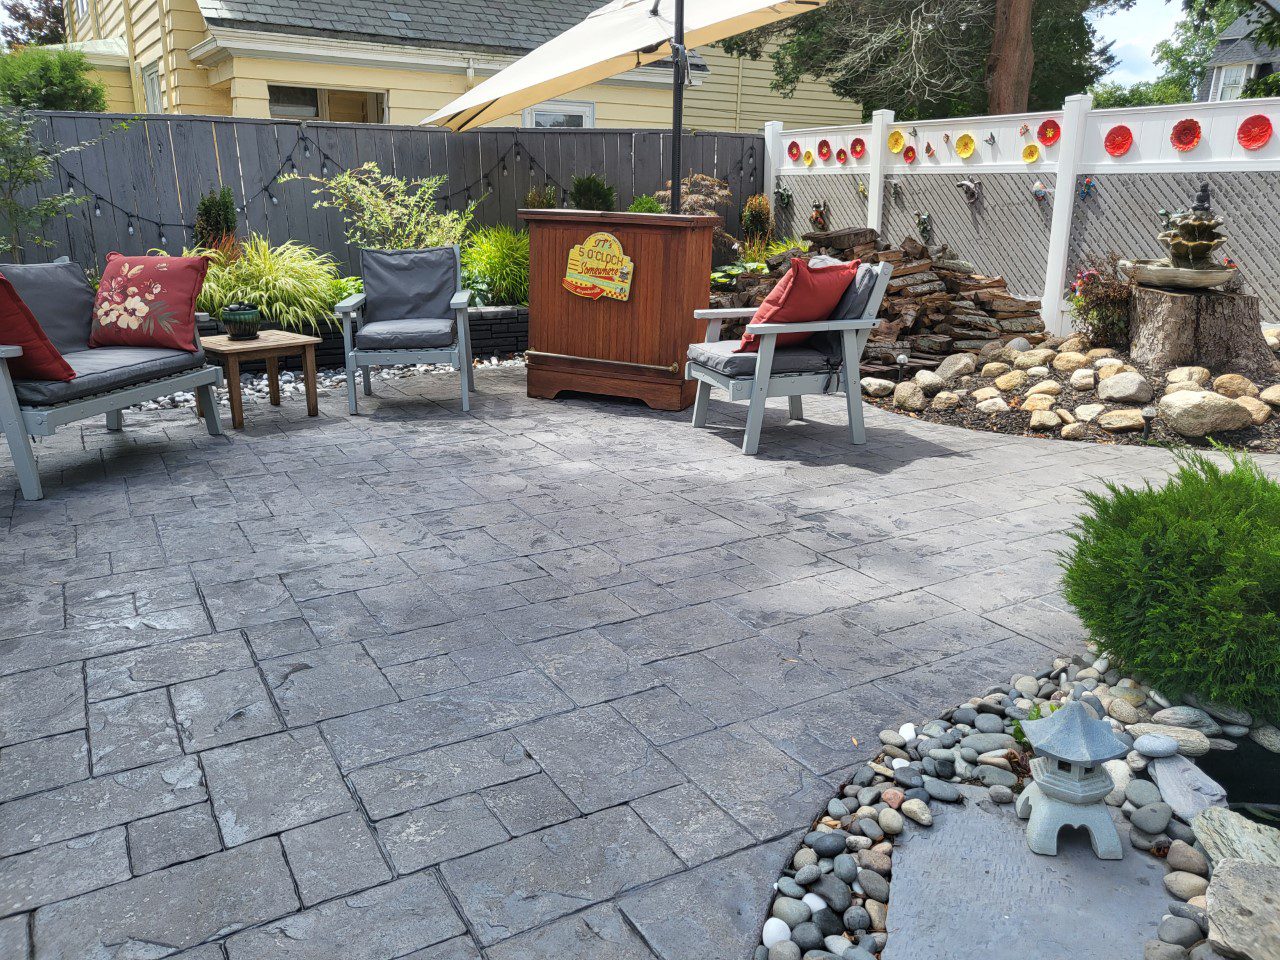
Did you think you needed a professional and a small fortune to make your outdoor patio shine? Think again! Follow us on our adventure, where we, a couple in our mid-50s with zero previous experience, dared to defy the odds. With some online research, how-to videos, and guidance from the wonderful customer support team at Direct Colors, we took on the challenge of transforming our outdated patio. The result? An amazing, professionally-finished patio, and thousands of dollars saved! Plus, we’ve got some hard-earned tips for you. Remember, pre-preparation is crucial, the weather is your friend, and the customer support team is your guardian angel. So, are you ready to roll up your sleeves and join the DIY revolution?
Project Info:
- Project Completed In: 3 day(s)
- Estimate of Square Footage: 200 sq. ft.
- Project Description:
Outdoor patio needed a major make over. We contacted a few professional companies in our area quotes came in around 3,000!!! that made us think perhaps we can do it ourselves! it can’t look any worse than it does now.
After researching online for about a month hubby and I opted to purchase from Direct Colors because of the simple easy to understand instructions, along with the ” how to videos ” available on the website.
I must admit we both were feeling a bit apprehensive at first to take on such a massive project. We are both in our mid 50″s with zero previous experience.
After contacting the wonderful customer support service team at Direct Colors we took the plunge and ordered. The customer service team is professional, knowledgeable and was patient with our questions explaining in layman’s terms our questions.
It’ was comforting to know professional assistance was just a phone call away 3 days later our patio was finished, looks amazingly well done saved literally thousands of dollars and had the feeling of accomplishment.
Thank you Direct Colors!
- Personal Tips:
Pre- preparation is 90% the key to success. A clean, grease free surface is a must!
Check weather forecast partly cloudy/ no rain in the forecast for 3 days, green flag to begin
Make sure you have all equipment ( brushes, tarps, rollers, trays, etc.) required gathered in one handy space
Create a checklist of materials needed prior to starting.
Read then re-read the directions/ instructions
Jot down any questions you may have, then contact Direct Colors customer support … the team is fabulous!
Direct Colors Products Used:
1 Gal. Gray Antiquing™ & EasySeal™ Satin Kit
1 Gal. Light Charcoal Antiquing™ Stain
Fired Up Facelift: Elevating a Natural Stone Firepit with a DIY Gray Makeover
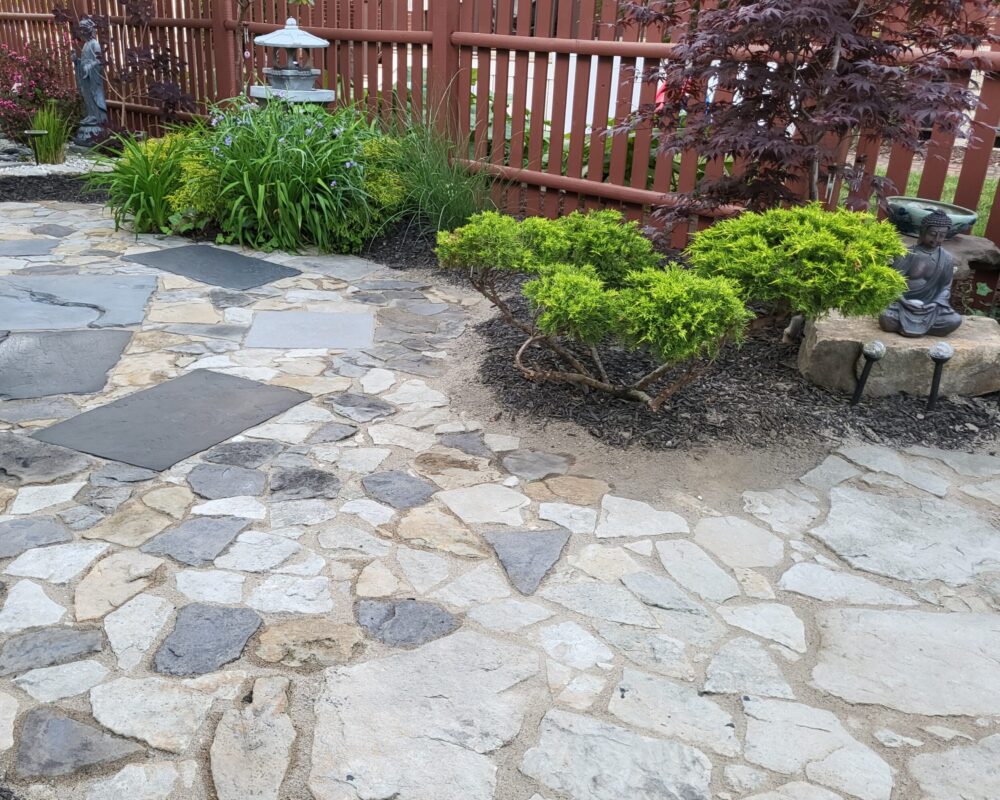
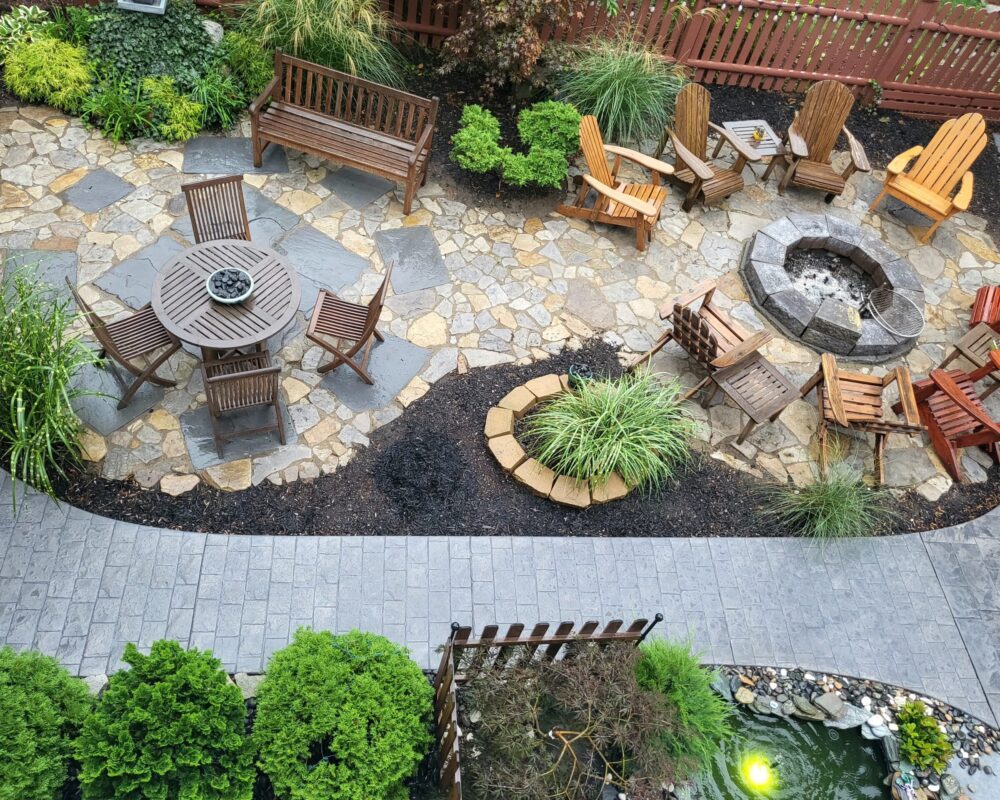
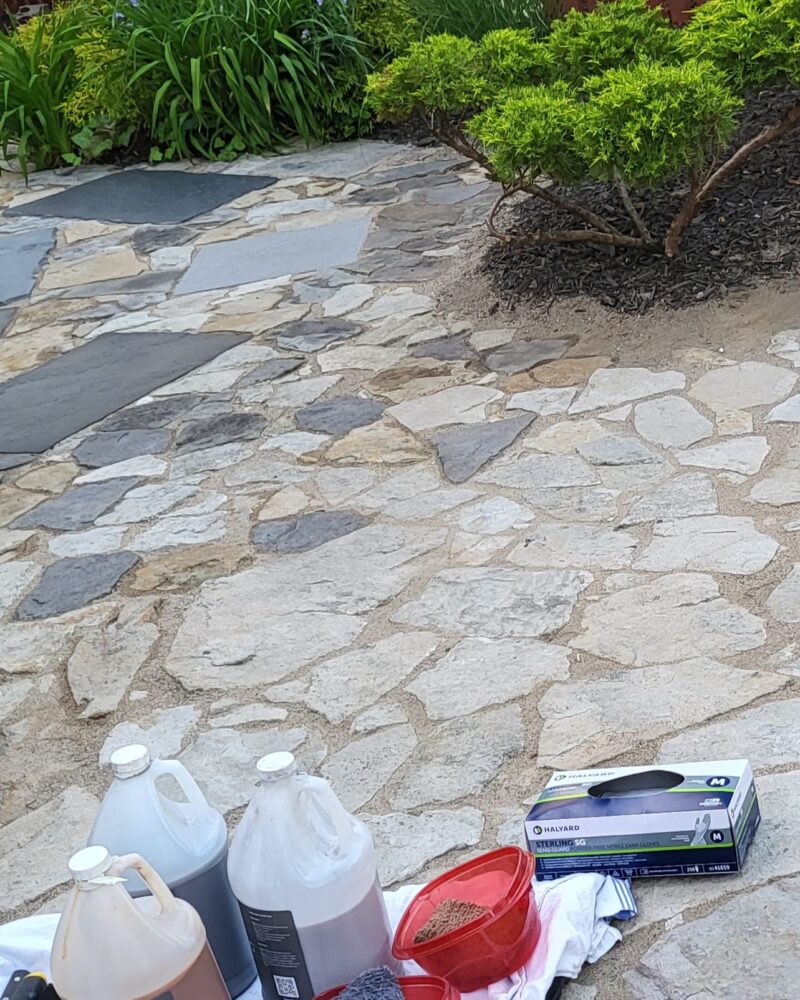
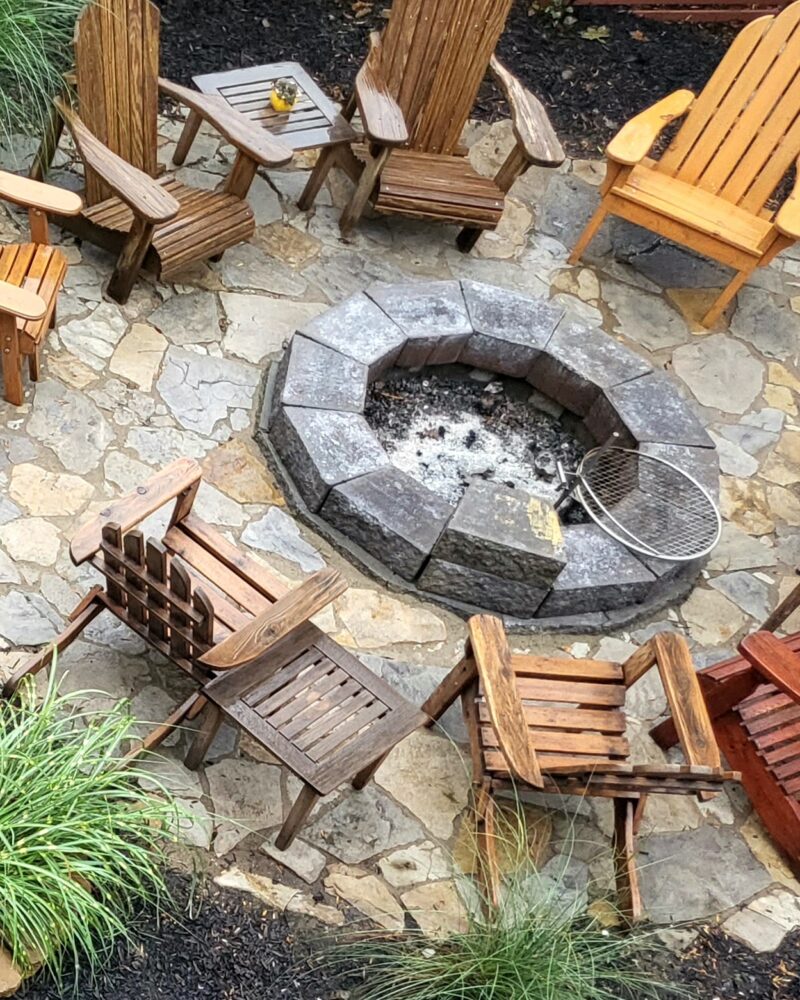
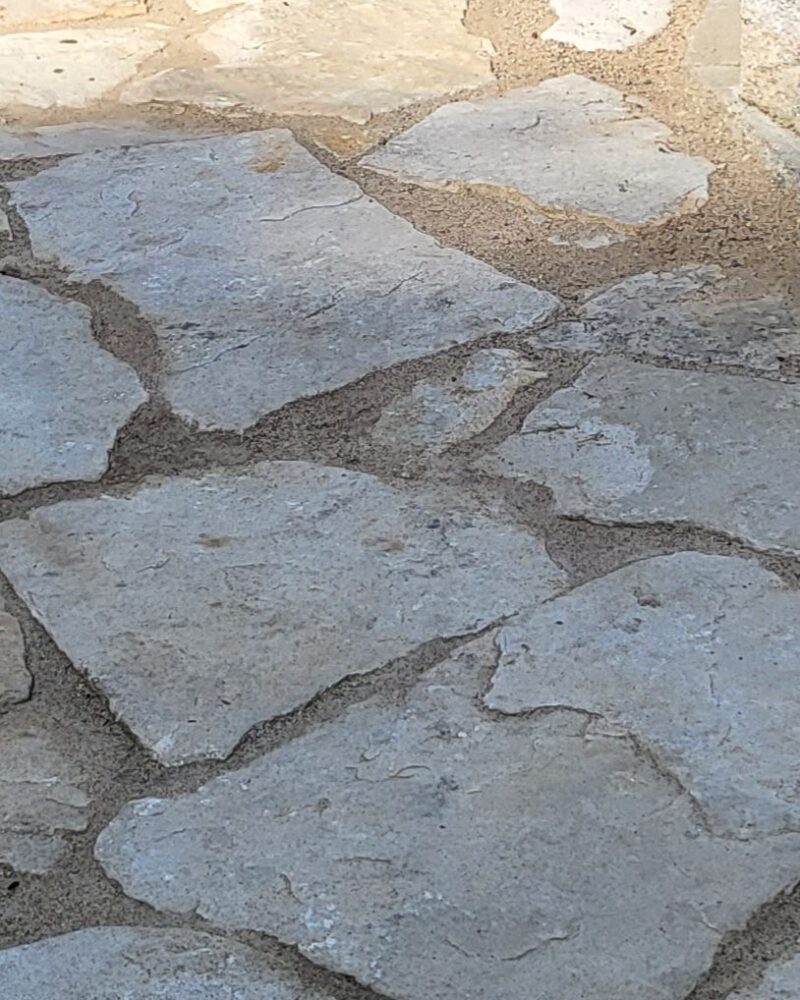
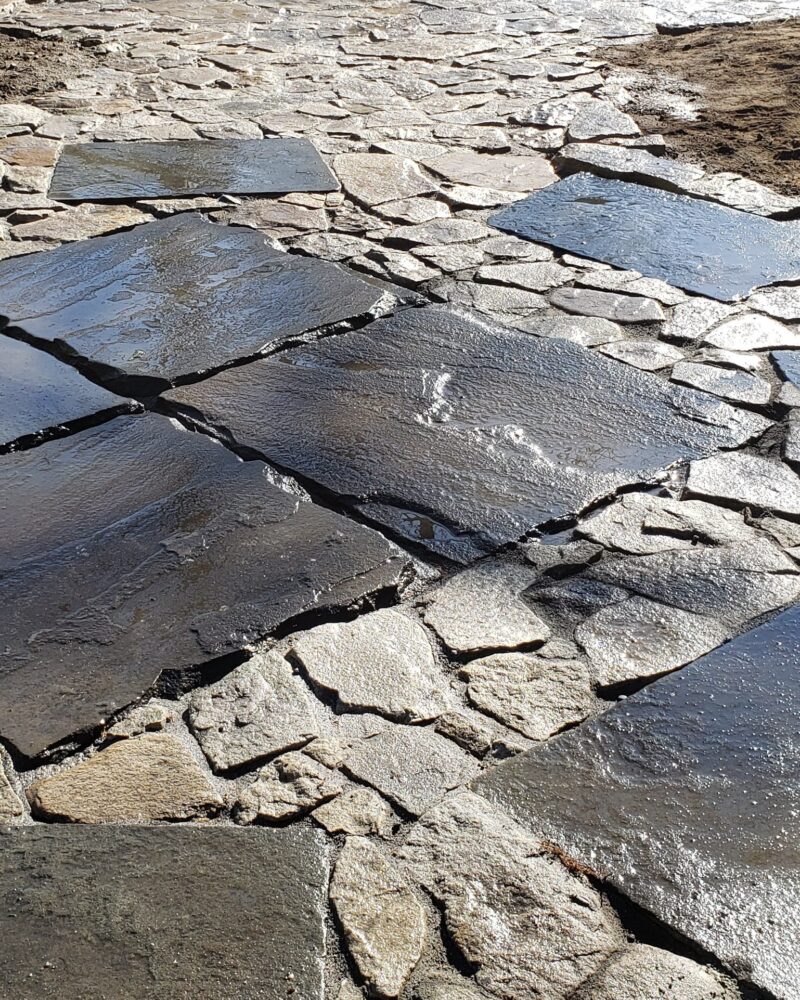
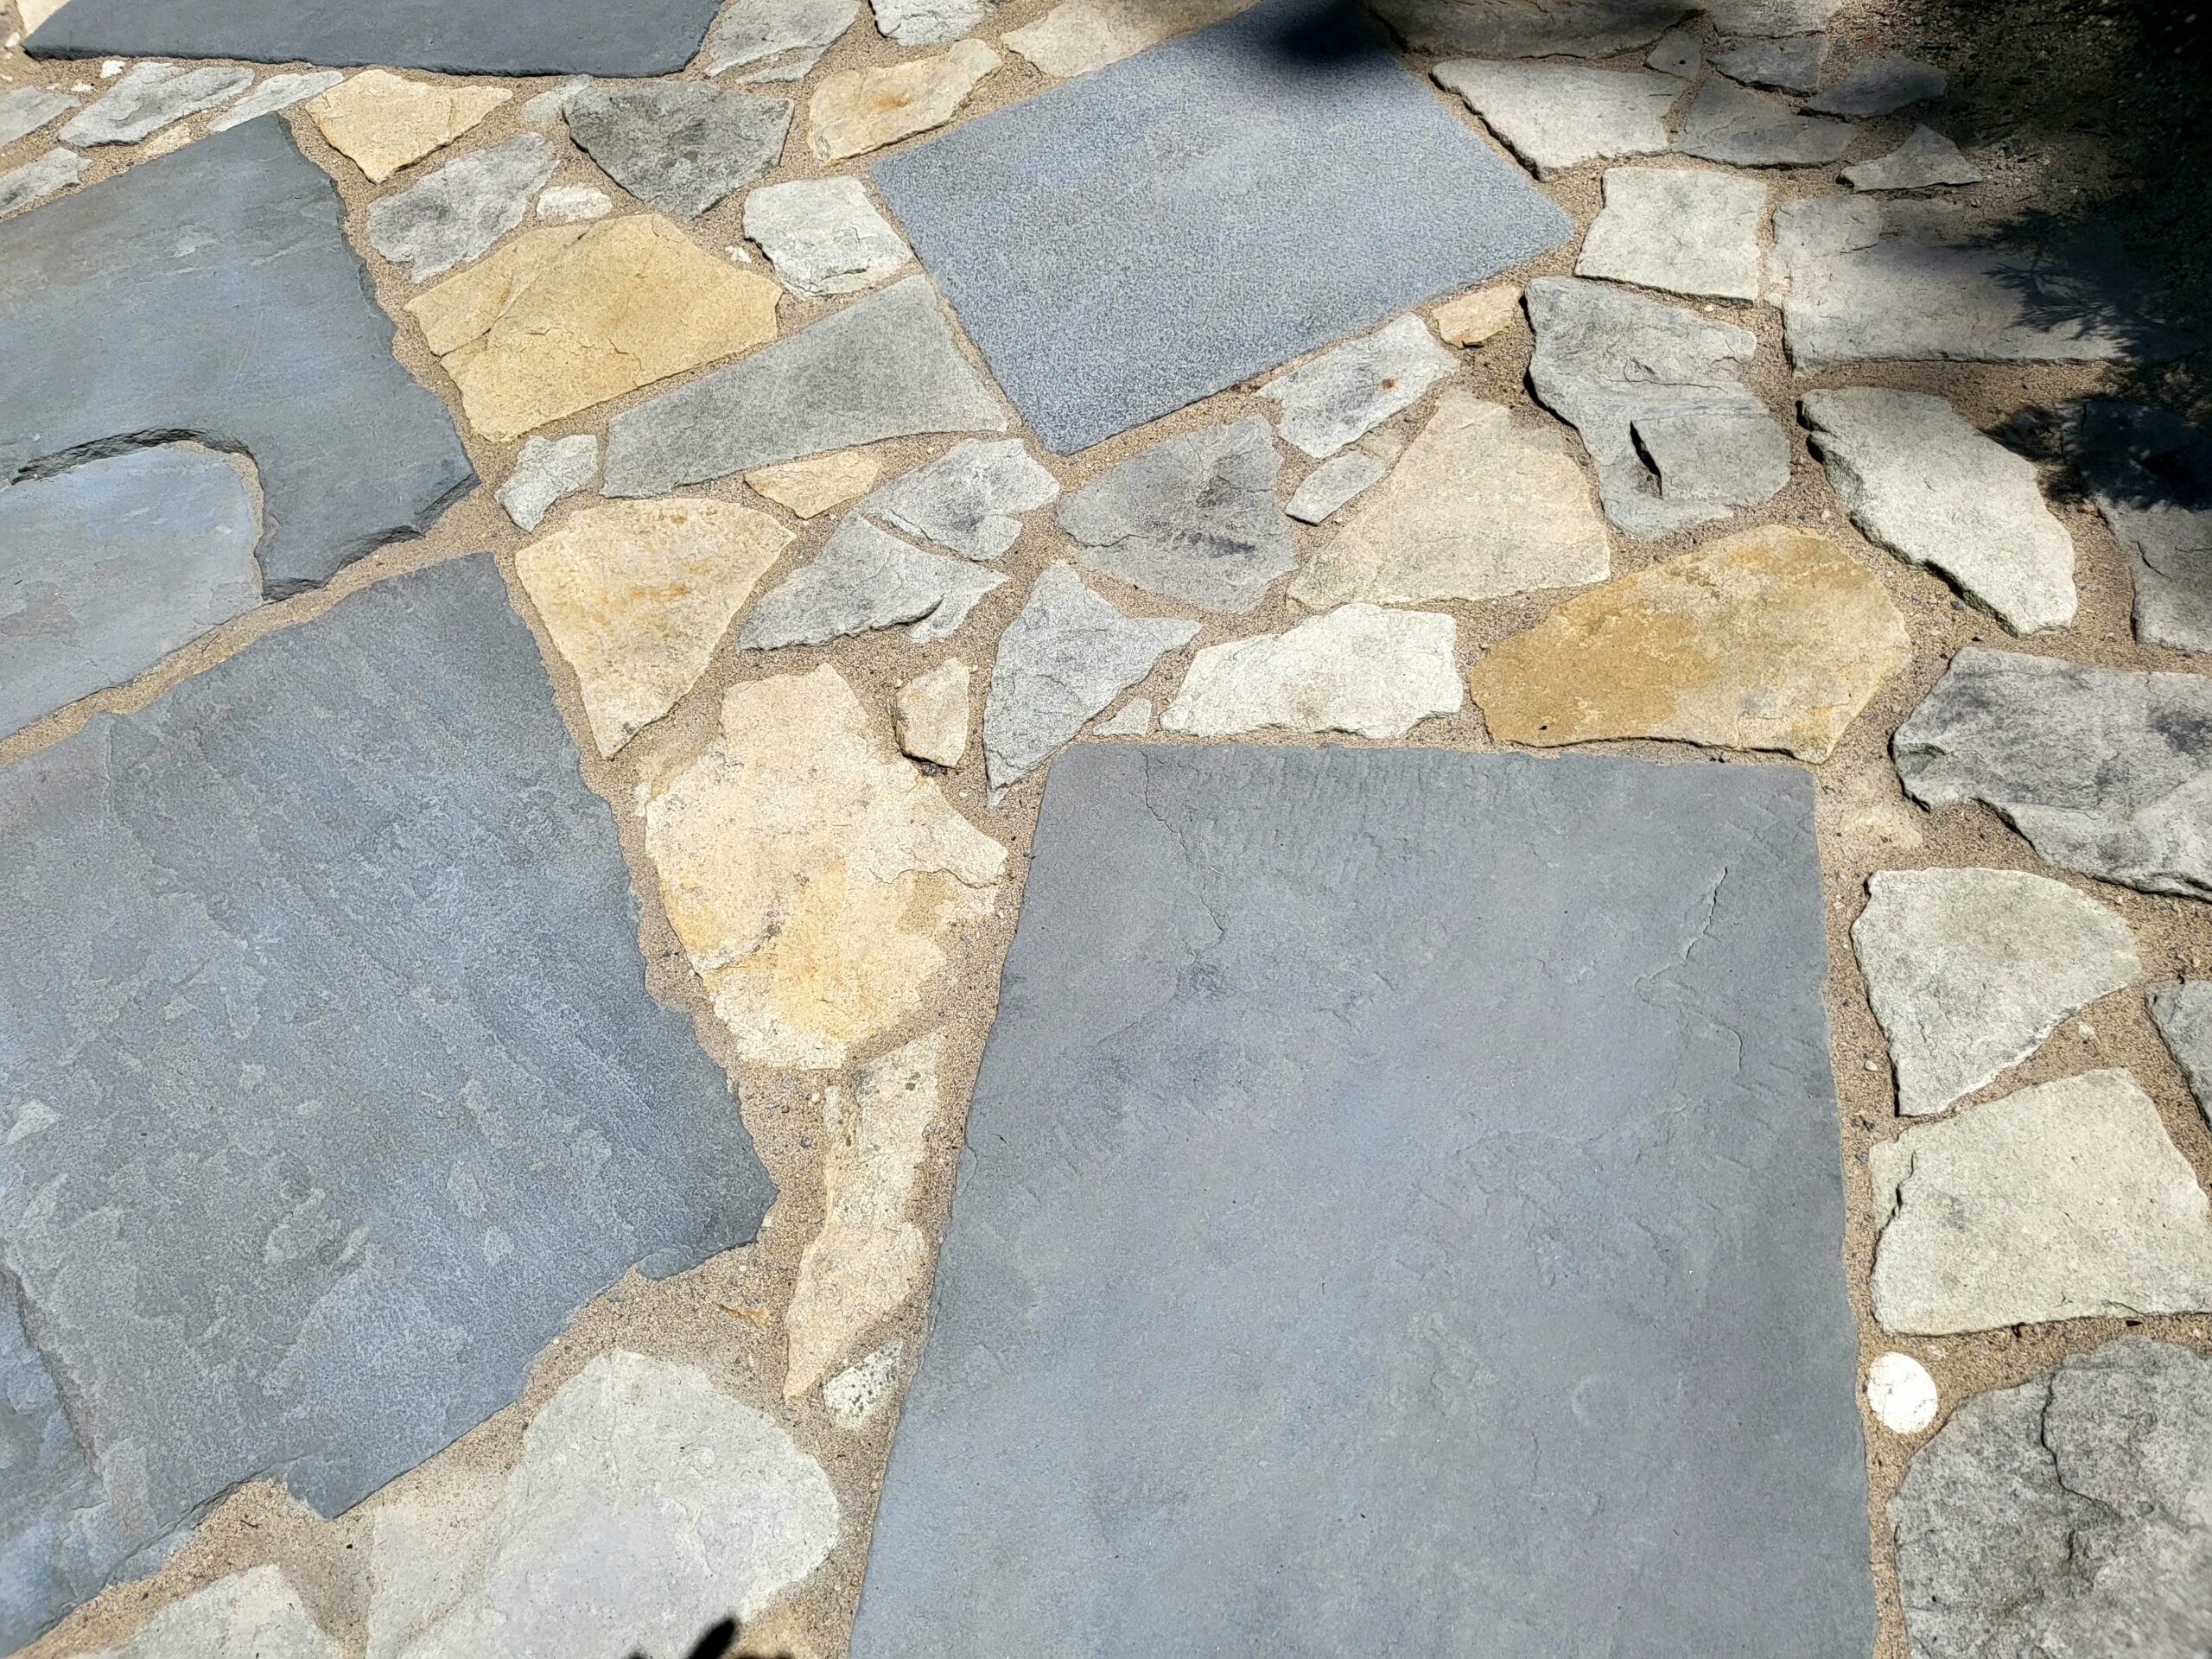
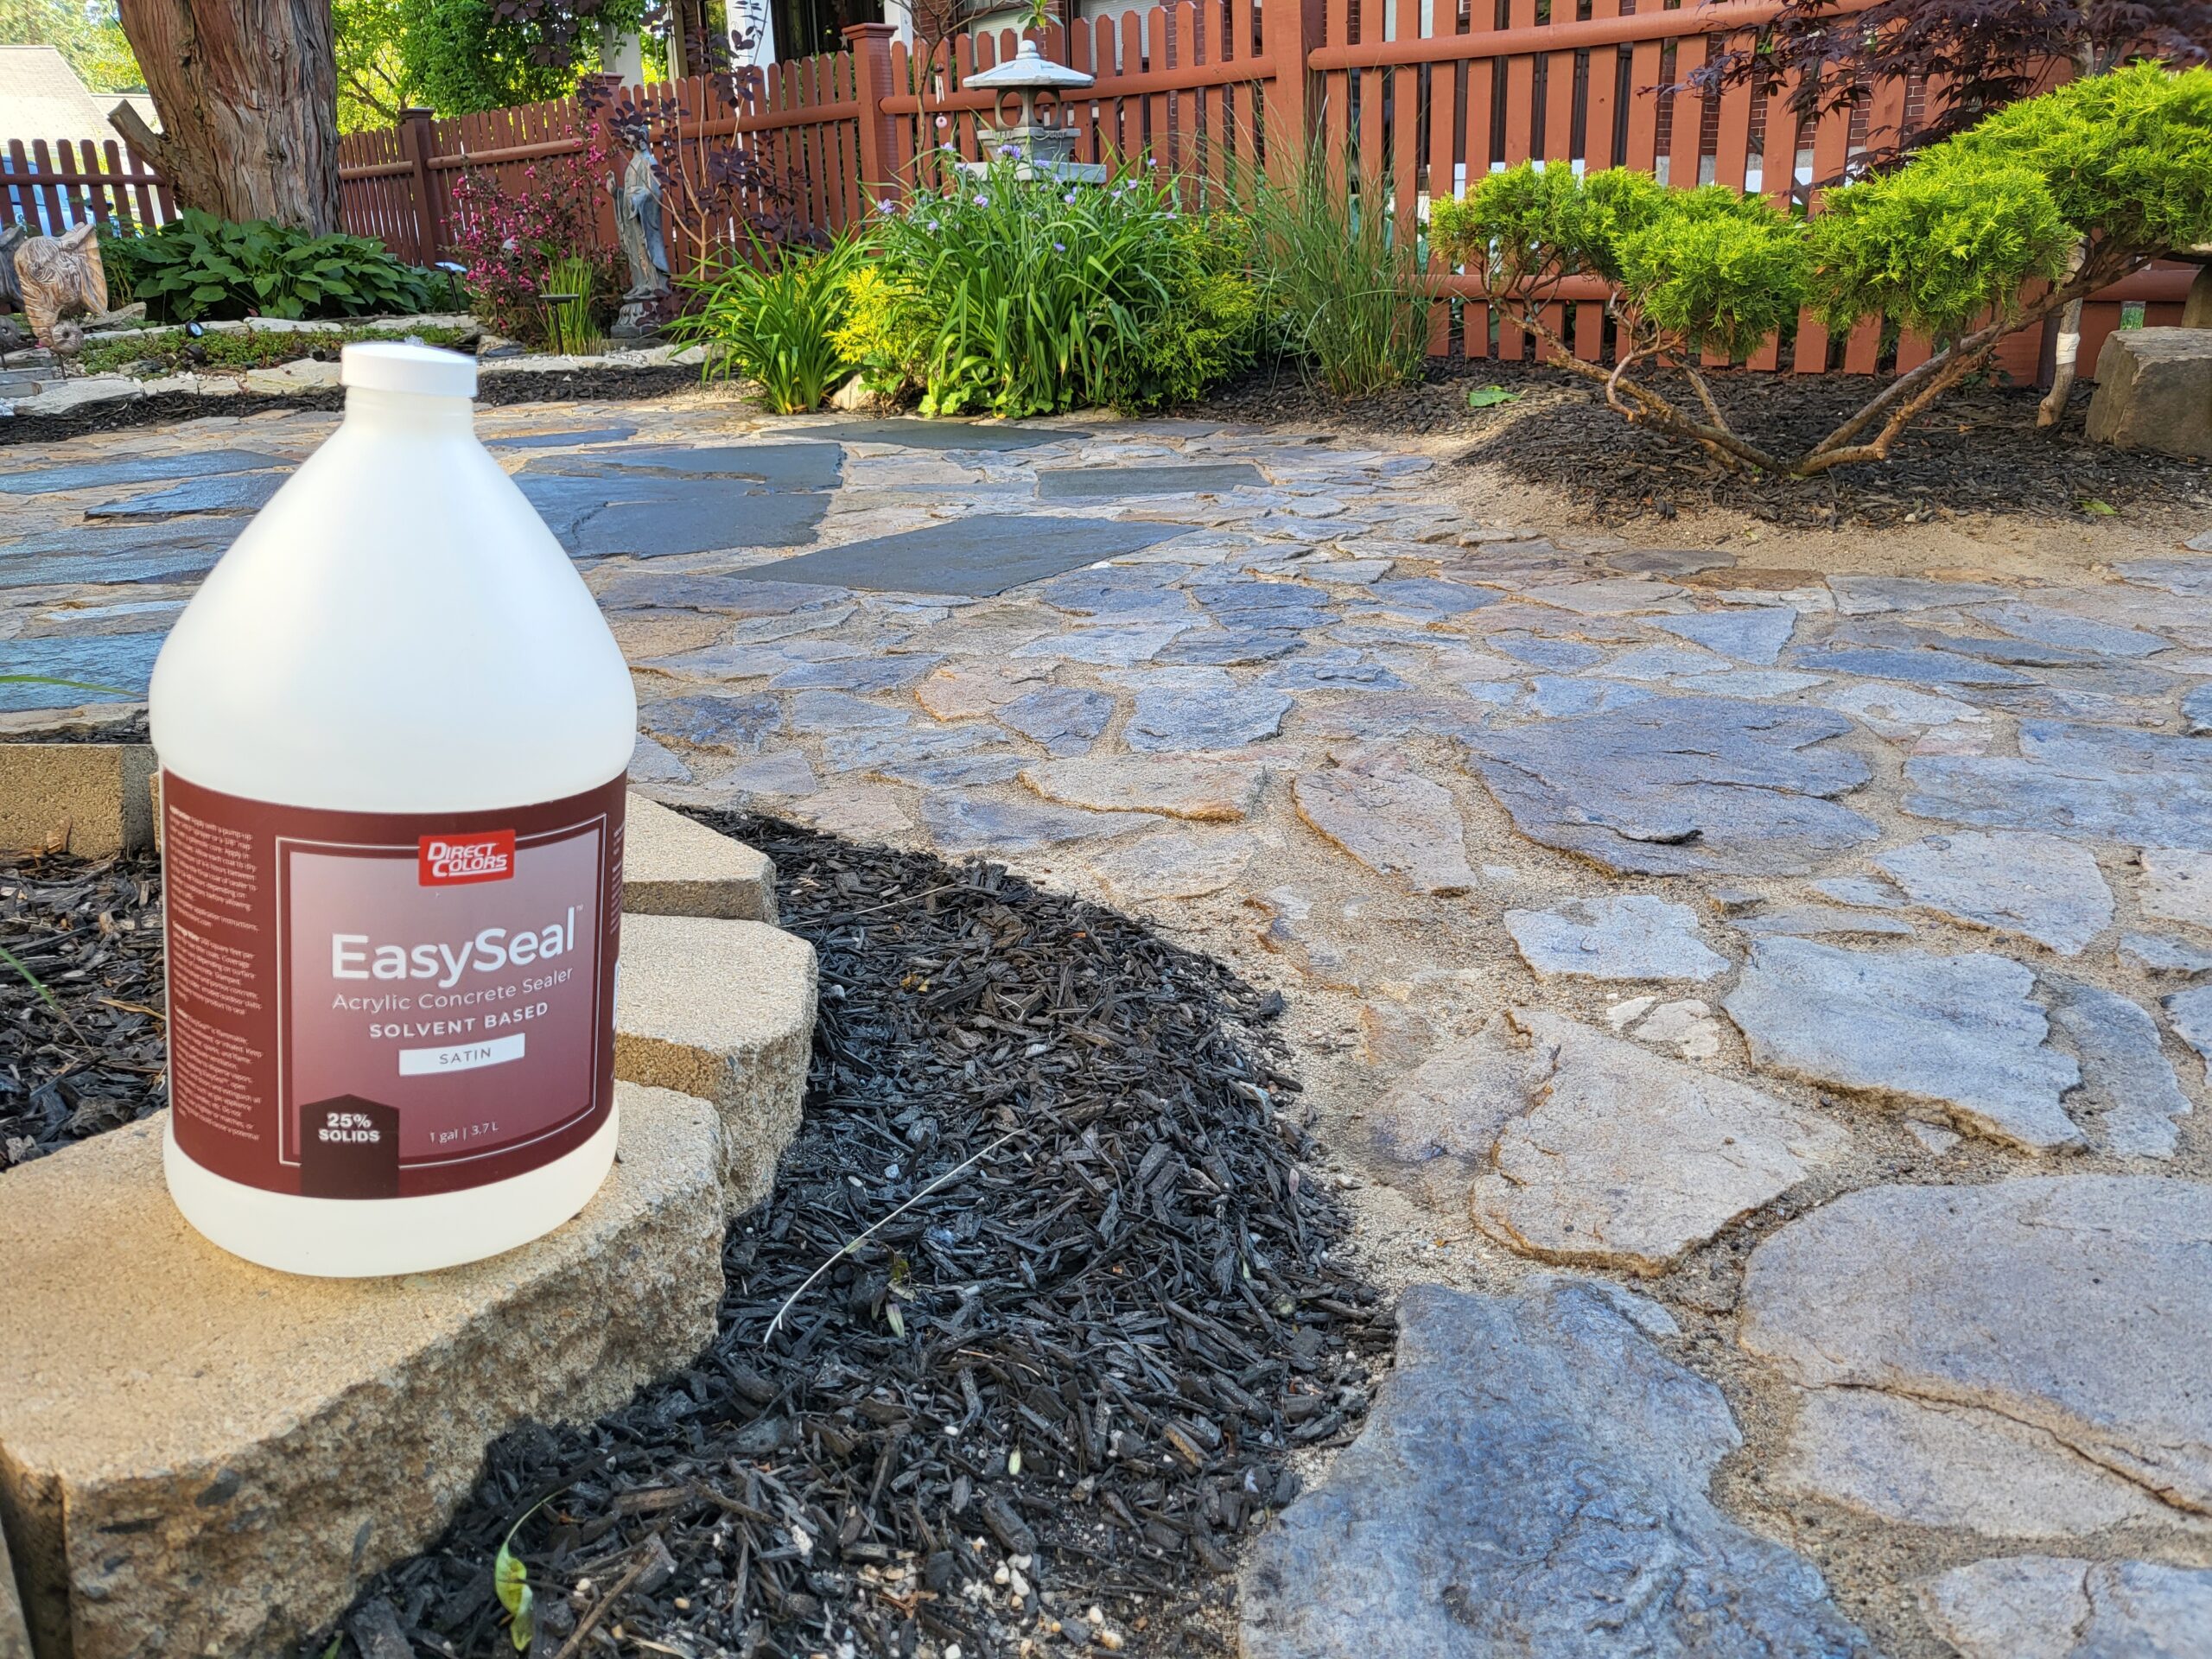
What happens when your natural stone firepit cries out for a fresh look, but contractor estimates leave you feeling chilly? You stoke your DIY spirit, that’s what! Welcome to our firepit revamp adventure, where we went from drab to fab with a little help from Direct Colors. After some good ol’ scrubbing, we hand-painted each stone to sleek perfection, finishing it off with a satin sealant for that ‘wow’ factor. Spoiler: The end result was hot! So, check the weather, gather your tools, and get ready to breathe new life into your firepit! If we can do it, you can too!
Project Info:
- Project Completed In: 5 day(s)
- Estimate of Square Footage: 600 sq. ft.
- Project Description:
My natural stone firepit needed an upgrade. After contacting several local contractors and receiving estimates averaging around 4,000. I decided to tackle this project on my own. Luckily, I found Direct Colors online. I appreciated the helpful tutorials, other customers tips/ experience and ideas along with Direct Colors knowledgeable and friendly staff. My firepit went from tired/ drab to a major focal point with the wow factor I wanted.
After cleaning and preparing the natural stones by using a stone cleaner/ degreaser, garden hose, and scrub brush. I allowed the firepit and stones to dry. I then hand painted each rock individually … 3 coats … drying into coats before applying the next. I finished with 3 coats of satin finish sealant. I am most pleased with the end result.
- Personal Tips:
Have all materials and equipment necessary on hand prior to starting.
Take your time. If I can get professional results like this … anyone can!
Observe the weather forecast before beginning project. partly cloudy and no rain for the next 3 days … is a green flag to begin!
BBQ Bash Makeover: Turning a Patio Dream into a DIY Reality with Gray Stain
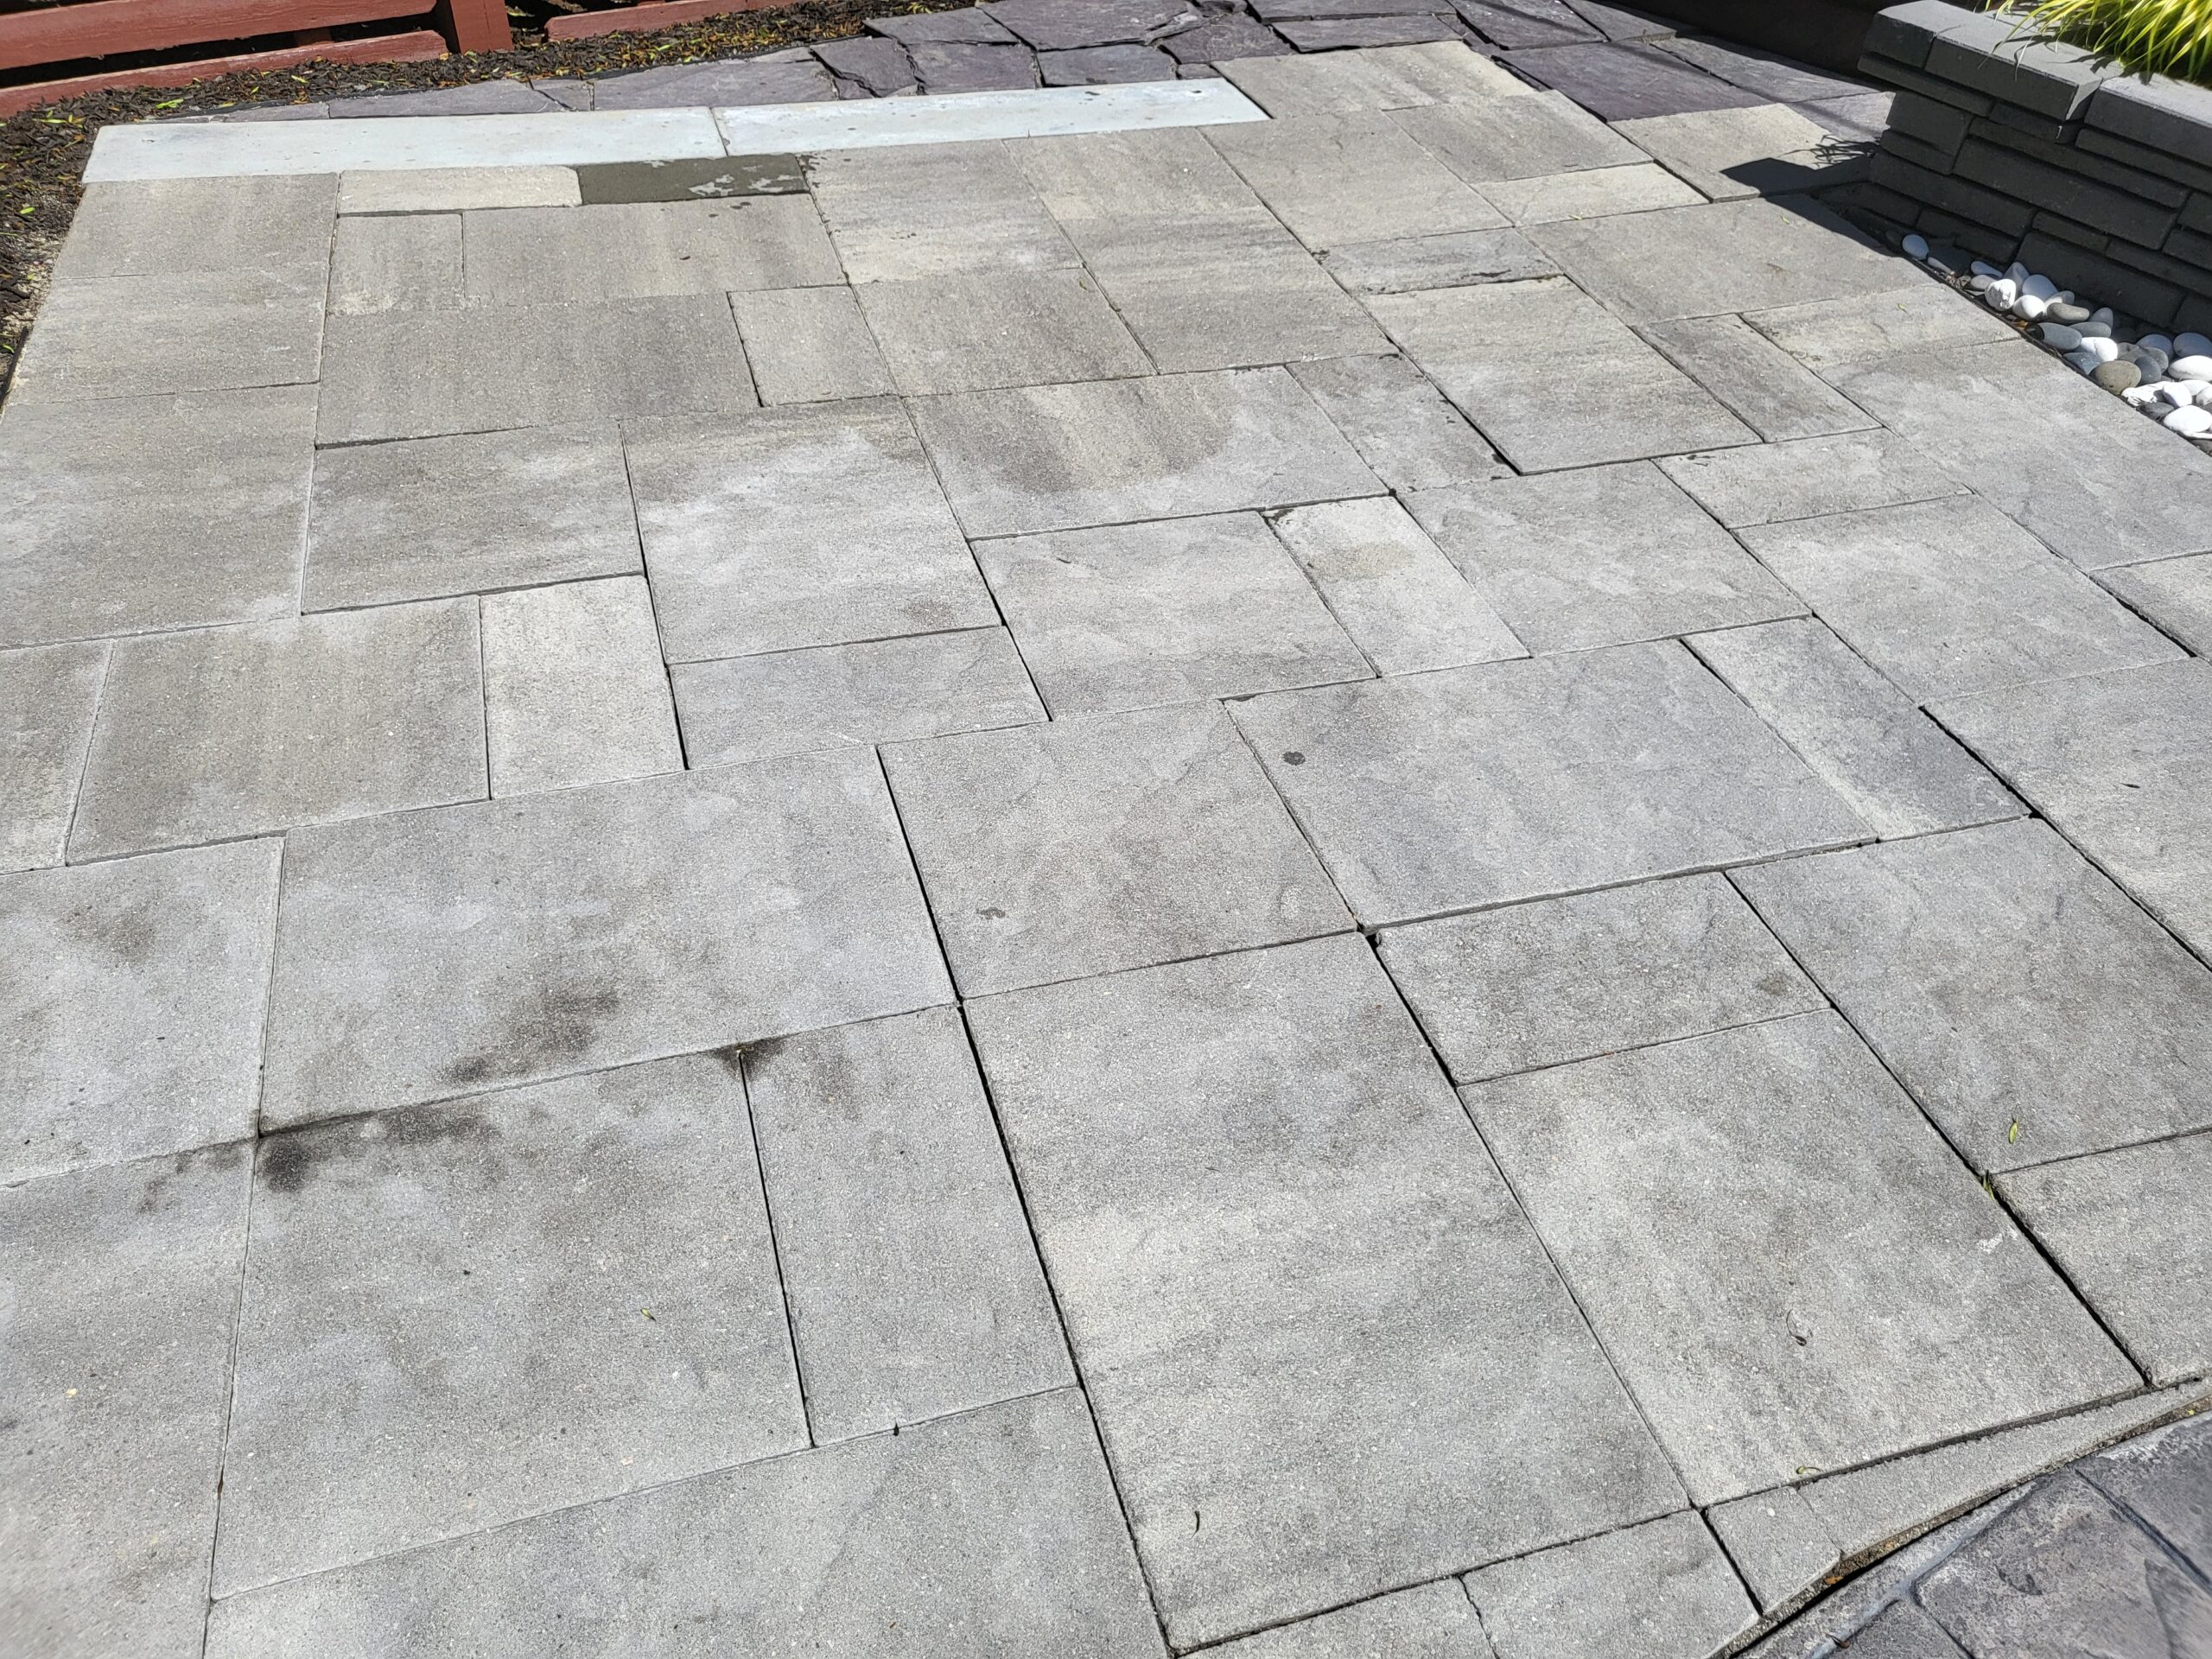
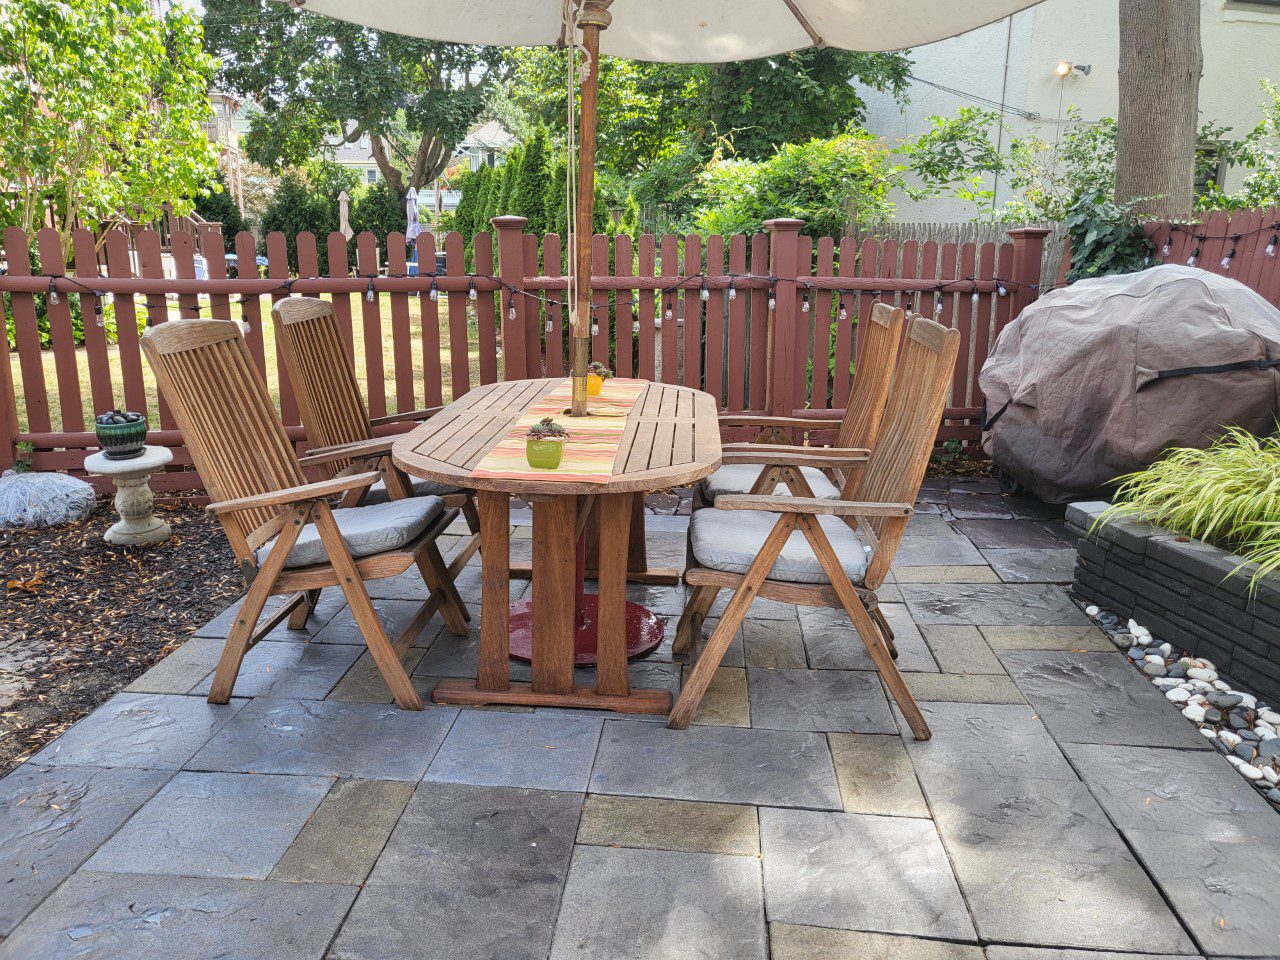
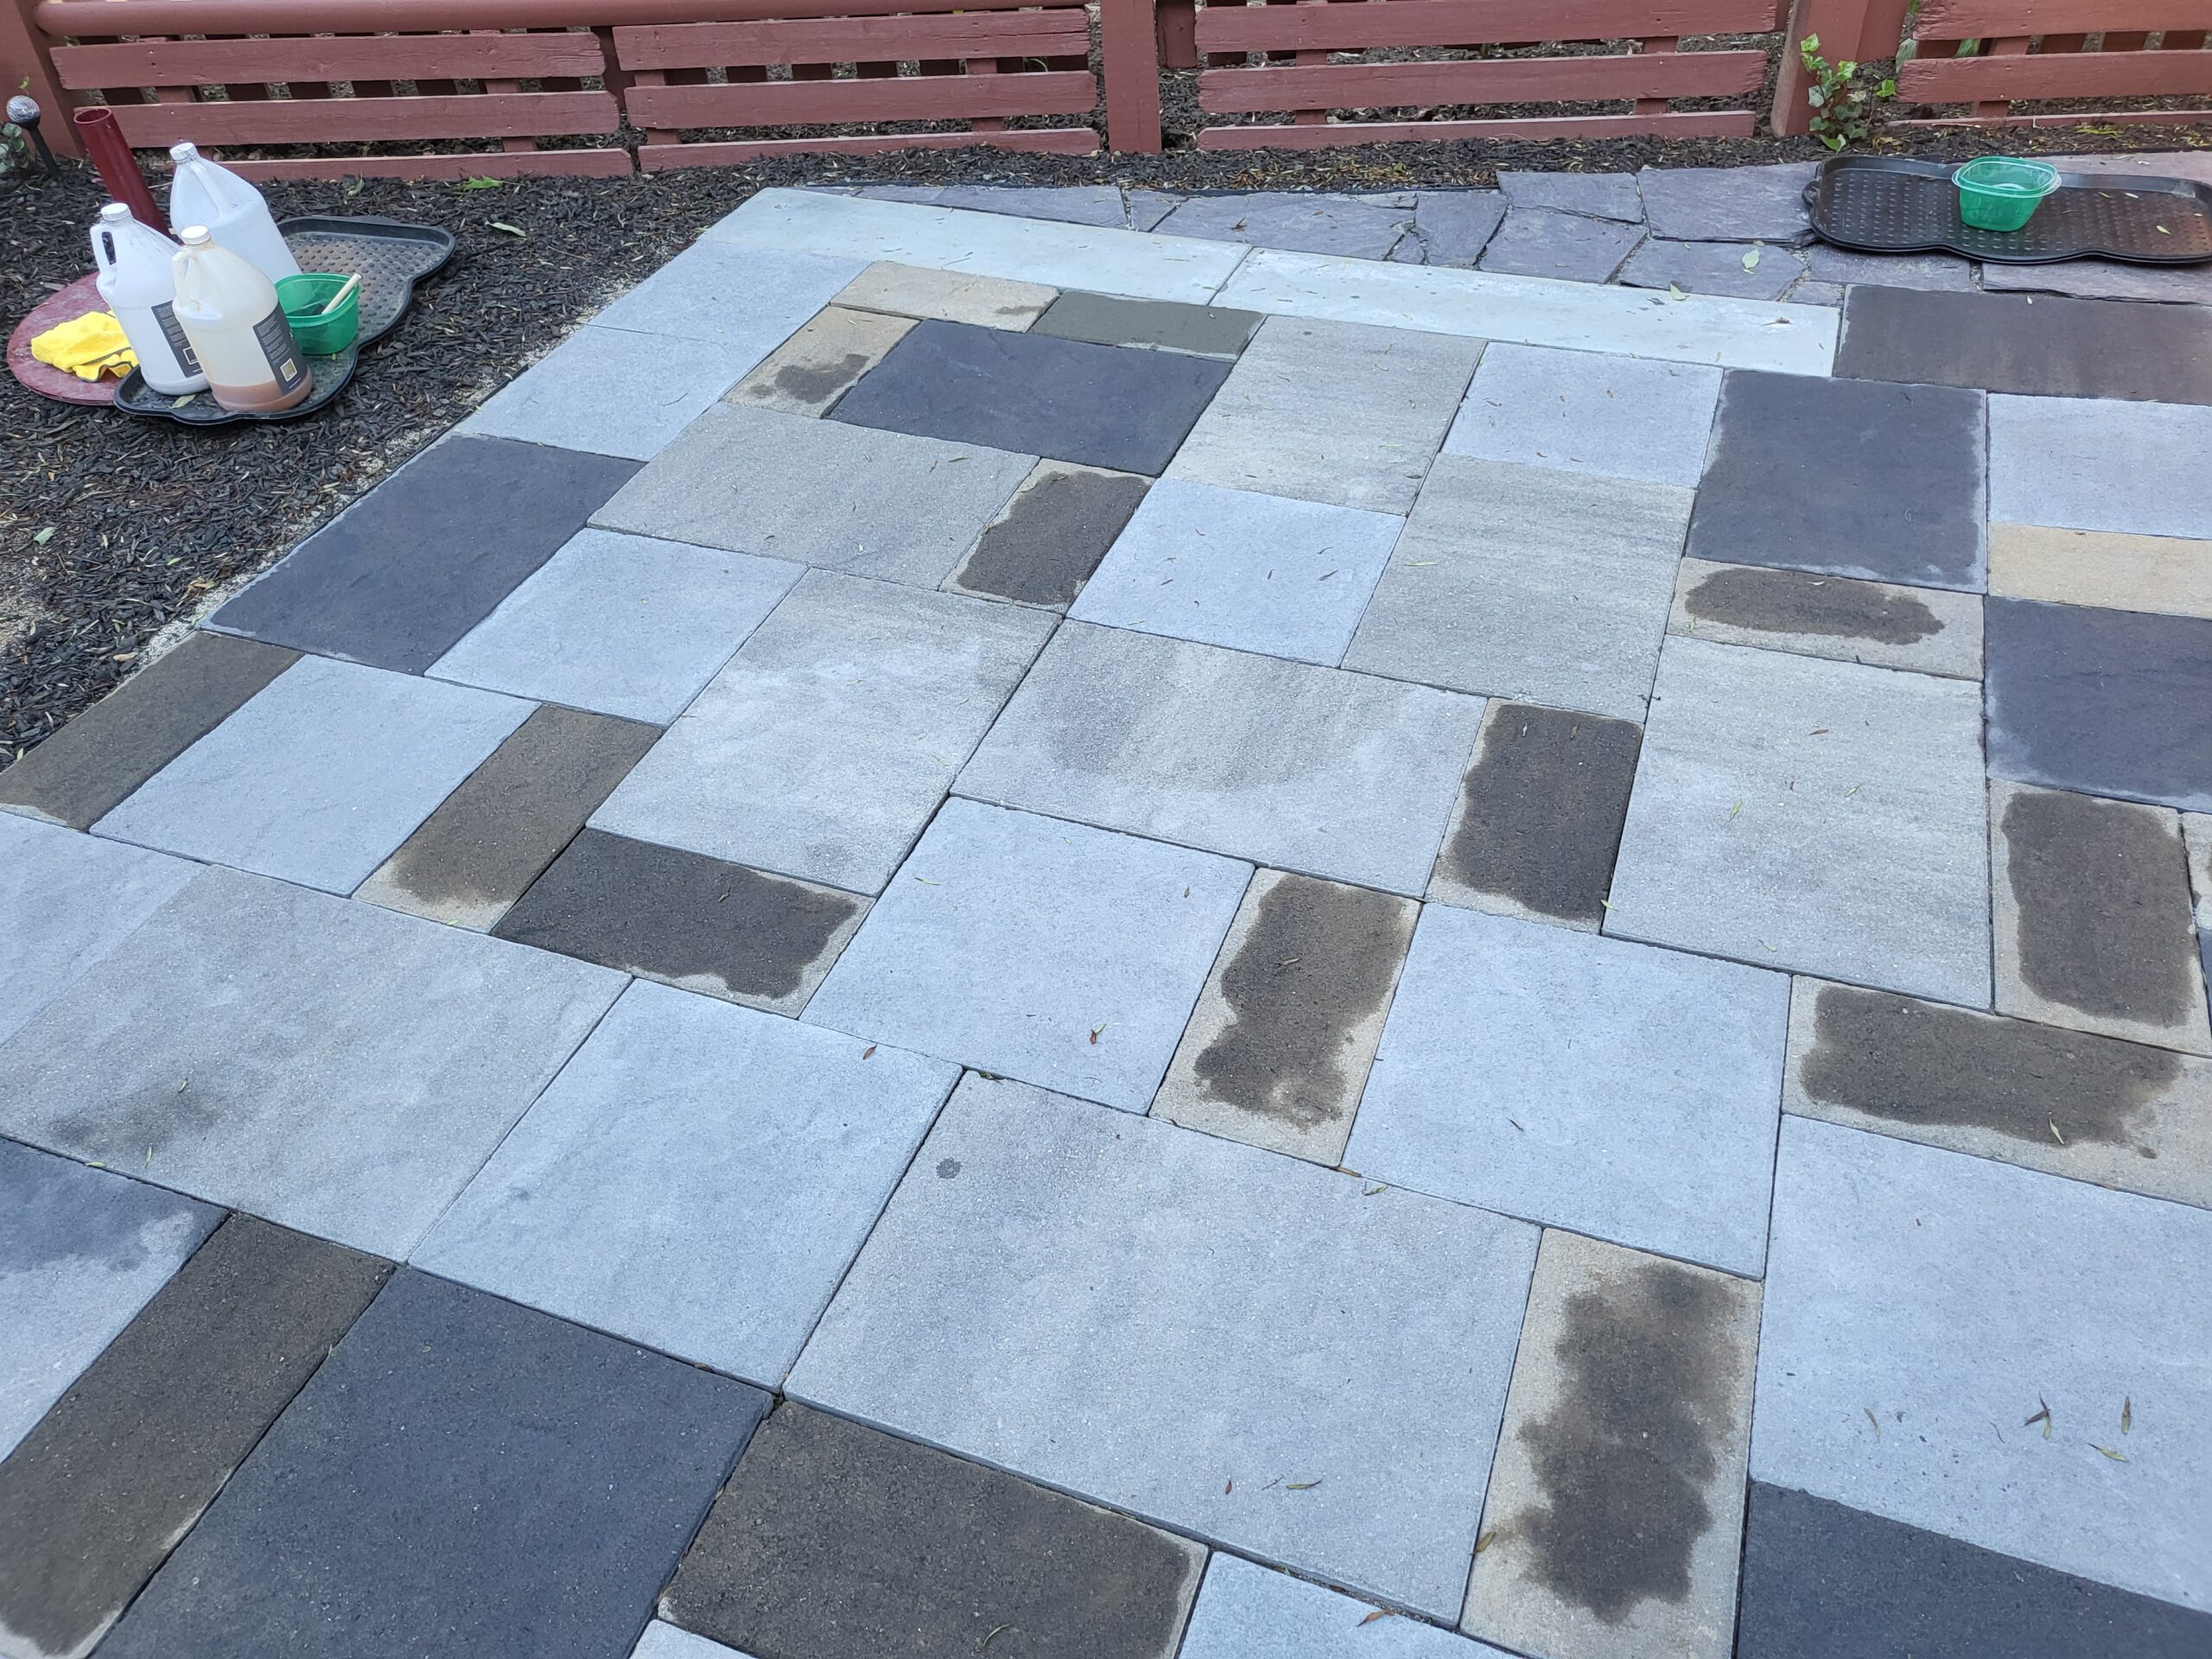
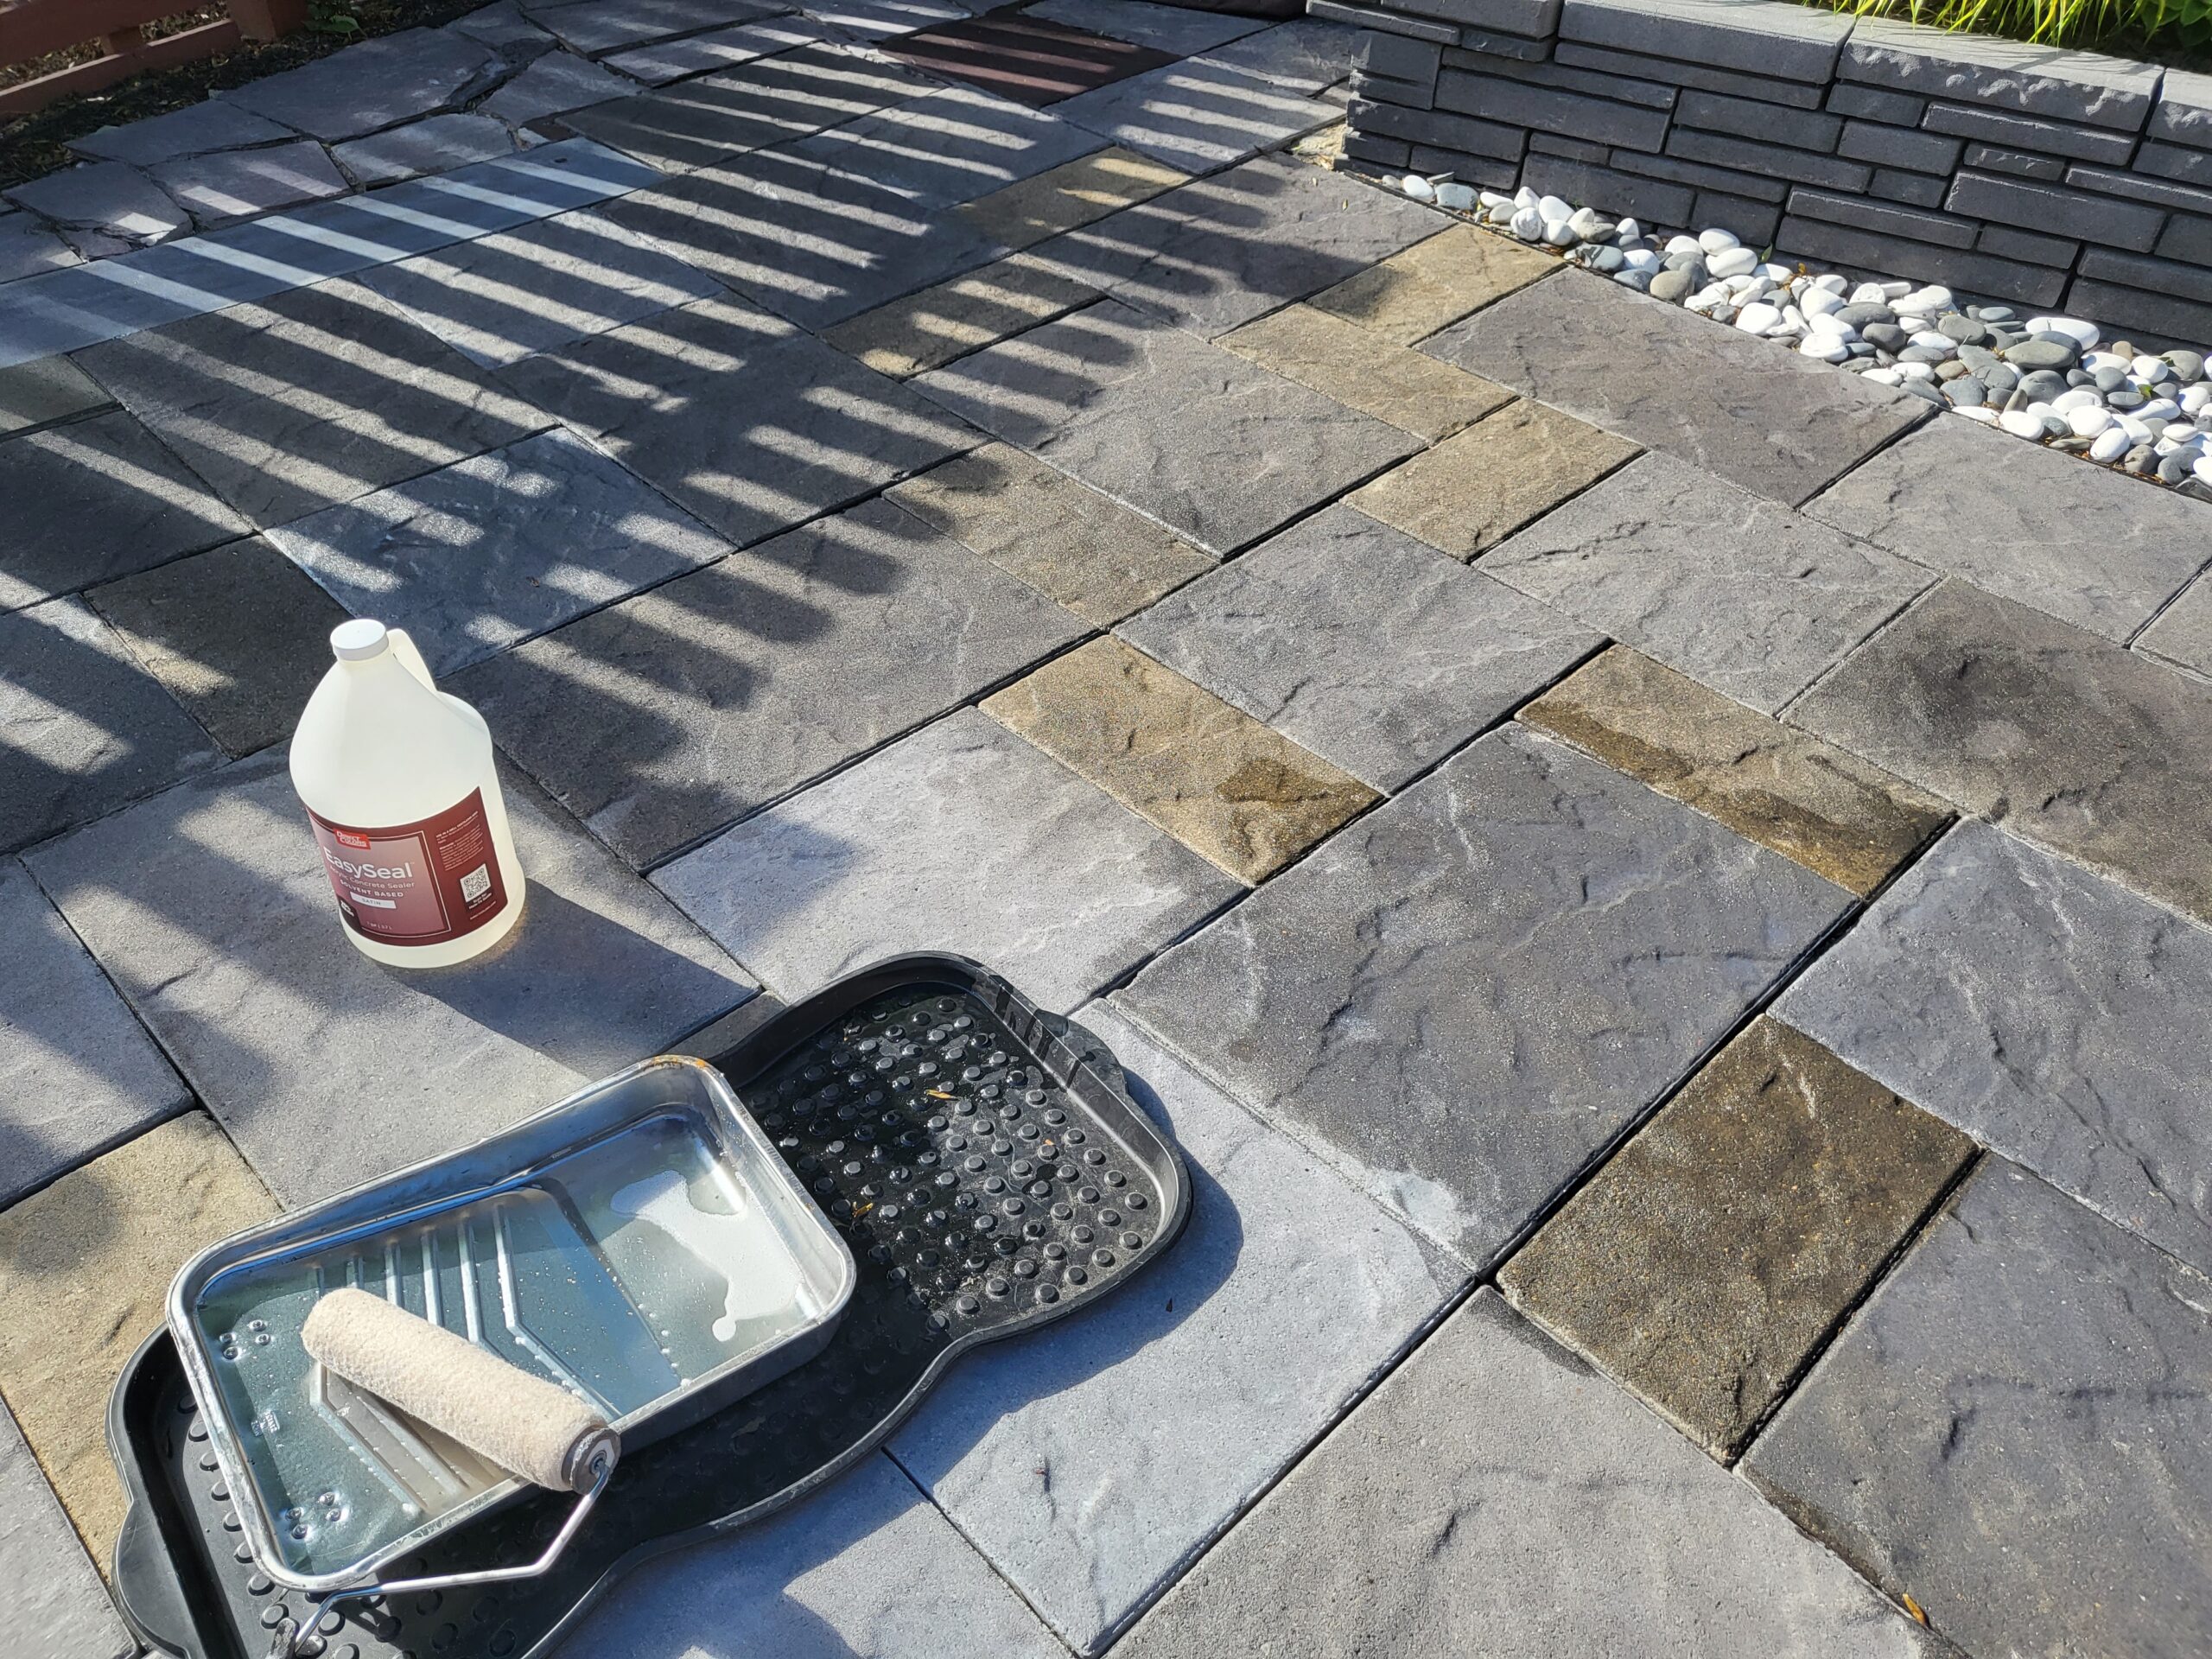
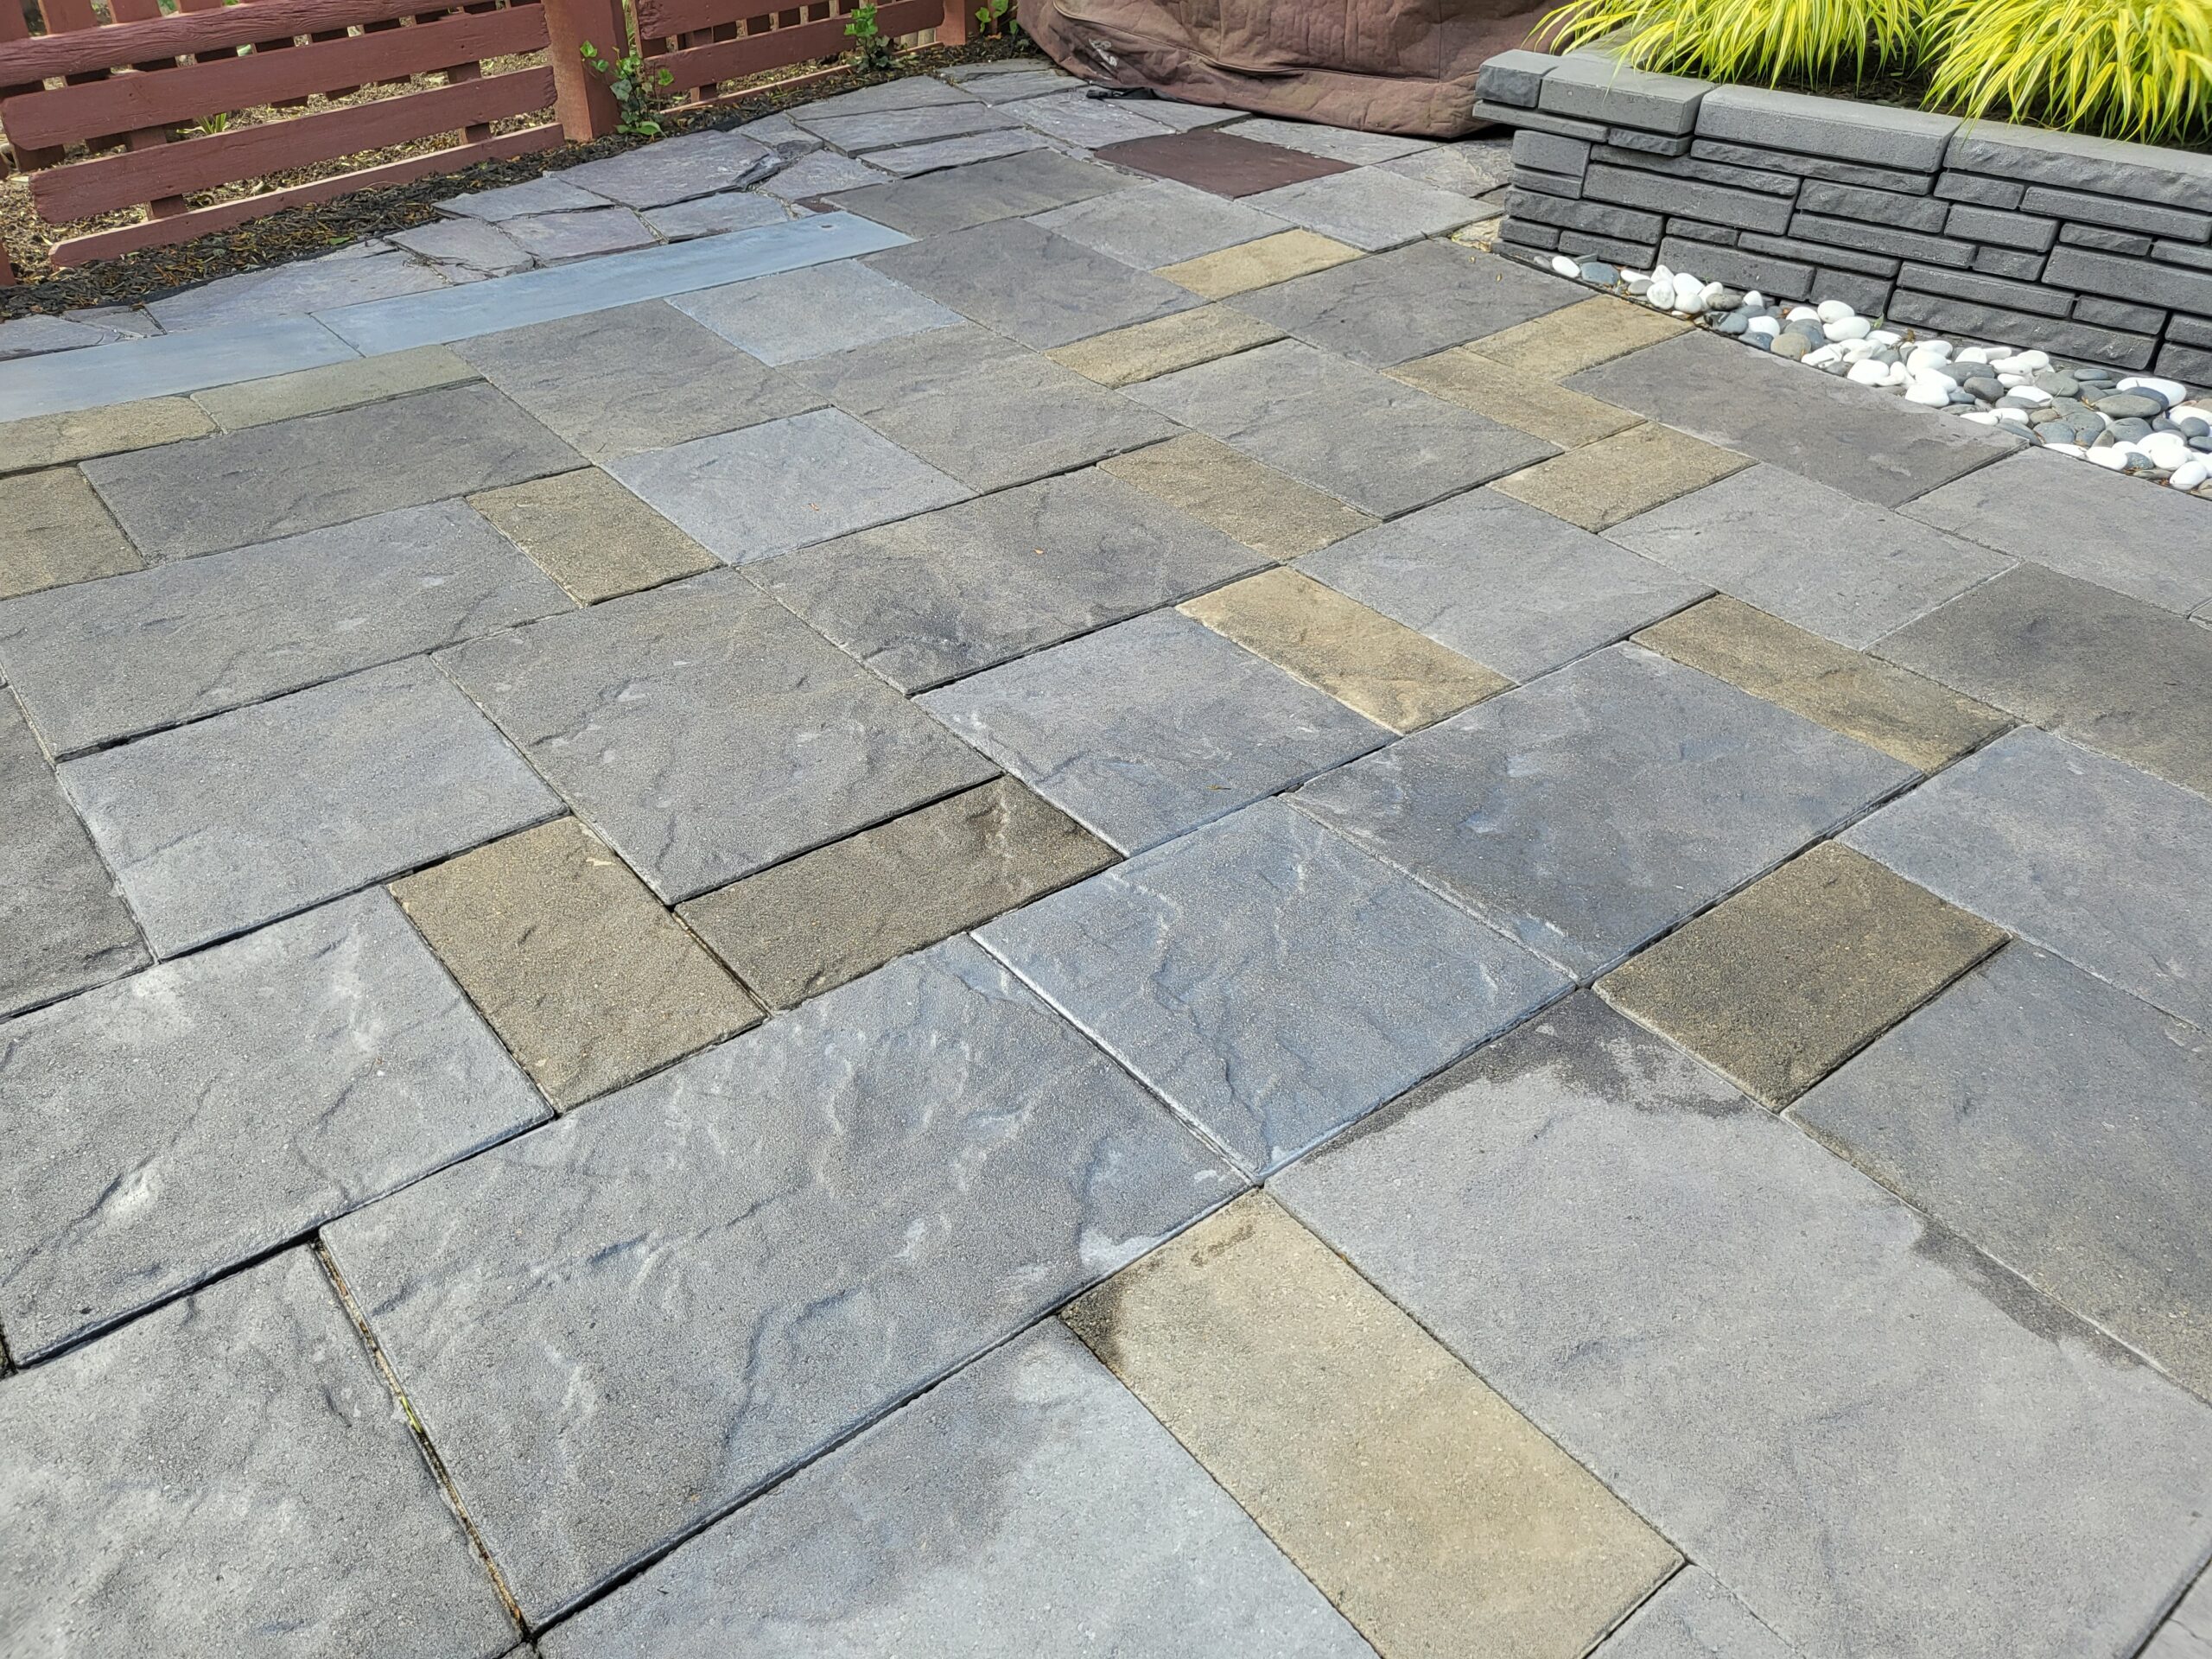
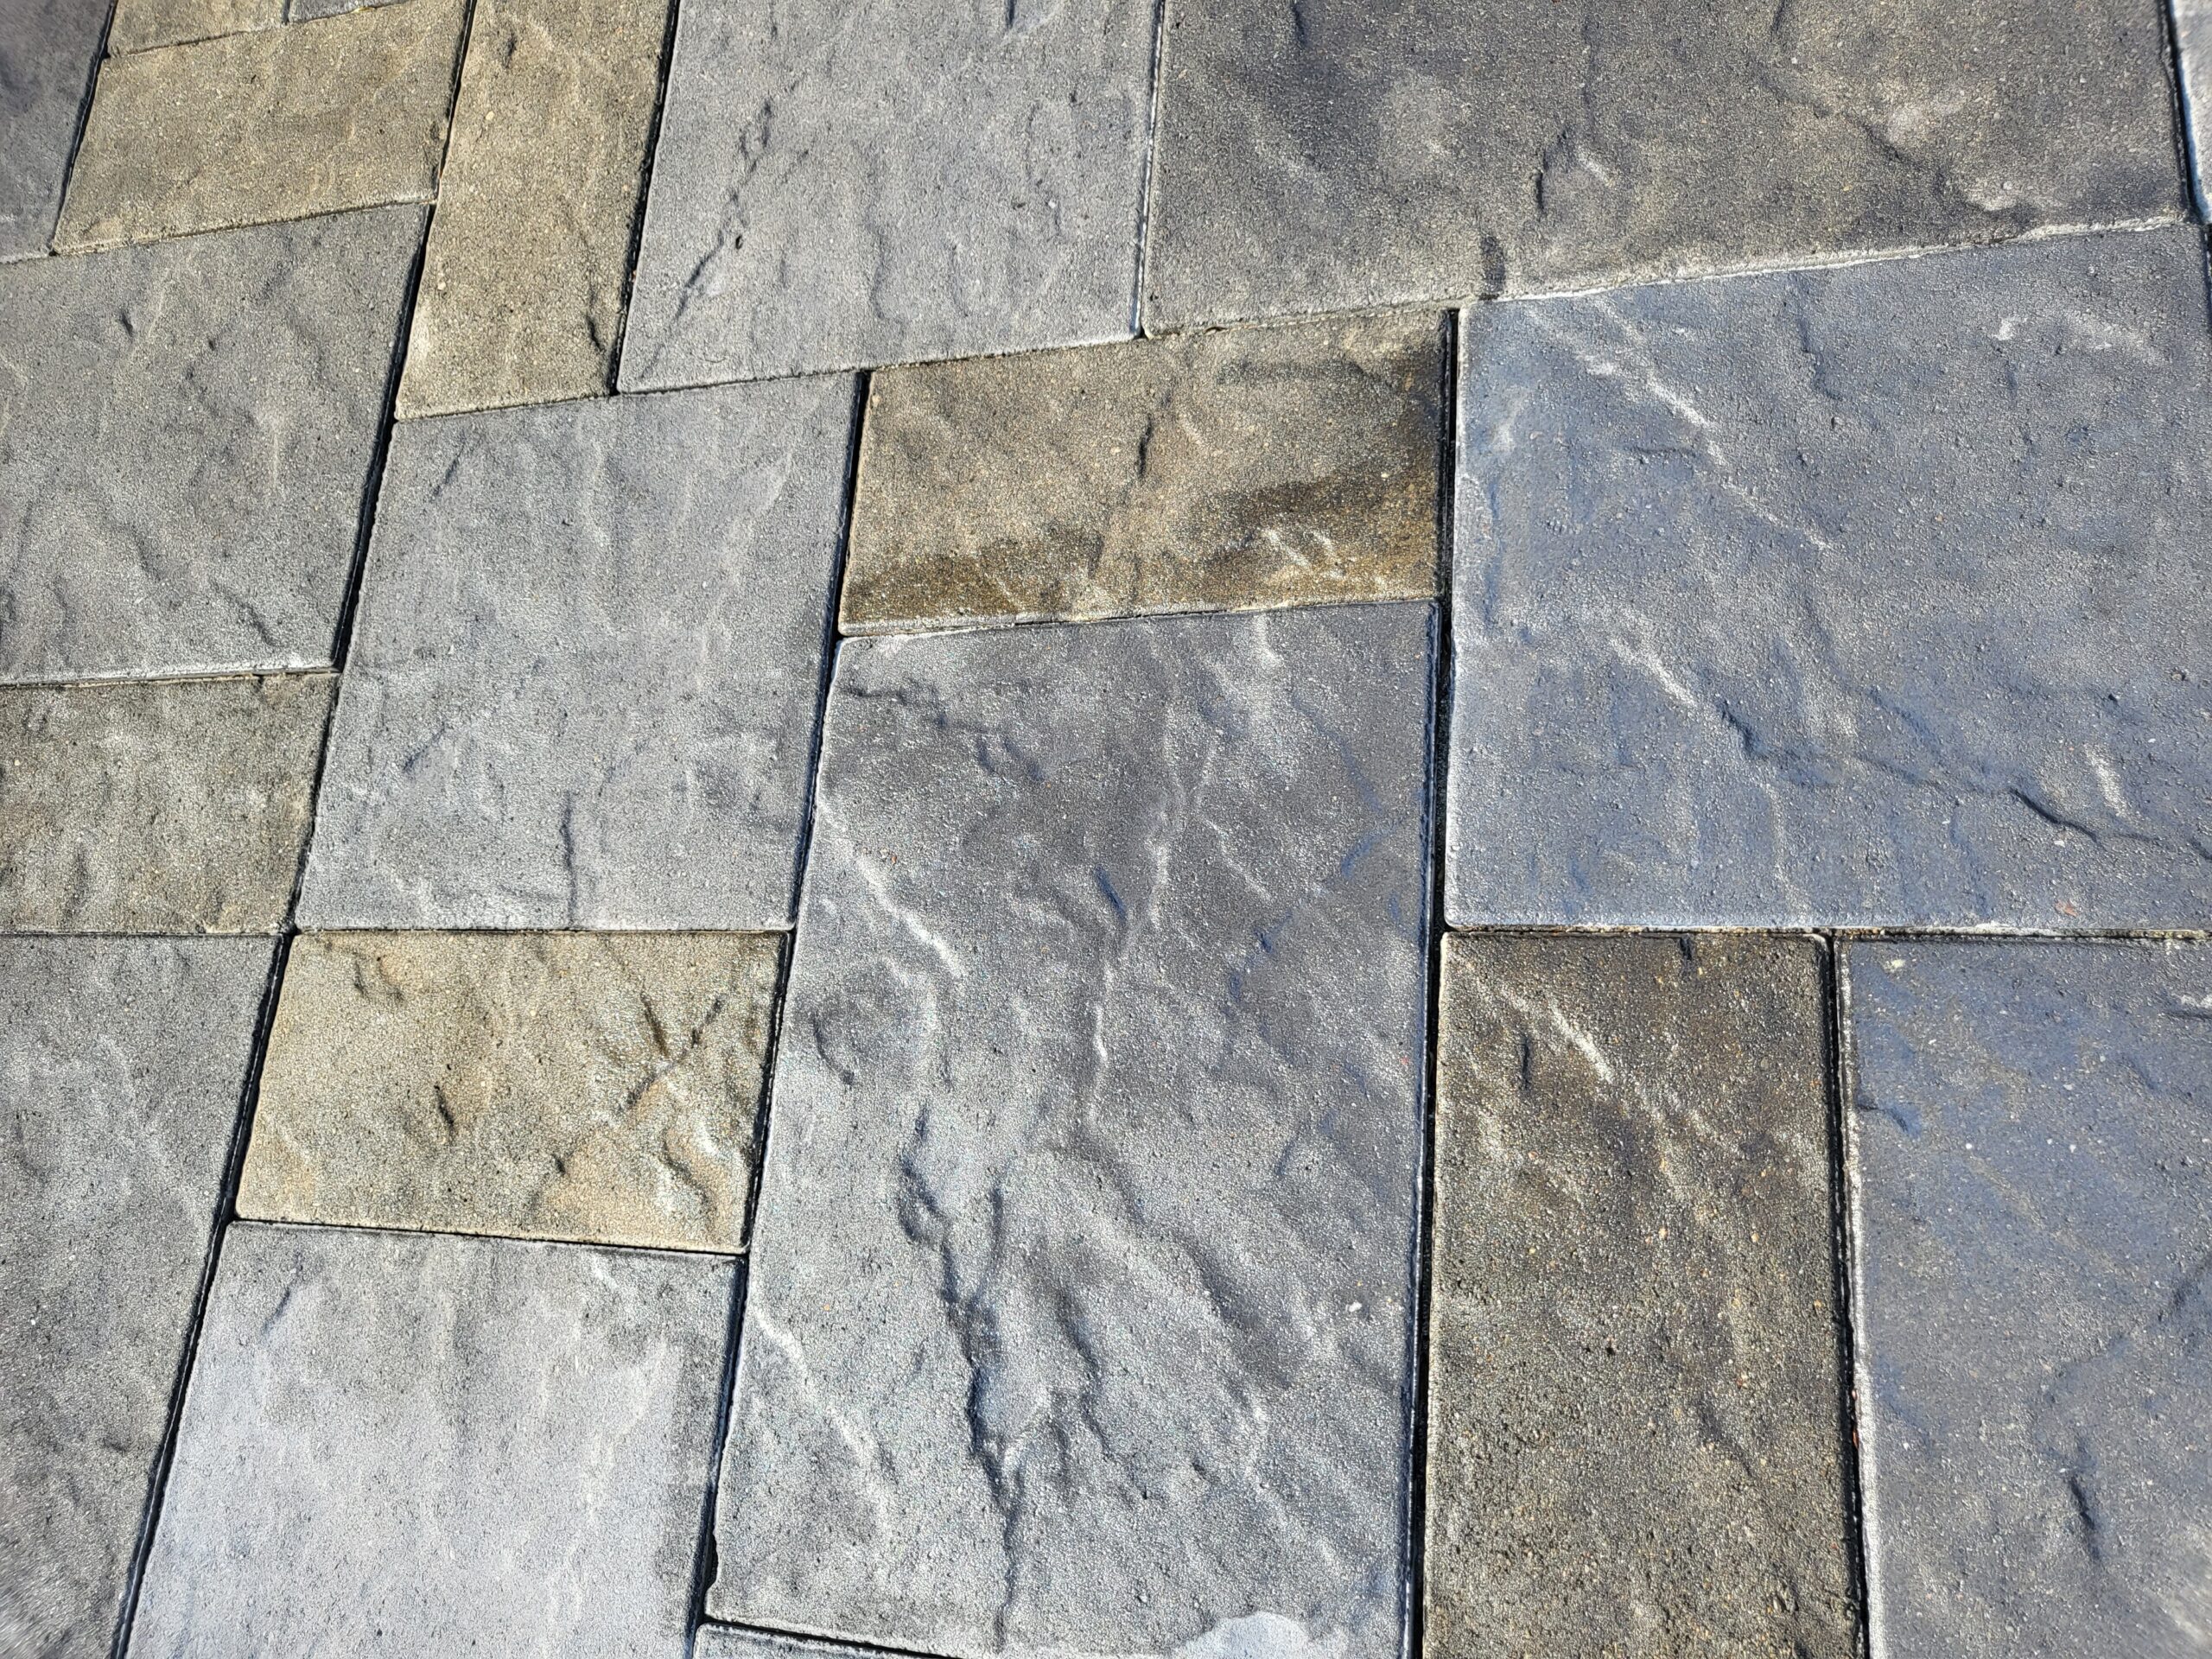
What if we told you that you could save thousands on your dream BBQ outdoor dining area? Buckle up for our DIY adventure, where we said ‘No, thank you’ to a hefty $4K quote and said ‘Yes, we got this!’ Instead, we opted for pavers and Direct Colors’ versatile stains and sealants. With a mixture of silver gray, tweed, and charcoal gray, we hand-stained each paver and sealed it to perfection. The final cost? Less than a grand! The satisfaction of a job well done? Priceless! Plus, we spent the saved cash on a fun getaway to the White Mountains. So, grab your sponge brush, remember to shake that stain, and get ready to dive into the world of DIY mastery with us!
Project Info:
- Project Completed In: 2 day(s)
- Estimate of Square Footage: 1000 sq. ft.
- Project Description:
BBQ outdoor dining area. We wanted to add on an additional patio for outdoor dining.
We contacted a few local companies and was quoted 4K for labor and materials!! After recovering from sticker shock, we decided ” we got this”..
We opted on pavers & Direct Colors stain / sealant.
The entire cost doing it ourselves .. less than 1k. After allowing the time in between installation of pavers and staining,/ sealant. We purchased Antiquing silver gray, tweed and charcoal gray.
I stained each paver individually using sponge brushes. I applied 2 coats allowing dry time between. I waited 24 hours before applying the satin sealant ( also allowing dry time between coats).
We couldn’t be more satisfied with the end results!! We took the money we saved and spent a getaway weekend in the White Mountains of New Hampshire .. win win!.
Thank you Direct Colors for creating a professional, high quality product with expert results that 1st timer DIY’s can easily master.
- Personal Tips:
Read the instructions ( simple, easy to understand)
Pre prep .. we can’t empathize this enough ! It’s 90% the key to expert results.
Shake the stain .. Shake the stain .. did I mention not to forget to Shake the stain during application??
Check the weather forecast prior to beginning .. 3 days of partly cloudy/ no rain is ideal!
Contact Direct Colors customer care team if you have any questions .. they are friendly professional and knowledgeable
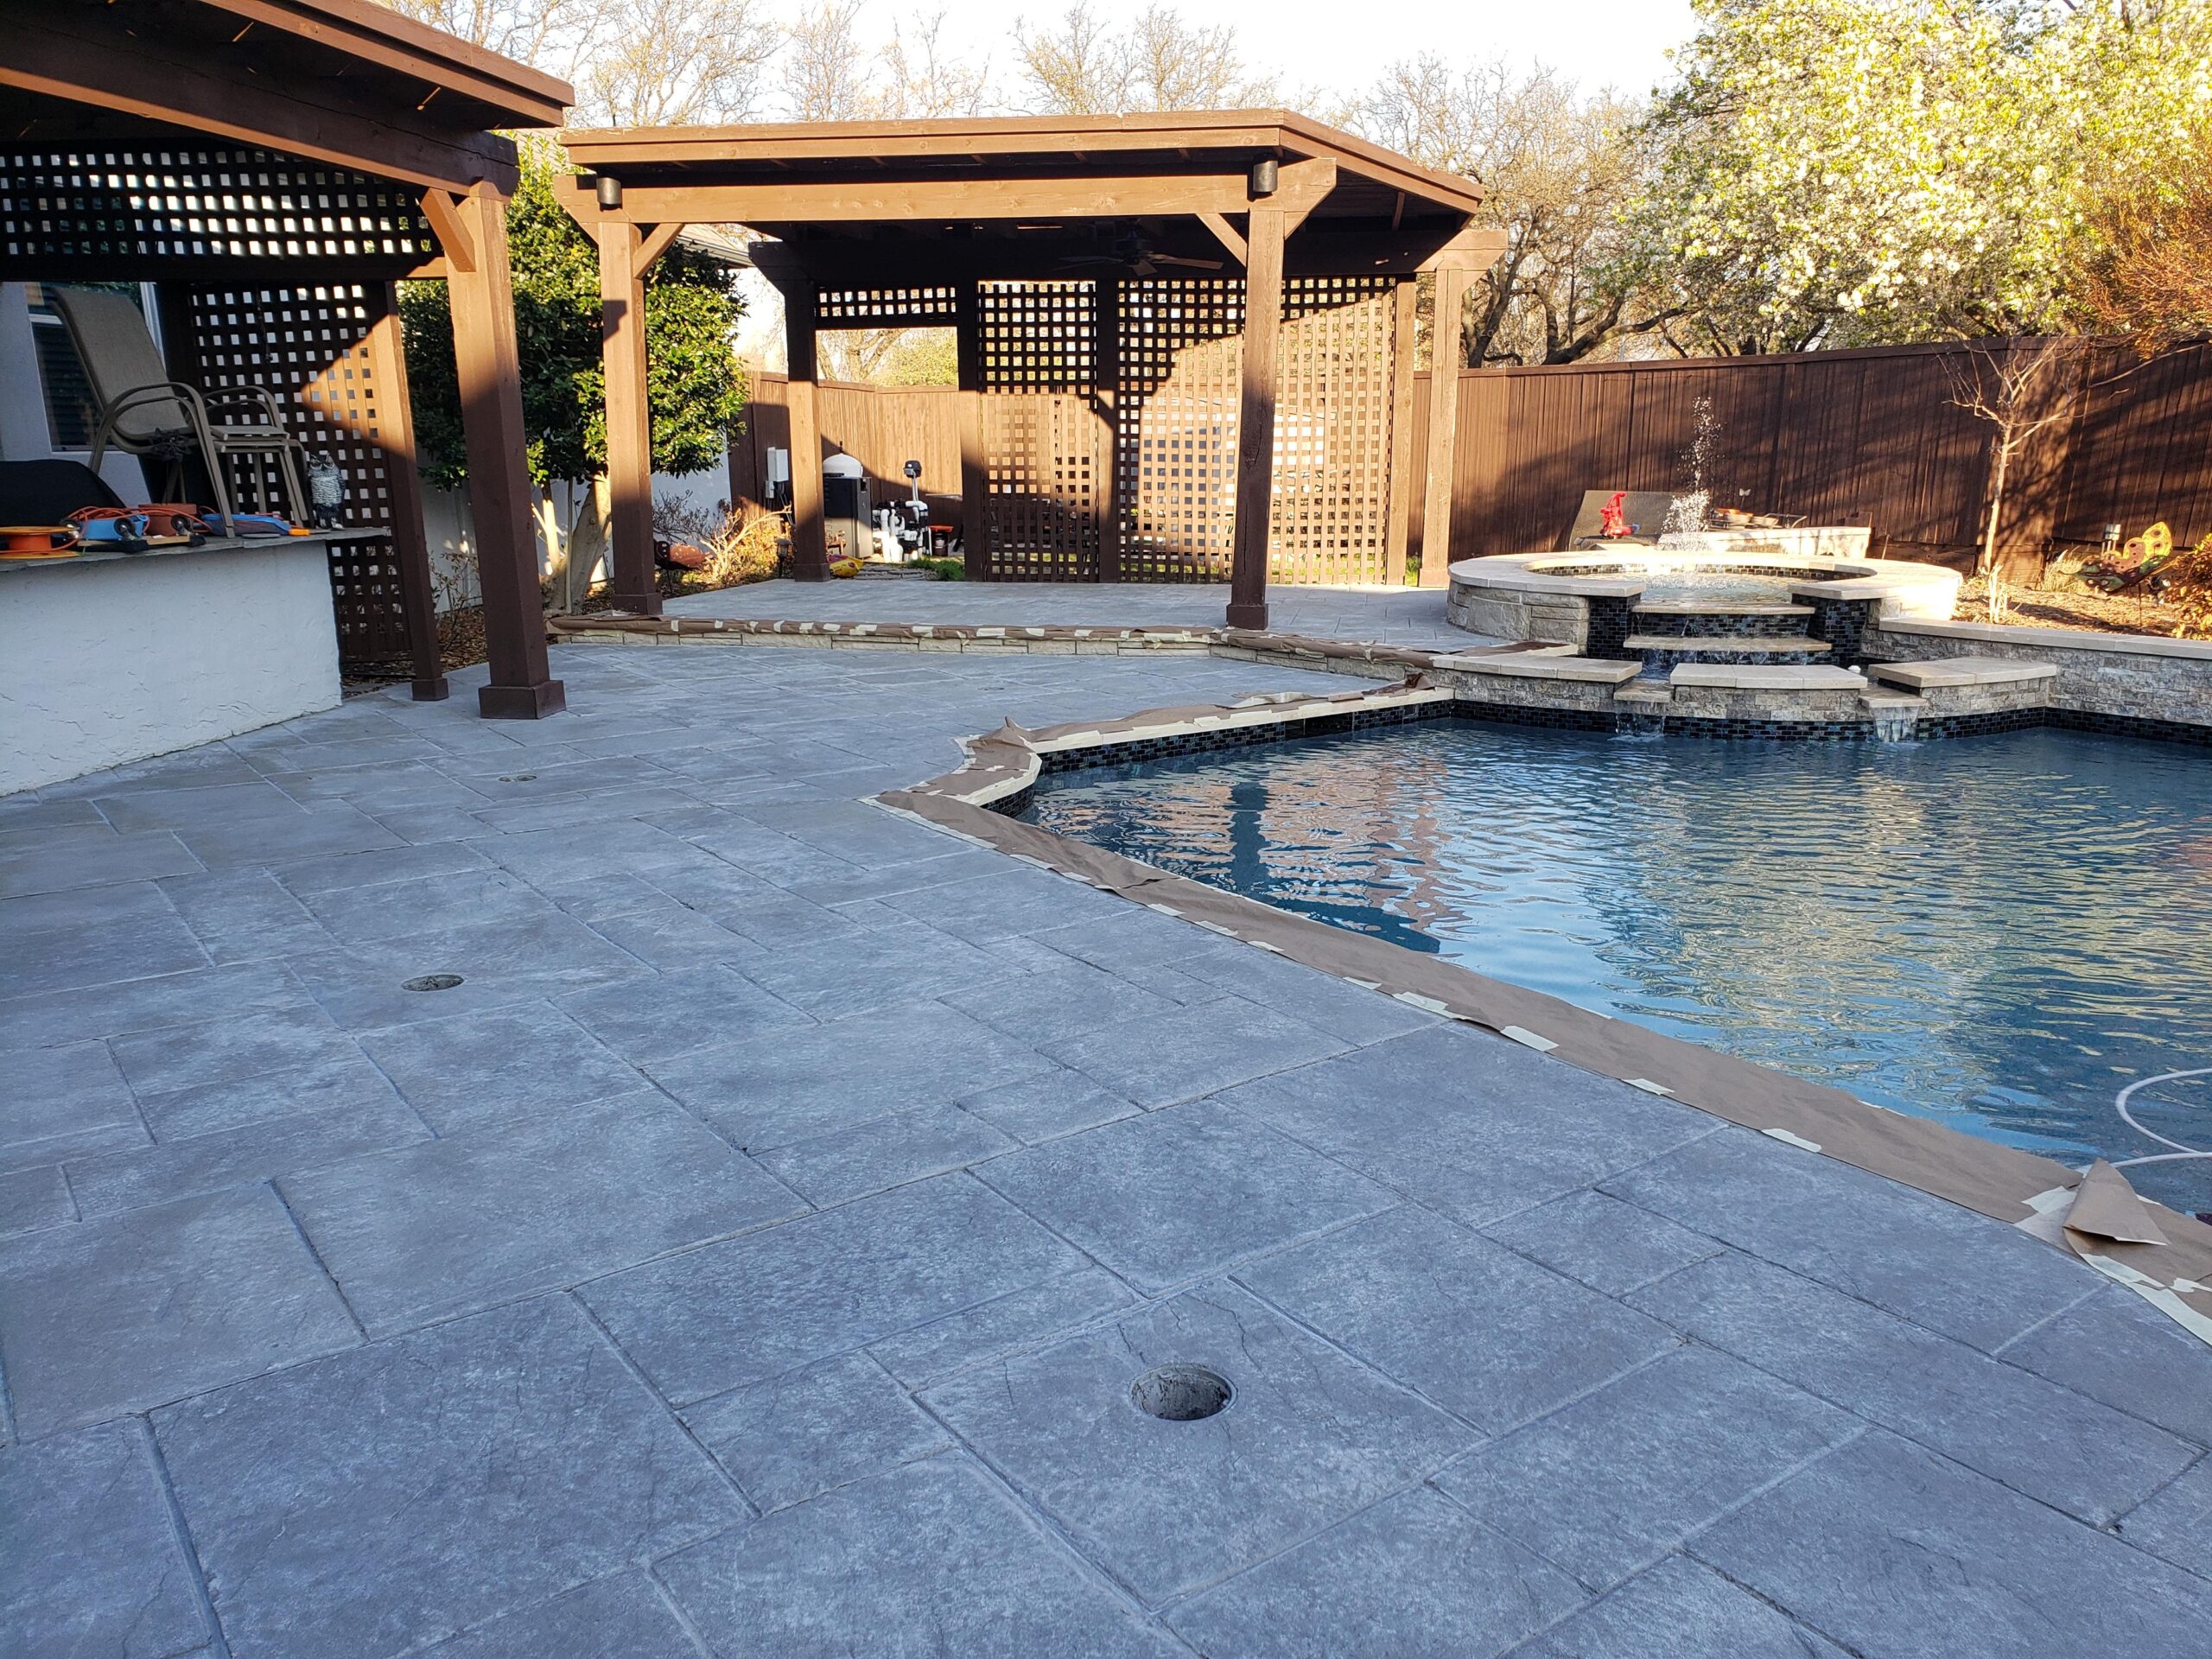
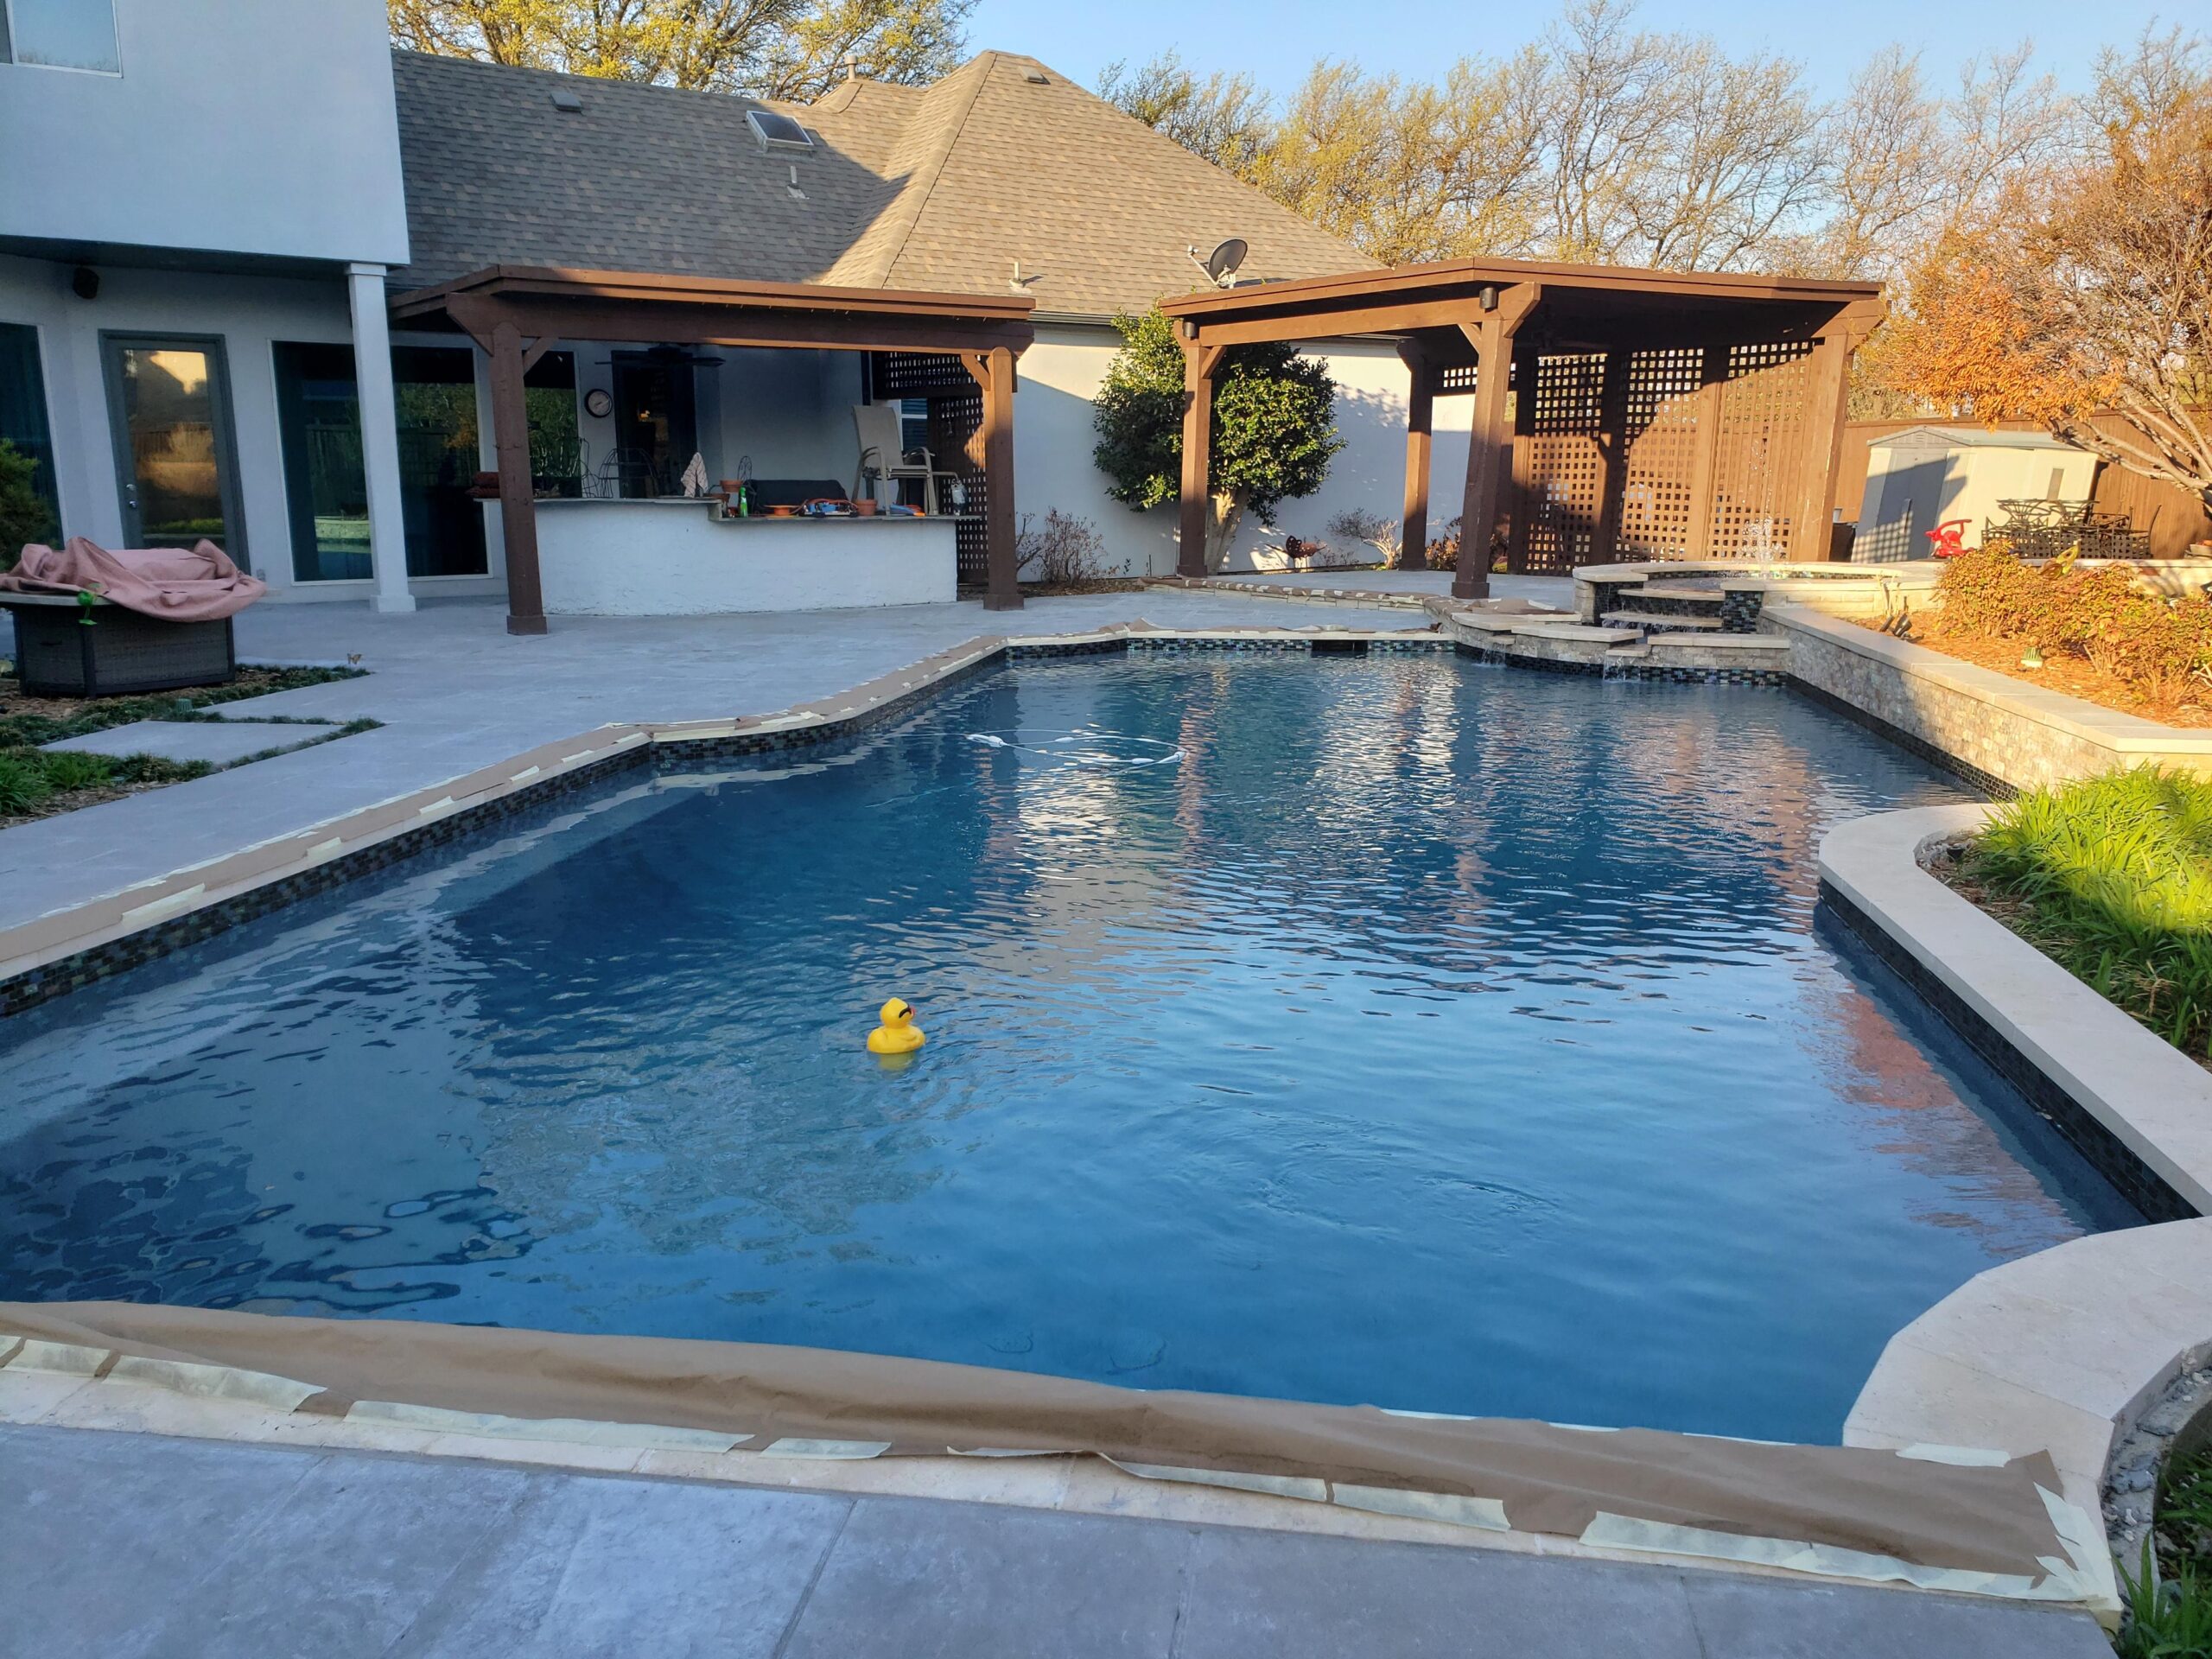
Poolside Paradise: Stamping, Staining, and Sealing a Concrete Deck into Gray Elegance
Picture this: You’re lounging by your pool, sipping a cool drink, and your gaze falls on your stunning stamped concrete pool deck. Sounds like a dream? Well, we made it our reality! We took our pool deck from plain to phenomenal with Antiquing™ Stain and two coats of EasySeal™. Now, our poolside hangouts are more stylish than ever. So, jump in and let’s make your concrete pool deck the talk of the neighborhood!
The Gray Whirlpool Revamp: From Blotchy Blues to Sleek Satin Swirls
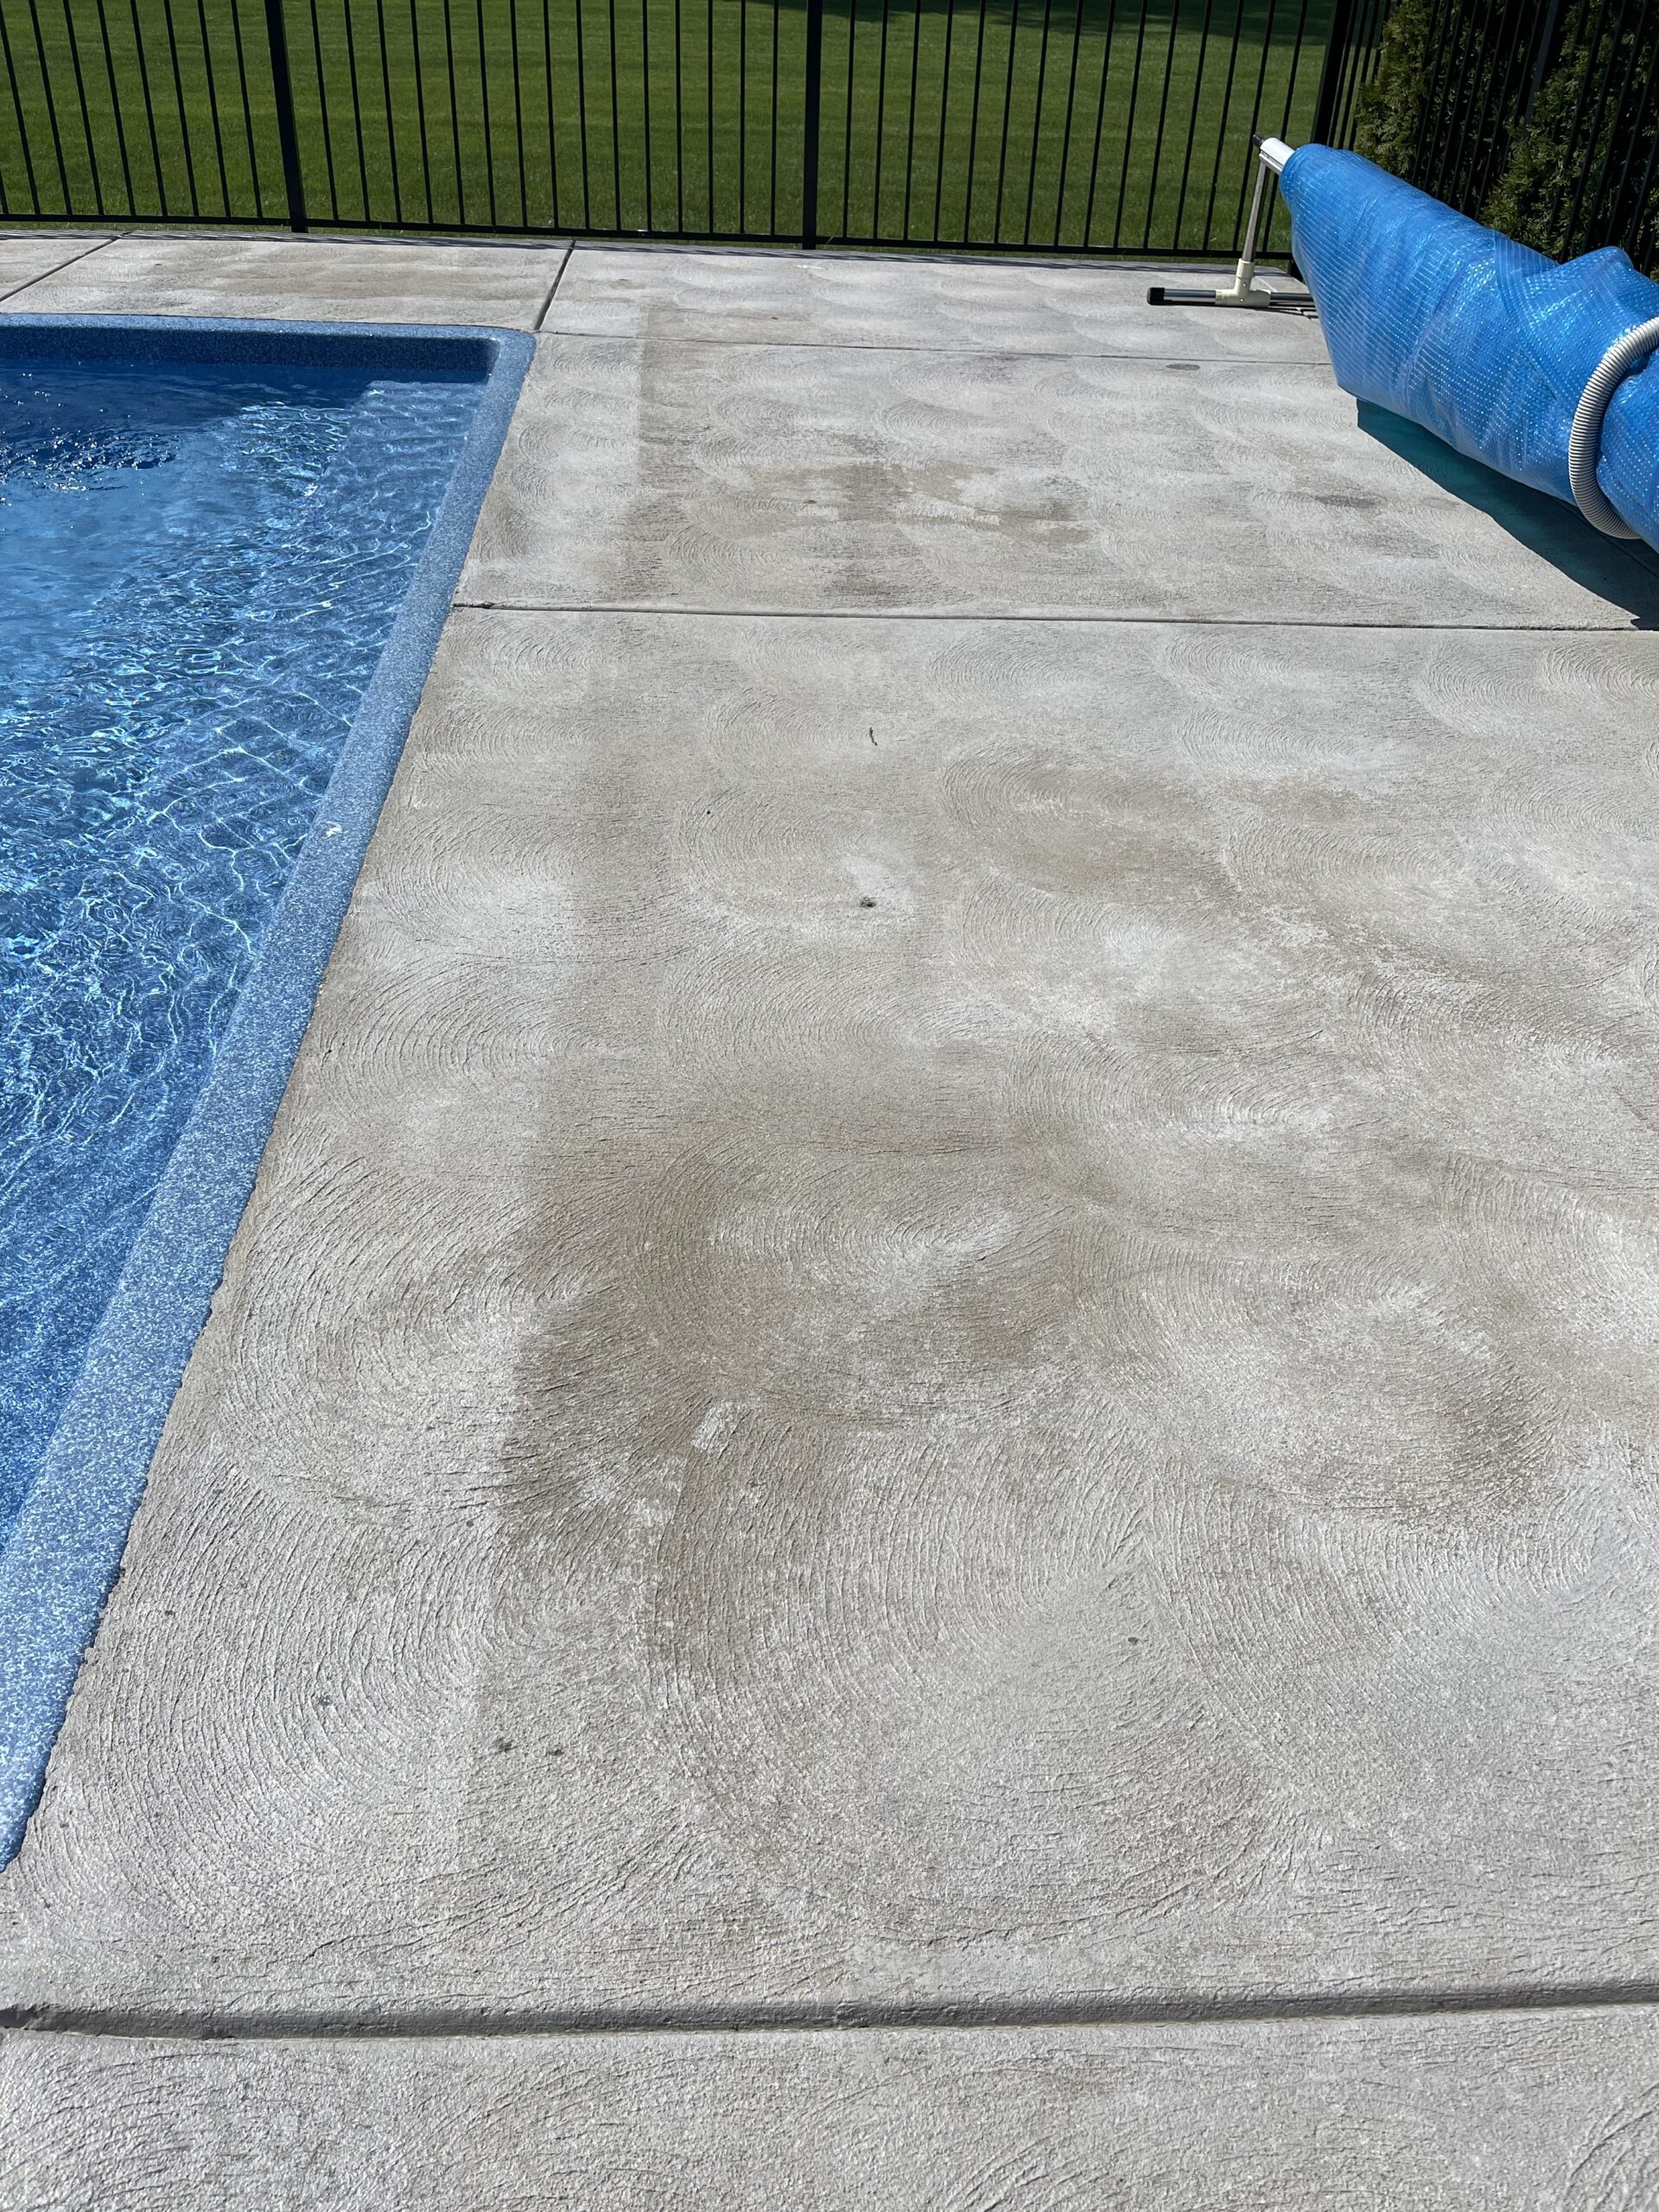
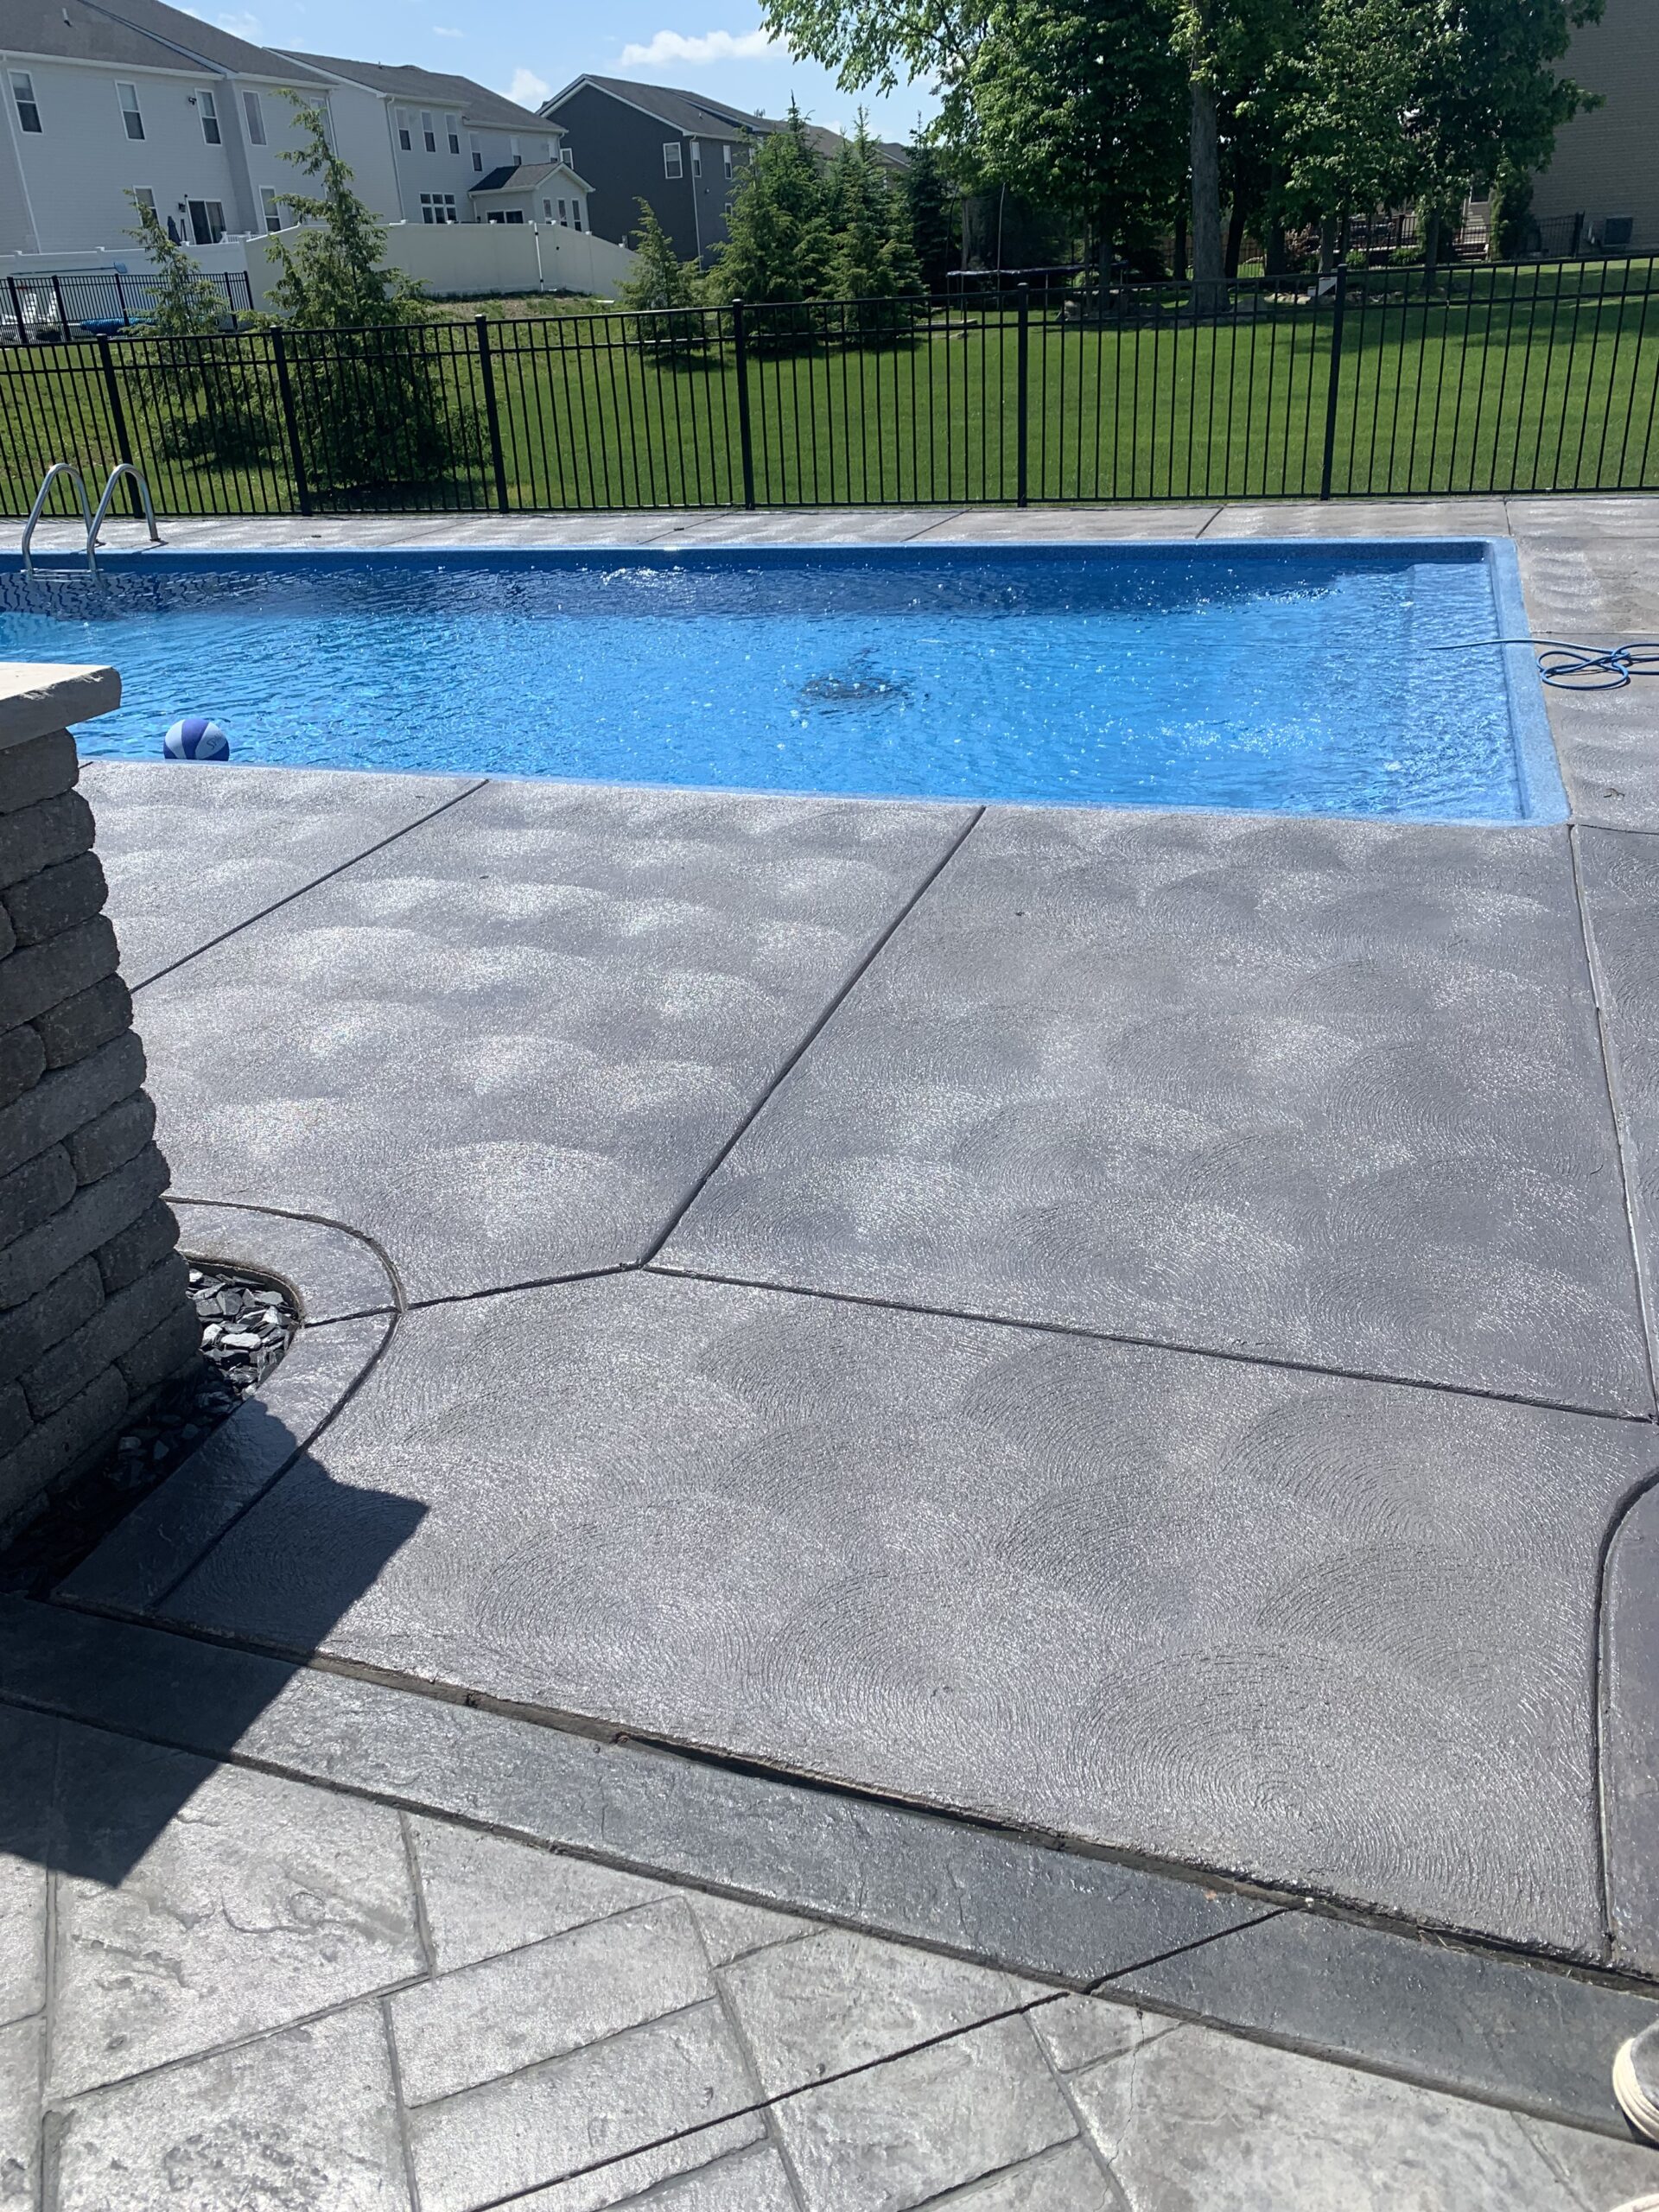
Wave goodbye to the blotchy, stained pool deck that even a pressure wash couldn’t fix! Step into our world where we took the “Plain Jane” swirl concrete finish pool deck and transformed it into a sleek, satiny dream using EasyTint™ Gray. So, jump on this DIY wave with us, and remember – a minimum of two coats is your golden rule for achieving that perfect shade of satin sophistication!
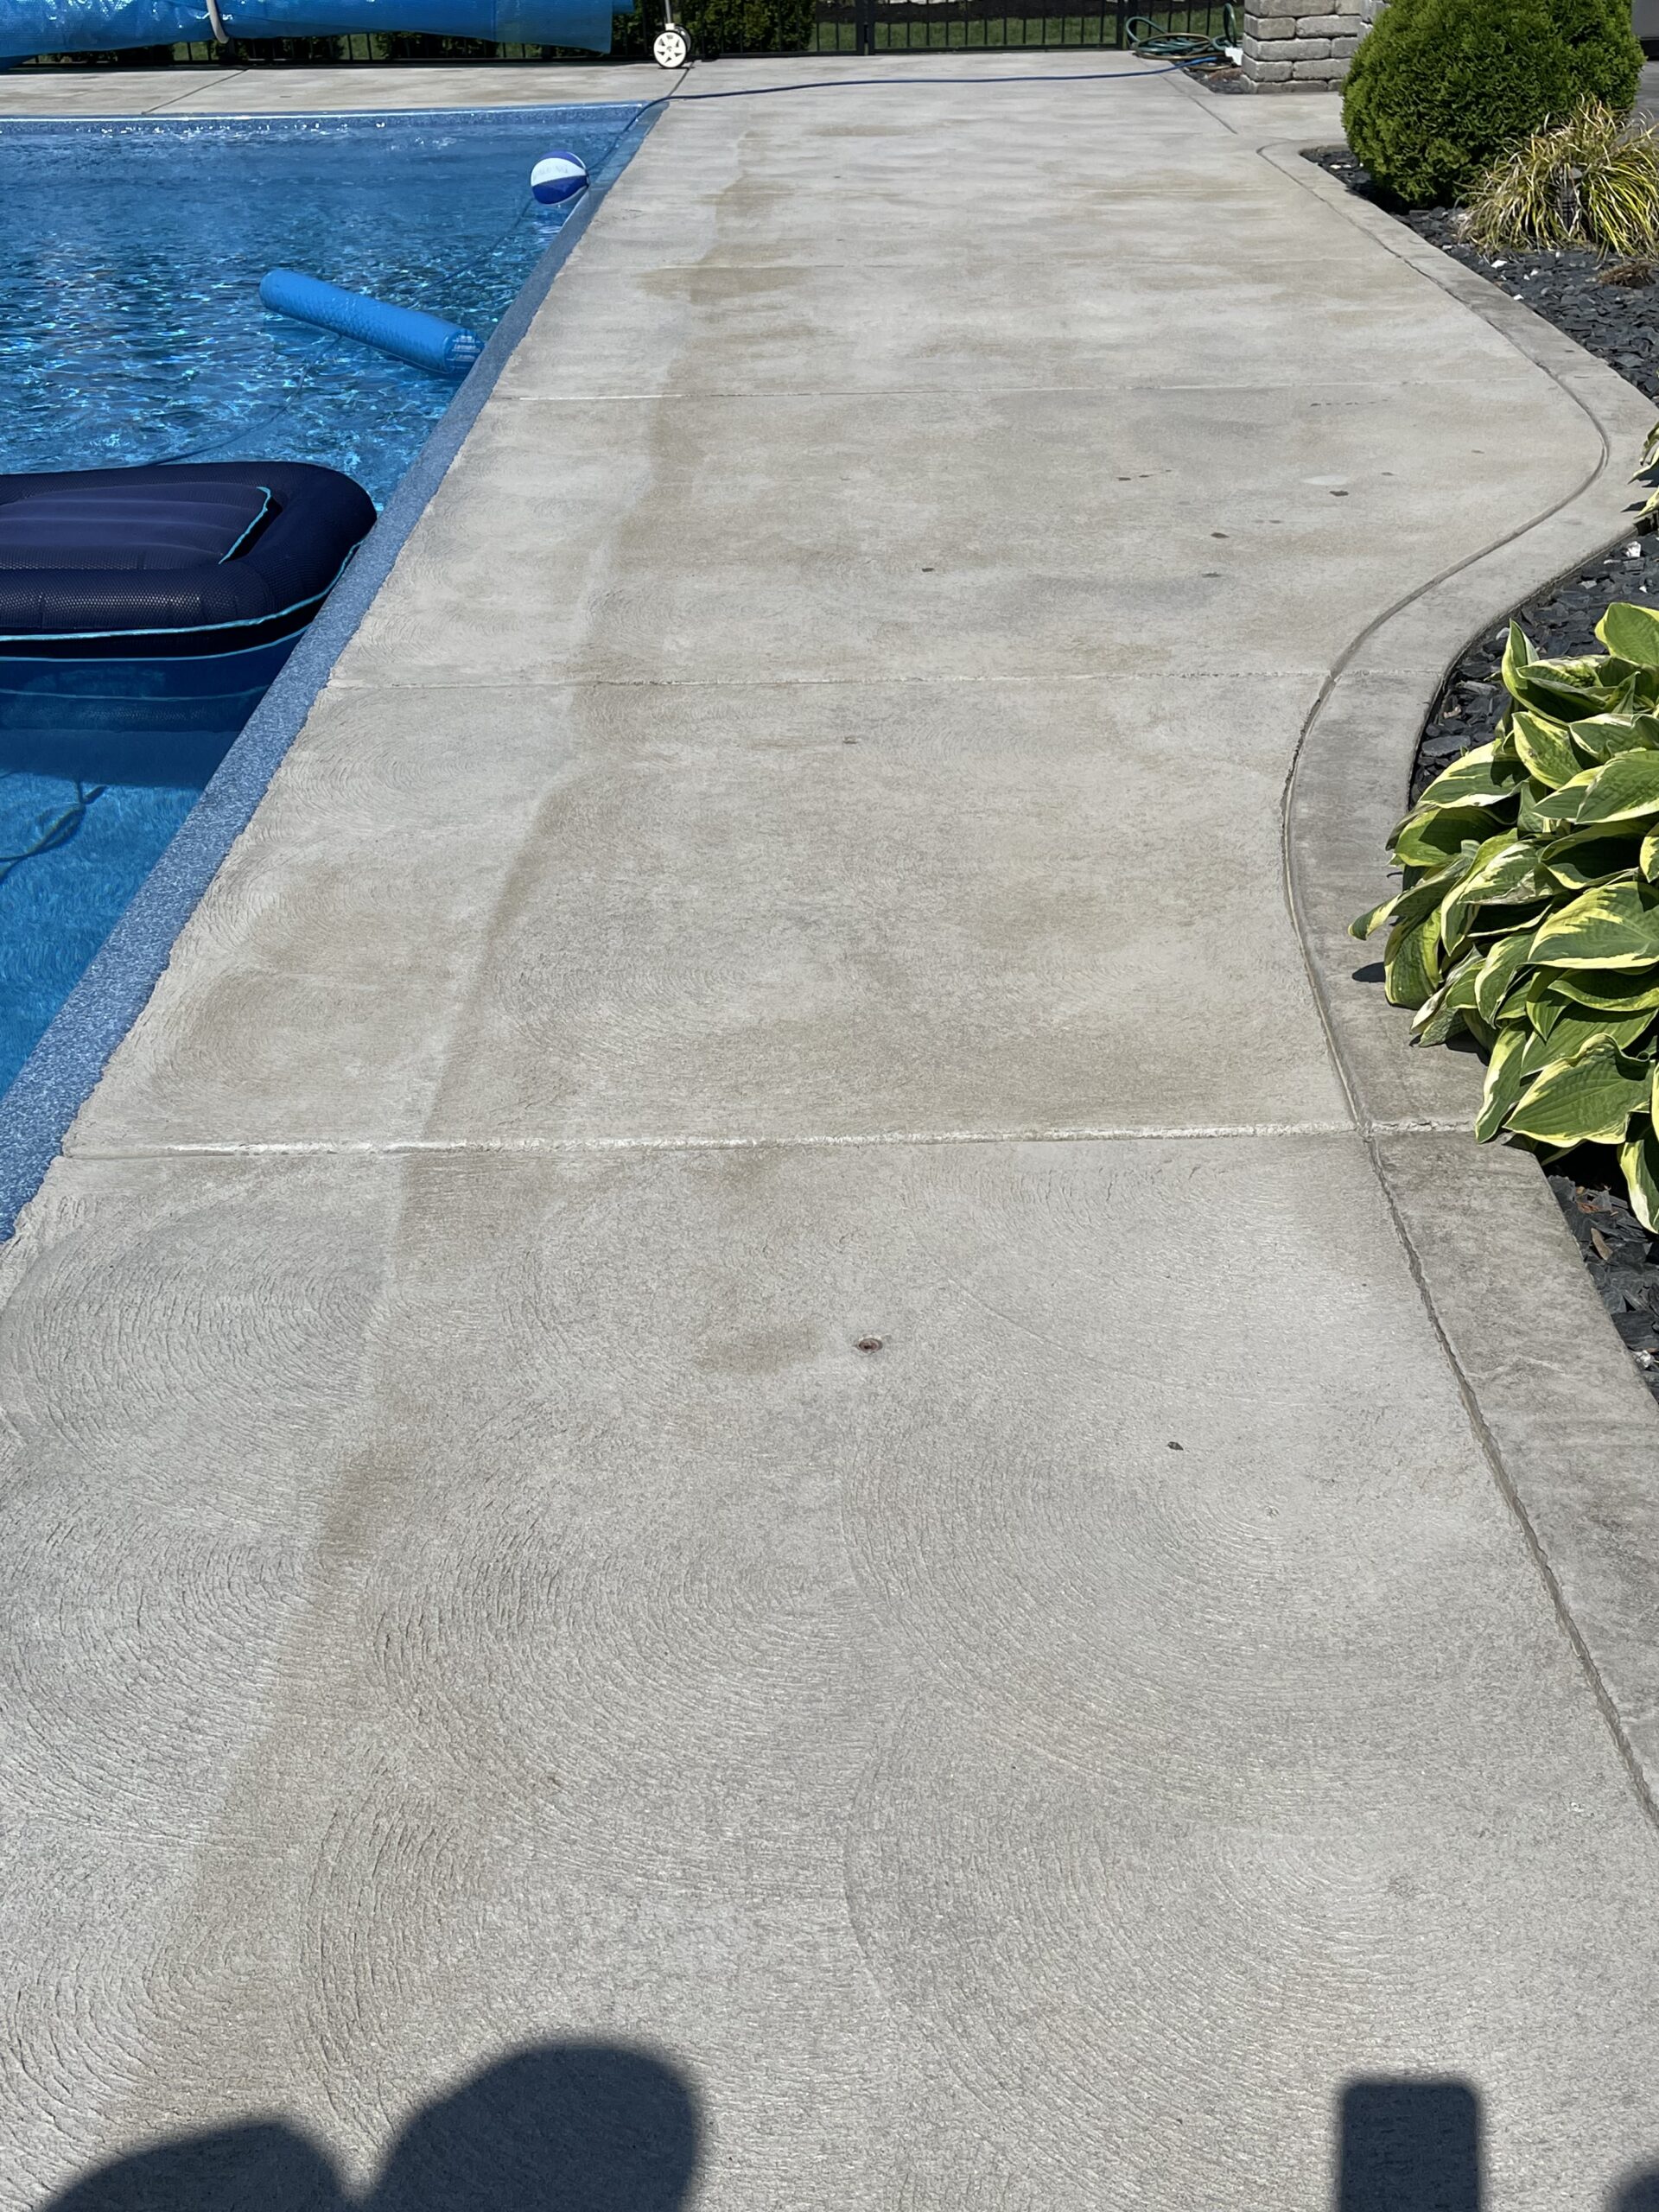
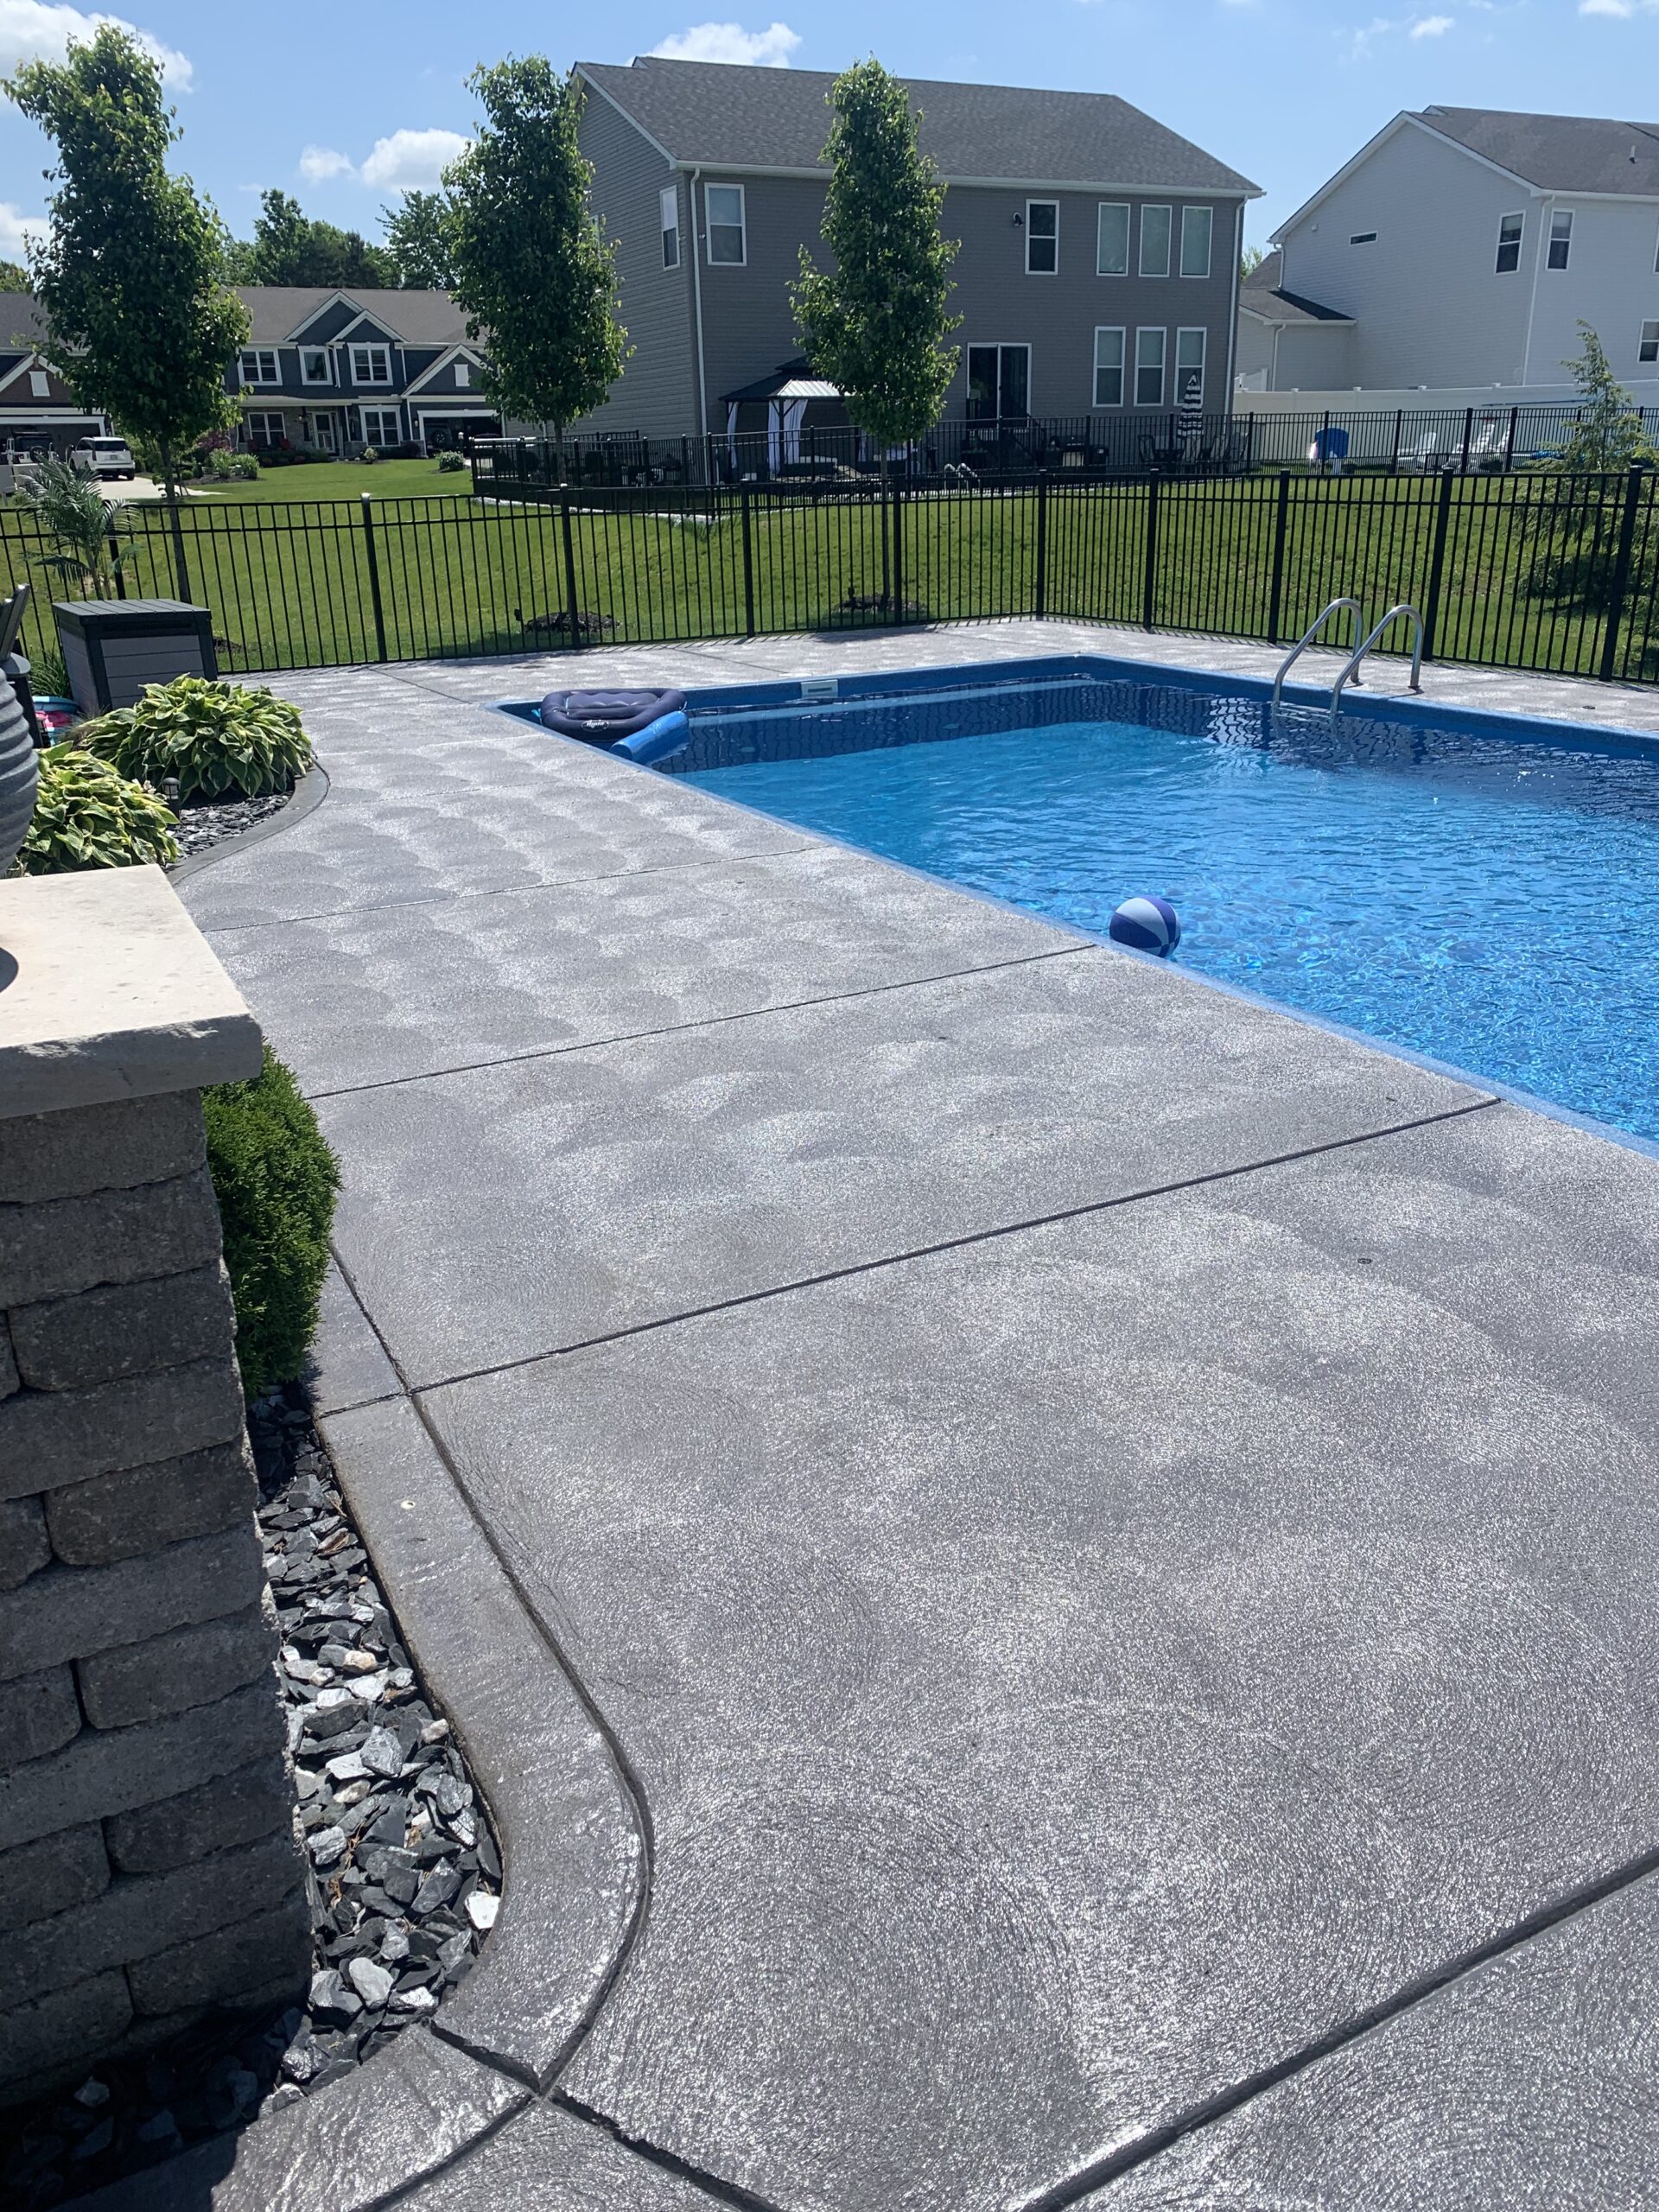
Project Info:
- Project Completed In: 5 day(s)
- Estimate of Square Footage: 900 sq. ft.
- Project Description:
Pool deck was blotchy and stained . Even pressure washing left it blotchy - Personal Tips:
Definitely minimum 2 coats to achieve color - Direct Colors Products Used:
5 Gal. Gray EasyTint™ Satin
Patio Power-Up: Extending and Enhancing with EasyTint™ Gray
Ever wished your patio could stretch out just a bit more? Join us on our DIY journey where we not only extended our patio but also gave it a stunning EasyTint™ Gray makeover. This transformation tale comes with a twist: our love story with the cone tip over the fan tip. Yes, it’s spray and roll all the way! So, gear up and let’s get those patios party-ready!
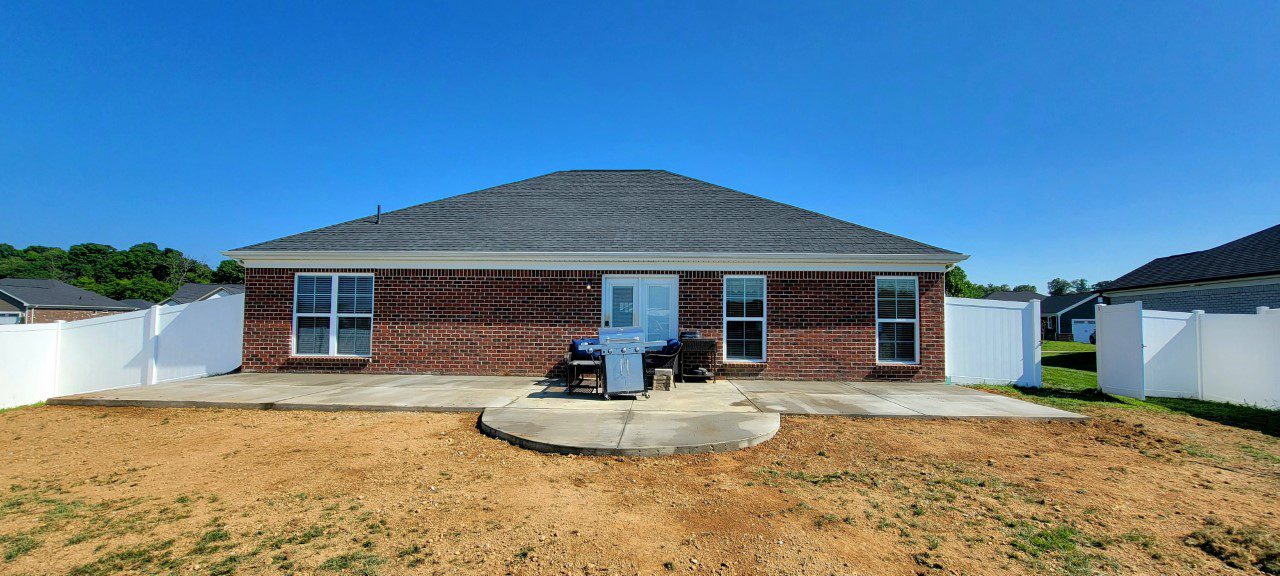
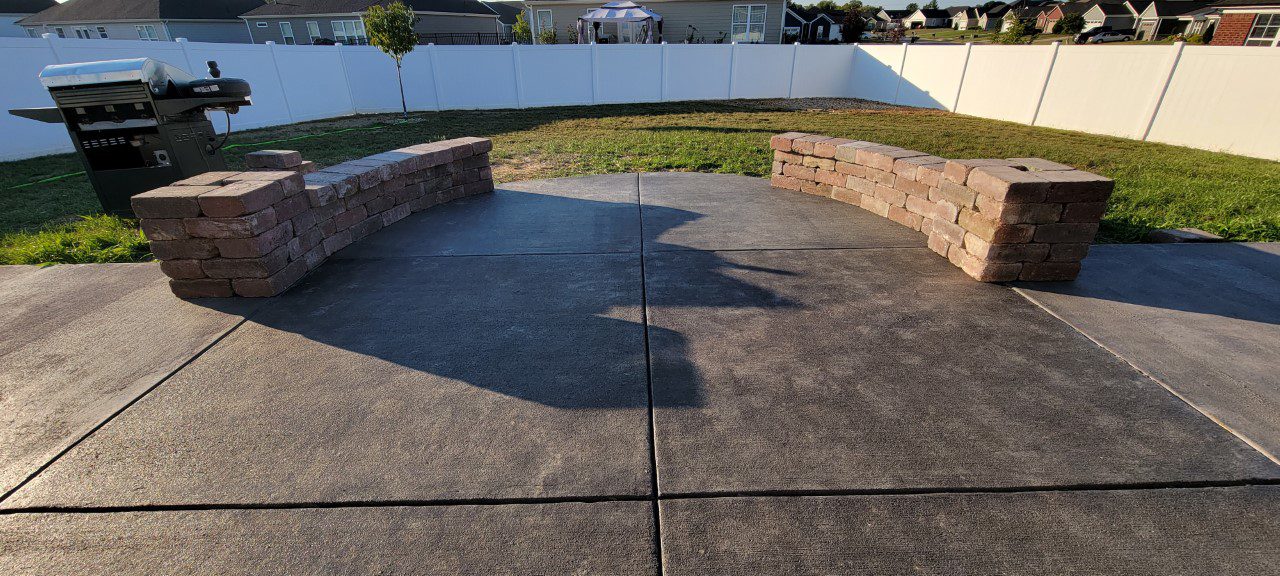
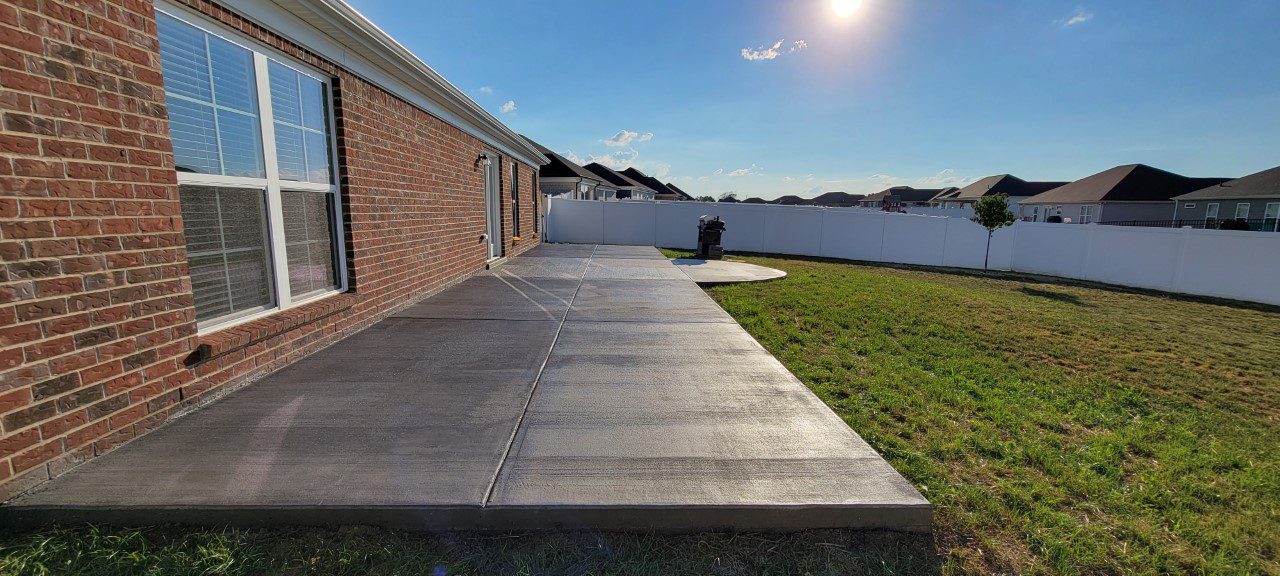
Project Info:
- Project Completed In: 2 day(s)
- Estimate of Square Footage: 700 sq. ft.
- Project Description:
Patio extension. Sealed using EasyTint Gray. 4 gallons. - Personal Tips:
I used a fan tip at first with a pump sprayer and I didn’t like it. I ended up using a cone tip and it worked alot better! Spray then roll. - Direct Colors Products Used:
4 x 1 Gal. Gray EasyTint™ Satin
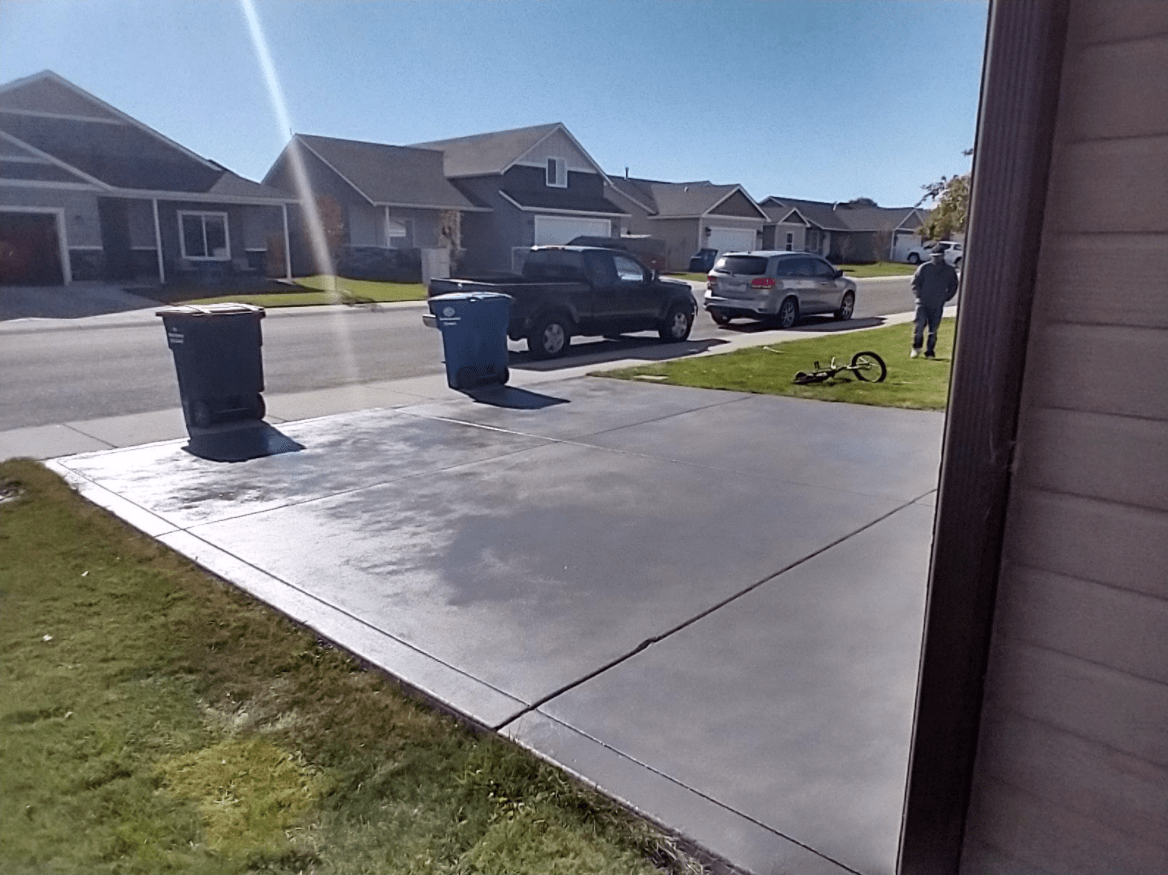
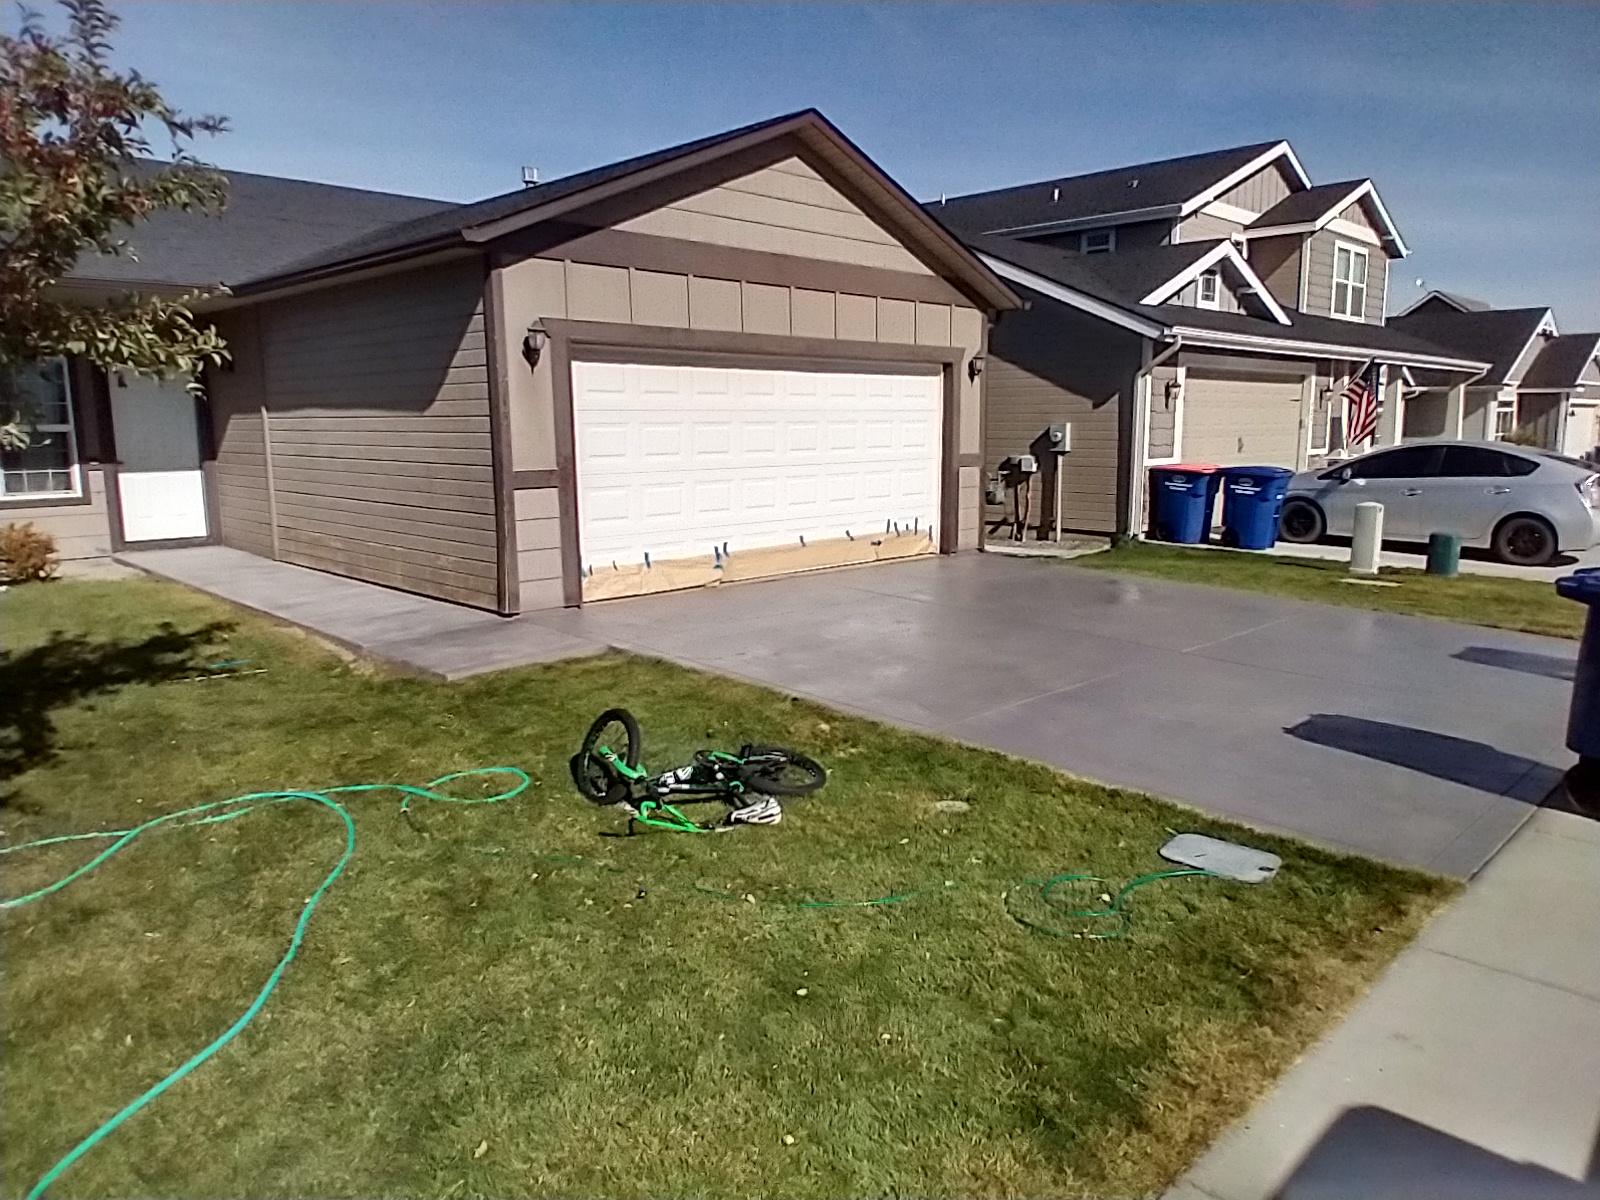
Drive-On Glam: Turning a Tired Concrete Driveway into a Gray-tinted Showstopper
Who says your driveway can’t be as stylish as your ride? Buckle up as we take you on a journey where we turned our dull, damaged driveway into a smooth, EasyTint Gray-tinted runway. Spoiler: EasyTint may not hide the battle scars, but it sure knows how to make them look good! So, rev up your DIY engines and let’s give your driveway the makeover it deserves. A stylish arrival is just a project away!
Patio Prestige: From Plain to Perfect with Antiquing Stain
Fancy giving your concrete patio a quick promotion? We did, and the results are simply ‘broom’-tastic! This makeover story stars our new best friend, Antiquing Stain, who helped us turn a simple patio into a modern marvel. Spoiler alert: It’s easier than you think to elevate your outdoor space! So, roll up your sleeves and let’s turn your patio into the hot gossip of your backyard barbecues!
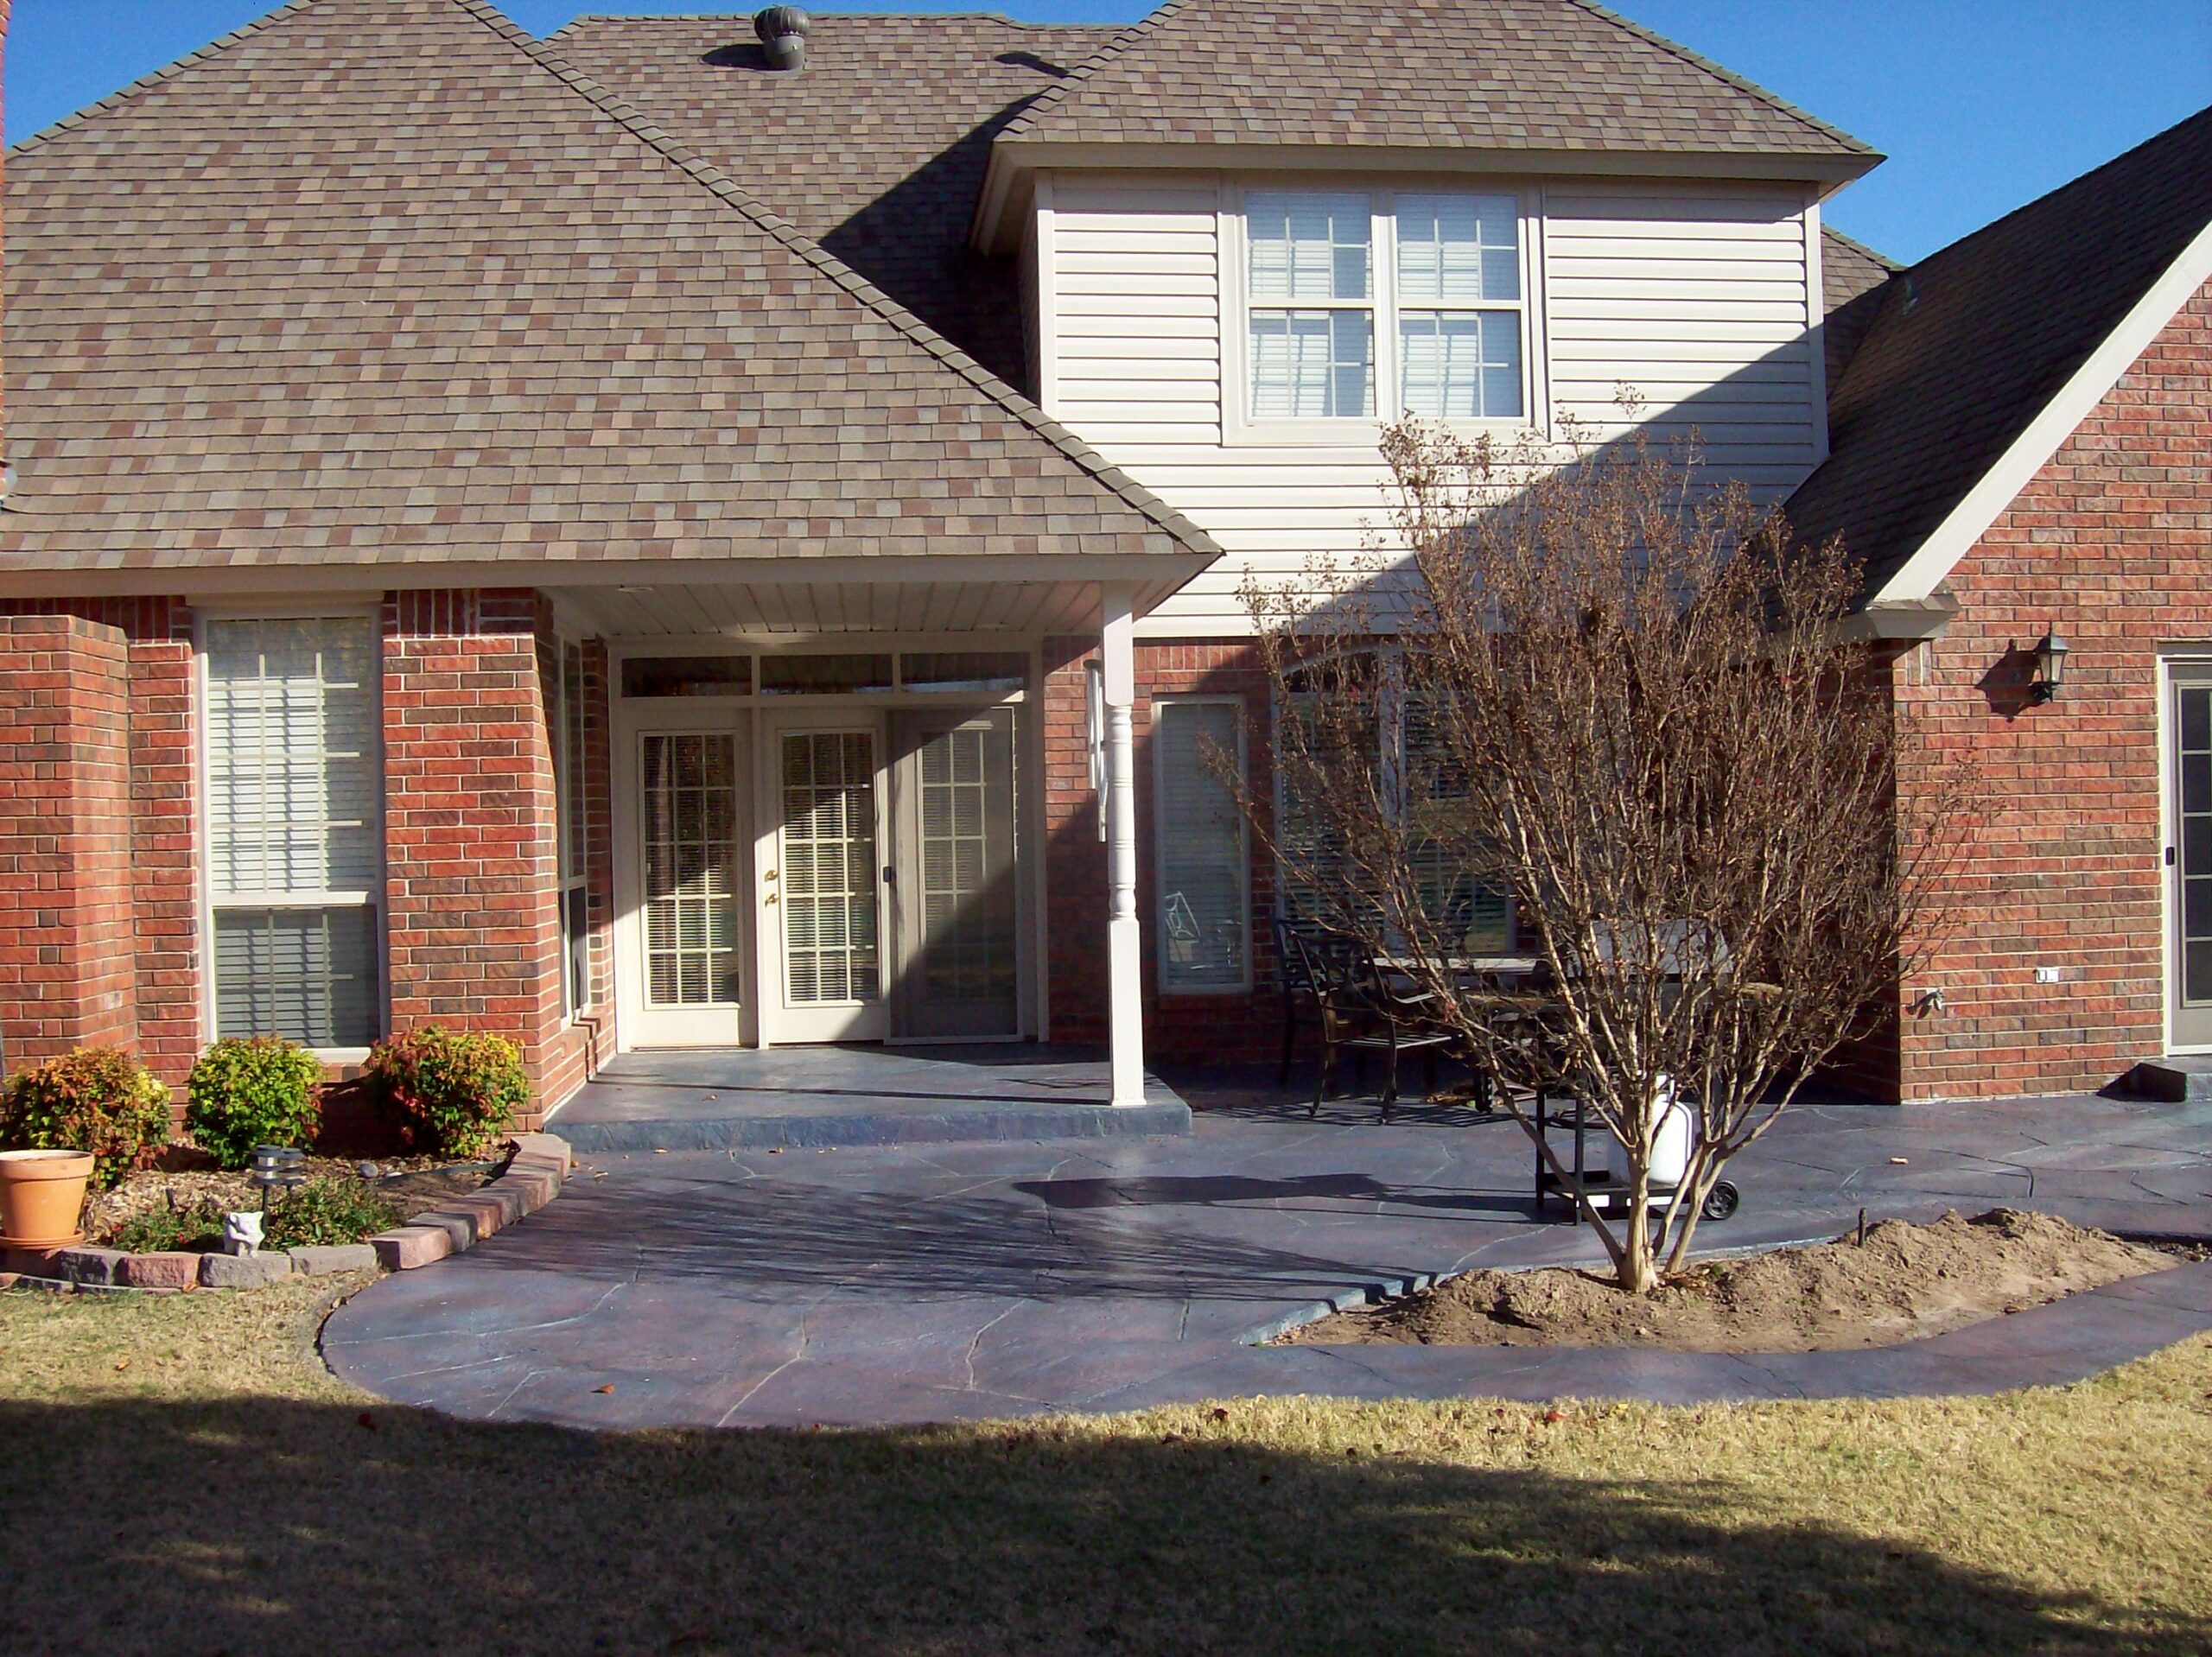
First Impressions Makeover: A Stamped Concrete Driveway and Porch Revival
Let’s face it, your driveway deserves to be more than just a parking spot. It’s time for the front of your house to make a statement! Join us as we transform a tired, textured concrete driveway and porch into a chic, eye-catching entrance with a touch of Gray Antiquing stain. Spoiler: this facelift not only enhances the look but also shields against harsh weather! So, let’s roll out the gray carpet and make your home’s first impression a showstopper.
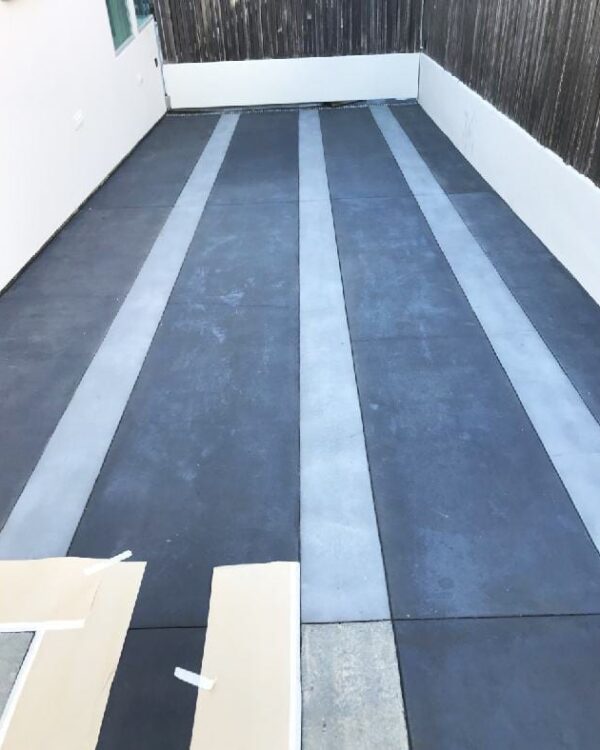
Driveway Design
Design your concrete driveway the way YOU want! This DC customer used a lighter gray and medium gray concrete dye to make lines on their driveway.
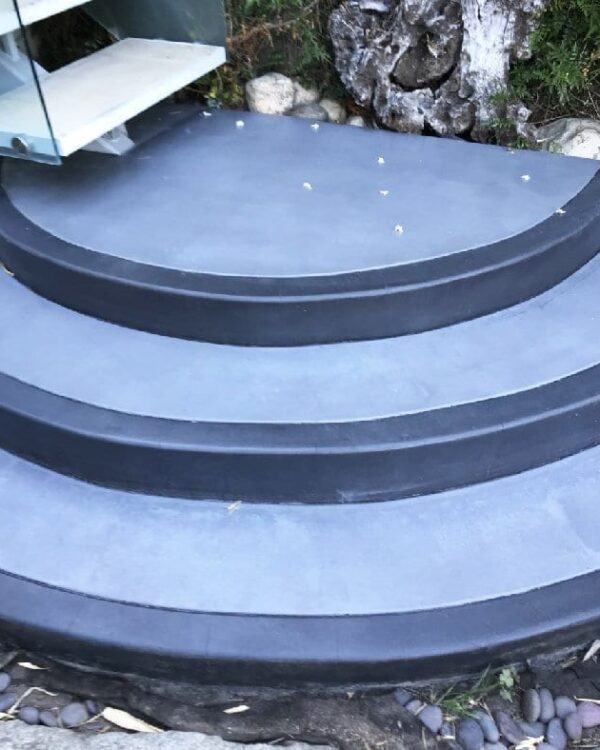
Step Up Your Style
What a nice, clean way of integrating these two concrete dye colors! These concrete steps look awesome.
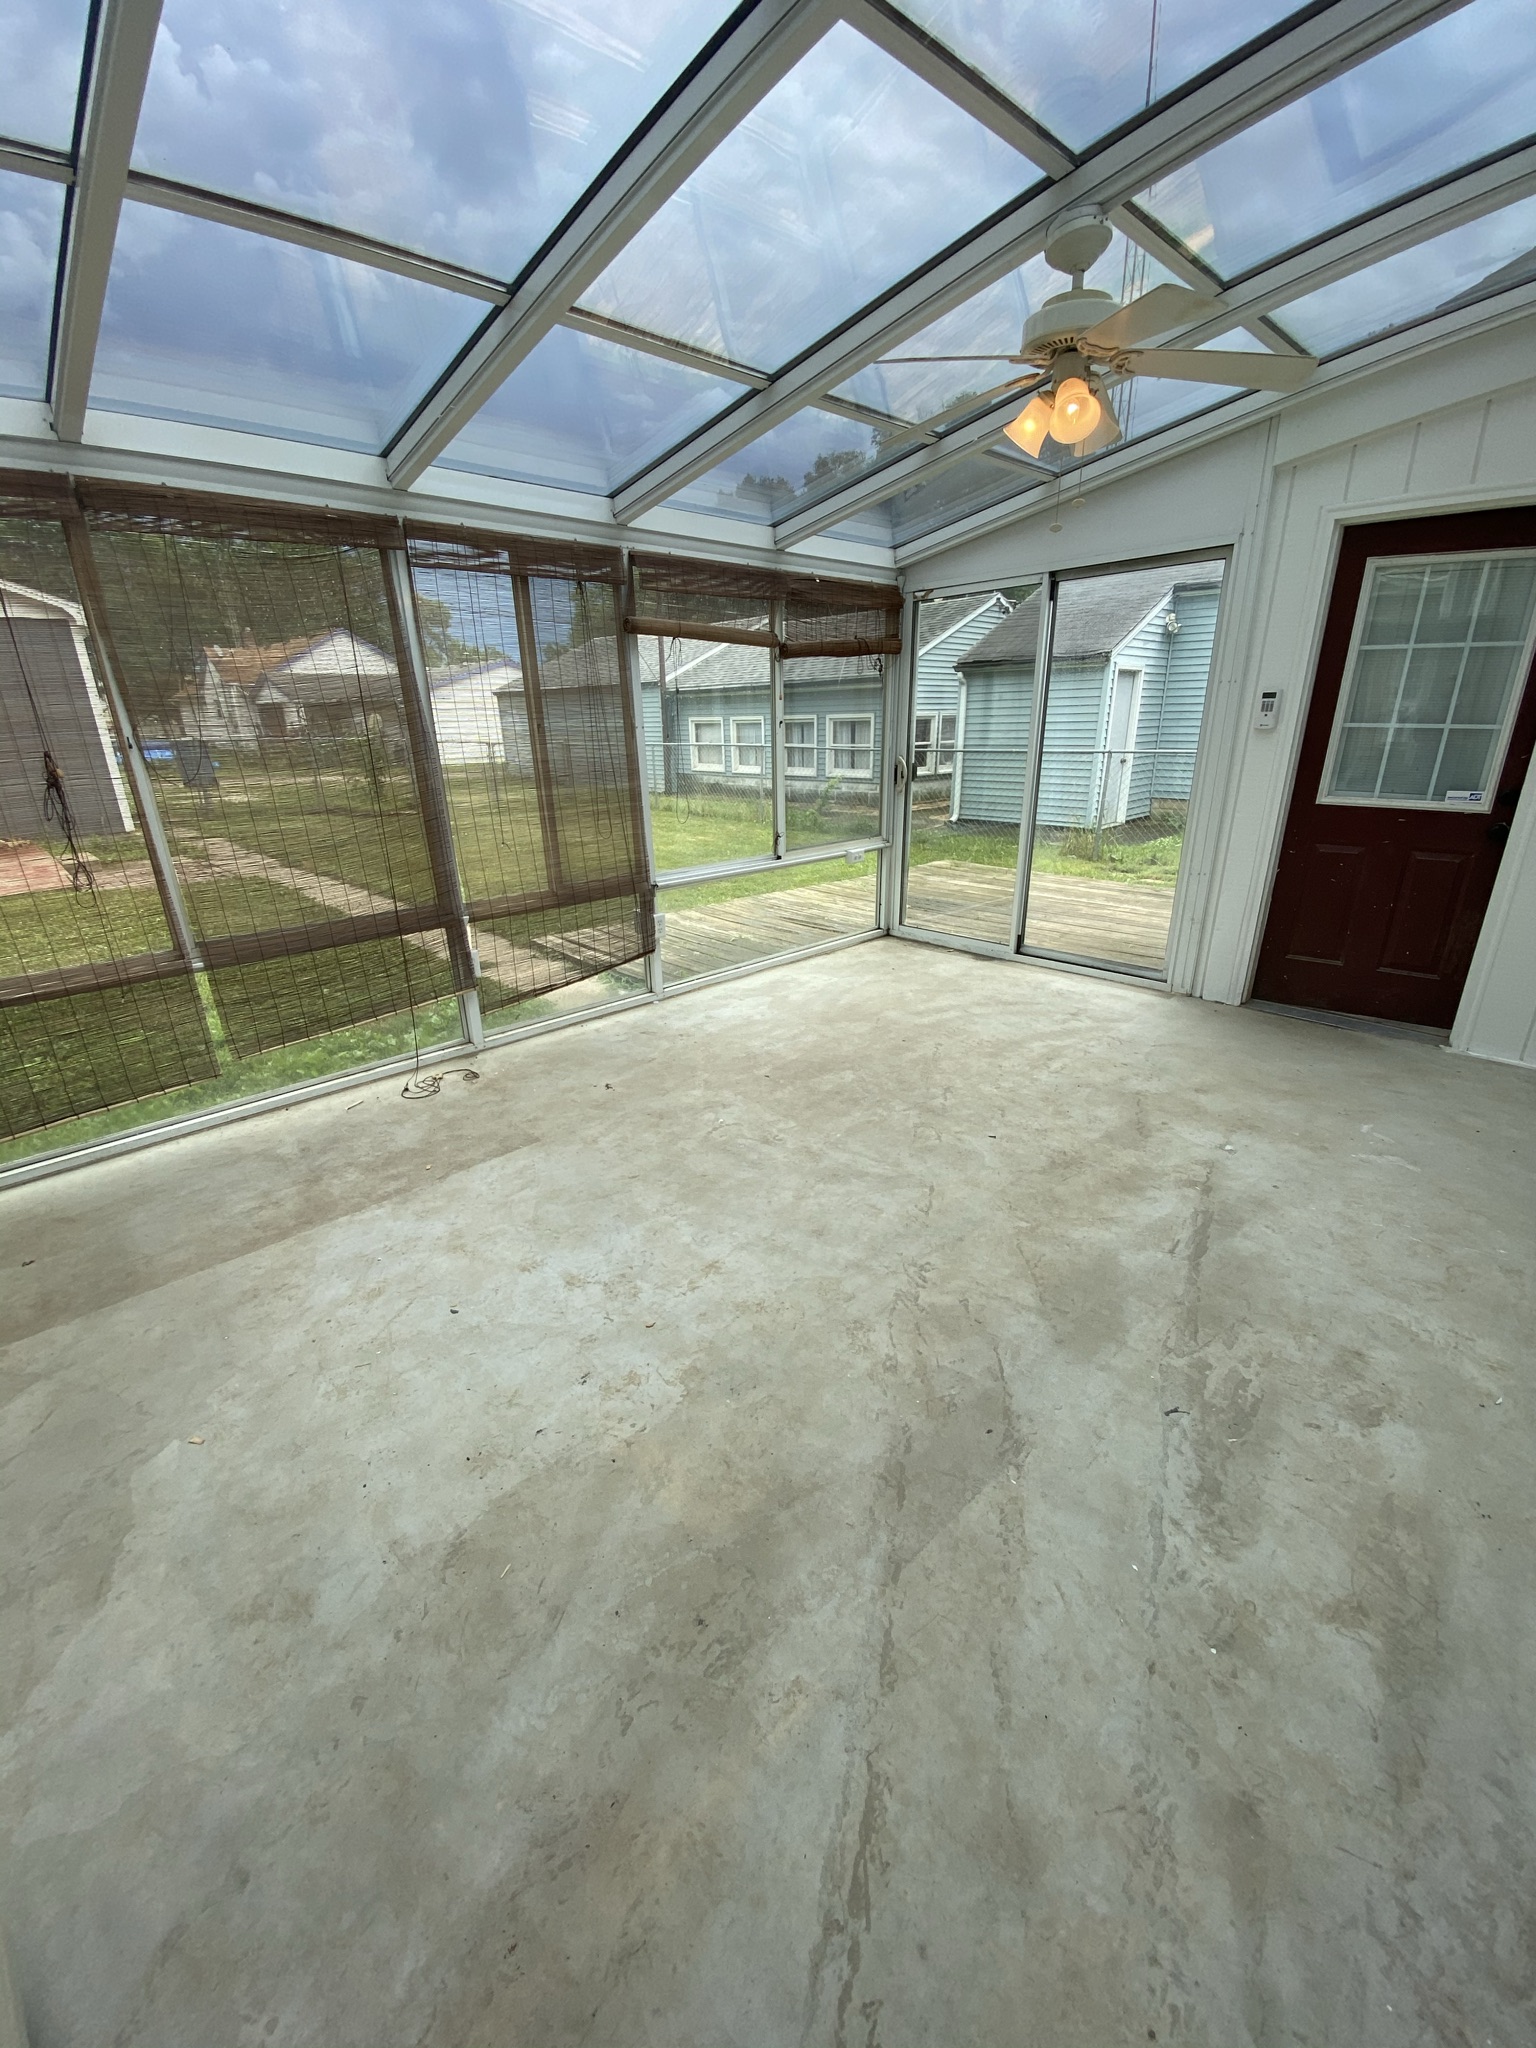
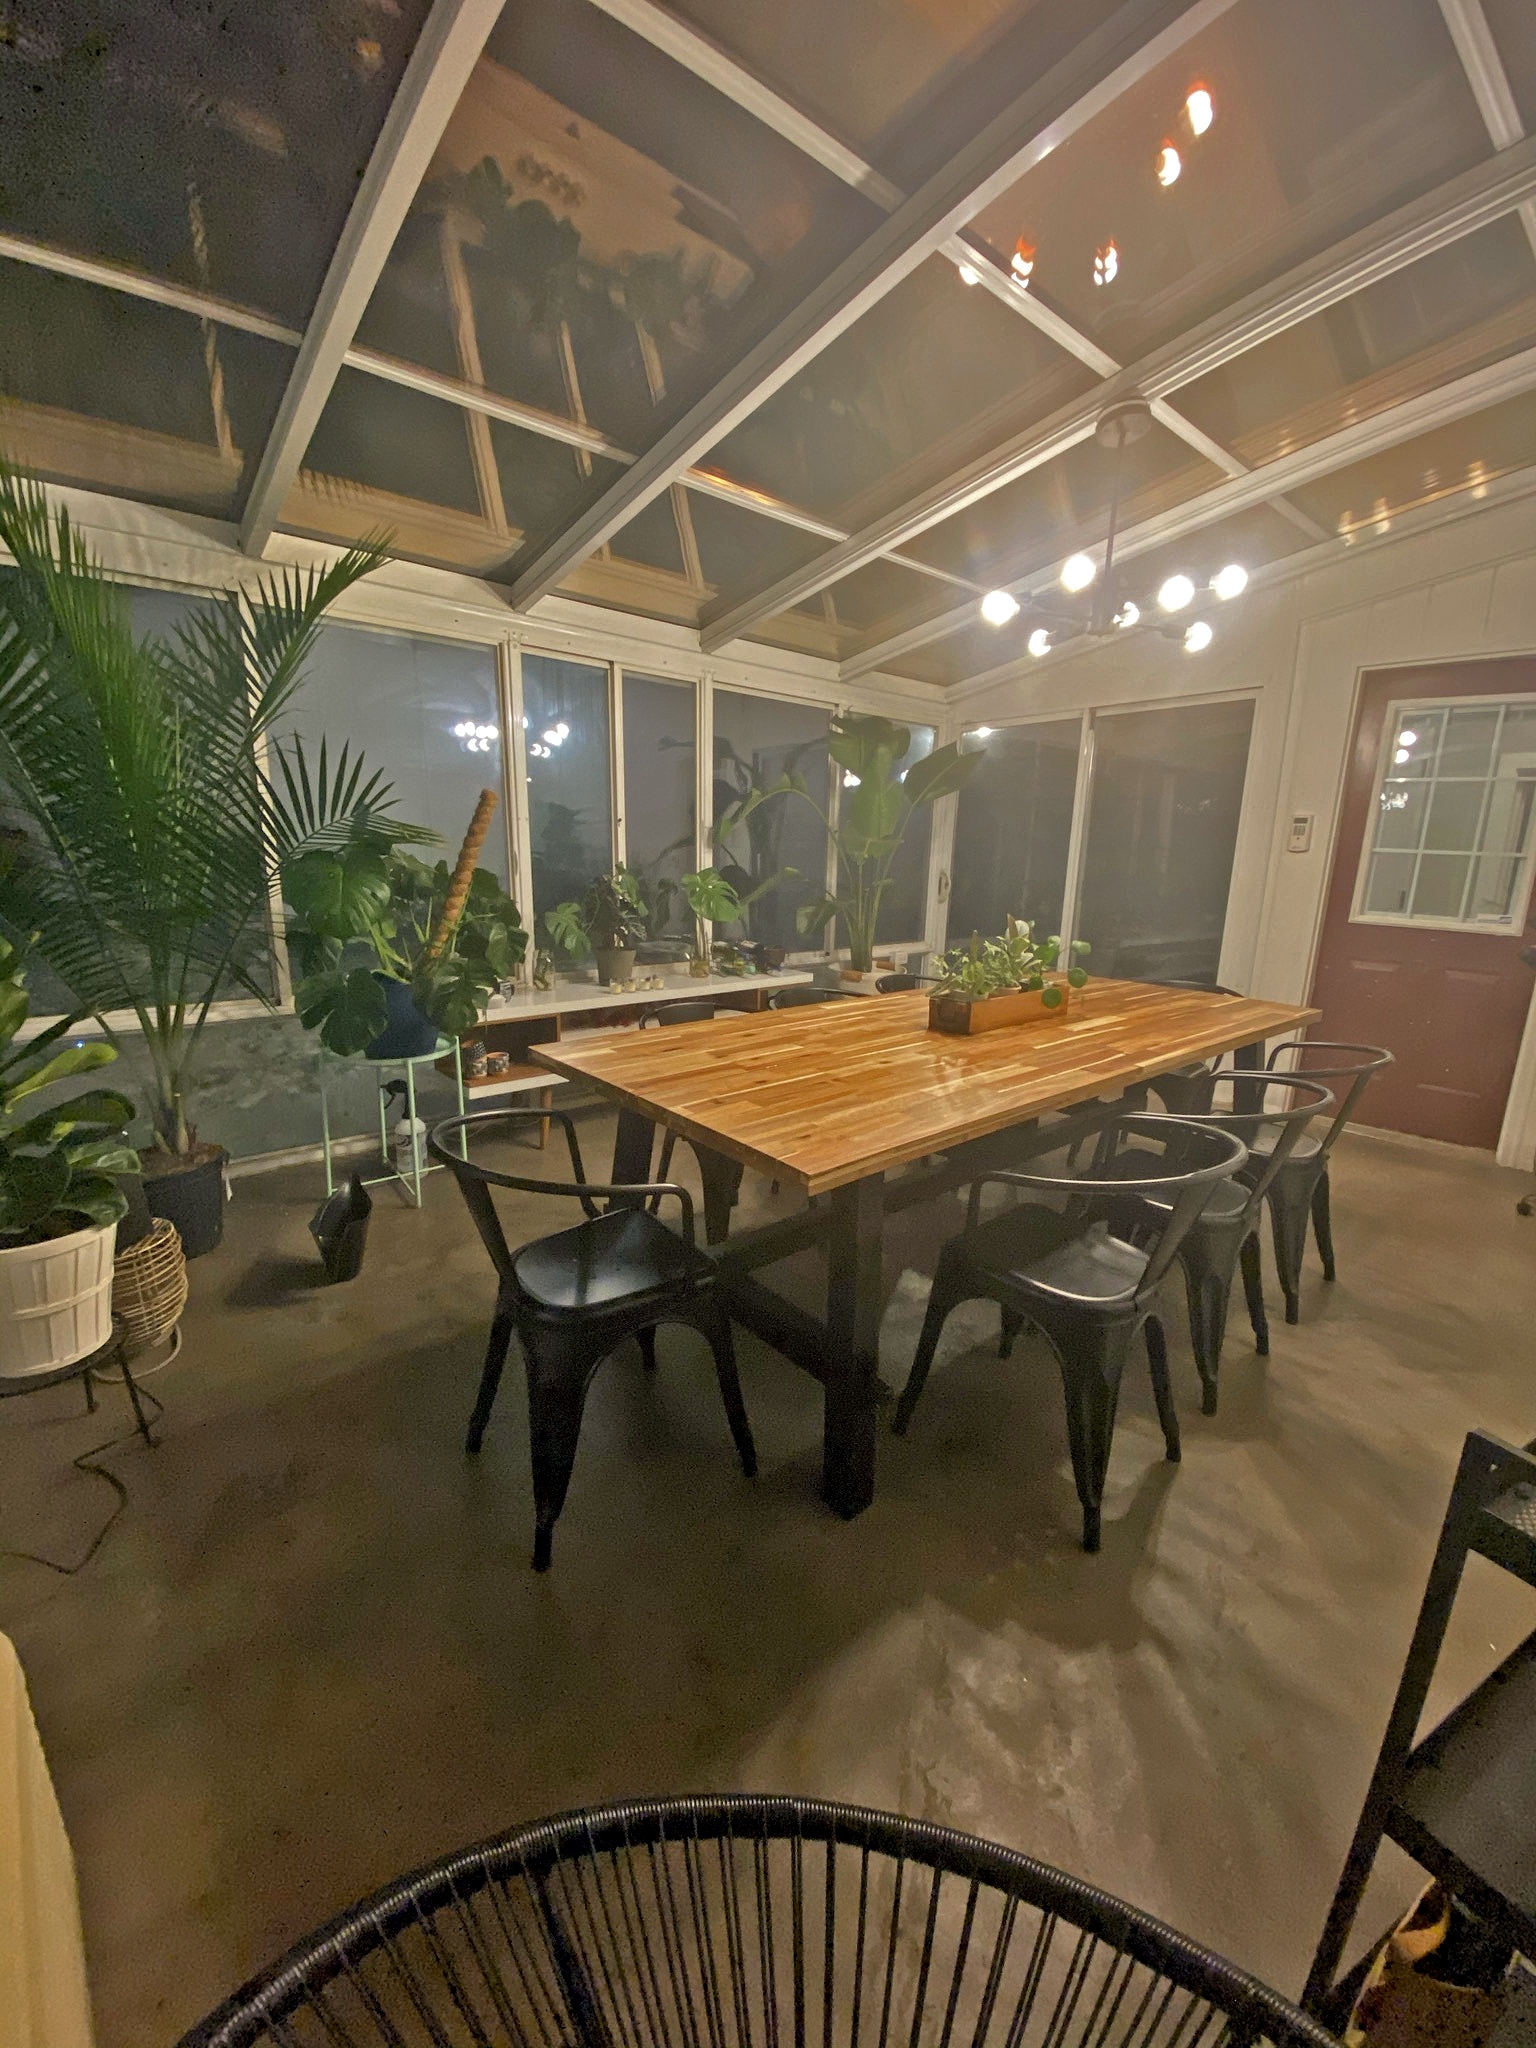
Sunny Makeover: Breathing New Life into a Sunroom Floor with Stormy Gray Magic
Ever thought a sunroom could use a touch of storm? Well, we did! Welcome to our sunroom revival, where we took a stained and uneven concrete floor and turned it into a sleek, modern industrial haven. Our secret weapon? The mighty Vibrance Stormy Gray concrete dye. Let’s just say, the results were nothing short of sunshine on a cloudy day! So, pull up a chair and join us on this stunning transformation journey. Who knew gray could be this vibrant?


