Transform Your Concrete Patio with Acid Staining: A Step-by-Step Guide
Looking to add some character and color to your concrete patio? Acid staining is a cost-effective and durable way to transform your outdoor space. Follow our step-by-step guide to learn how to acid stain a concrete patio and create the outdoor oasis of your dreams.

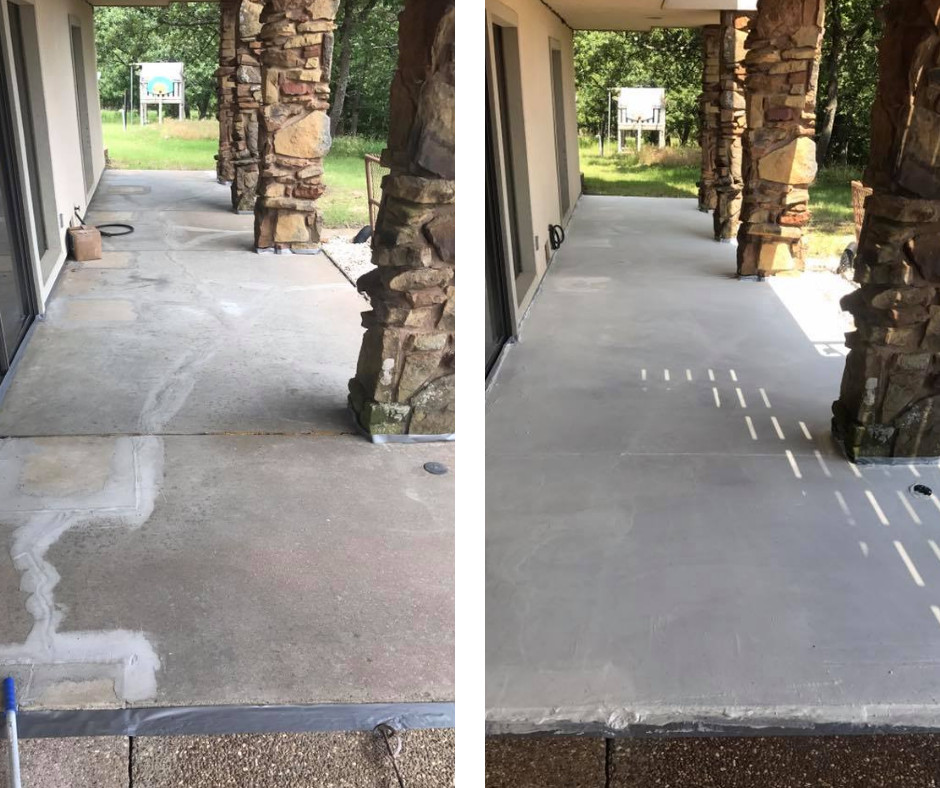
Step 1: Inspect the concrete surface.
Before you begin, it’s important to properly prepare the concrete surface. This includes inspecting the patio for any cracks, deformities, or excessive wear that may affect the outcome of the stain. If the surface is uneven or has exposed aggregate, consider sanding or resurfacing with a concrete overlay to avoid pooling and dark spots.
Step 2: Test the acid stain colors.
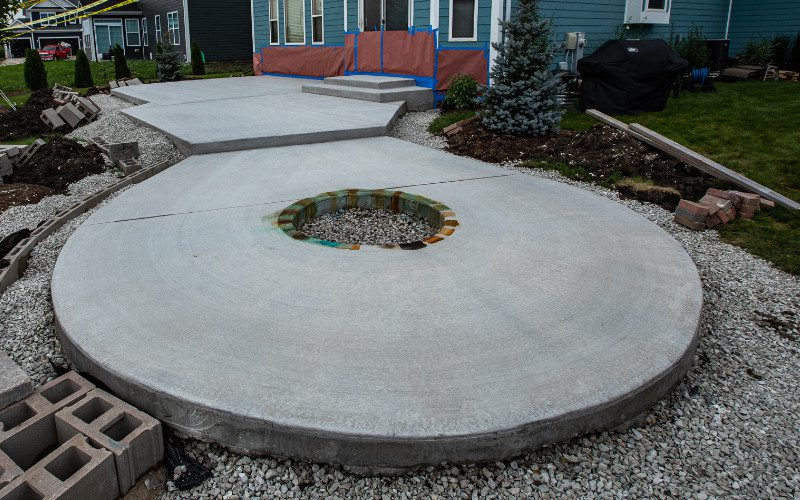
To make sure you’re happy with the final color of your acid-stained patio, it’s a good idea to test the stain on a small, inconspicuous area of the concrete before proceeding with the entire project. This will give you an idea of how the color will look on your specific concrete surface and allow you to make any necessary adjustments.
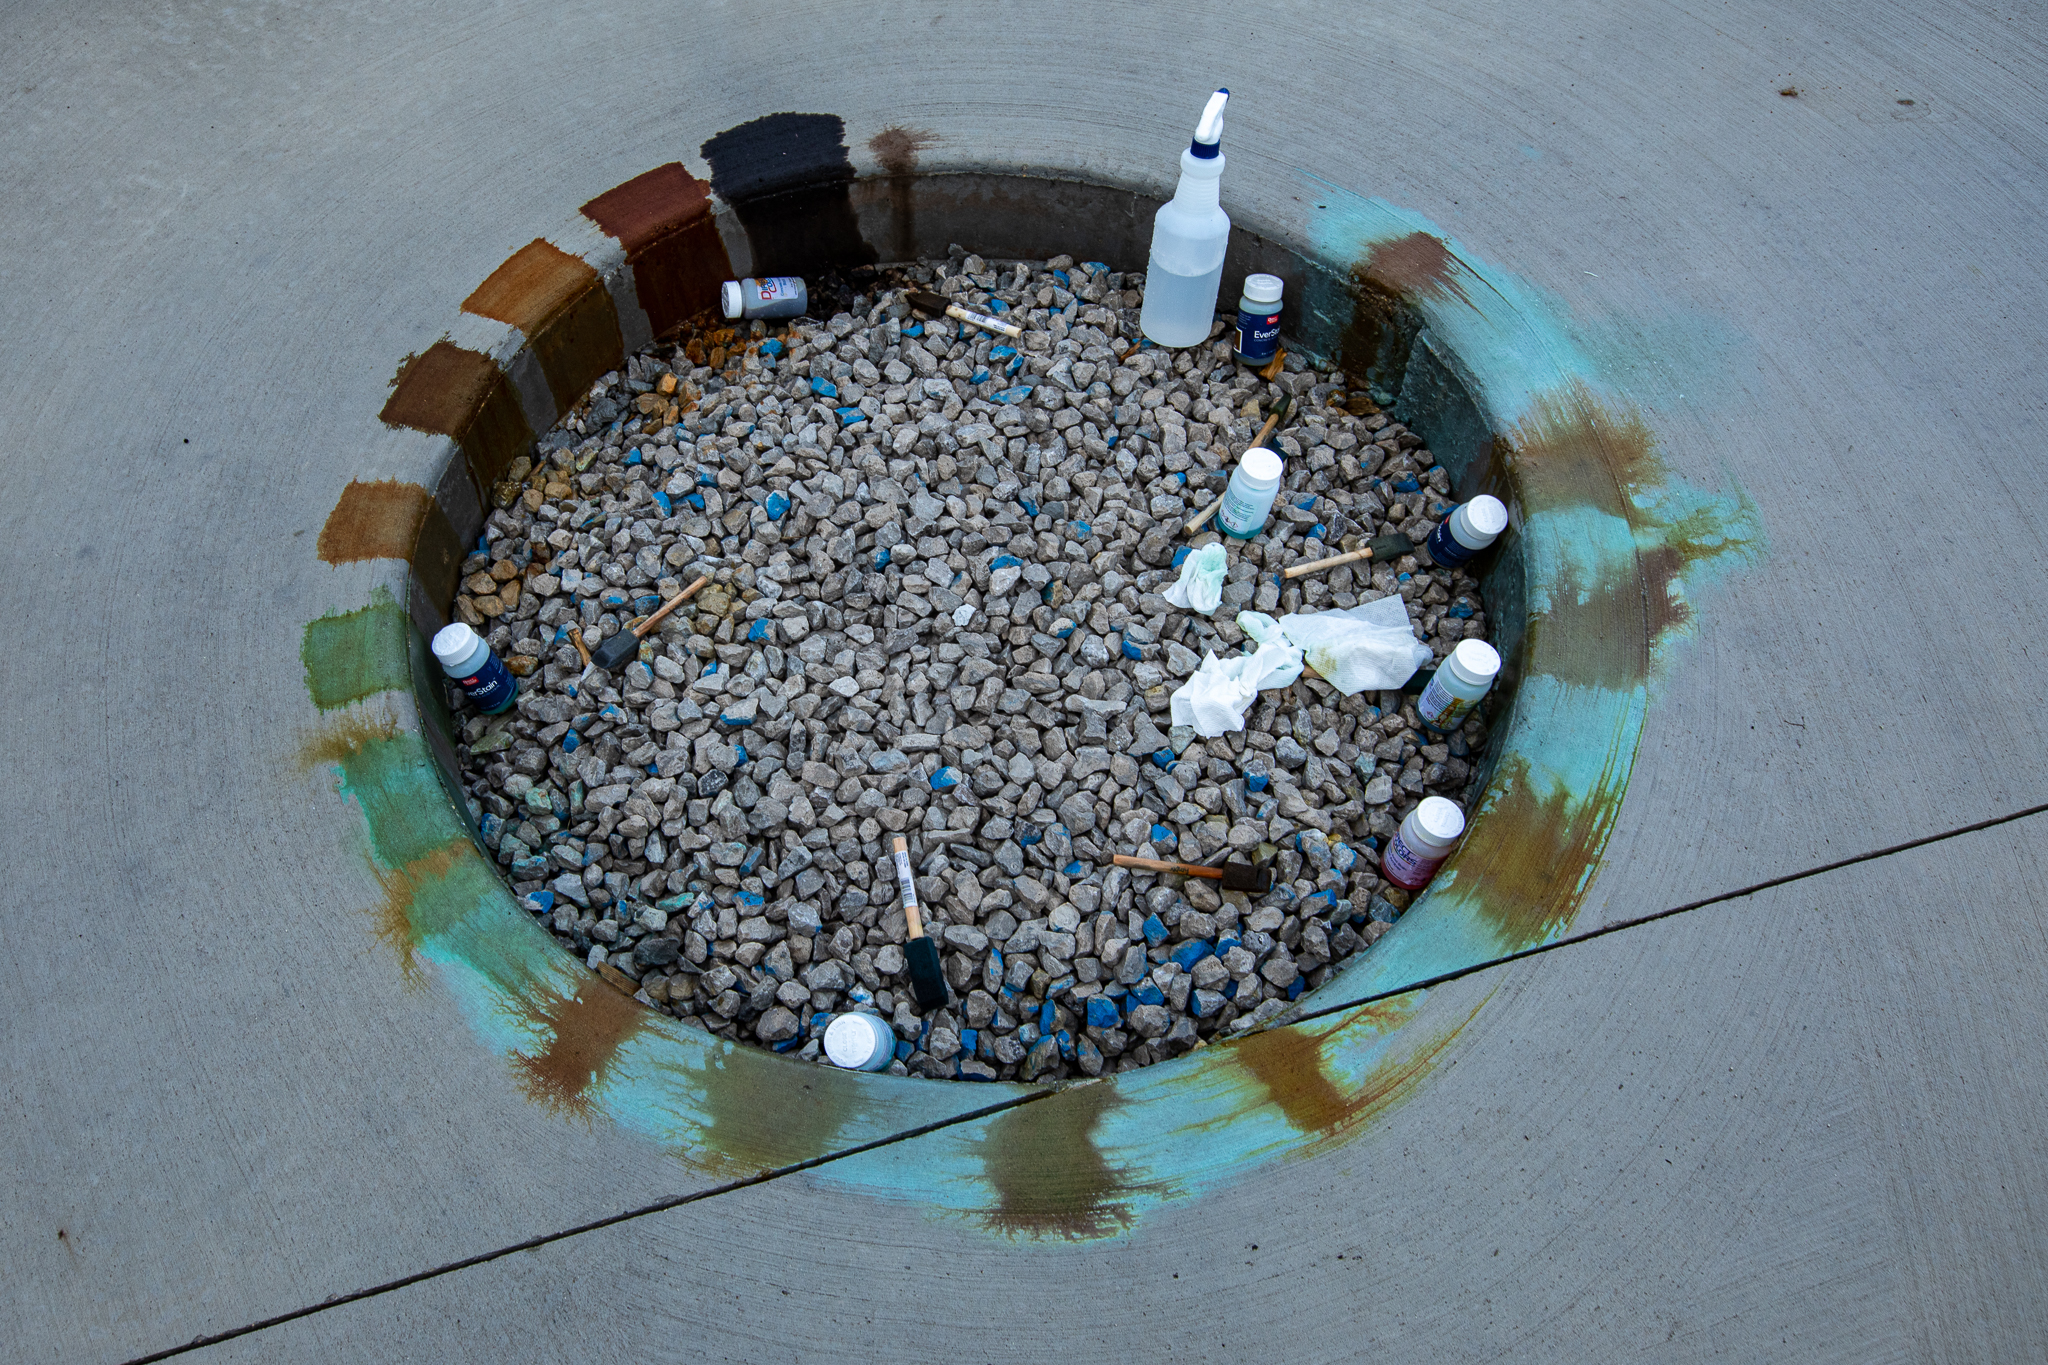
To test the acid stain colors:
- Choose a small, inconspicuous area of the concrete patio to test the stain on. This could be a corner or an area that will later be covered by furniture or other objects.
- Clean and prepare the test area as you would the entire patio, following the steps outlined in the guide.
- Apply the acid stain to the test area using the same application method you plan to use on the rest of the patio.
- Allow the stain to dry completely and observe the color. Is it the shade you were hoping for? Does it blend well with the surrounding concrete?
- If you are satisfied with the color, proceed with staining the rest of the patio. If not, adjust the color by mixing in a different shade of acid stain or starting over with a new color.
Step 3: Clean and prepare the surface.
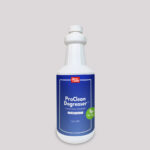
Once you have chosen and tested the acid stain colors, it’s time to clean and prepare the entire patio for staining. This includes thoroughly cleaning the concrete with an organic cleaner and degreaser to remove any dirt, debris, or oils. Protect any surrounding areas from overspray by covering plants.
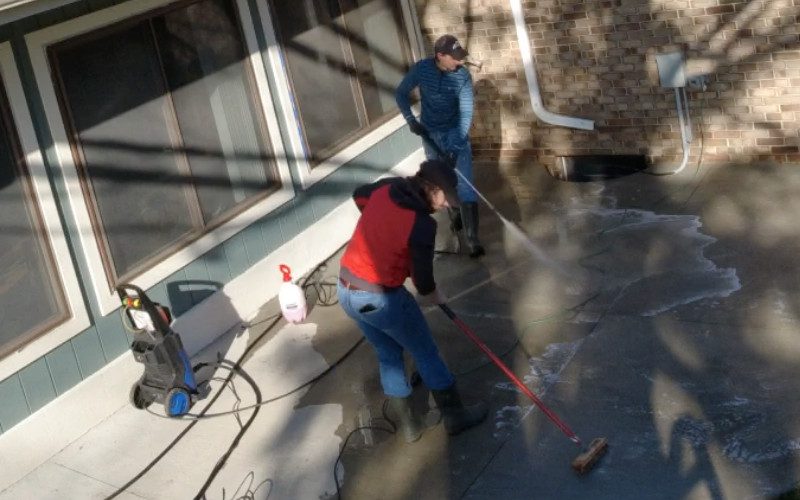
For exceptionally dirty or heavily soiled concrete patios, it’s important to follow additional surface preparation steps to ensure the best results with your acid staining project. Check out our guide on ‘Surface Preparation For Acid Staining.‘ for tips on how to properly prepare your concrete surface for staining.
Step 4: Apply the acid stain.
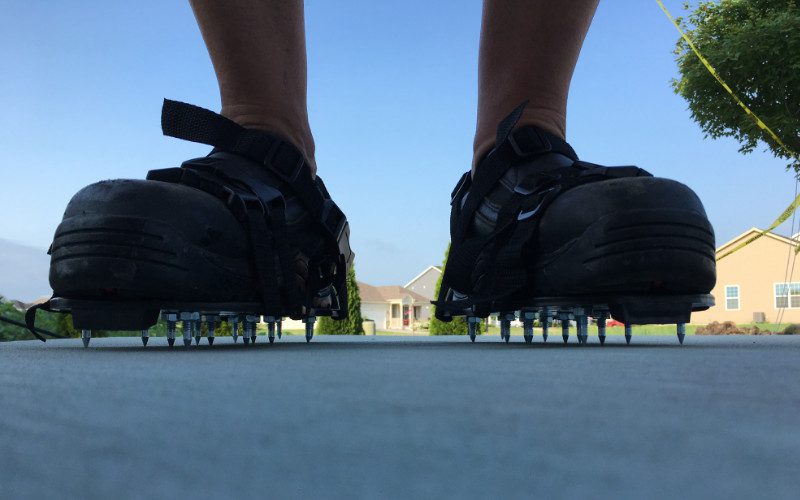
When applying the acid stain, it’s crucial to follow safety precautions such as wearing long sleeves, pants, goggles, and gloves. There are several methods you can use to apply the stain, including a pump-up sprayer, a brush, or a spray bottle. Consider wearing spiked shoes to prevent leaving footprints or tracking the stain where it’s not wanted.
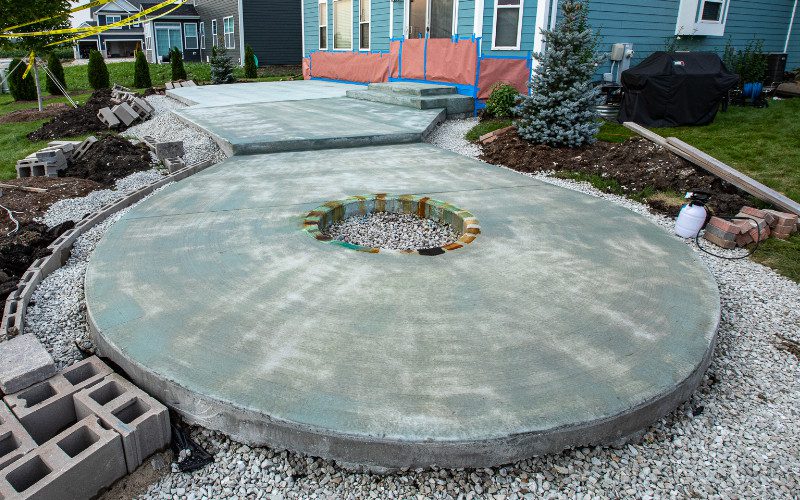
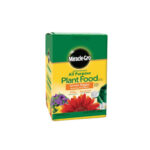
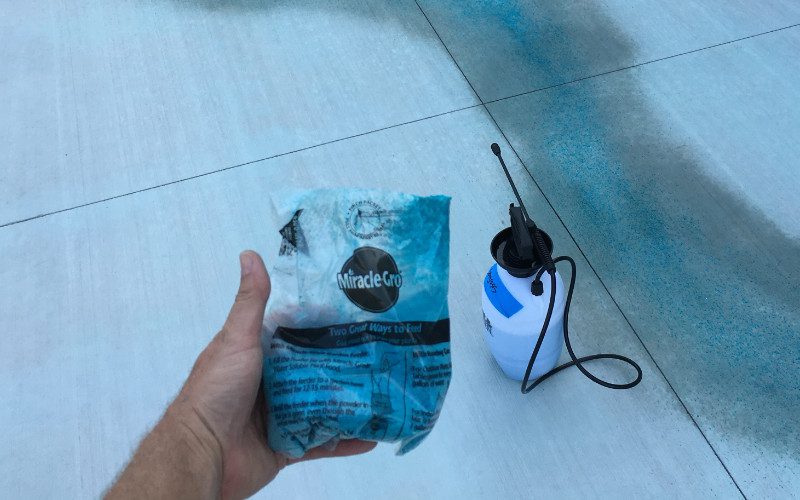
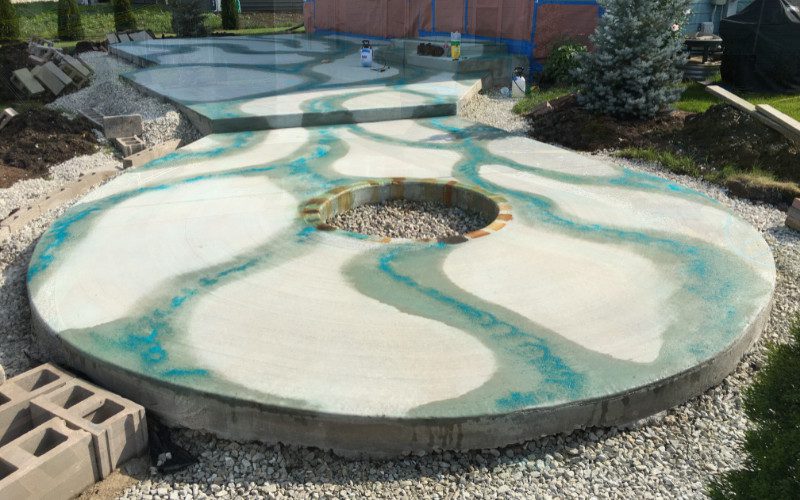
Tip: For added vibrancy and intensity in the blue hues of your acid stain, consider using Miracle-Gro Plant Food as an additive. Check out our blog ‘Using Miracle-Gro to Enhance the Blue Hues of Acid Stain on Concrete‘ for more information and tips on how to achieve stunning results.
Step 5: Add a second coat of acid stain (optional).
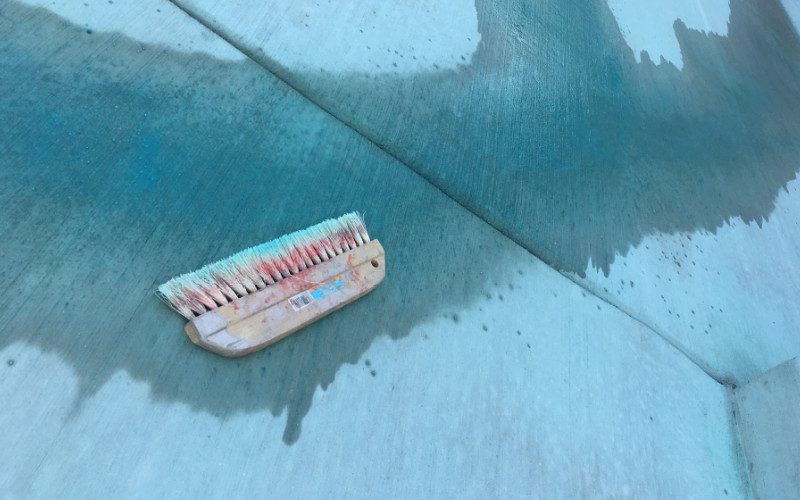
You can add a second coat of acid stain for added depth and contrast. There are several techniques you can use to apply the second coat, including:
- Wet-on-wet layering: This technique involves applying a second coat of acid stain while the first coat is still wet. This can create a gradient effect or blend multiple colors together.
- Veining techniques: This technique involves applying a second coat of acid stain in a pattern or design that mimics the look of natural stone veins.
- Mottling techniques: This technique involves applying a second coat of acid stain in a random, blotchy pattern to create a natural, weathered look.
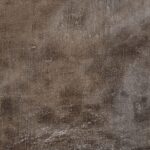
There are many techniques you can use to create intricate designs and special effects with acid stain. As the acid stain reacts with the minerals in the concrete, it’s normal for a chalky residue to form as it dries.
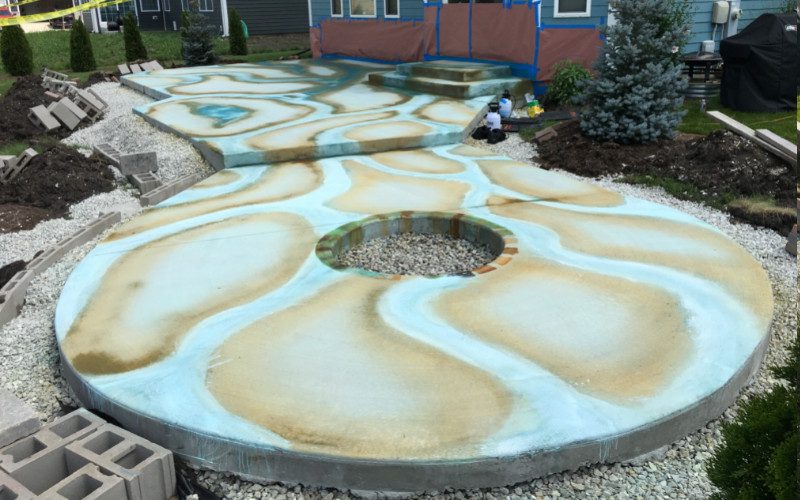
You can check the color development of each layer by wetting the stained surface. The wet surface color will give you an idea of how the final color will look after it’s sealed.
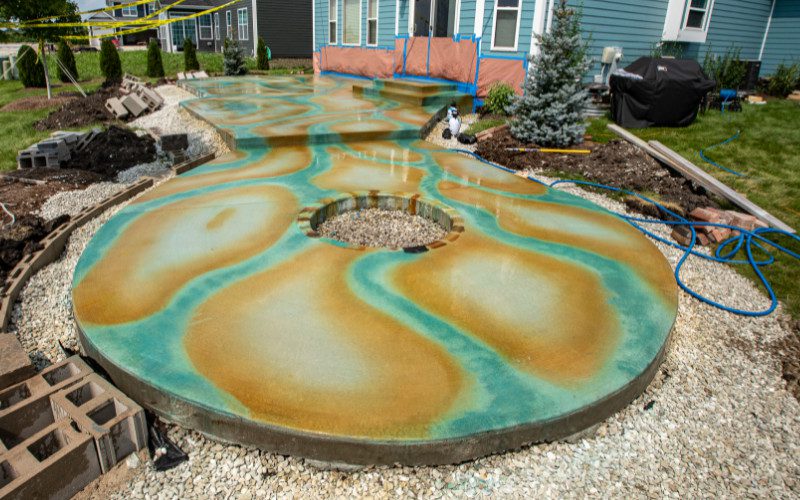
Experiment with different application methods and techniques to achieve your desired result.
Step 6: Neutralize the acid stain.
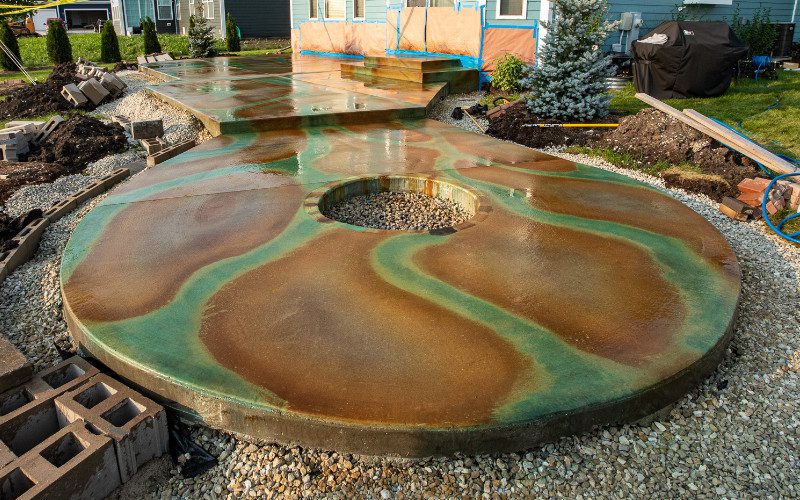
After the acid staining process is complete, it’s important to neutralize the acid in the stain to prevent it from reacting with the concrete and causing damage. To do this:
- Mix a solution of one part water to one part baking soda.
- Using a scrub brush or mop, apply the baking soda solution to the entire acid-stained patio surface.
- Scrub the solution into the concrete, making sure to cover the entire surface.
- Rinse the patio thoroughly with clean water to remove the baking soda solution.
- Allow the patio to dry completely.
Step 7: Seal the patio.
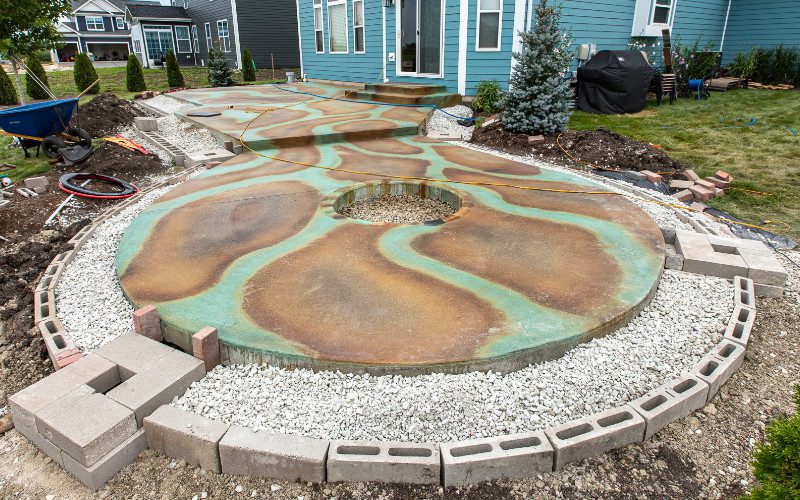
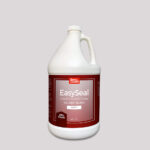
Now that you have applied the acid stain and allowed it to dry, it’s time to seal the surface to protect the color from environmental wear and tear. There are two methods for applying the clear concrete sealer: spraying or rolling. Here are the steps for each method:
Option 1: Spraying (preferred method)
- Remove all filters from the pump-up sprayer.
- Begin spraying at a far corner to maintain a clear path to exit.
- Spray the sealer on the surface in slightly circular motions with irregular overlaps.
- Shake the sprayer tank from side to side often to prevent the color from settling.
- Spray thin coats to avoid puddling.
- Allow eight hours before applying a second coat (maximum of two thin coats).
- Use a thumbnail to see if the coat dents or scratches; if so, allow more time to cure.
- Apply a second coat following the same method.
Option 2: Rolling
- Pour the sealer into a paint tray.
- Use a 3/8th nap roller to apply the first thin coat and roll in one direction only.
- Do not apply pressure to the roller as this will cause streaking (let the weight of the roller do the work).
- Allow eight hours before applying a second coat (maximum of two thin coats).
- Use a thumbnail to see if the coat dents or scratches; if so, allow more time to cure.
- Apply a second coat in the opposite direction following the same method.
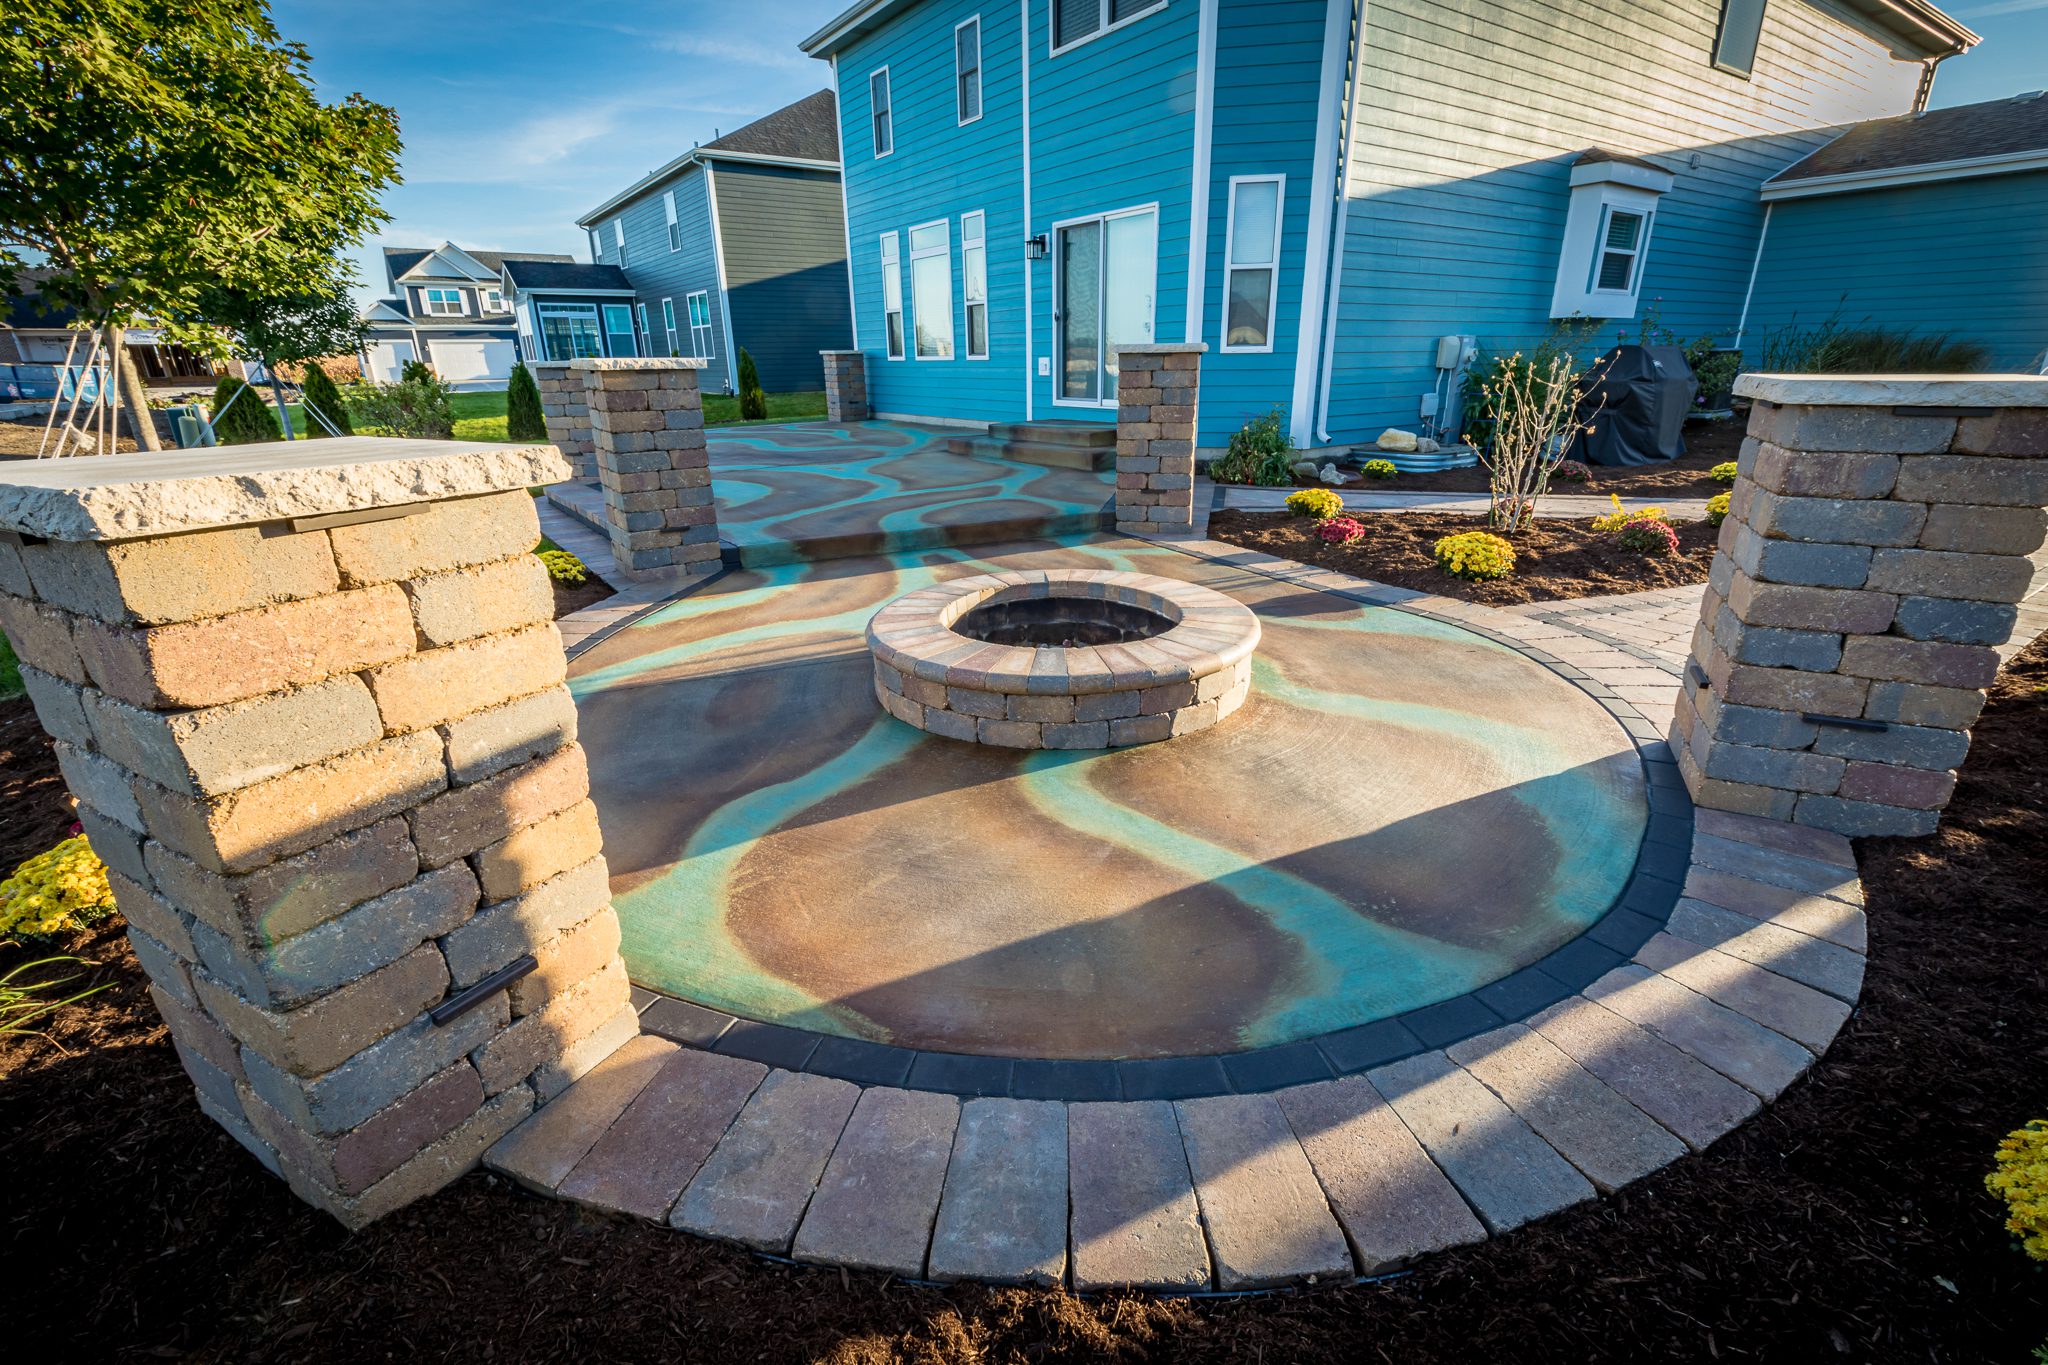
With these steps, you can transform your plain concrete patio into a work of art using acid stains. From a single color to an intricate design, the possibilities are endless. So why wait? Start planning your acid staining project today and enjoy a beautiful, one-of-a-kind outdoor space for years to come.


