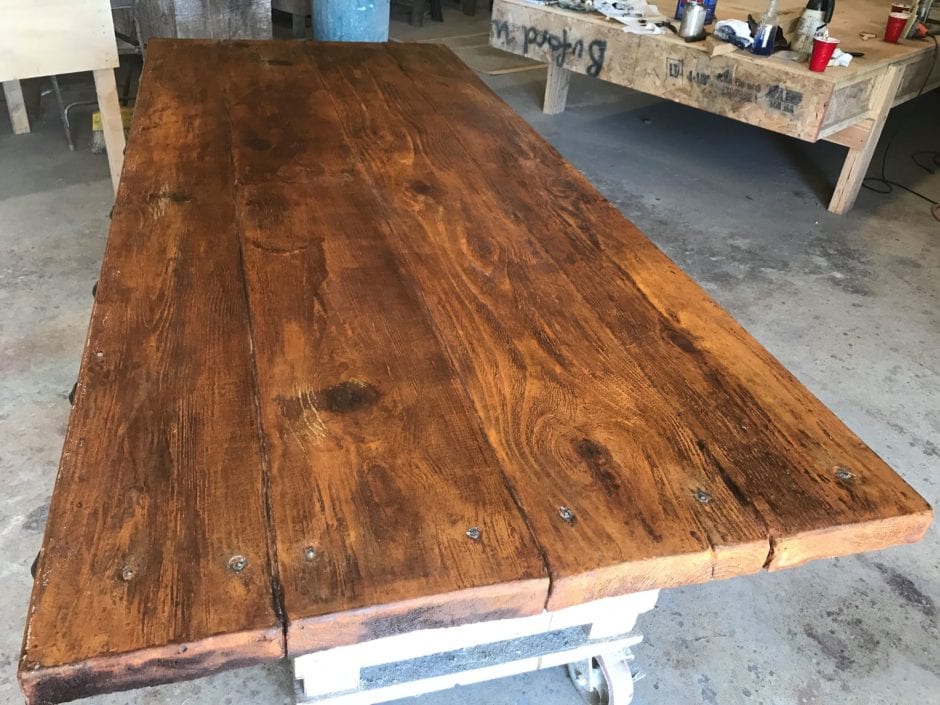
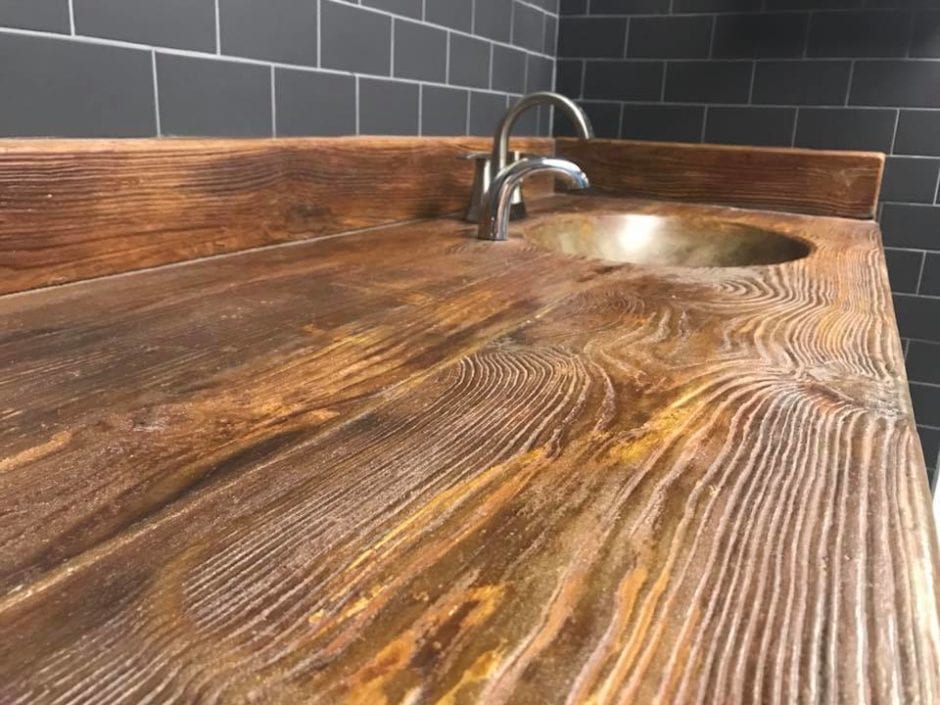
Concrete That Looks Like Wood Floors: A Guide to Creating a Faux Wood Grain Finish
by Justin Richardson
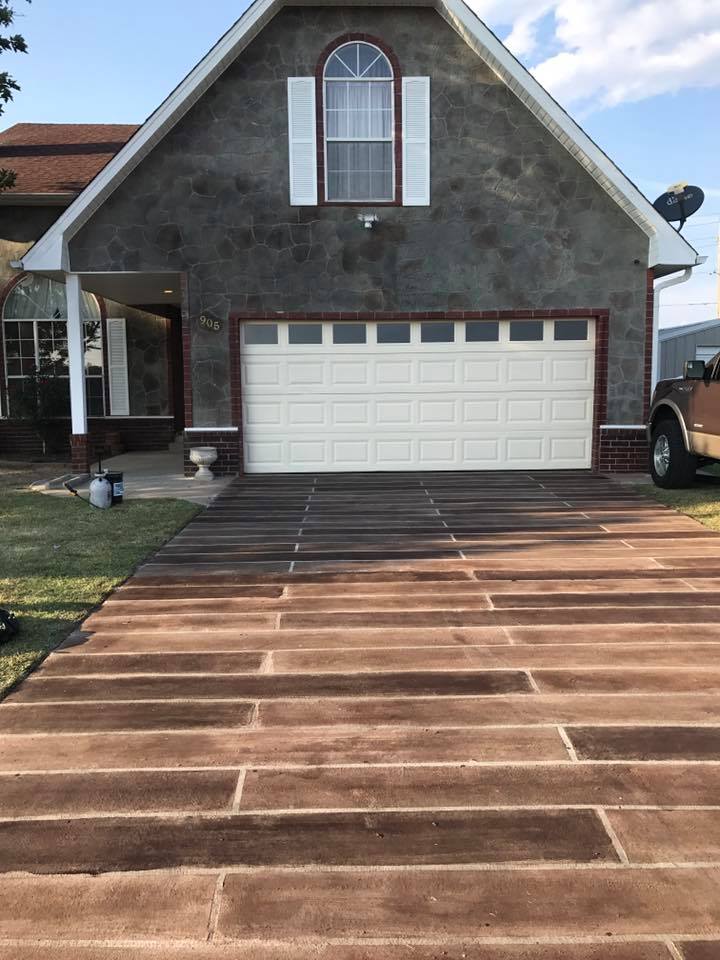
If you’re looking to upgrade your floors with a unique and trendy look, consider stained concrete floors that look like wood! This technique is gaining popularity among our customers, and for good reason. With the right products, tools, and know-how, you can transform any concrete surface into a faux wood masterpiece.
So, can you make concrete look like wood floors? Absolutely! All it takes is some patience, basic technique, and concrete overlay. The cost for a DIY faux wood concrete floor design is typically around $2 – $4 per square foot, while hiring a professional contractor can cost around $8 – $10 per square foot.
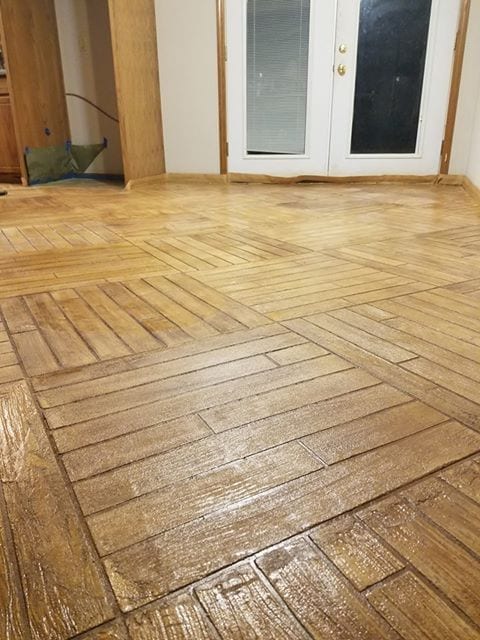
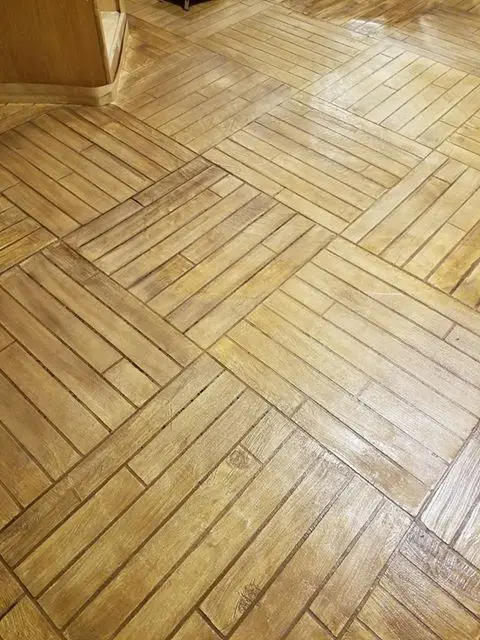
To achieve the faux wood finish, follow these steps:
STEP 1: Clean the Concrete Surface
Start by cleaning the floor with a light concrete cleaner and degreaser solution. Thoroughly scrub and rinse all residues from the surface, then allow the floor to dry.
STEP 2: Mix Concrete Overlay
For bucket mixing, follow the following instructions:
- Use a five-gallon pail and a drill mixer.
- Pour one gallon of water into the pail.
- Slowly add the contents of a 50-pound box of overlay while mixing continuously.
- Thoroughly combine the water and overlay until the dry polymer is saturated and properly dispersed.
- Use less water for a thicker consistency, and add water as needed to thin the overlay during the application.
- Keep the water uniform for every box of overlay if using colored concrete pigment to avoid color discrepancies.
- The pot life for the overlay is approximately 45 minutes, and you can extend it by 15 minutes by using ice-cold rather than room-temperature water.
- The pot life will be affected by the ambient temperature, with cooler temperatures marginally extending and hotter shortening the expected pot life.
- For spraying the overlay, add up to one gallon of additional water per box of smooth concrete overlay until the mixture resembles a thin pancake batter suitable for spraying at 25 psi.
STEP 3: Apply Concrete Overlay
To apply using a concrete stencil:
- Select Concrete Overlay as a base coat for stenciling.
- Follow the mixing instructions for spraying overlay.
- Spray from a flat-work texture gun at 25 psi.
- Hold the sprayer at least six inches from the surface during application to minimize rebound.
- Mix one box at a time as needed, and allow drying for six hours before applying the stencil.
- Affix the stencil and then carefully spray the top or color smooth texture overlay coat in the same manner.
- Pull the stencil after 10 minutes of drying time.
To apply using a concrete stamp:
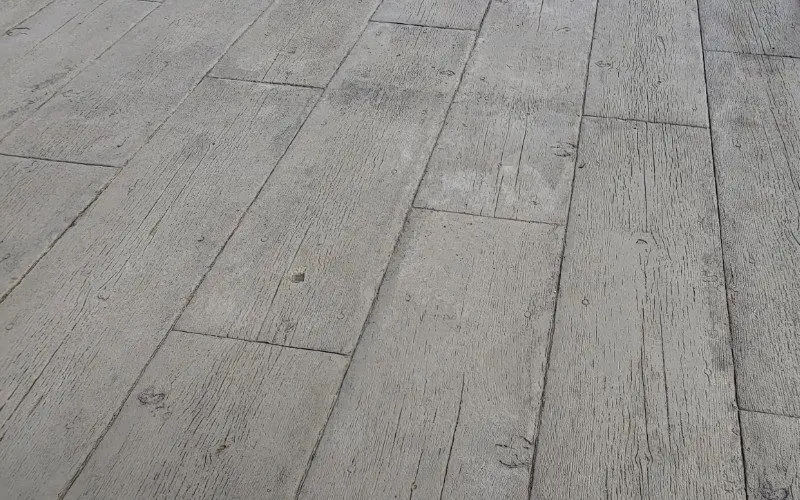
- Select Concrete Overlay for stamping and apply at ¼ inch depth.
- Choose stamps or texture mats intended for use with overlay.
- Add one gallon of water per 40-pound box. Use ice water if stamping in hotter temperatures.
- Use a gauge rake set to the desired depth on the surface.
- Follow with a squeegee trowel to smooth out any rake marks or other imperfections.
- Allow drying until the surface can be depressed without sticking.
- Apply Concrete Liquid Release Agent to the stamps, tools, and overlay to prevent sticking.
- Depending on the size of the job and the mats, use at least three stamps or texture mats along with one floppy for any project up to 100 square feet.
- For 100-1500 square feet projects, use a set of five stamps or mats and floppy.
- Time is limited so make the choice according to crew size and ability.
- Assuming 75F and a 100 square feet project, allow for twenty minutes of stamping time – slightly more time if colder or less time in hotter temperatures.
- If stamping a larger area, one person should be mixing overlay continually while others are applying and stamping.
- If the work cannot be completed at one time, do not stop applying in the middle of a section or floor.
- End at logical separation, such as an expansion joint, for the best overall finished appearance.
STEP 4: Create Faux Wood Grain
Create a “wood-like” texture by brushing the wet overlay in a continuous manner with a broom. Work in sections, as the approximate working time for overlay once applied is about 10 – 12 minutes. Ambient and surface temperature will affect working time, with cooler temperatures marginally extending and hotter shortening the expected working time.
Do not attempt to apply Concrete Overlay to surfaces below 40F or above 85F. Hot temperatures can be controlled by moistening the surface with water prior to application.
STEP 5: Apply Concrete Stain
Apply the Antiquing™ or ColorWave® concrete stain colors you chose or mix various brown tone stains and spray them onto the wet overlay. Darken random sections with EasyTint™ tinted sealer to provide more excellent color contrast across the floor.
With a little practice, you’ll be able to create a stunning stained concrete floor that looks like wood. To get even more detailed instructions on applying the stain, watch the video below. Get ready to impress your guests with a unique and stylish new floor!
How to Make a Concrete Countertop that Looks Like Wood
Concrete is not only the most durable countertop option available, but it’s also infinitely customizable too. Designers and DIYers can use concrete stain to match existing decor, as well as to build a stunning centerpiece. Learn more from these innovative concrete experts!


