Cinnabar Creations: A Customer Showcase
our innovative customers have embraced the vibrant touch of Cinnabar to revitalize and redefine their spaces. From patios to countertops, witness the versatility and charm of this beloved hue.
By Justin Richardson
Reviving Memories with Cinnabar!
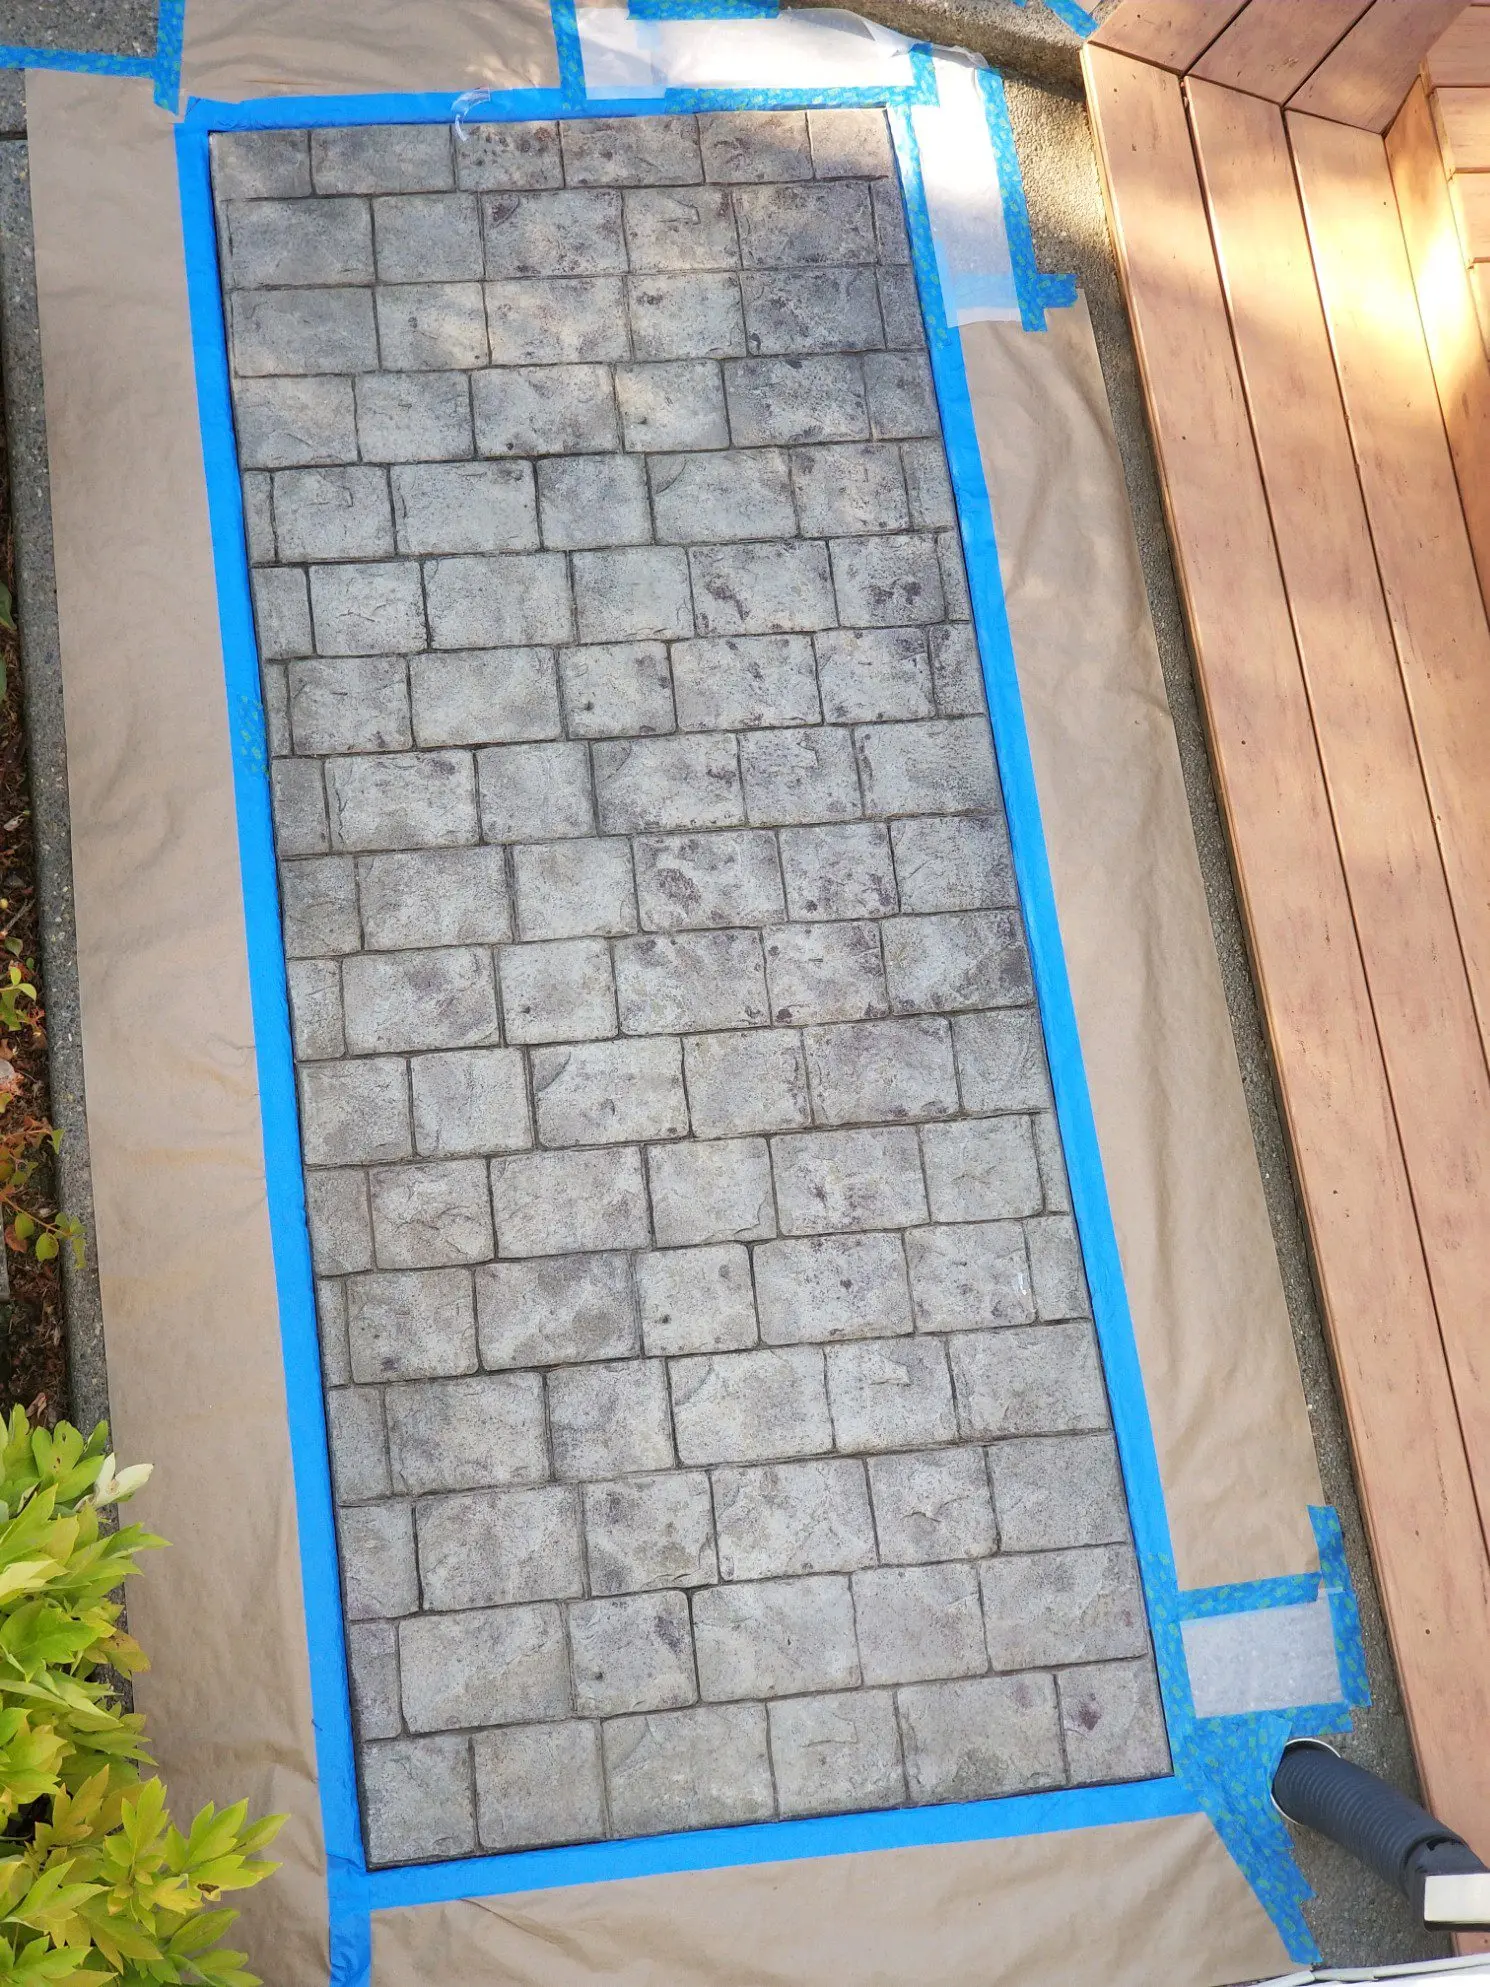
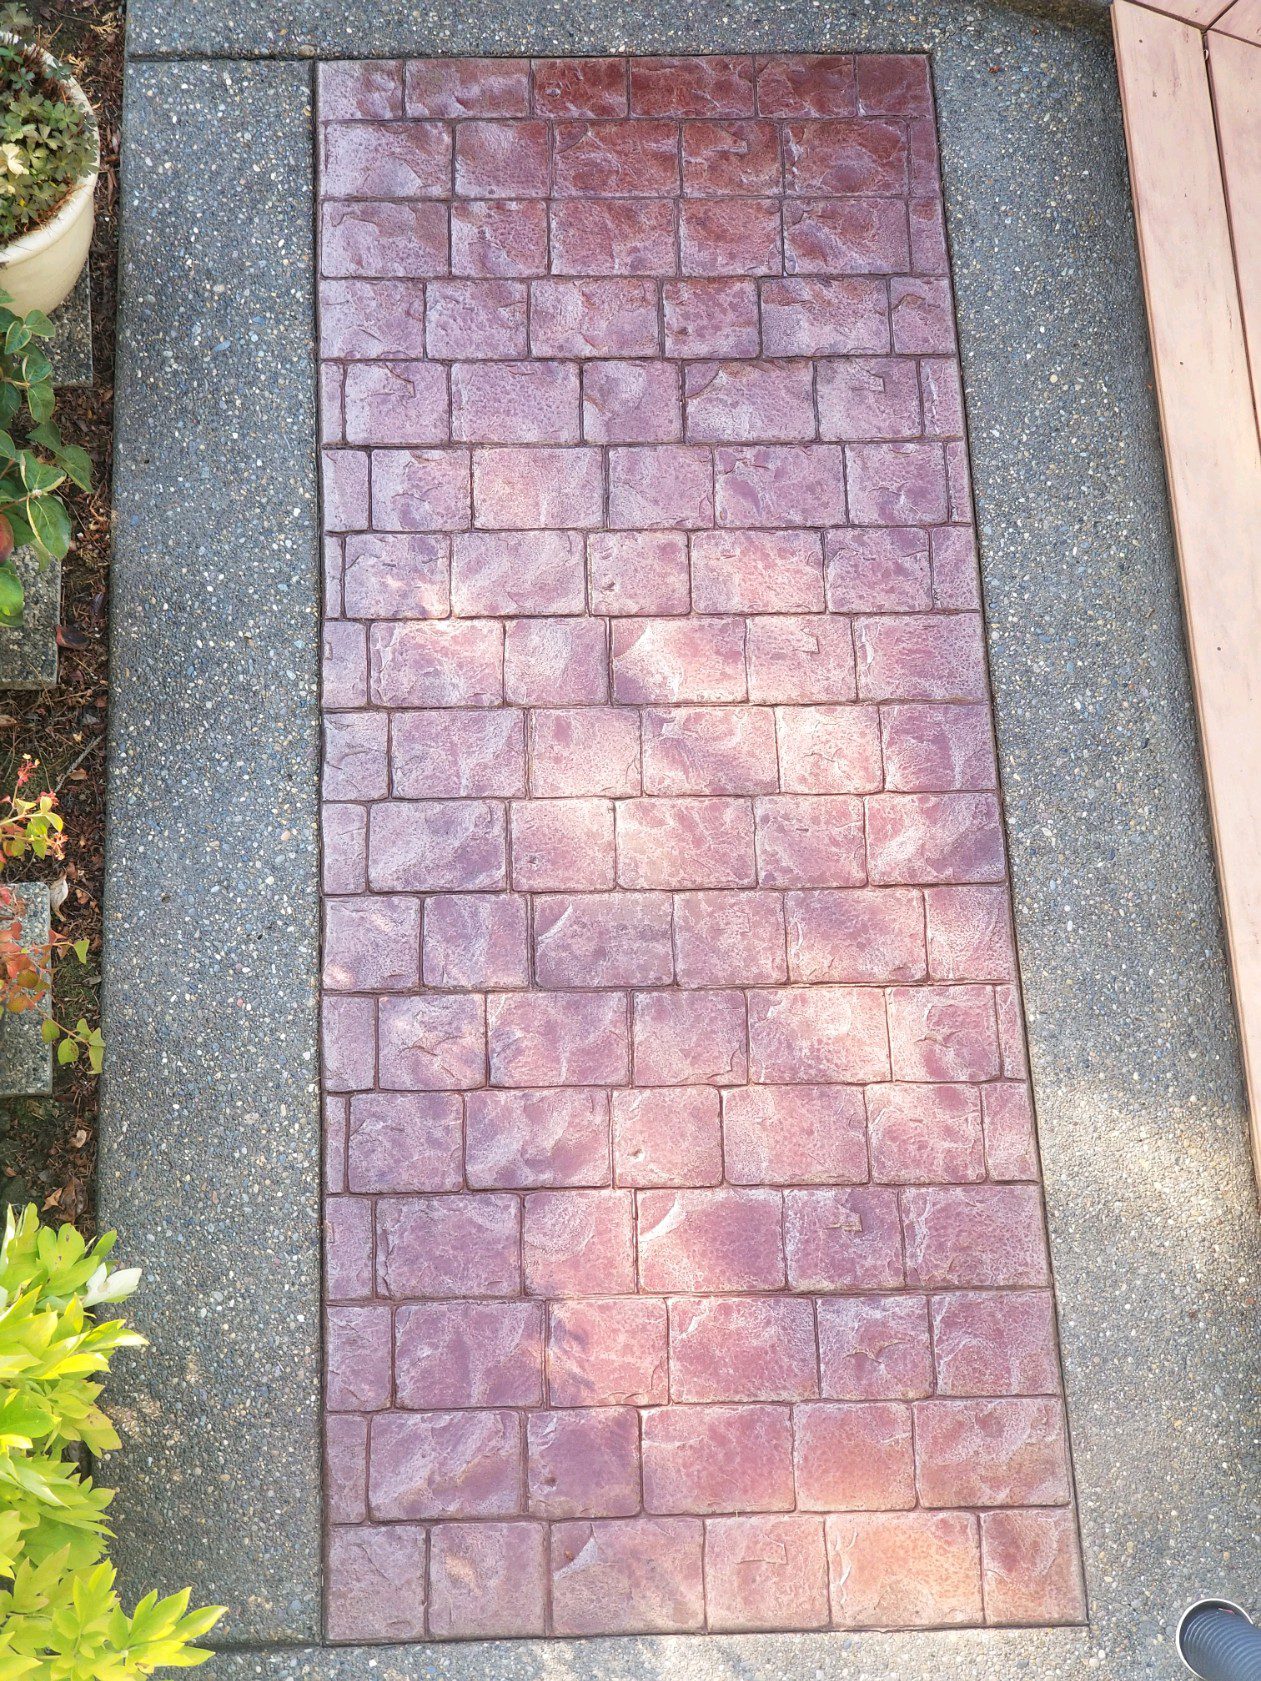
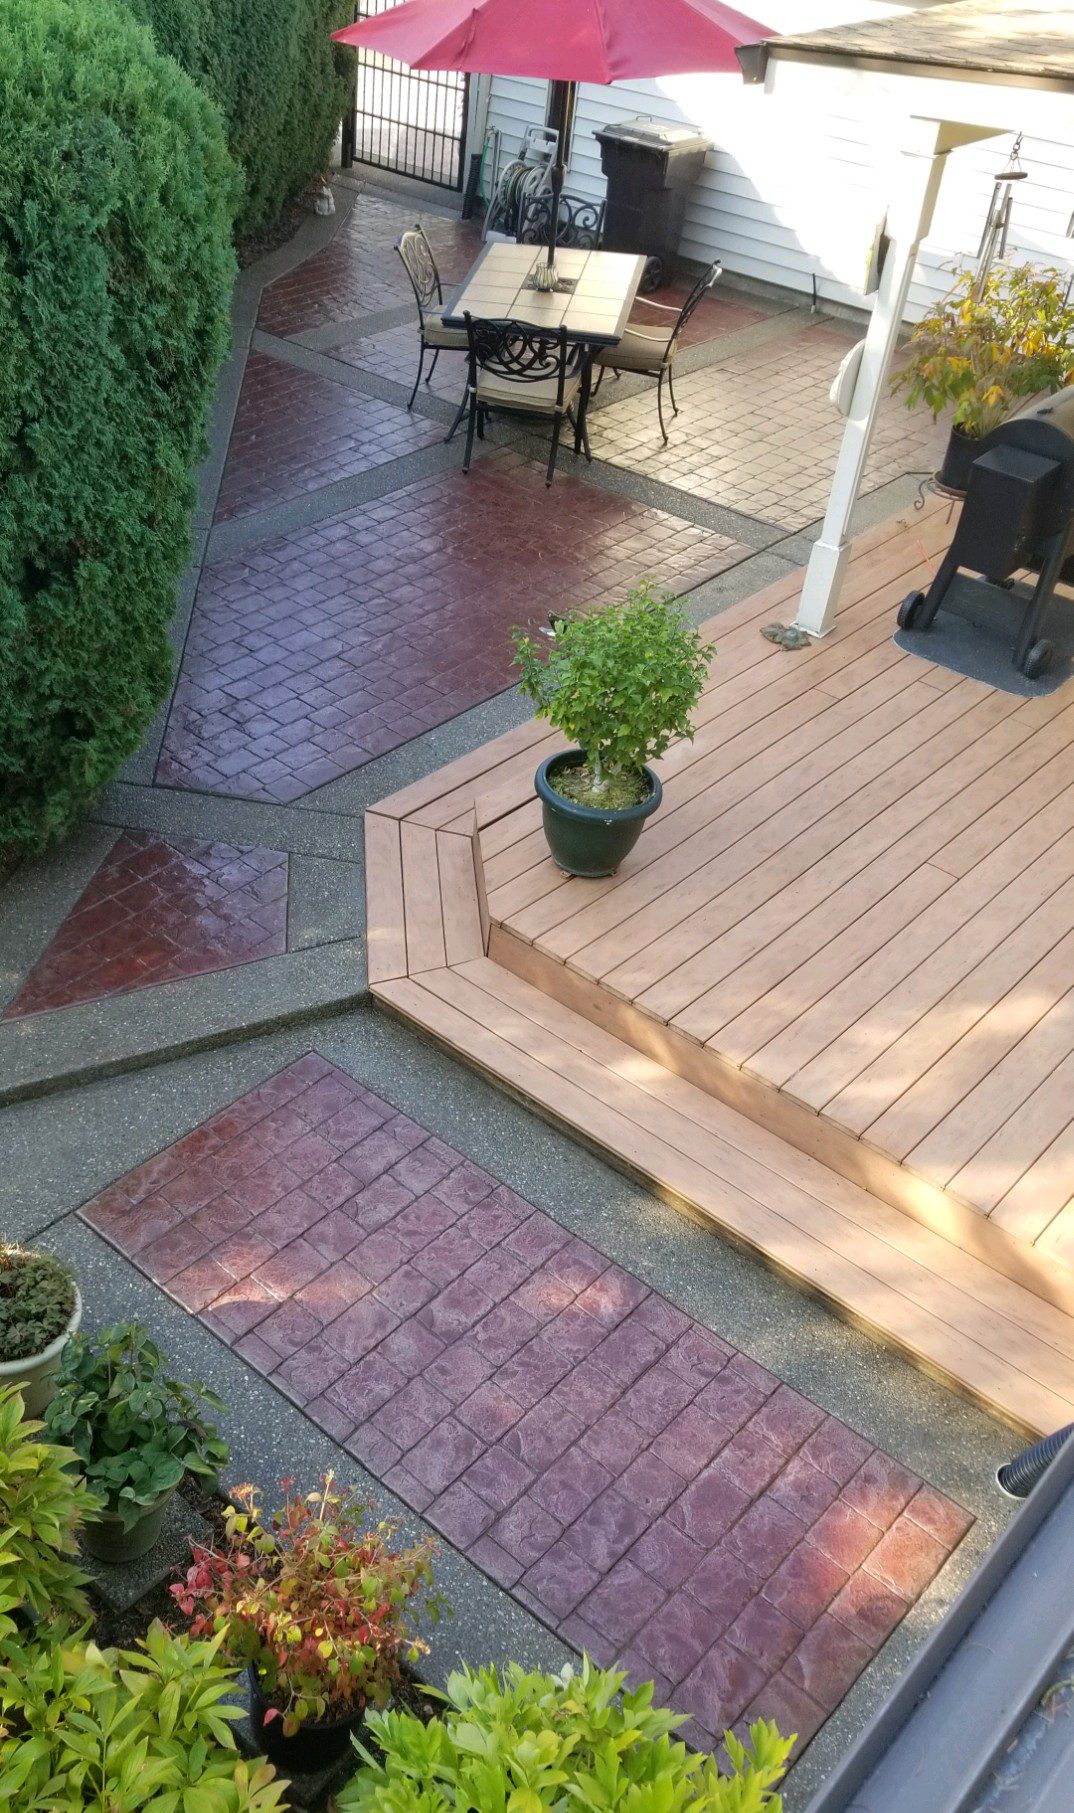
Our client beautifully rejuvenated their decade-old patio using our Cinnabar Antiquing™ Stain. The transformation is remarkable, proving that with the right products, old can become gold again.
Project Info:
- Project Completed In: 2 day(s)
- Estimate of Square Footage: 400 sq. ft.
- Project Description:
Hi, Have completed my patio project using both your Cinnabar Antiquing Stain and Easy Seal Satin Sealer.
The patio turned out beautiful………..as good as ‘brand new’. The Cinnabar color was the perfect choice as it matched up with the original color used at installation 10 years ago.
I’ve took several pictures comparing both before and after and I’m happy to share. Any questions regarding them, just ask!
The only comment I would make is that you should provide simple directions for cleaning the pump sprayer and the need to ‘rapidly’ clean after use. I did have to replace the sprayer ‘mid-job’ as I had allowed it to sit and become ‘gummed up’! A pint of Acetone would have saved me $30 and a trip to Ace.
I should have realized that this could happen, but didn’t. Bottom line, cleaning is a snap…………if you know you need to do it!
Product was easy to use, excellent results, and your staff provided excellent ‘phone’ assistance as I worked through it.
- Personal Tips:
The only comment I would make is that you should provide simple directions for cleaning the pump sprayer and the need to ‘rapidly’ clean after use. I did have to replace the sprayer ‘mid-job’ as I had allowed it to sit and become ‘gummed up’! A pint of Acetone would have saved me $30 and a trip to Ace. I should have realized that this could happen, but didn’t. Bottom line, cleaning is a snap…………if you know you need to do it!
Also if your project is close to shrubs, trees, etc……..strongly advise giving them a blast from your leaf blower or a vigorous shake prior to applying any product. Getting as much loose debris out of the plants, saves picking leaves, etc out of your ‘wet’ project. - Direct Colors Products Used:
1 Gal. Cinnabar DIY Antiquing™ & EasySeal™ Satin Kit
1 Gal. Cinnabar Antiquing™ & EasySeal™ Satin Kit
Cinnabar Glow: From Neglected to Respected!
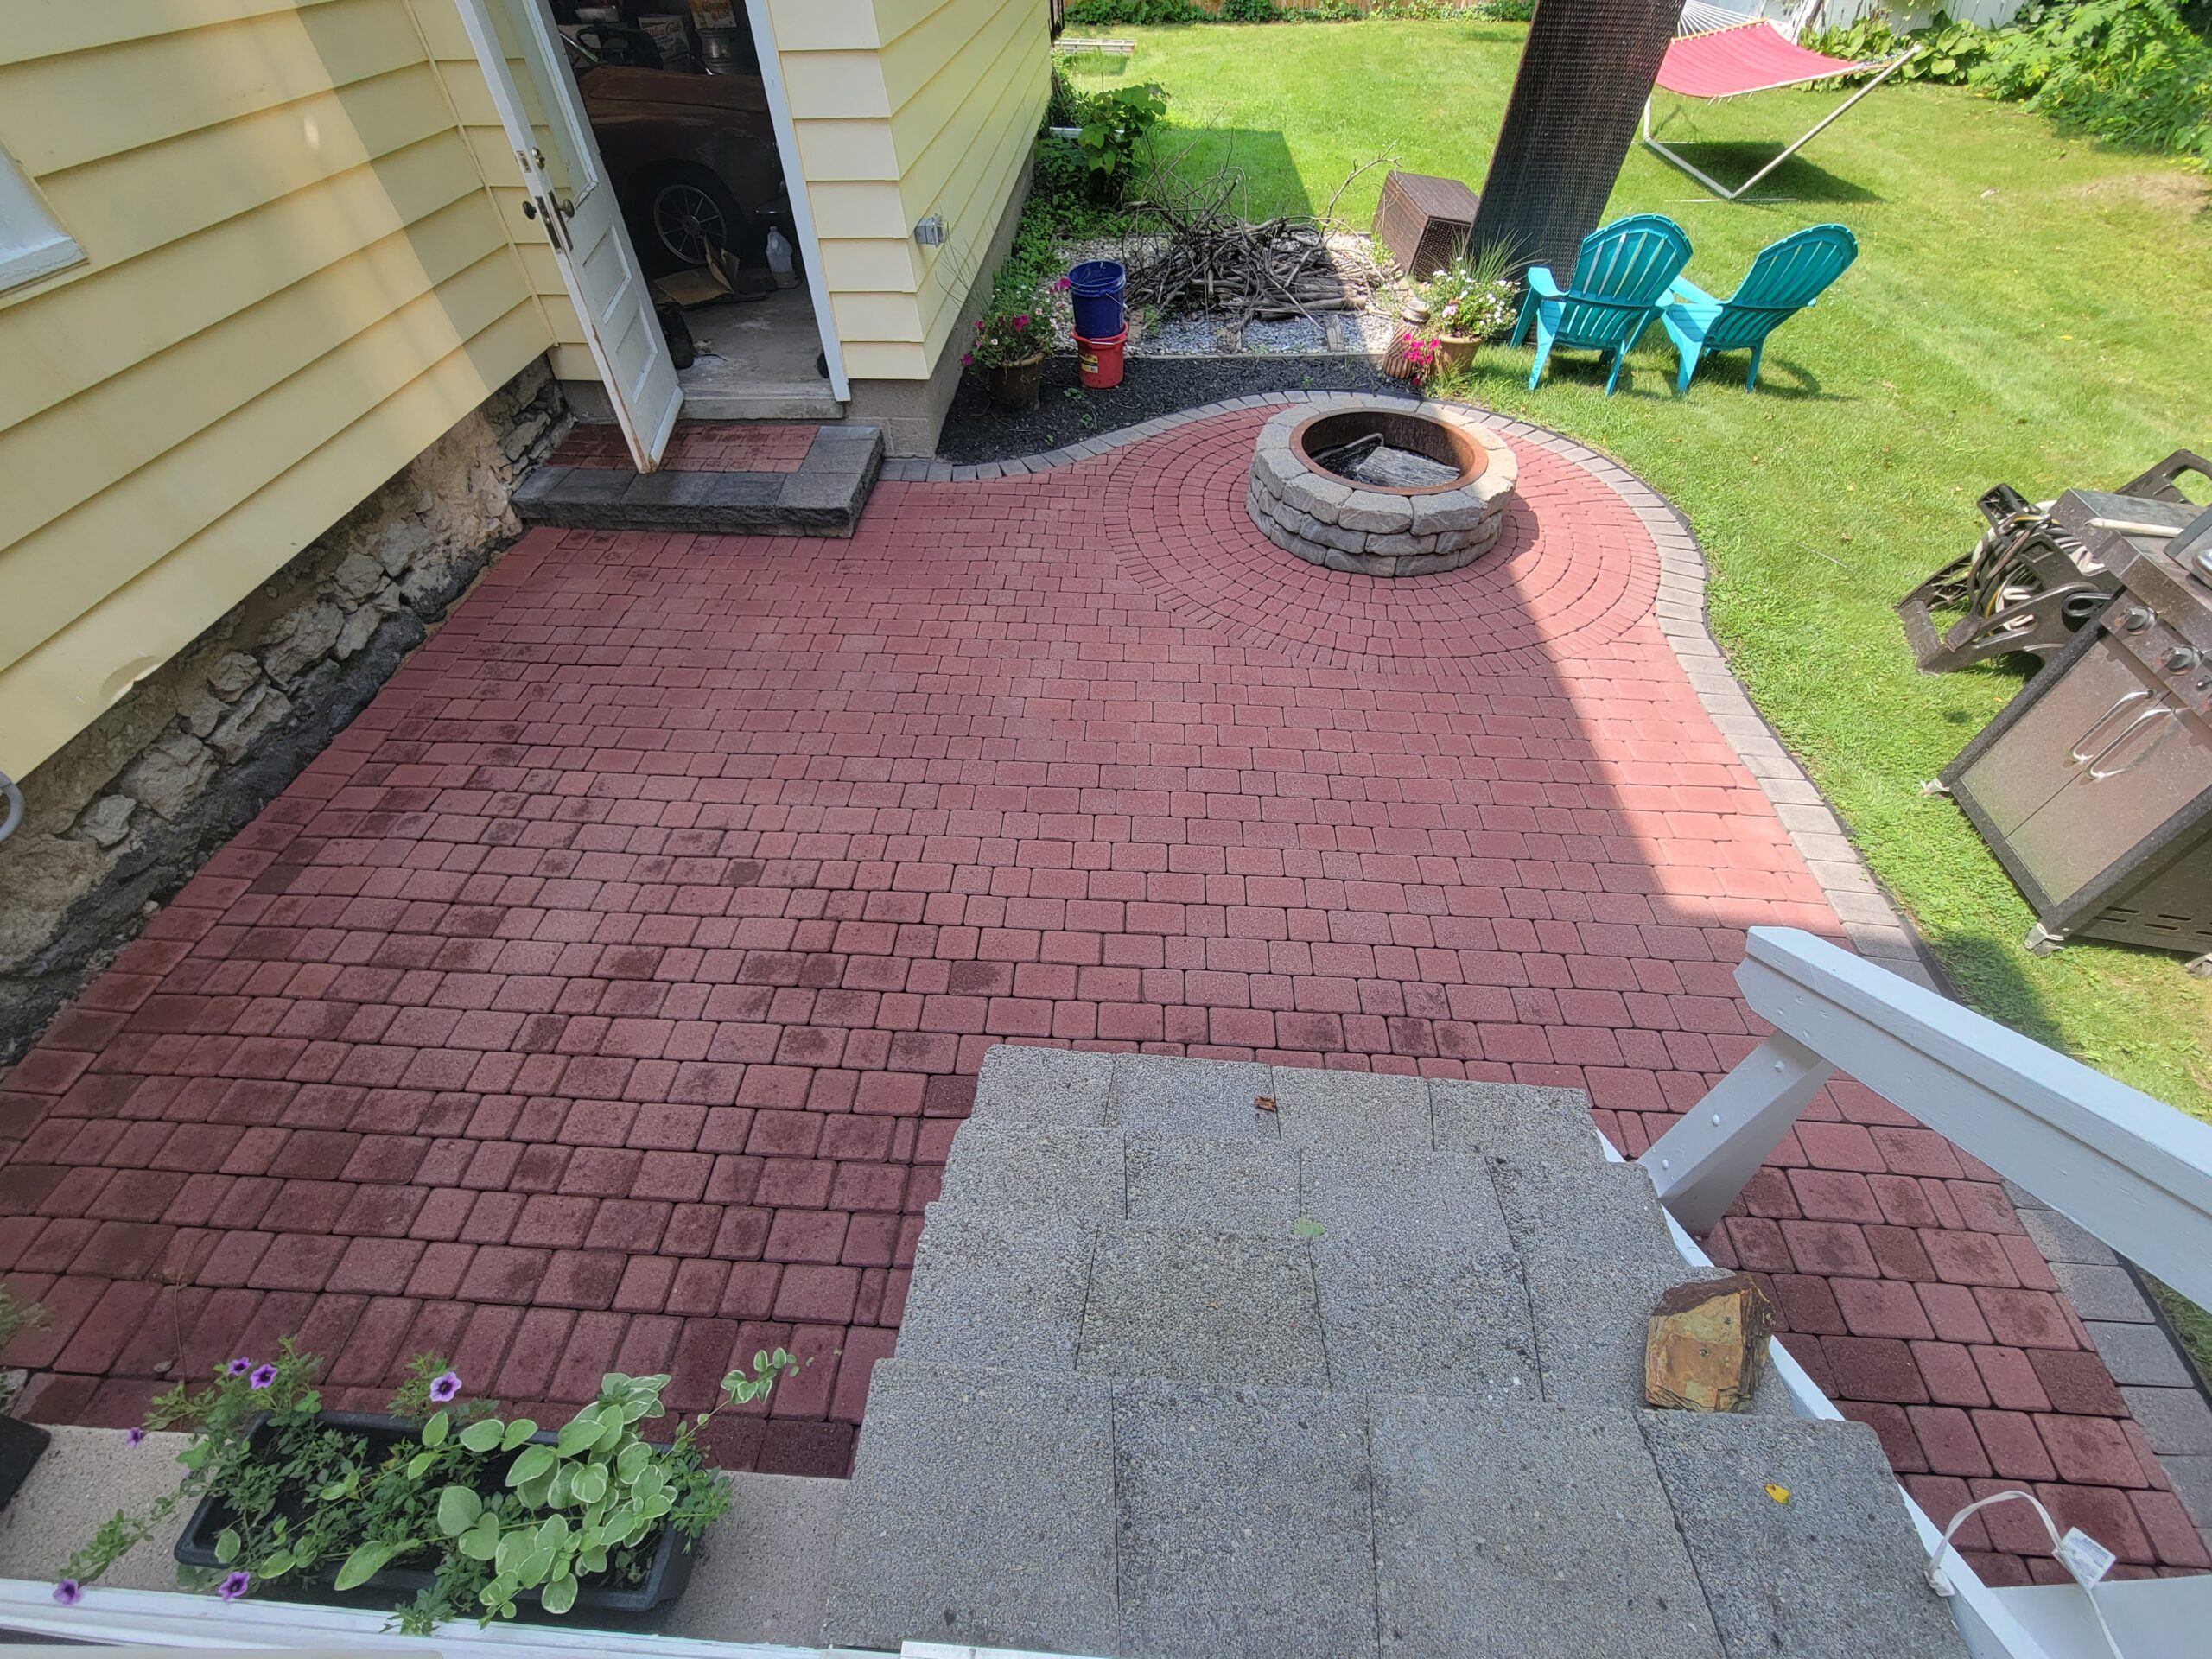
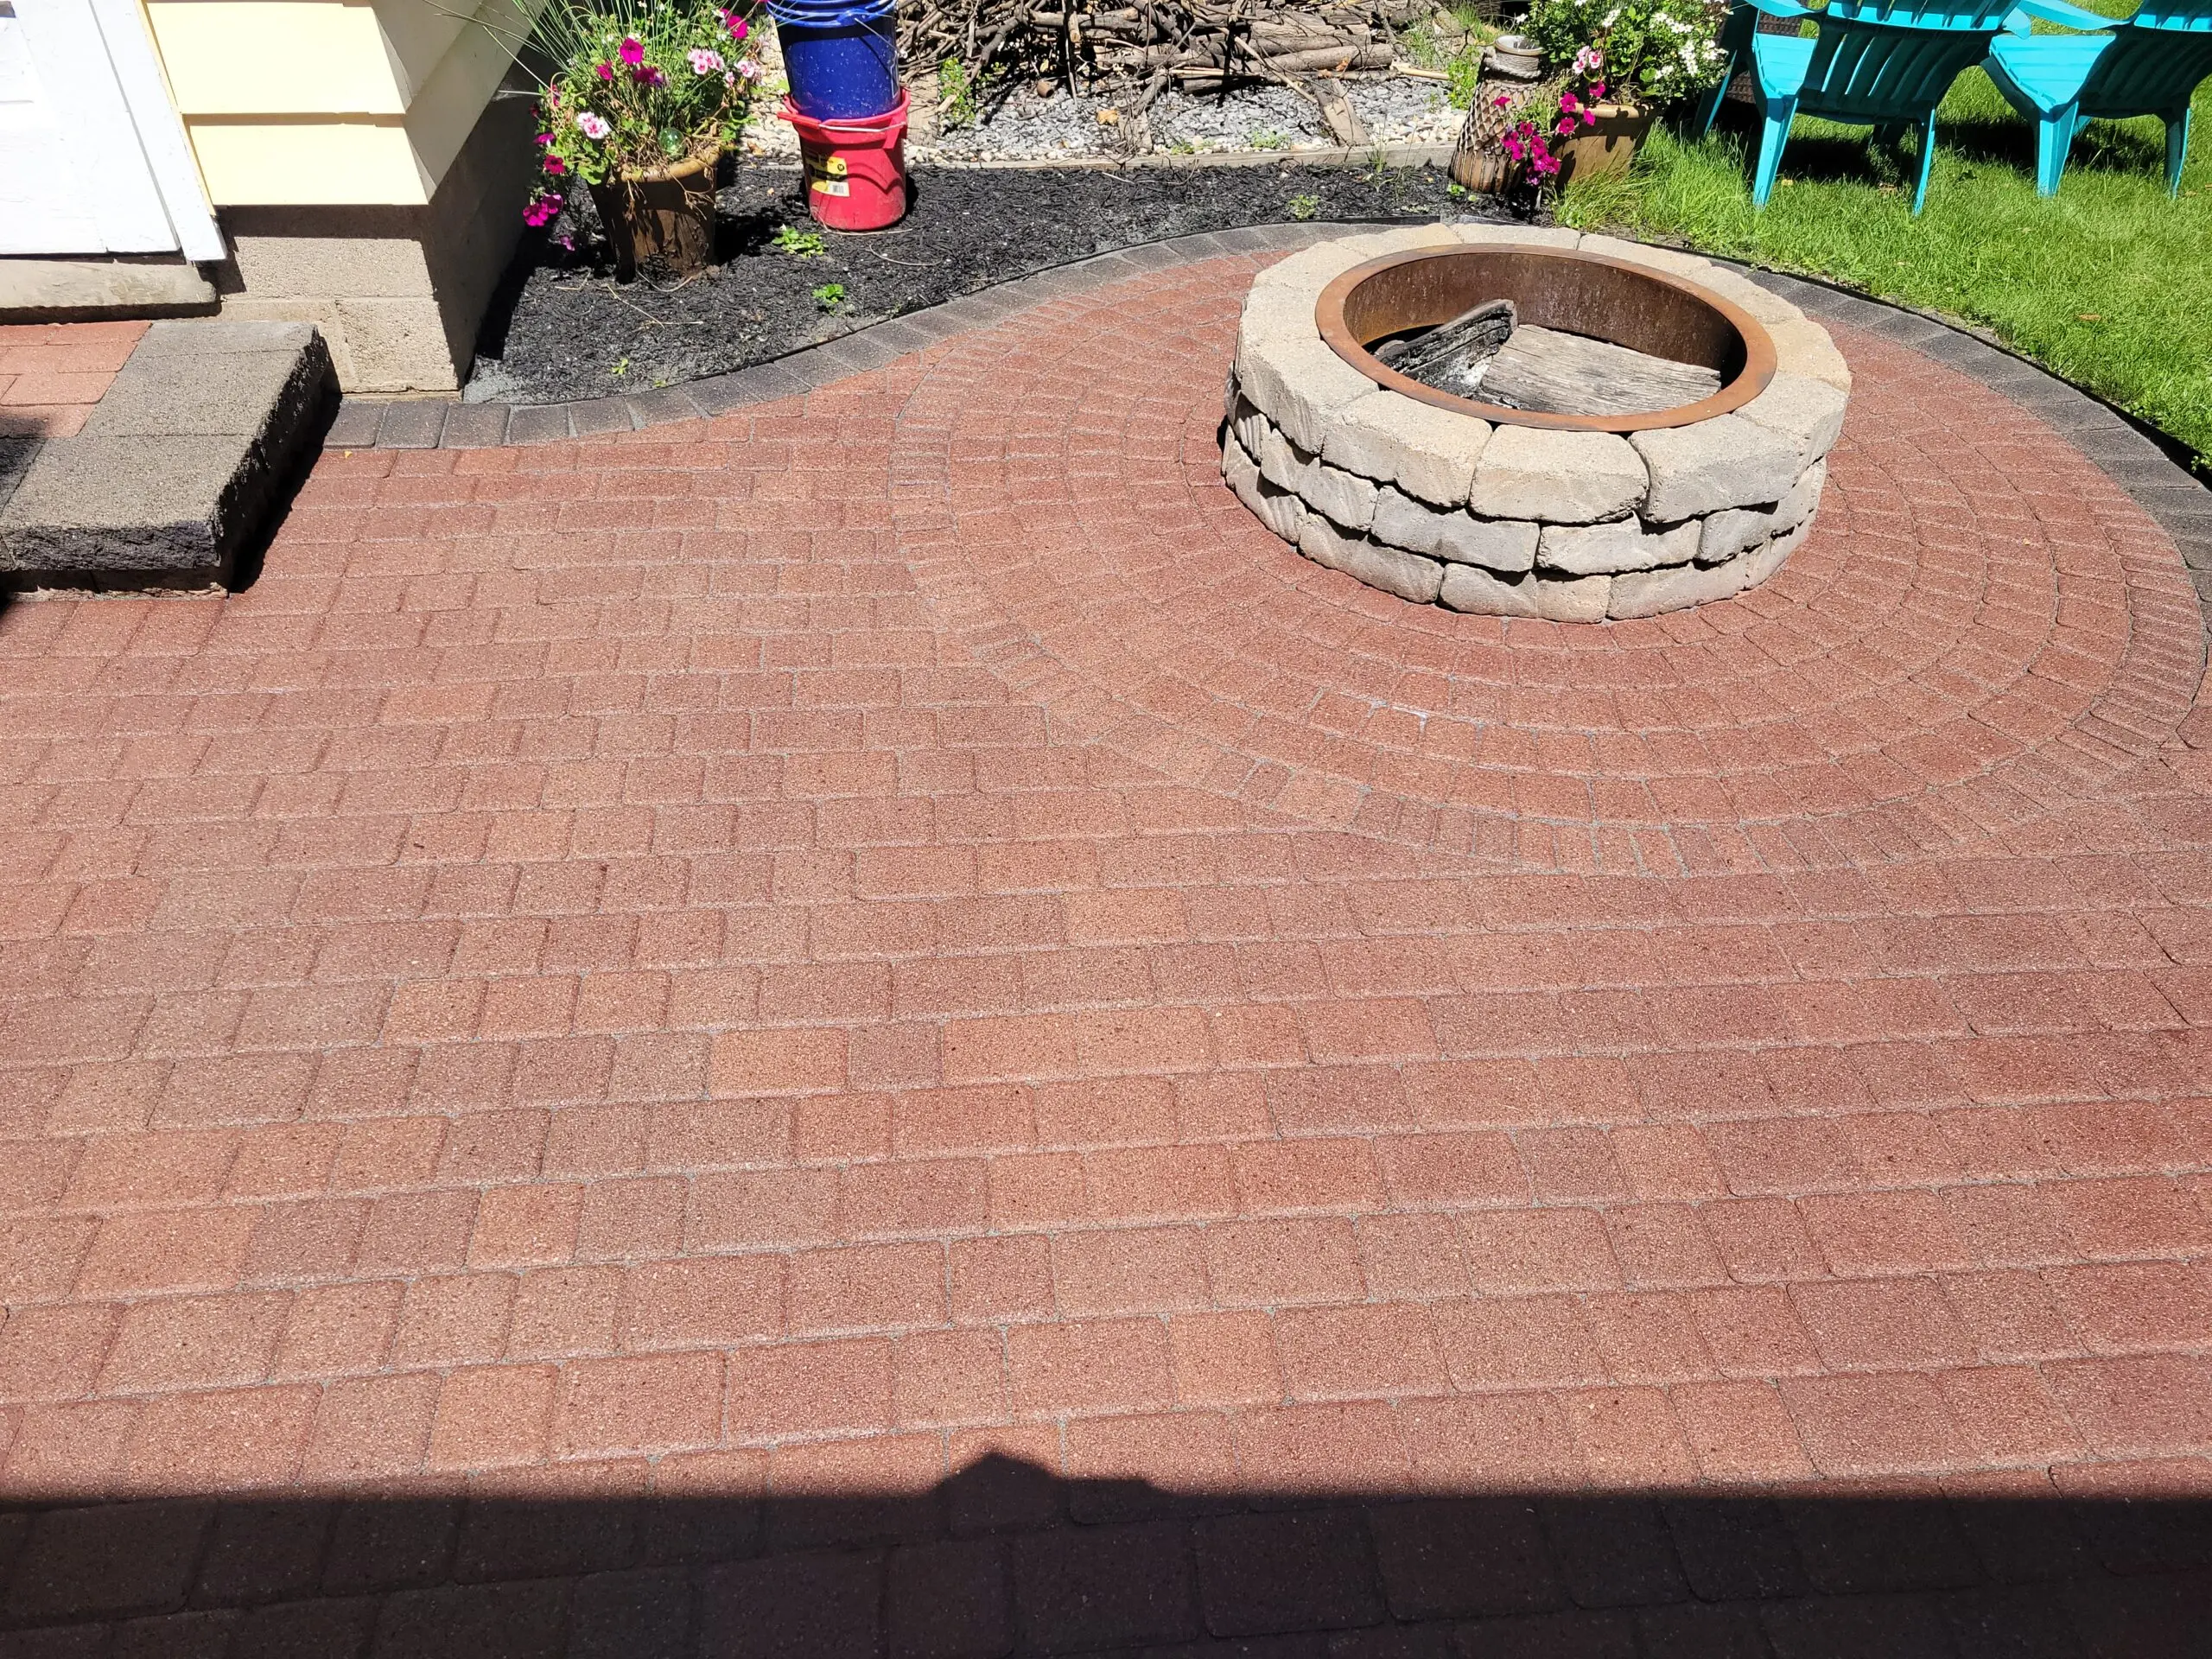
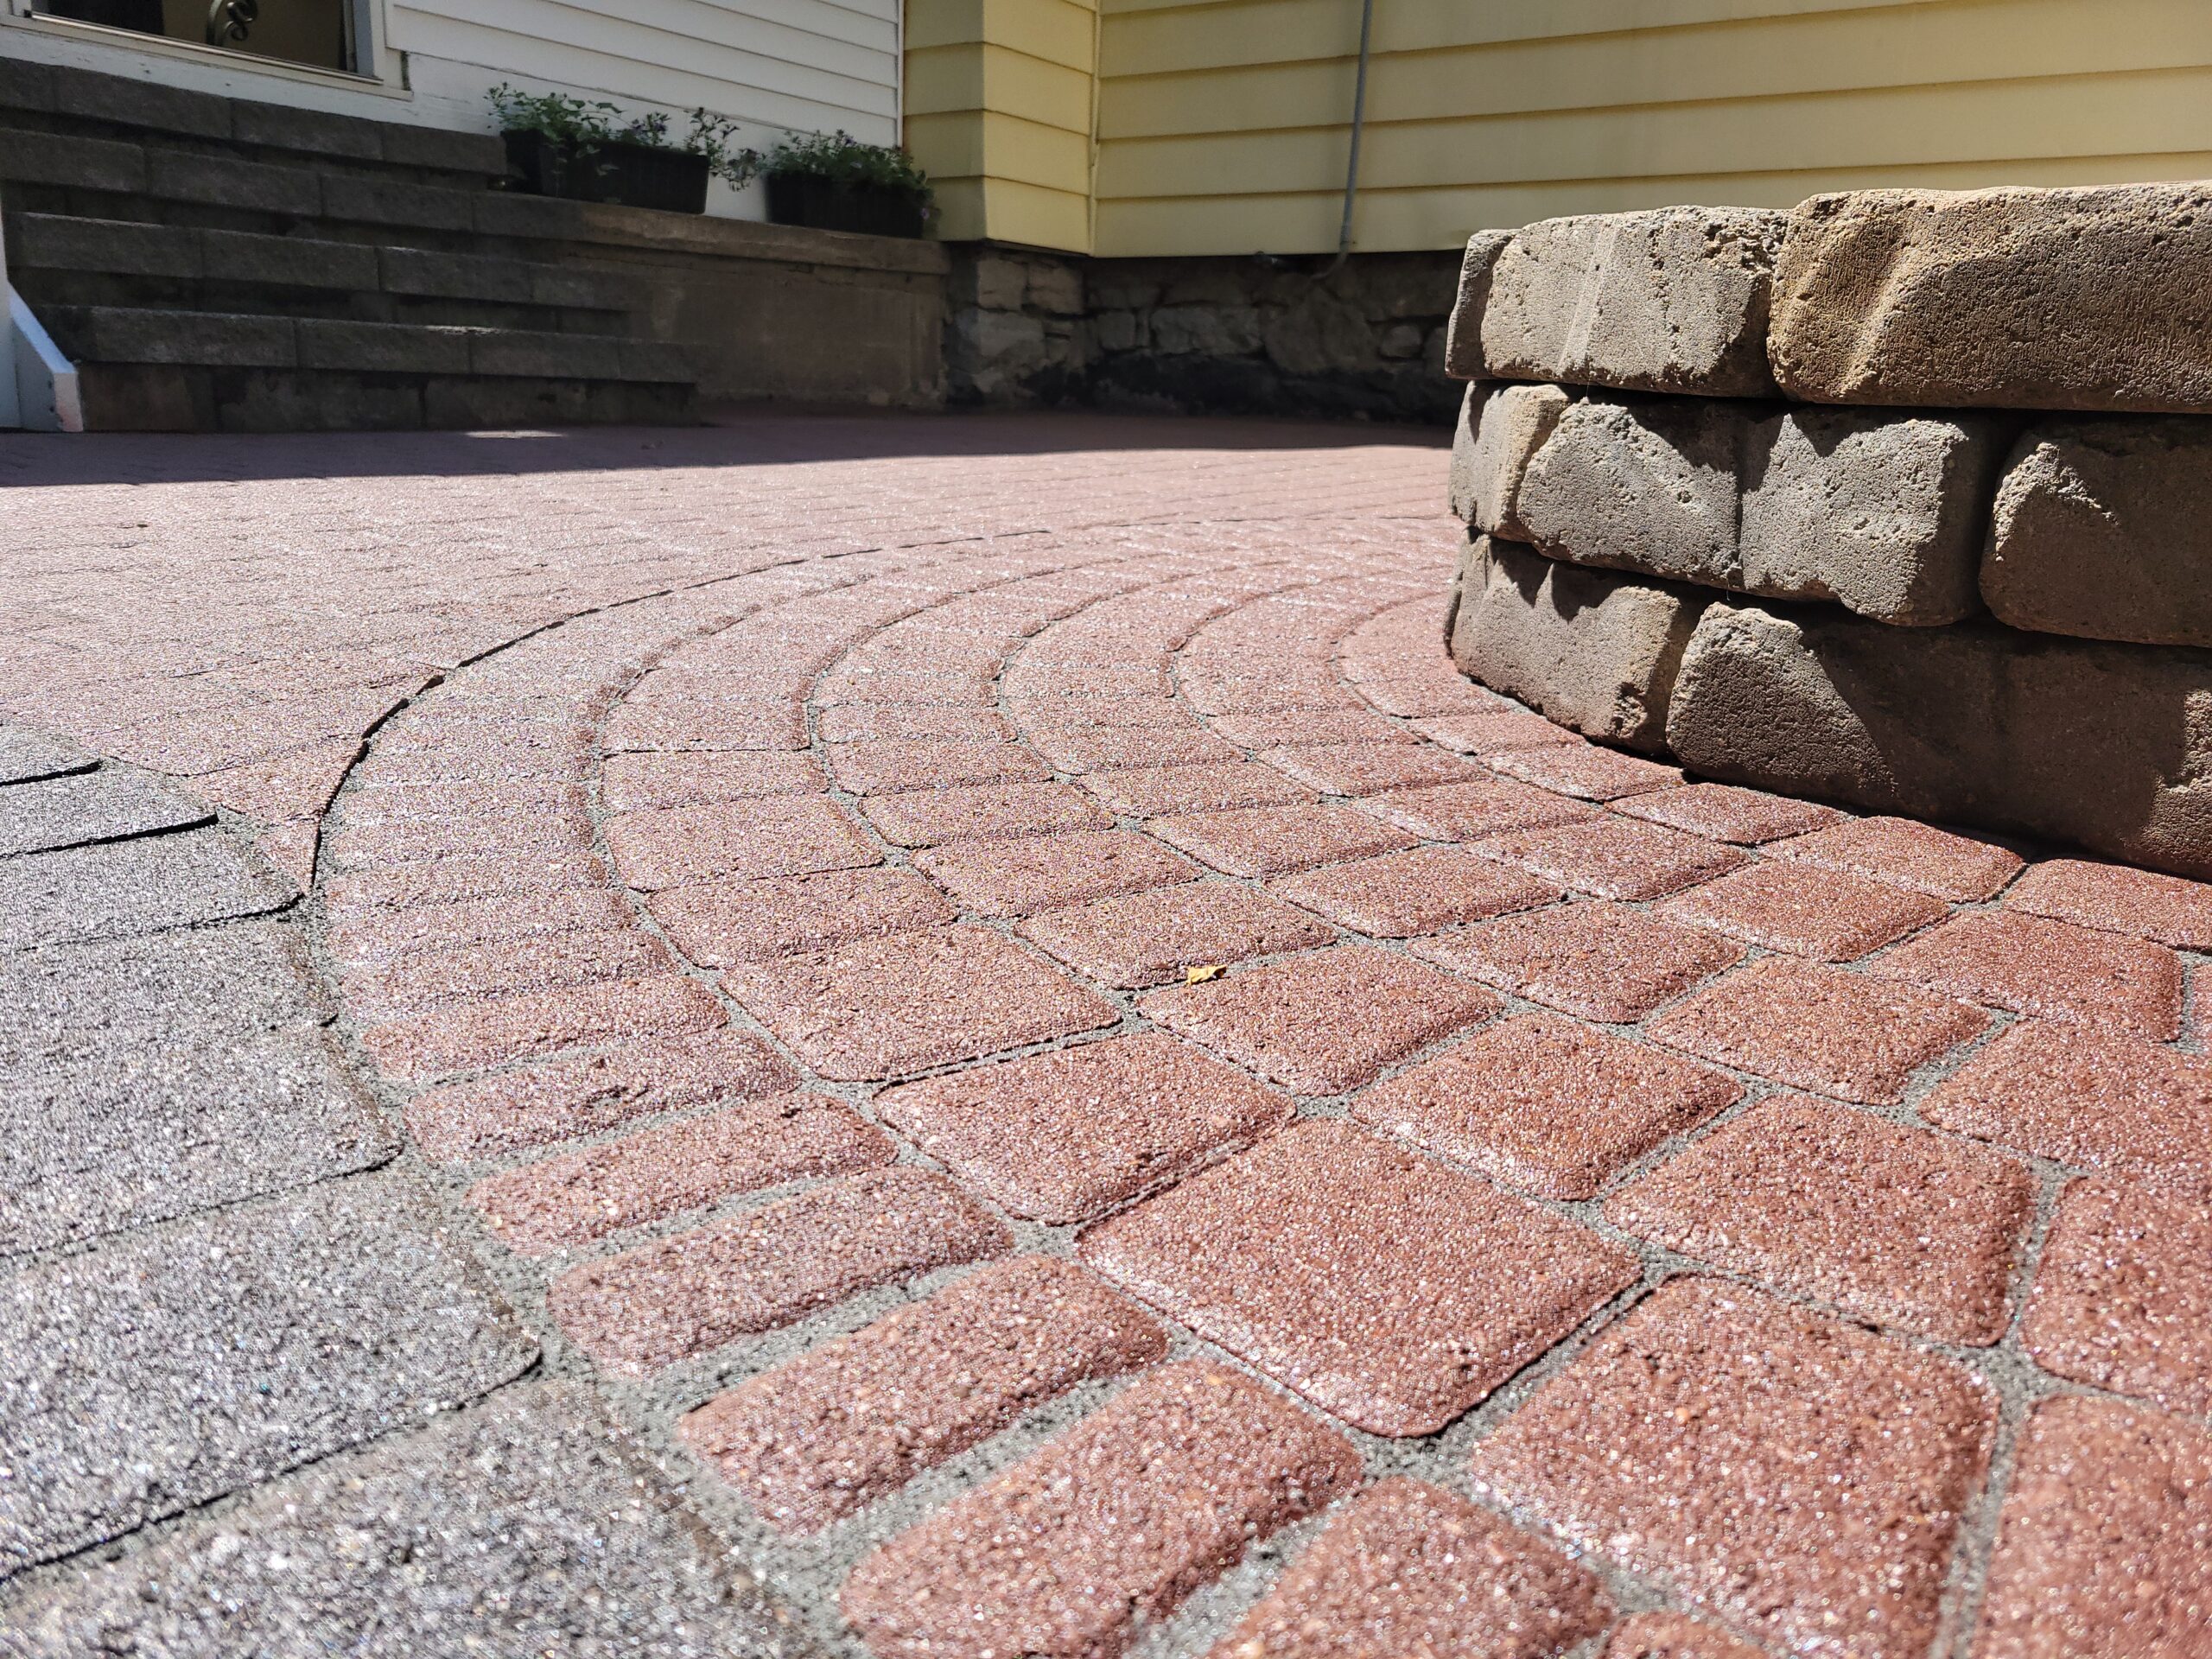
Our customer revived a 17-year-old patio with determination and our vibrant Cinnabar Portico™! A sleek Charcoal Portico™ border adds a touch of class. See this remarkable journey from faded to fabulous!
Project Info:
- Project Completed In: 3 day(s)
- Estimate of Square Footage: 200 sq. ft.
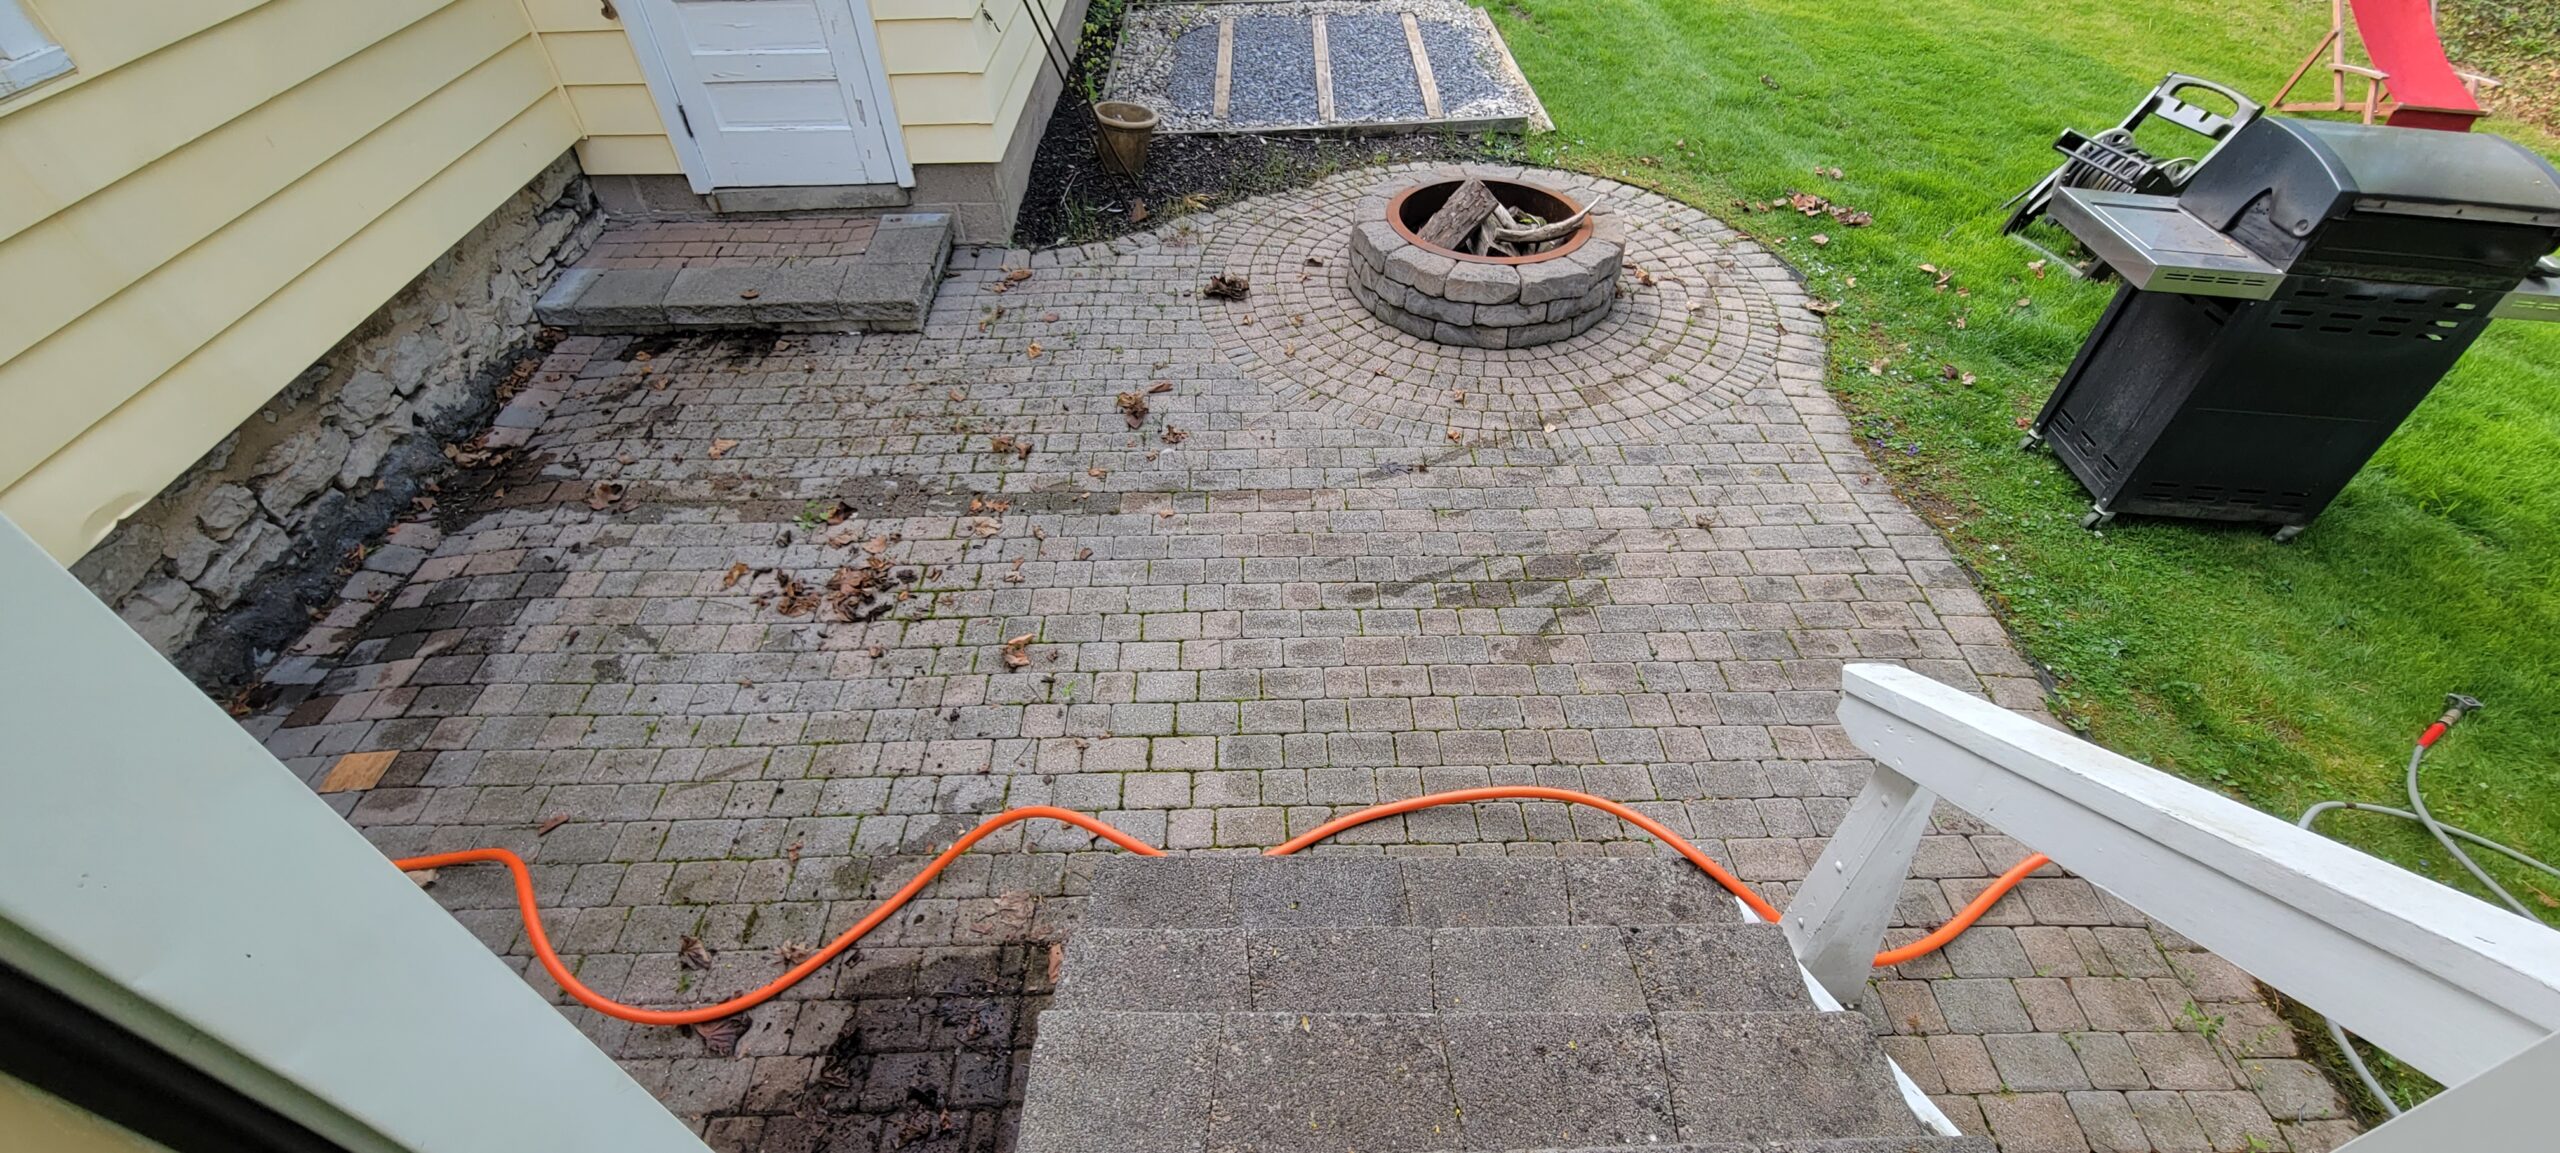
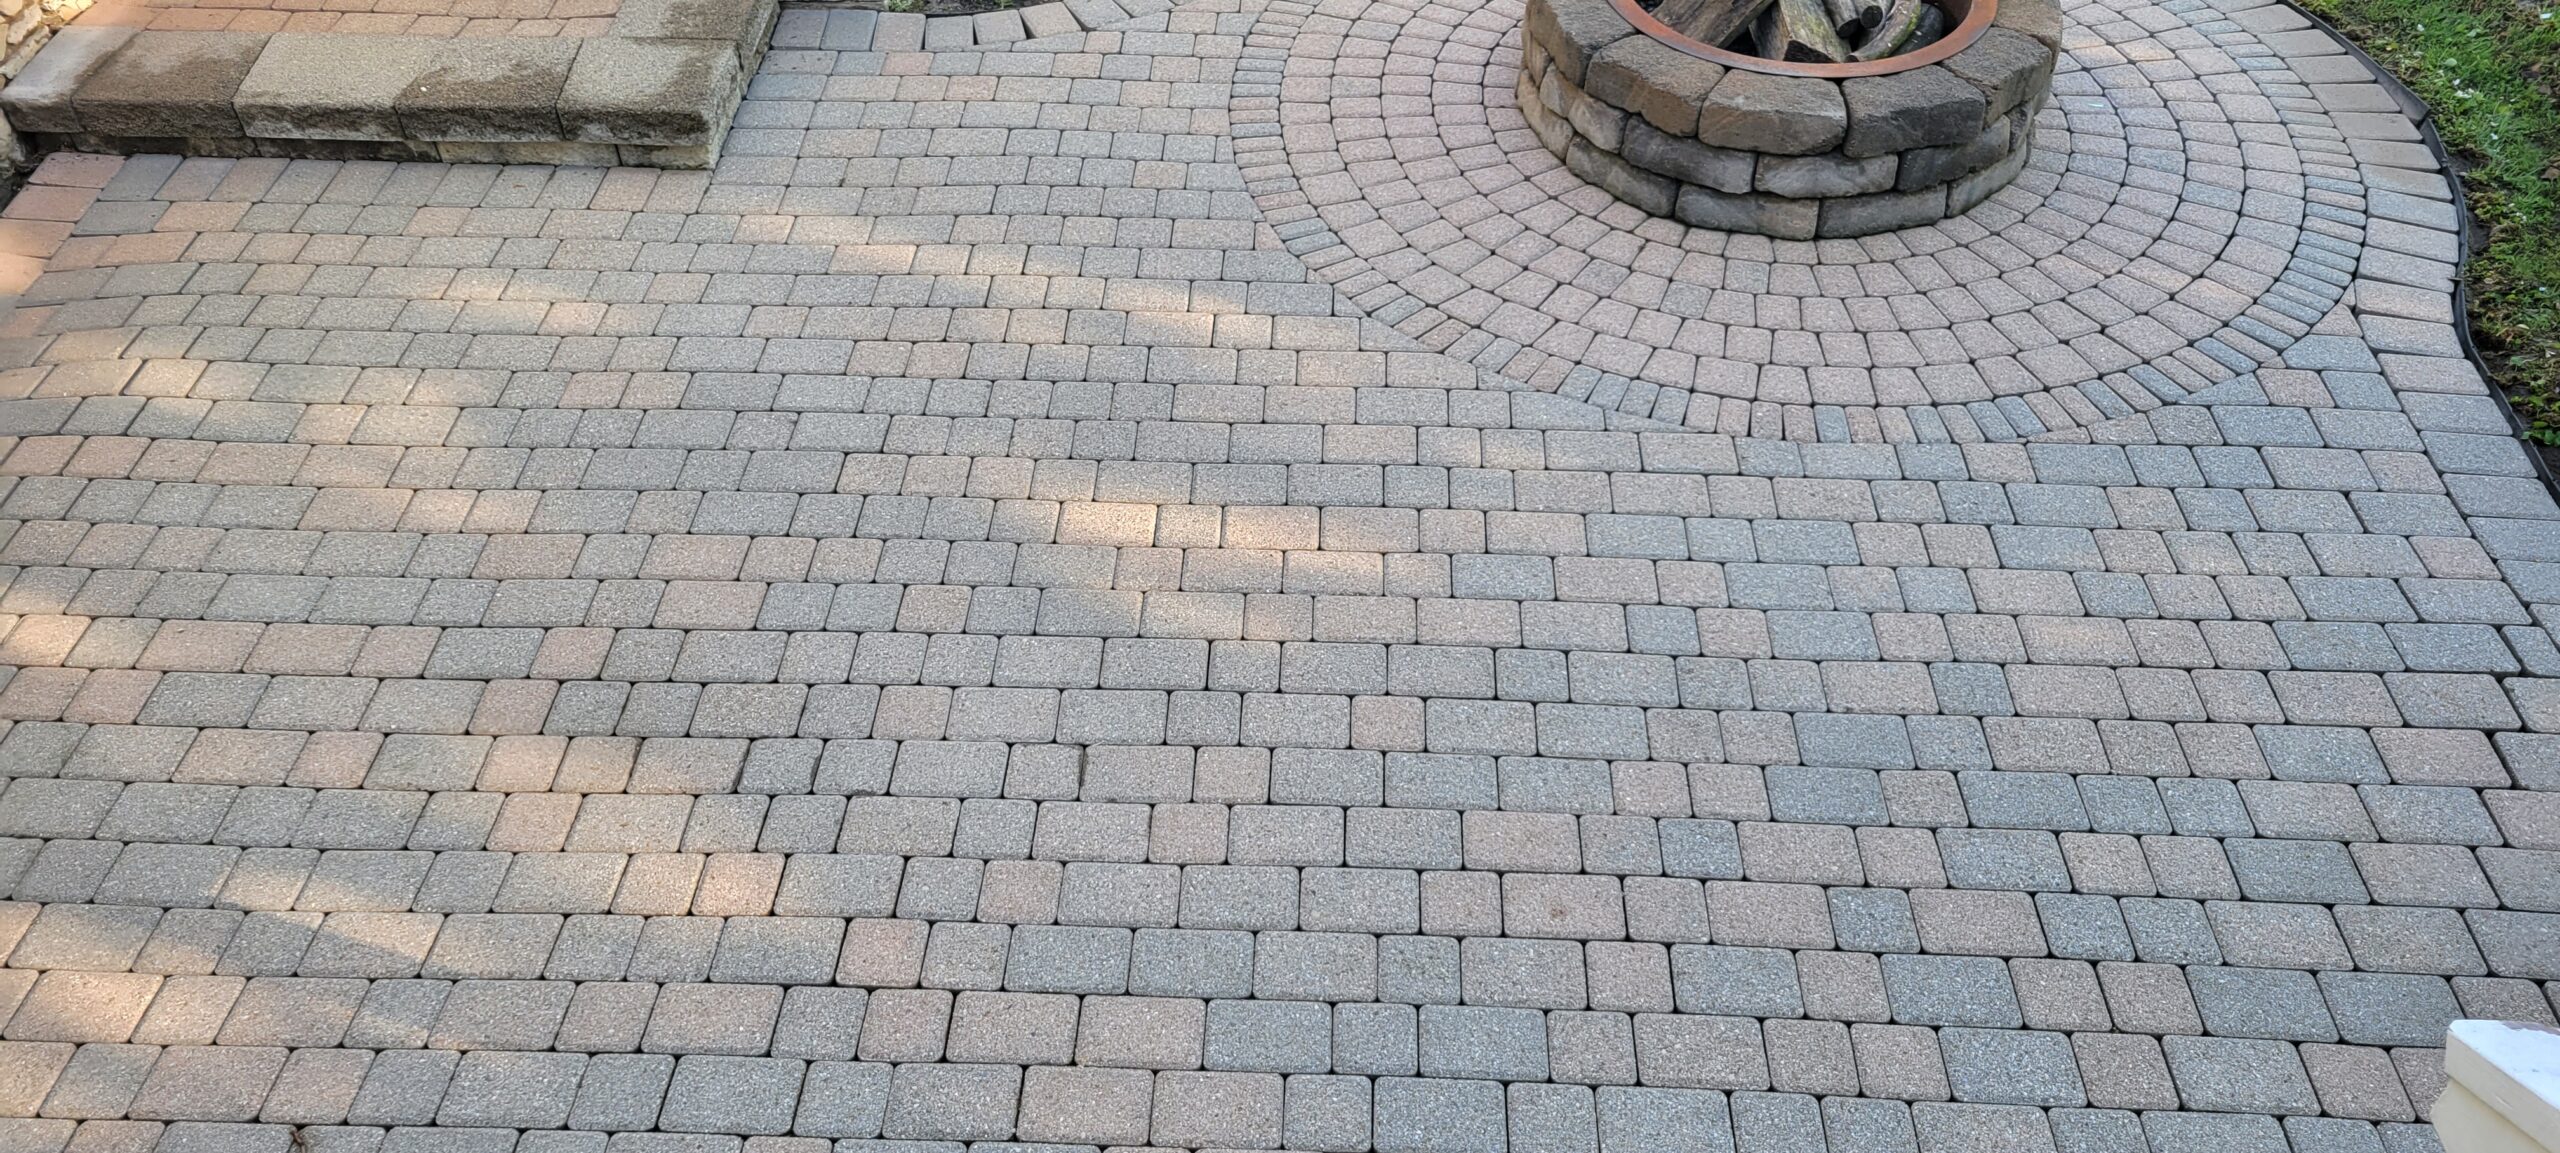
- Project Description: This I’m my backyard patio. It is approximately 17 years old and was very neglected by the previous owner and myself. I power washed it a few times and never installed the polymeric sand correctly or sealed it so it never looked good for long. This year I was committed to getting this thing in shape. First I turboed the joints clean, clearing out weeds, old sand and moss. Then I applied an algaecide and detergent to clean the pavers, followed up with a surface cleaner to pressure was the tops of the pavers. Rinsed the area to make sure it was 100% clean, then I let it dry for a day. When it was totally dry, I brushed the charcoal dye onto the perimeter of the pavers to create a boarder. When that was dry, I sprayed 2 full gallons of the cinnamon red onto the rest of the pavers to get a deep rich result. I let that dry overnight and then started sweeping grey polymeric sand into the joints. Once it was perfect I sprayed water onto the area making sure not to flood the joints. Just enough to get it wet. I repeated the water application at least 6 times to make sure the water had absorbed to the bottom of the joint. I got a metal pie and dug up some joints to see how far the water got. Once the sand was completely wet all the way to the bottom I let it dry for an hour. I finished by spraying two coats of high gloss wet look sealer and let it cure for 24 hours. The results are incredible and wasn’t that hard to do. The key is preparation and patience. The first picture is what the pavers looked like before cleaning. The second is after they were cleaned and dried. The third is after they were dyed and the fourth is after the sand was installed and sealed.
- Direct Colors Products Used:
Portico™ Trial Kit (Terracotta, Pumpkin & Russet)
1 Gal. Charcoal DIY Antiquing™
2 x 1 Gal. Cinnabar Antiquing™ - Other Products Used:Technical next gel urban Grey polymeric sand and Everseal Wetlook sealer
Step Up with Cinnabar: A Walkway Revival!
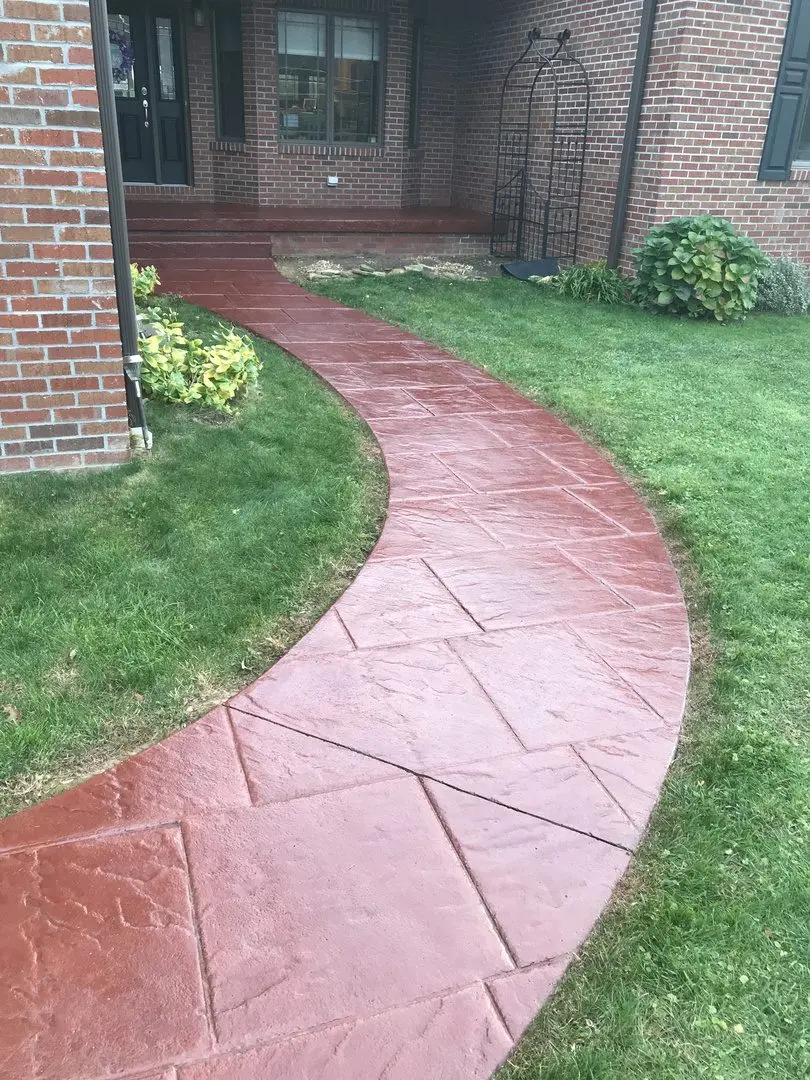
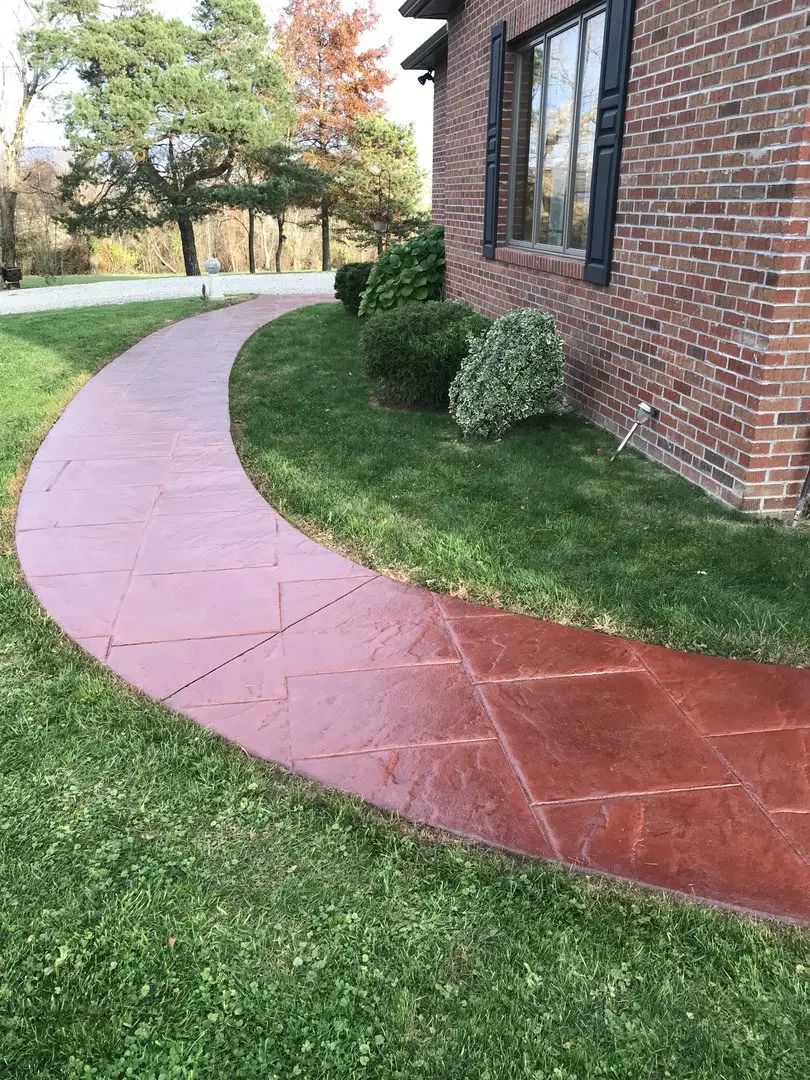
A stamped concrete walkway transformed with Cinnabar Antiquing™ stain and sealed with EasySeal™ gloss. Simple yet striking.
Neighborhood Revival: Bringing Pavers Back to Life!
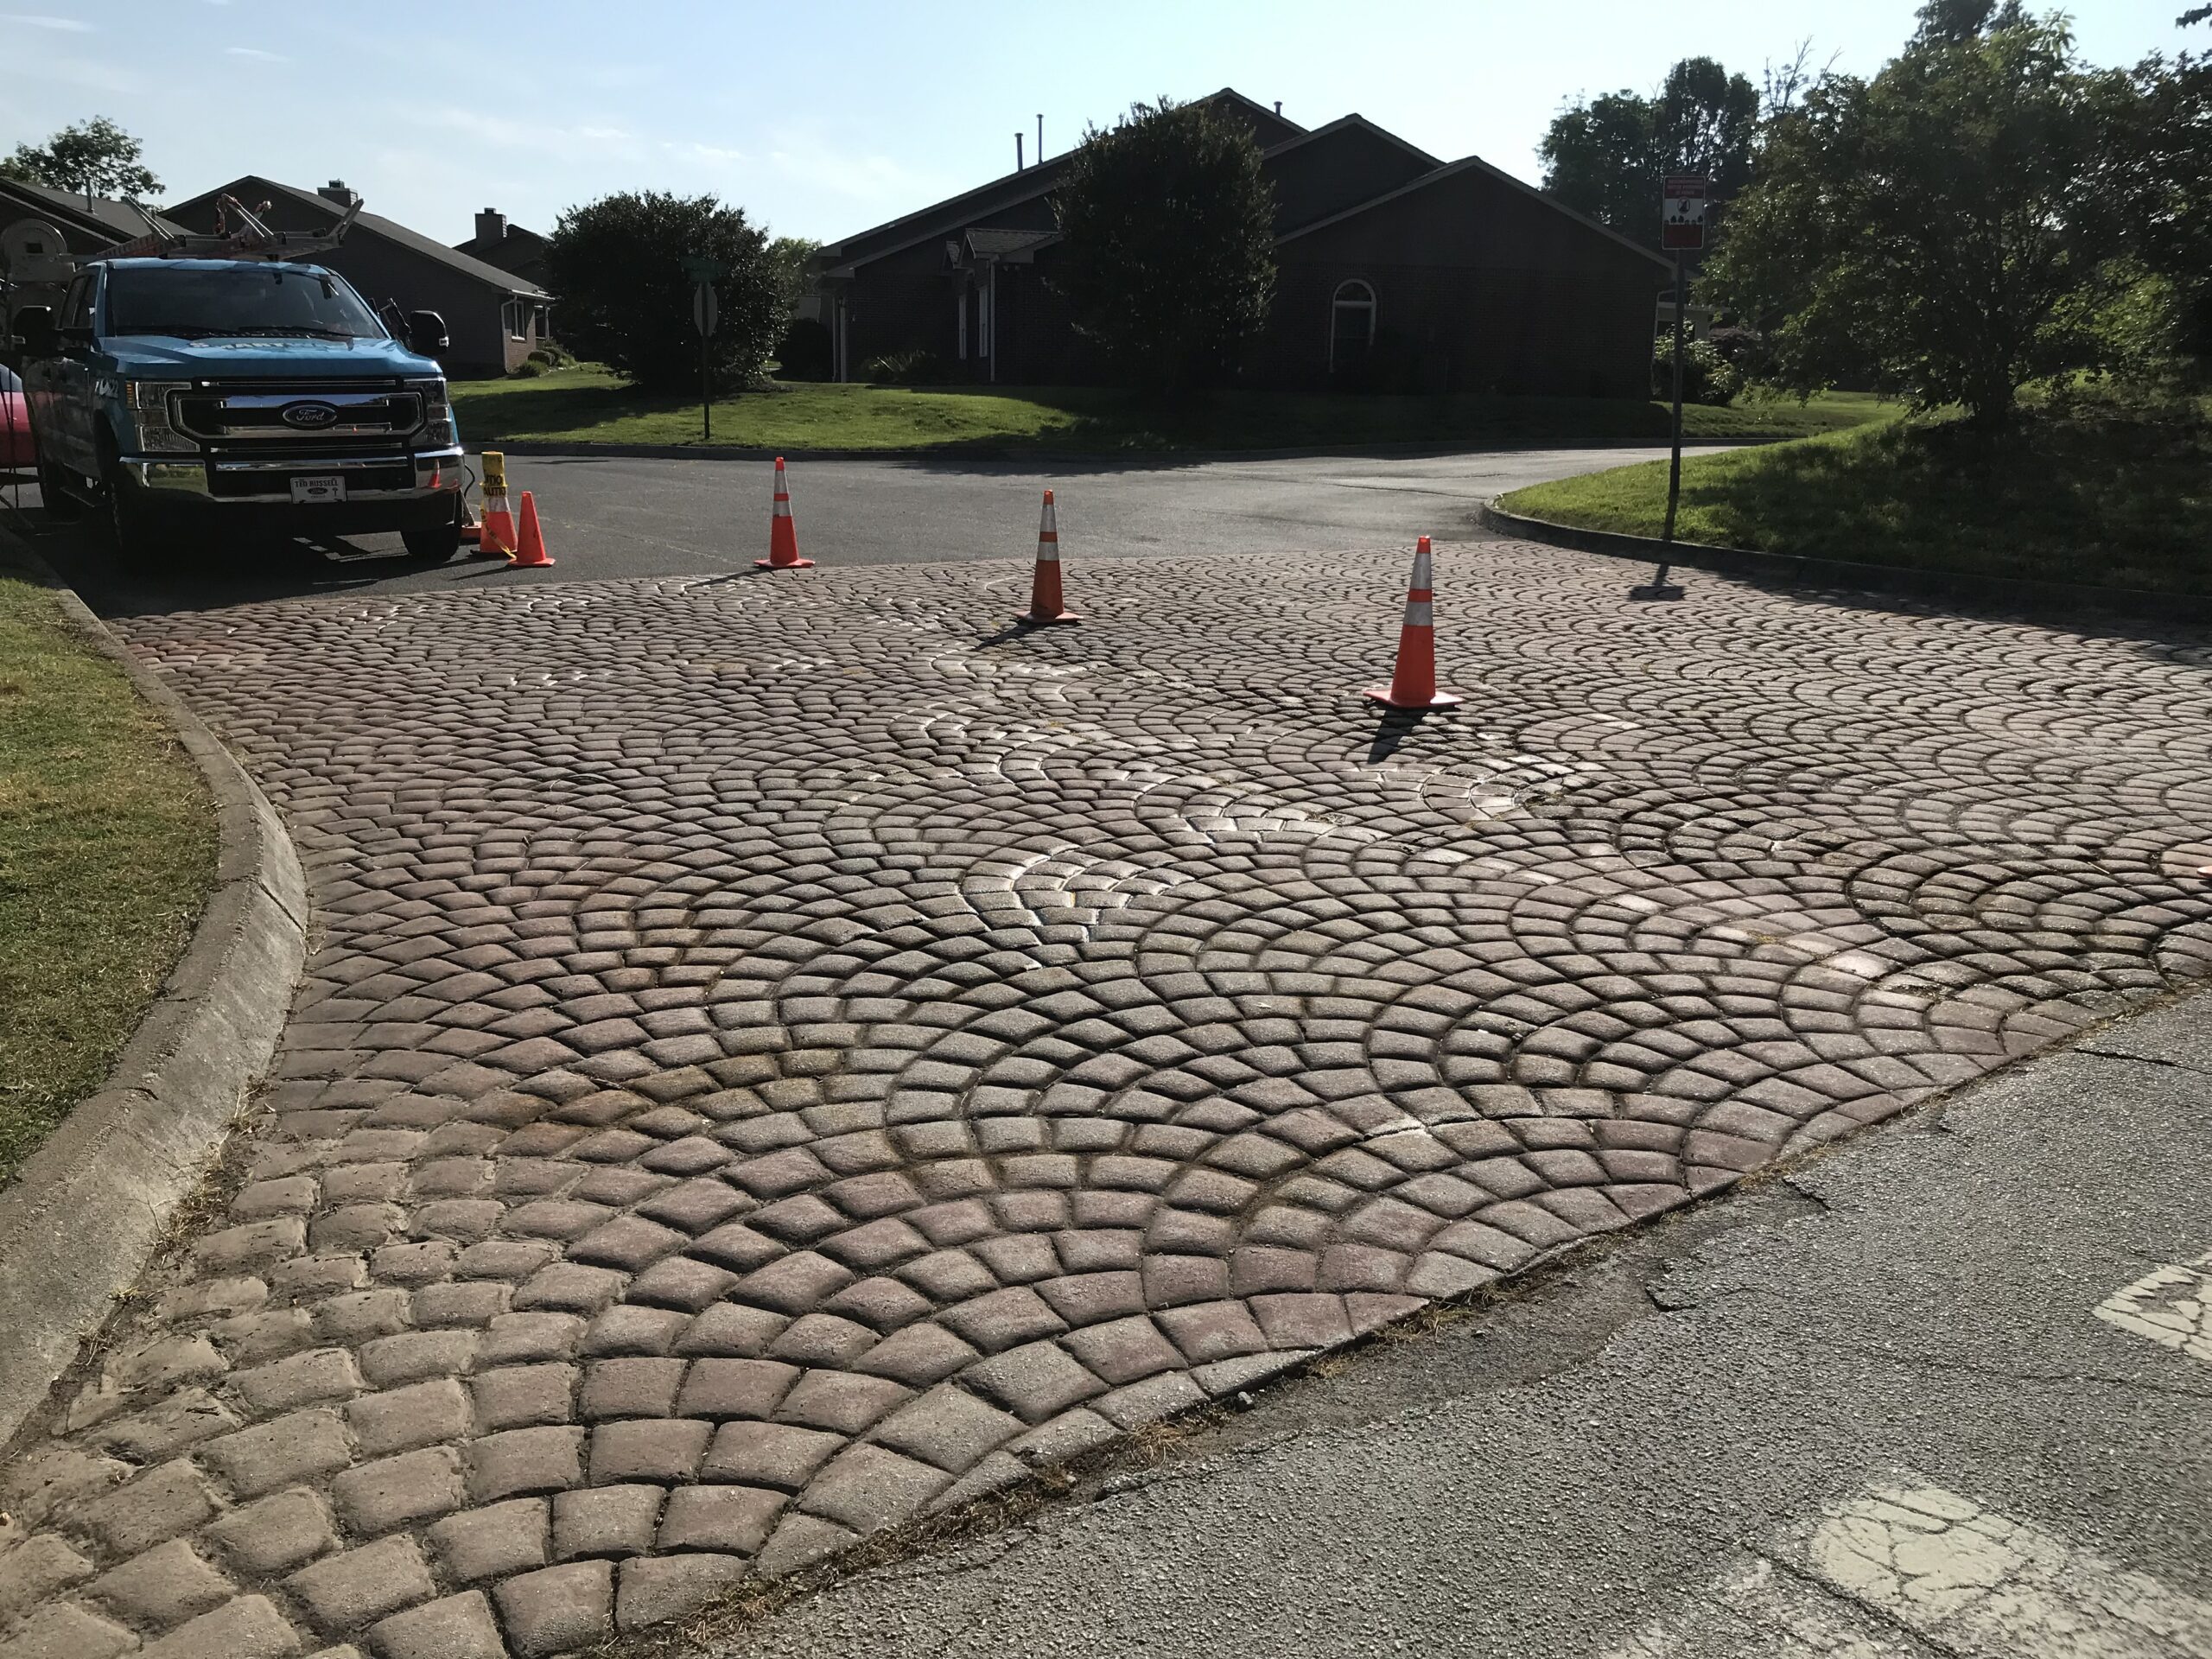
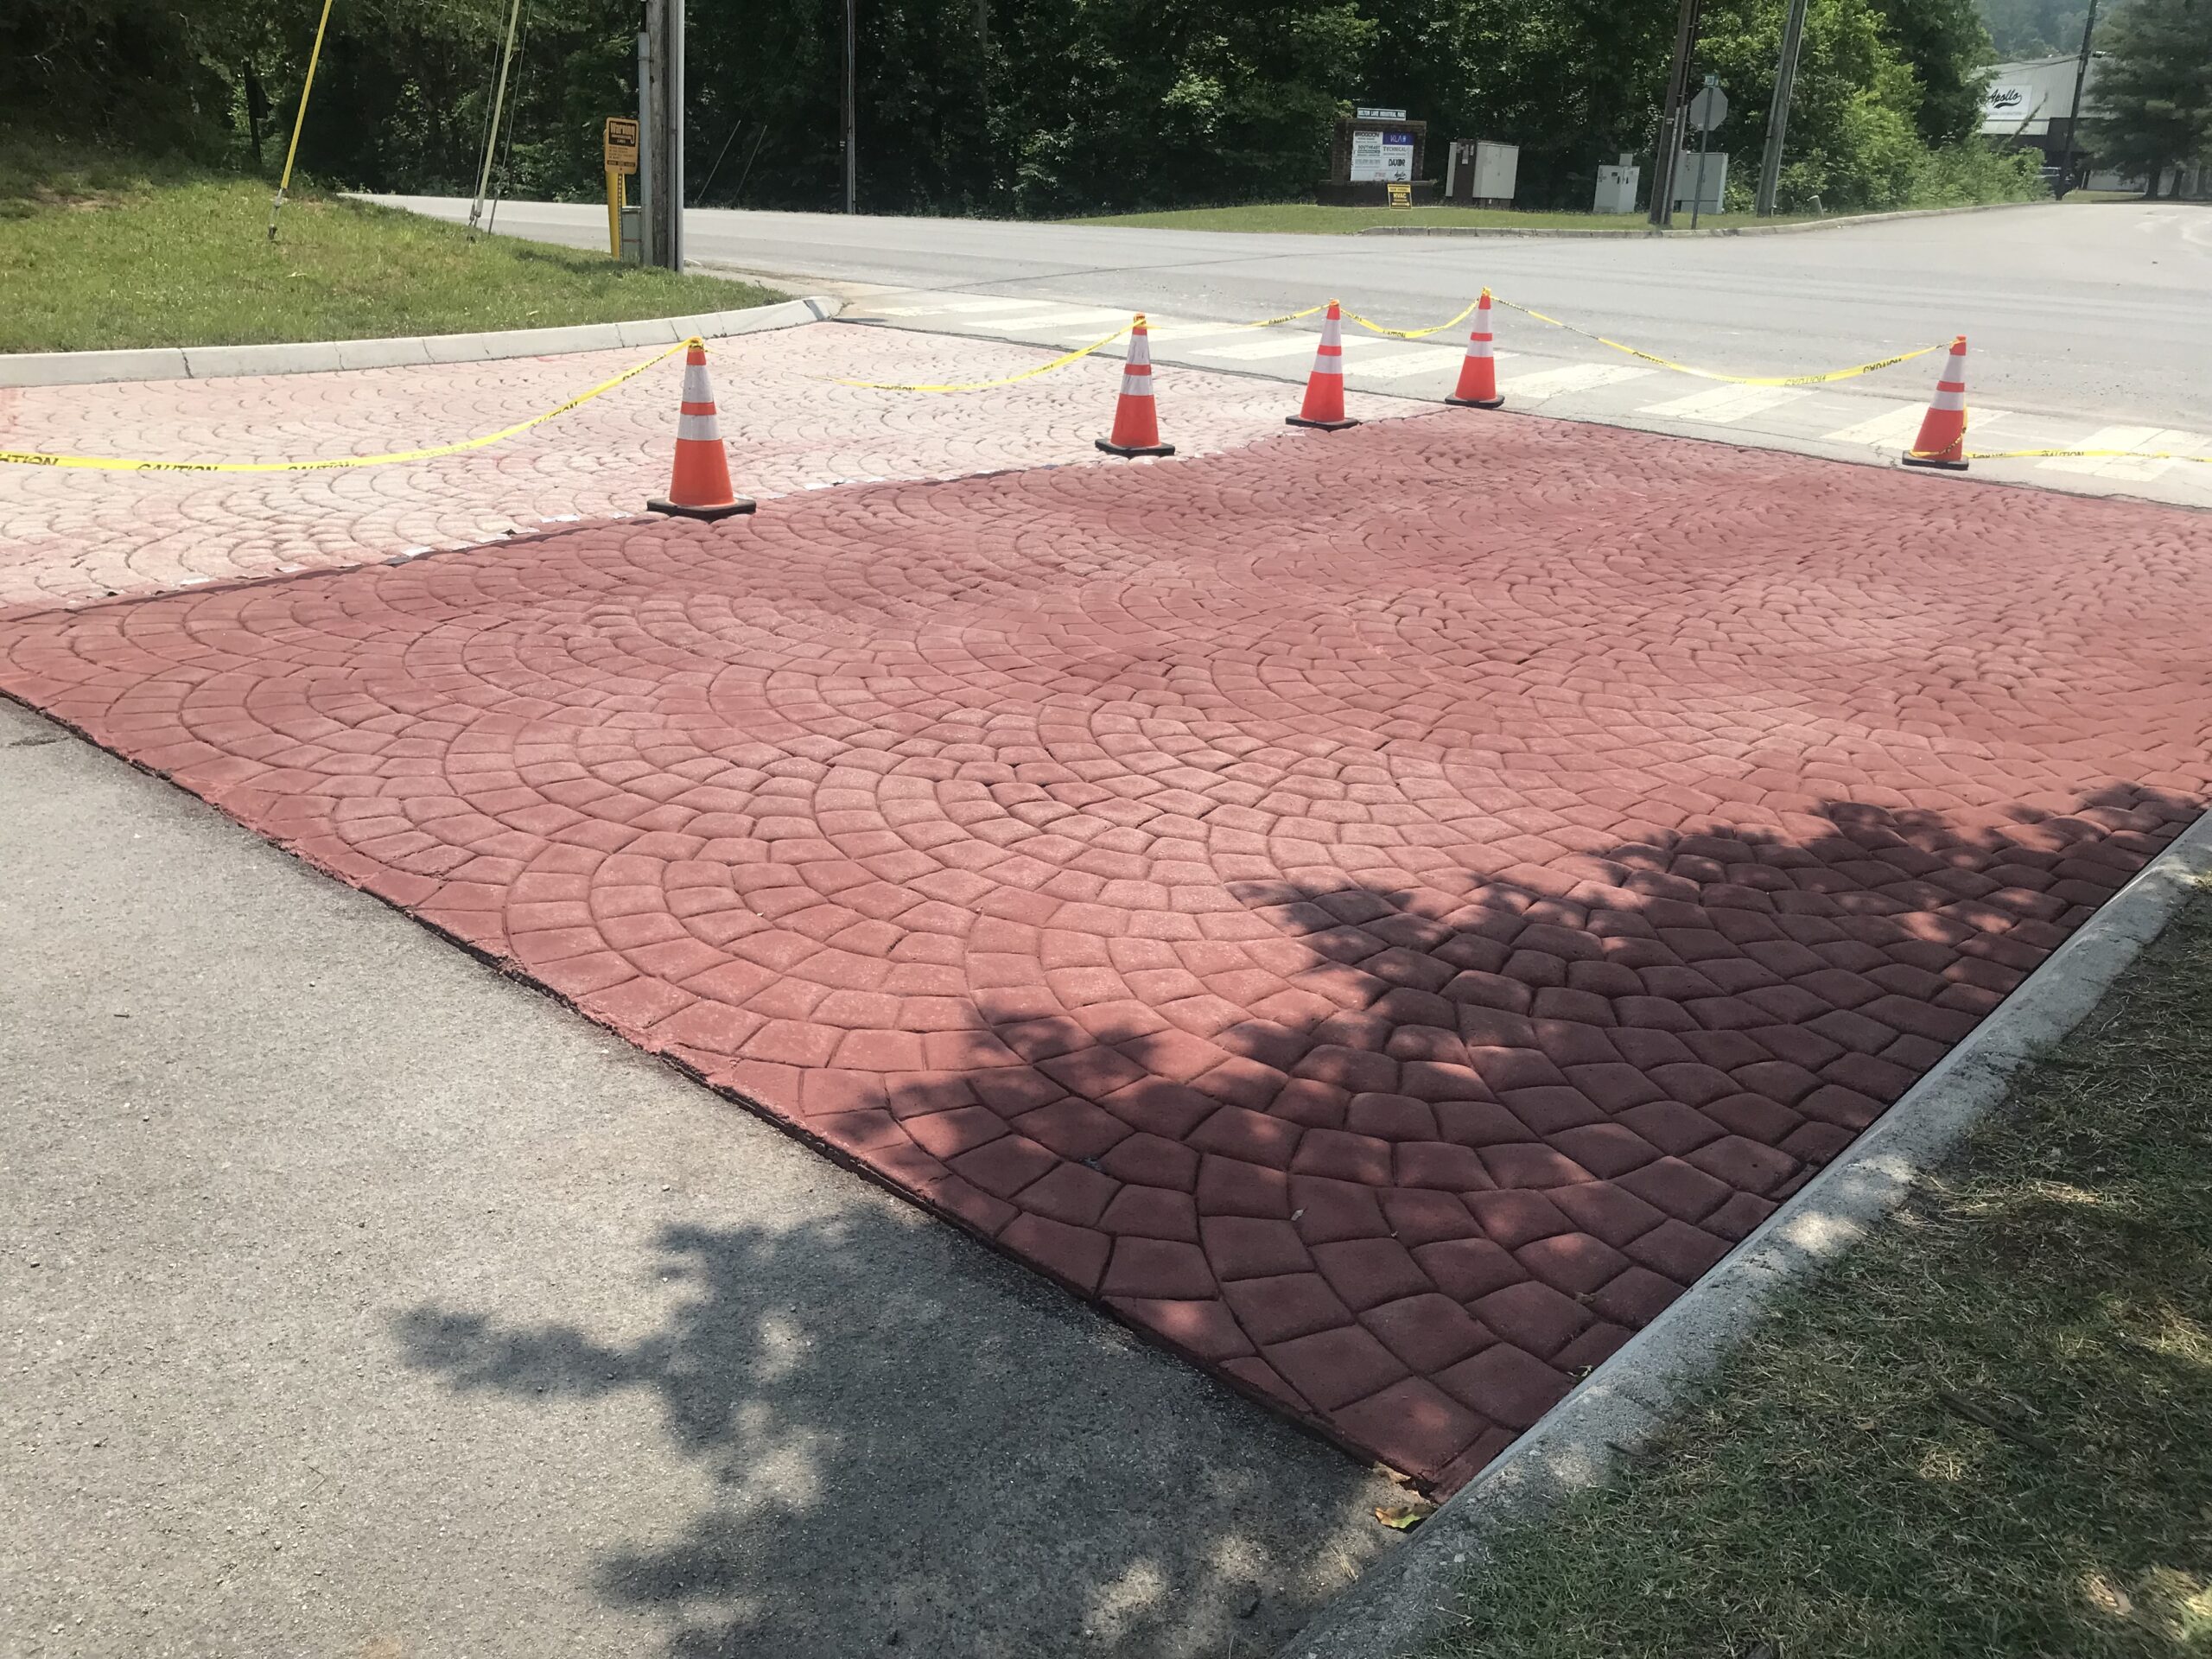
Our customer’s neighborhood had a 33-year-old entrance with pavers that once shone in brick color. With time, these faded and cracked. But, a dedicated group of DIY neighbors chose our Cinnabar stain to breathe life back into this entrance.
Project Info:
- Project Completed In: 10 days so far day(s)
- Estimate of Square Footage: 1200 sq. ft.
- Project Description: 33 years ago our city transportation department paved two roads, that would become our neighborhood. To distinguish our neighborhood, pavers were installed at the entrance. At the time these pavers were brick in color. Fast forward to today- the pavers had cracks, lost their color and had never been sealed. A small group of DIY neighbors patched, stained and sealed one side of the entrance (we only have one way in and out. Waiting on another 3 days of good weather (no rain) to complete our project.
- Personal Tips:
Through cleaning makes a difference. Because we had several (30 year old cracks) we put some stain on the cemented repairs before applying a first coat to the pavers. We believe this step helped to minimize the cracks.
With our first coat, we applied the stain using sponges.
We used a sprayer with the second coat, much quicker.
One person sprayed the sealer on the pavers, while another rolled the stain into the pavers.
We had to order an addition bundle- our old pavers absorbed lots of stain. - Direct Colors Products Used:
Portico™ Trial Kit (Milano Red, Crimson & Cinnabar)
2 x 5 Gal. Cinnabar Portico™ Mega Bundle - Other Products Used: We used Cement All to patch the cracks in our pavers.
Poolside Revival: Cinnabar & Sunset Tan Magic!
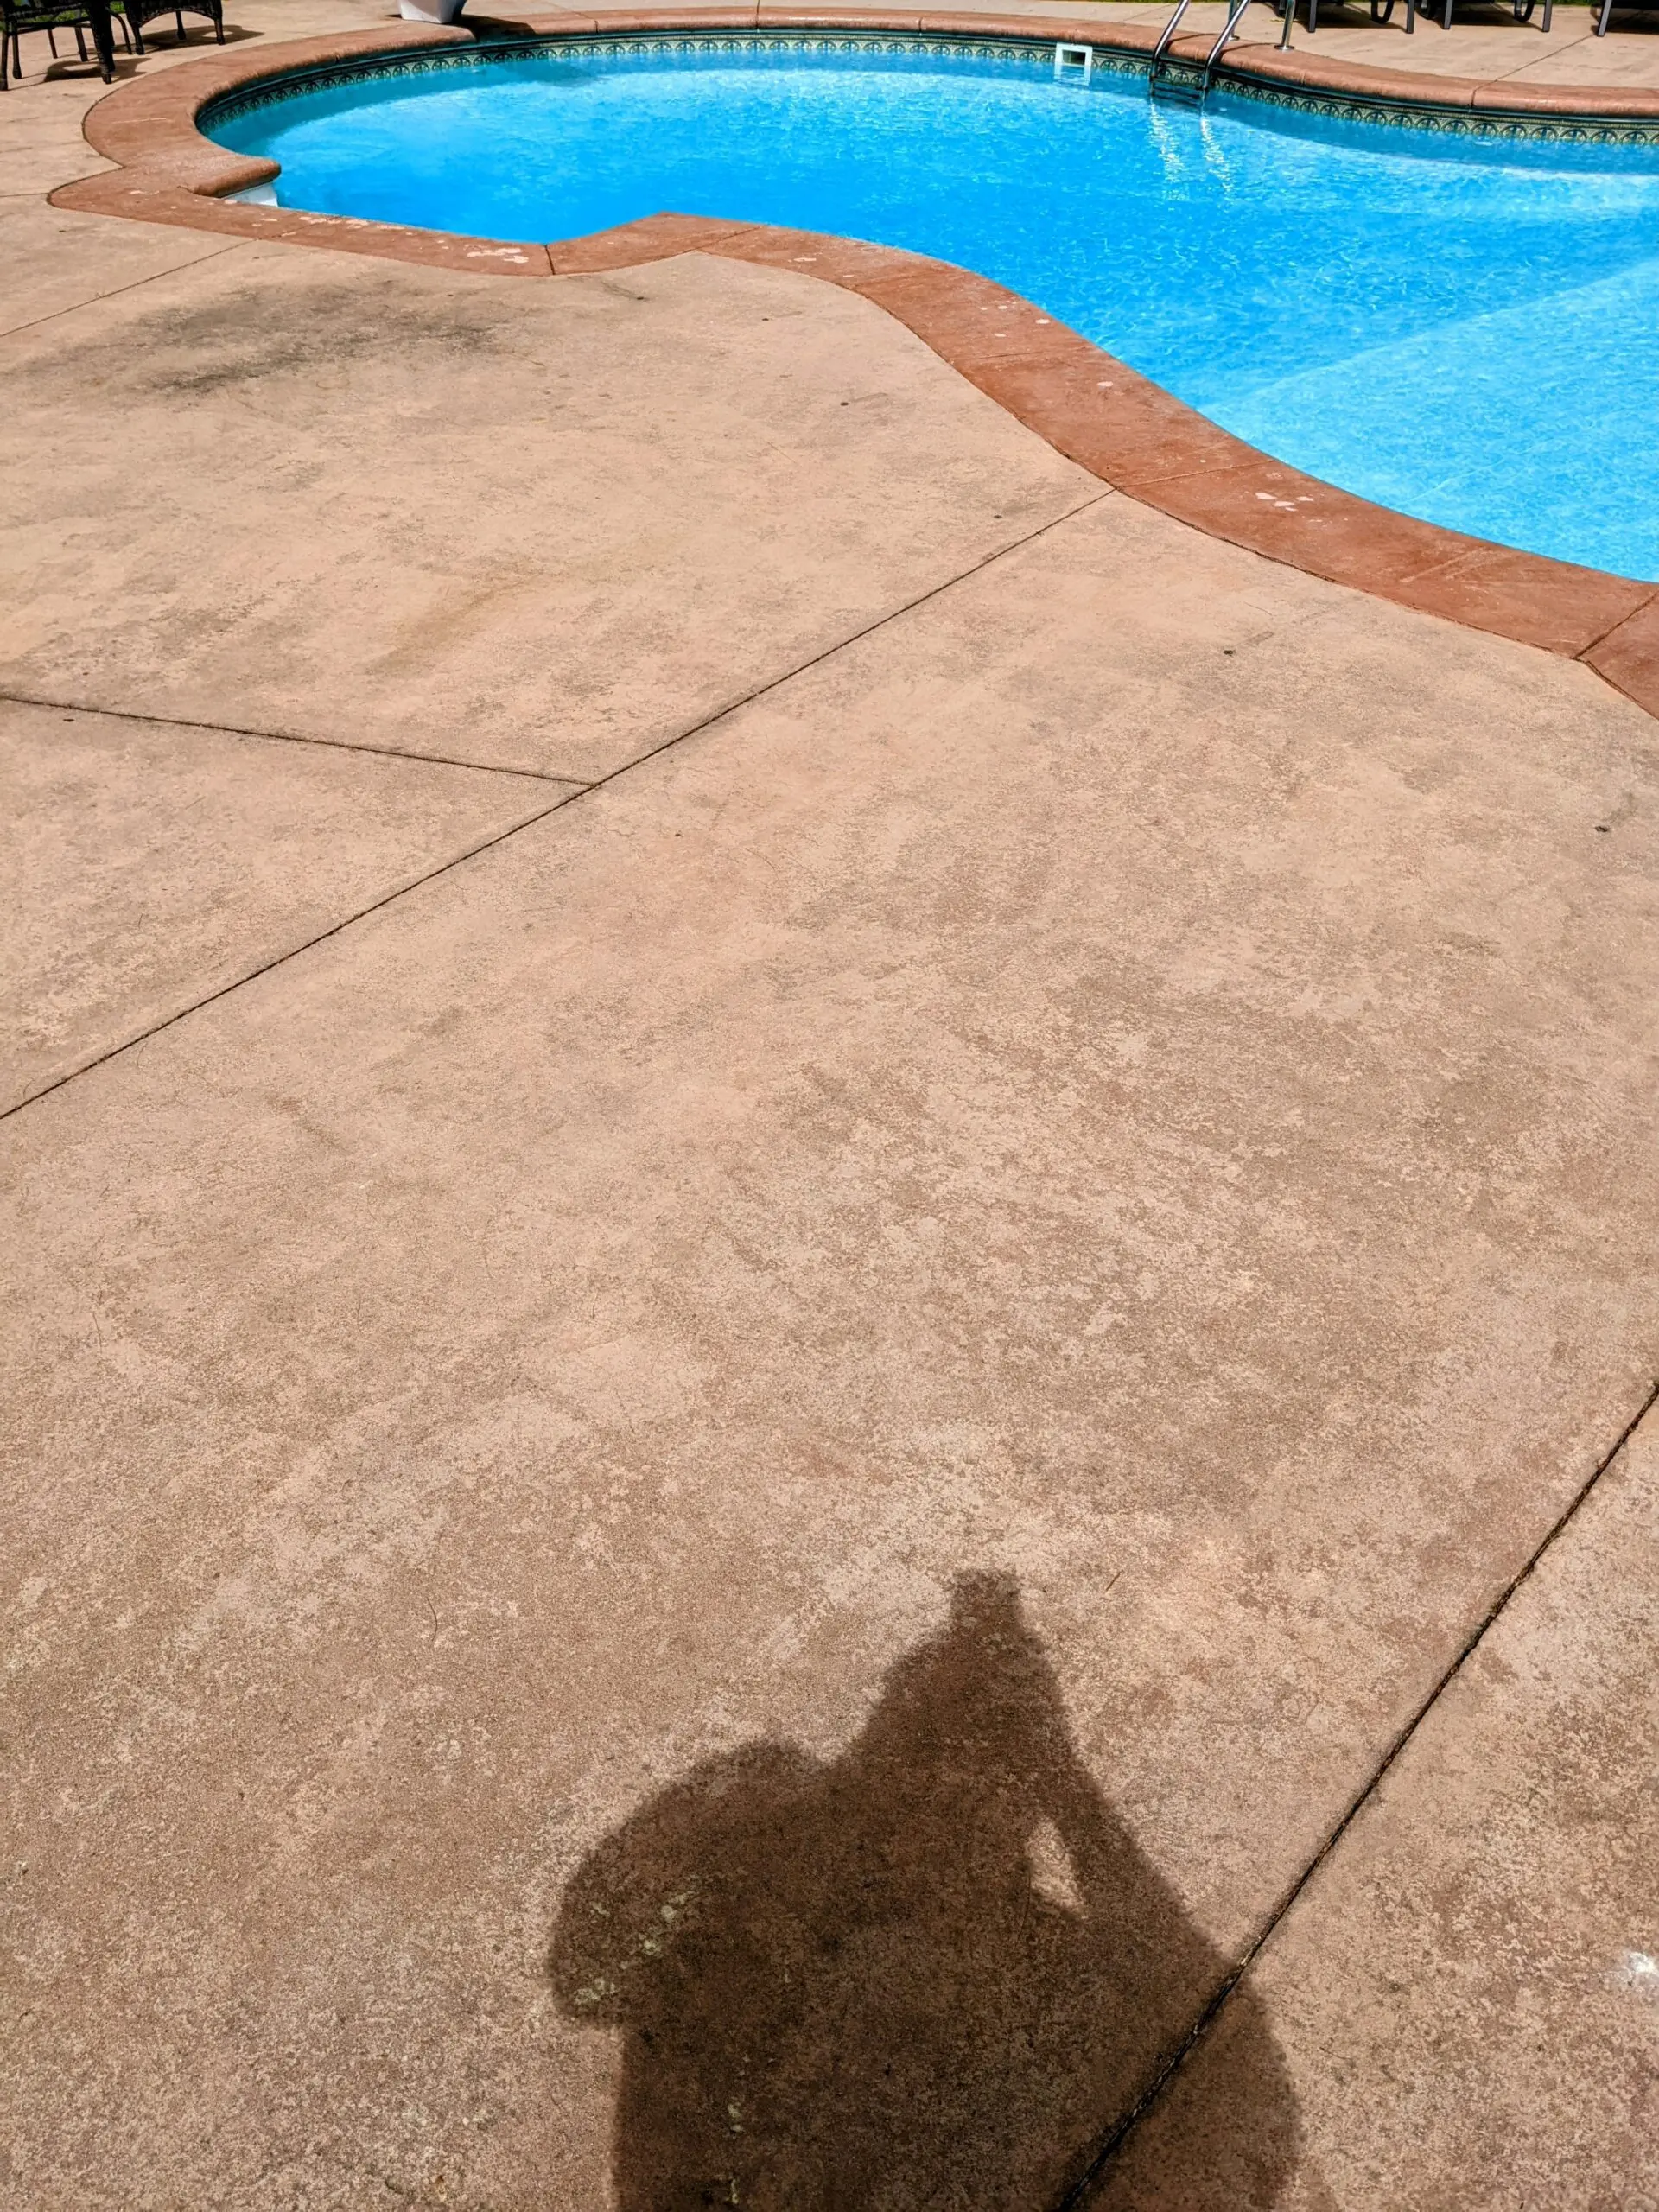
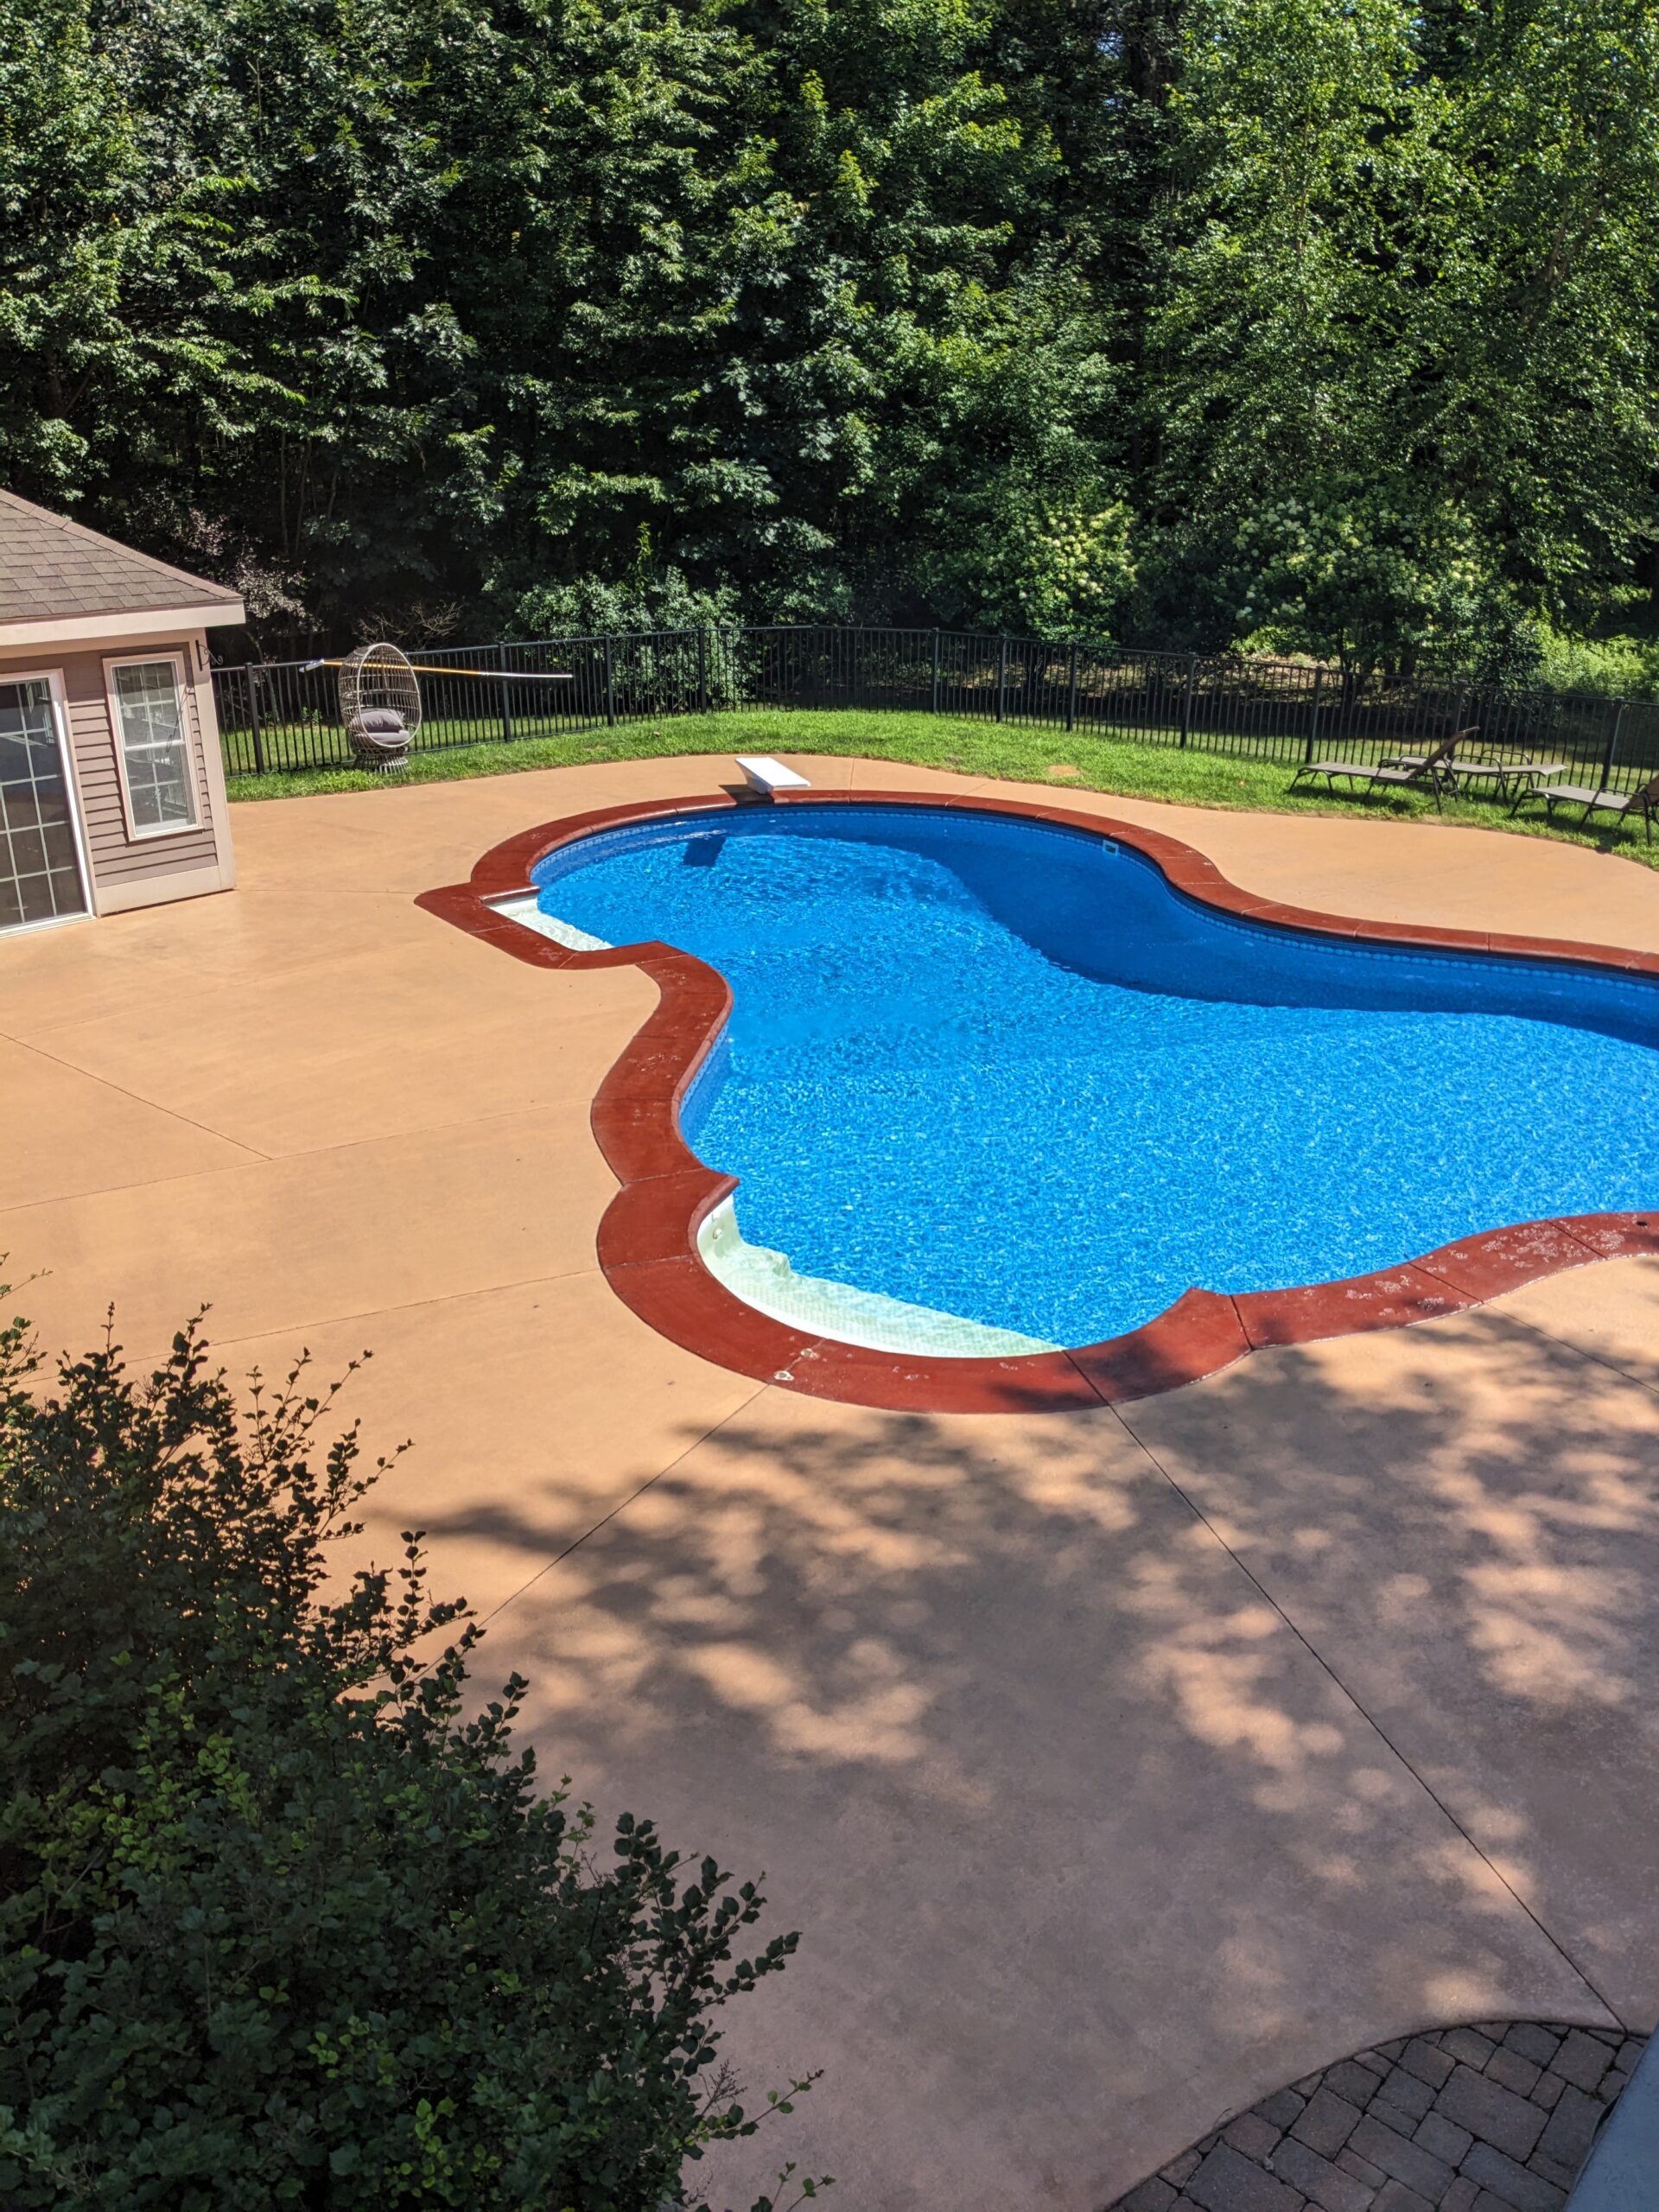
Our DIYer rejuvenated a spalled, mismatched pool deck with Cinnabar and Sunset Tan EasyTint™. Through rain delays and old stain challenges, they achieved a stunning, non-slip finish.
Project Info:
- Project Completed In: 8 day(s)
- Estimate of Square Footage: 2000 sq. ft.
- Project Description: My pool deck had some spalling because I had not sealed it for years. The original concrete was tinted which was different in the coping area from the rest of the deck area. That was also tinted. About 7 years ago I applied a concrete stain. Some of that stain lingered but I heavily power washed the entire deck. I used cinnabar easytint for the coping, and sunset tan easytint sealer for the rest. I applied 2 coats of the color and 2 coats of sealer. The reason for a second coat of sealer is even after sealing it with the grit from Direct Colors, it was still very slippery. I bought some grit from my local hardware store and used that in the second sealer coating and it came very non slippery. Overall it came out looking a lot better and repels the water. This job took awhile because of the rainy weather and trying to find a stretch of sunny days.
- Direct Colors Products Used:
EasyTint™ Satin Trial Kit (Sunset Tan, Khaki & Crimson)
EasyTint™ Satin Trial Kit (Pumpkin, Terracotta & Russet)
EasyTint™ Satin Trial Kit (Cinnabar, Plum & Auburn)
Antiquing™ Trial Kit (Sunset Tan, Khaki & Crimson)
2 x 5 Gal. Sunset Tan EasyTint™ Satin
2 x 1 Gal. Cinnabar EasyTint™ Satin
2 x 16 Oz. OxiGrip™ Non-Slip Sealer Additive
2 x 5 Gal. EasySeal™ Satin Kit


