Achieve a Worn Leather Look Acid-Stained Concrete Floors
By Justin Richardson
Do you want your concrete floors to exude the rich, aged look of worn leather? With the right techniques, you can transform a plain concrete surface into a beautiful, vintage-inspired floor that draws the eye and adds warmth to any space. Whether you’re a DIY enthusiast or a professional, this guide will walk you through how to achieve that sought-after effect using acid stains.
Step 1: Clean and Prepare the Concrete Surface
Before you begin staining, it’s essential to properly clean and prep the concrete. This step ensures the stain penetrates evenly and creates the desired effect. Use a concrete cleaner or degreaser to remove any dirt, oil, or other contaminants. If necessary, etch the surface with a concrete etcher to create texture and improve stain absorption. Afterward, rinse thoroughly and allow the surface to dry.
Tip: If you need detailed instructions on preparing the surface, check out our blog on concrete surface preparation.
Step 2: Etching Machine-Troweled Concrete
If your floor has been machine-troweled smooth, like many basements, it may require additional etching to ensure proper stain absorption. Smooth surfaces can resist staining, so using a product like CitrusEtch™ Concrete Etcher can help roughen the concrete.
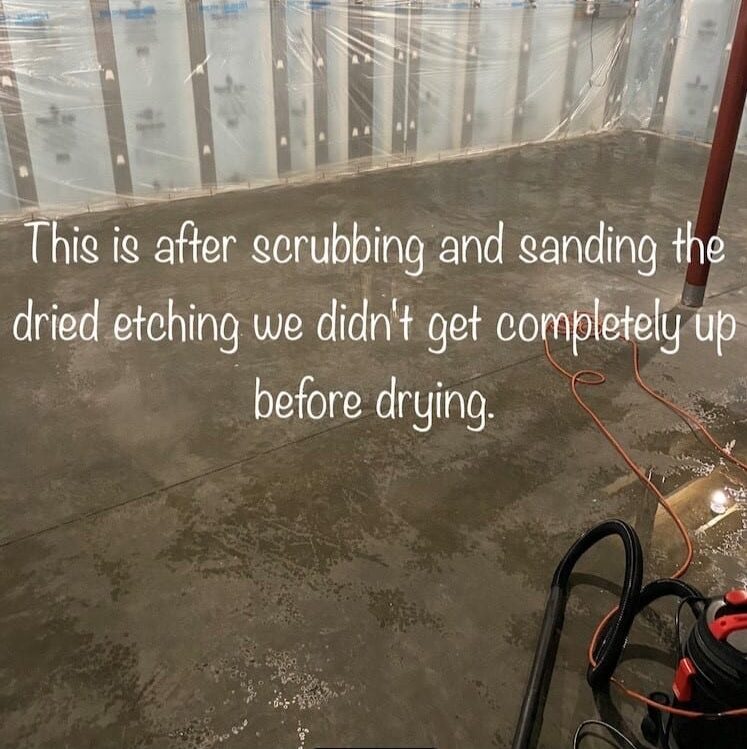
DIY Tip: Always clean up the etching solution before it dries completely. Wearing spiked shoes during this step is absolutely essential! Many DIYers skip this step and end up leaving shoe prints that are incredibly difficult to remove. Removing those prints often requires renting a mechanical grinder—something you definitely want to avoid. In my experience, some stubborn areas took about 12 scrubbings and a bit of sanding to fully prep. Spiked shoes make all the difference in avoiding that hassle!

Step 3: Choose Your Colors
When it comes to achieving that worn leather look, your color choices play a crucial role. The most popular combinations include:
- Coffee Brown and Black
- Coffee Brown and Desert Amber
- Coffee Brown, Cola, and Desert Amber
- Black, Malayan Buff, And Seagrass
Feel free to get creative and experiment with various shades to capture the warmth and depth of leather.
Black, Malayan Buff, and Seagrass
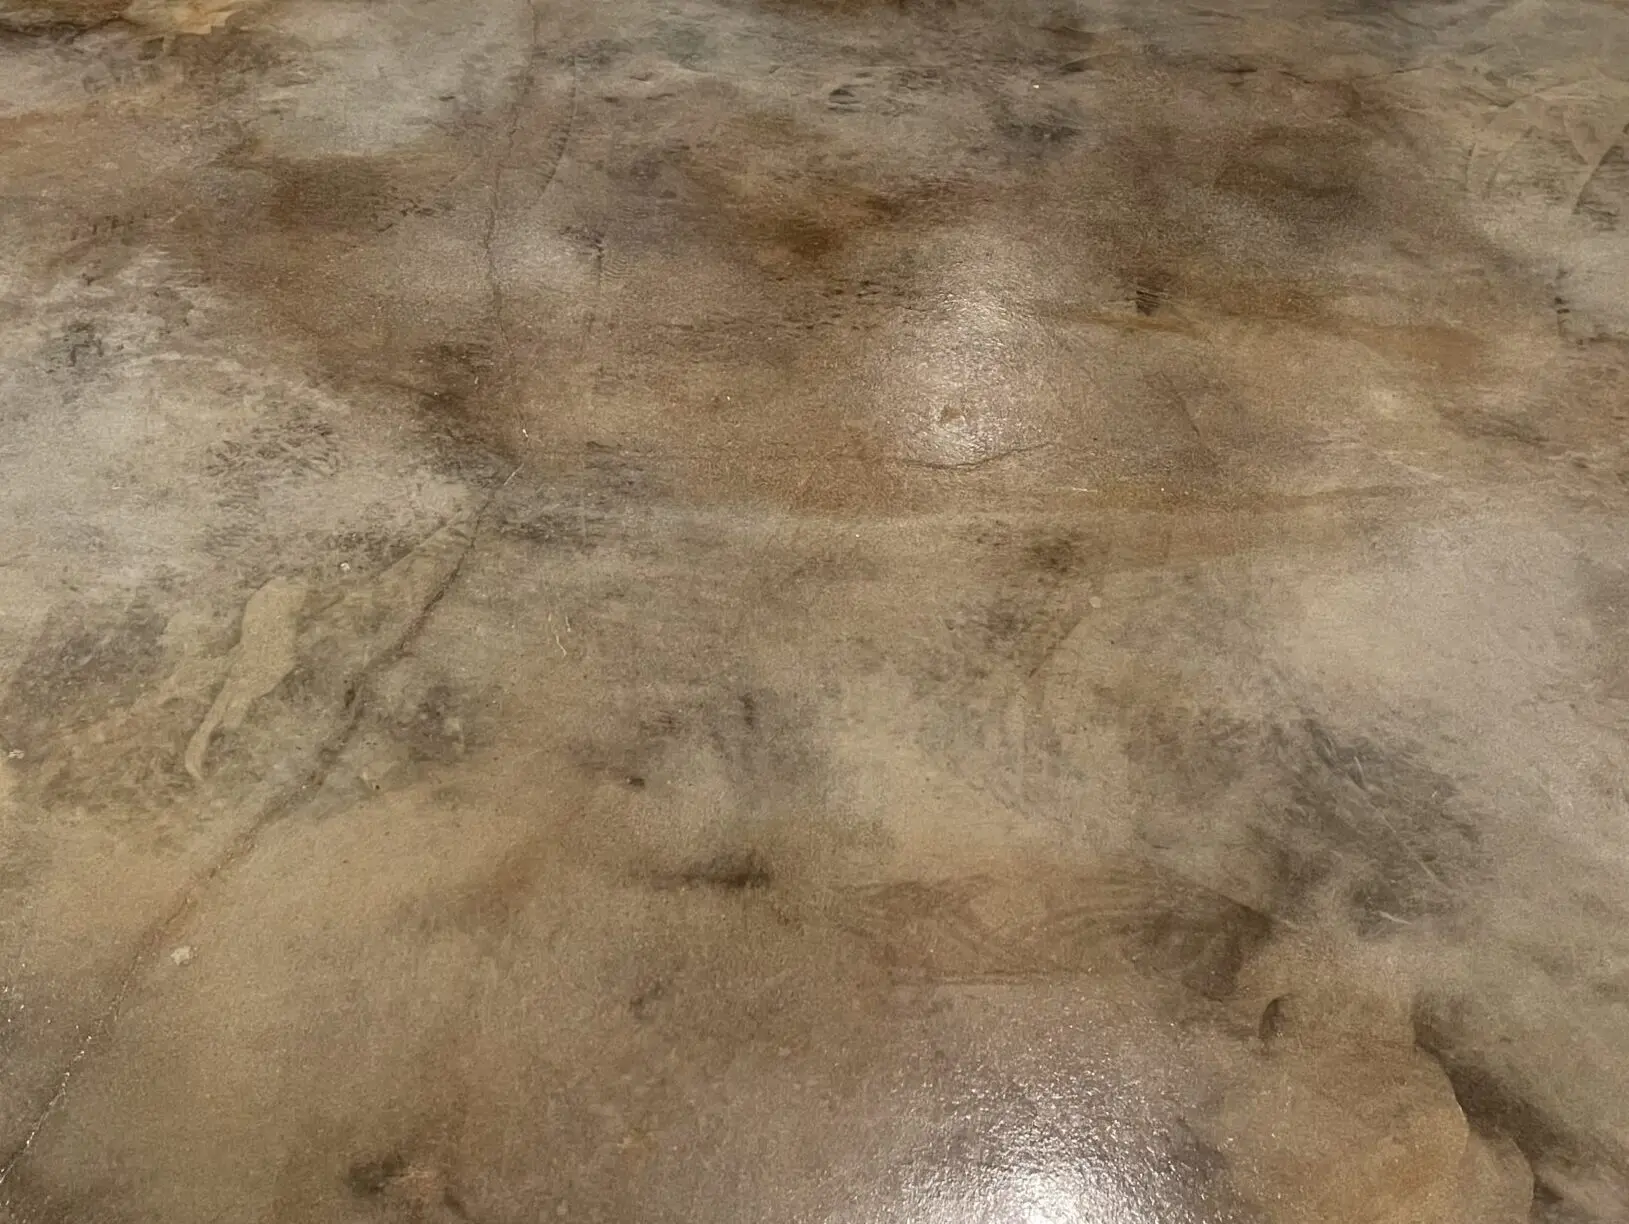
- Look: Subtle, cool, and understated.
- Effect: This combination offers a more subdued leather-like effect with cooler, earthy tones. The Malayan Buff and Seagrass introduce soft, neutral highlights, while the Black grounds the look without overpowering the lighter tones. It’s the most understated of the four combinations.
- Best For: Those wanting a soft, neutral palette with subtle contrast and a smoother finish.
Coffee Brown and Black
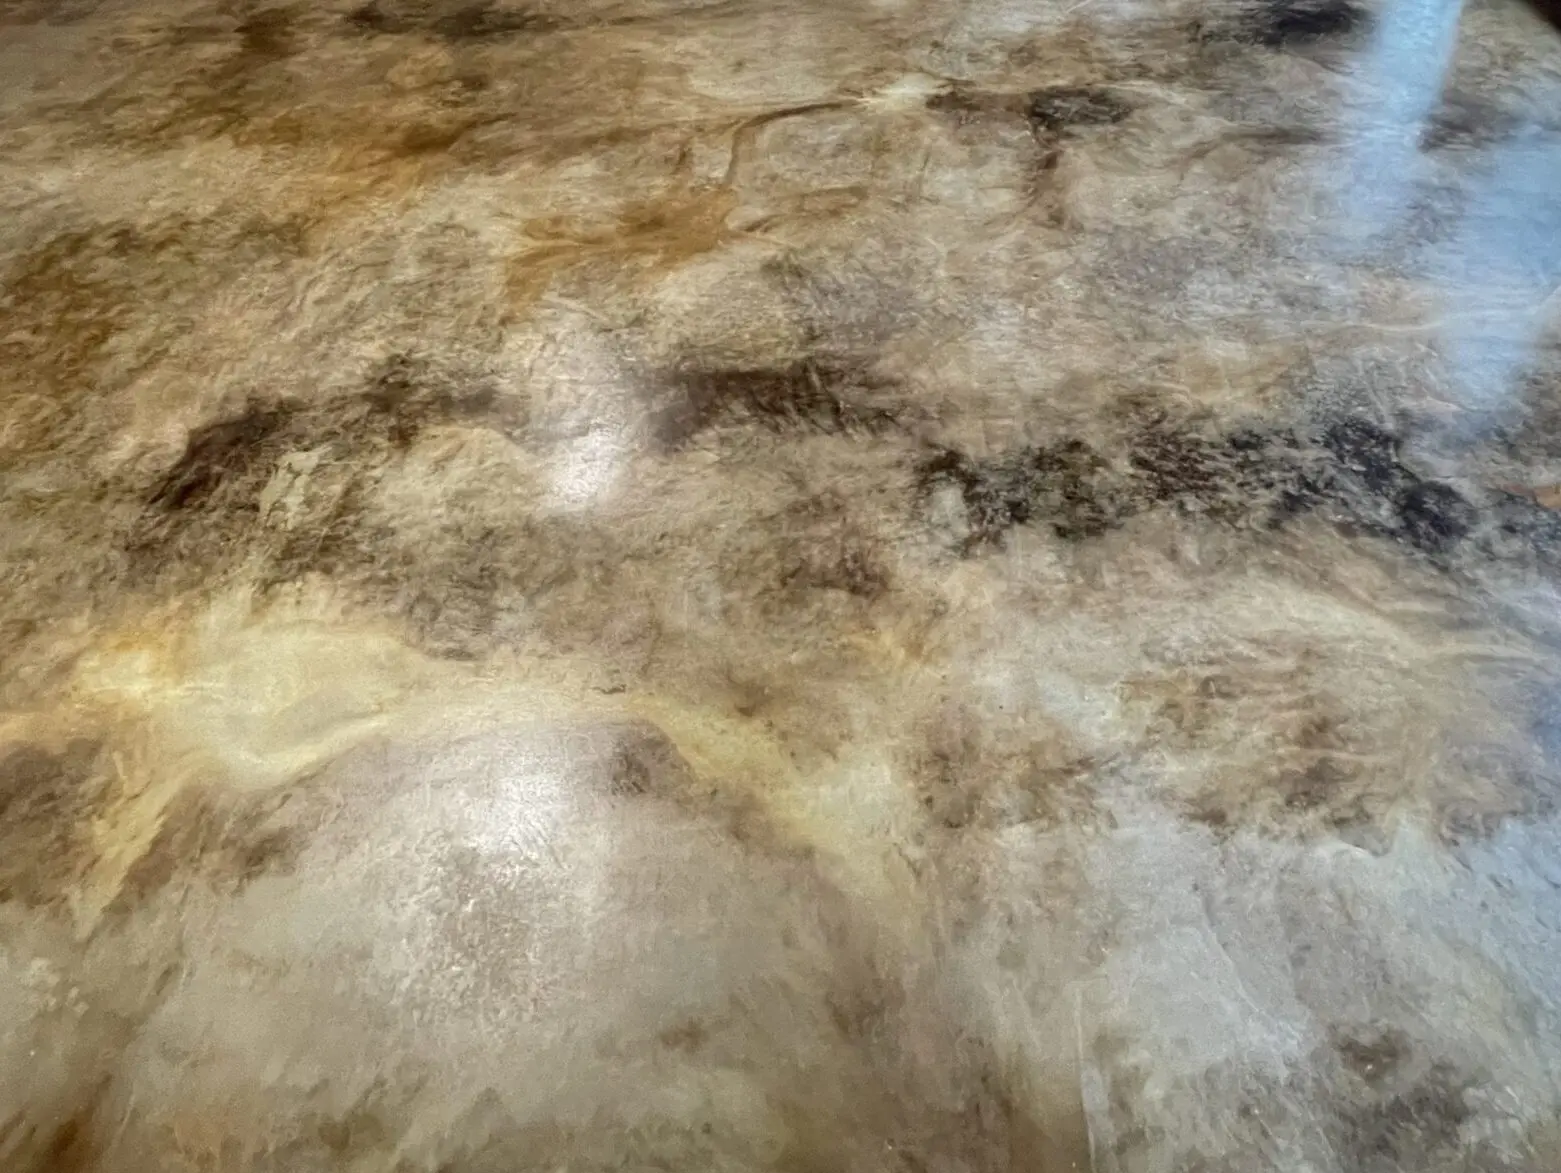
- Look: Vibrant, rich, and dramatic.
- Effect: This combination provides the most vivid leather-like finish. The warm tones of Cola and Desert Amber work together to create a rich, multi-dimensional appearance with strong, bold transitions. The Coffee Brown base balances the vibrancy, adding warmth and depth.
- Best For: Spaces looking for a bold, dynamic leather look with warmth and high color variation.
Coffee Brown and Desert Amber
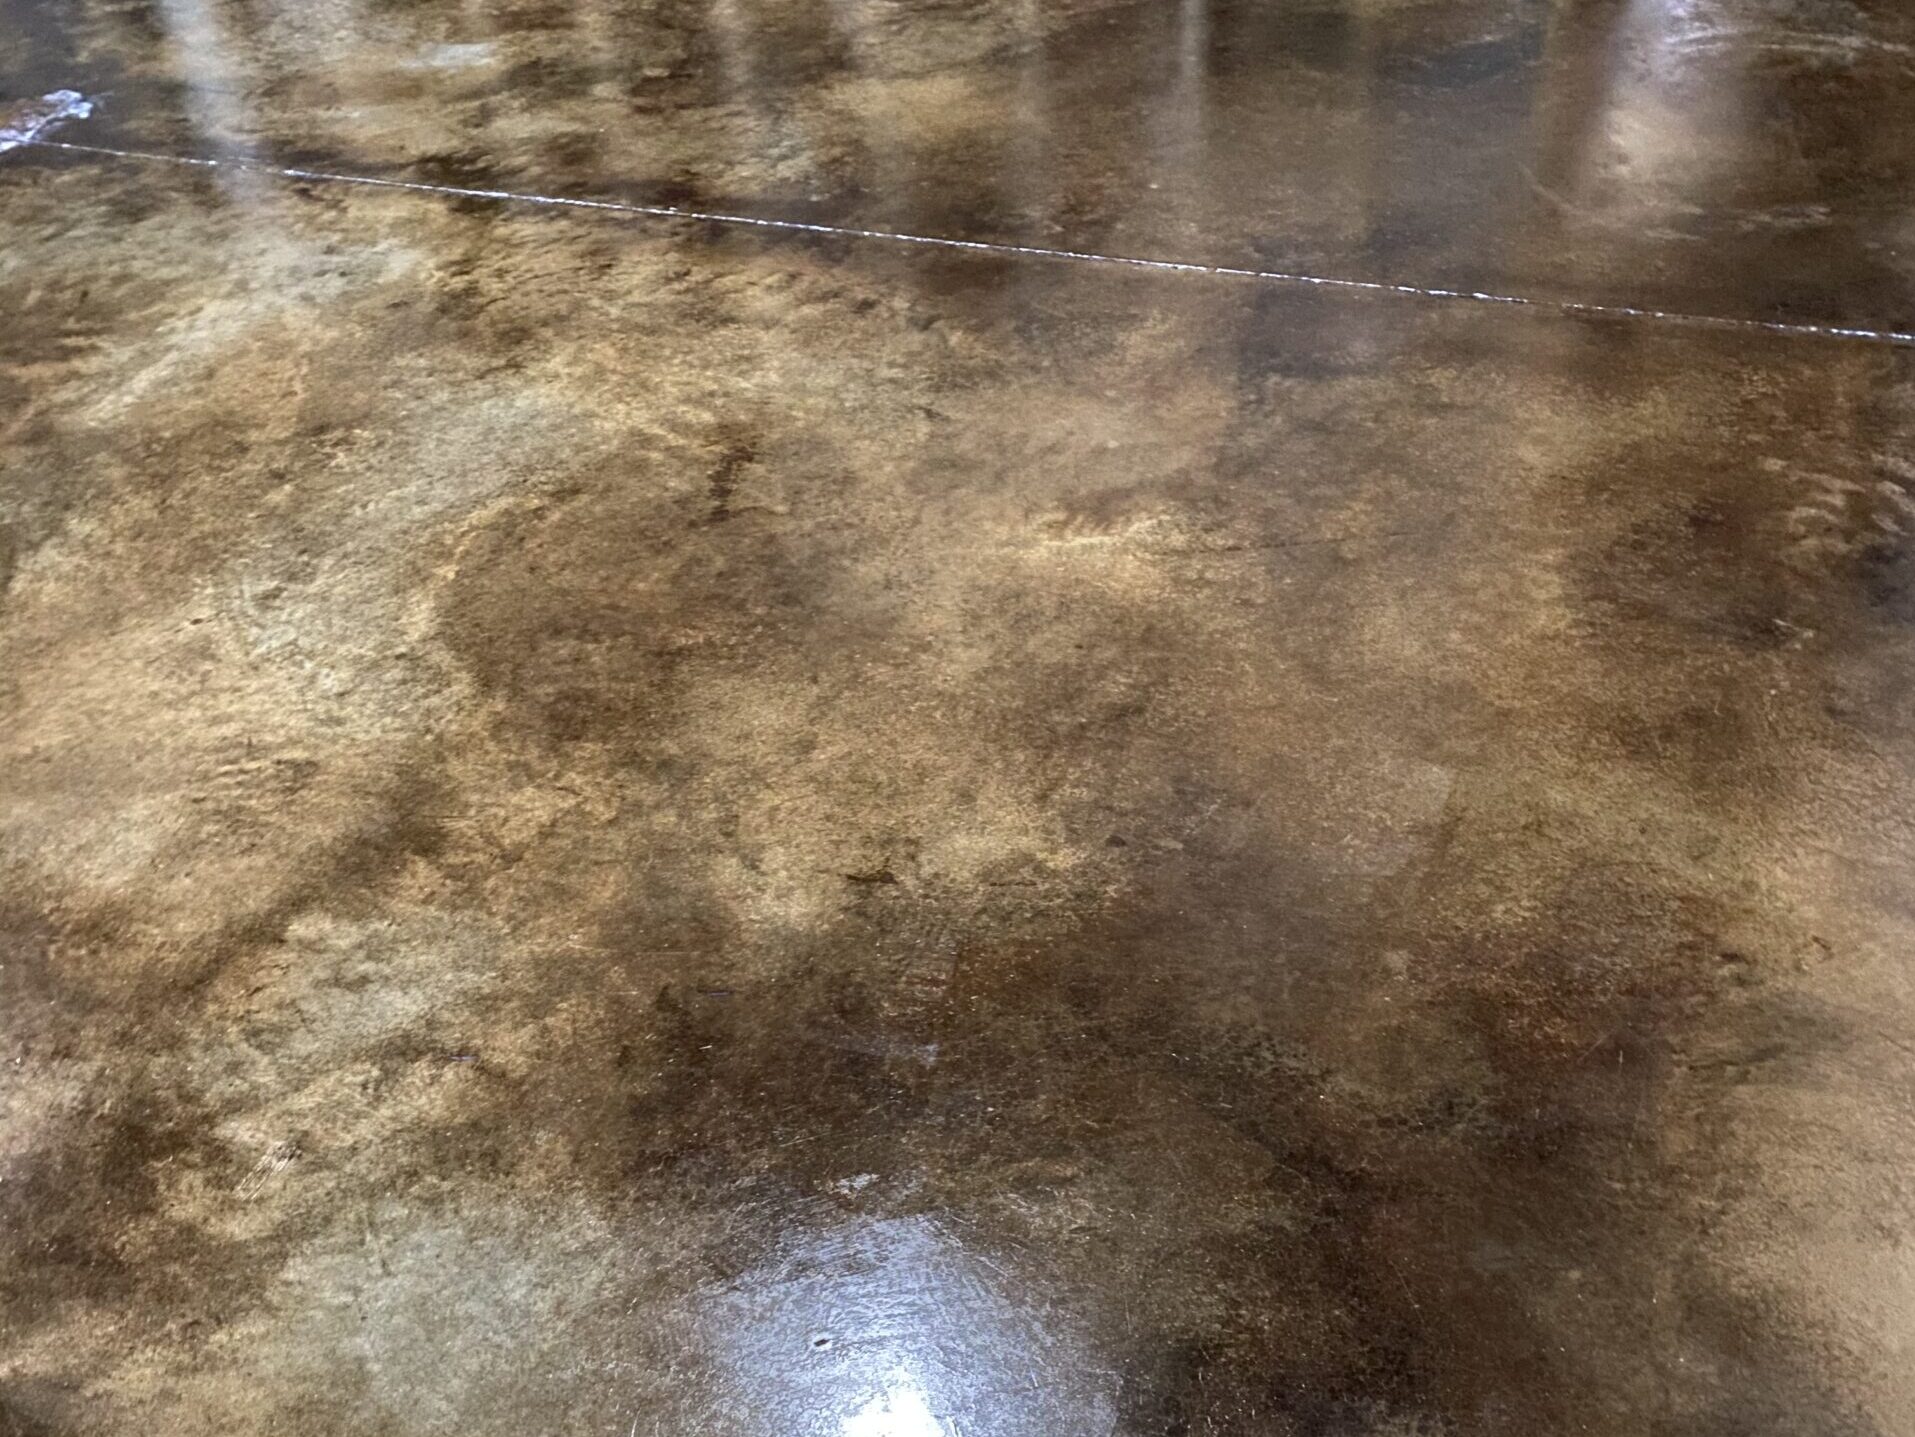
- Look: Soft, warm, and inviting.
- Effect: This combination creates a natural, sun-kissed leather appearance with soft transitions between shades. The Desert Amber adds golden, earthy highlights to the Coffee Brown base, resulting in a rustic, understated finish.
- Best For: Those looking for a more neutral, organic leather effect with subtle warmth.
Coffee Brown and Black

- Look: Deep, bold, and intense.
- Effect: The Black tones add significant depth and contrast to the Coffee Brown, creating a finish reminiscent of aged or darkened leather. The high-contrast look makes the texture and variations in the stain more pronounced, resulting in a striking finish.
- Best For: Spaces seeking a dramatic, high-contrast leather look with rich, dark tones.
Step 4: Apply the Acid Stain (Wet-on-Wet Technique)
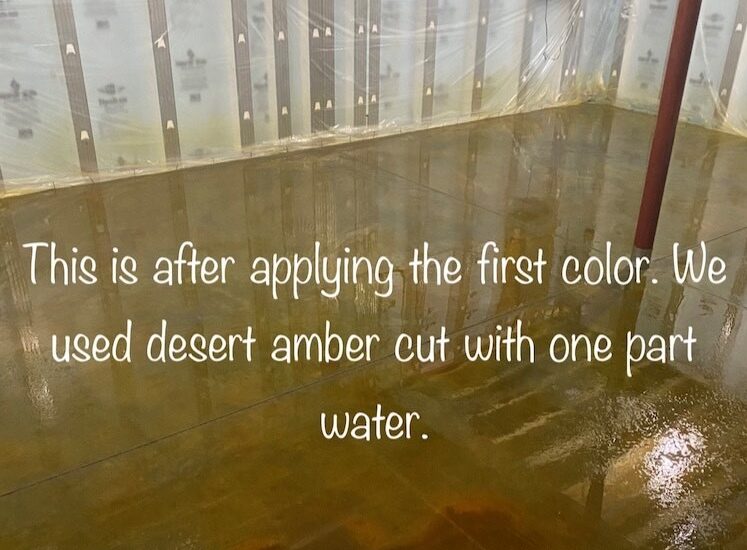
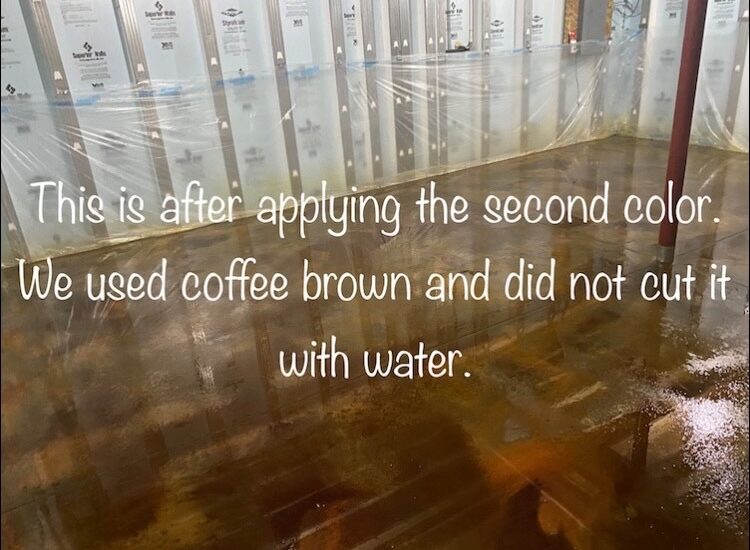
To achieve a soft blend of colors reminiscent of worn leather, the wet-on-wet technique works beautifully. This method involves applying different acid stain colors while the surface is still damp, allowing them to blend naturally.
You can check out a detailed guide on the Wet-on-Wet Acid Staining Technique here. This step follows the standard process of acid staining, with the added benefit of creating a more fluid, natural color transition.
For information on how long to leave the acid stain on the concrete, refer to our guide “How Long to Leave Acid Stain on Concrete“.
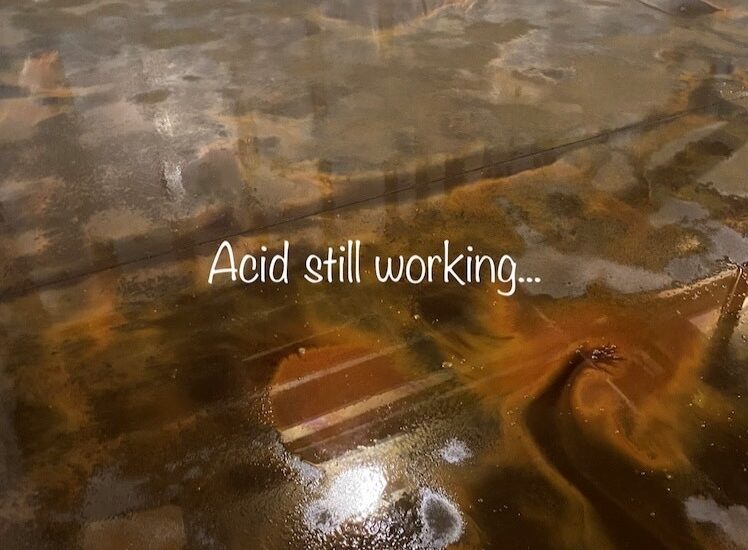
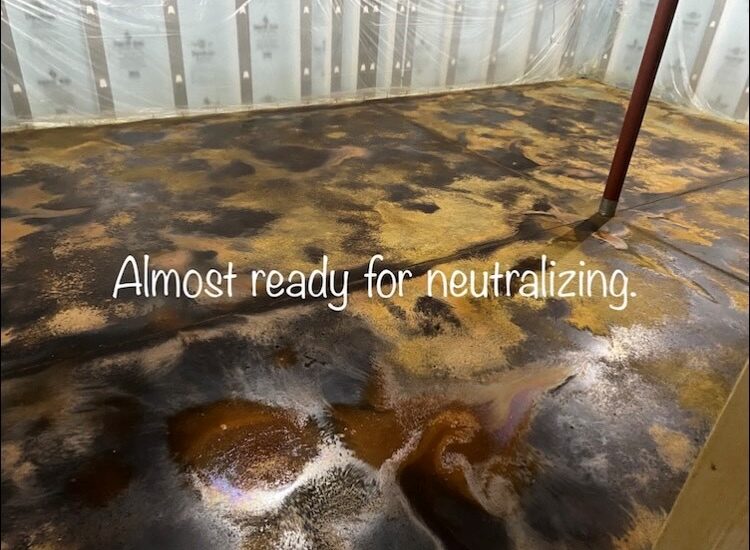
Step 5: Finishing Touches
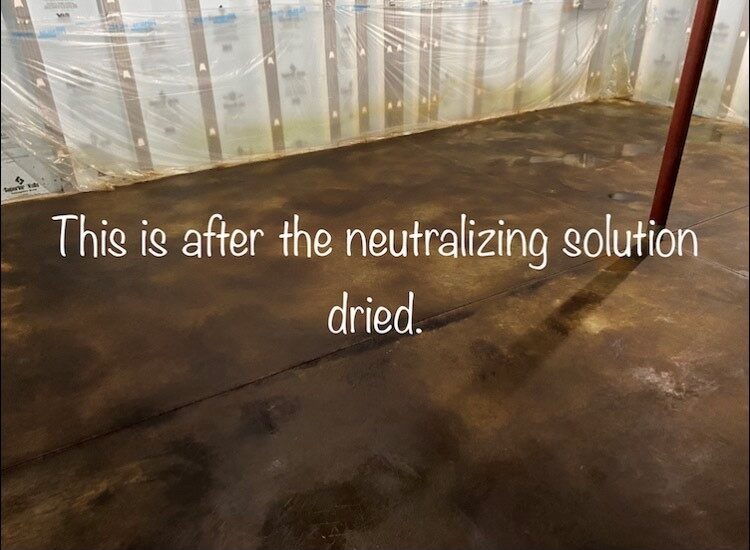
Once the stain has been applied and dried, neutralize and thoroughly clean the surface. Follow up with a sealer to protect the stained floor and bring out the depth of the colors. Depending on the sealer you choose, this will also add a subtle sheen that enhances the leather-like appearance.
Neutralize Acid Stain
Clean Residue
- Scrub with a soft nylon bristle scrub brush where needed to remove residue.
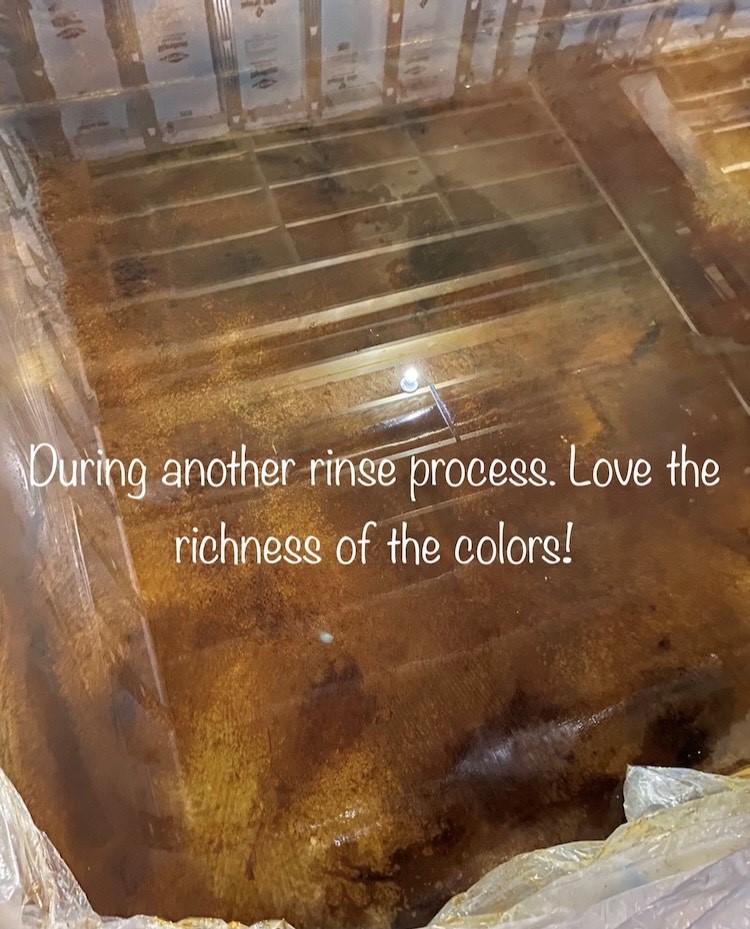
- Wash the surface carefully using clean water until nothing but clear water is visible.
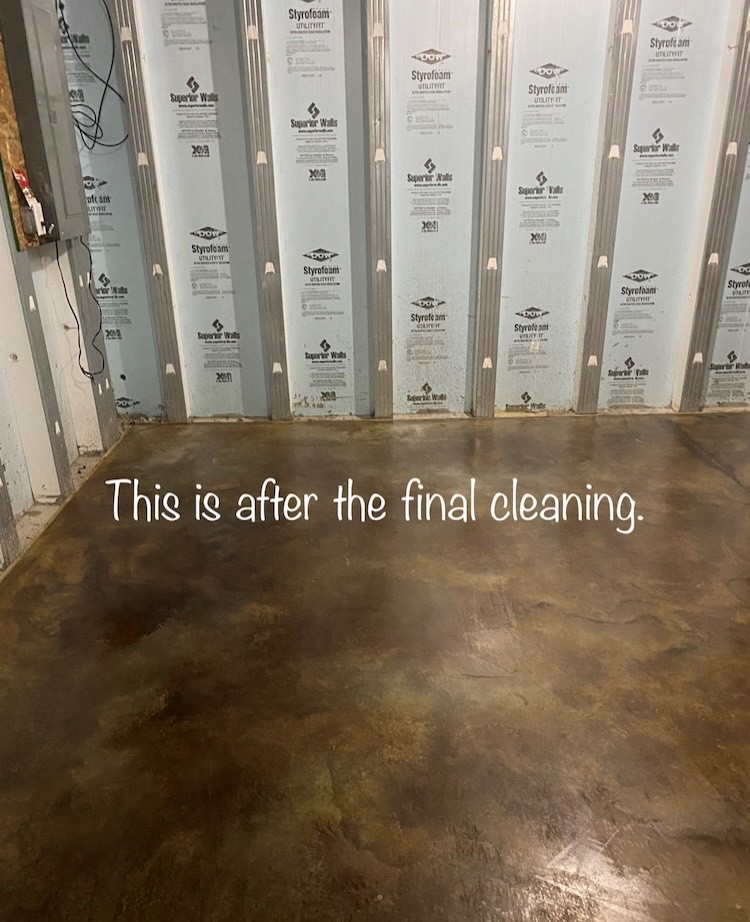
- Remove all residue and excess color from the concrete before leaving it to dry.
- For stubborn residue or porous surfaces, use an organic degreaser to aid in the removal. The clean, wet surface will be the approximate color of the final sealed surface.
- Leave to dry.
- After the surface has completely dried, the floor should be ready to seal.
For more details on neutralizing acid stain, check out our guide “How to Neutralize Concrete Acid Stain”.
DCPro TIP: Using a shop vac to wash out and clean acid residue decreases the process time and effort dramatically
Seal
When working on indoor projects, it’s important to consider the smell and ventilation. For this reason, we recommend using AcquaSeal™ water-based sealers. They emit minimal odor and are safe to use even when your family or pets are present in the home.
Before applying the sealer, it’s important to remove any filters from the pump-up sprayer. Once the sprayer is ready, shake the AcquaSeal™ water-based sealer well to mix it properly. When applying the sealer, use slightly circular motions with irregular overlaps to ensure an even coverage. It’s important to apply thin coats to avoid puddling and ensure that the sealer is evenly distributed over the surface.
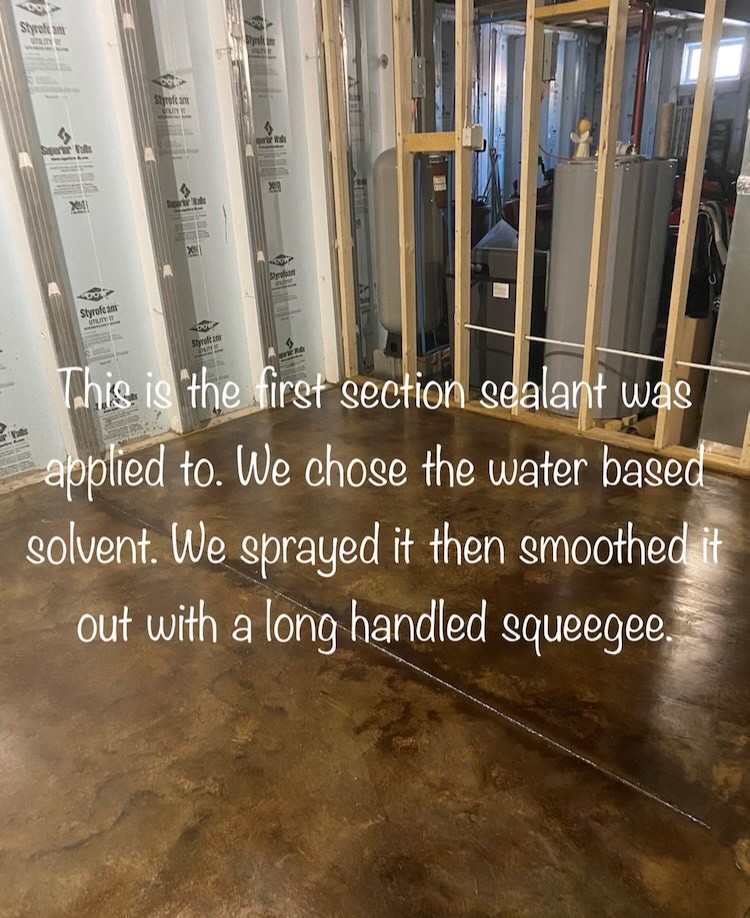
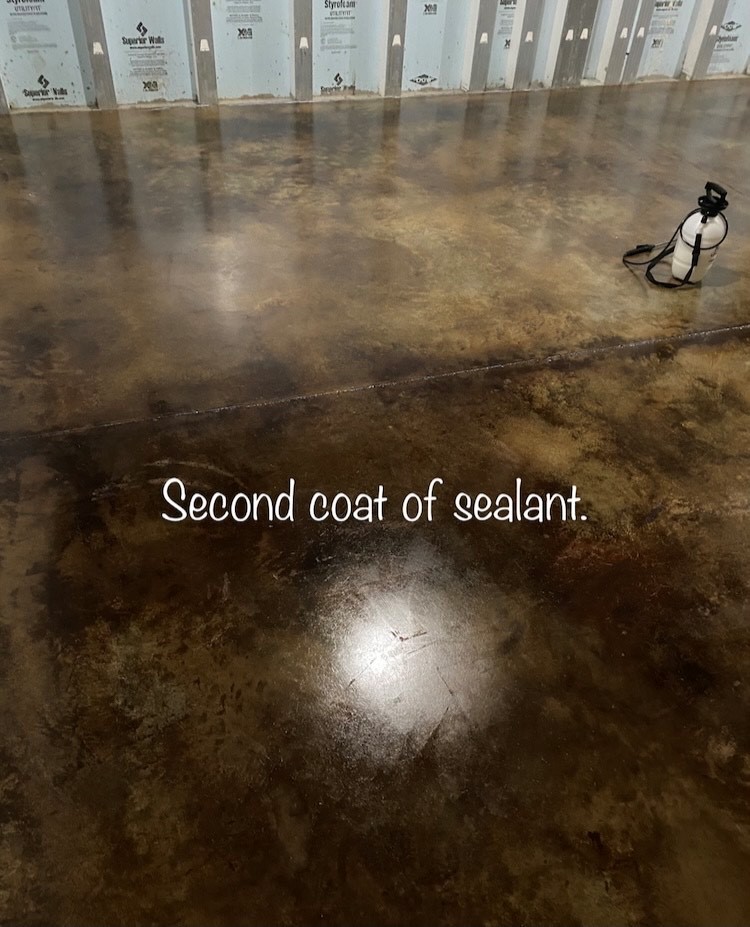
When applying the sealer, it is important to allow 12 hours between coats. This will ensure that the first coat has fully dried and the surface is ready for the next application. A maximum of two thin coats should be used to ensure the best results.
Polish
For sealer longevity, we recommend applying ProWax Polish™. This protective layer can be easily reapplied in high-traffic or maintenance areas, preventing wear without the need to strip and reseal the floor. Fixing worn areas of sealer is a more complex process, as it requires stripping the sealer first, whereas ProWax Polish™ offers a much simpler, cost-effective solution for maintaining your floor’s finish over time.
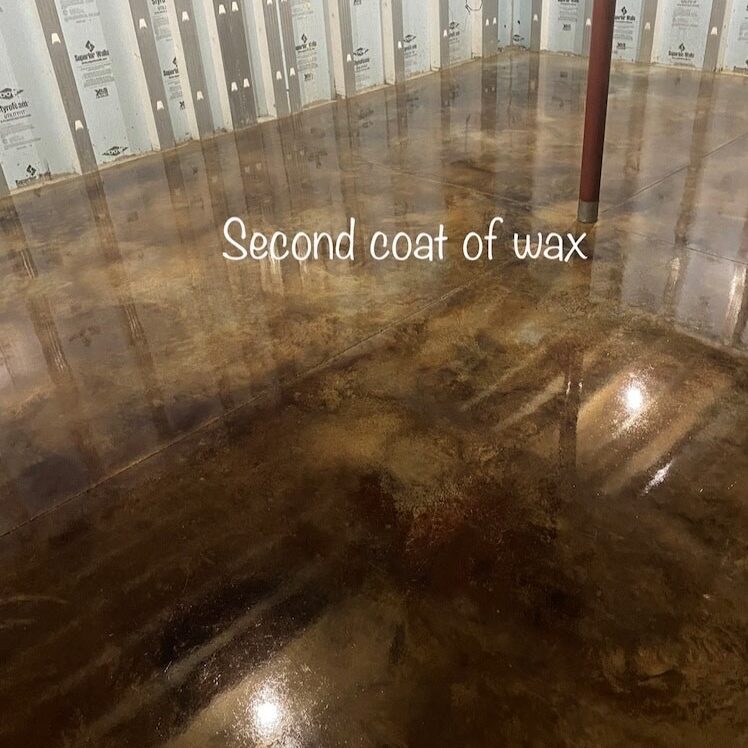
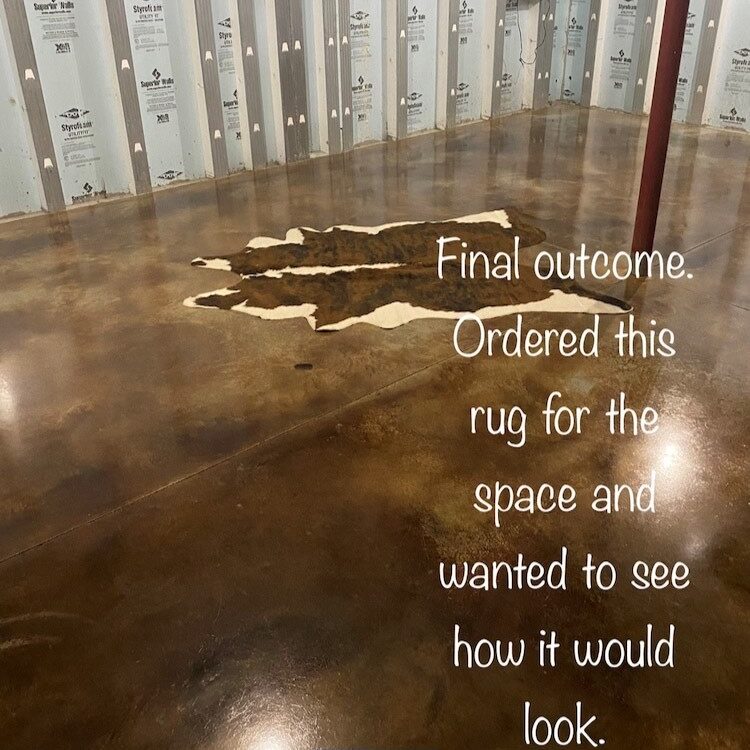
By following these steps, you will be able to achieve a leathered multi-layered and protected surface on your concrete floor. Remember to always wear the proper safety gear and to read the instructions on the products you are using. Don’t hesitate to seek Direct Colors’ help if you feel unsure about any step of the process. And most importantly, have fun with it!
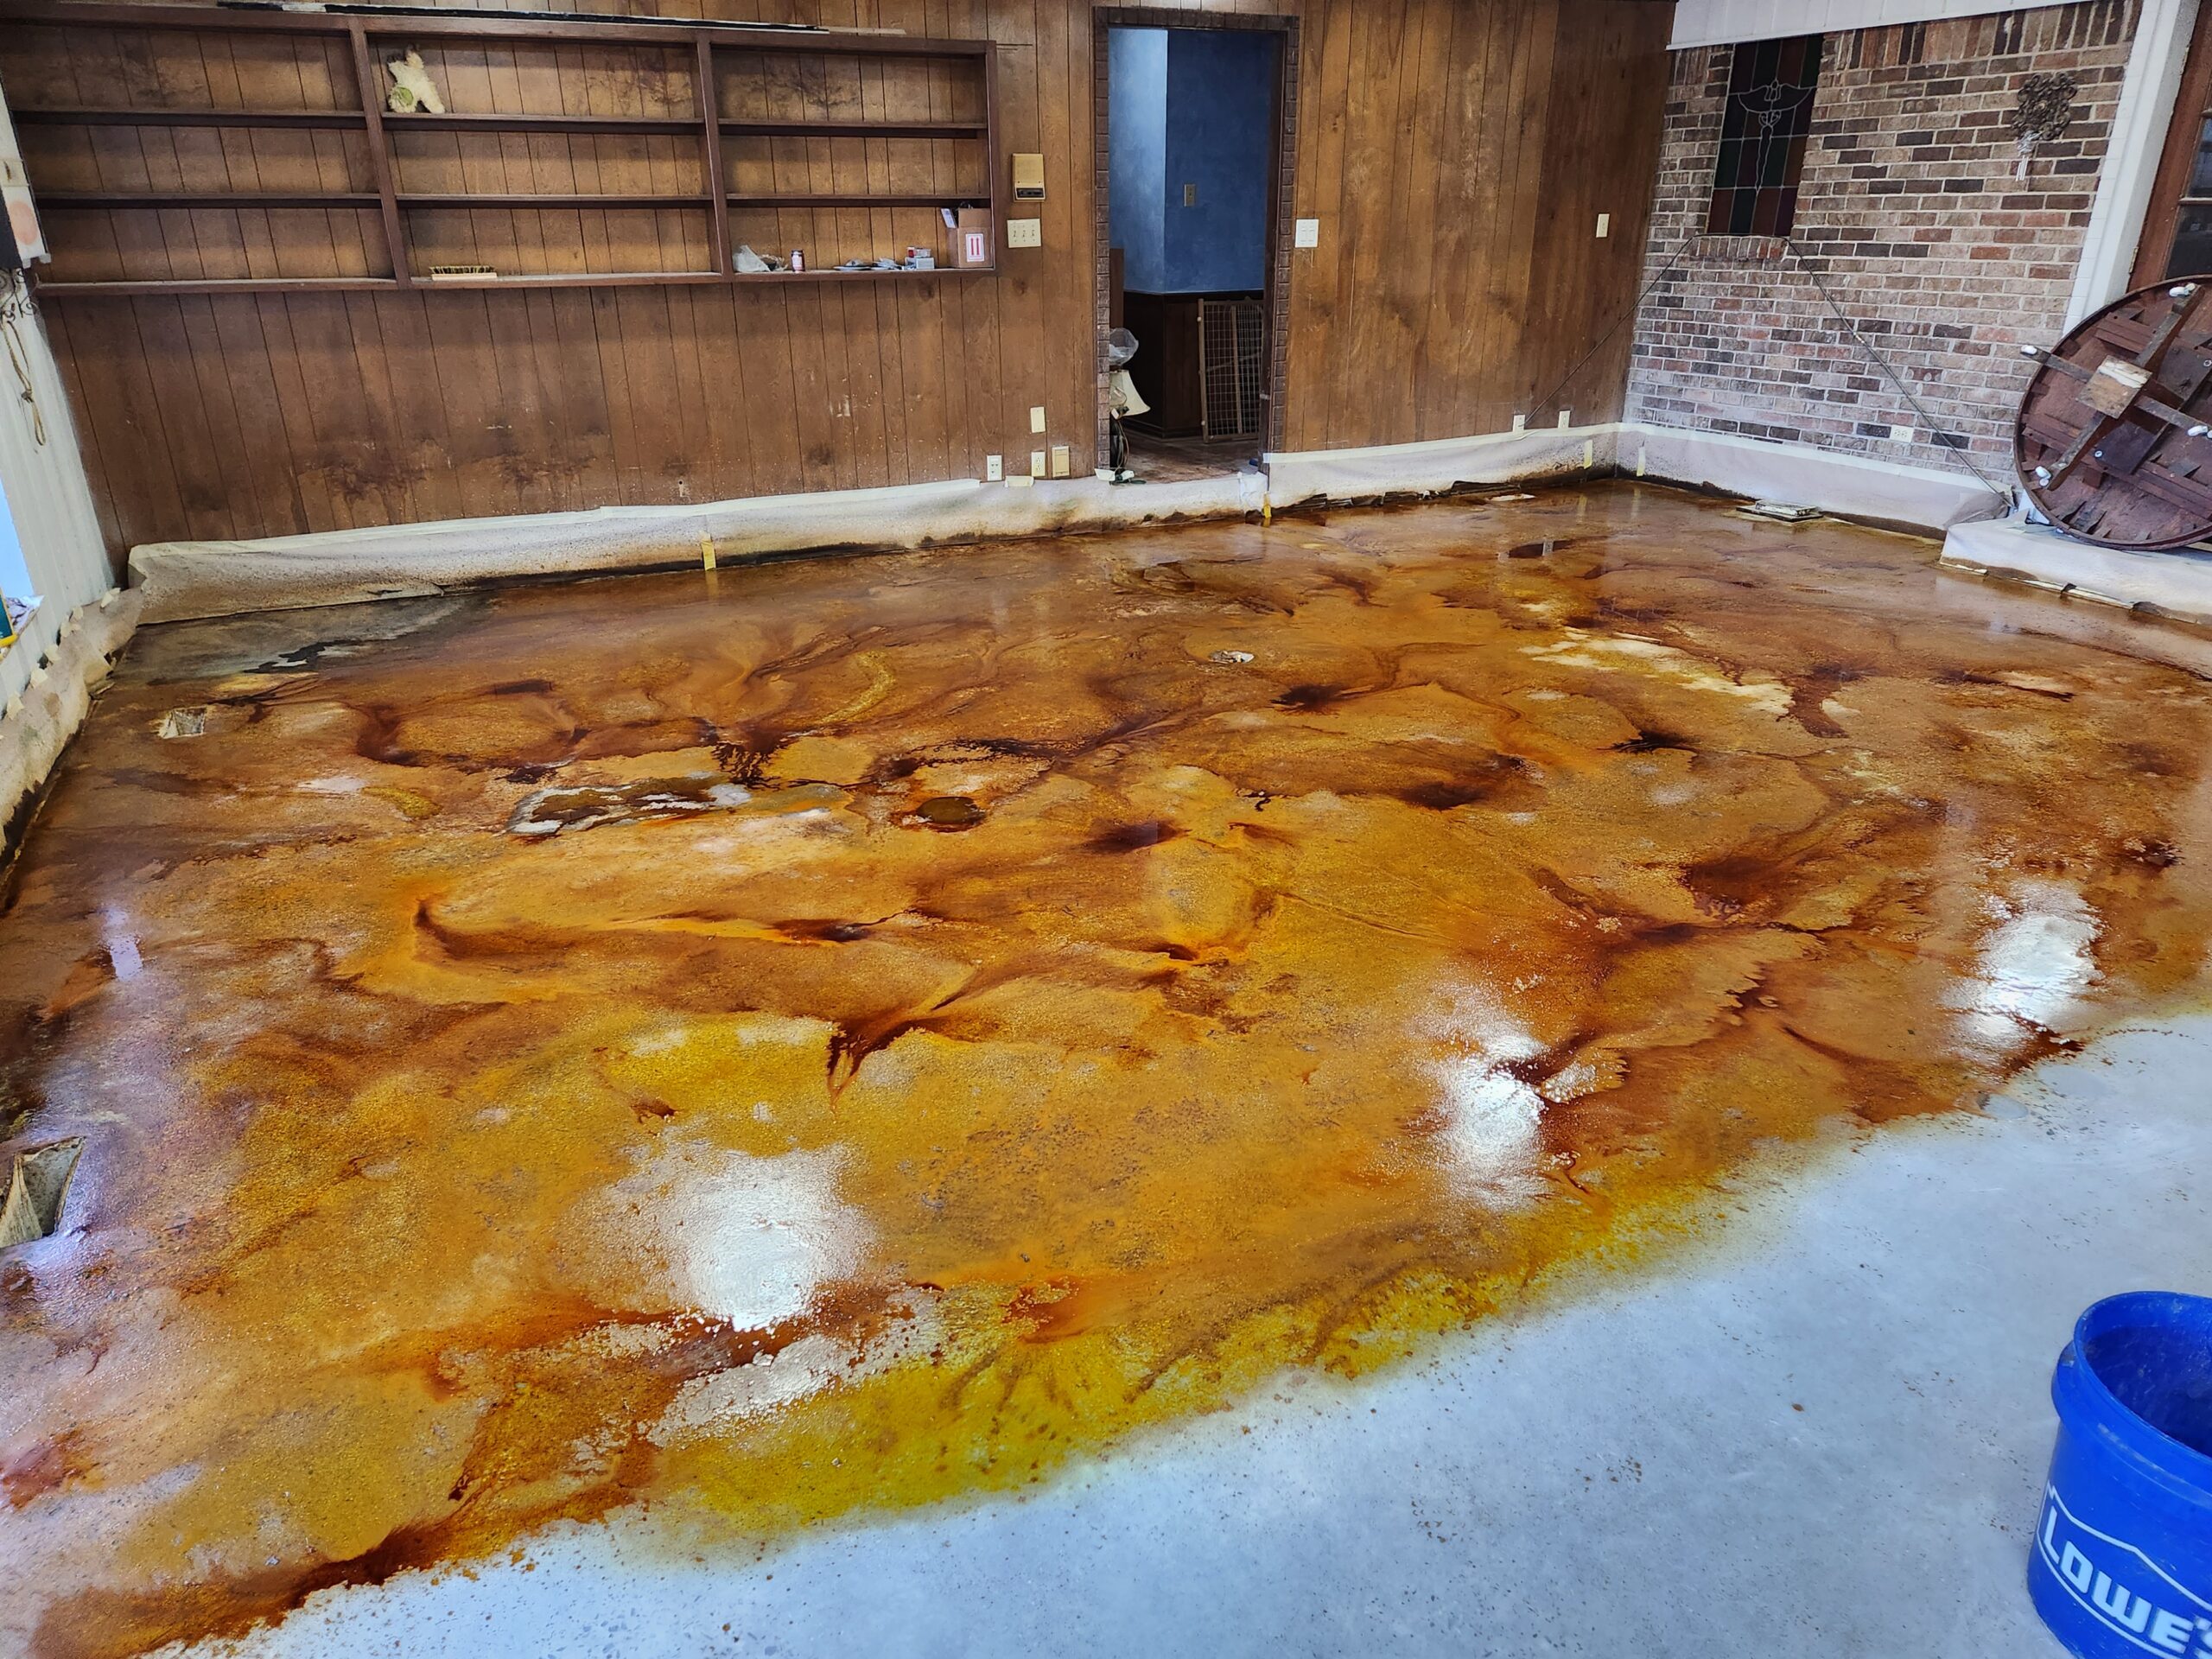
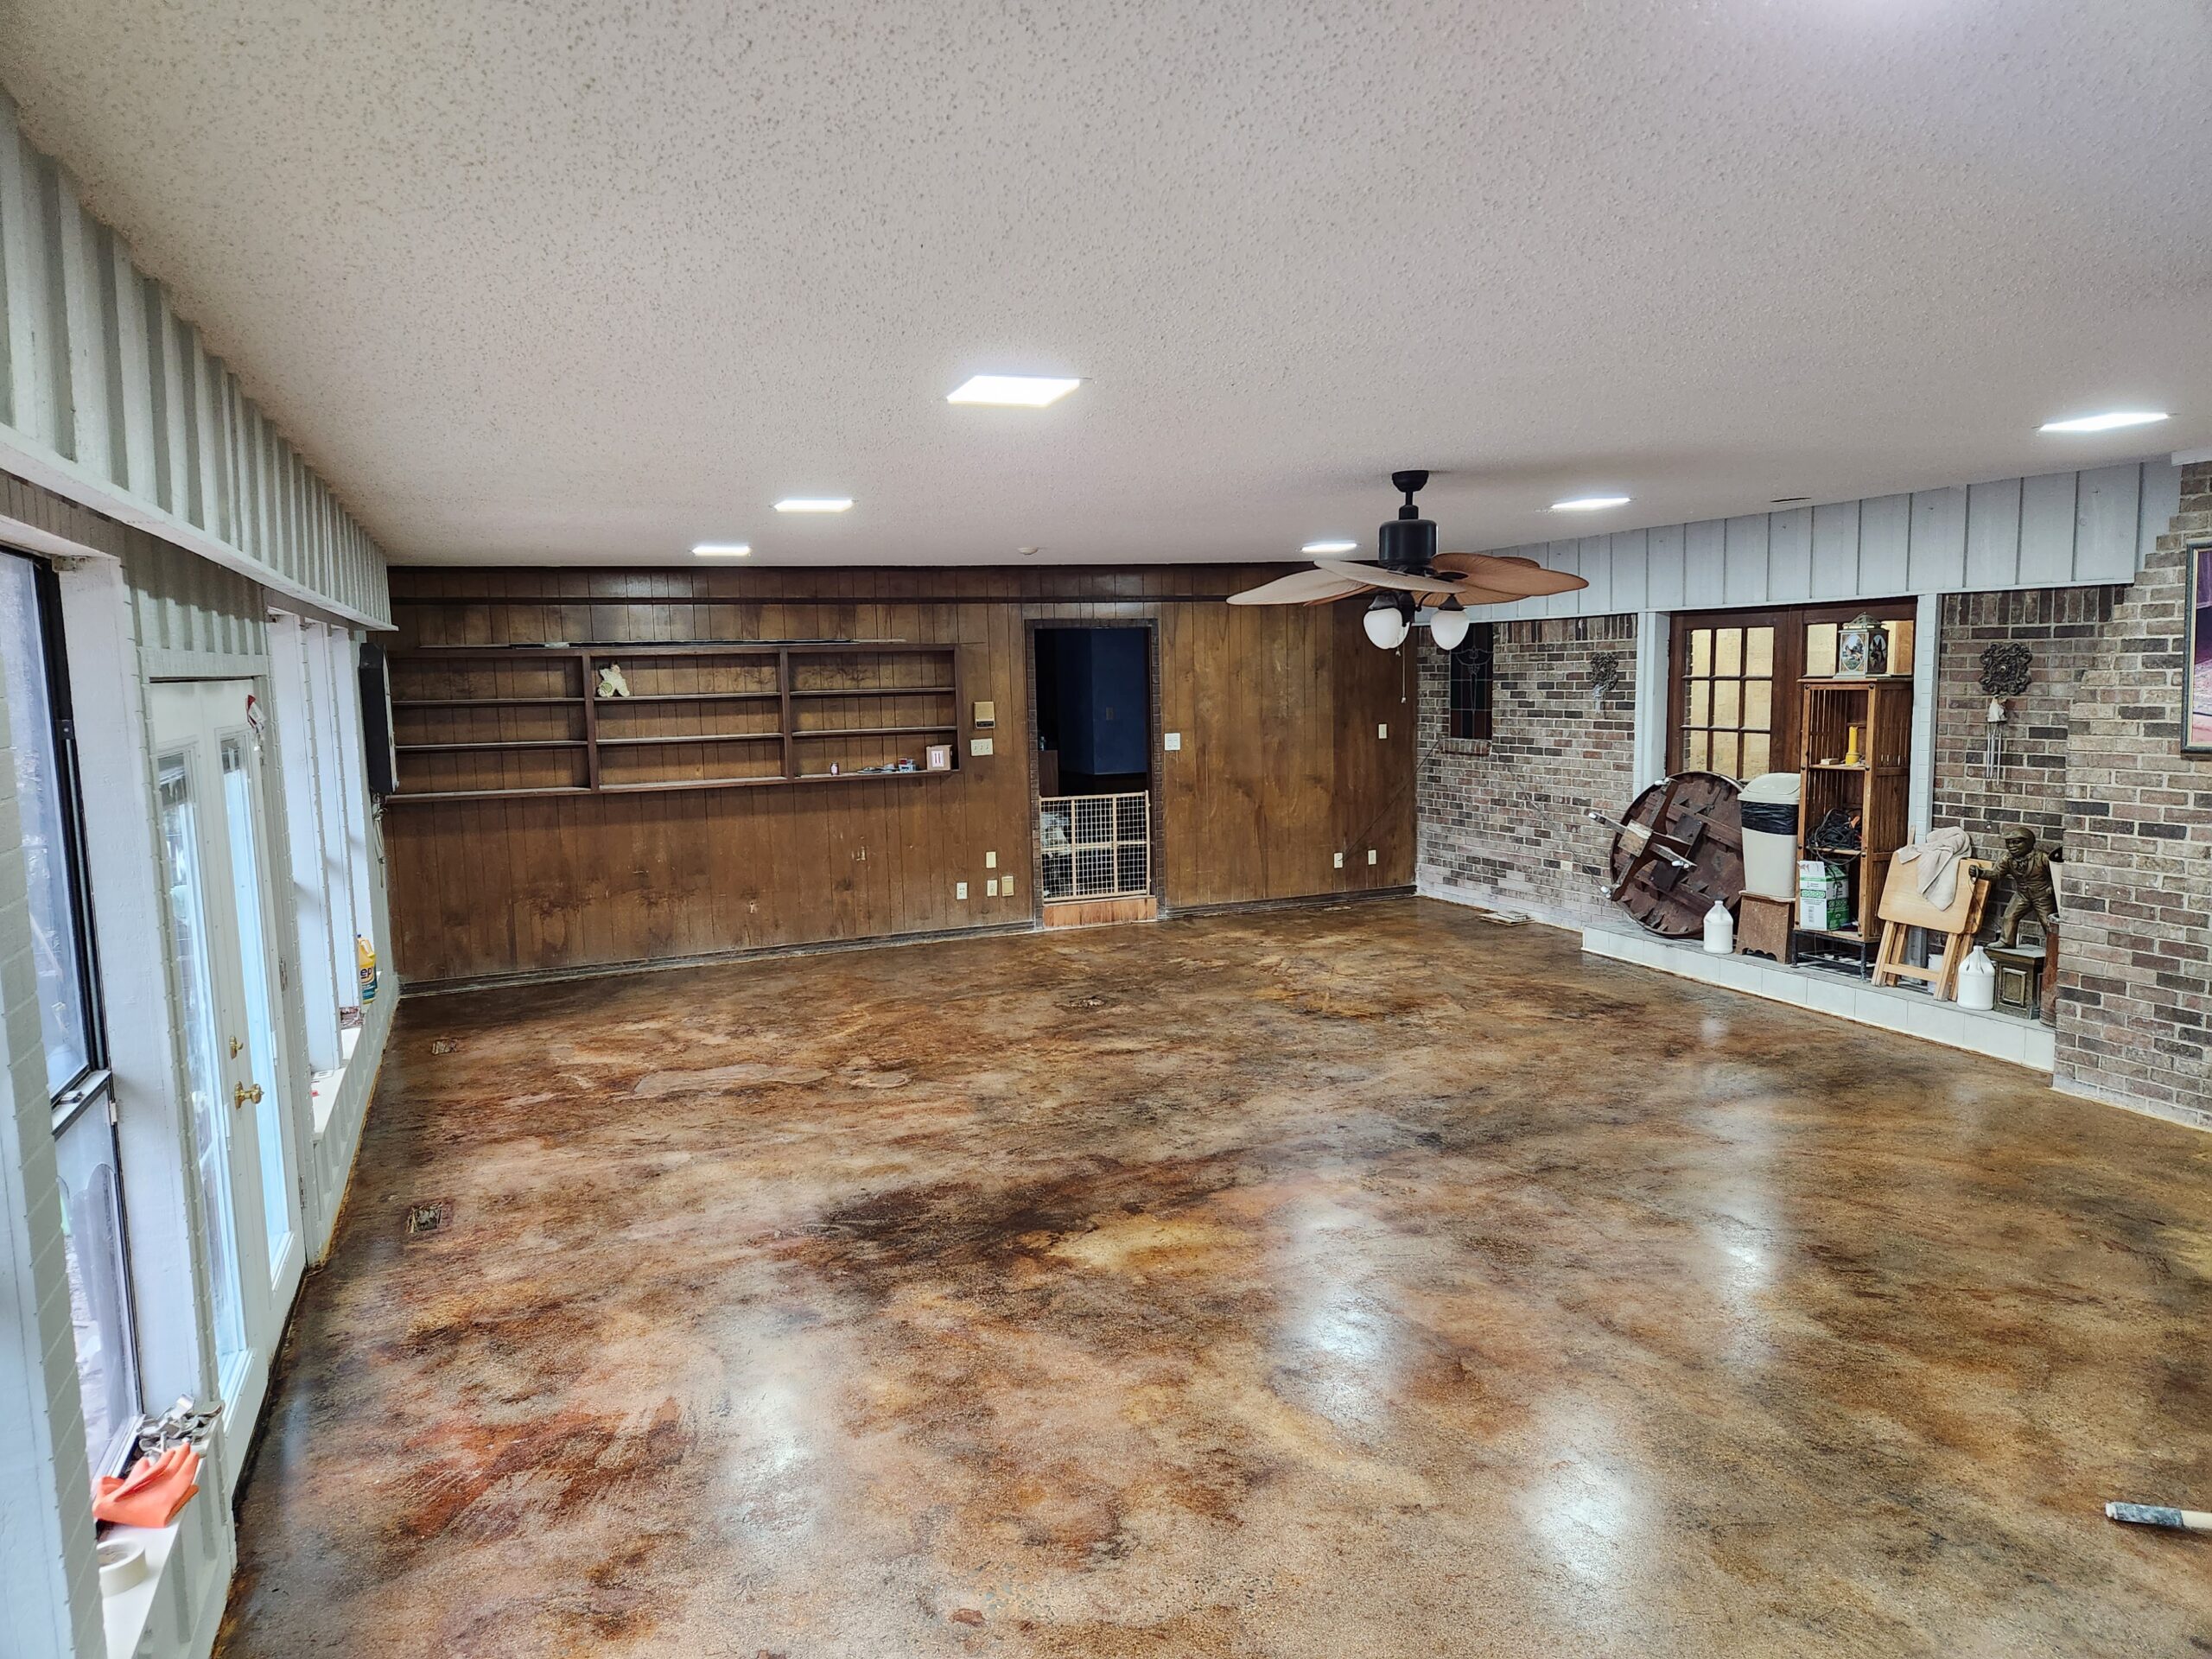
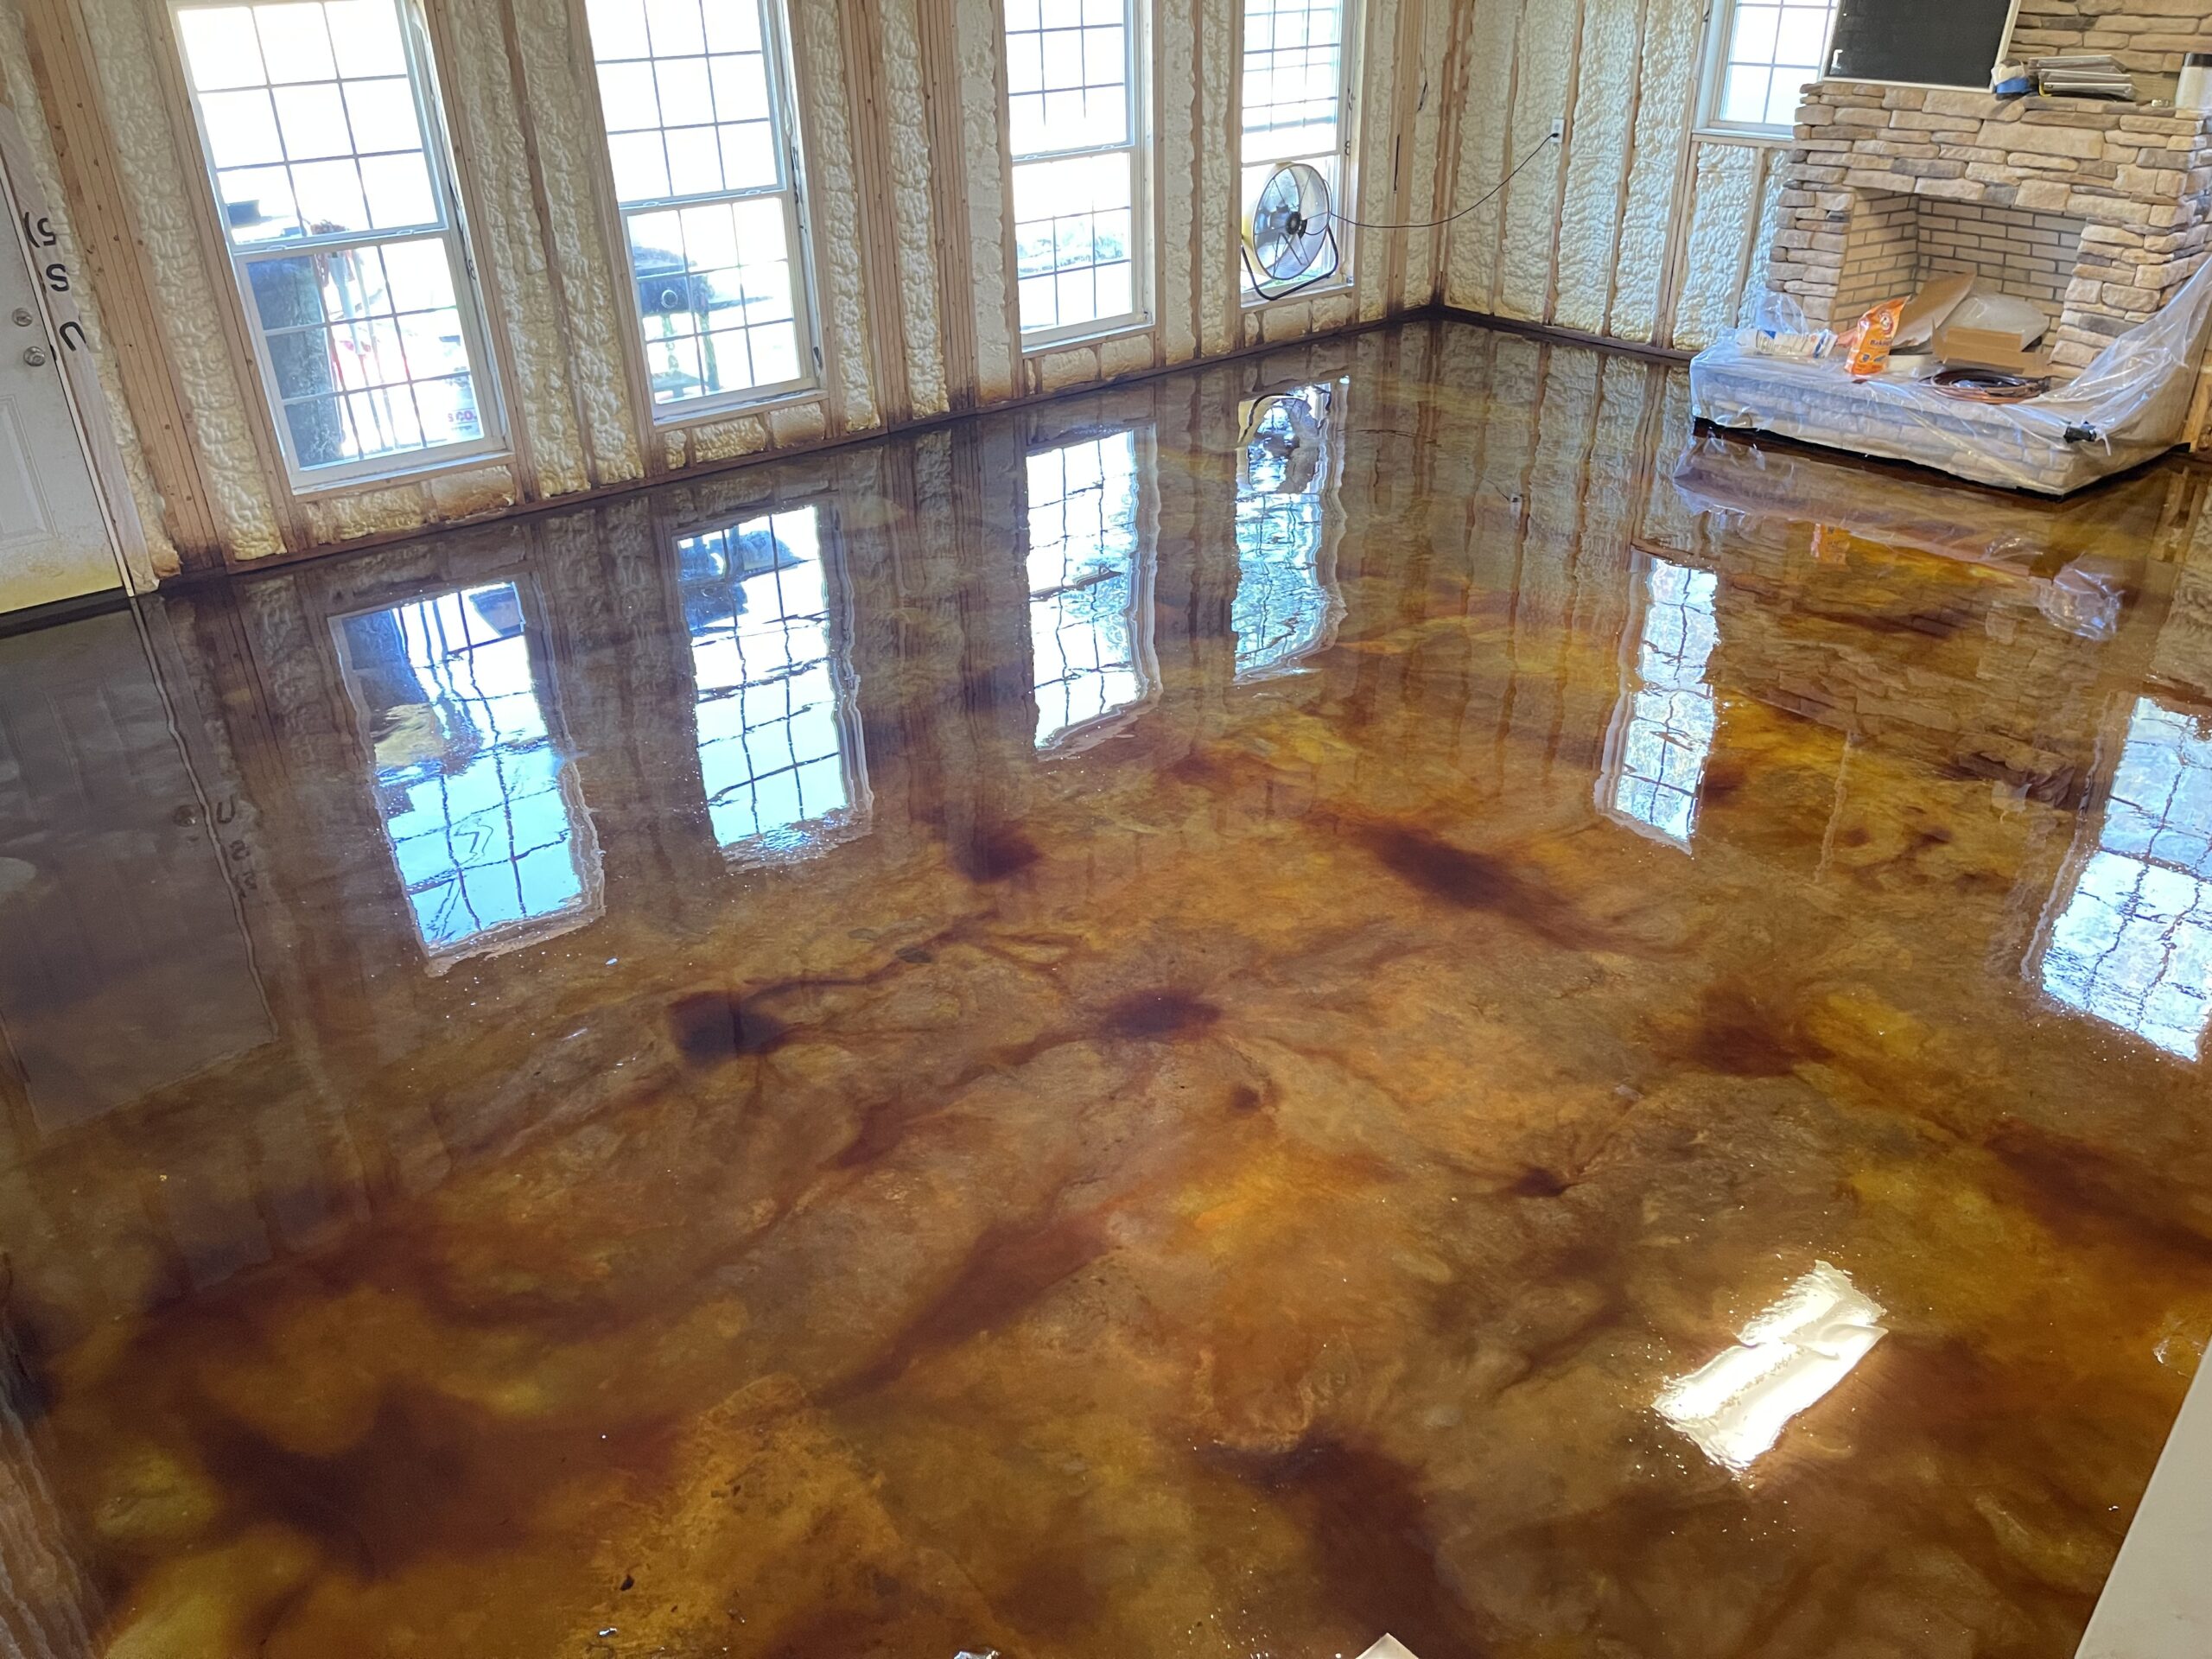
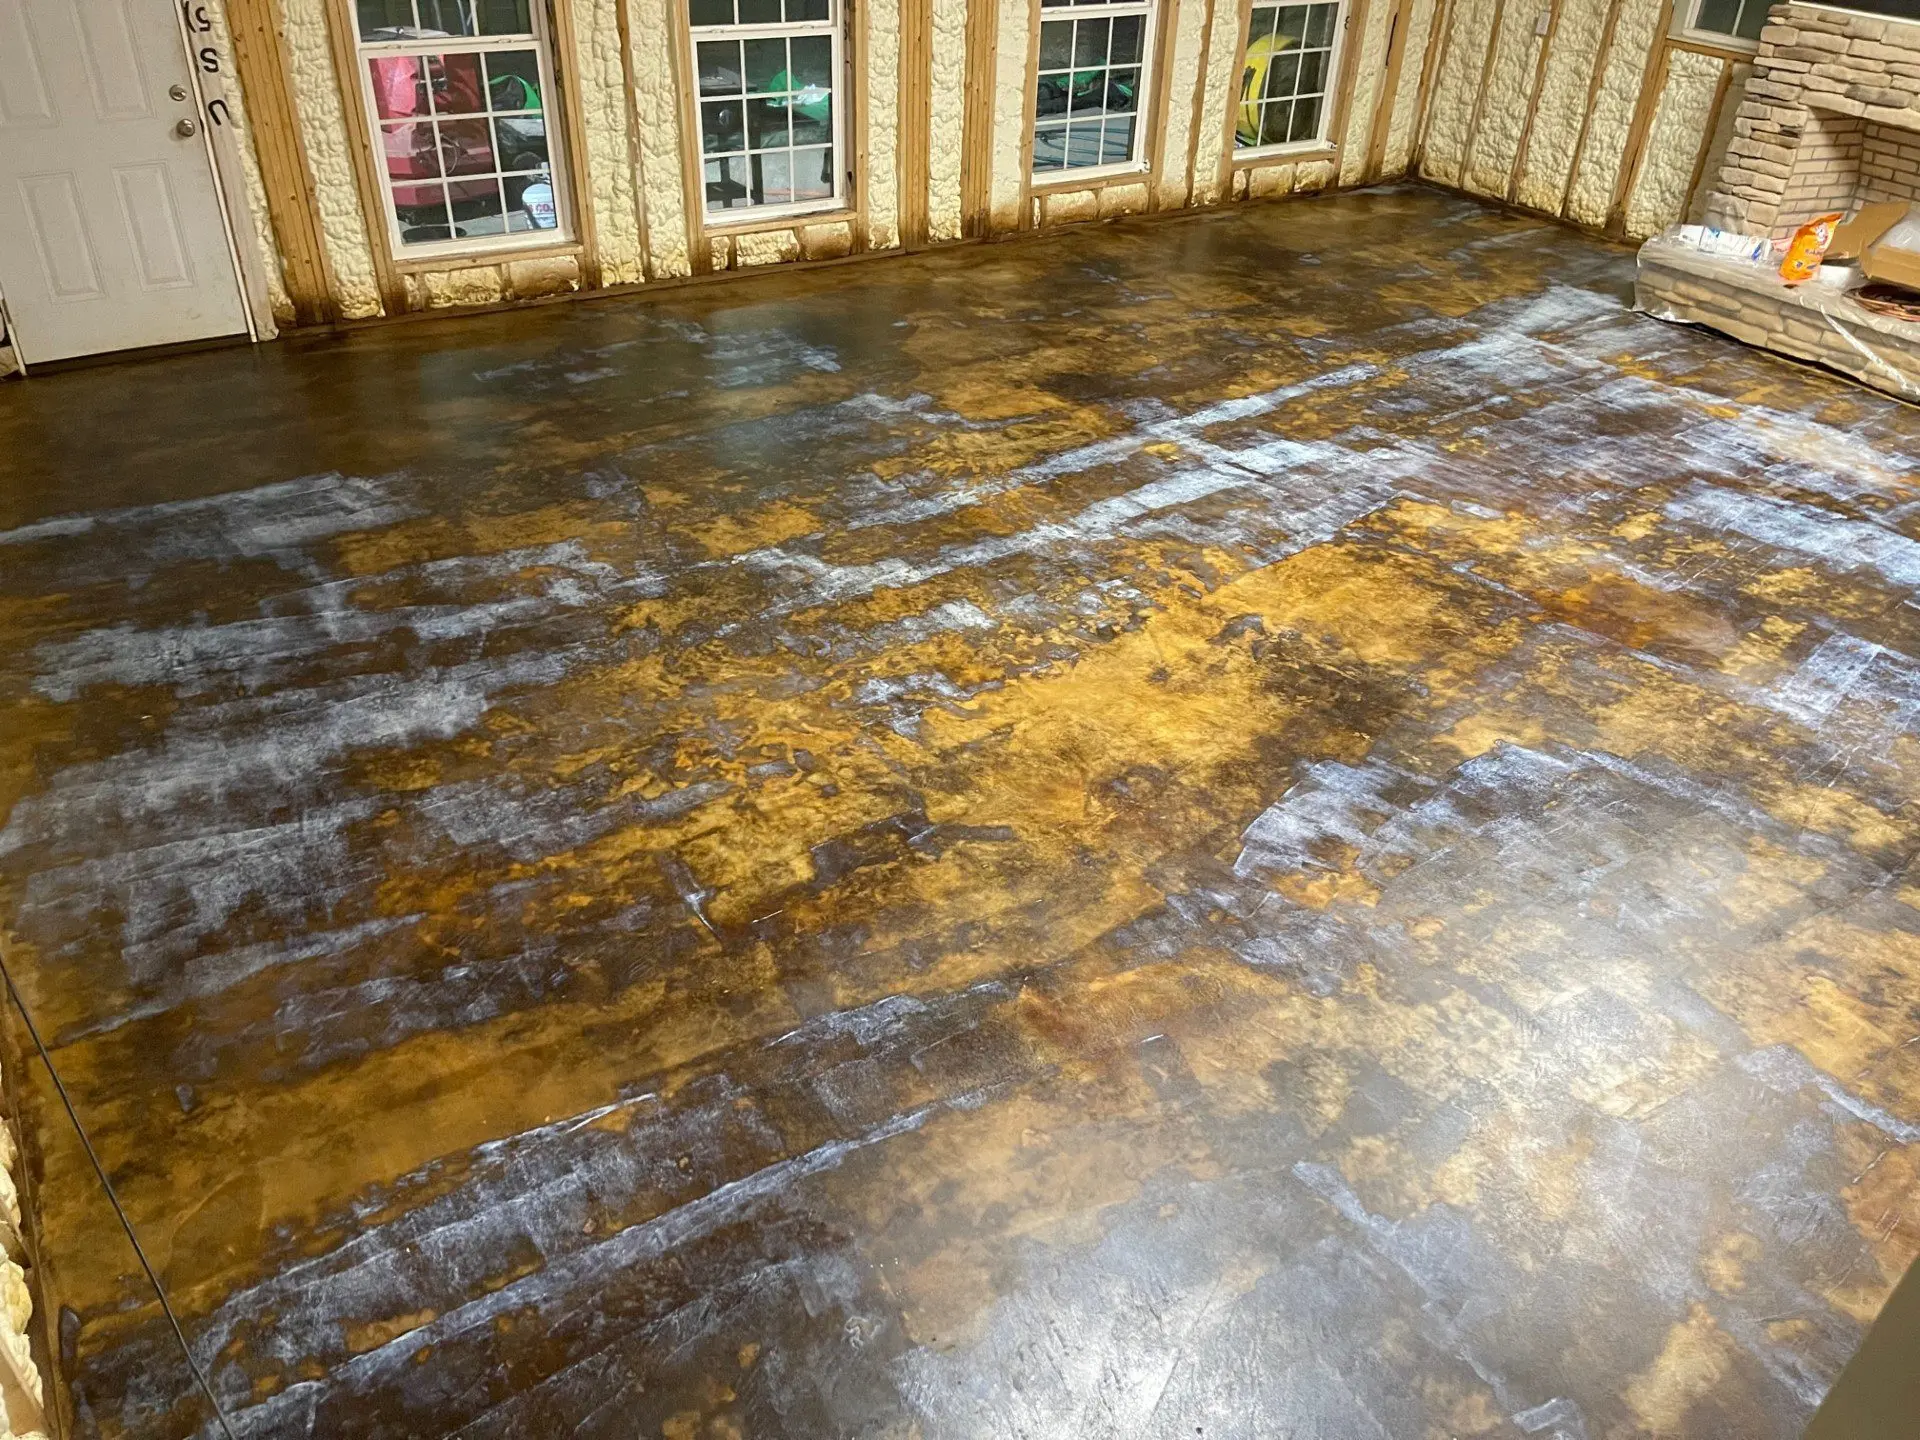
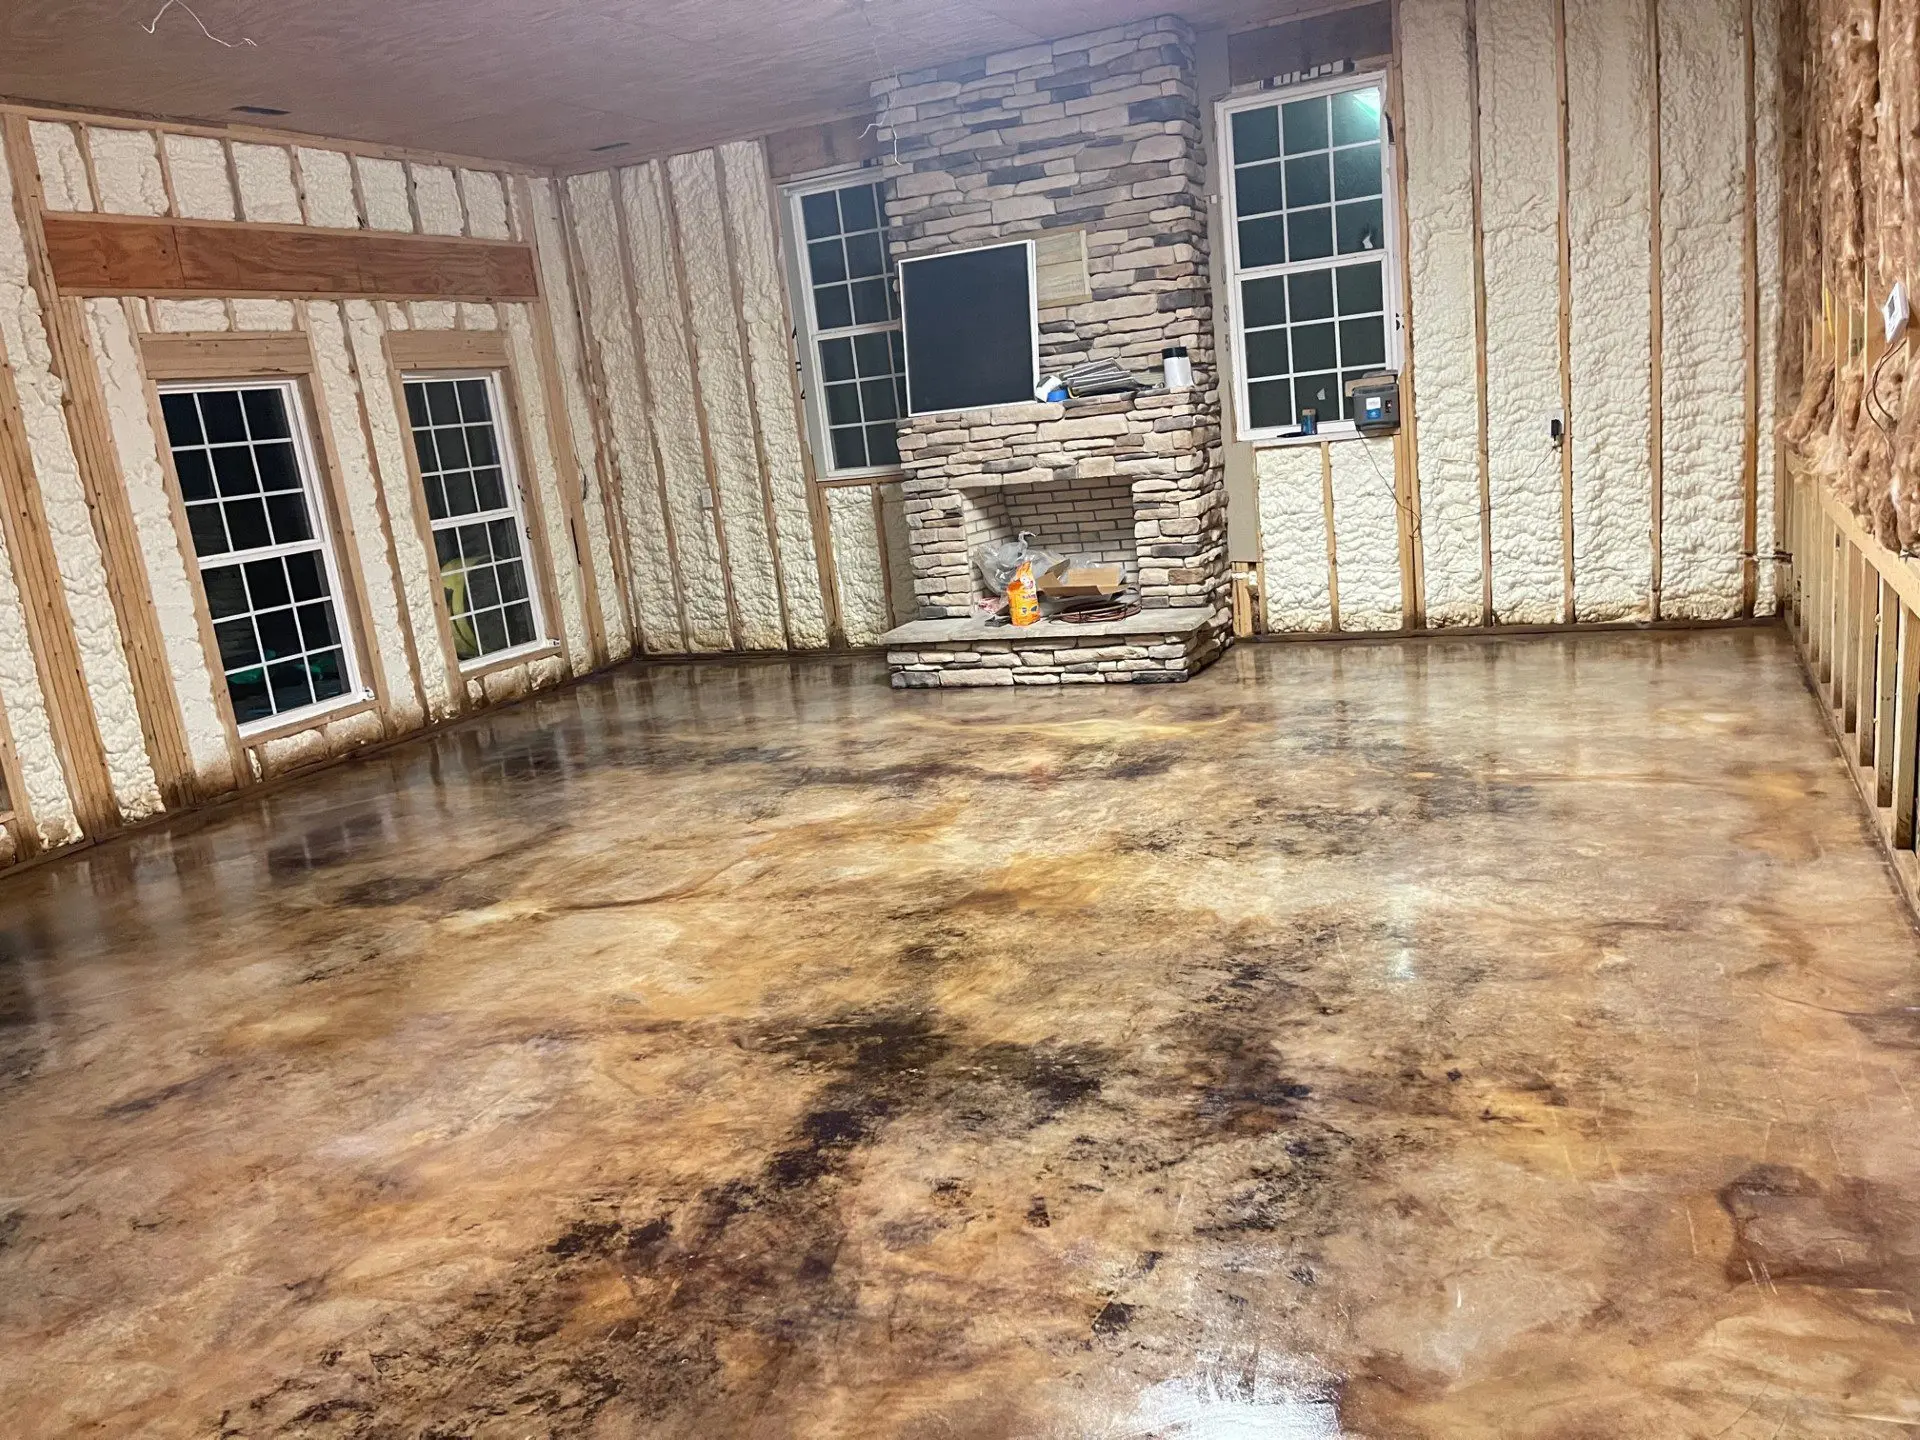
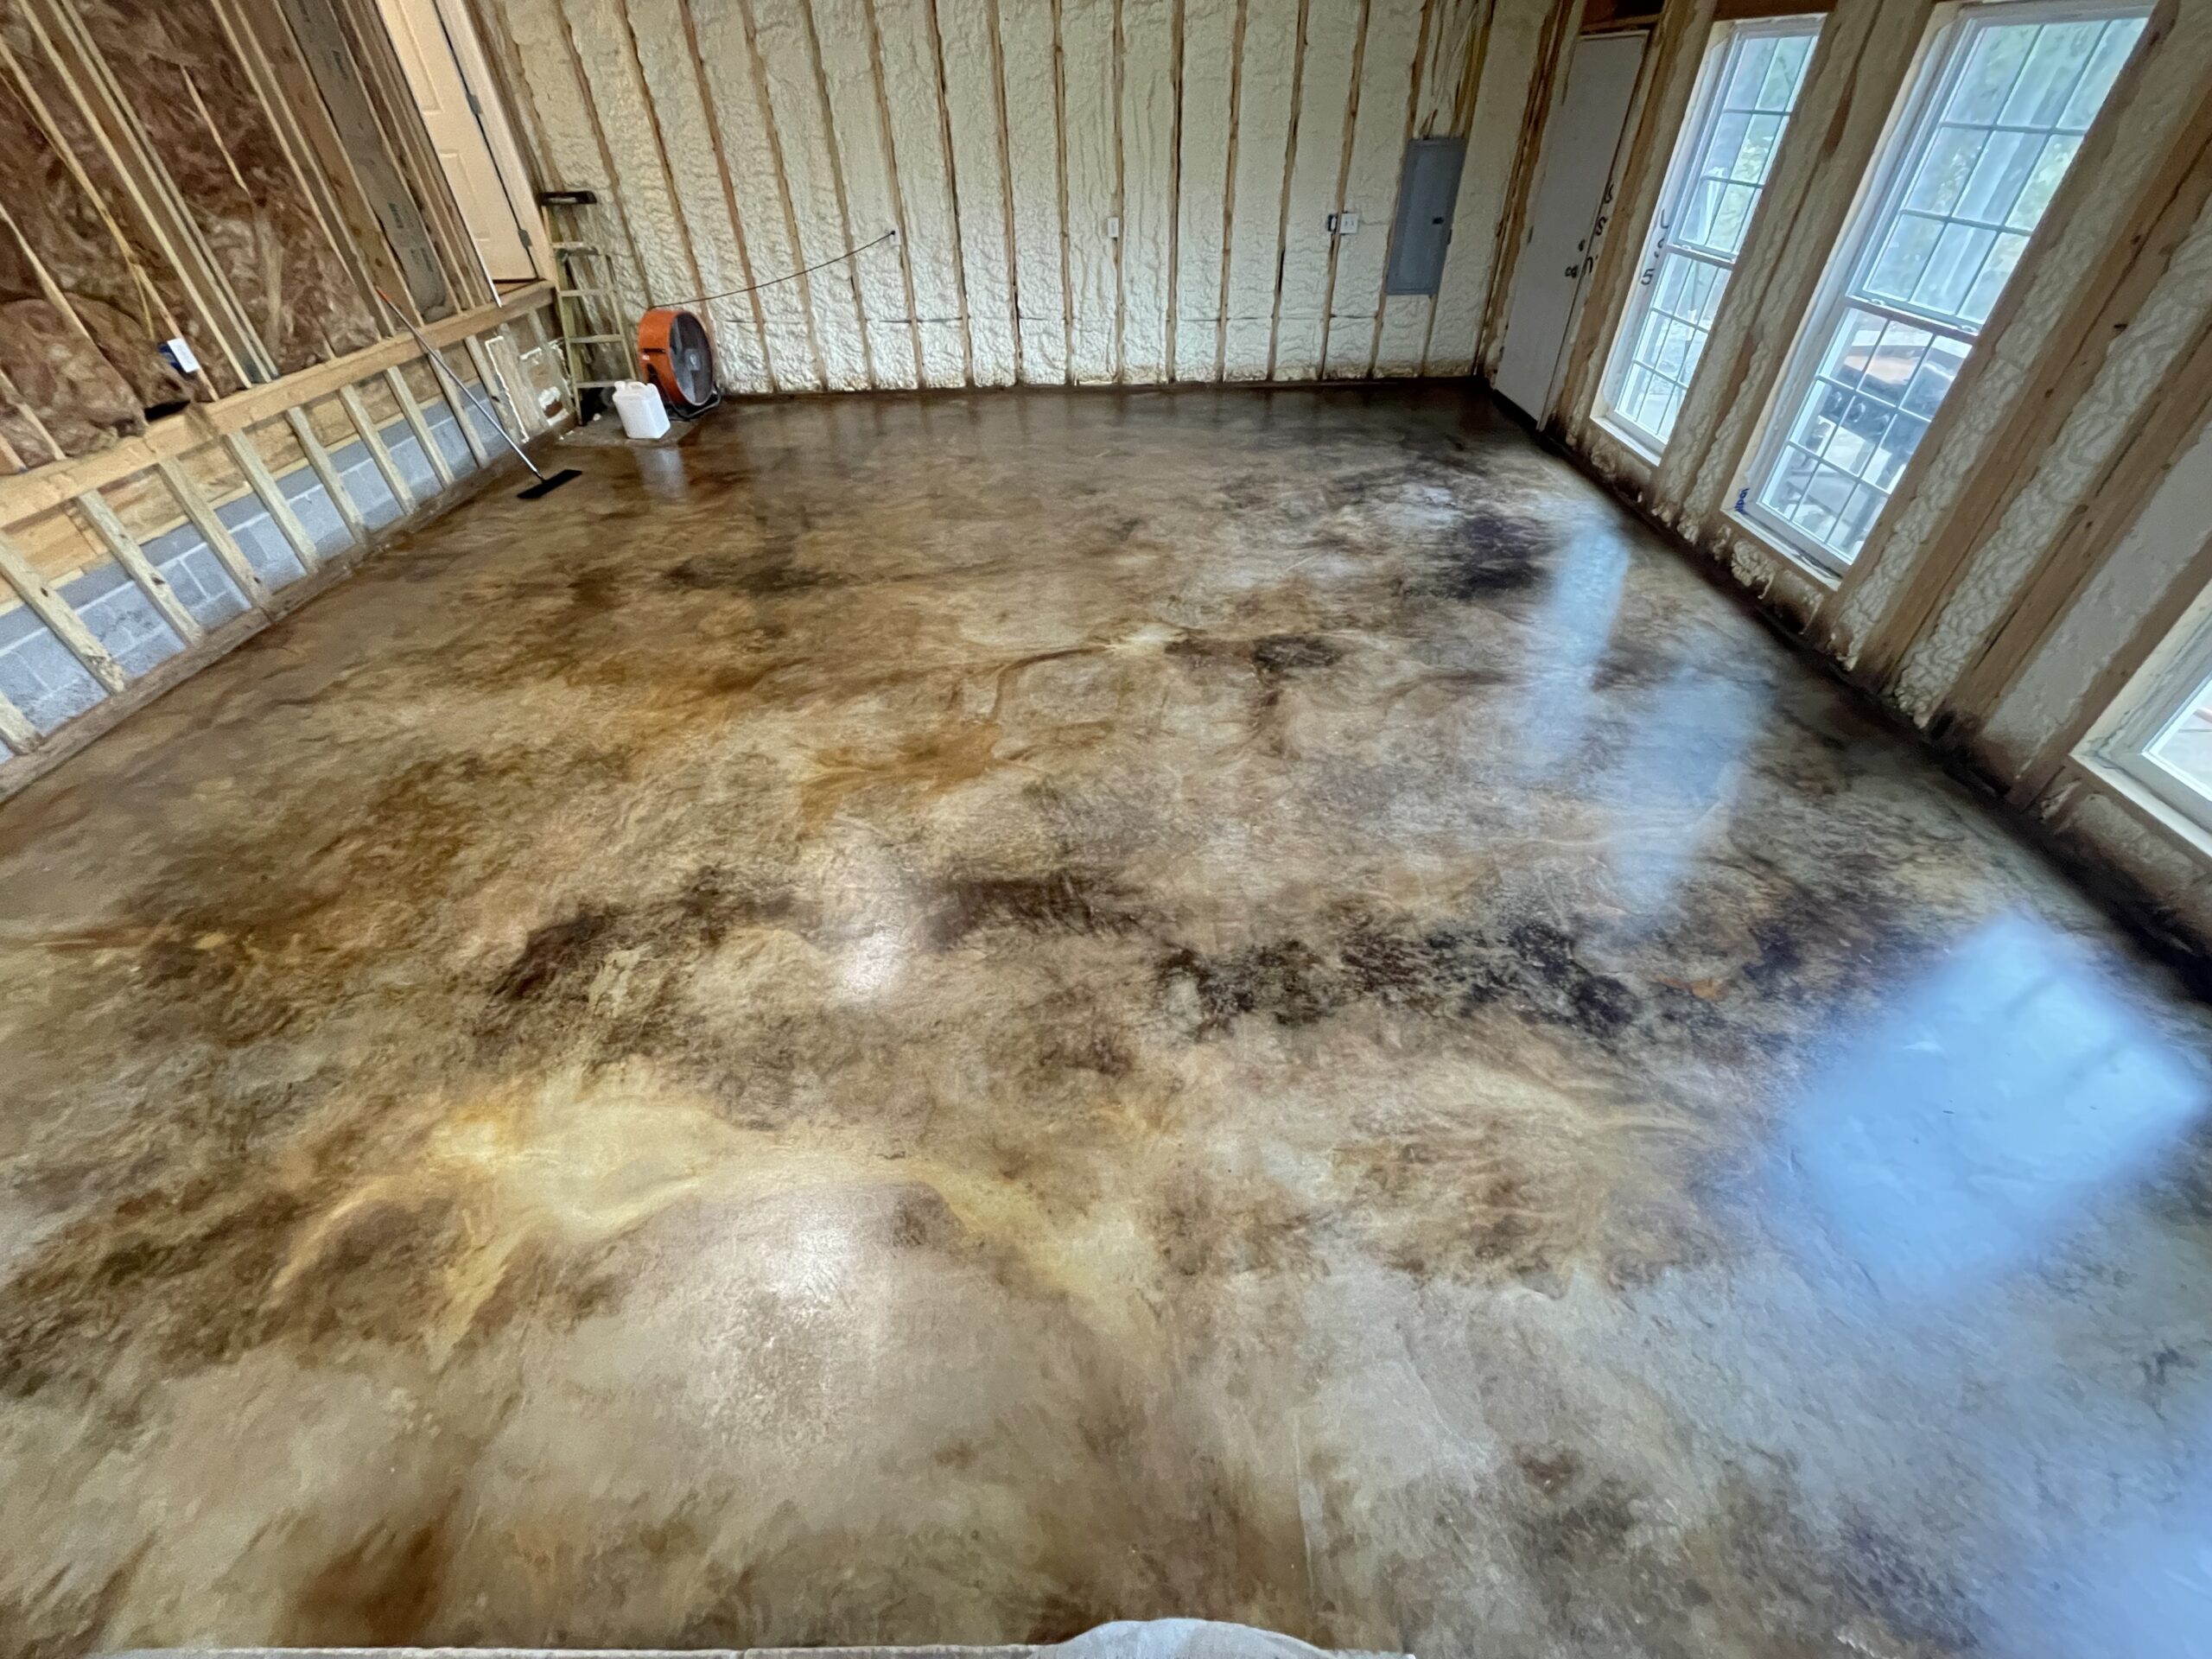
EverStain™ Coffee Brown and Black: Worn-Leather Look in a Den Conversion
This stunning project showcases a homeowner’s transformation of a two-car garage into a cozy den. The concrete floors were meticulously prepped, cleaned, and etched before applying EverStain™ Coffee Brown and Black acid stains. With careful attention to detail and some personal lessons learned along the way, the result is a rich, worn-leather-like finish that gives the room a vintage, inviting feel. Despite a few challenges, including minor lines in the sealer, the project was a success, leaving the homeowners thrilled with their new space.
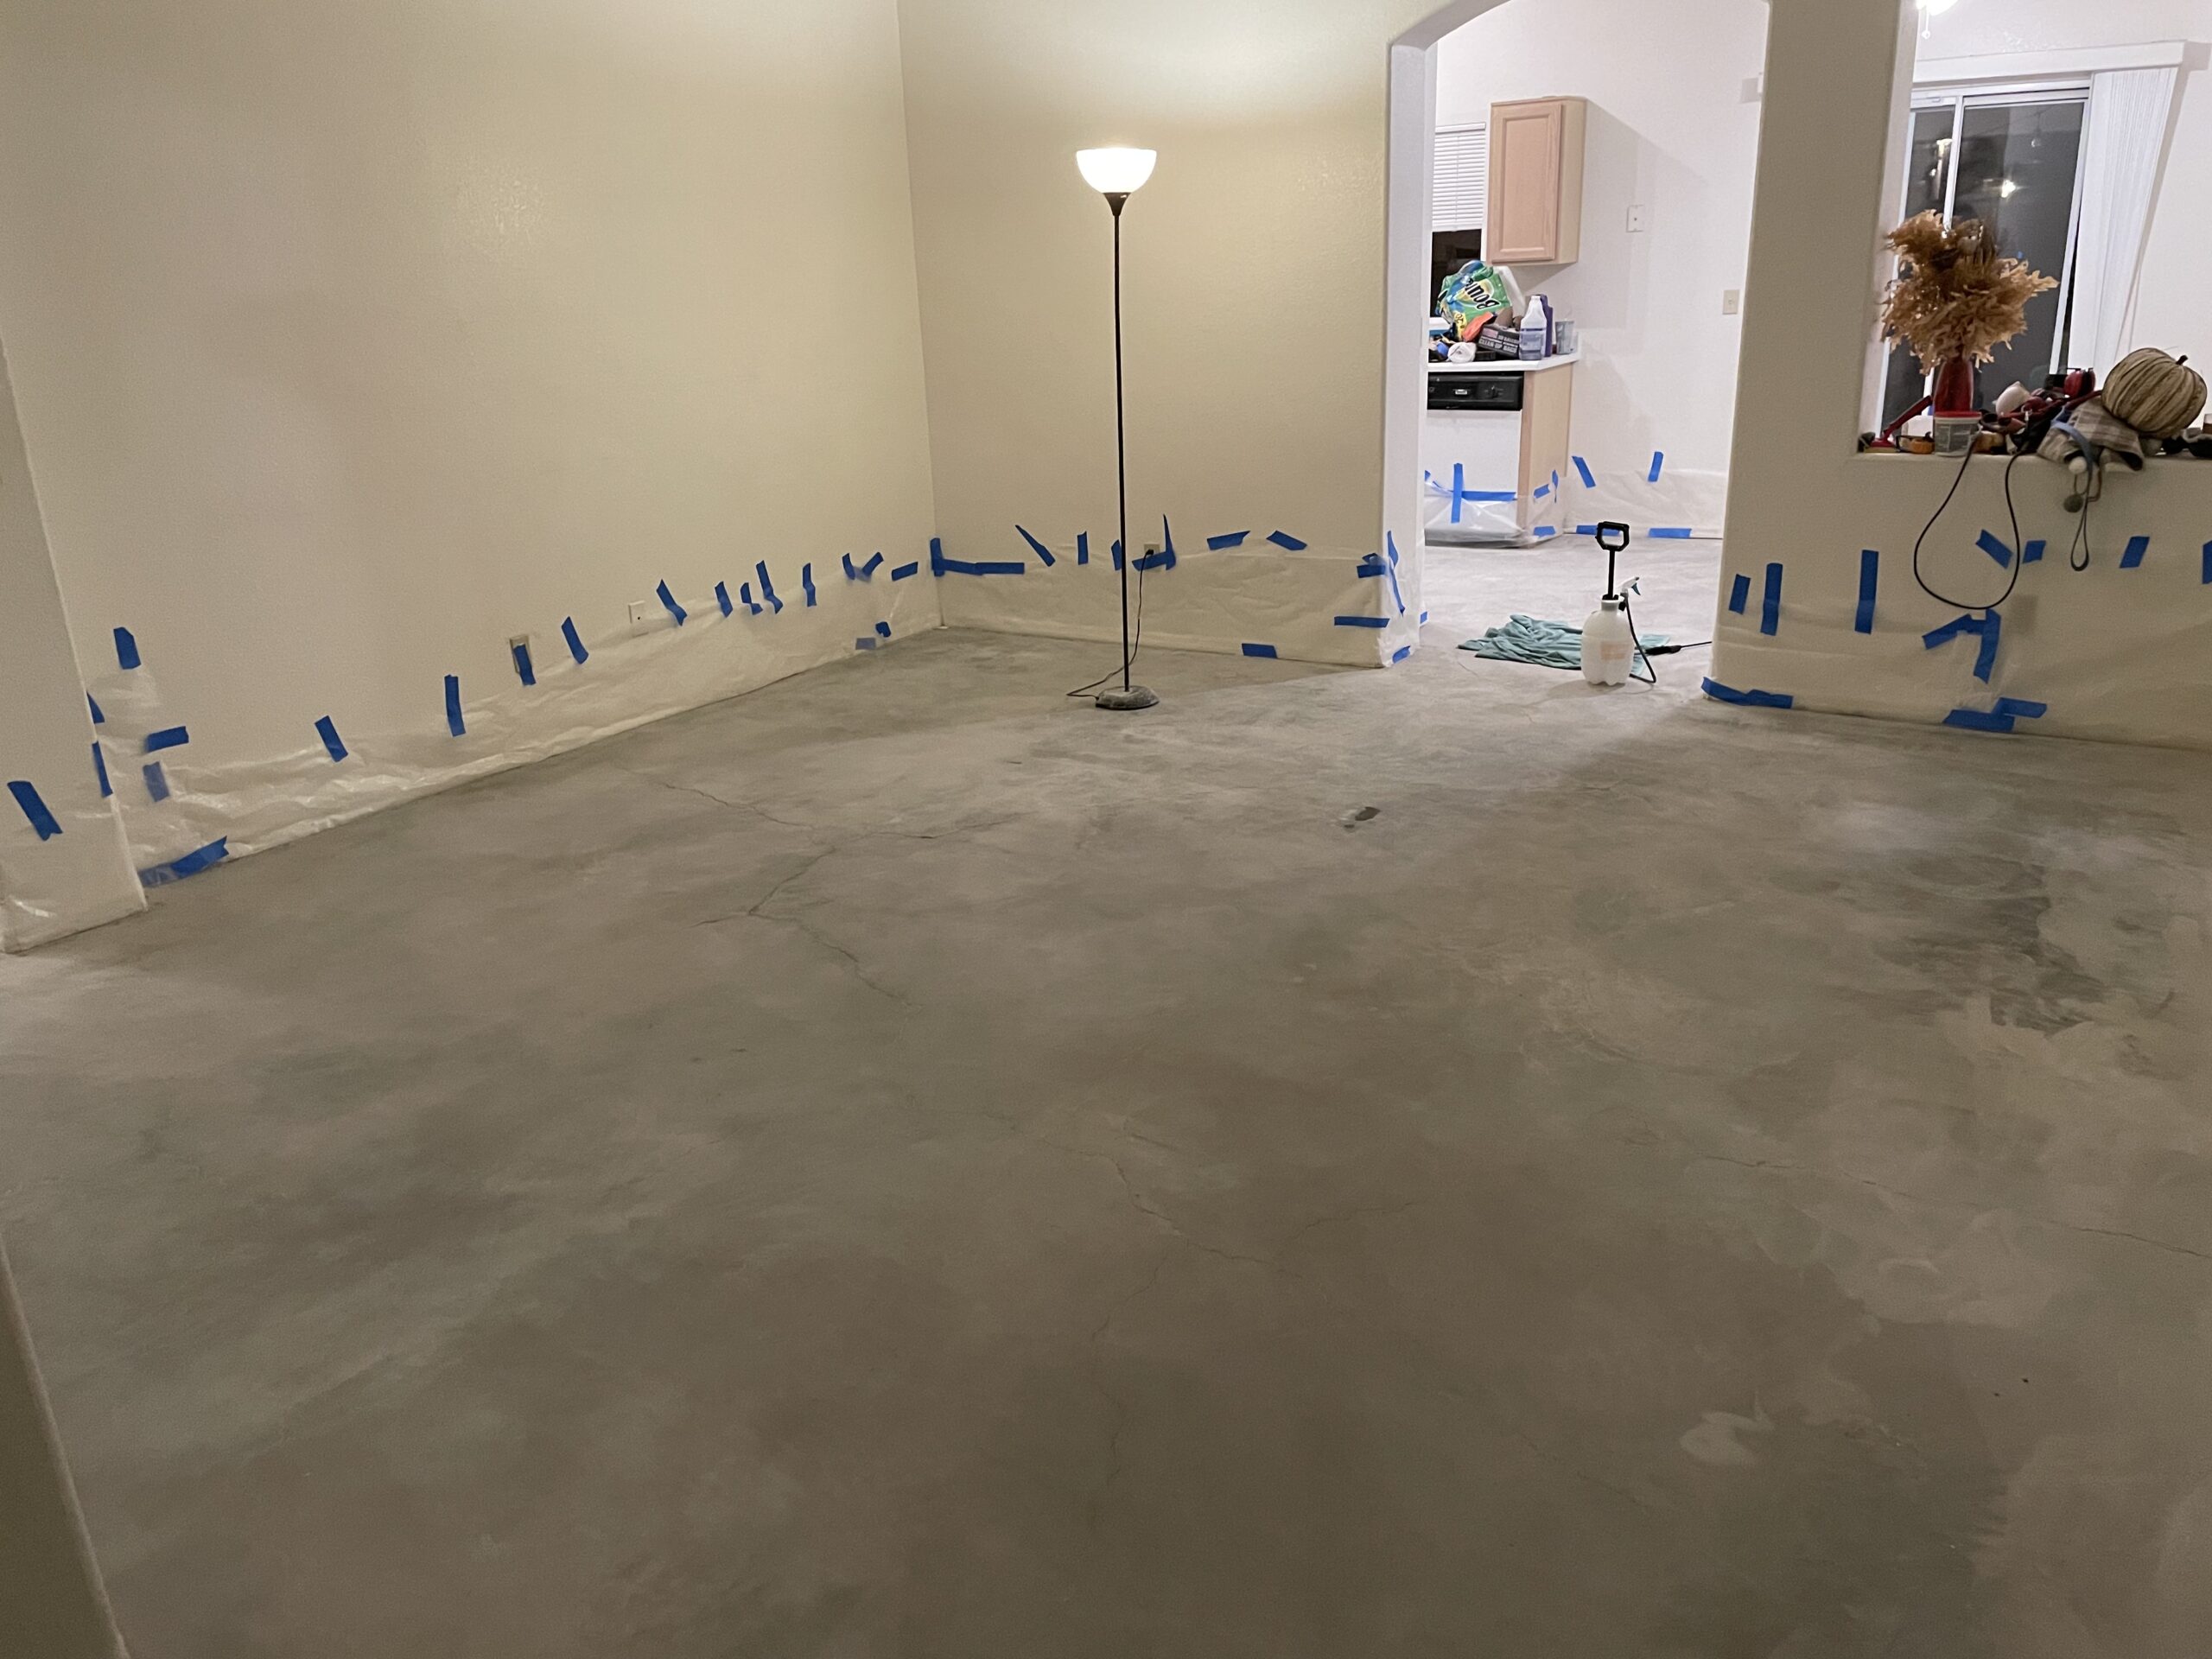
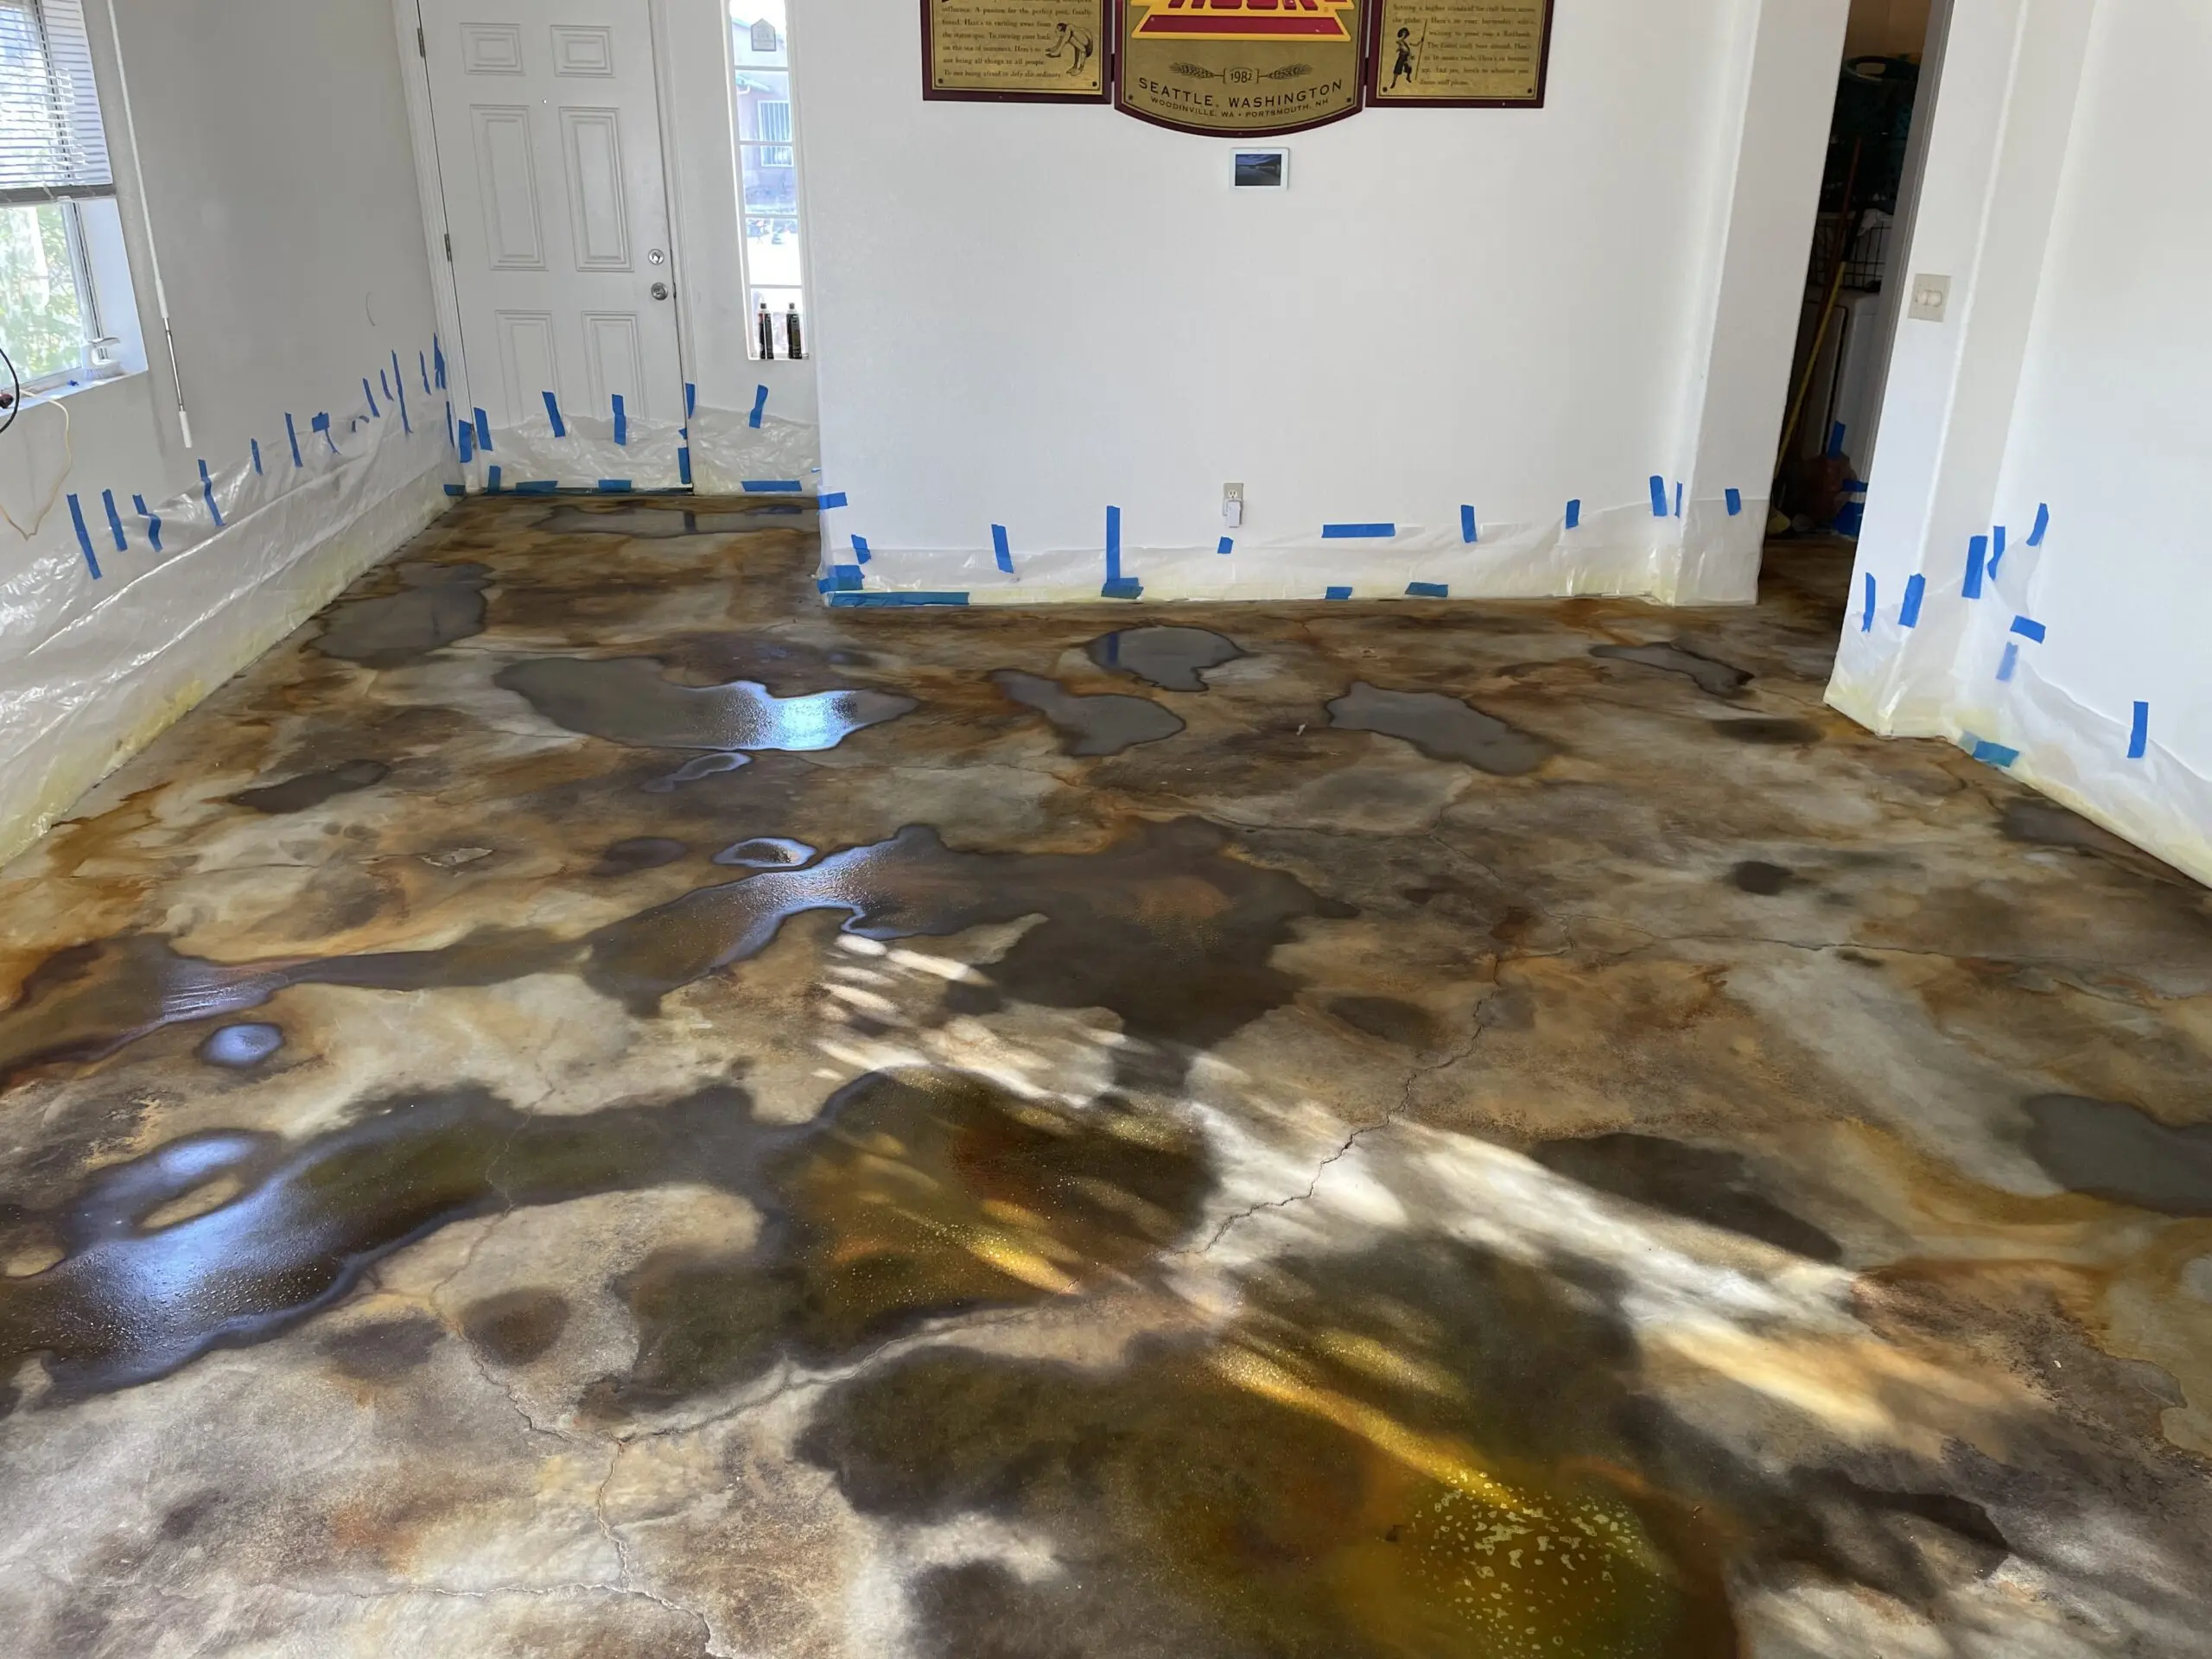
EverStain™ Black, Malayan Buff, and Seagrass: Worn-Leather Look for a Modern Floor Upgrade
Tired of their old carpet and vinyl, this couple decided to transform their living room, hallway, and kitchen floors into a beautiful, durable, and unique space with an acid-stained, worn-leather finish. Inspired by the rustic yet refined look of leather, they opted for this finish after researching its durability and modern aesthetic. The result is a stunning, rich blend of tones across 900 square feet of concrete, perfectly mimicking the warmth and texture of aged leather.
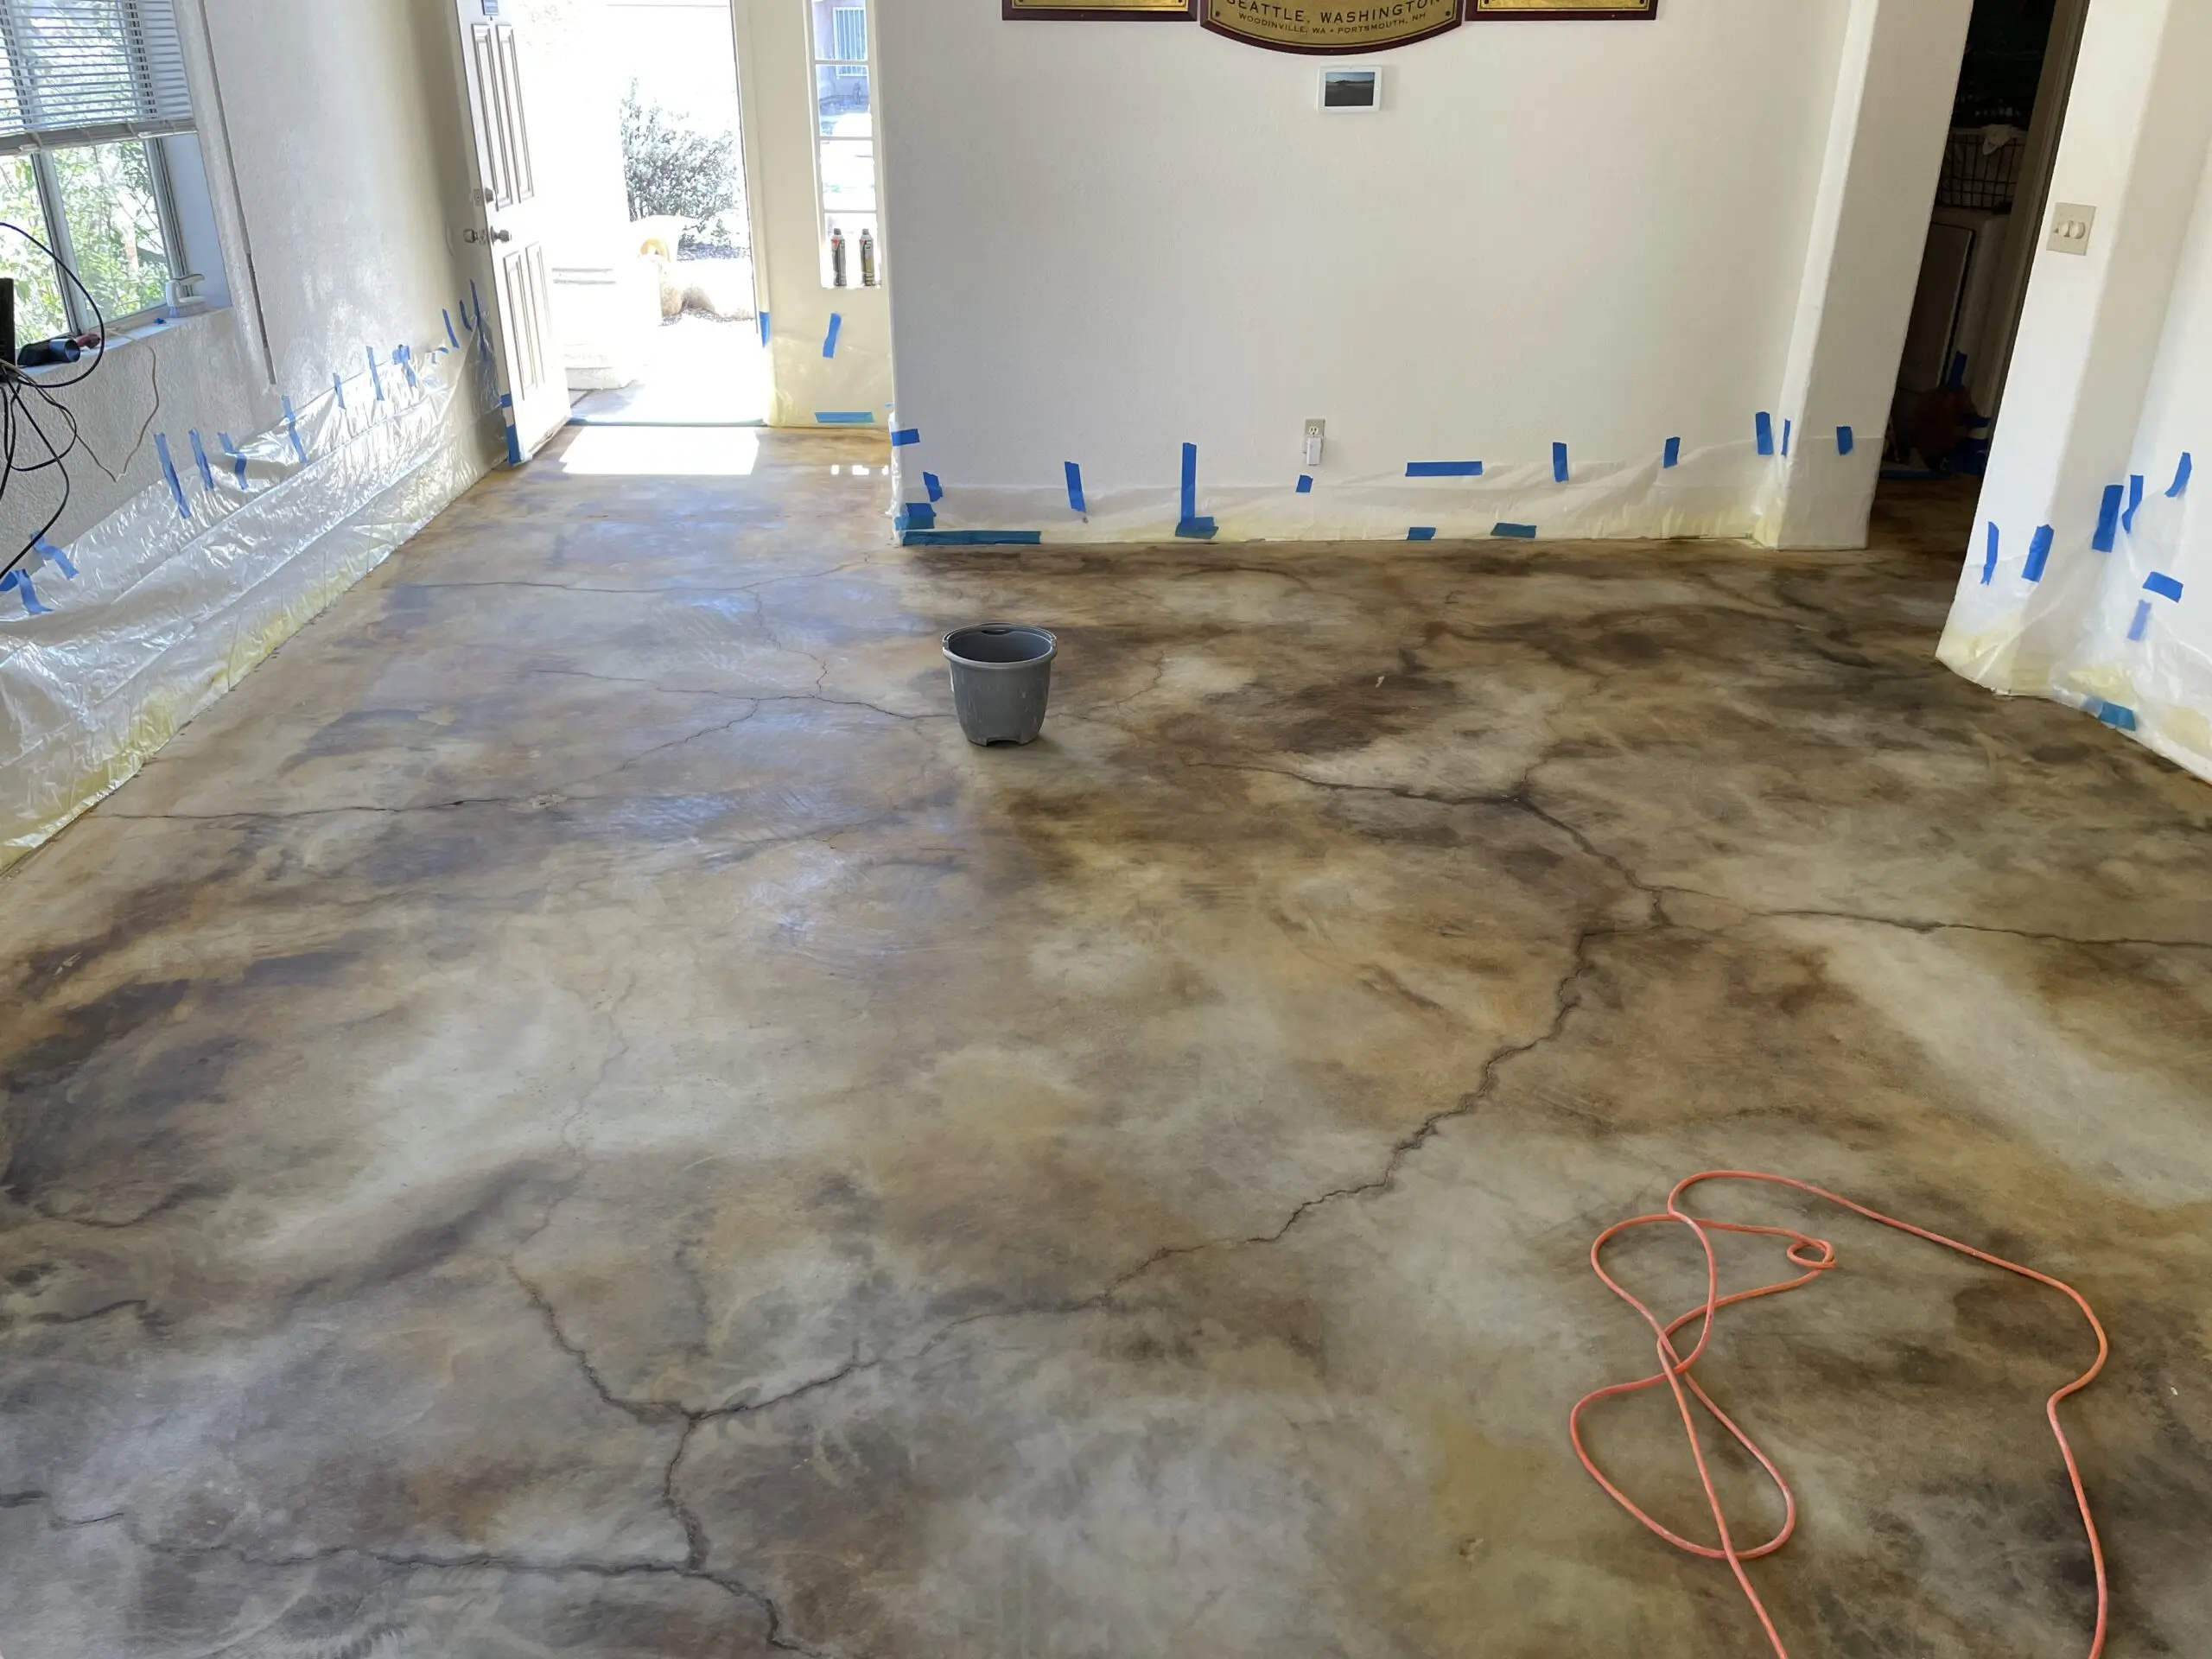
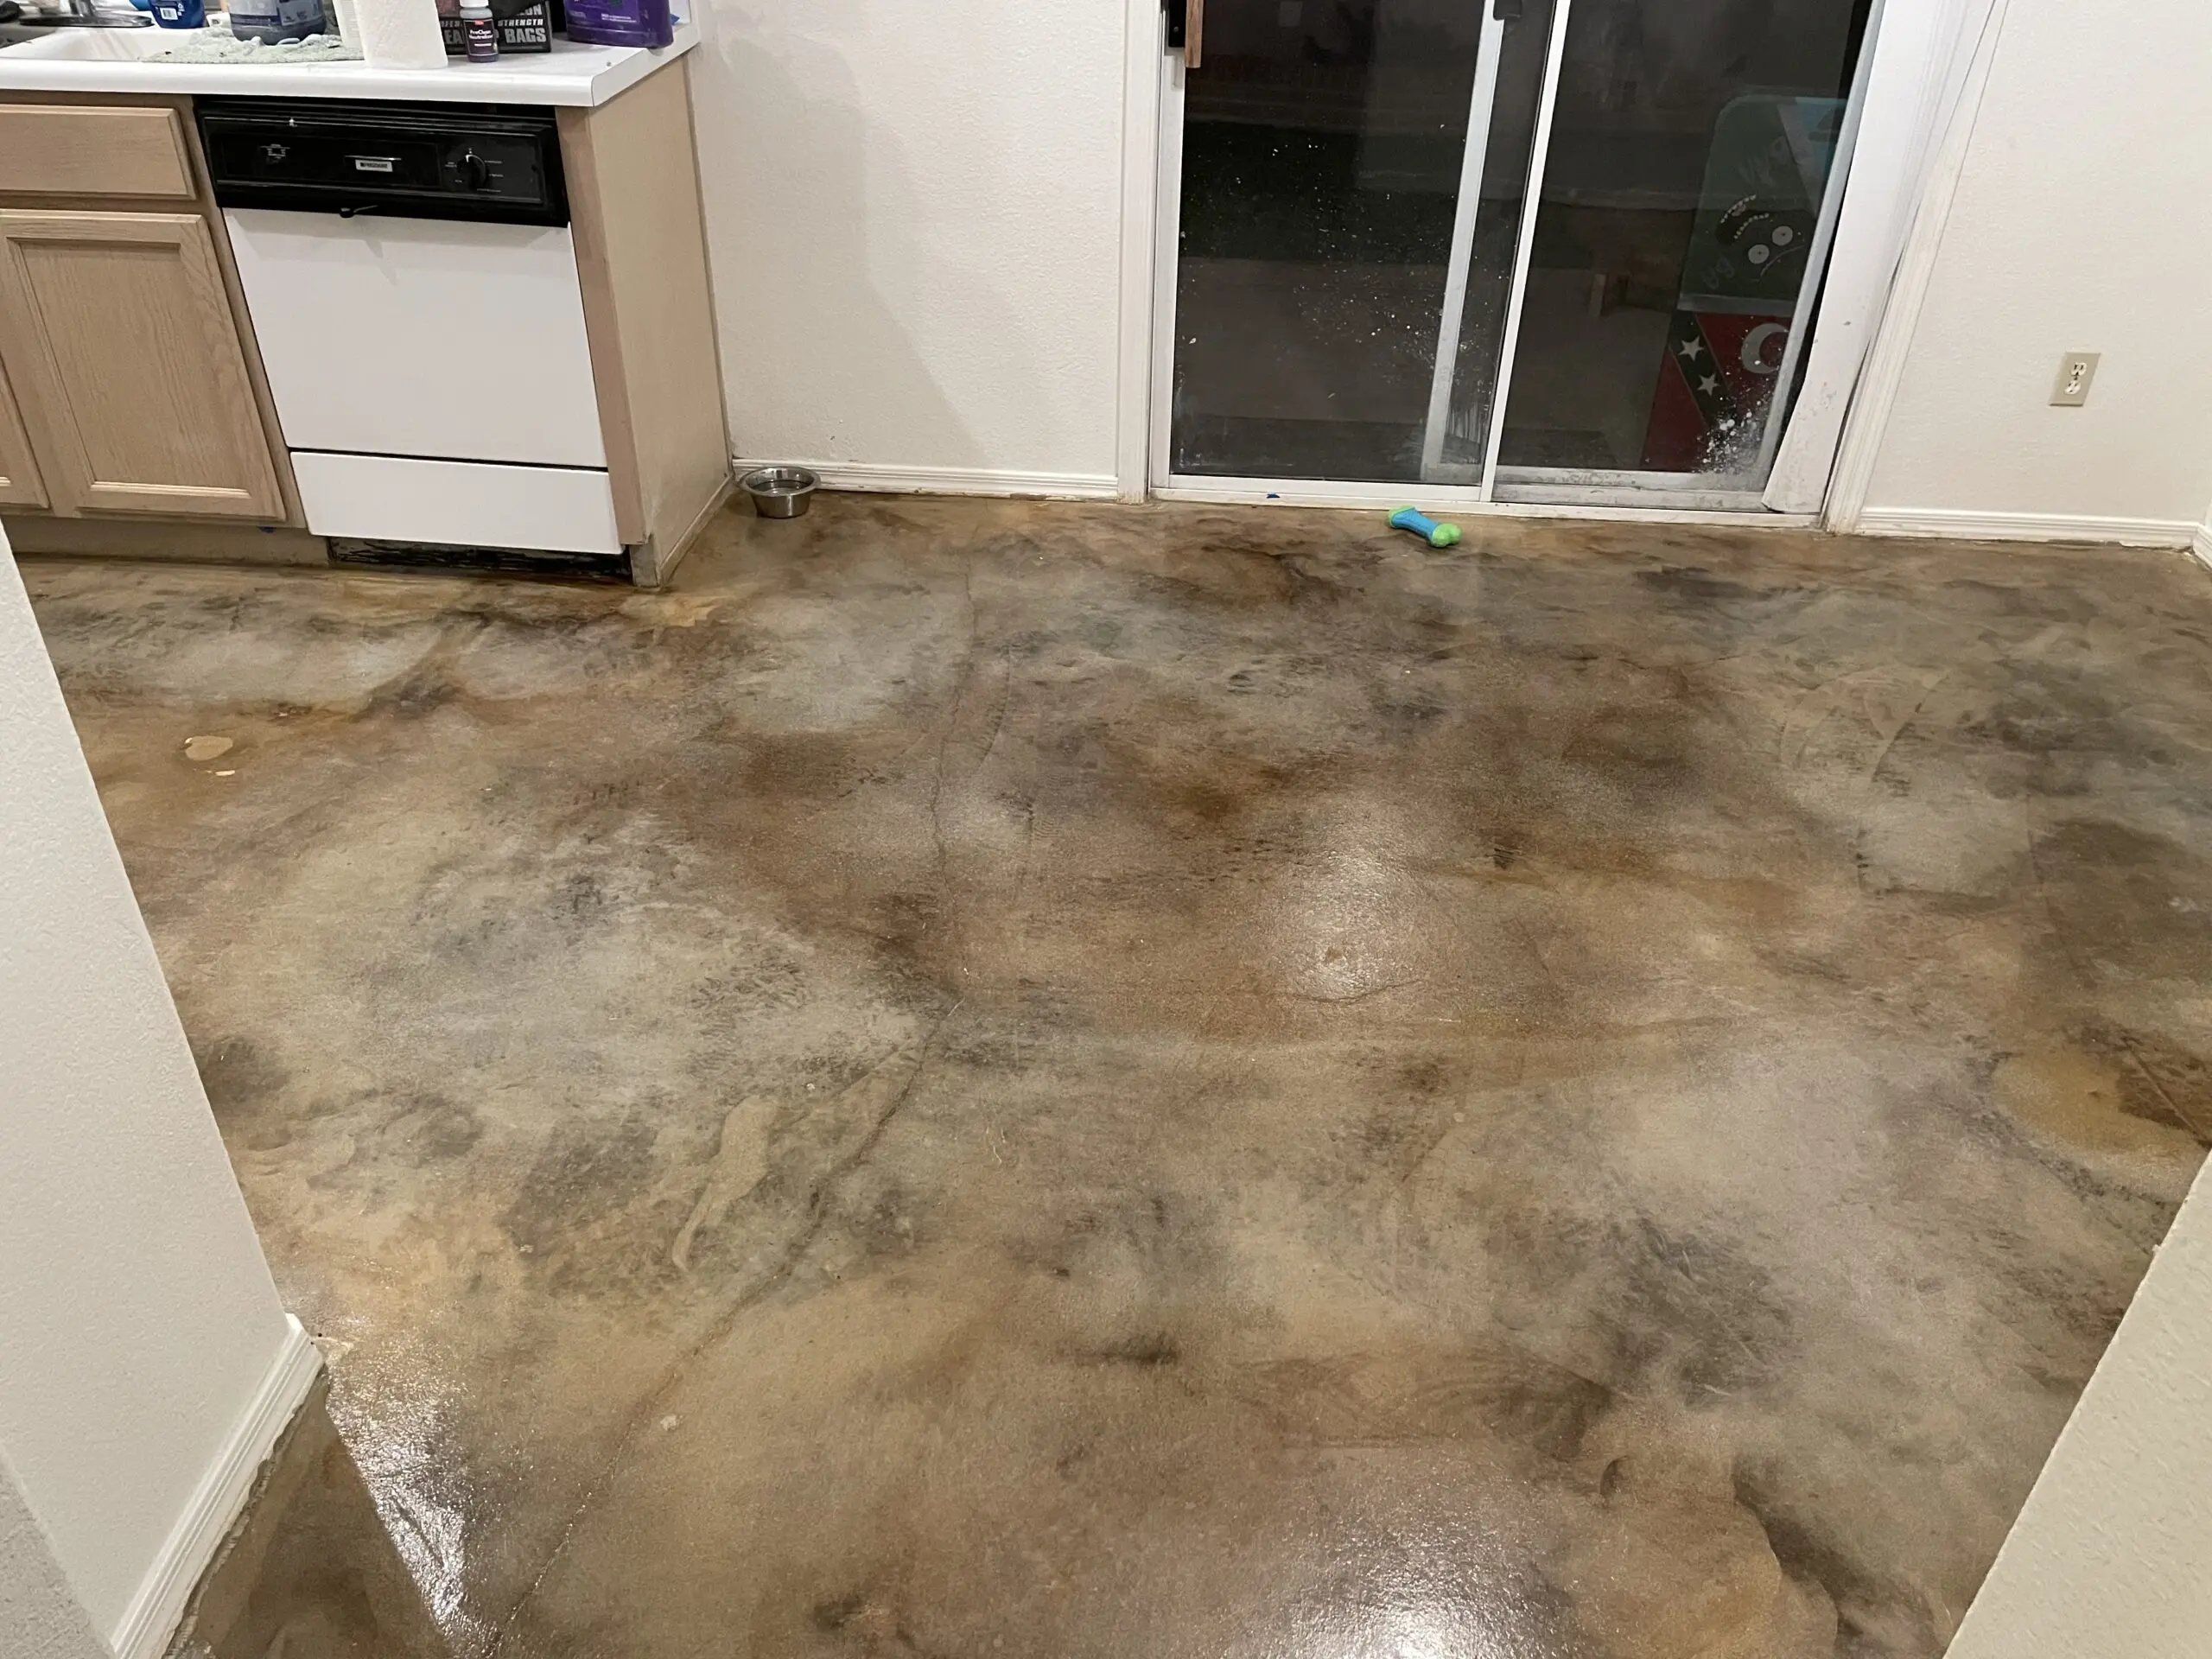
EverStain™ Coffee Brown, Cola, and Desert Amber: Worn-Leather Look for a for a Game Room Remodel
This 864 square foot game room underwent a complete transformation, with the floor becoming the centerpiece of the space. The customer chose a worn-leather look, using EverStain to create a rich blend of tones that resemble aged leather. The acid stain adds warmth and depth to the room, giving the remodeled space a unique, rustic charm. Completed in just four days, the project showcases how the leather-like finish can elevate any interior.
