The Coffee Brown EverStain™ Collection
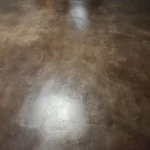
Check out how our customers turned their regular concrete into something special with this easy-to-use Coffee Brown EverStain™ acid stain. You’ll find before-and-after pics, handy tips, and maybe even the spark for your own project.
By Justin Richardson
Target Zone Upgrade
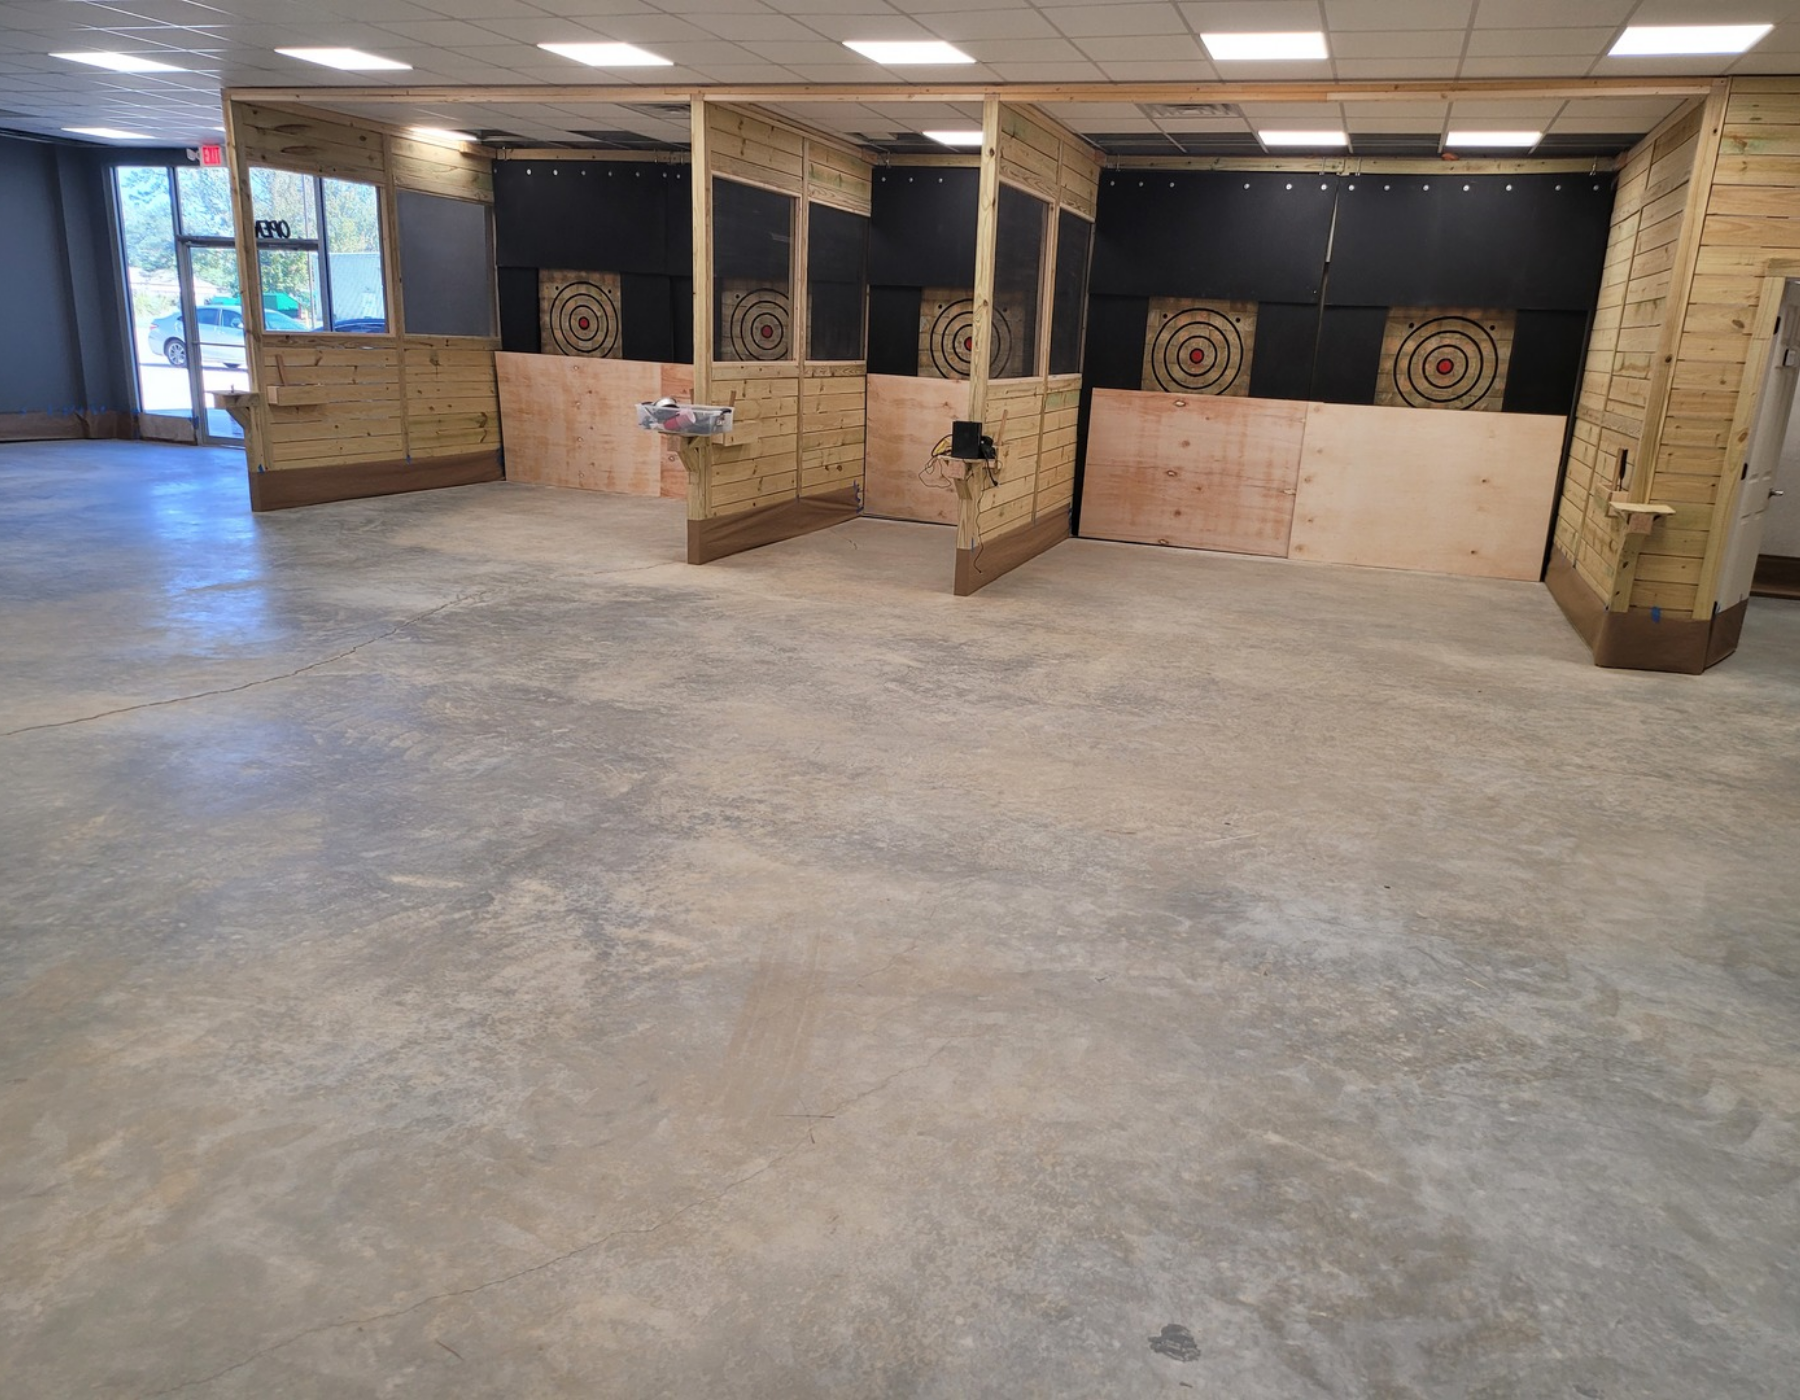
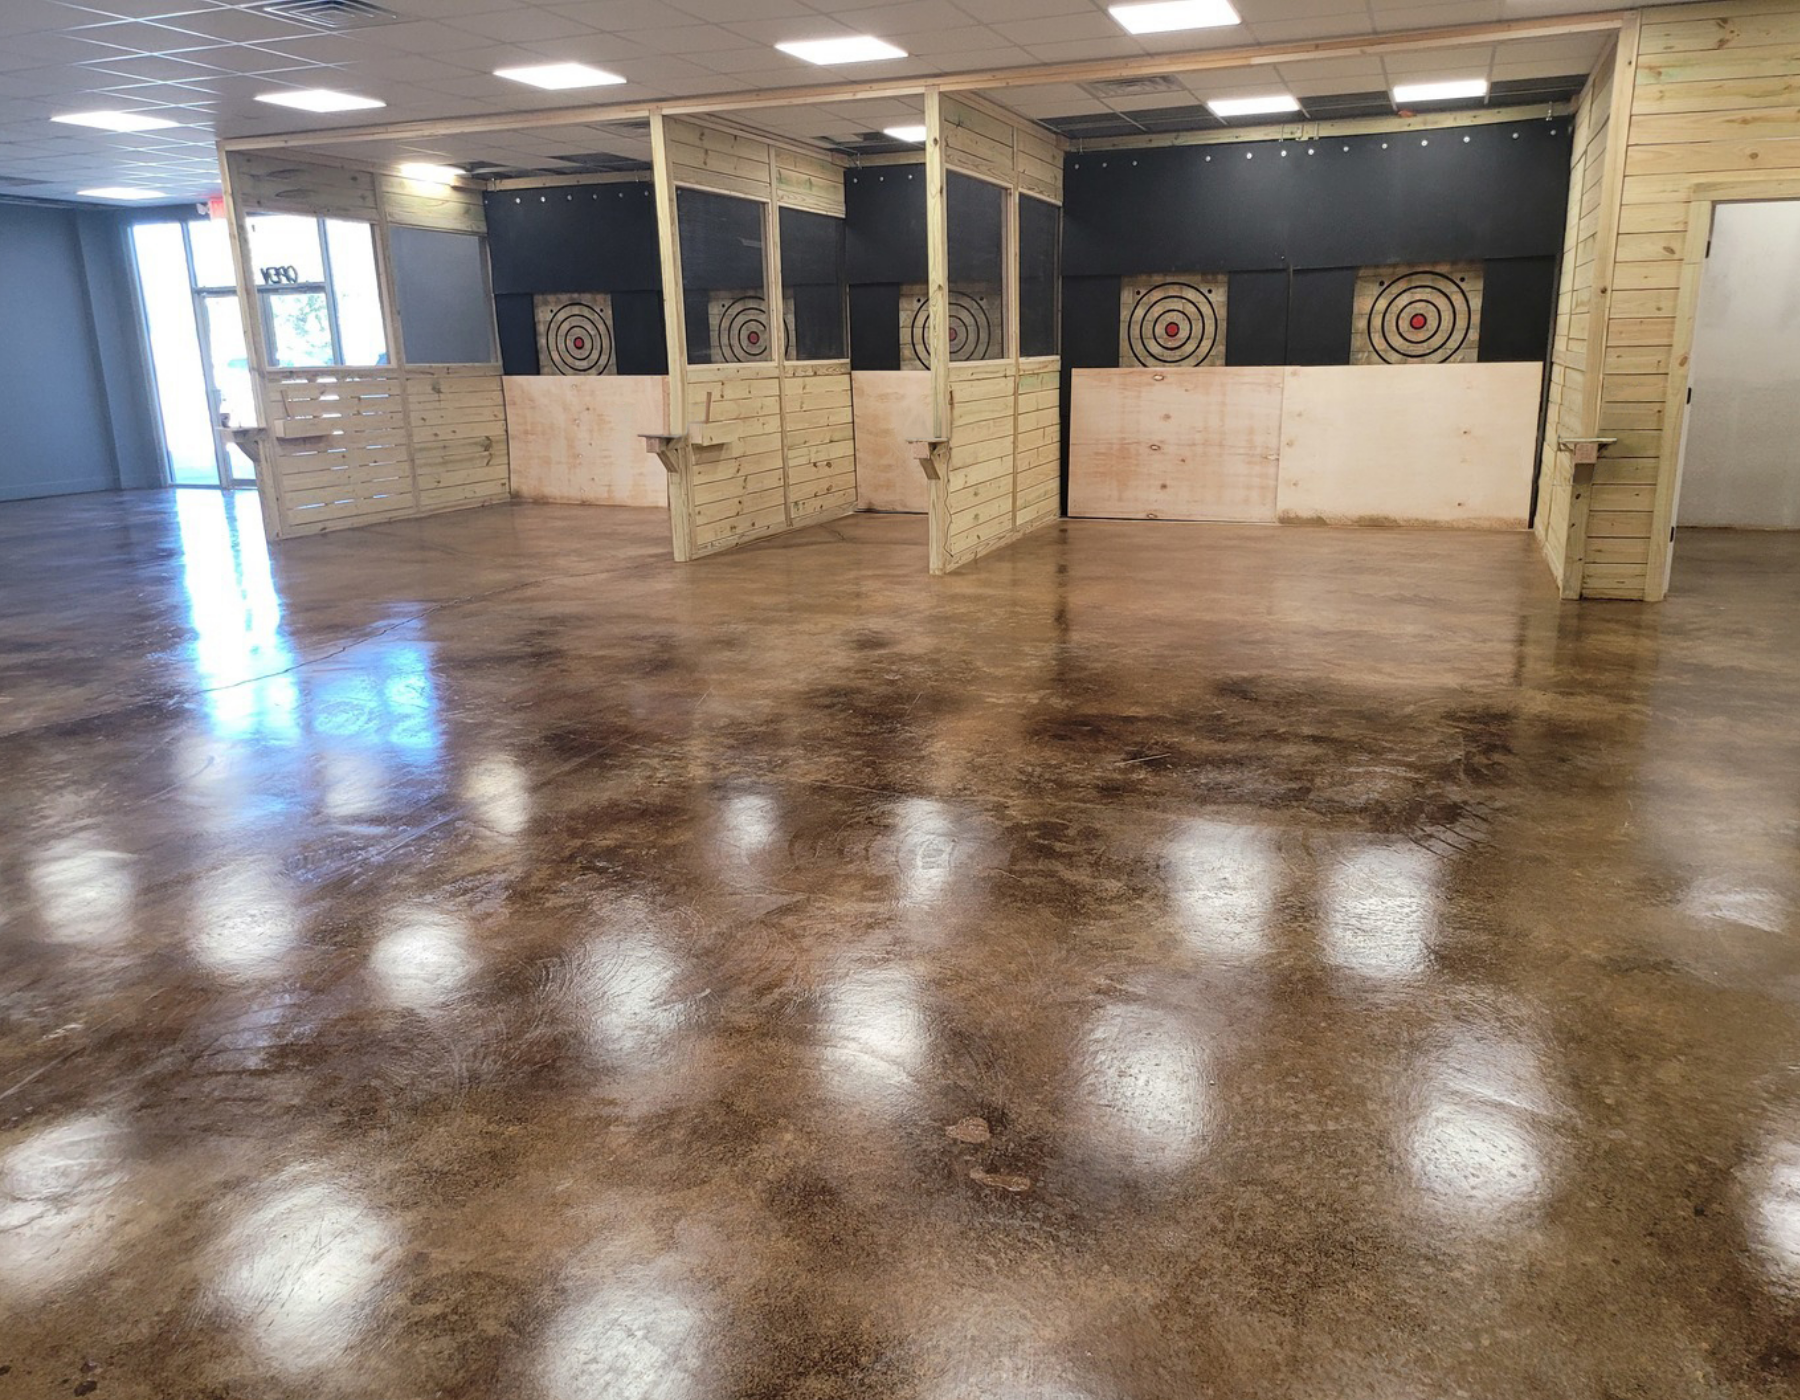
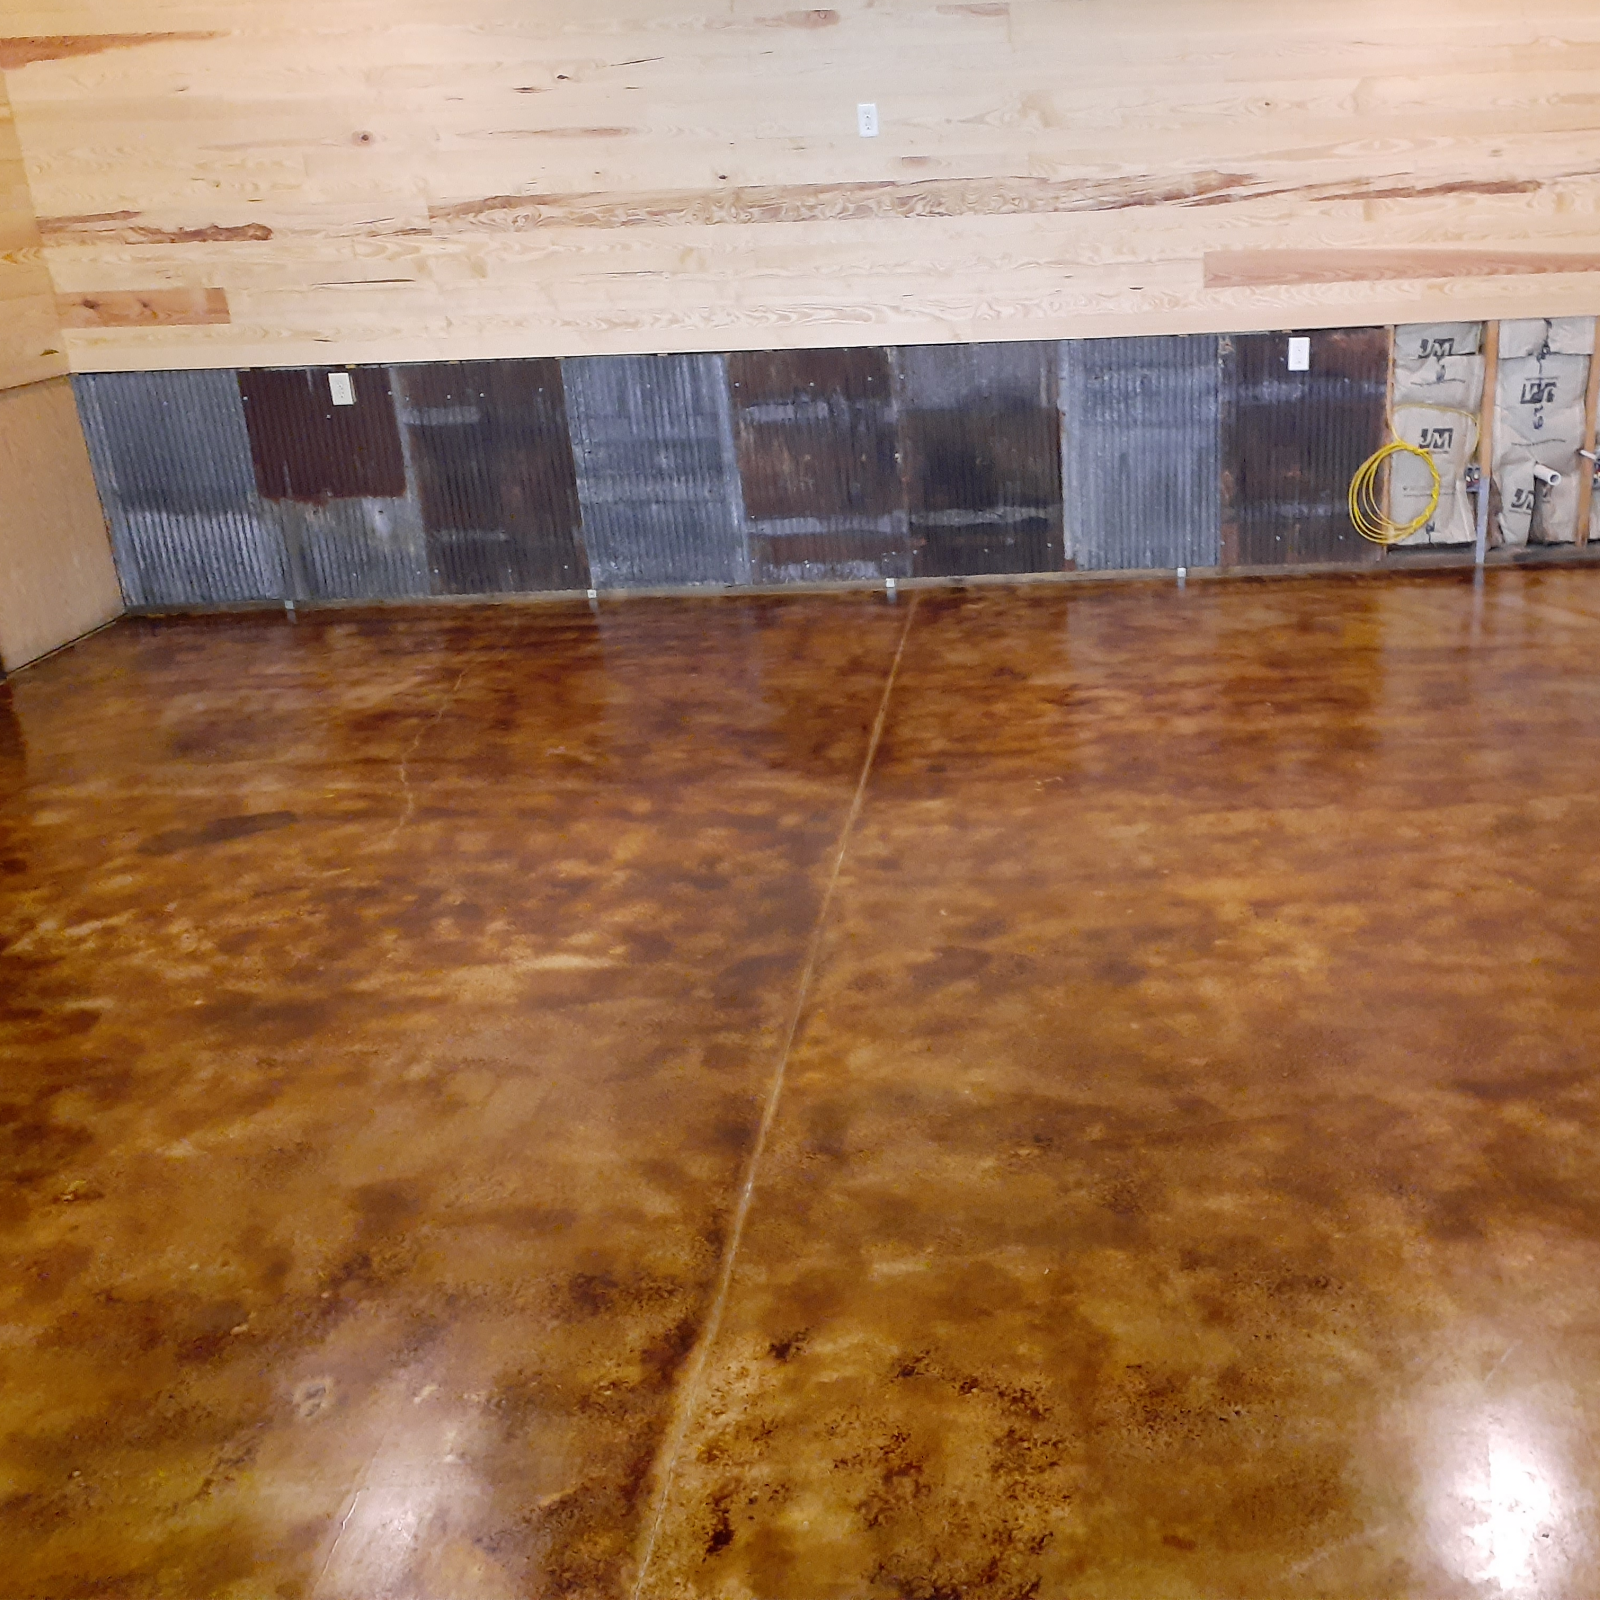
Check out how this axe-throwing bar floor went from plain to awesome. With EverStain™ Coffee Brown, it now sports a cool leather-like finish that really brings the game area to life.
Please be aware that each photo in this gallery showcases projects accomplished with our EverStain™ Acid Stain and is provided by actual customers, serving as a source of inspiration. However, since EverStain™ is semi-transparent, the final appearance of your project will be influenced by the initial color and condition of your concrete surface, and thus, your final results might vary. For the best results, we strongly recommend performing a small test on your specific surface before applying the stain to the entire project to ensure the final look aligns with your expectations.
Rec Room Reimagined: A Cozy Upgrade
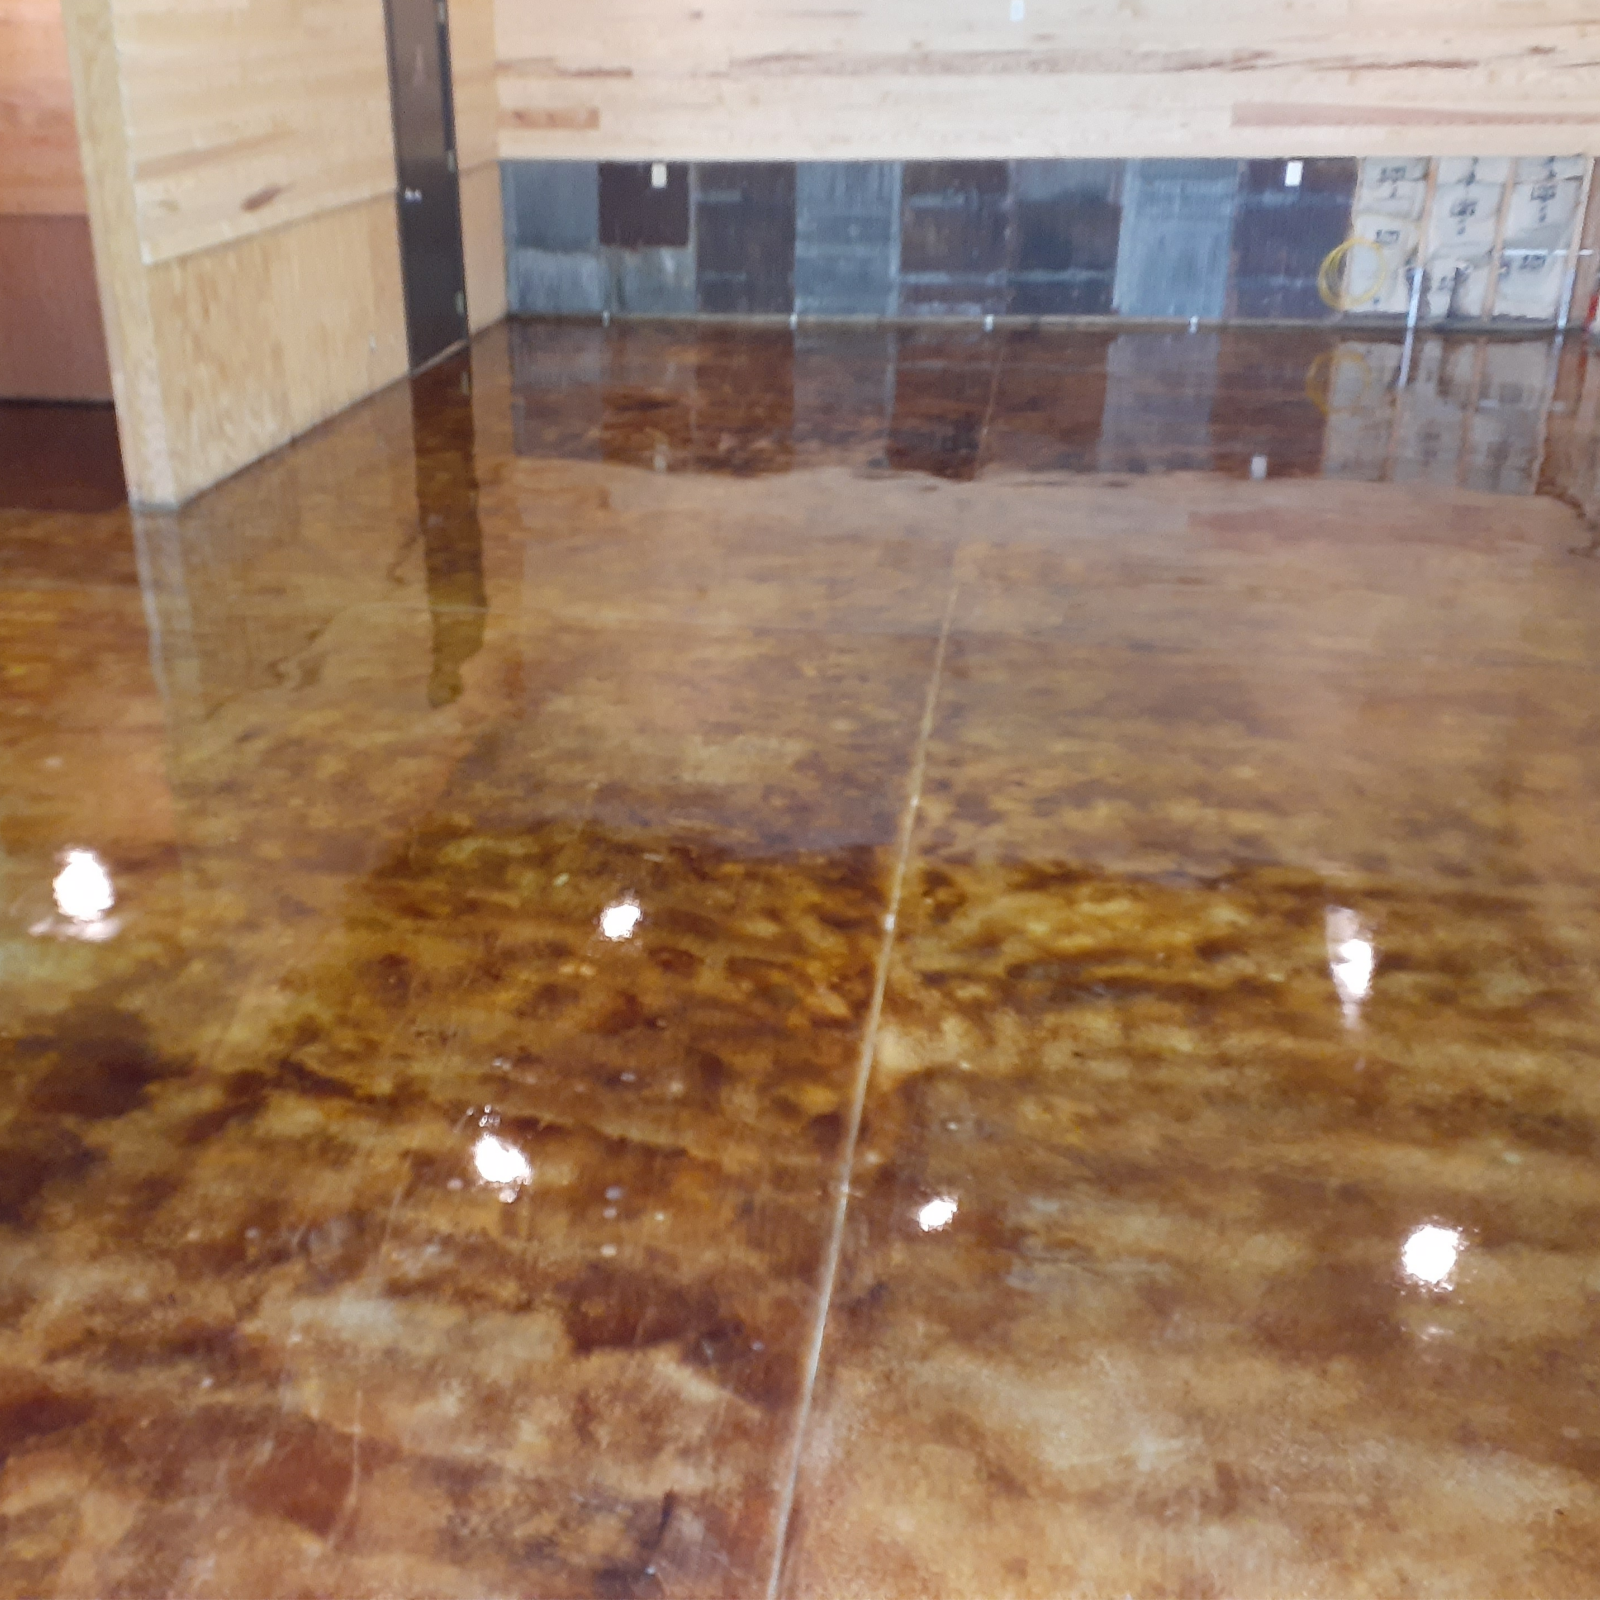
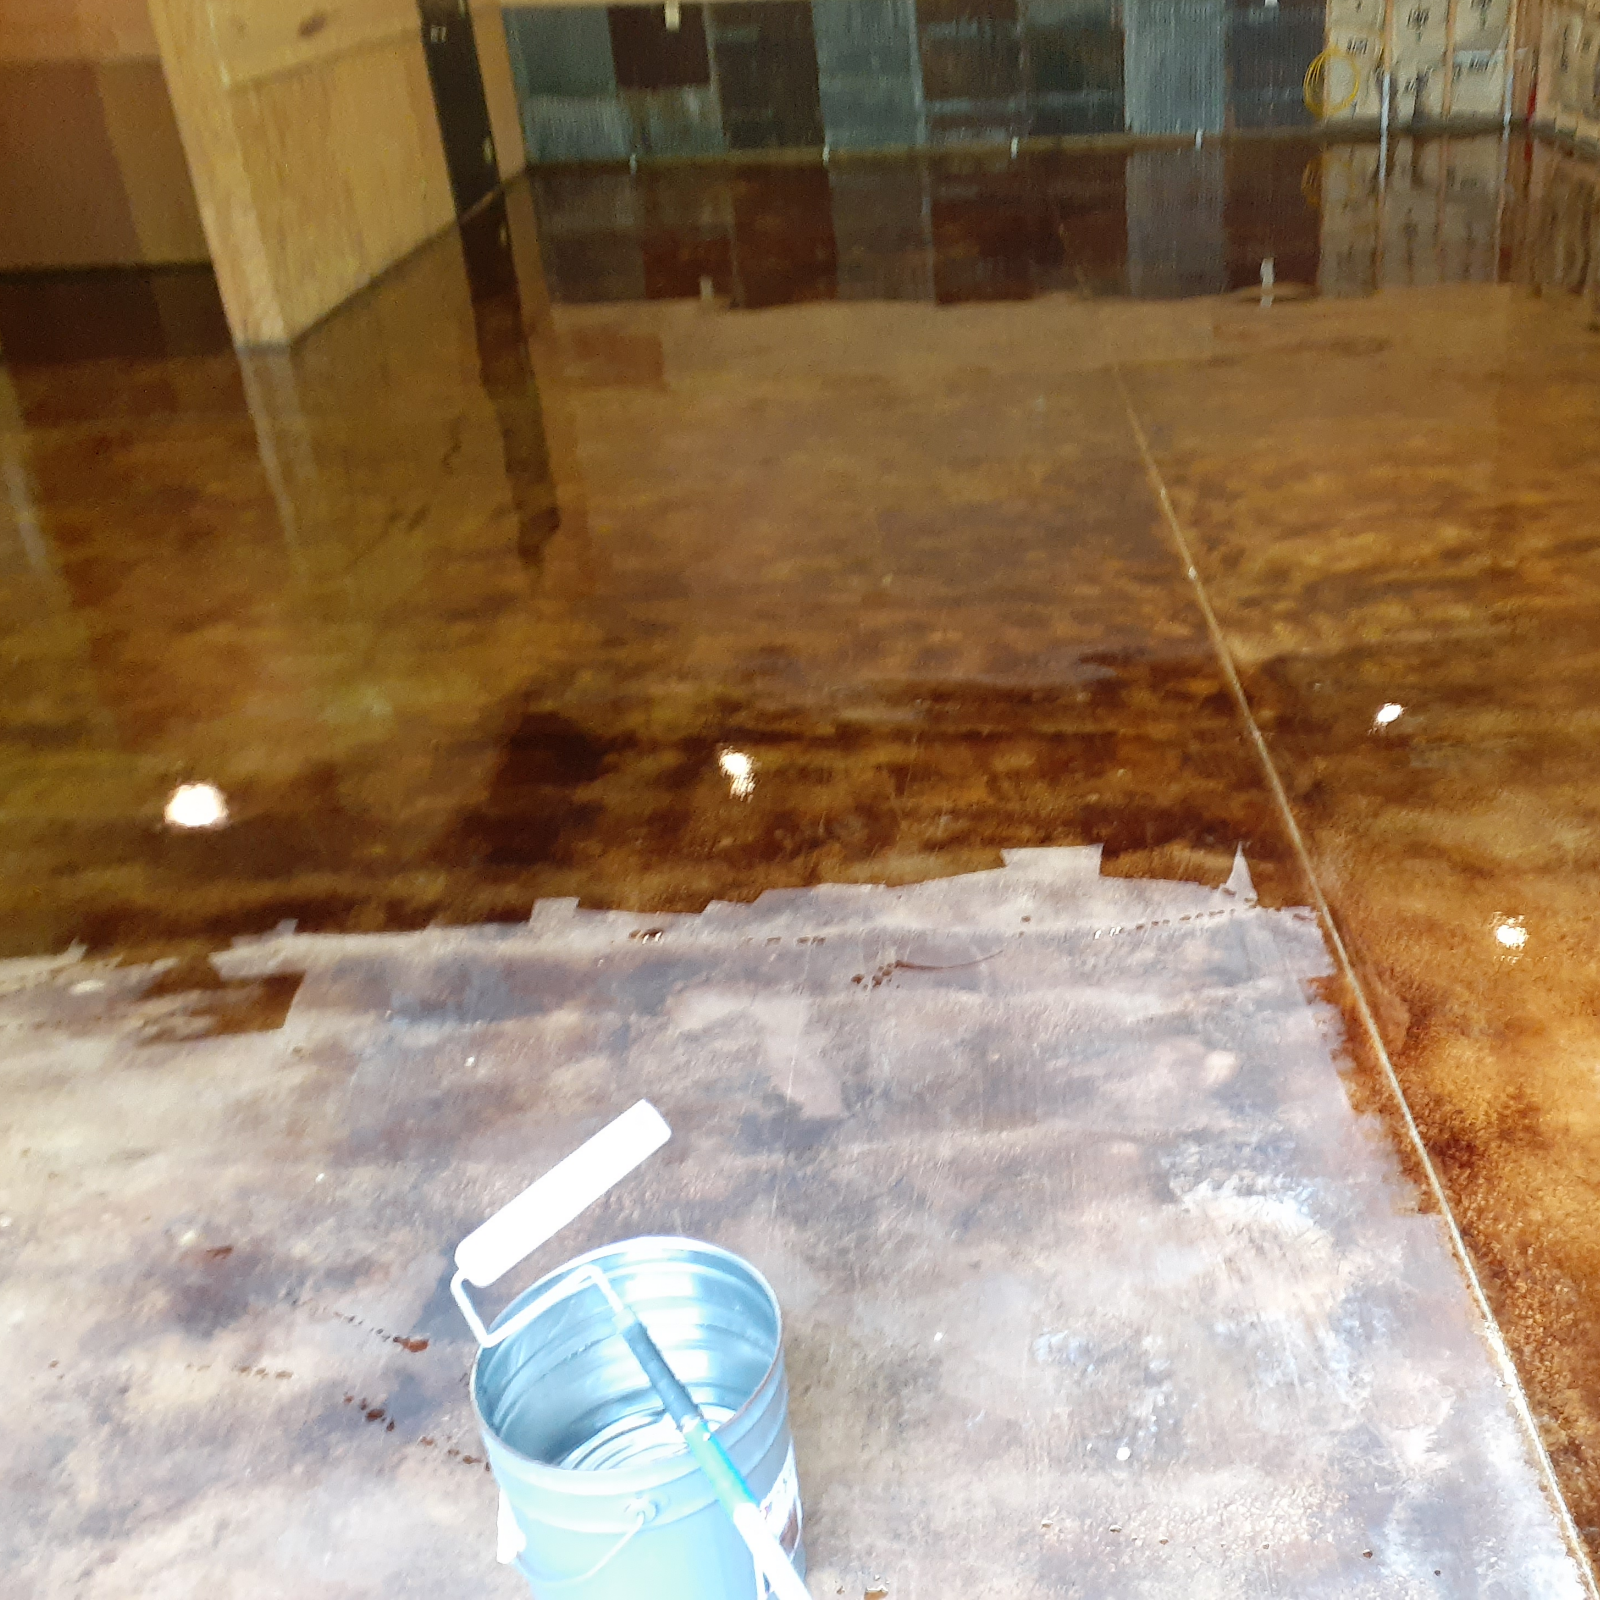
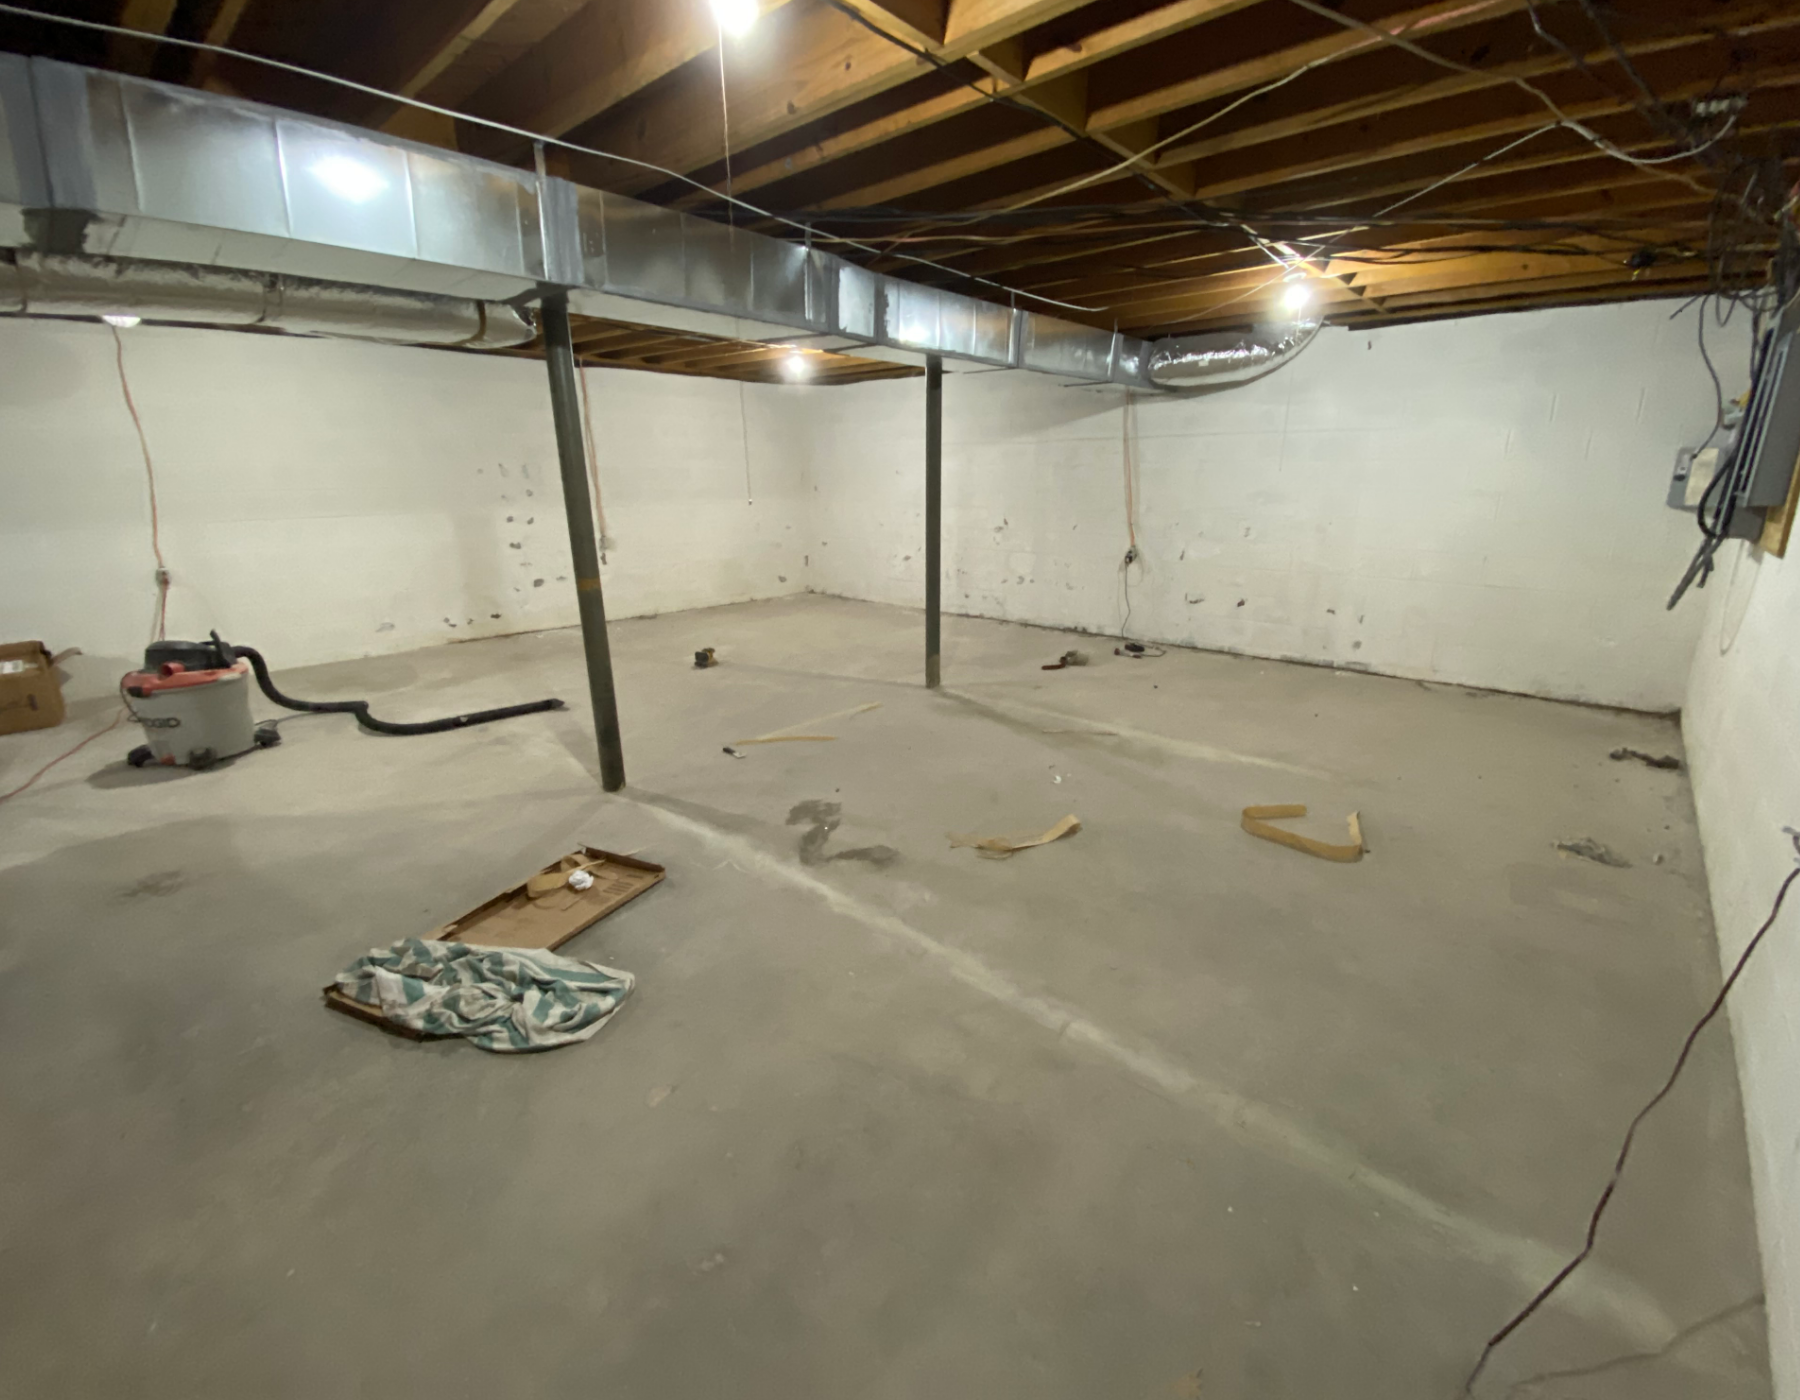
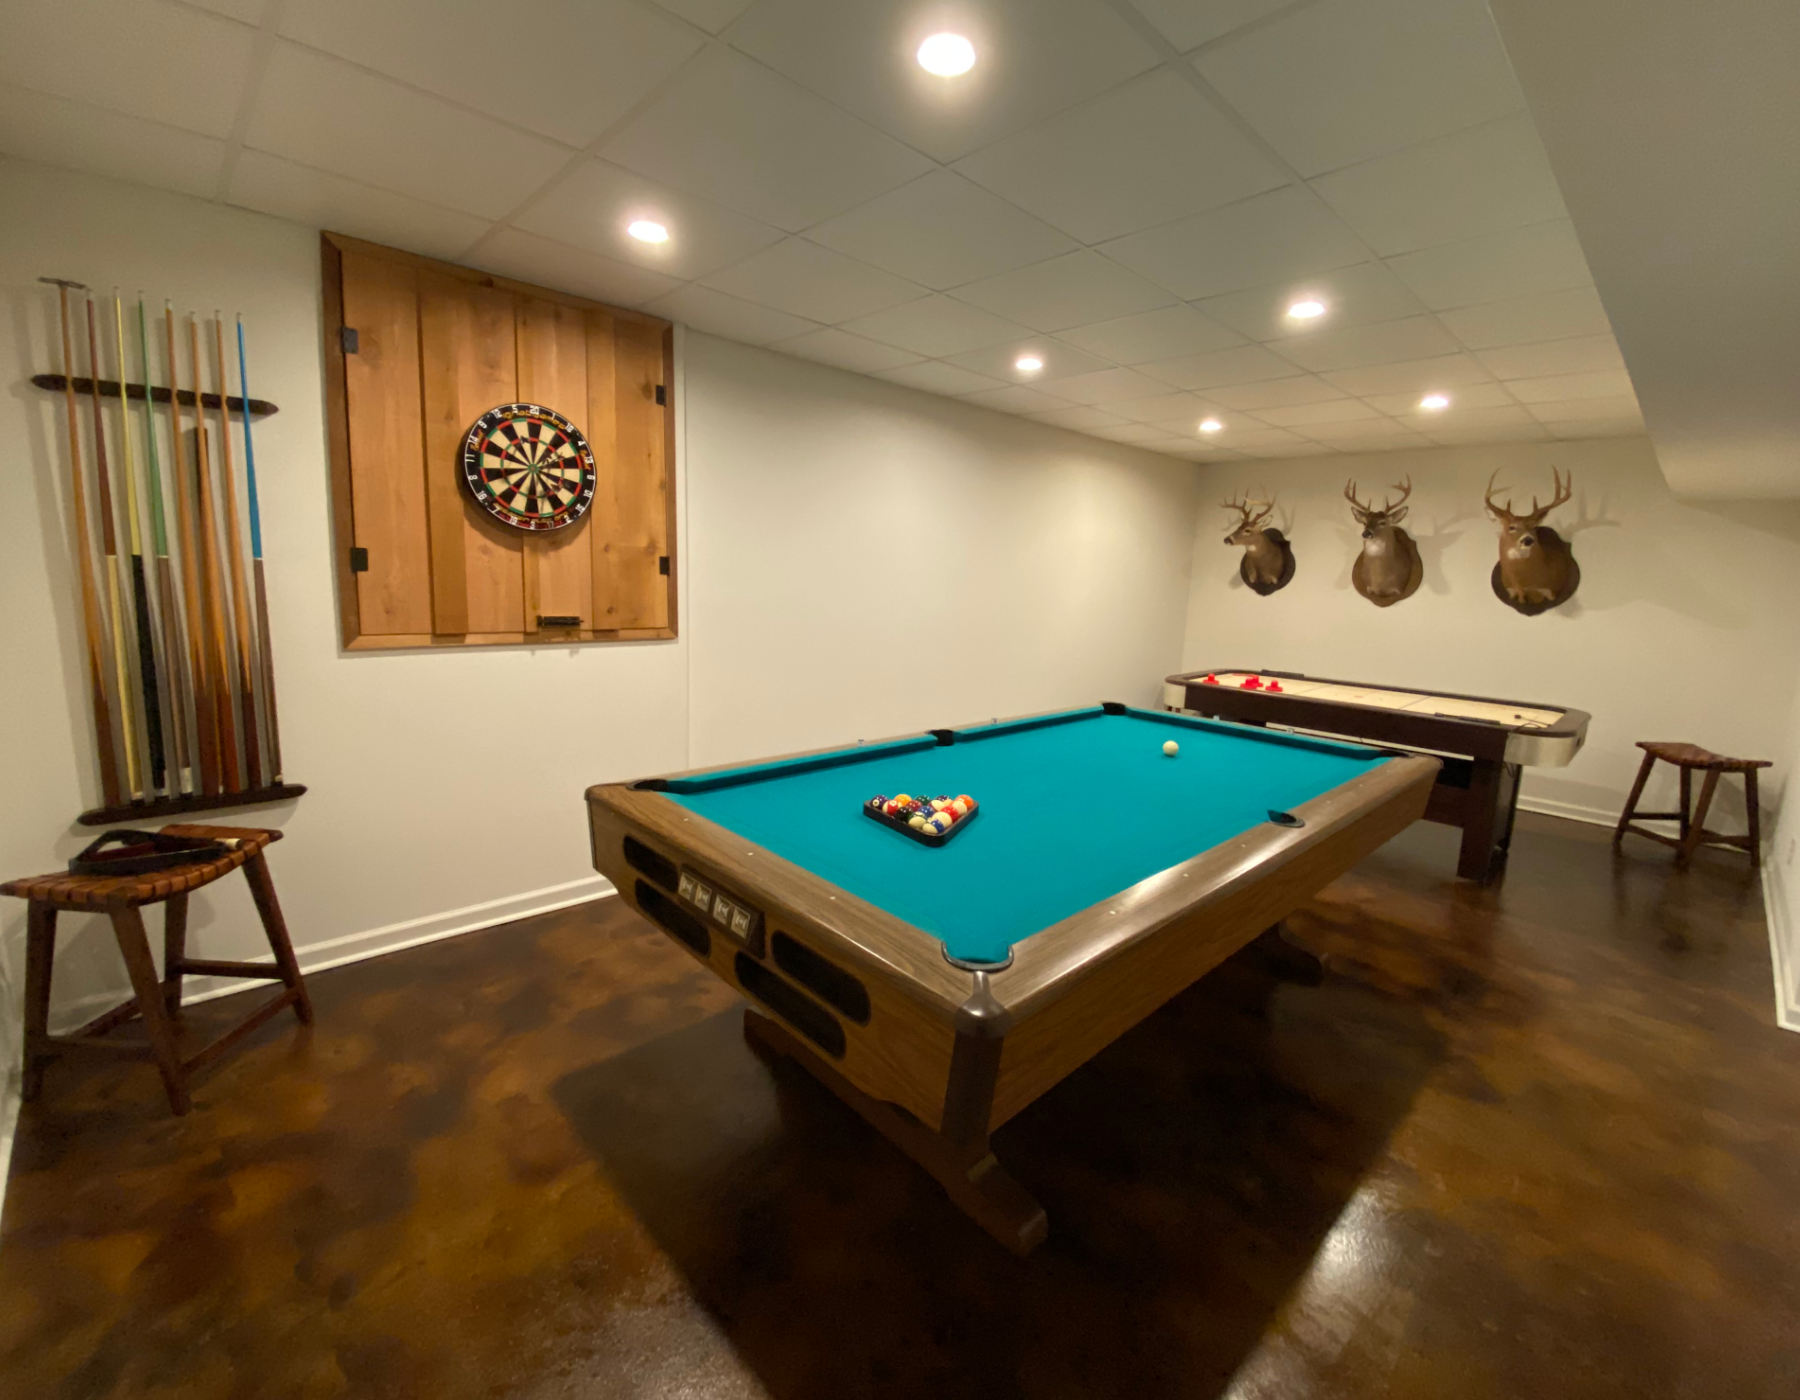
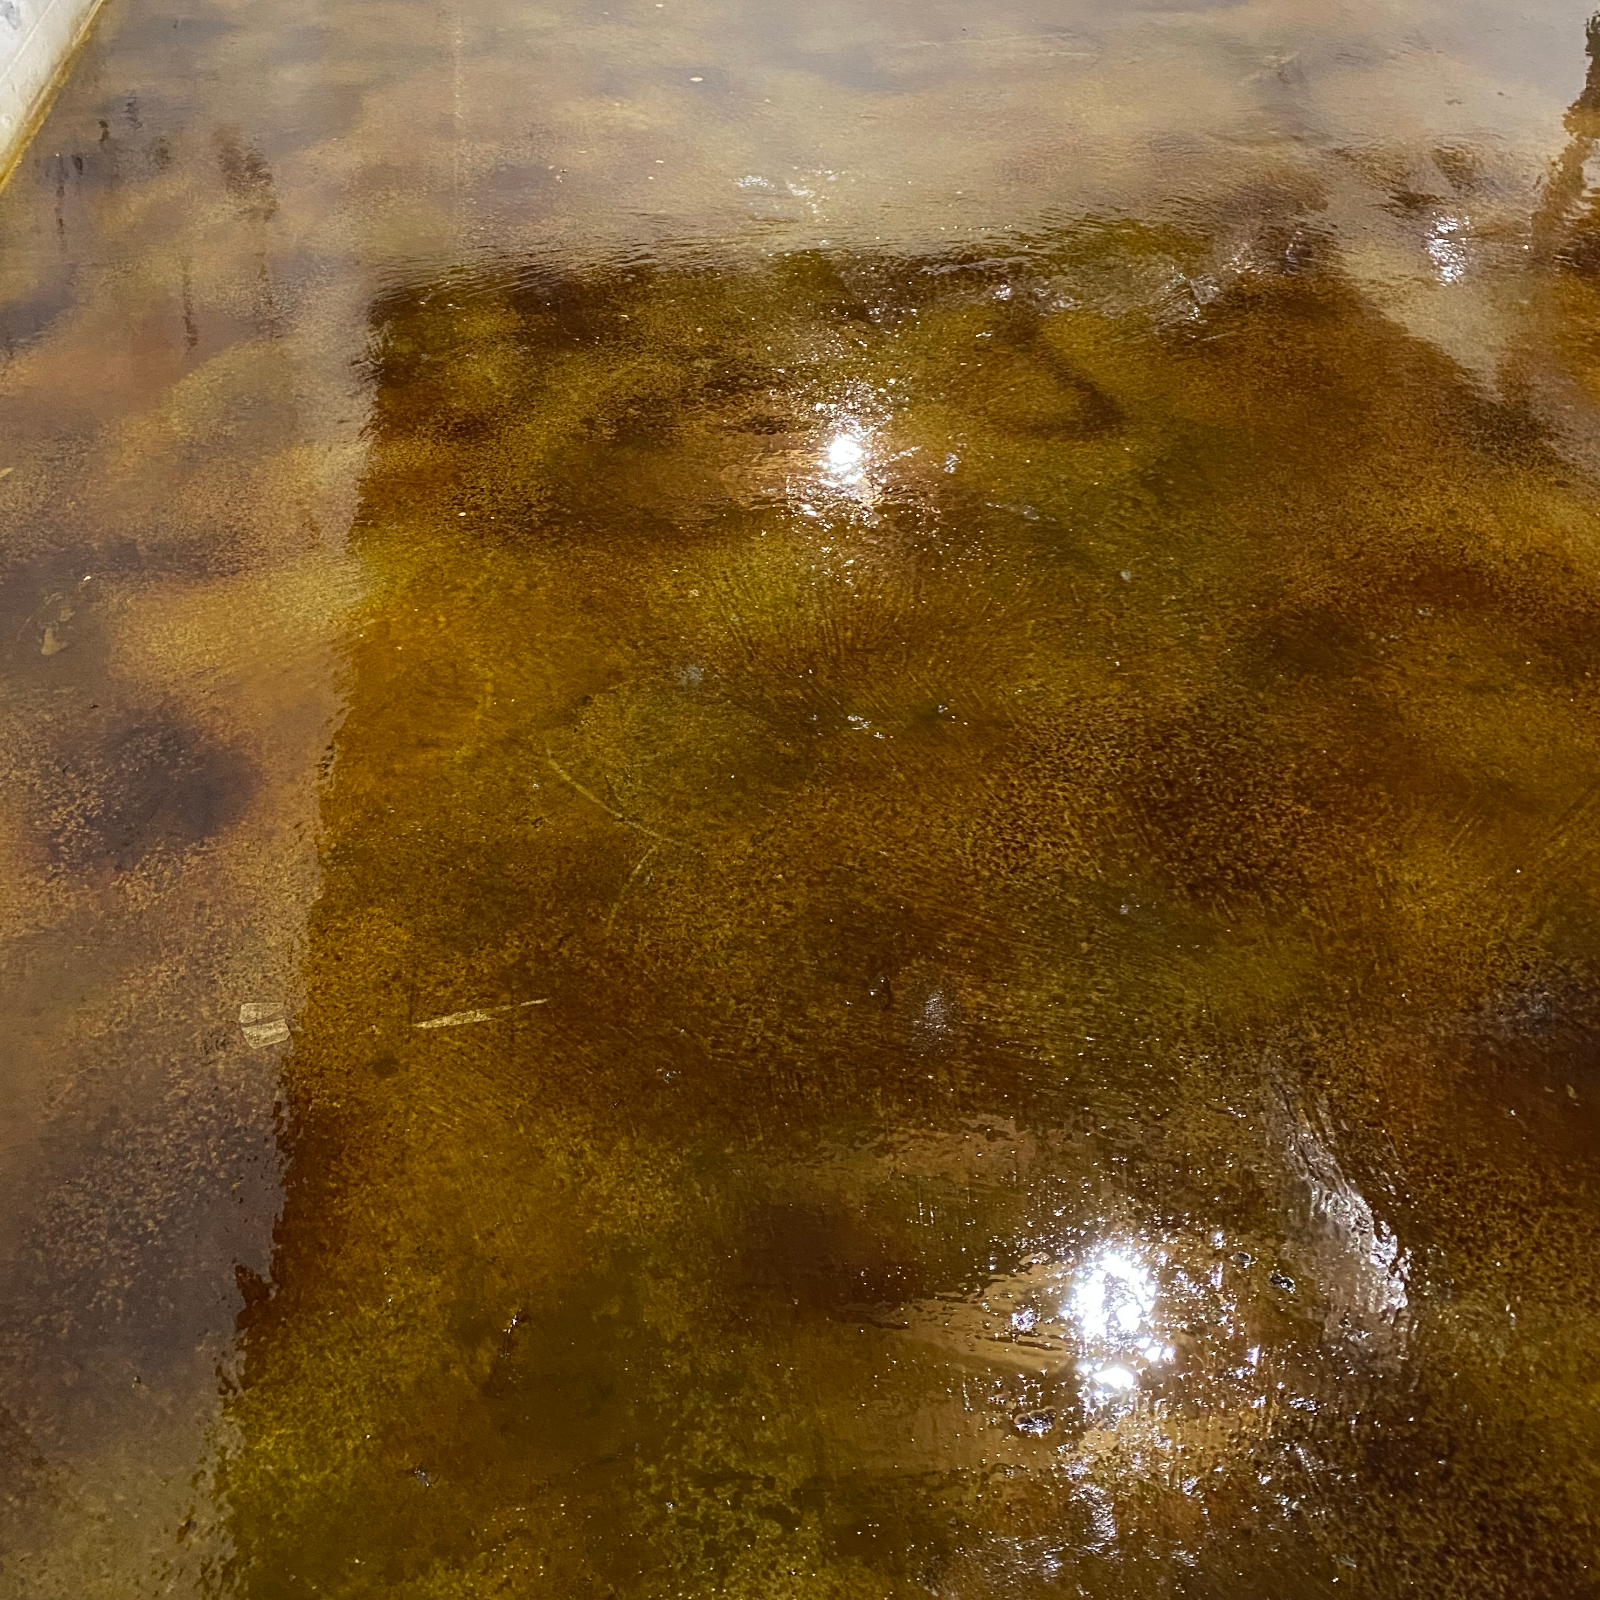
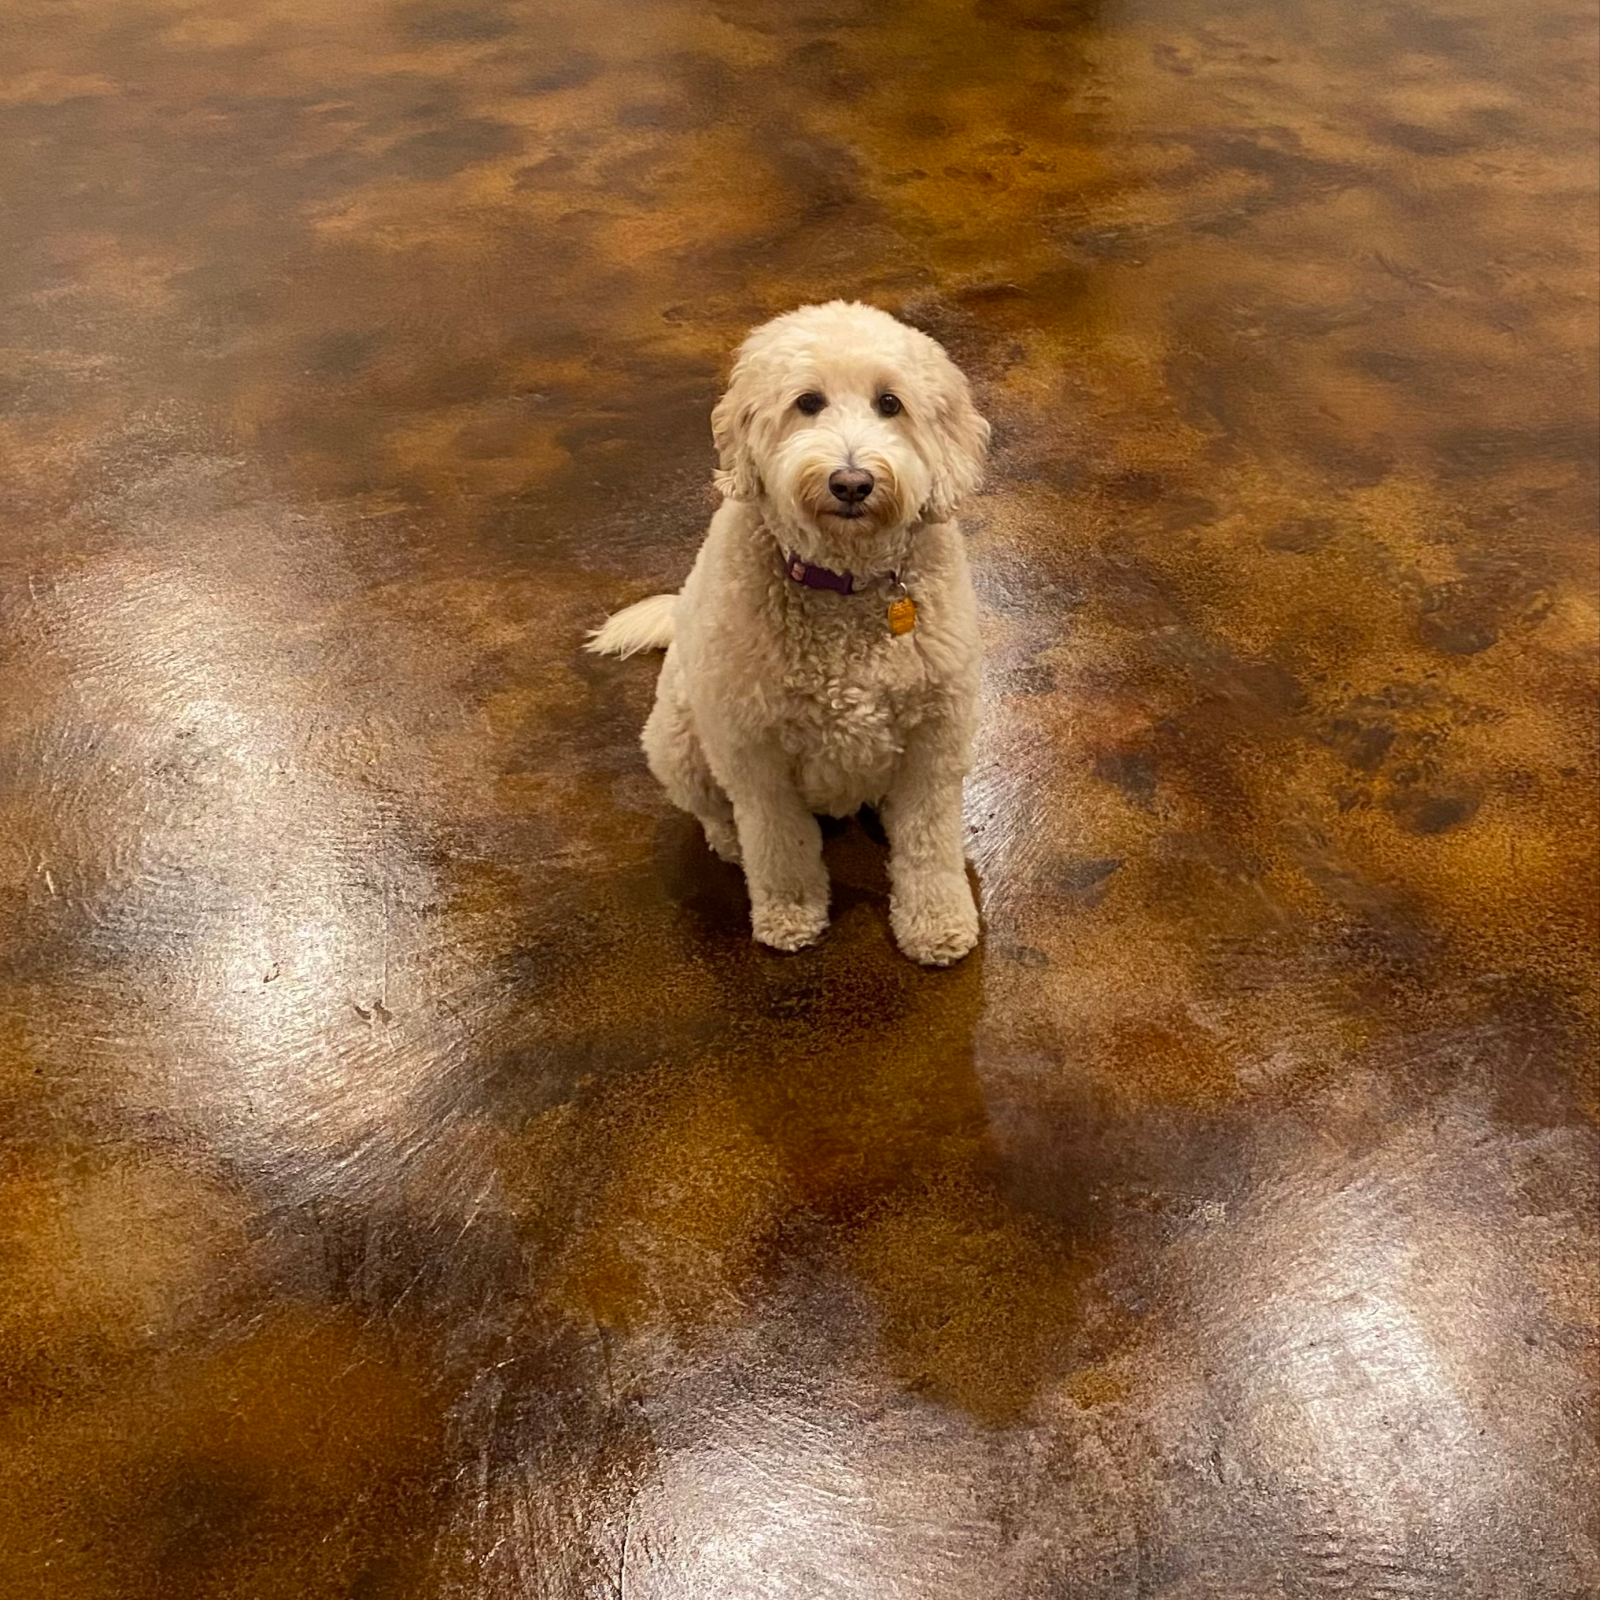
Take a look at the before-and-after transformation of a recreational basement area using a two-tone acid stain layering technique. By applying two acid stain colors in a wet-on-wet process, this project turned a basic concrete surface into a richly stained, dynamic floor. The result enhances both the aesthetics and functionality of the space.
Project Info:
- Project Completed In: 3 day(s)
- Estimate of Square Footage: 560 sq. ft.
- Project Description:
This was a staining of the basement in my personal home. Unfinished concrete poured in 1973 by the previous owner. It turned out beautiful and I’ve completed several other projects for friends who have seen my work. - Personal Tips:
Have a place to stay for a few days, the fumes were extremely bad due to the lack of windows and circulating air. - Direct Colors Products Used:
1 Gal. Coffee Brown DIY EverStain™ & EasySeal™ Satin Kit
1 Gal. Coffee Brown EverStain™ & EasySeal™ Satin Kit
1 Gal. Malayan Buff DIY EverStain™ & EasySeal™ Satin Kit
1 Gal. ProWax Polish™ Satin
Shed House Chic: A Stunning Floor Revamp
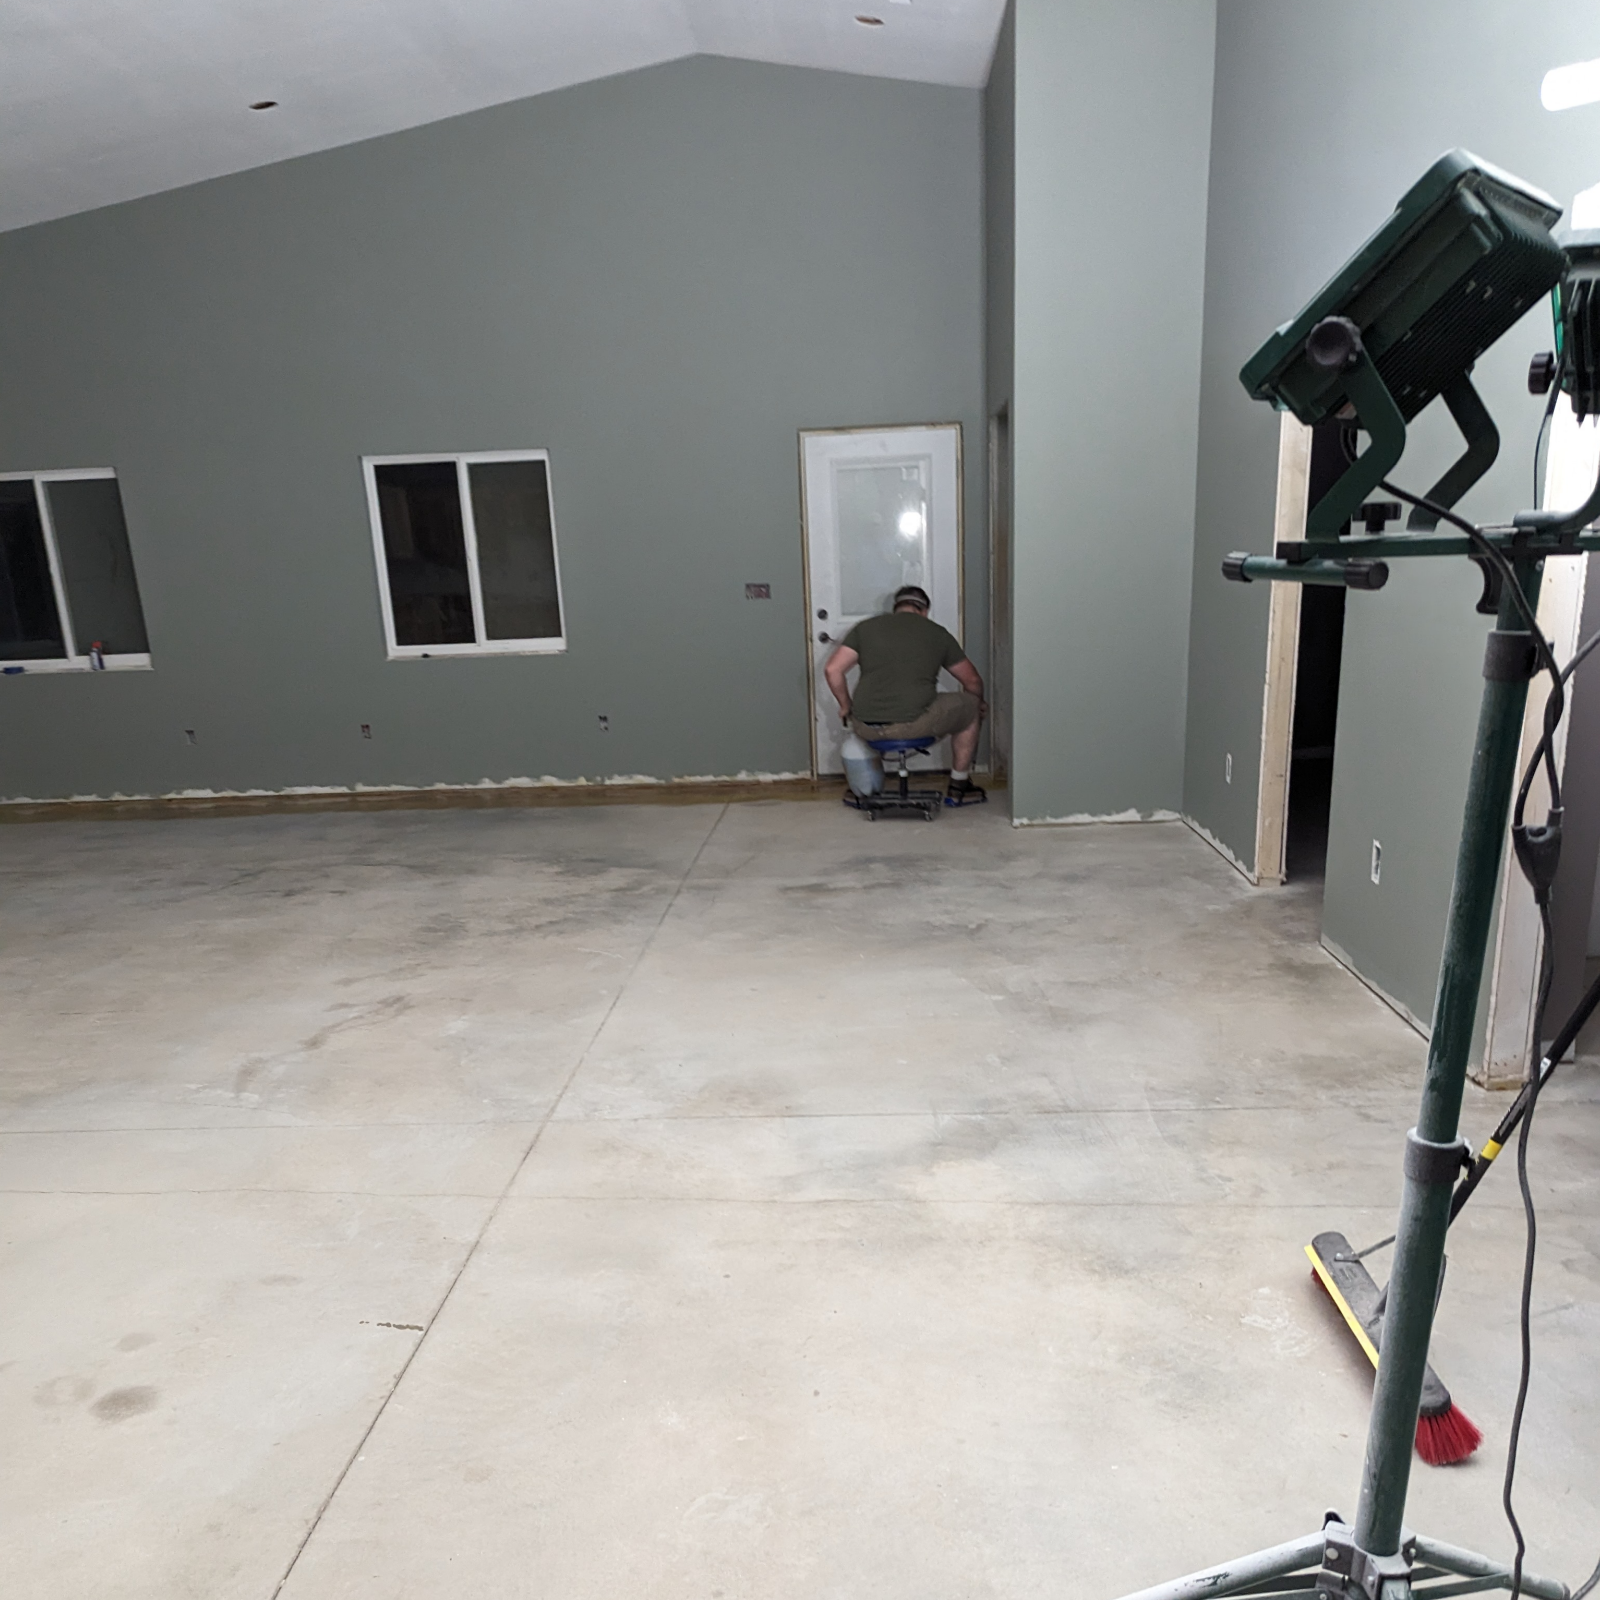
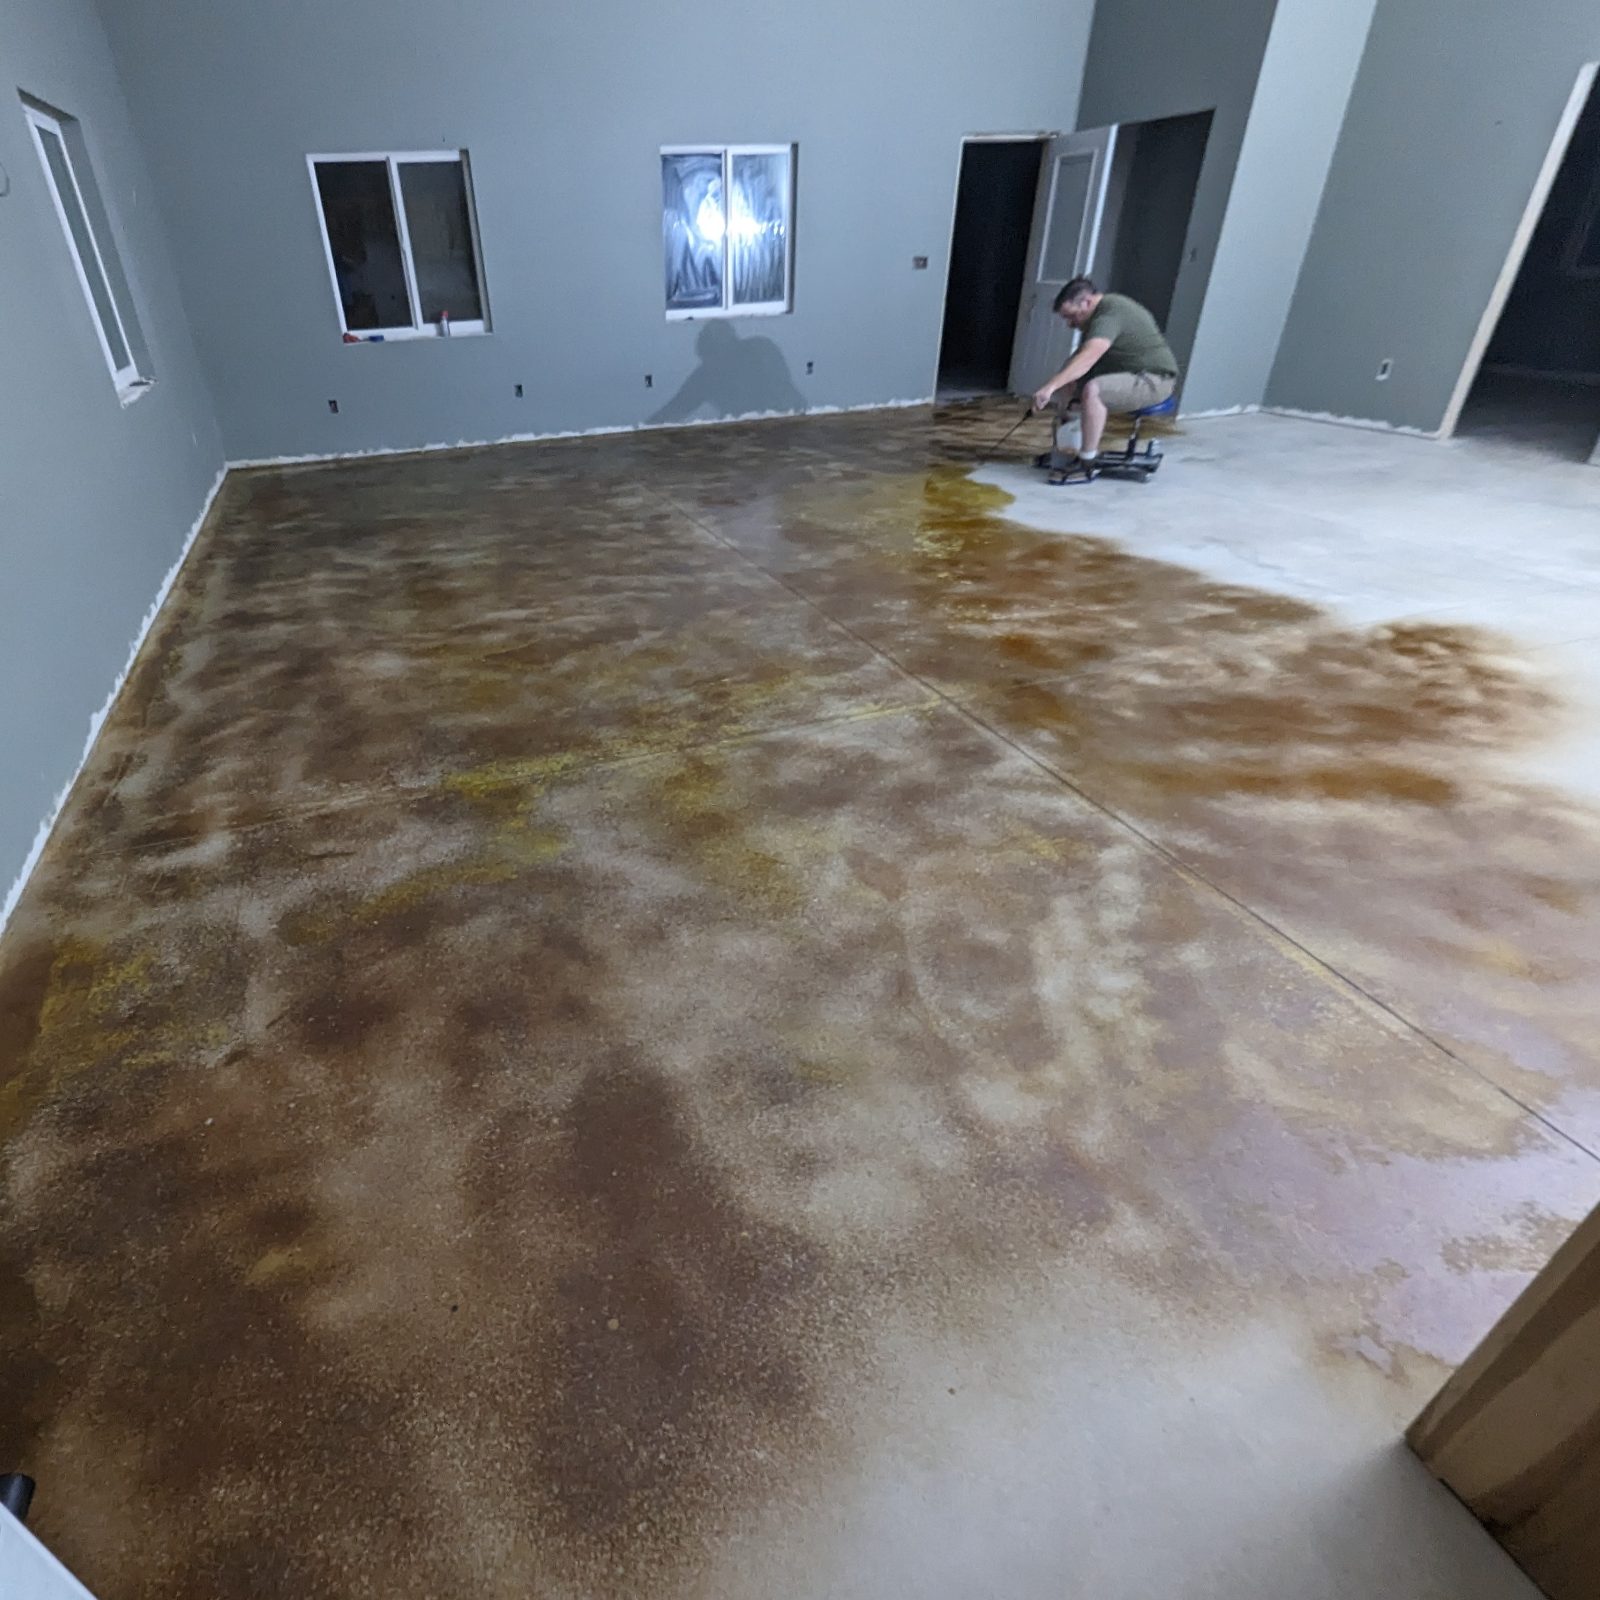
Take a look at this shed house transformation where we turned a plain concrete floor into a standout feature with a rich EverStain™ Coffee Brown stain. It’s a great way to make a space feel new without breaking the bank.
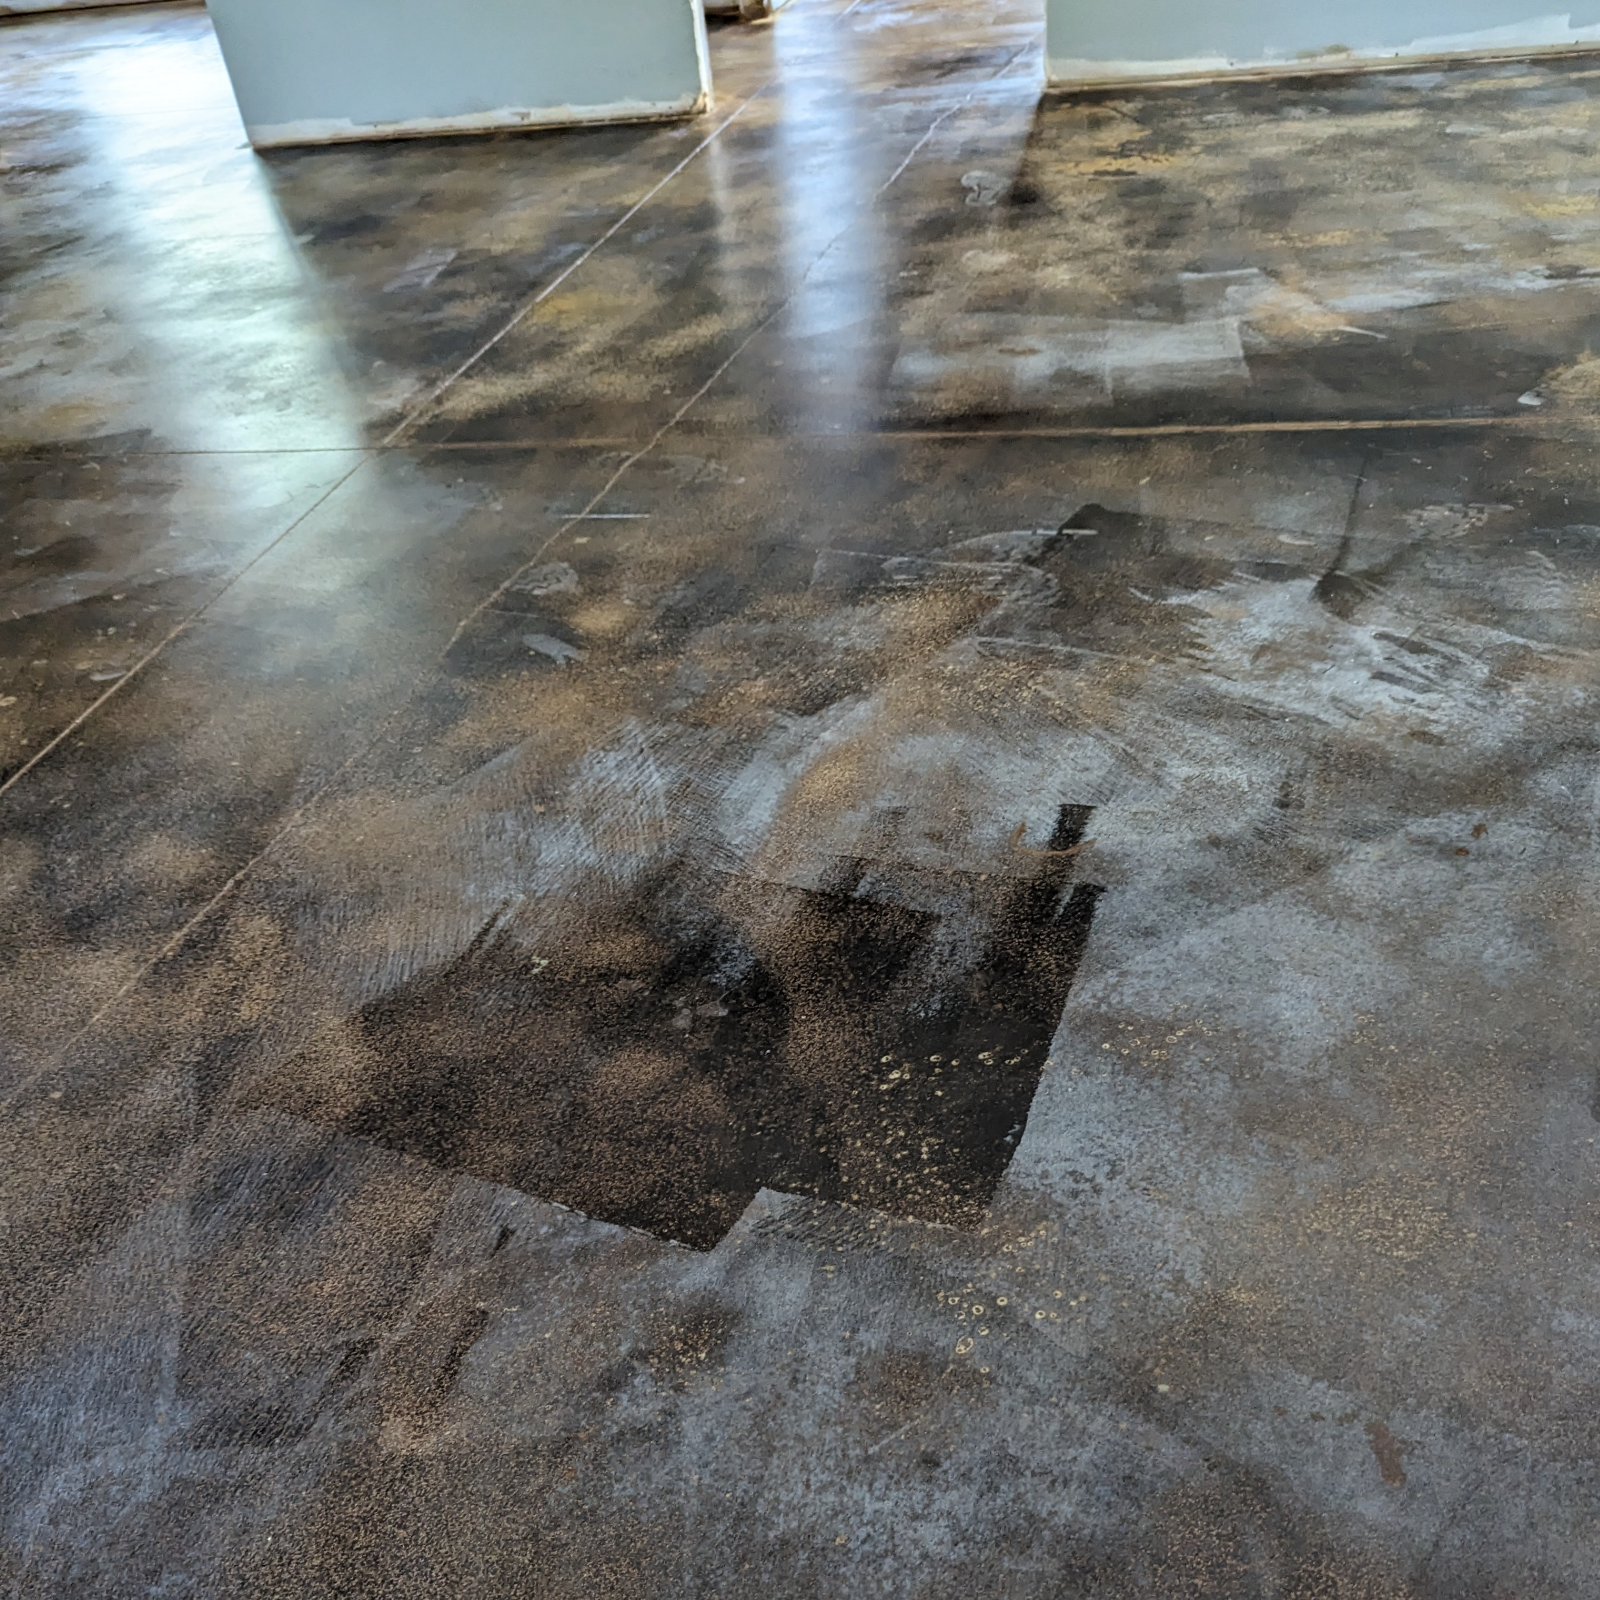
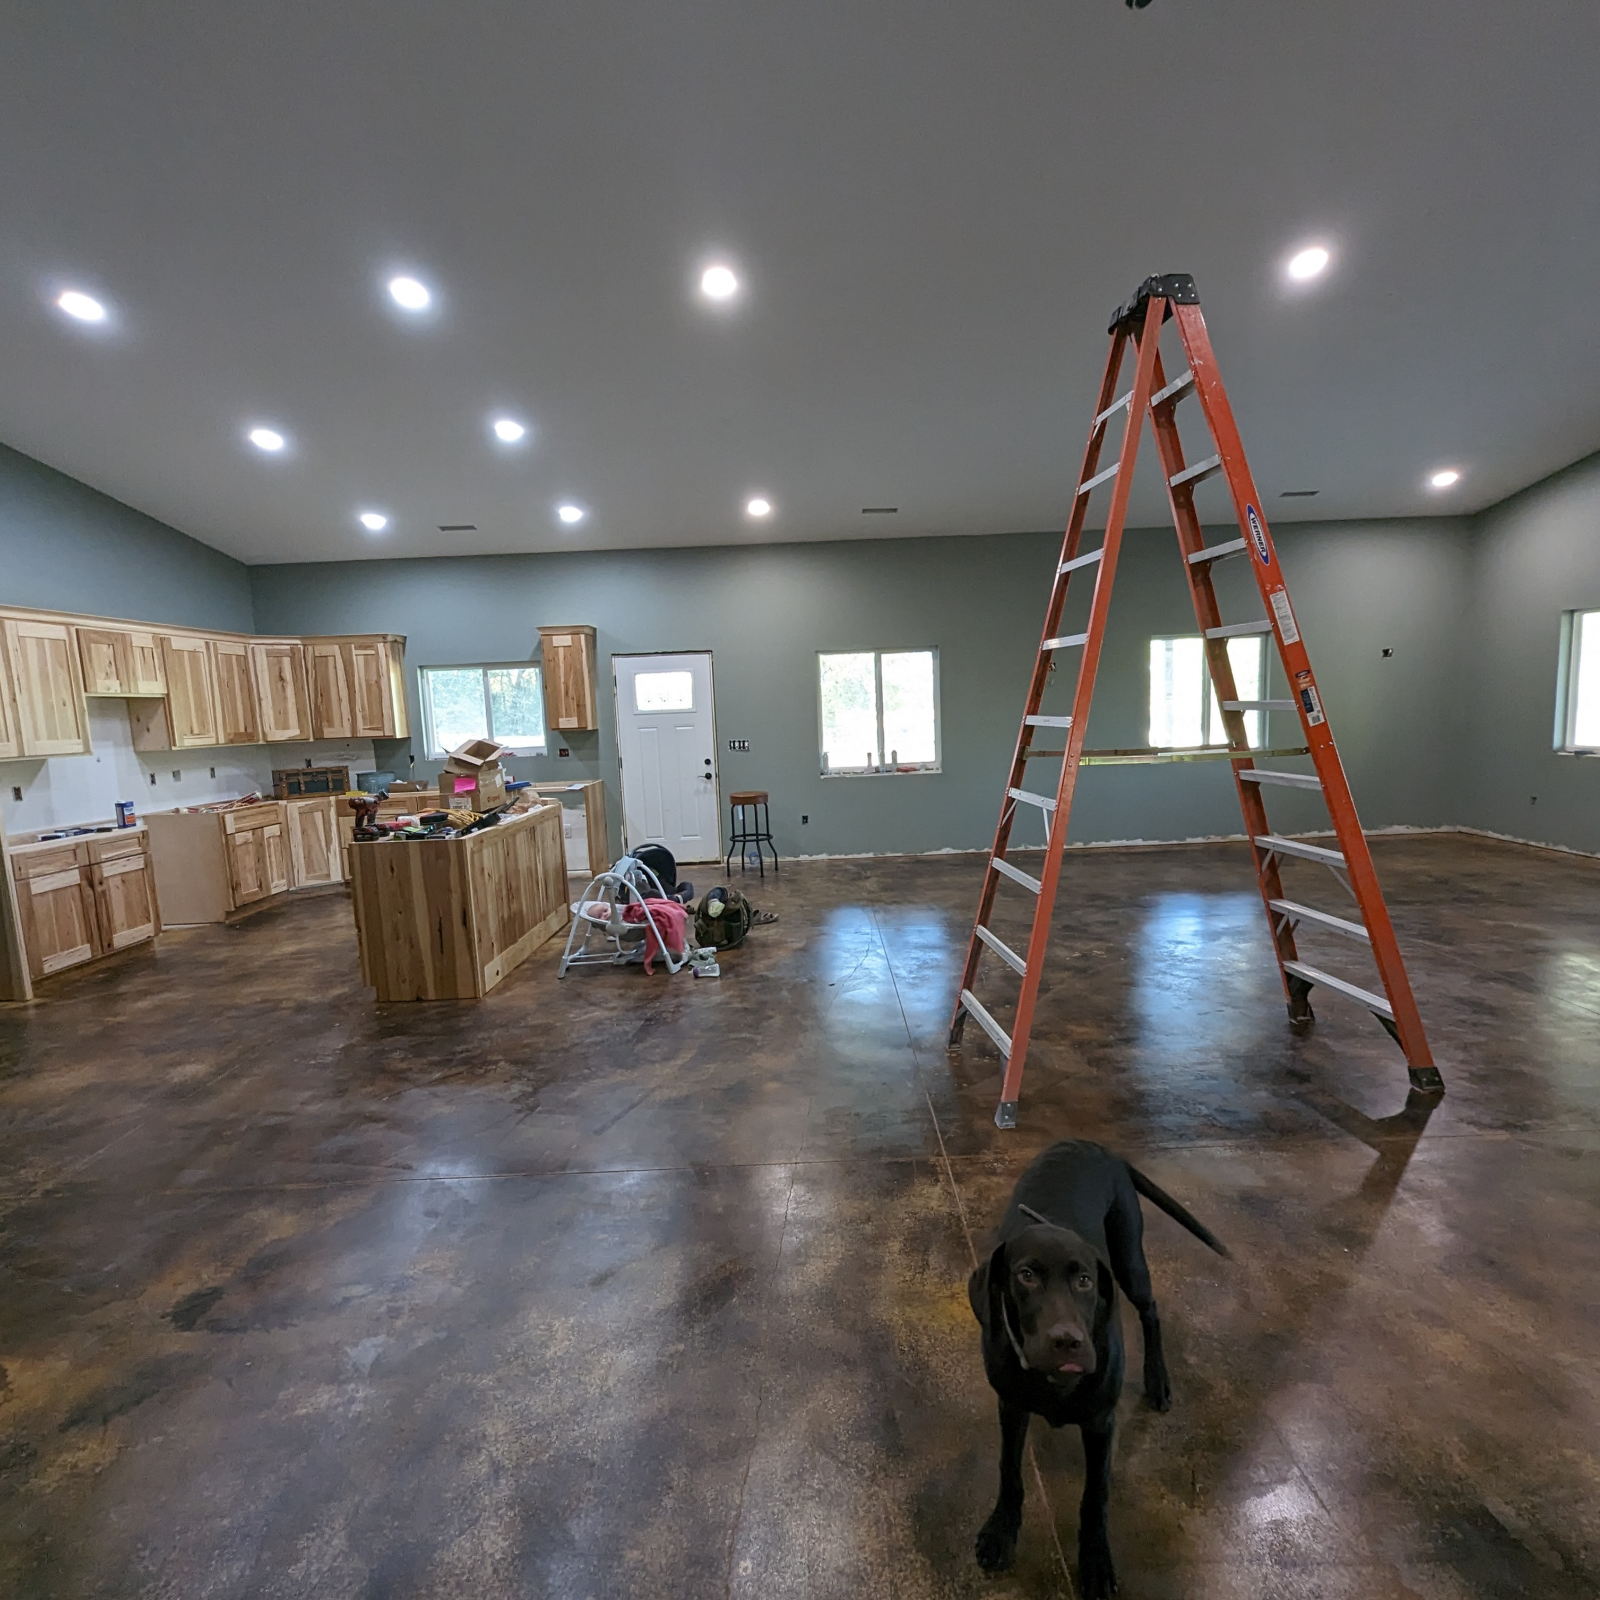
Project Info:
- Project Completed In: 4 day(s)
- Estimate of Square Footage: 2000 sq. ft.
- Project Description:
We are building a new shed house & decided to stain our own floors! We absolutely love the look of our floors!! After all the hard work it has been a beautiful touch to our home! - Personal Tips:
Thin coats of sealer! - Direct Colors Products Used:
2 x g Gal. Coffee Brown EverStain™ & AcquaSeal™ Gloss Mega Bundles
5 Gal. ProWax Polish™ Satin
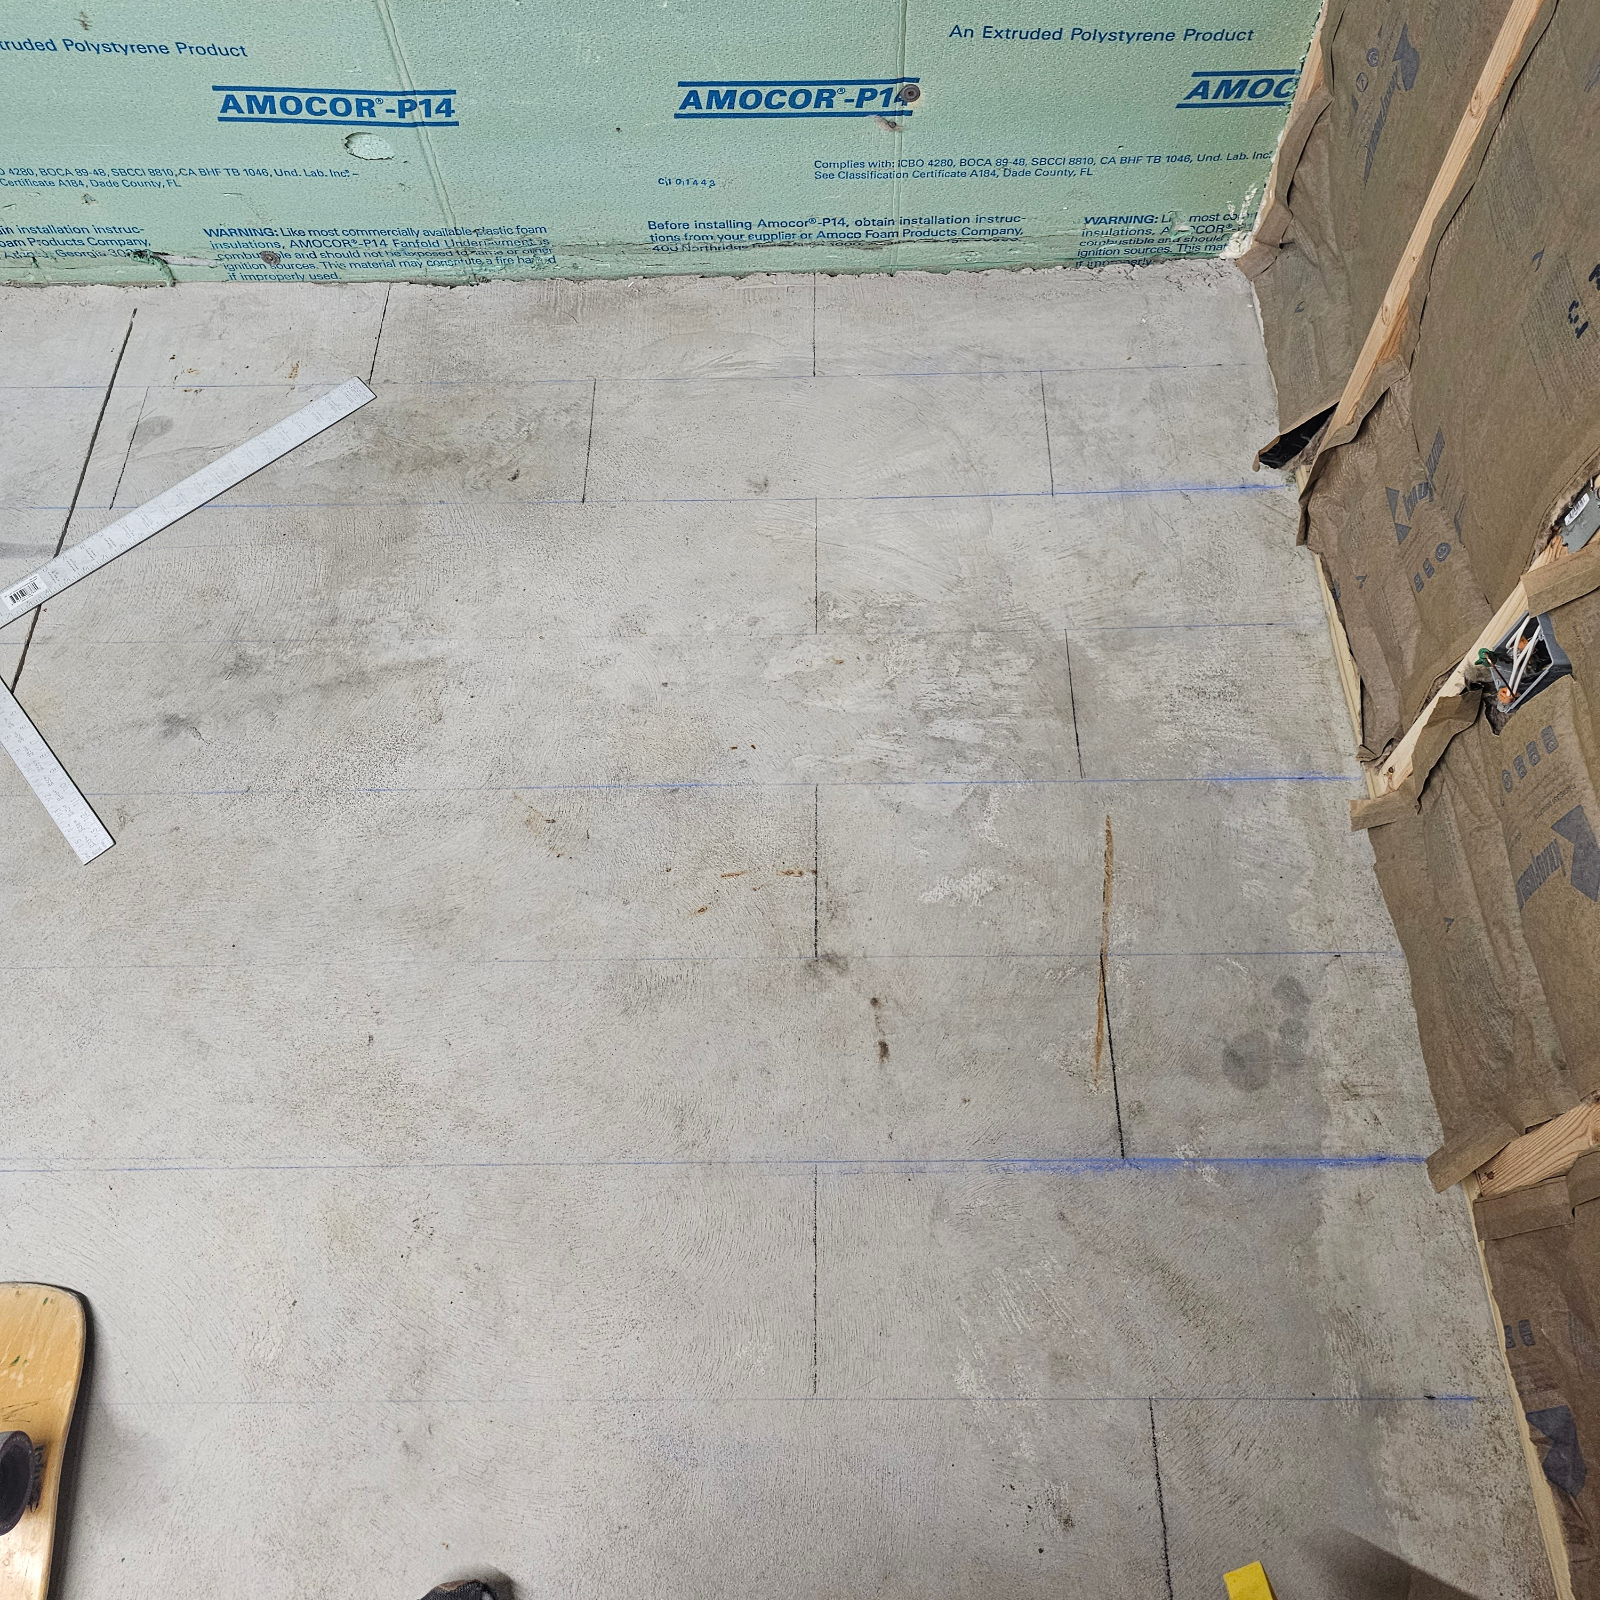
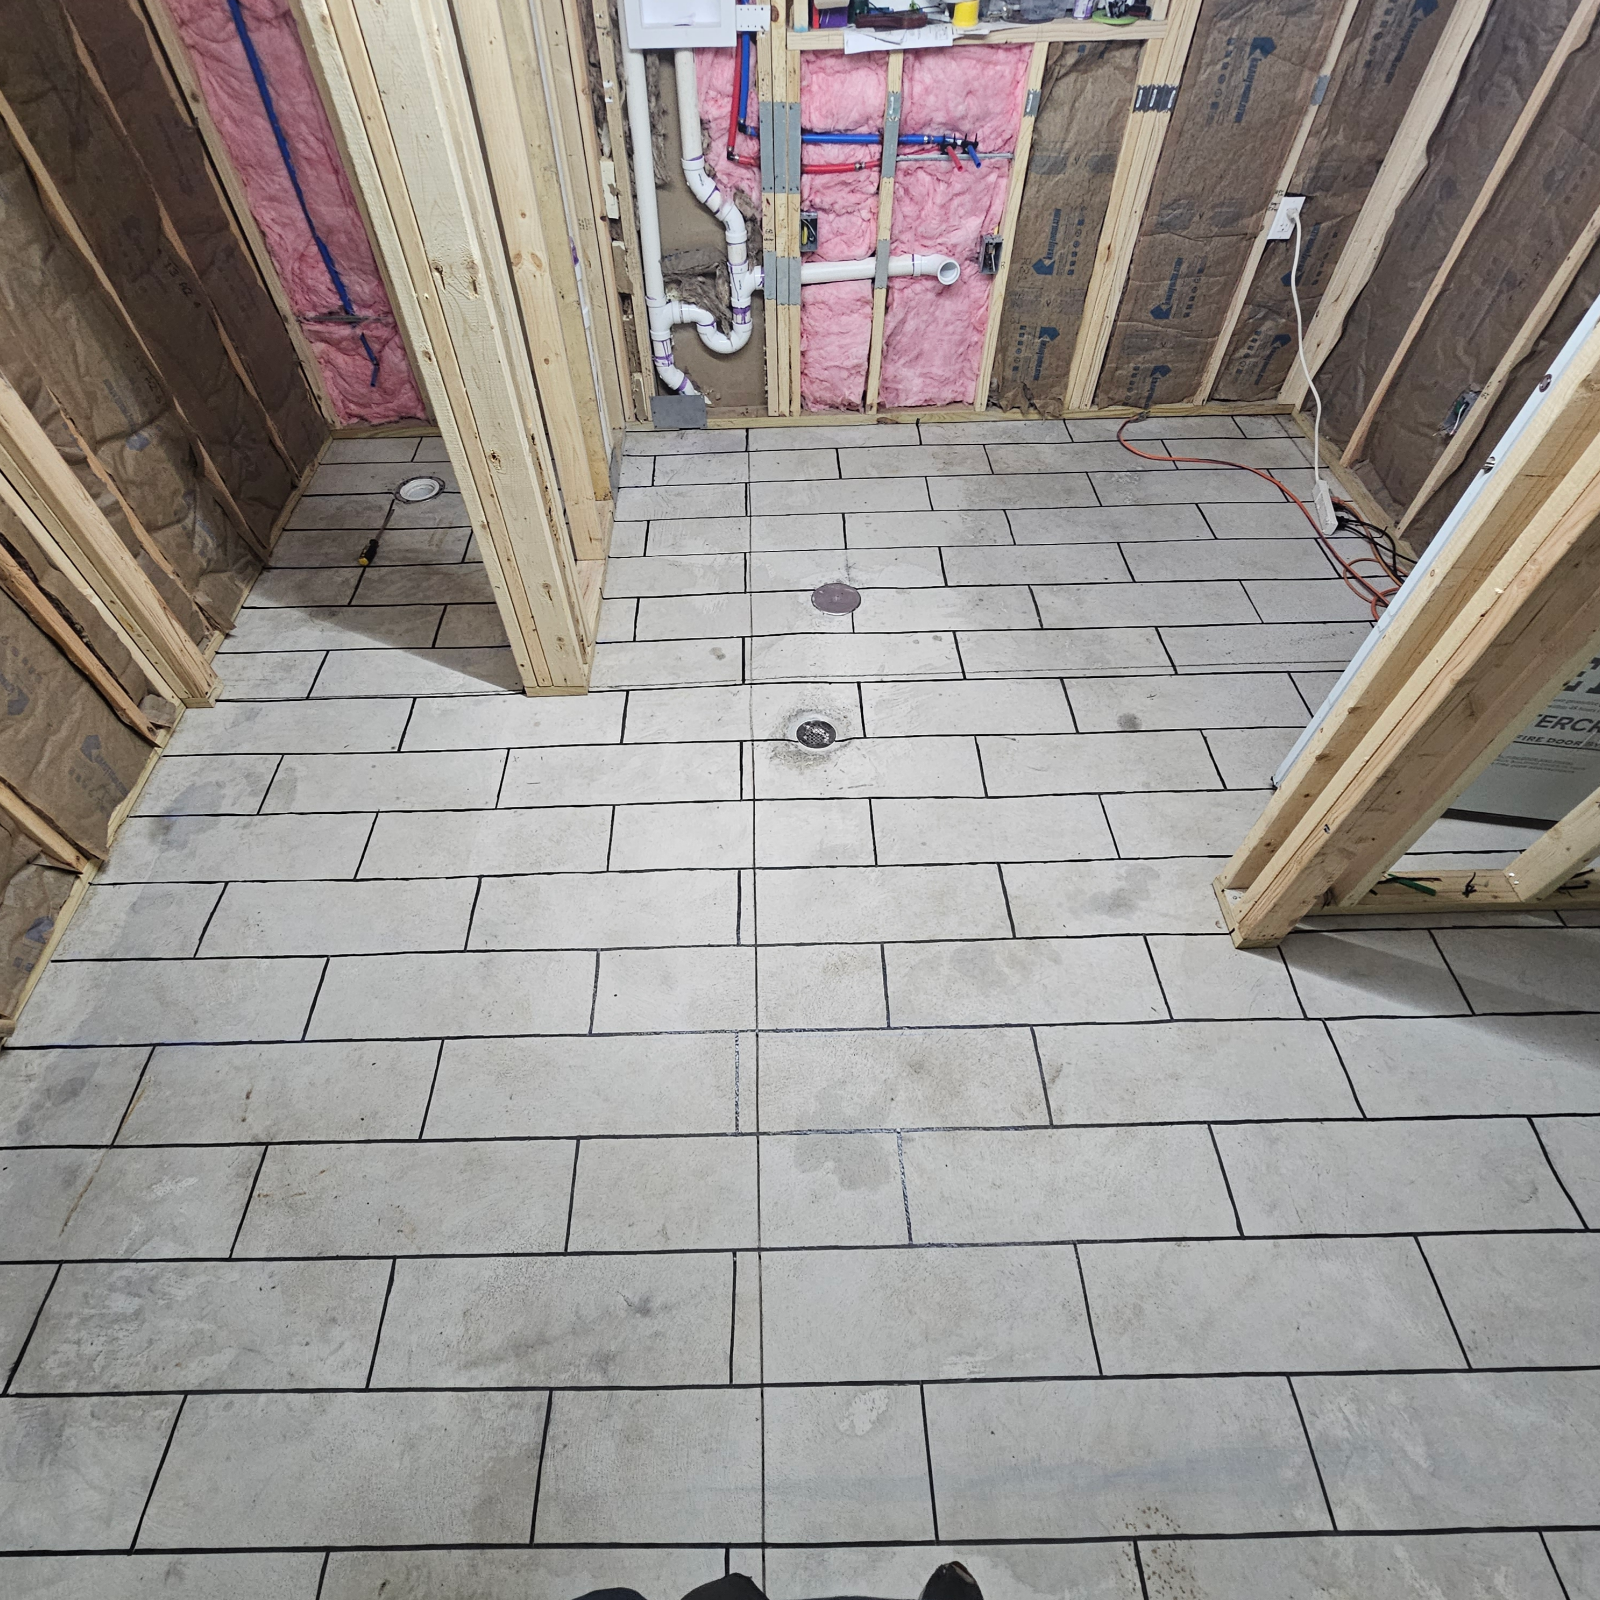
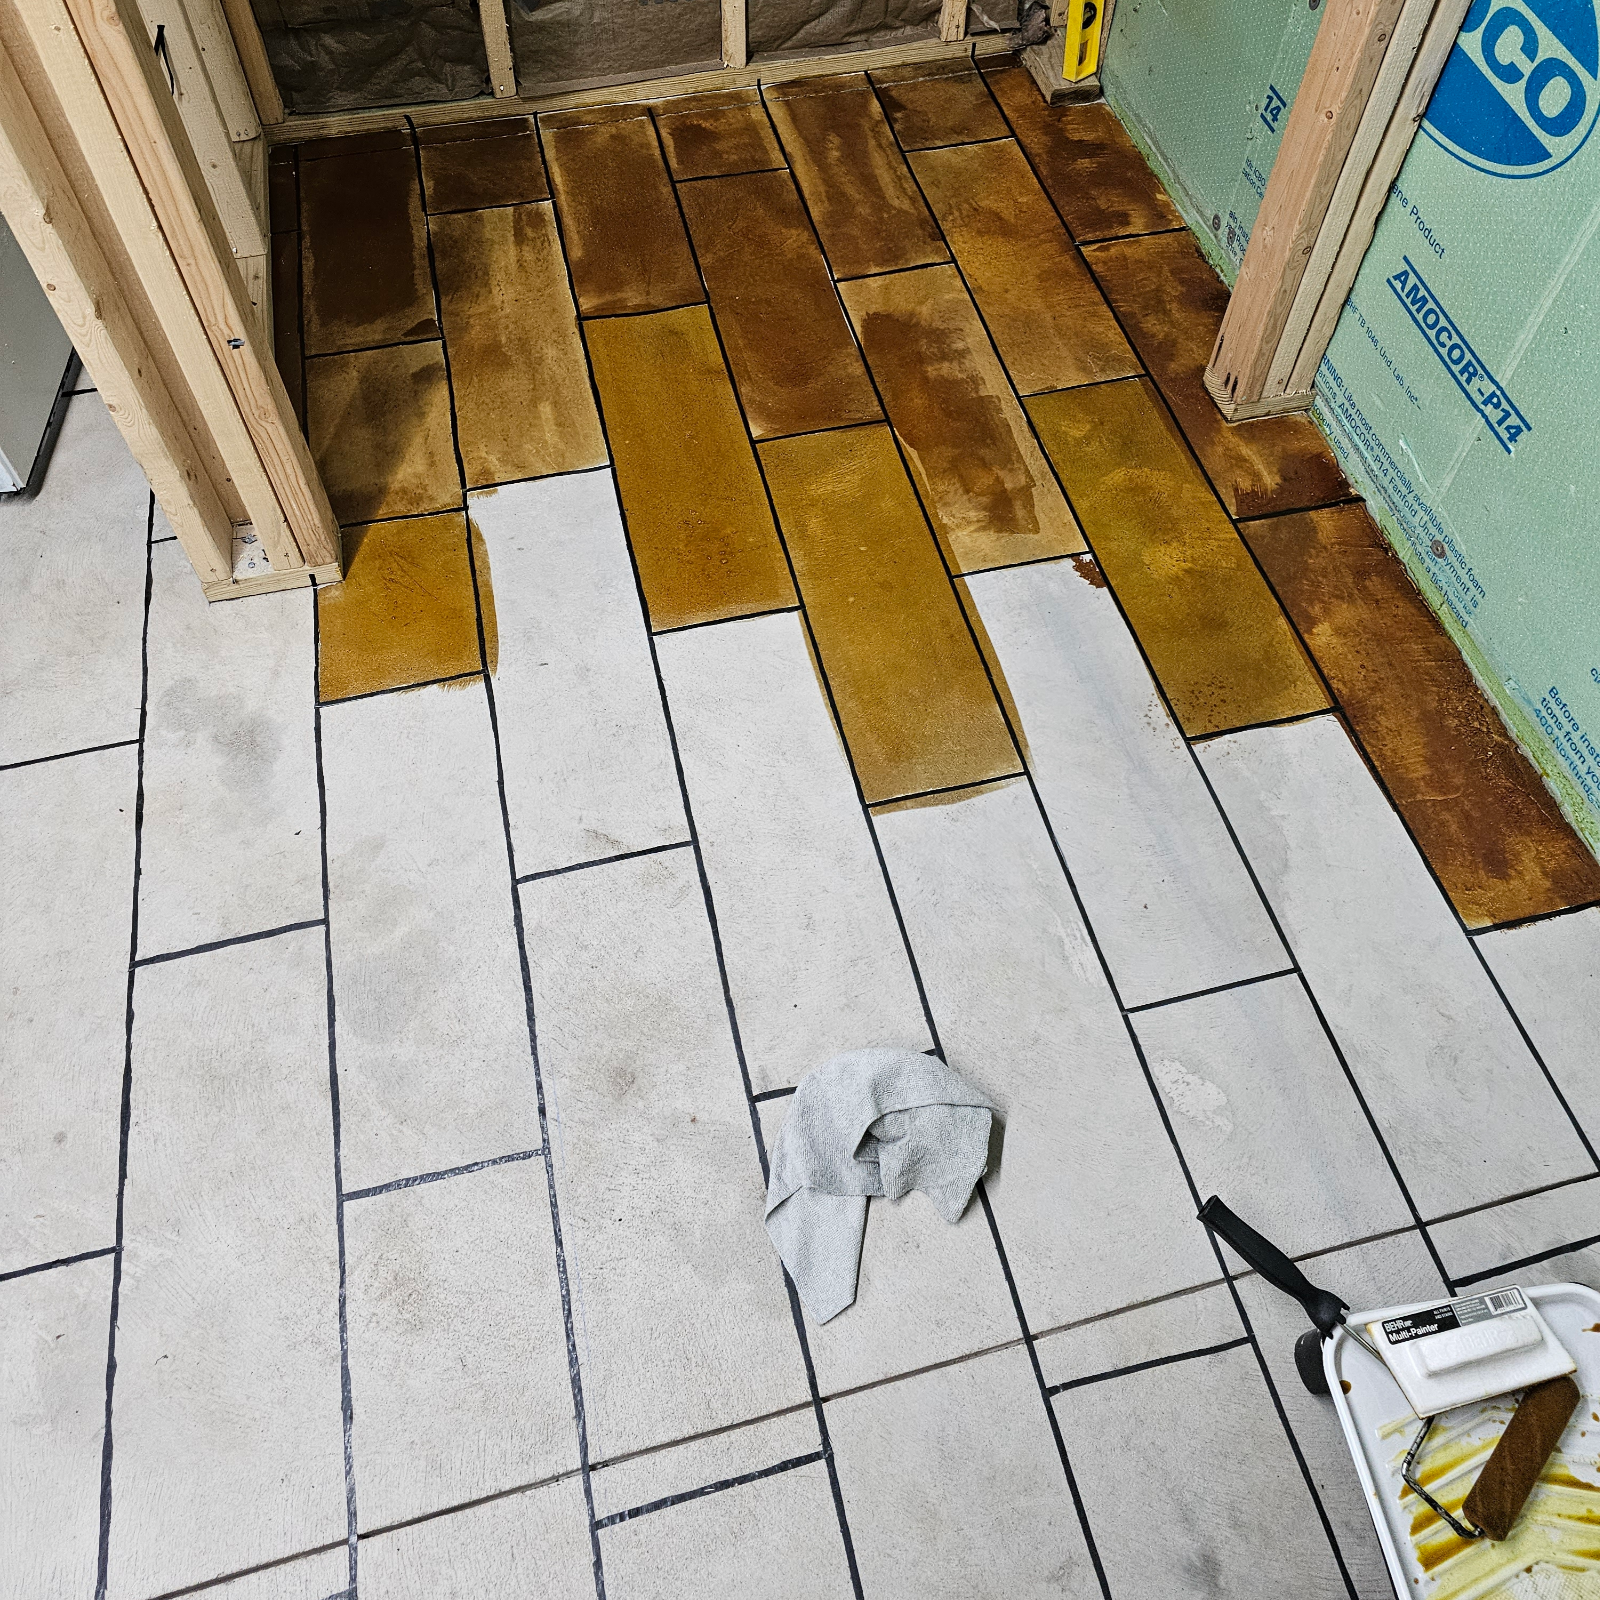
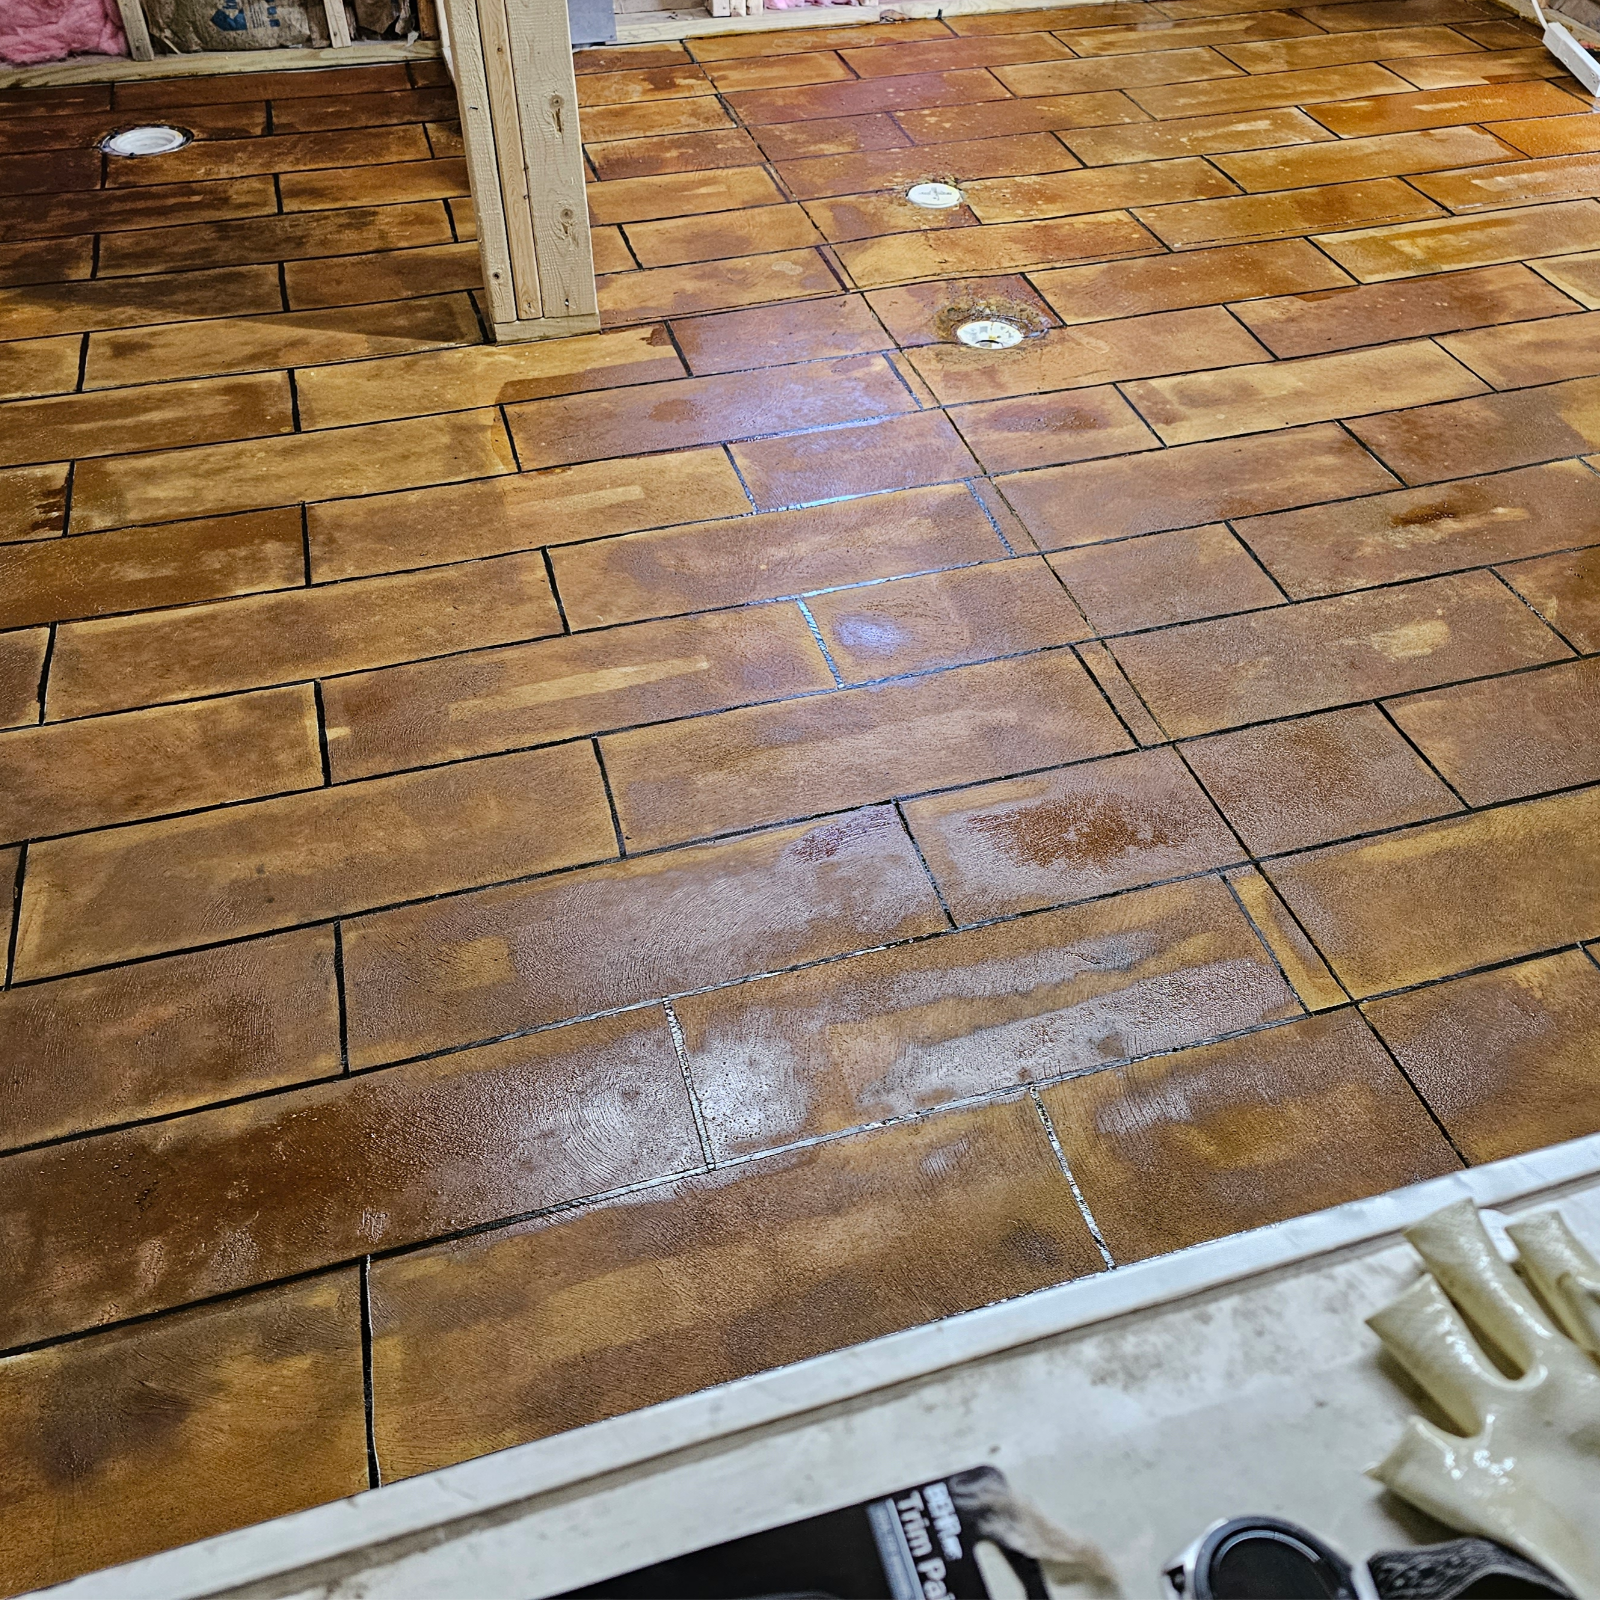
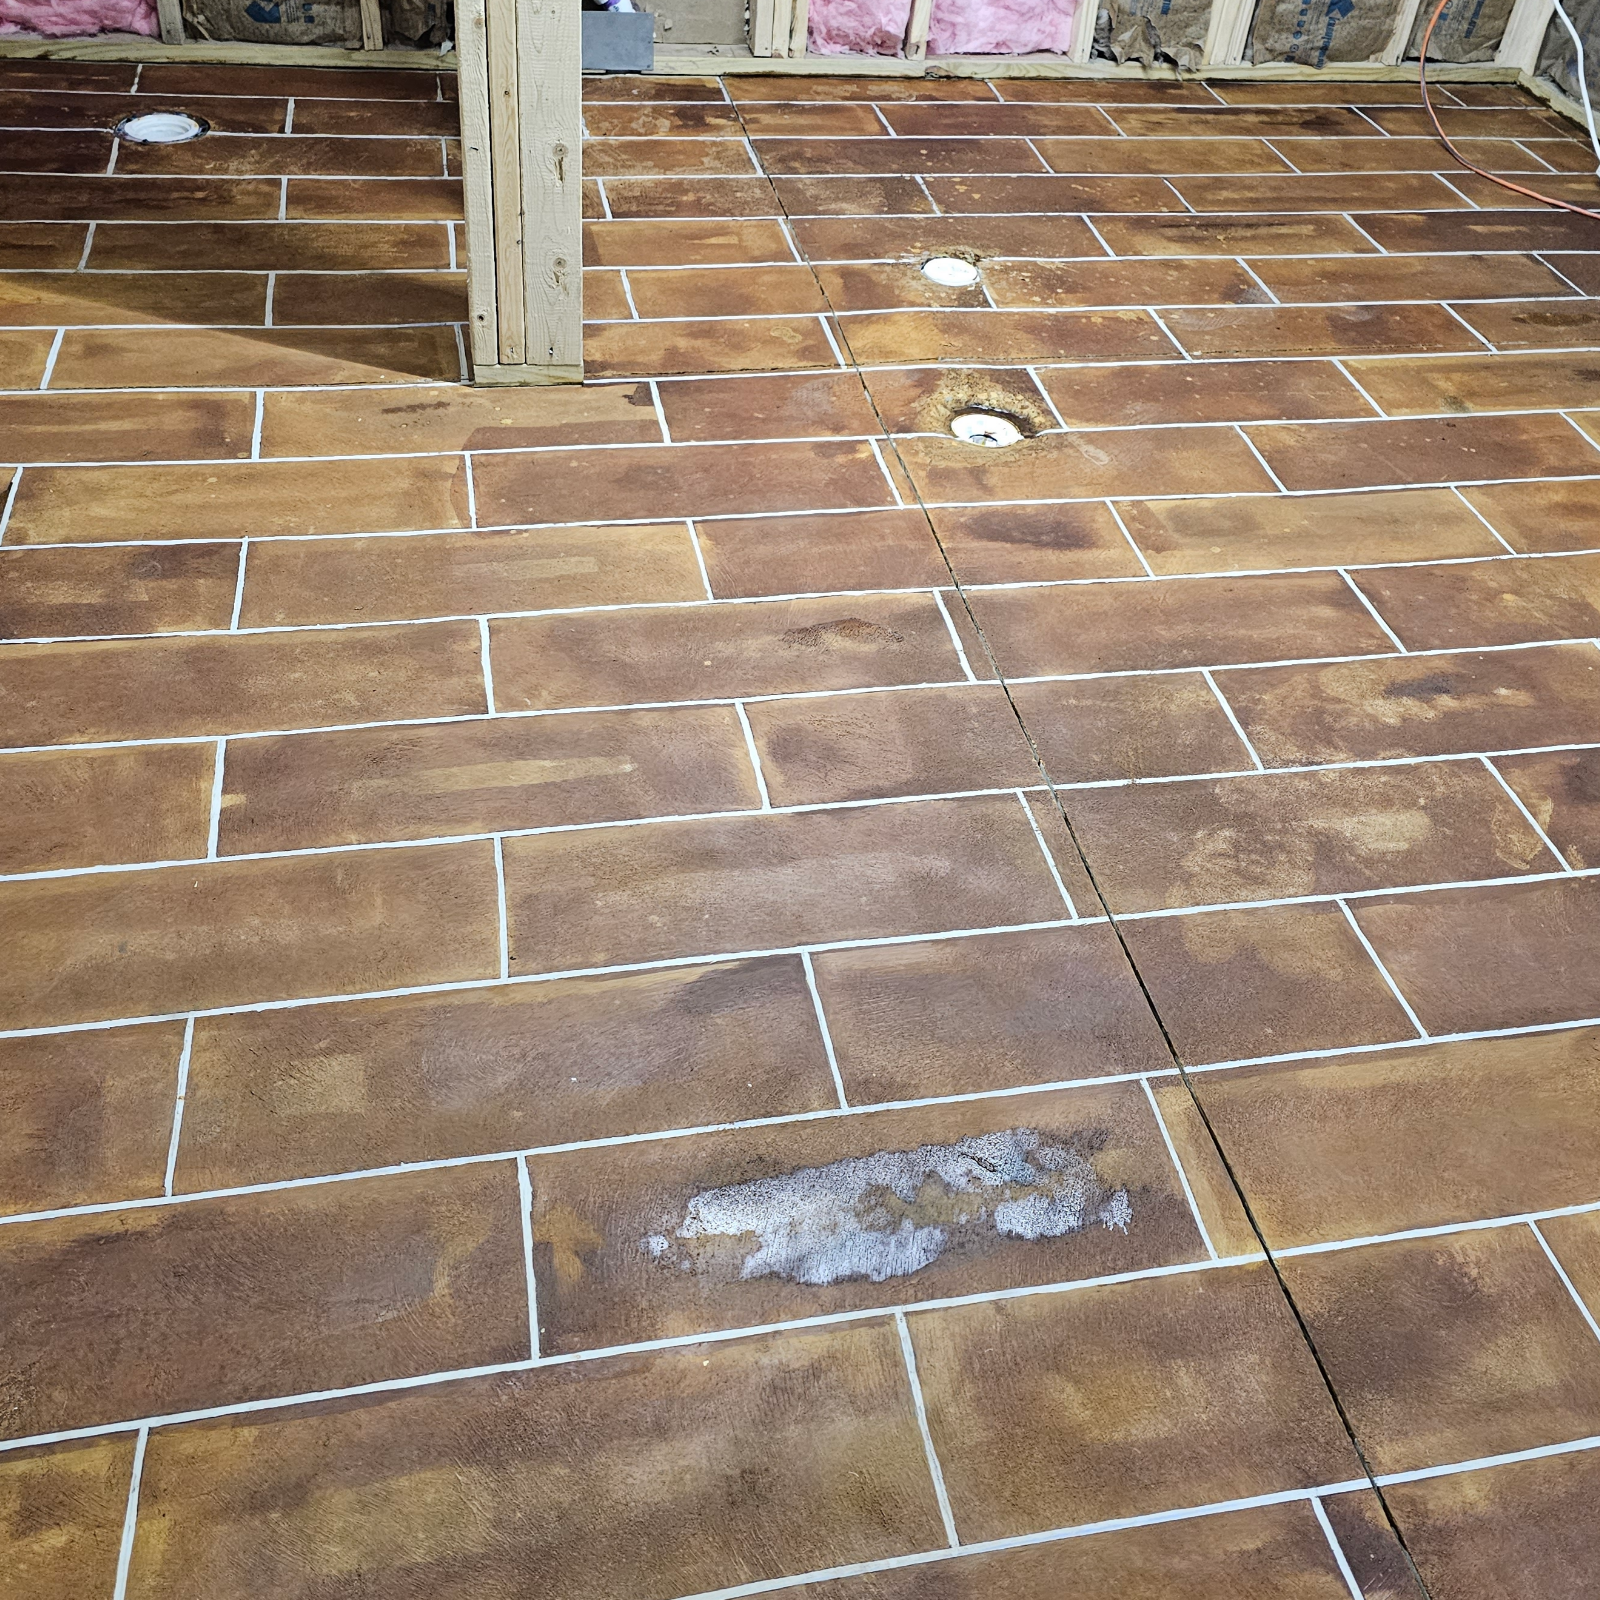
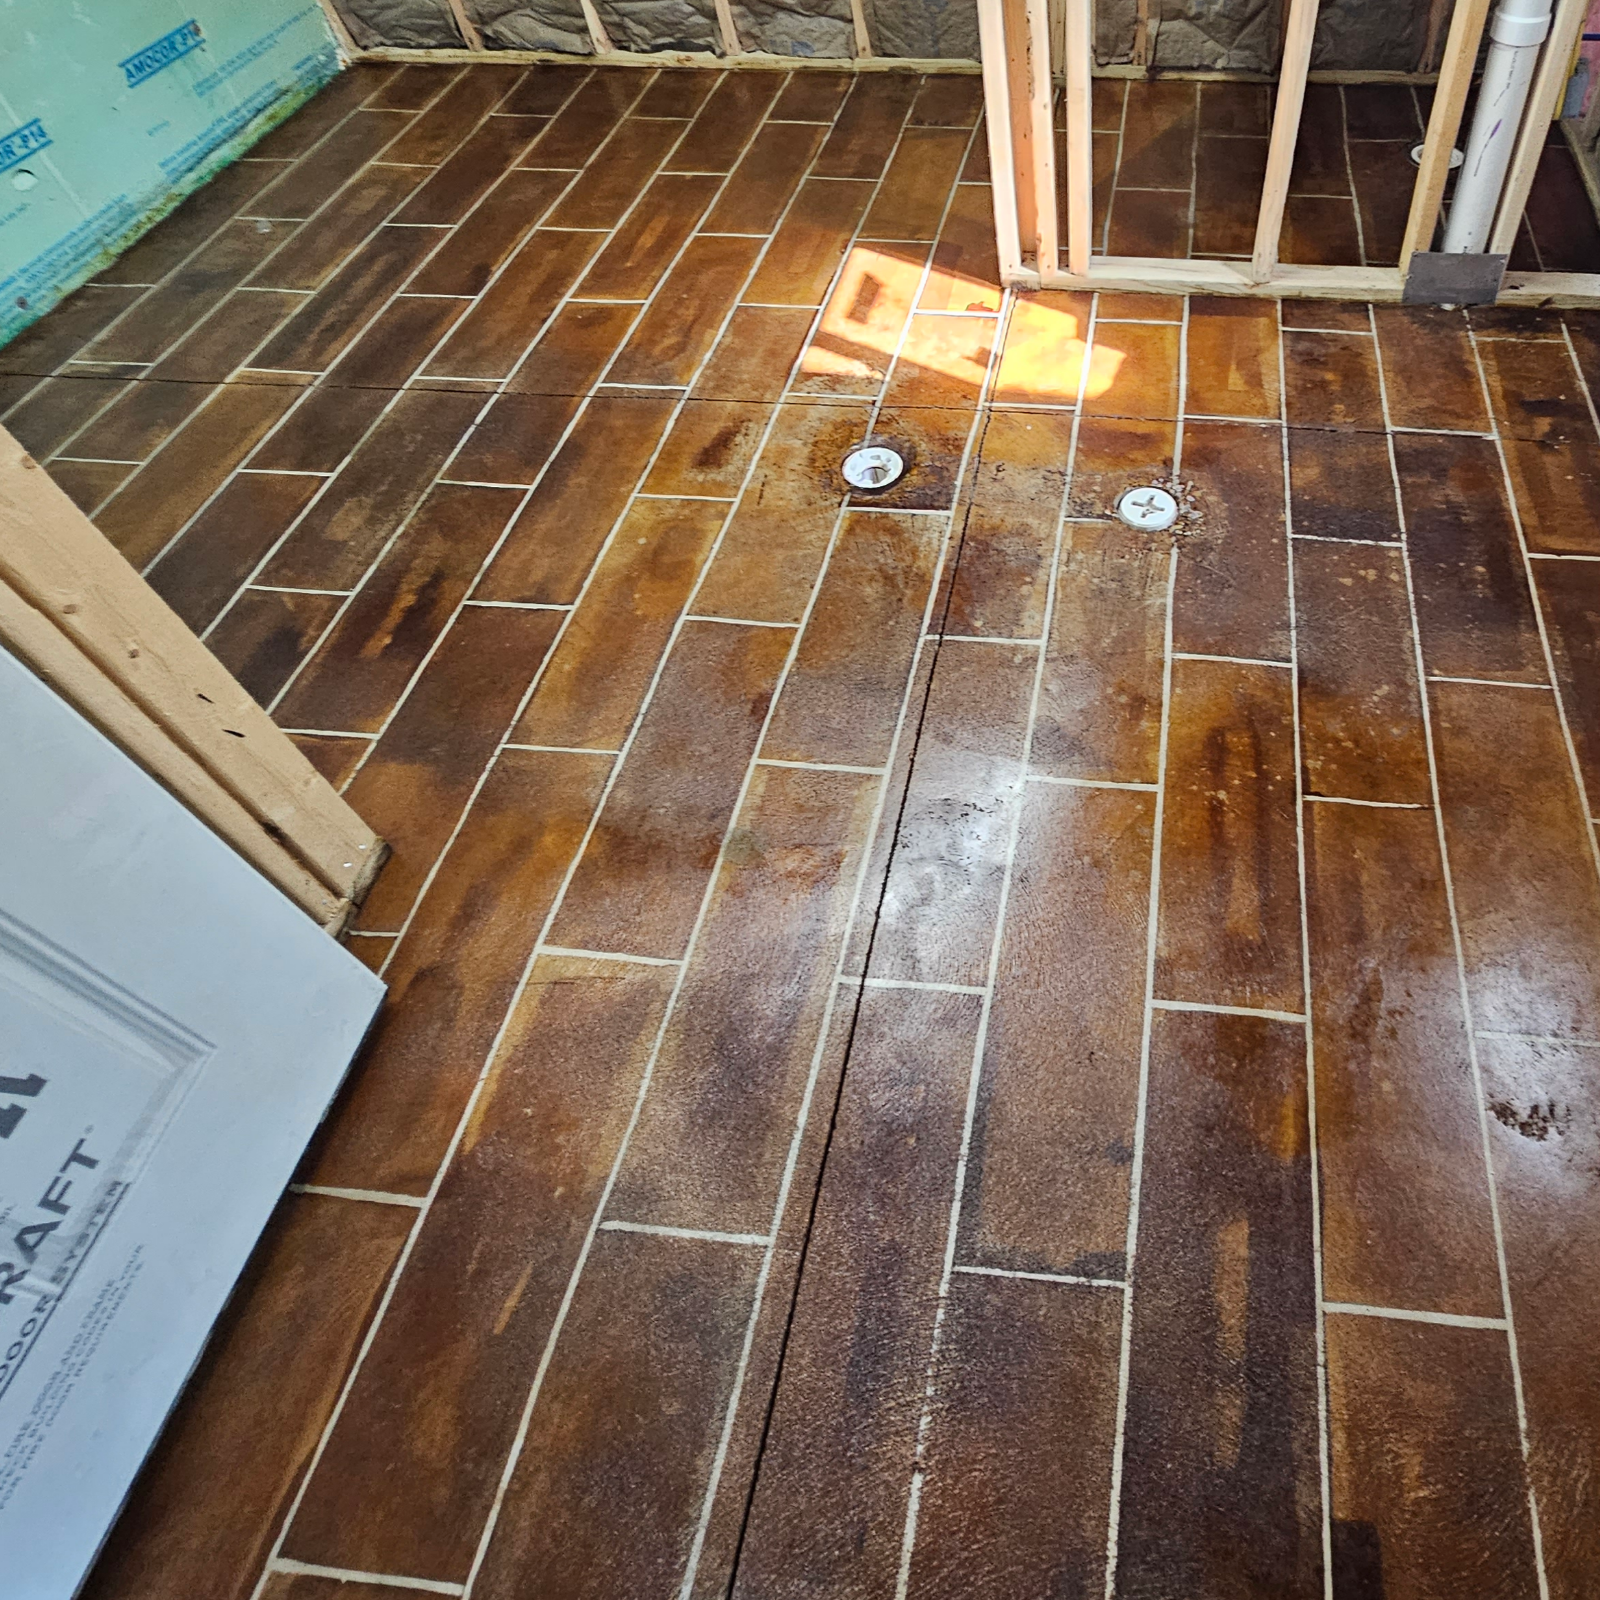
DIY Faux-Tile Triumph with Coffee Brown EverStain™
Check out how one of our savvy DIYers achieved a stylish faux-tile look on their concrete floor. Armed with Coffee Brown EverStain™, a good deal of patience, and Gorilla Duct Tape, they crafted a striking design that really stands out. Discover their tips and tricks and get inspired for your own project.
Project Info:
- Project Completed In: 2 day(s)
- Estimate of Square Footage: 144 sq. ft.
- Project Description:
I started out consulting Ashli (my wife) on what size tile look we wanted. It was between 6×24 and 8×24, we ended up doing 8×24 so save us from having to do more lines, which brings me to the lines. Ashli and I had a science experiment with tape and which wouldn’t bleed through the stain under the tape, we tried 4 different types of tape and ended up on gorilla duct tape. I cut it down to ¼ in the best I could. I measured out and chalked lines and we laid the tape down in the tile design. I used our coffee brown stain and went to town, staying up till 1 am due to having to neutralize the acid stain and clean it. Pulling up the tape was the most satisfying part due to being able to see no bleed through and all mostly crisp lines. I decided to leave the lines the natural concrete color so it would offset the dark brown well. After the second of sealer last night I can say I’m really happy how this came out! - Personal Tips:
Test test test, use a inconspicuous area to find out if you can do what you want. Take your time, and don’t wipe with straight lines, go in circles. - Direct Colors Products Used:
1 Gal. Coffee Brown DIY EverStain™ & EasySeal™ Gloss Kit
1 Gal. ProWax Polish™ Gloss
New Build Makeover: Wood-look Patios
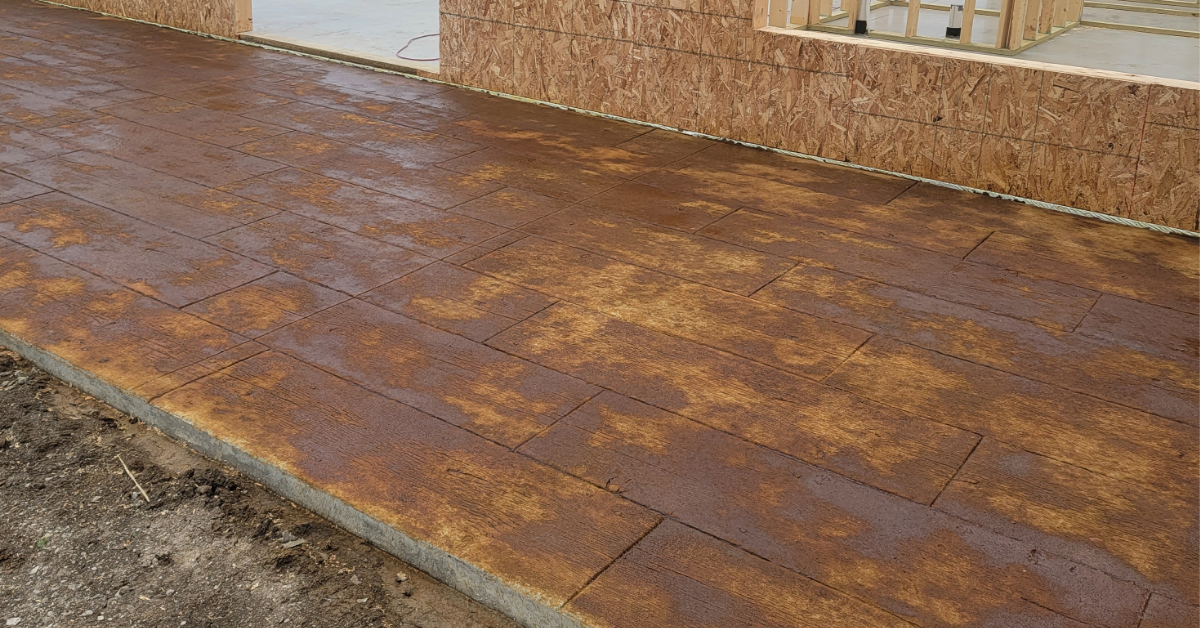
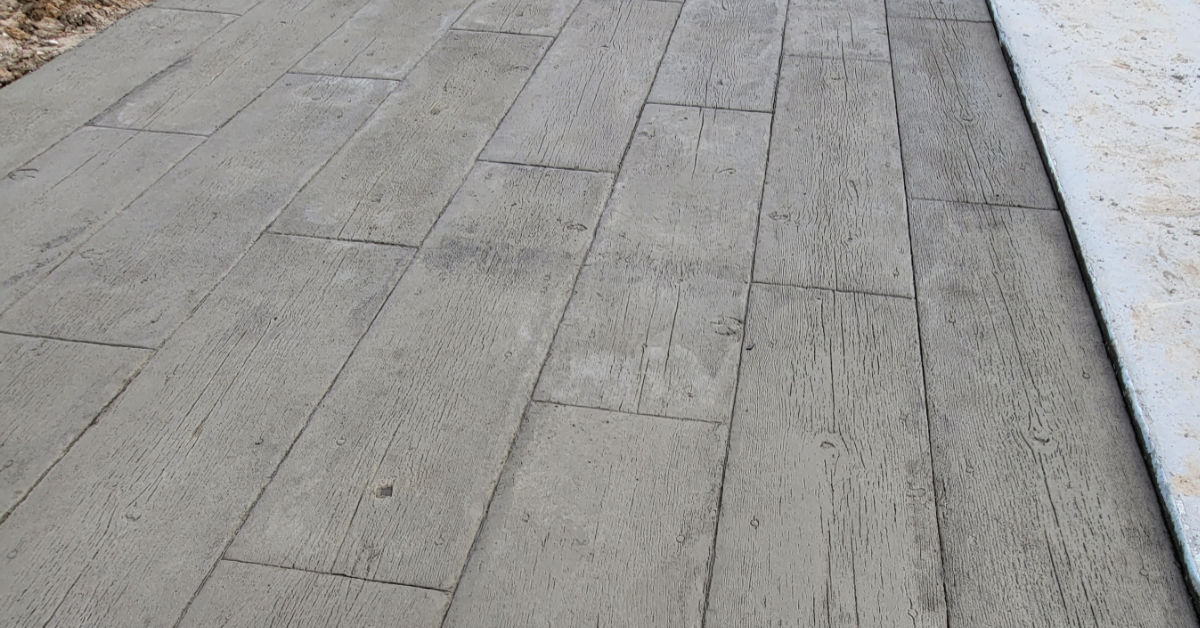
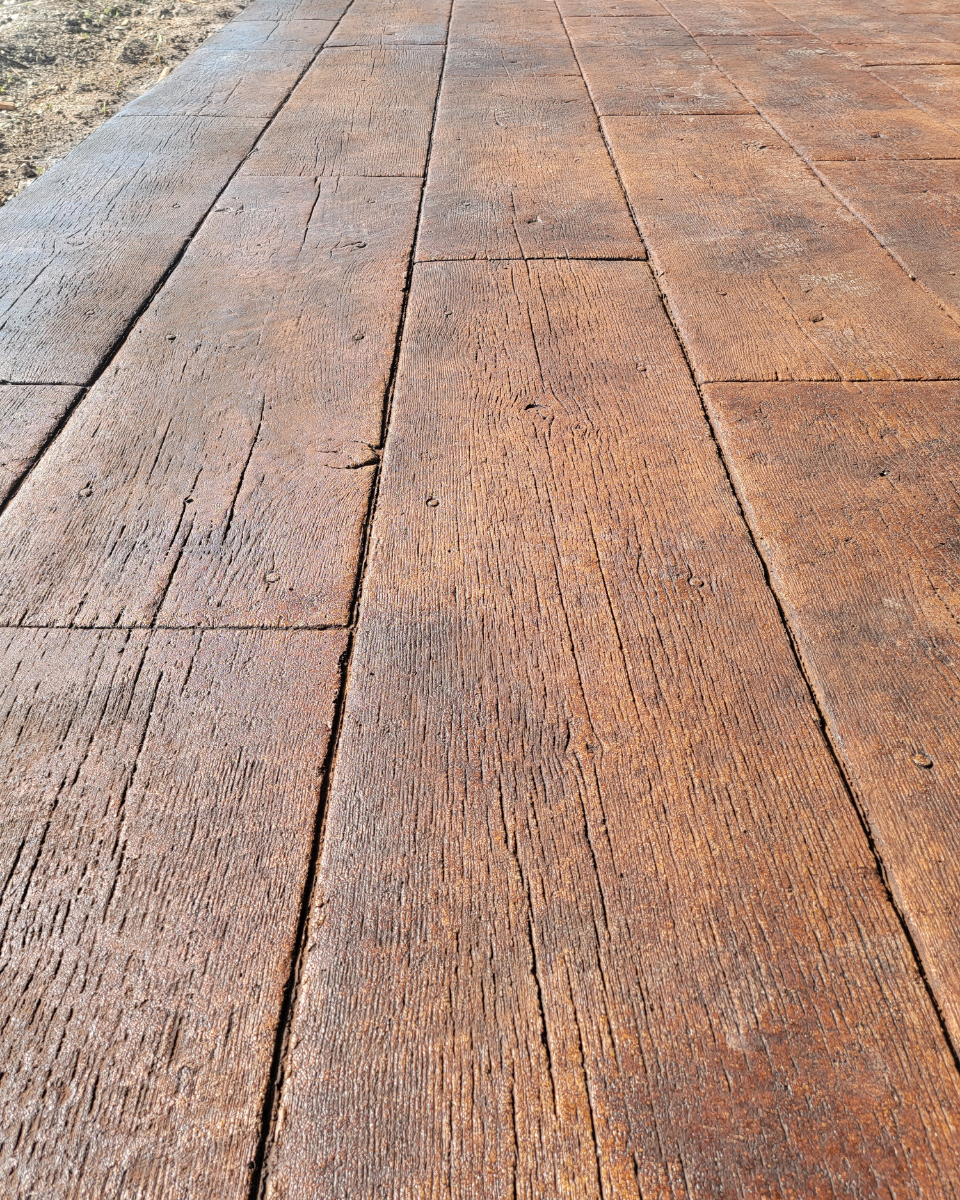
Are you looking for a unique and stunning way to enhance your new construction wood plank stamped concrete patios? Concrete acid staining may be just what you need!
Project Info:
- Project Completed In: 2 day(s)
- Estimate of Square Footage: 1200 sq. ft.
- Project Description:
New construction stamped concrete front and back patio - Personal Tips:
We used a push broom to get the sealer into the cracks - Direct Colors Products Used:
1 Gal. Coffee Brown DIY EverStain™ & EasySeal™ Satin Kit
5 Gal. Coffee Brown EverStain™ & EasySeal™ Satin Kit
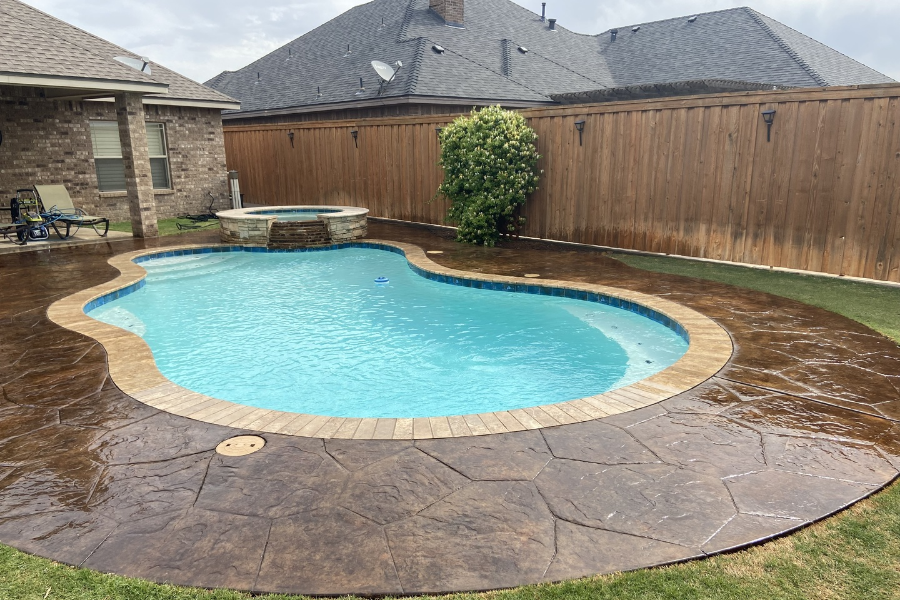
Pool Deck Revival: A DIY Stamped Concrete Makeover
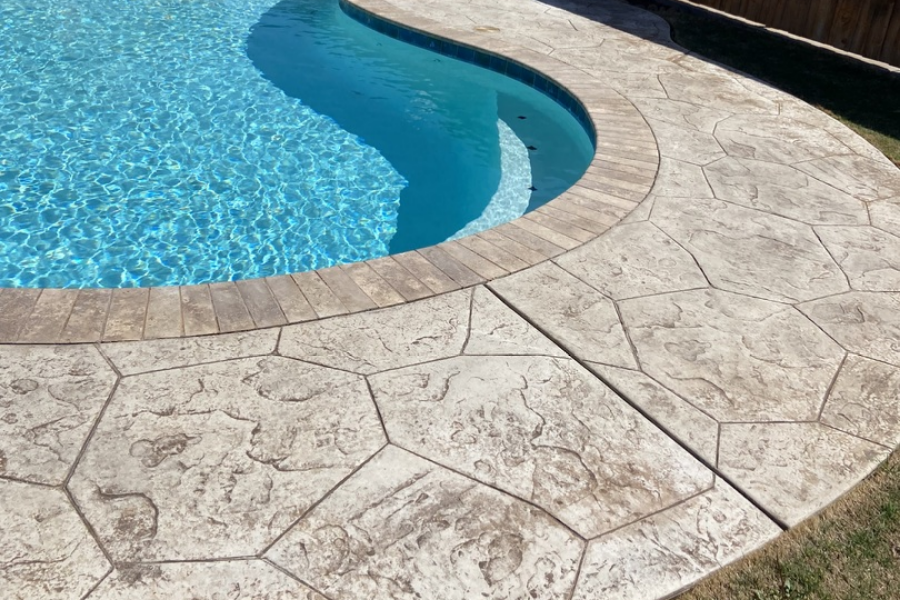
This DIYer gave their faded stamped concrete pool deck a fresh new life. They used Coffee Brown EverStain™ acid stain to bring back color and added a high gloss finish for shine. To keep it safe and prevent slipping, they mixed in an Anti-Slip Additive.
A Concrete Driveway Makeover: Neutral Tones Meet Bold Design
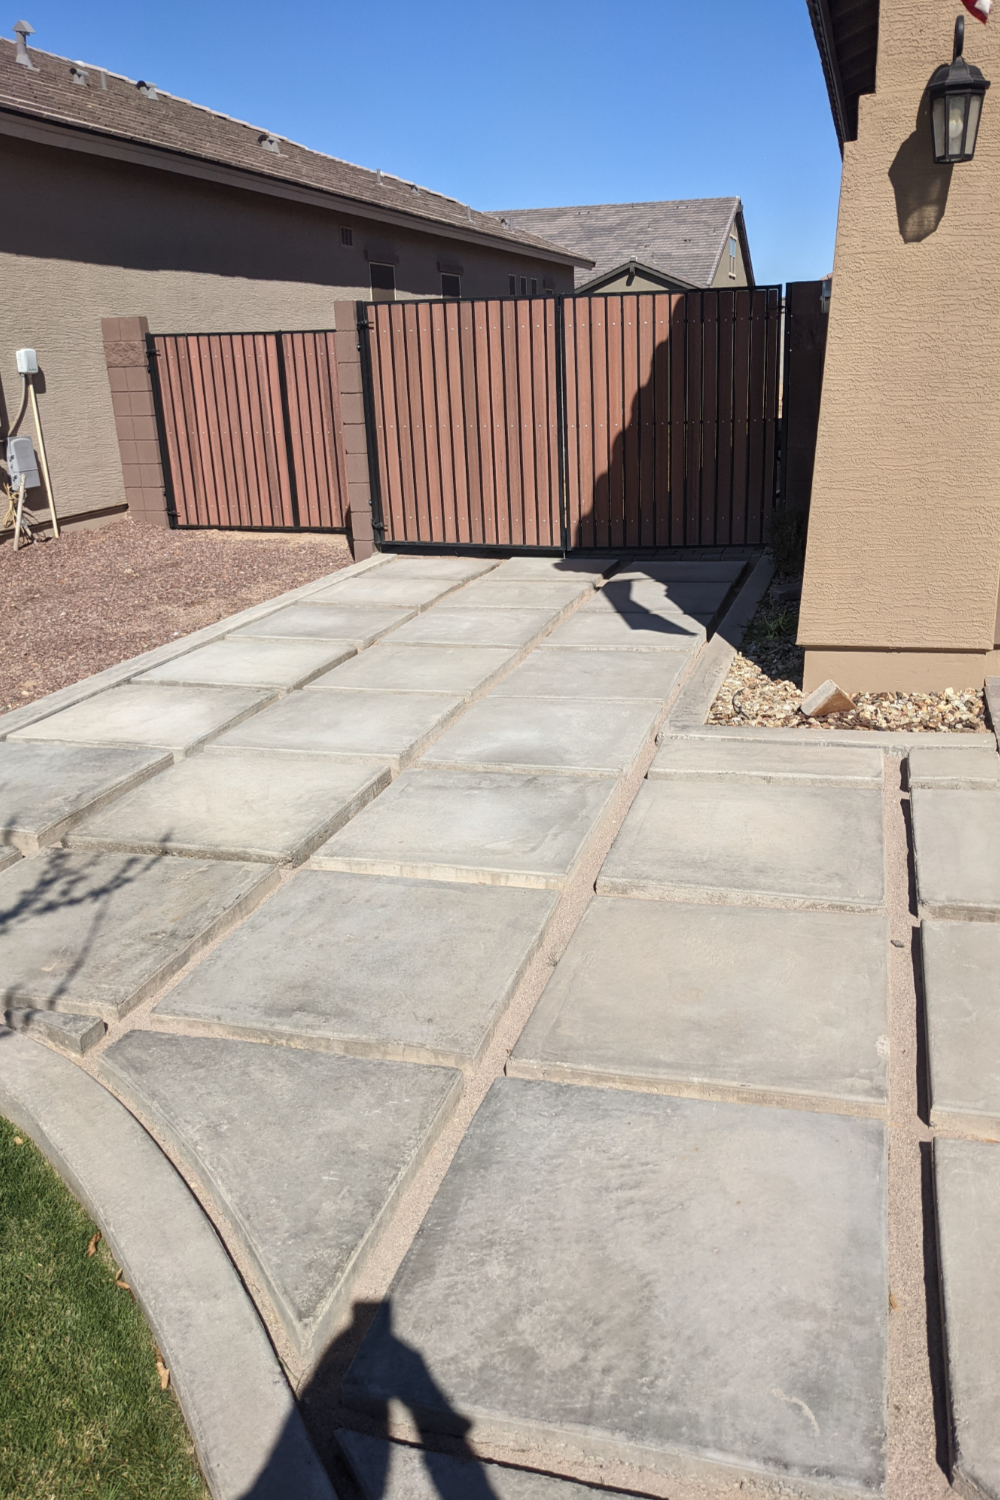
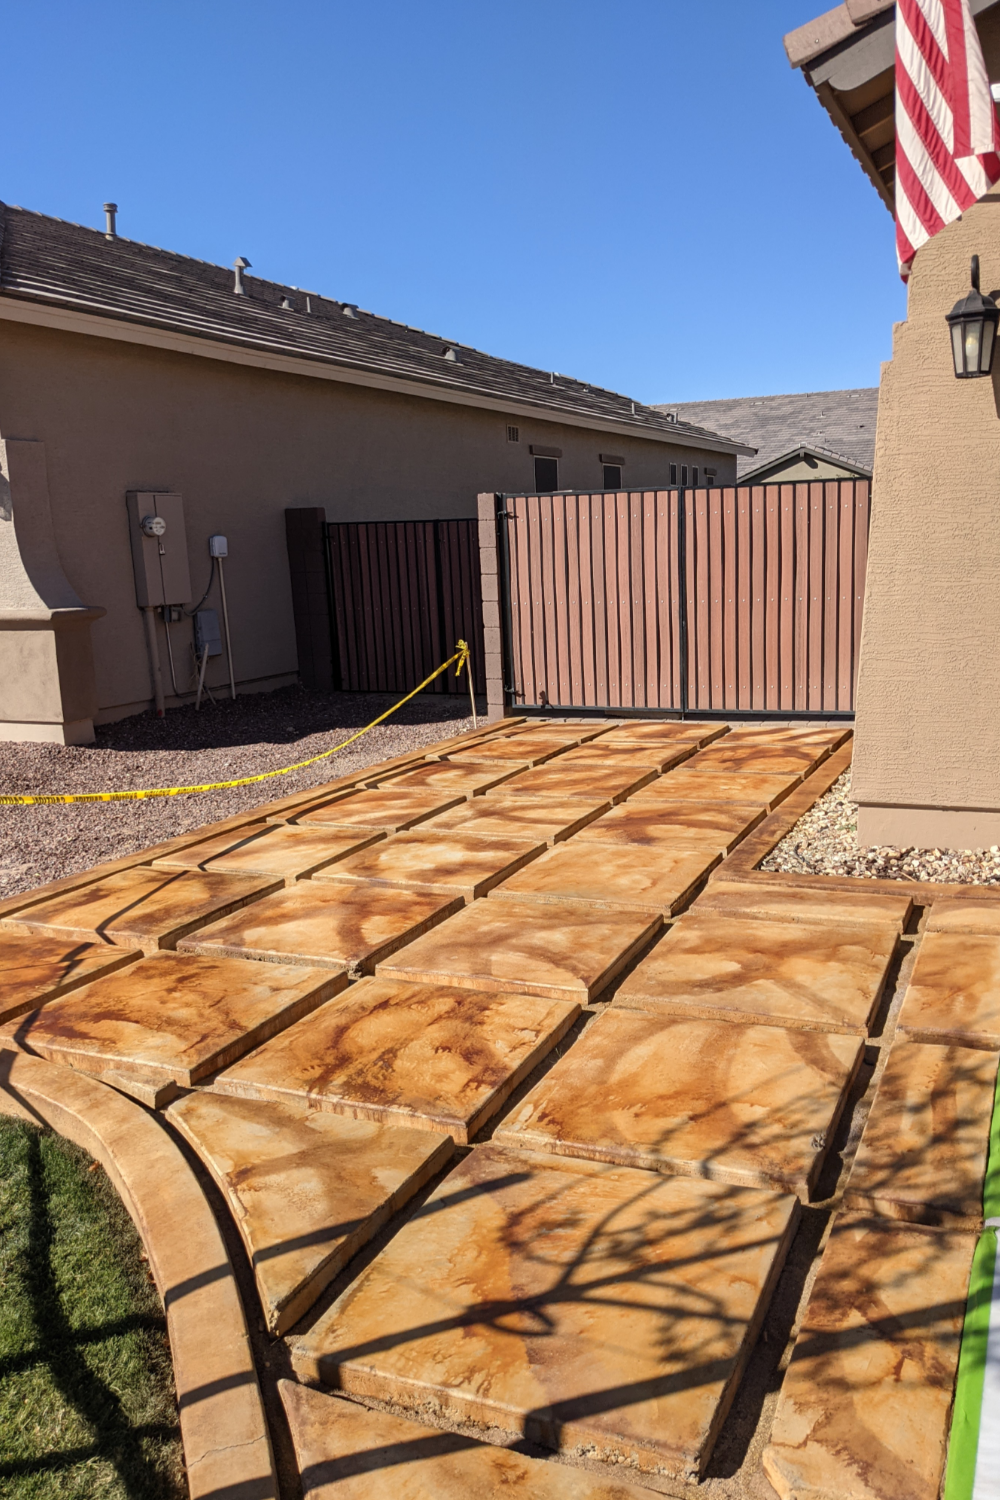
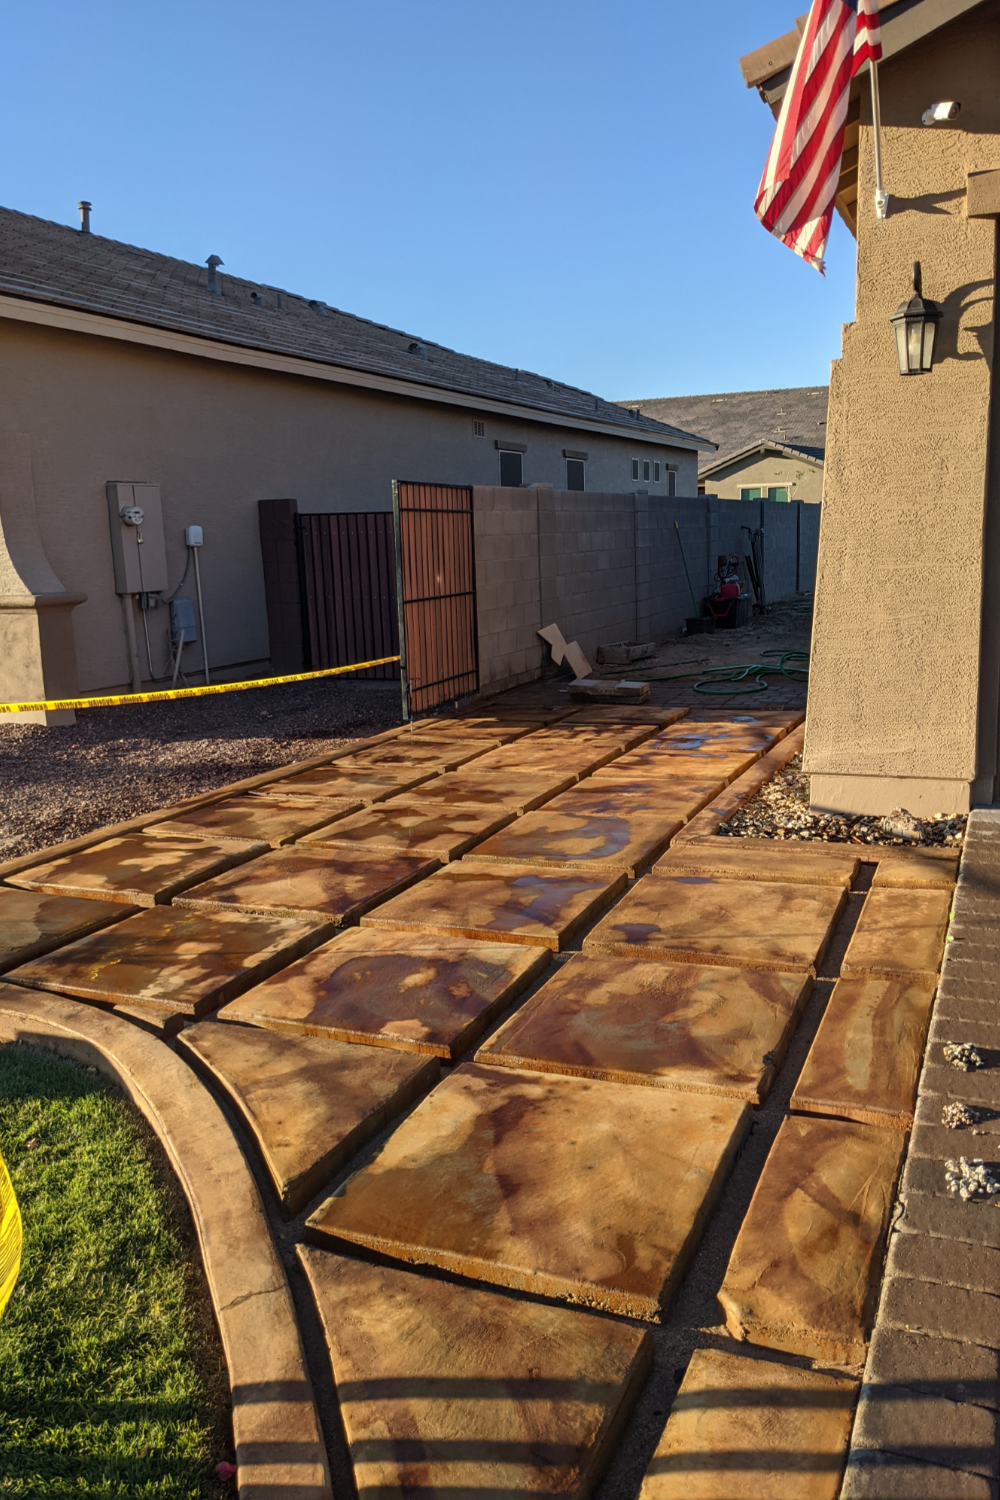
Not wanting to have a traditional driveway extension like their neighbors, our customers chose Malayan Buff and Coffee Brown acid stain and satin EasySeal™ . The extension actually sat unstained for about a year after installation before they decided to stain it! Finally, they were able to achieve the neutral look that they were aiming for with two acid stain colors.
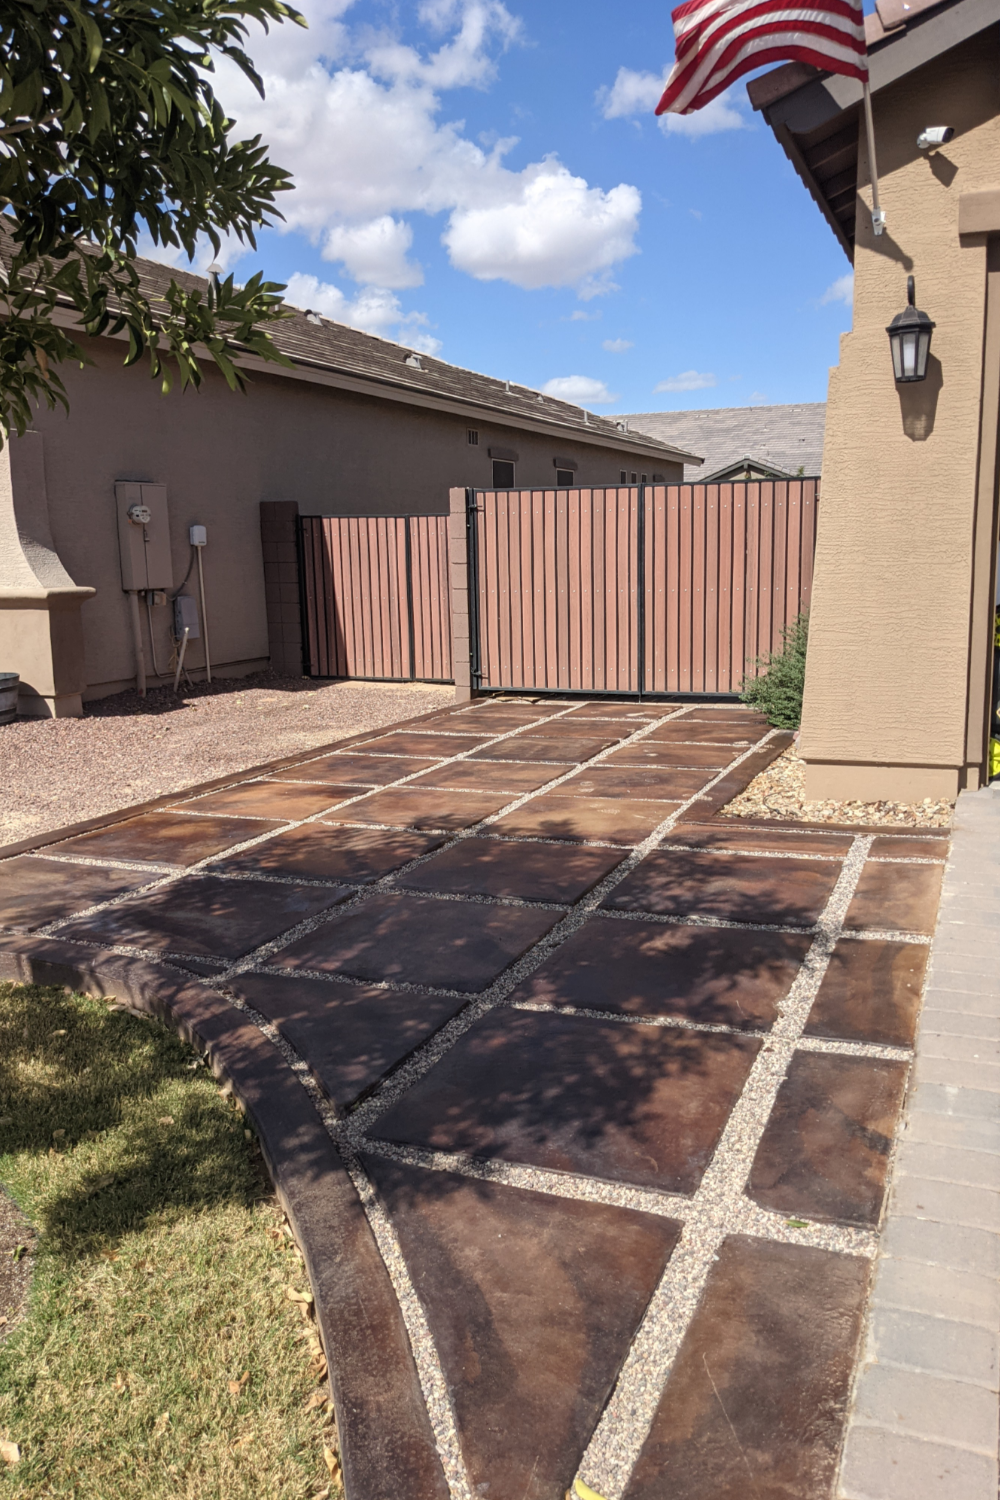
Project Info:
- Project Completed In: 4 day(s)
- Estimate of Square Footage: 200 sq. ft.
- Project Description:
My husband designed and installed a full concrete extension to the driveway because we did not want to go the traditional paver extension route that many of our neighbors do. It sat in its finished but unstained state for over a year before we finally decided to stain it! We knew we wanted a neutral look that wouldn’t argue with the exterior colors of the house, but that also wouldn’t clash with the cool-toned “blue” of the driveway pavers.
After two rounds of trial kits to find the best color for our project, we originally decided that we would want to lay an all-over stain of Malayan Buff, with accents of Coffee Brown. Once things began to dry, however, we thought it needed to be darker. So we went through with another (heavier) coat of Coffee Brown to achieve the look we were hoping for!
Finally after a few days of coating and dry time, we were able to seal and use! - Personal Tips:
1. Definitely take the time and money to invest in a trial kit. You will want to see the colors in person and in their final state, and how the colors will compliment the surroundings.
2. When using a pump-deck sprayer, be sure to begin each spray/trigger-pull off your project to avoid splatter marks. And use small circular motions to help diffuse any areas that appear too concentrated as you are applying.
3. Use a two-man team if you can! Depending on your project, or look, it will be a lot easier to have one person laying down the base color while the second person is following with an accent color. - Direct Colors Products Used:
1 Gal. Coffee Brown EverStain™ & EasySeal™ Satin Kit
1 Gal. Malayan Buff DIY EverStain™ & EasySeal™ Satin Kit - Other Products Used:
Gloves
Respirator mask
Eye protection
Patio Refresh: Old Meets New
Transforming a round patio with a firepit can seem like a daunting task, especially when trying to blend new and old concrete seamlessly. However, using Coffee Brown and Black acid stains can help achieve a unique and stunning look, while also unifying the old broomed concrete and new concrete add-on.
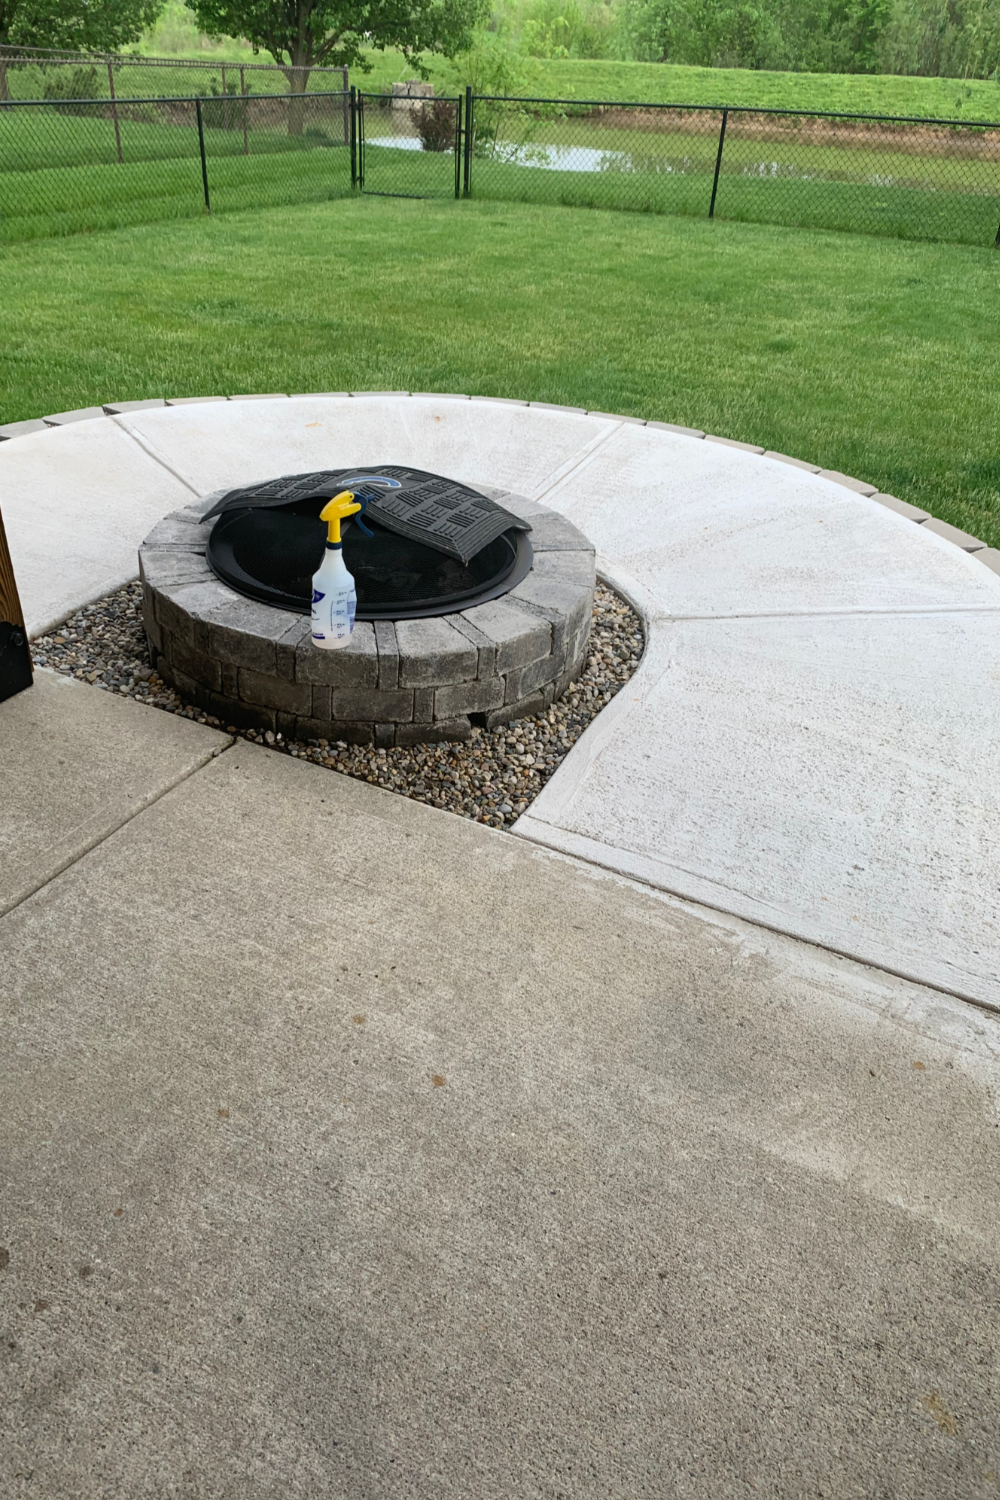
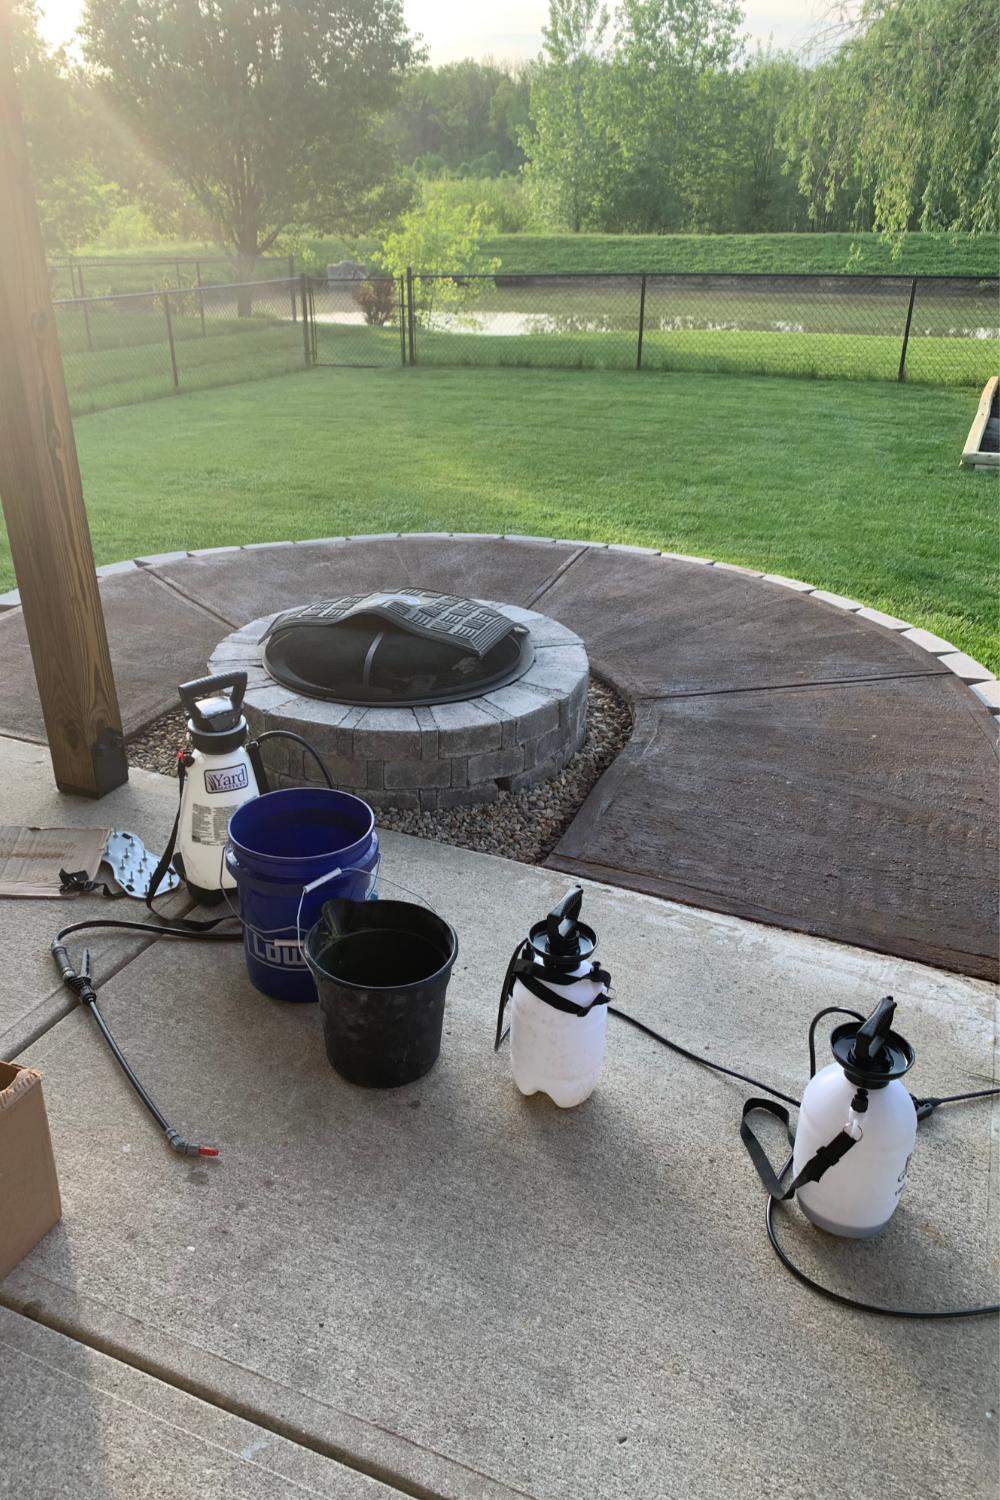
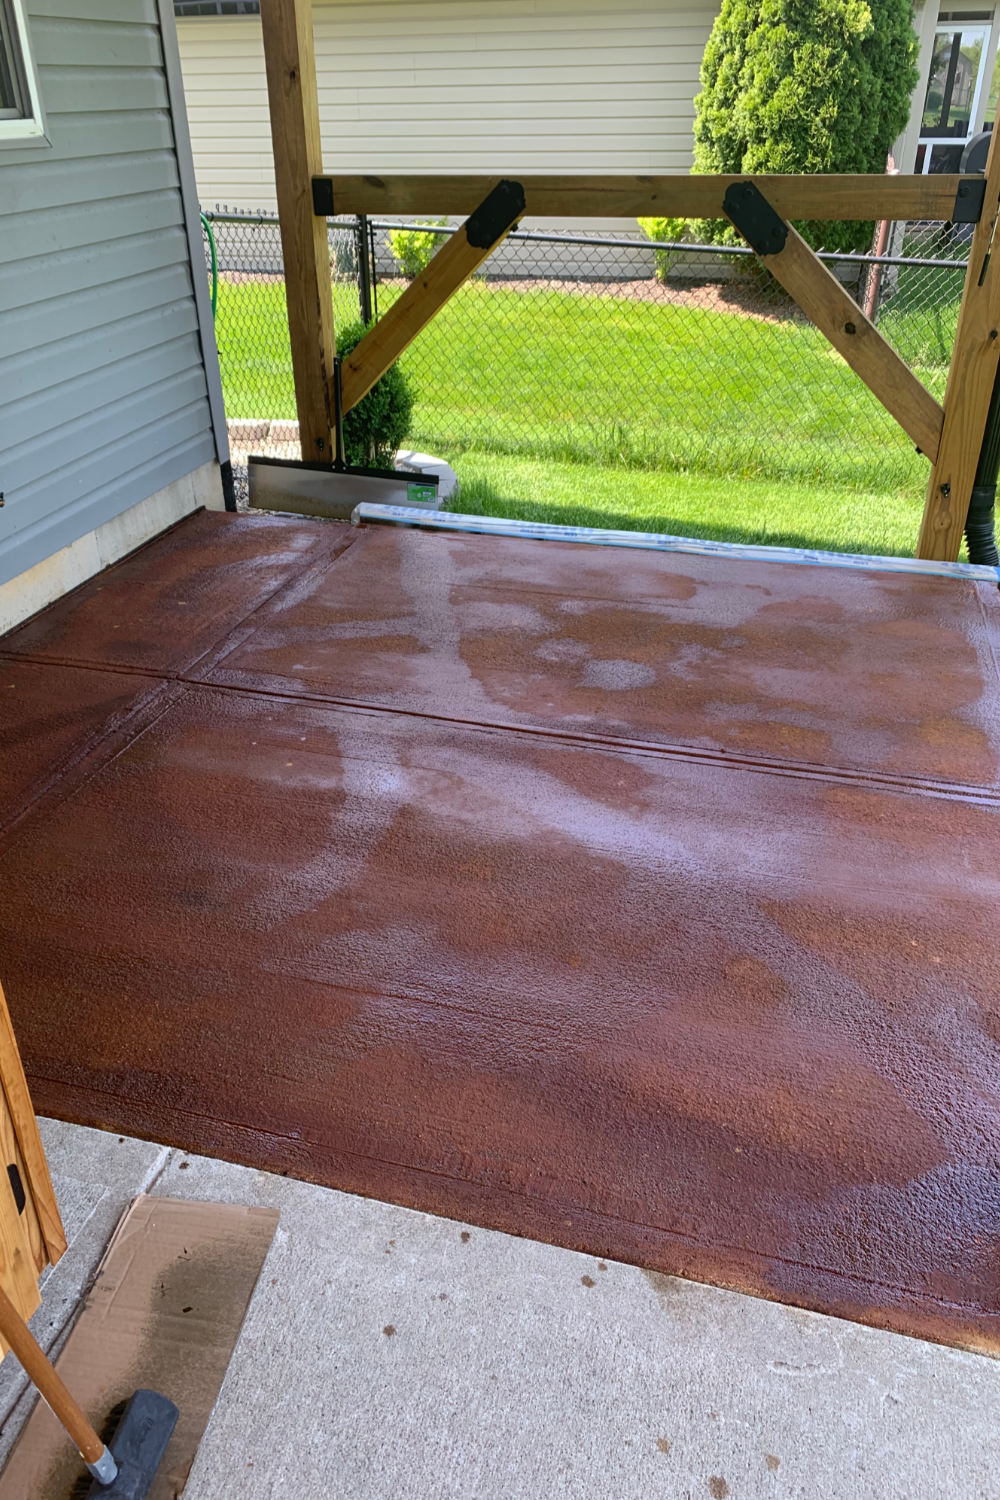
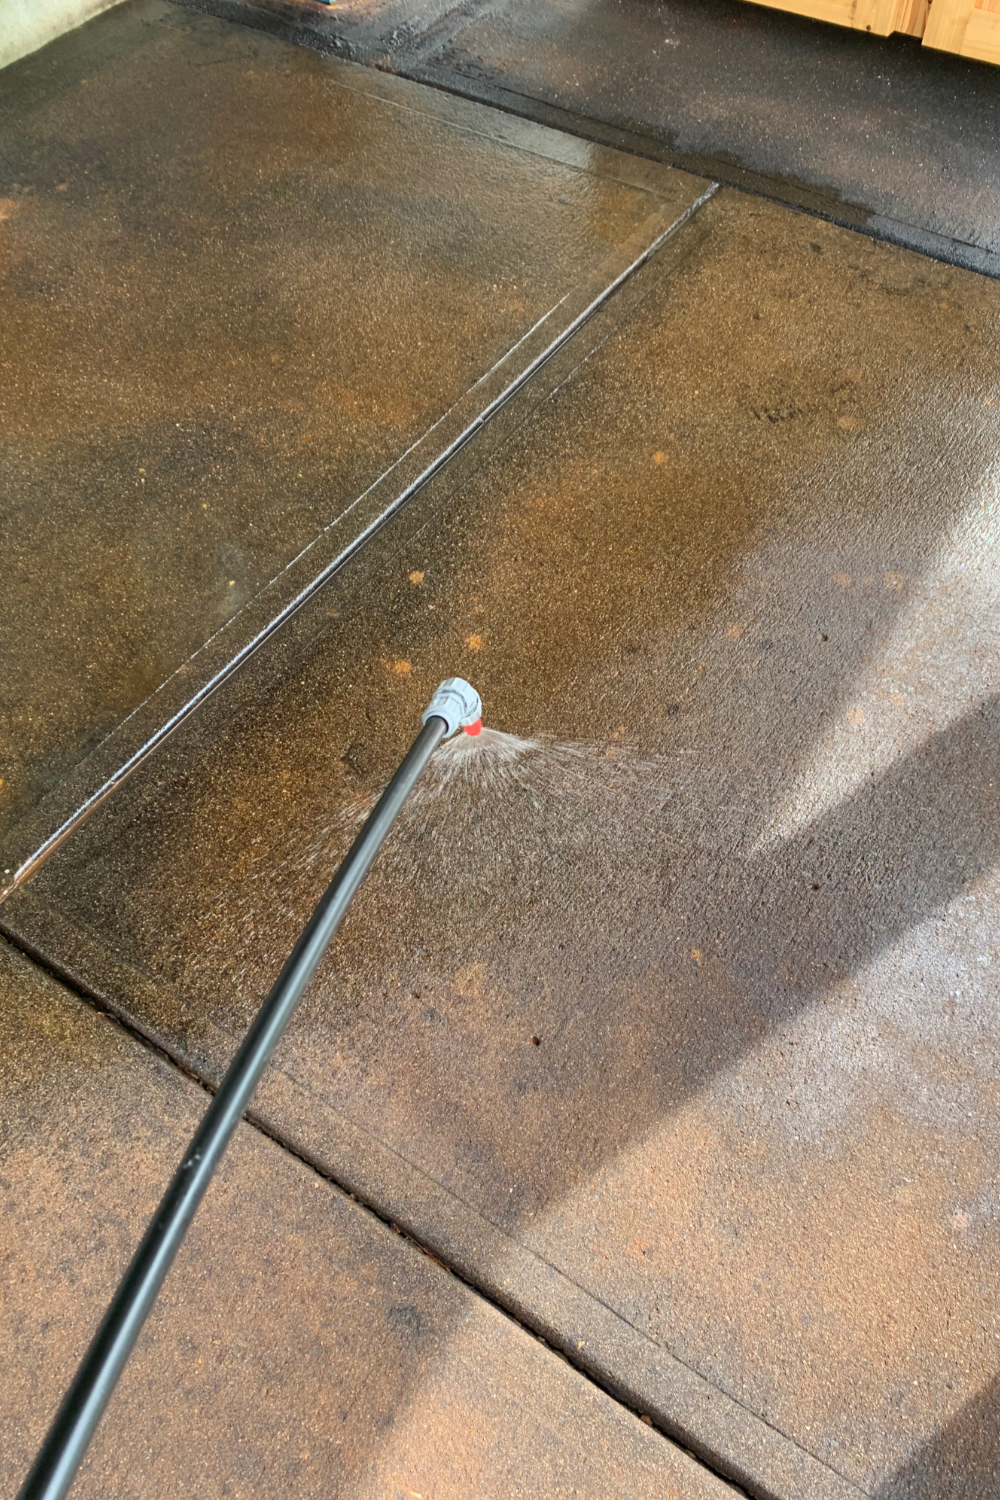
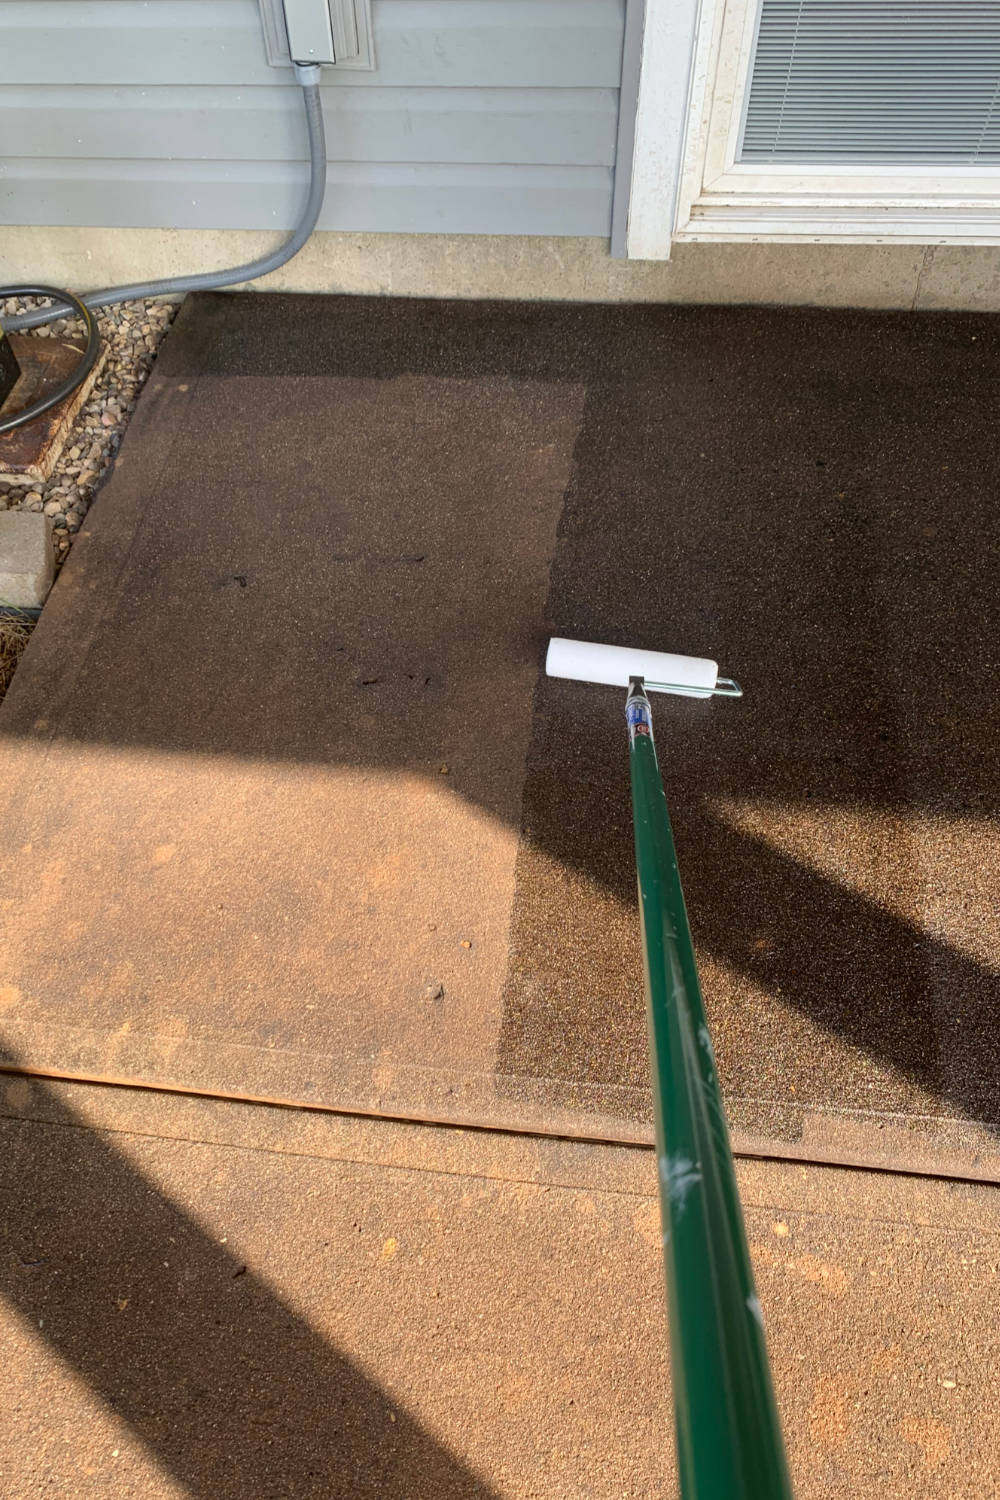
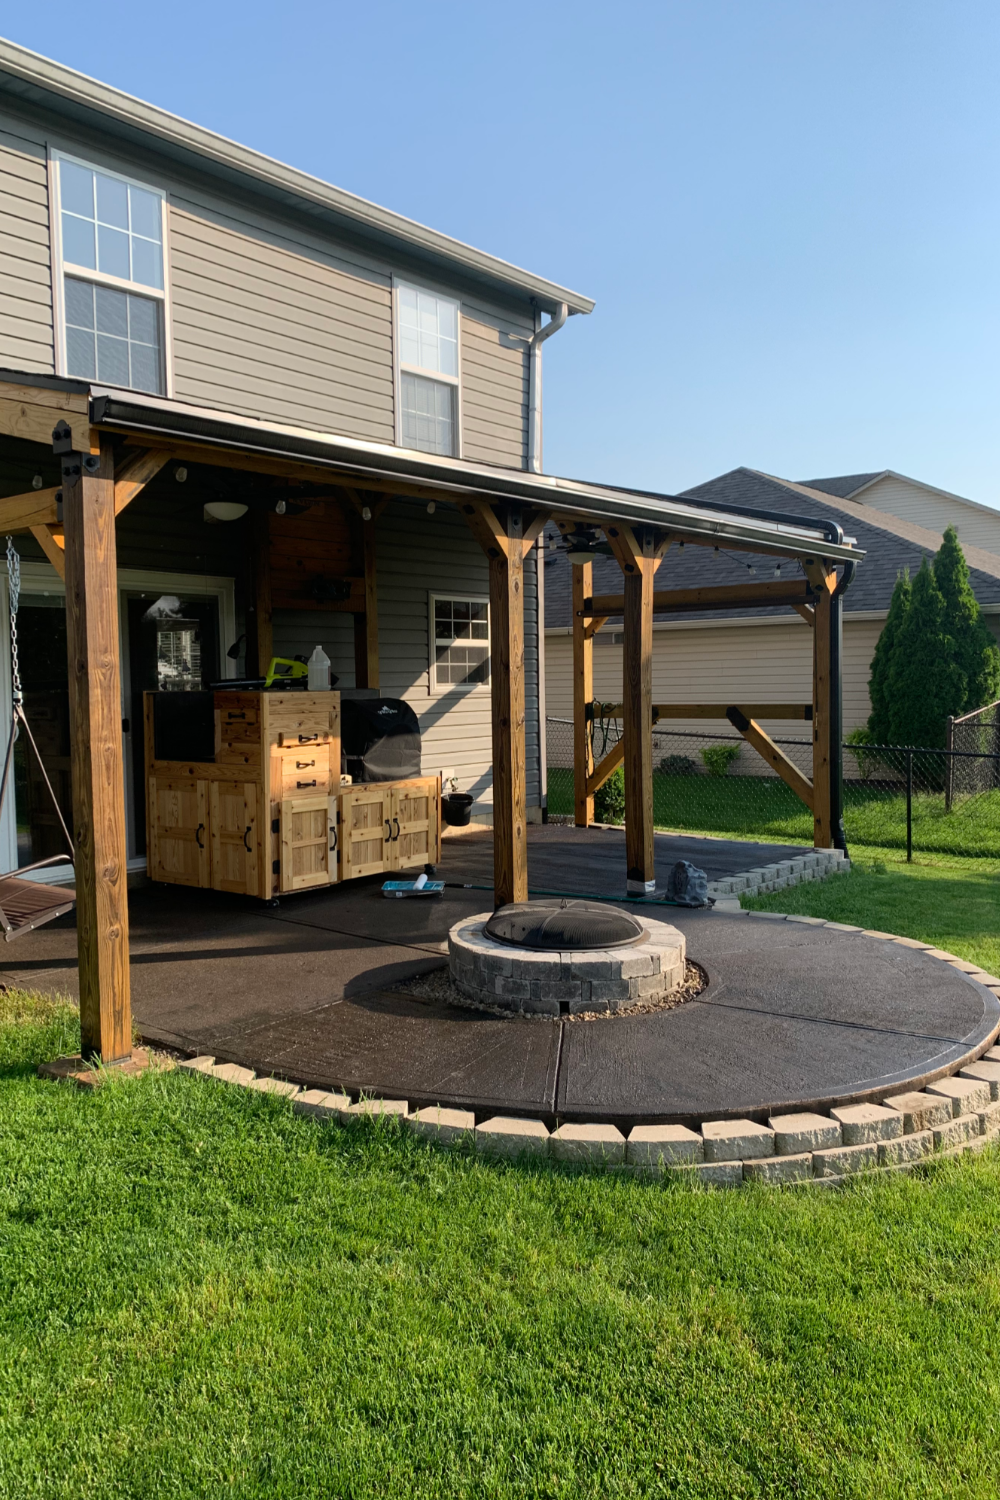
Project Info:
- Project Completed In: 5 day(s)
- Estimate of Square Footage: 250 sq. ft.
- Project Description:
Small patio with 6 month old add on concrete and 25 year old concrete. - Personal Tips:
Sun dries the stain out fast
Use the spiked shoes - Direct Colors Products Used
1 Gal. Black DIY EverStain™ & EasySeal™ Satin Kit
1 Gal. Coffee Brown EverStain™ & EasySeal™ Satin Kit
Garage Floor: A Simple DIY Transformation
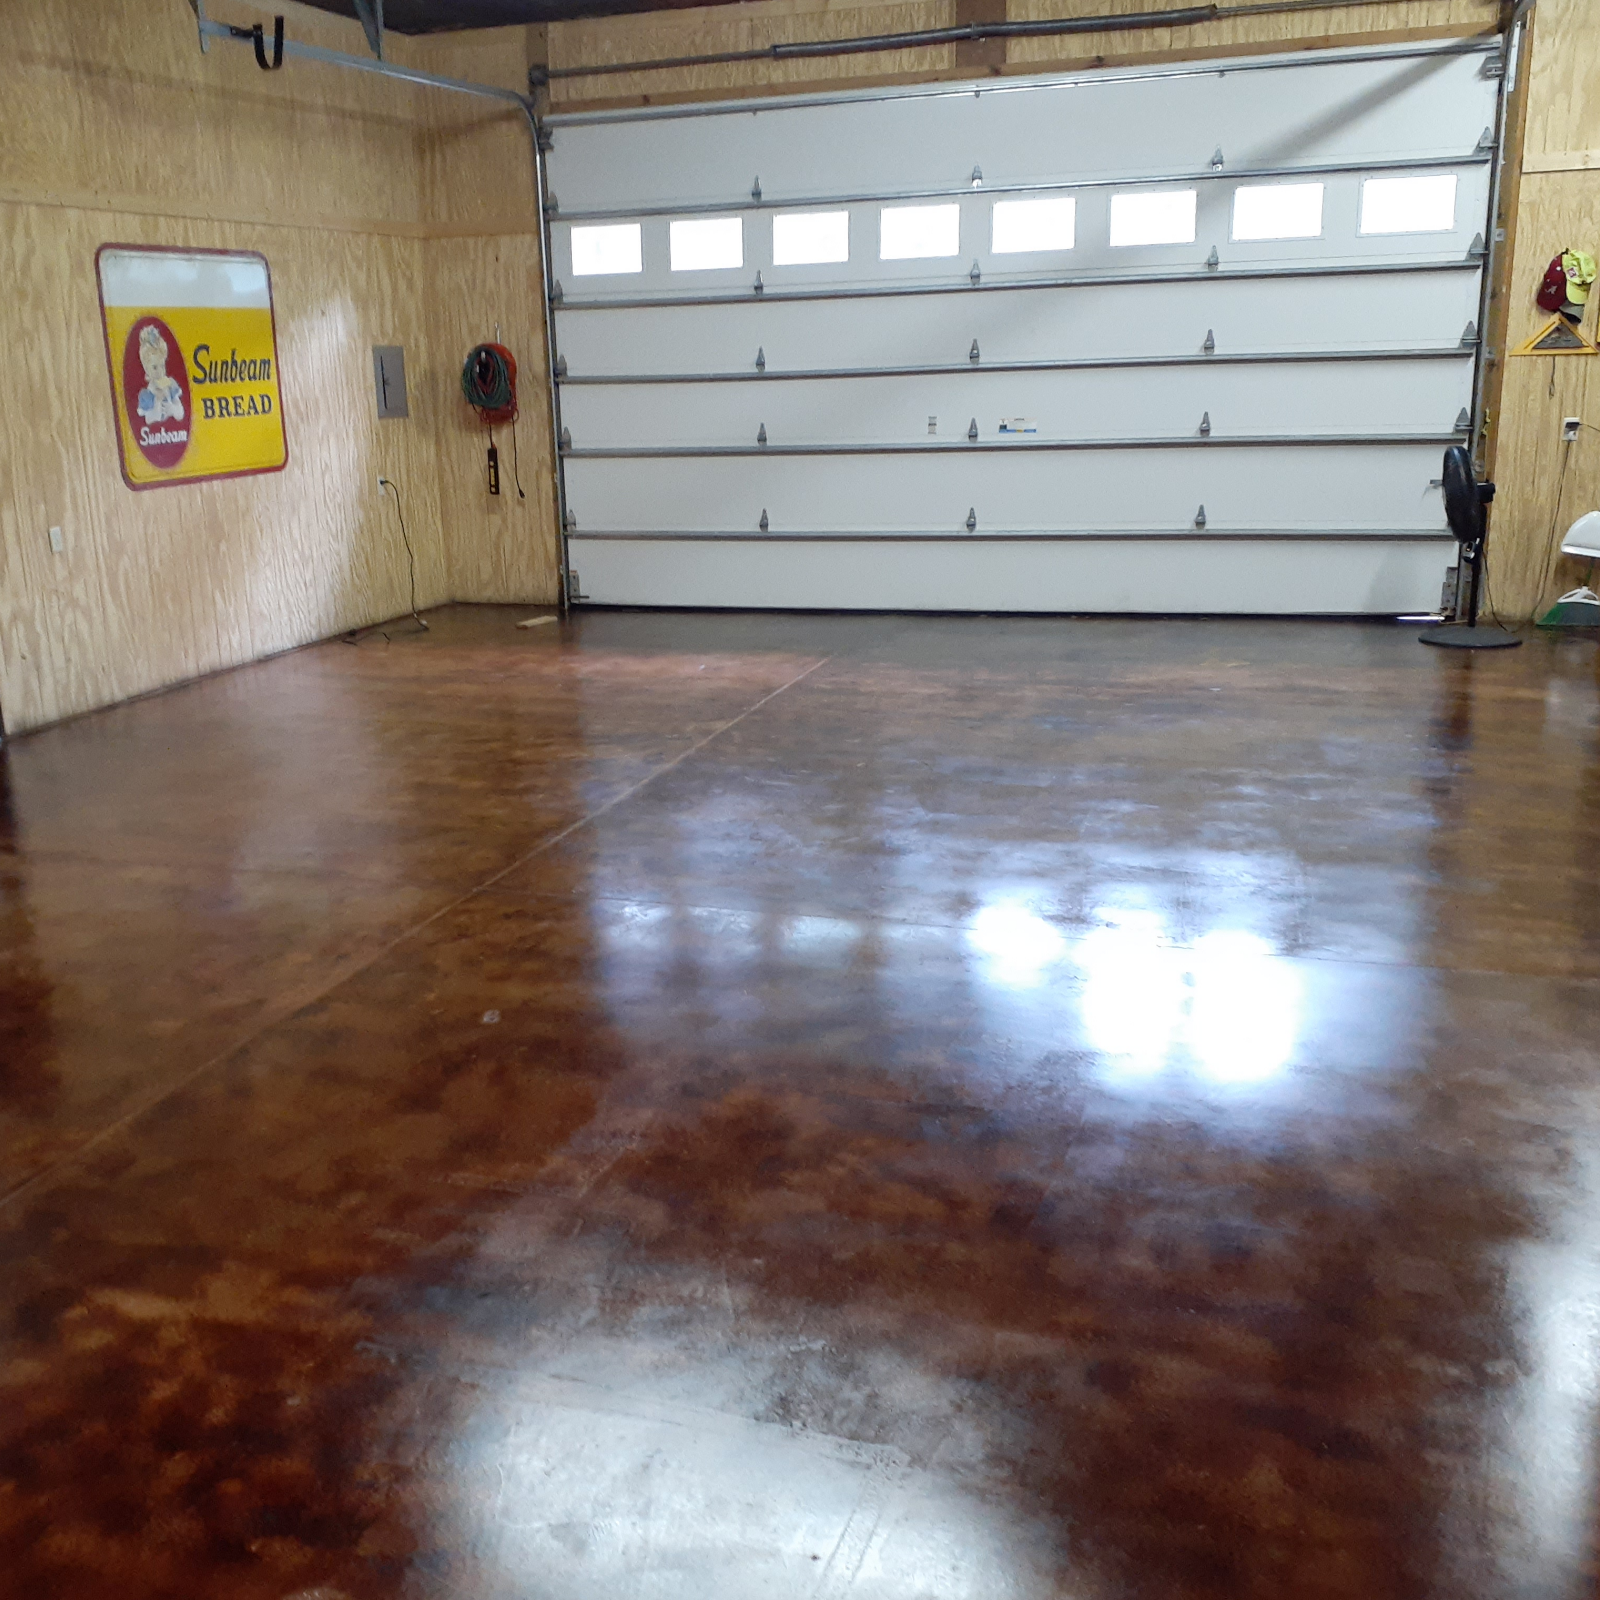
Looking to add some style and character to your garage? This simple DIY project can transform your dull and boring garage floor into a stunning and functional space using coffee brown acid stain . For more ideas on how to upgrade your garage with concrete stain, check out our gallery.
