Change the Color of Your Home with Brick Stain: A Guide to Stained Brick

Are you looking to refresh the appearance of your brick home? Changing the color of your brick is possible through various methods such as limewashing, brick painting or staining. Masonry stain is an easy option that involves testing the brick’s absorption, cleaning the surface, selecting a color, applying the stain, and sealing the brick. With the right tools and techniques, you can give your exterior brick a new look and bring it back to life.
How To Stain Brick

STEP 1: Test Brick for Absorption
Before applying any stain, it’s important to check the brick’s surface porosity and absorption. Simply spray water on part of the brick you want stained. If the water soaks into the brick, the brick can most likely be stained.
STEP 2: Clean the Brick
Dust, dirt, and debris can affect the stain application outcome, so it’s important to clean the brick thoroughly before proceeding. Use a light concrete cleaner and degreaser solution and start from the top down, using a power washer to speed up the process.
STEP 3: Select Stain Color
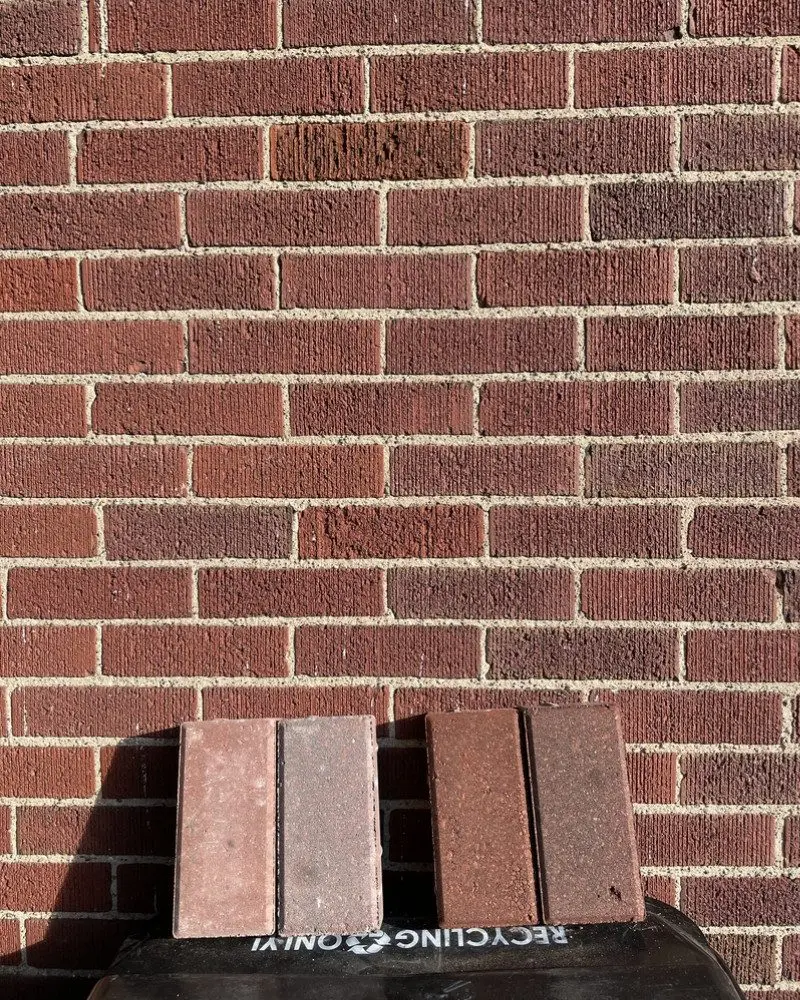
Testing stain colors is important because stains are semi-transparent, and the final color will be influenced by the base color of the original brick. Use a stain trial kit to test multiple colors until you find the perfect shade.
Check out our collection of brick stain colors.
STEP 4: Apply the Stain

Shake the concrete stain well before using it. Use a plastic cup and sponge brushes to apply the stain, starting from the top and working your way down to even out any drips. Shake the container again before pouring more stain into the cup. You may need to use more stain than you anticipate, especially if you are using multiple layers or if the brick absorbs a lot of stain.
STEP 4: Seal the Brick
Wait for at least 6 hours for the stain to dry before applying a solvent-based, satin acrylic sealer. Use a standard stain brush to apply the sealer in thin layers, starting from the top and working your way down to avoid drips. Once sealed, the brick stain color will be permanent.

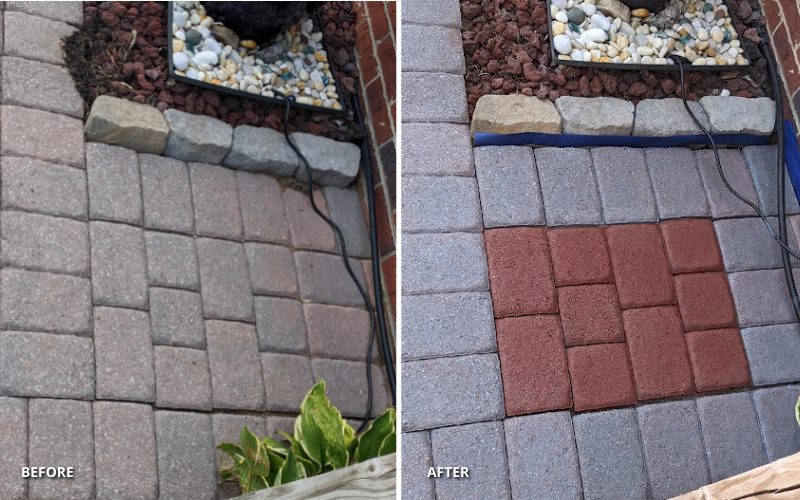
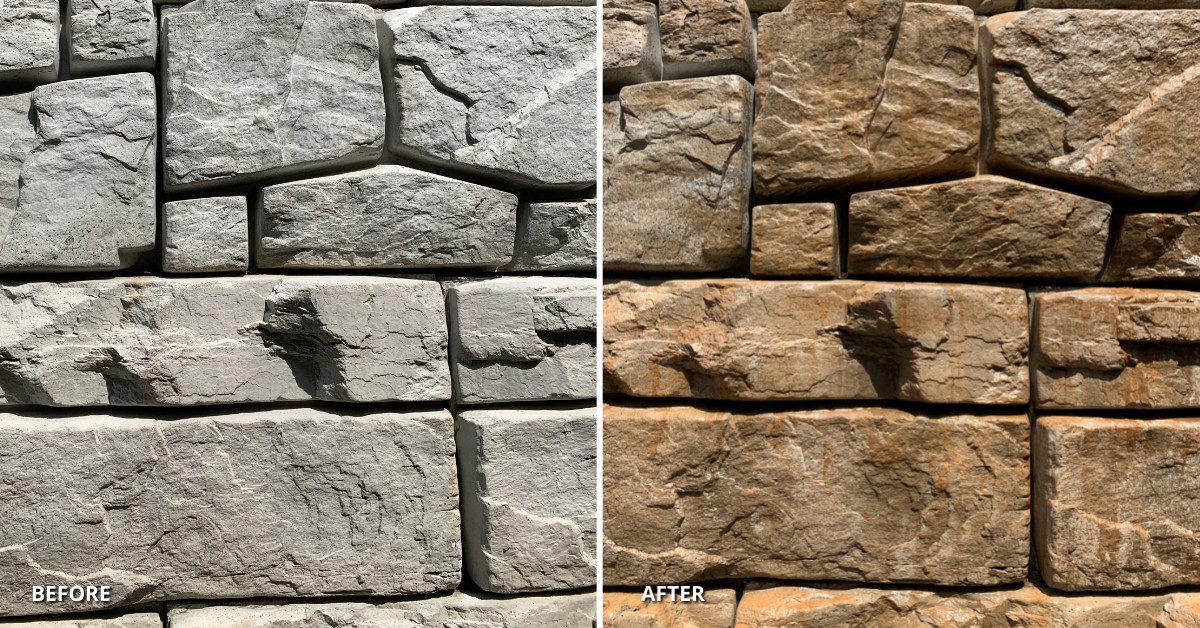
This customer used our Portico paver stain to change the color of their brick home. The process took four weekends to complete and covered an estimated 150 square feet. They used the charcoal color in various layers on the bricks and the light charcoal as a base for the mortar in between the bricks. The customer found the brick staining process to be overall easy, even though they were staining a vertical wall. They recommend shaking the stain well and using more than you think you’ll need, especially if using multiple layers or if the surface absorbs a lot of stain. They also suggest using a normal stain brush for the sealant and applying the stain from top to bottom to avoid drips when staining a vertical surface.
With the right tools and techniques, you can successfully change the color of your brick home using concrete stains. So why wait? Start your project today and give your home the refresh it deserves.
Explore our blog for creative ideas on staining concrete walls with our collection of before and after projects, along with expert tips and tricks.
Pavers come in all shapes and sizes. But, they aren’t always the color you want. Find out how to make your patio pavers the perfect shade in our how to guide.
