Terracotta Stained Concrete: Before and After Photos Gallery with How-To Tips
By Justin Richardson
Discover the transformative power of terracotta stained concrete with our before and after photo gallery featuring a variety of projects. From patios to pool decks, terracotta adds a warm and inviting touch to any concrete surface. Learn how to achieve this stunning look with our helpful how-to tips and recommended products. Get inspired for your next project and bring a touch of spice to your outdoor spaces with terracotta stained concrete.
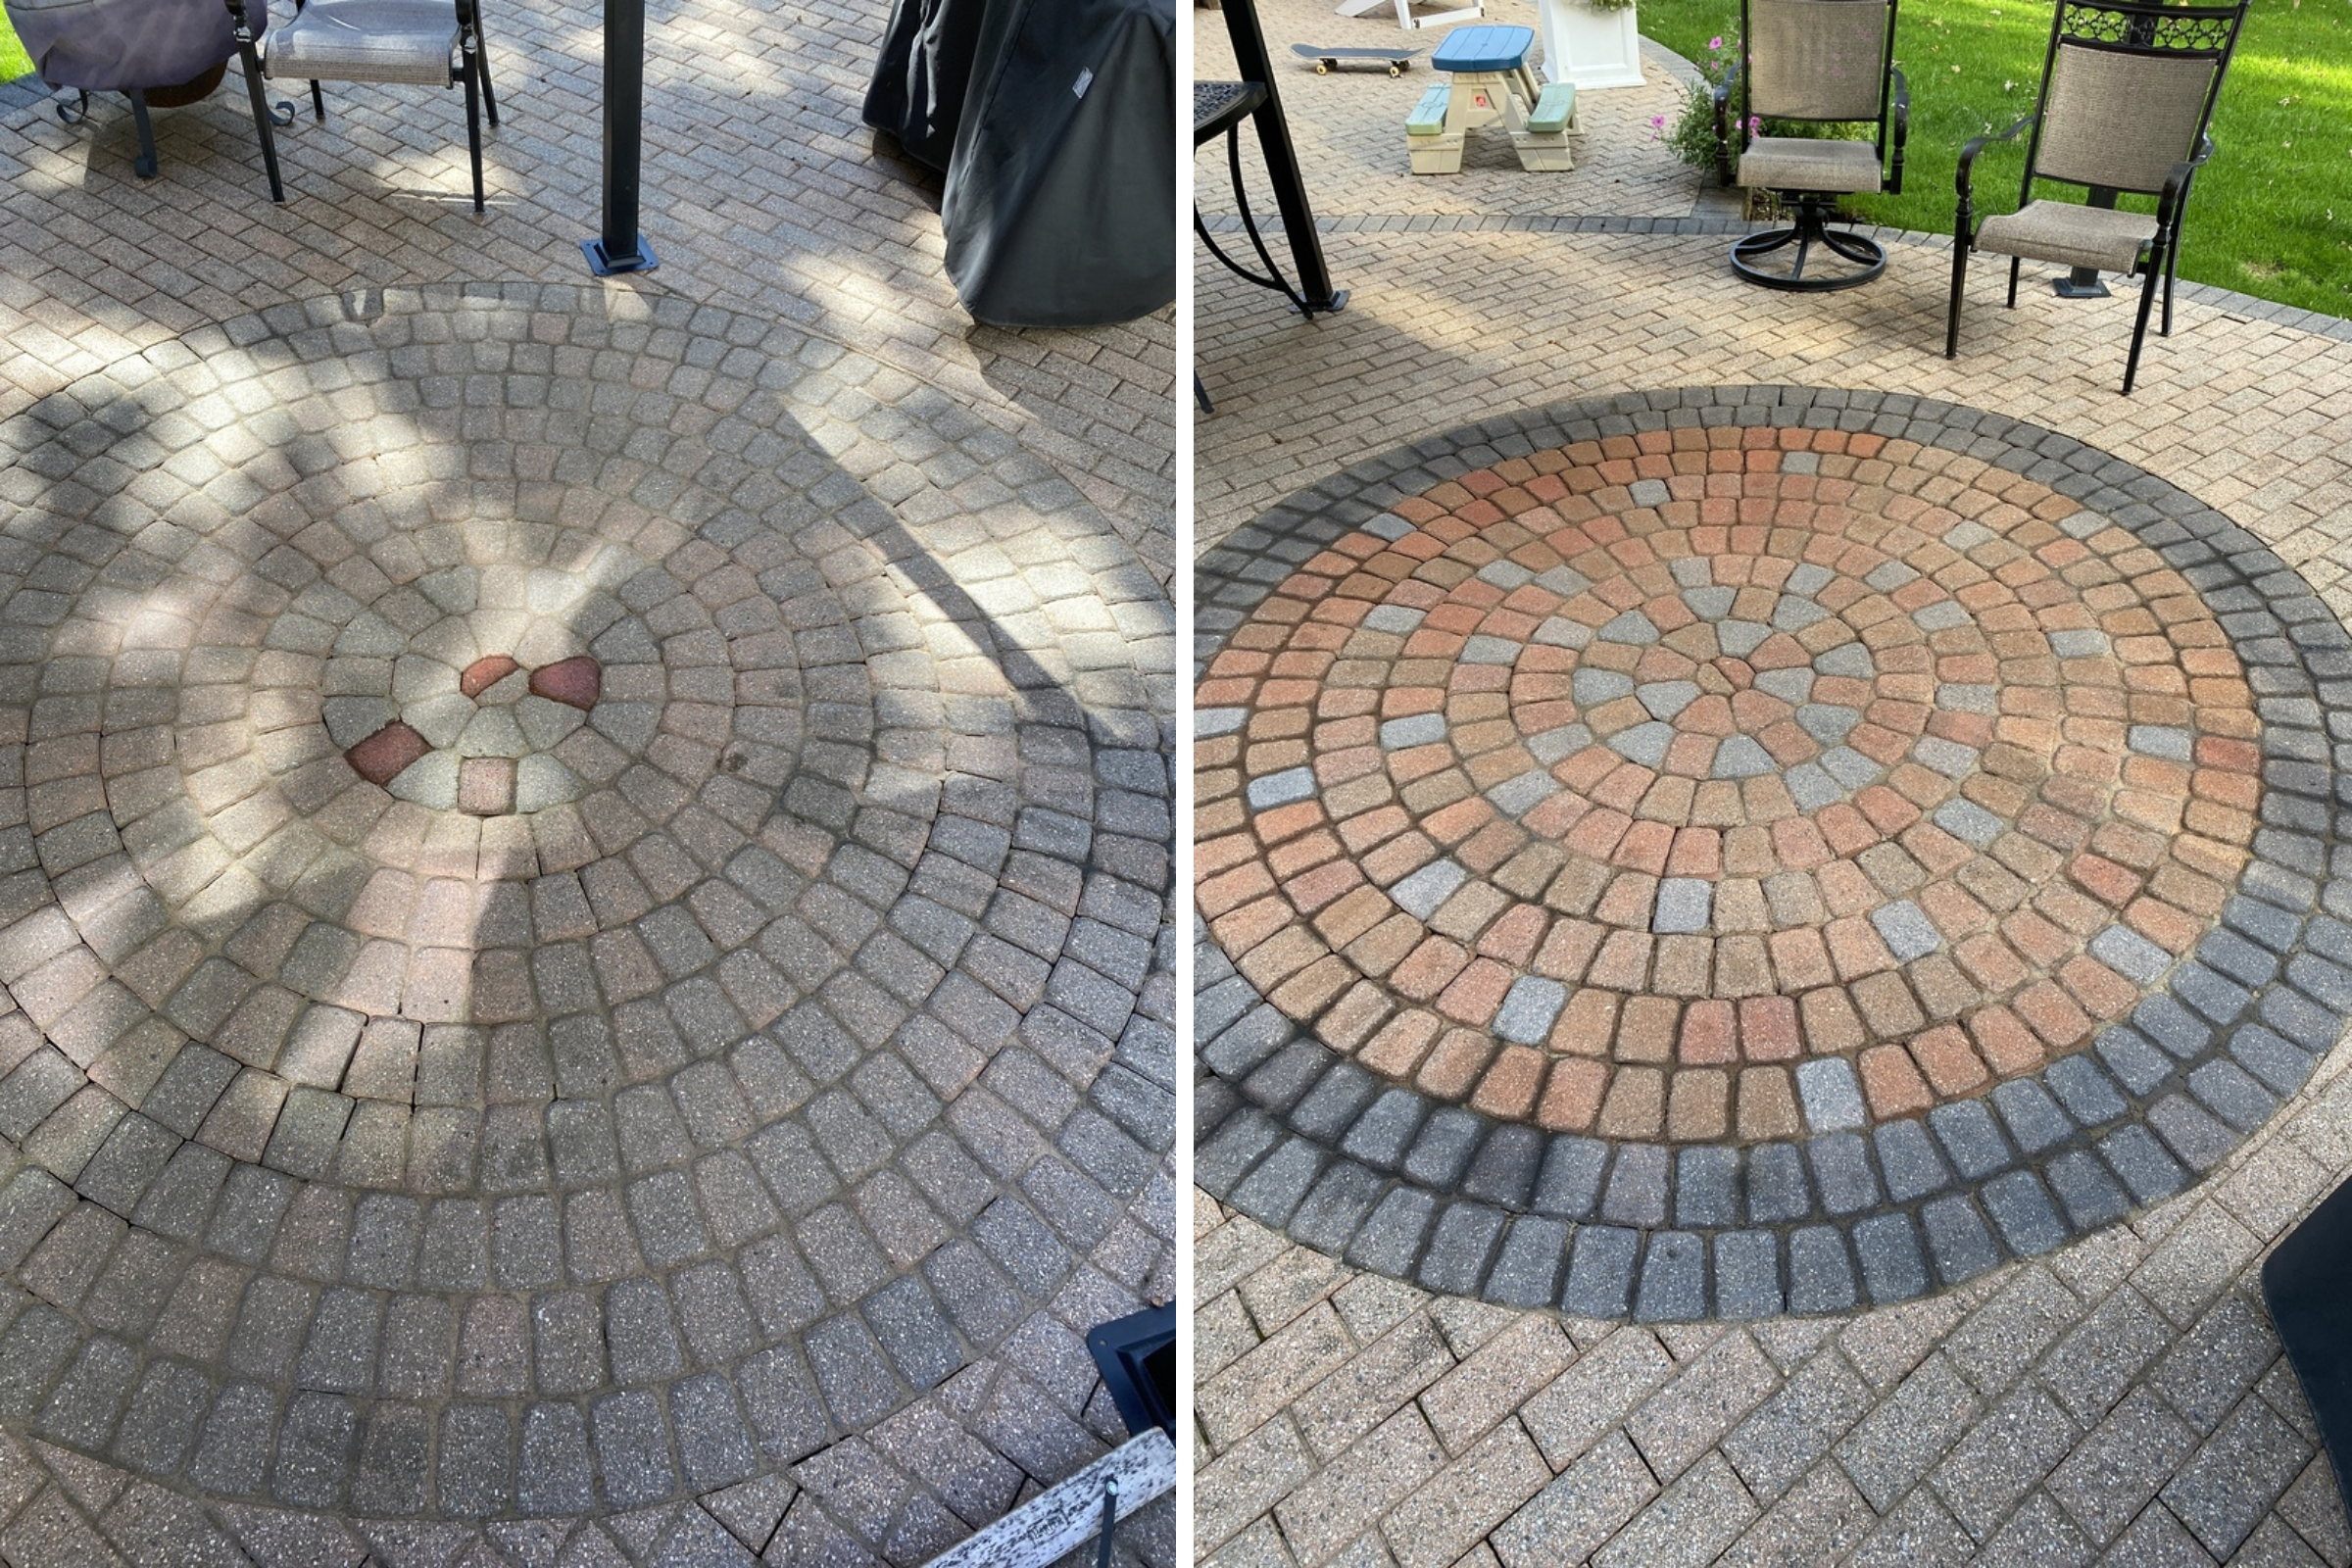
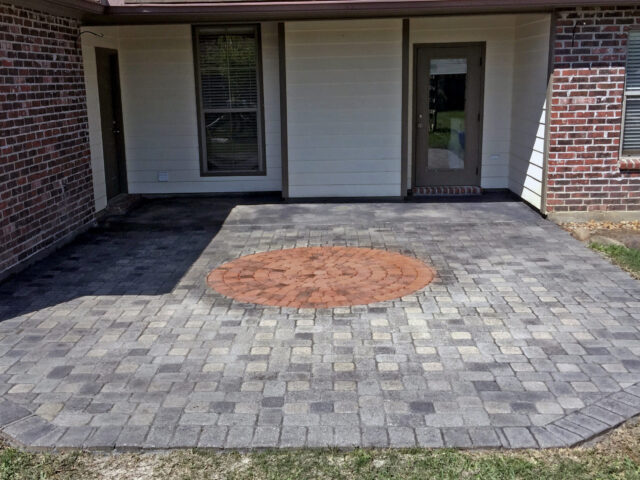
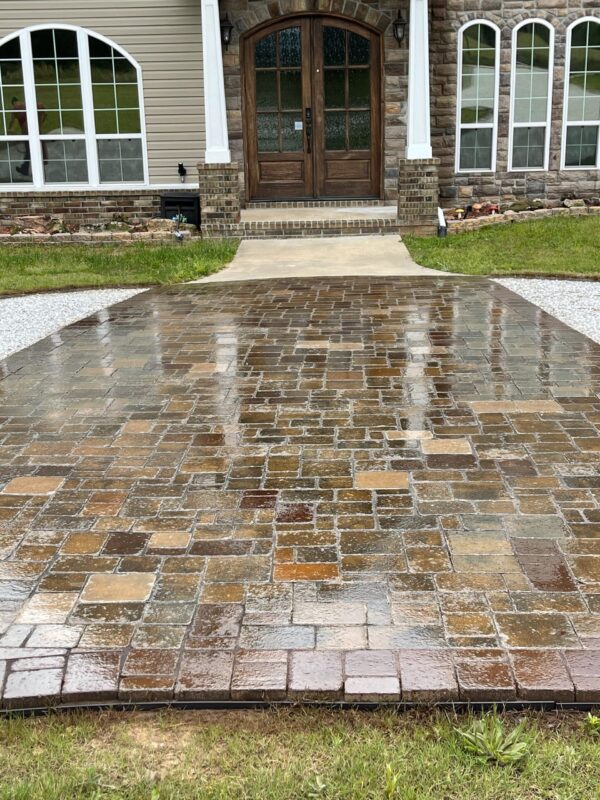
Terracotta Stained Paver Circle Patio Design
A gorgeous terracotta stained patio with a circular paver design featuring an inner circle stained with terracotta, russet, and silver gray Portico stains, while the outer two rows of pavers are stained with charcoal Portico paver stain. The warm and earthy tones of the stain create a beautiful contrast against the charcoal paver border and add a touch of elegance to any outdoor space.
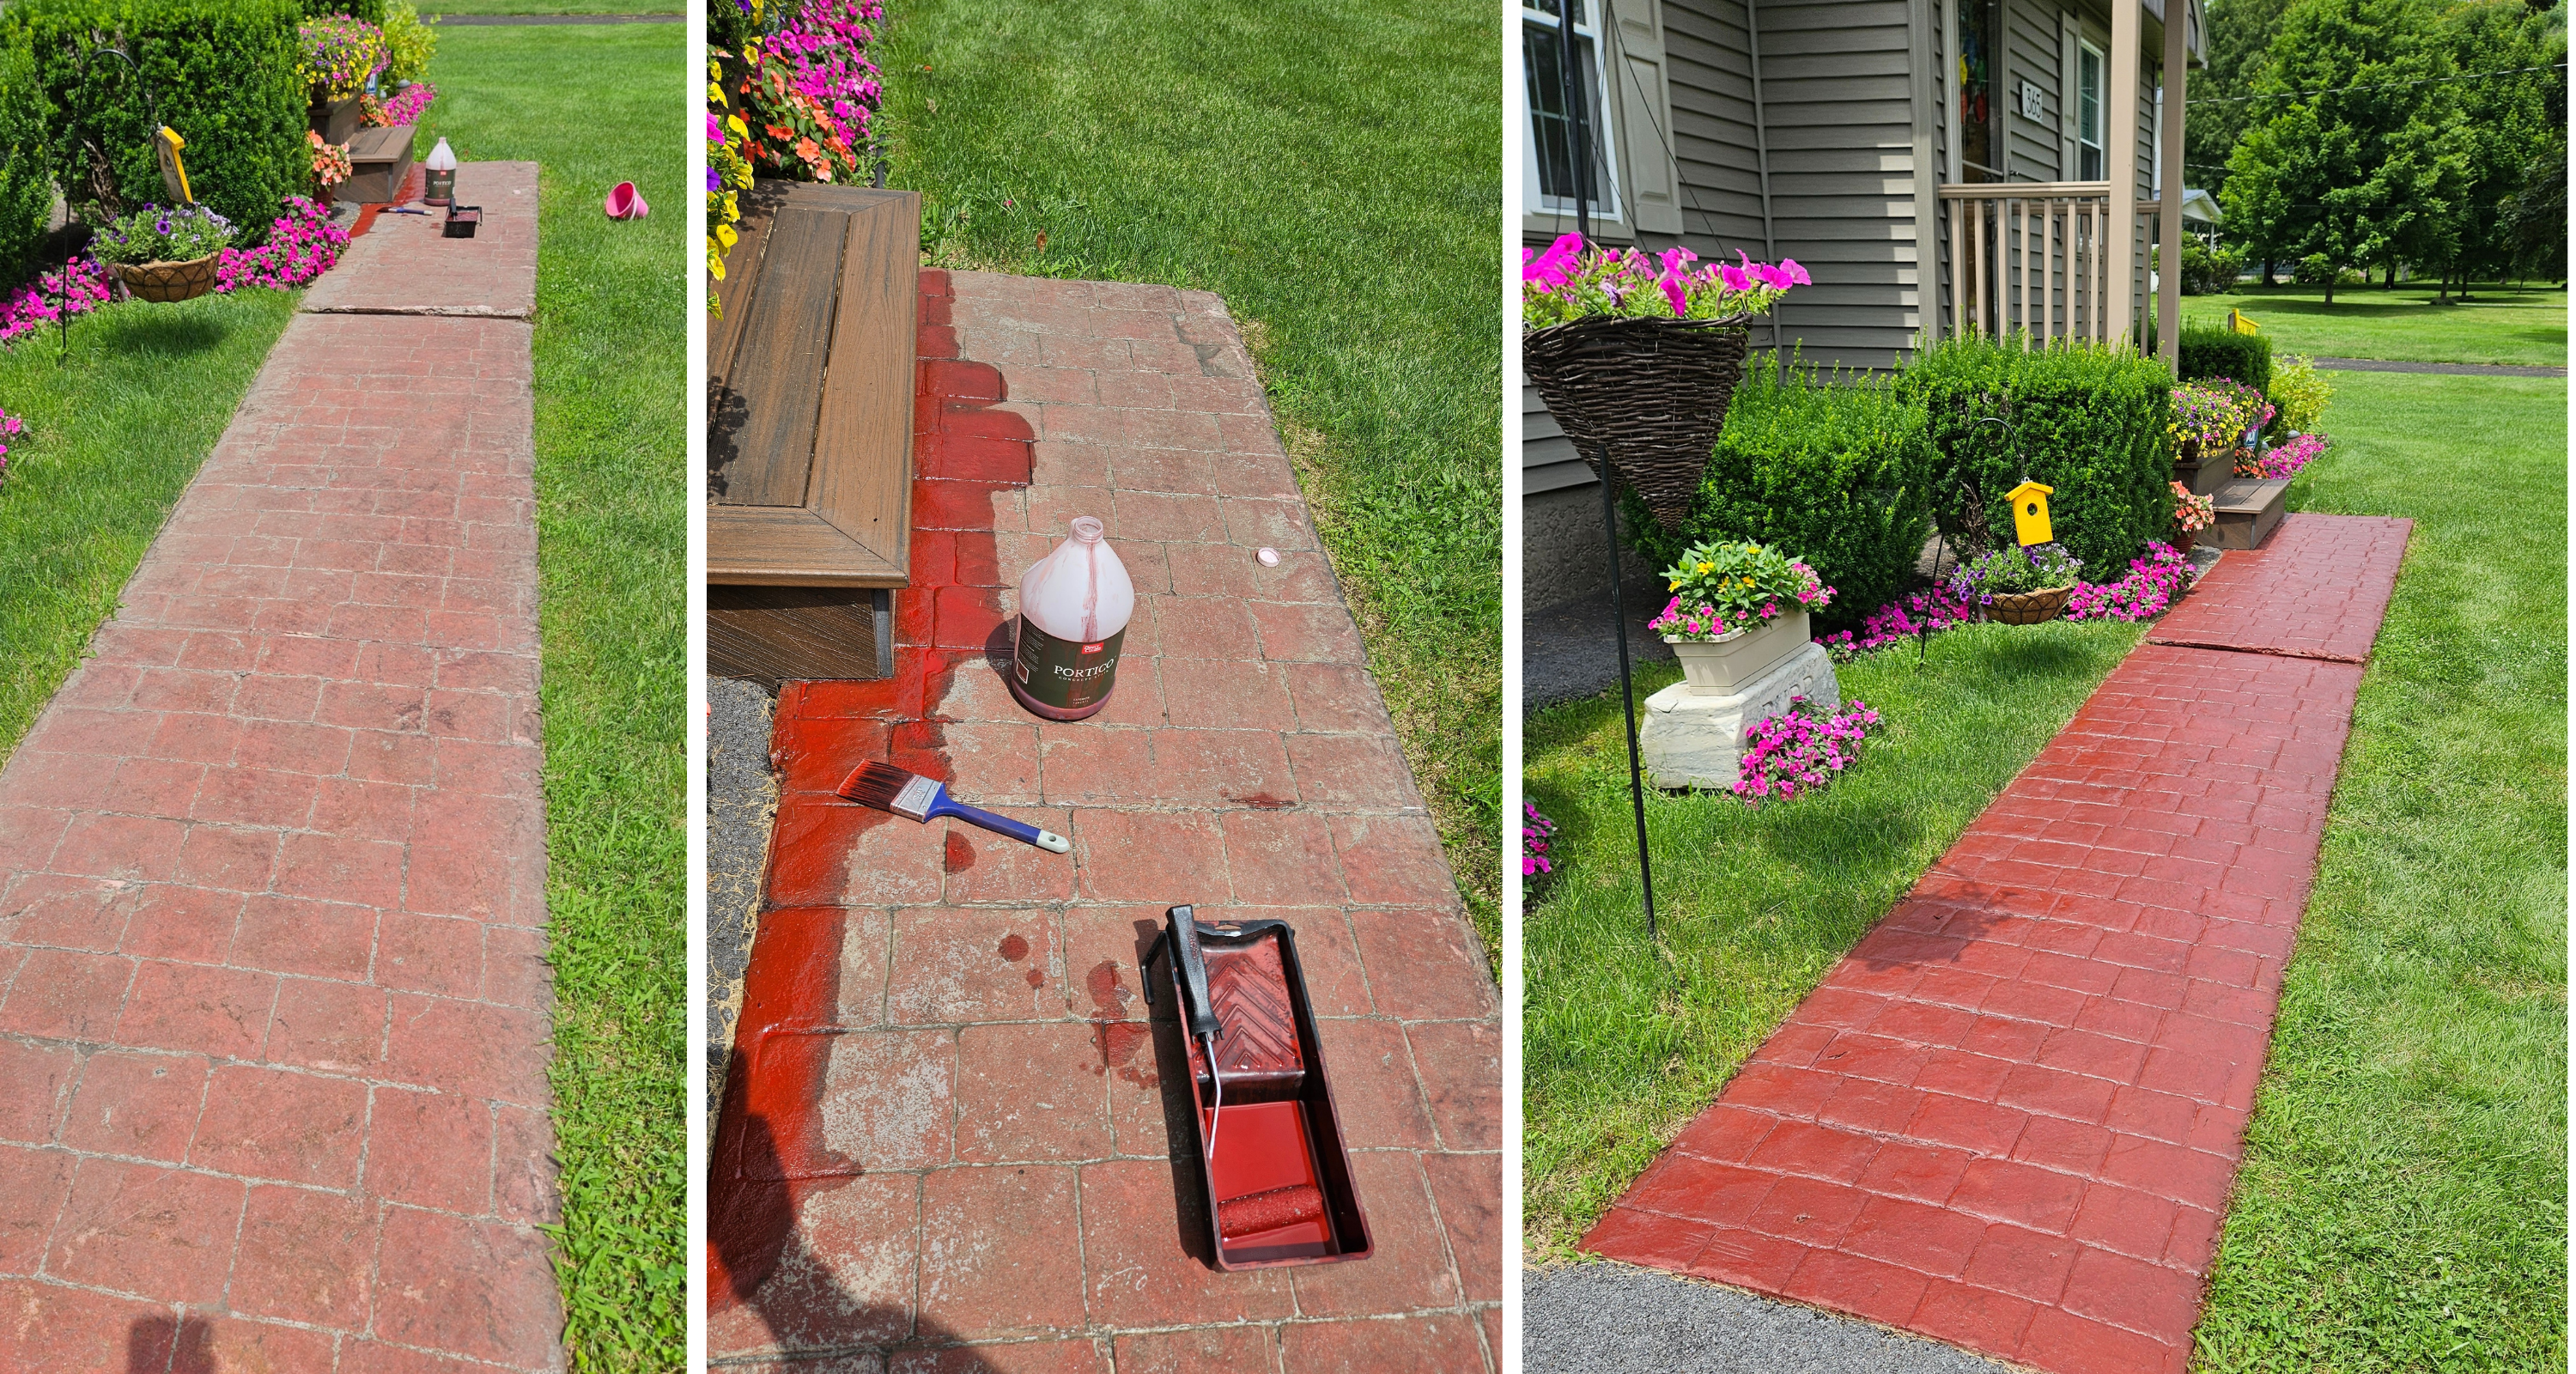
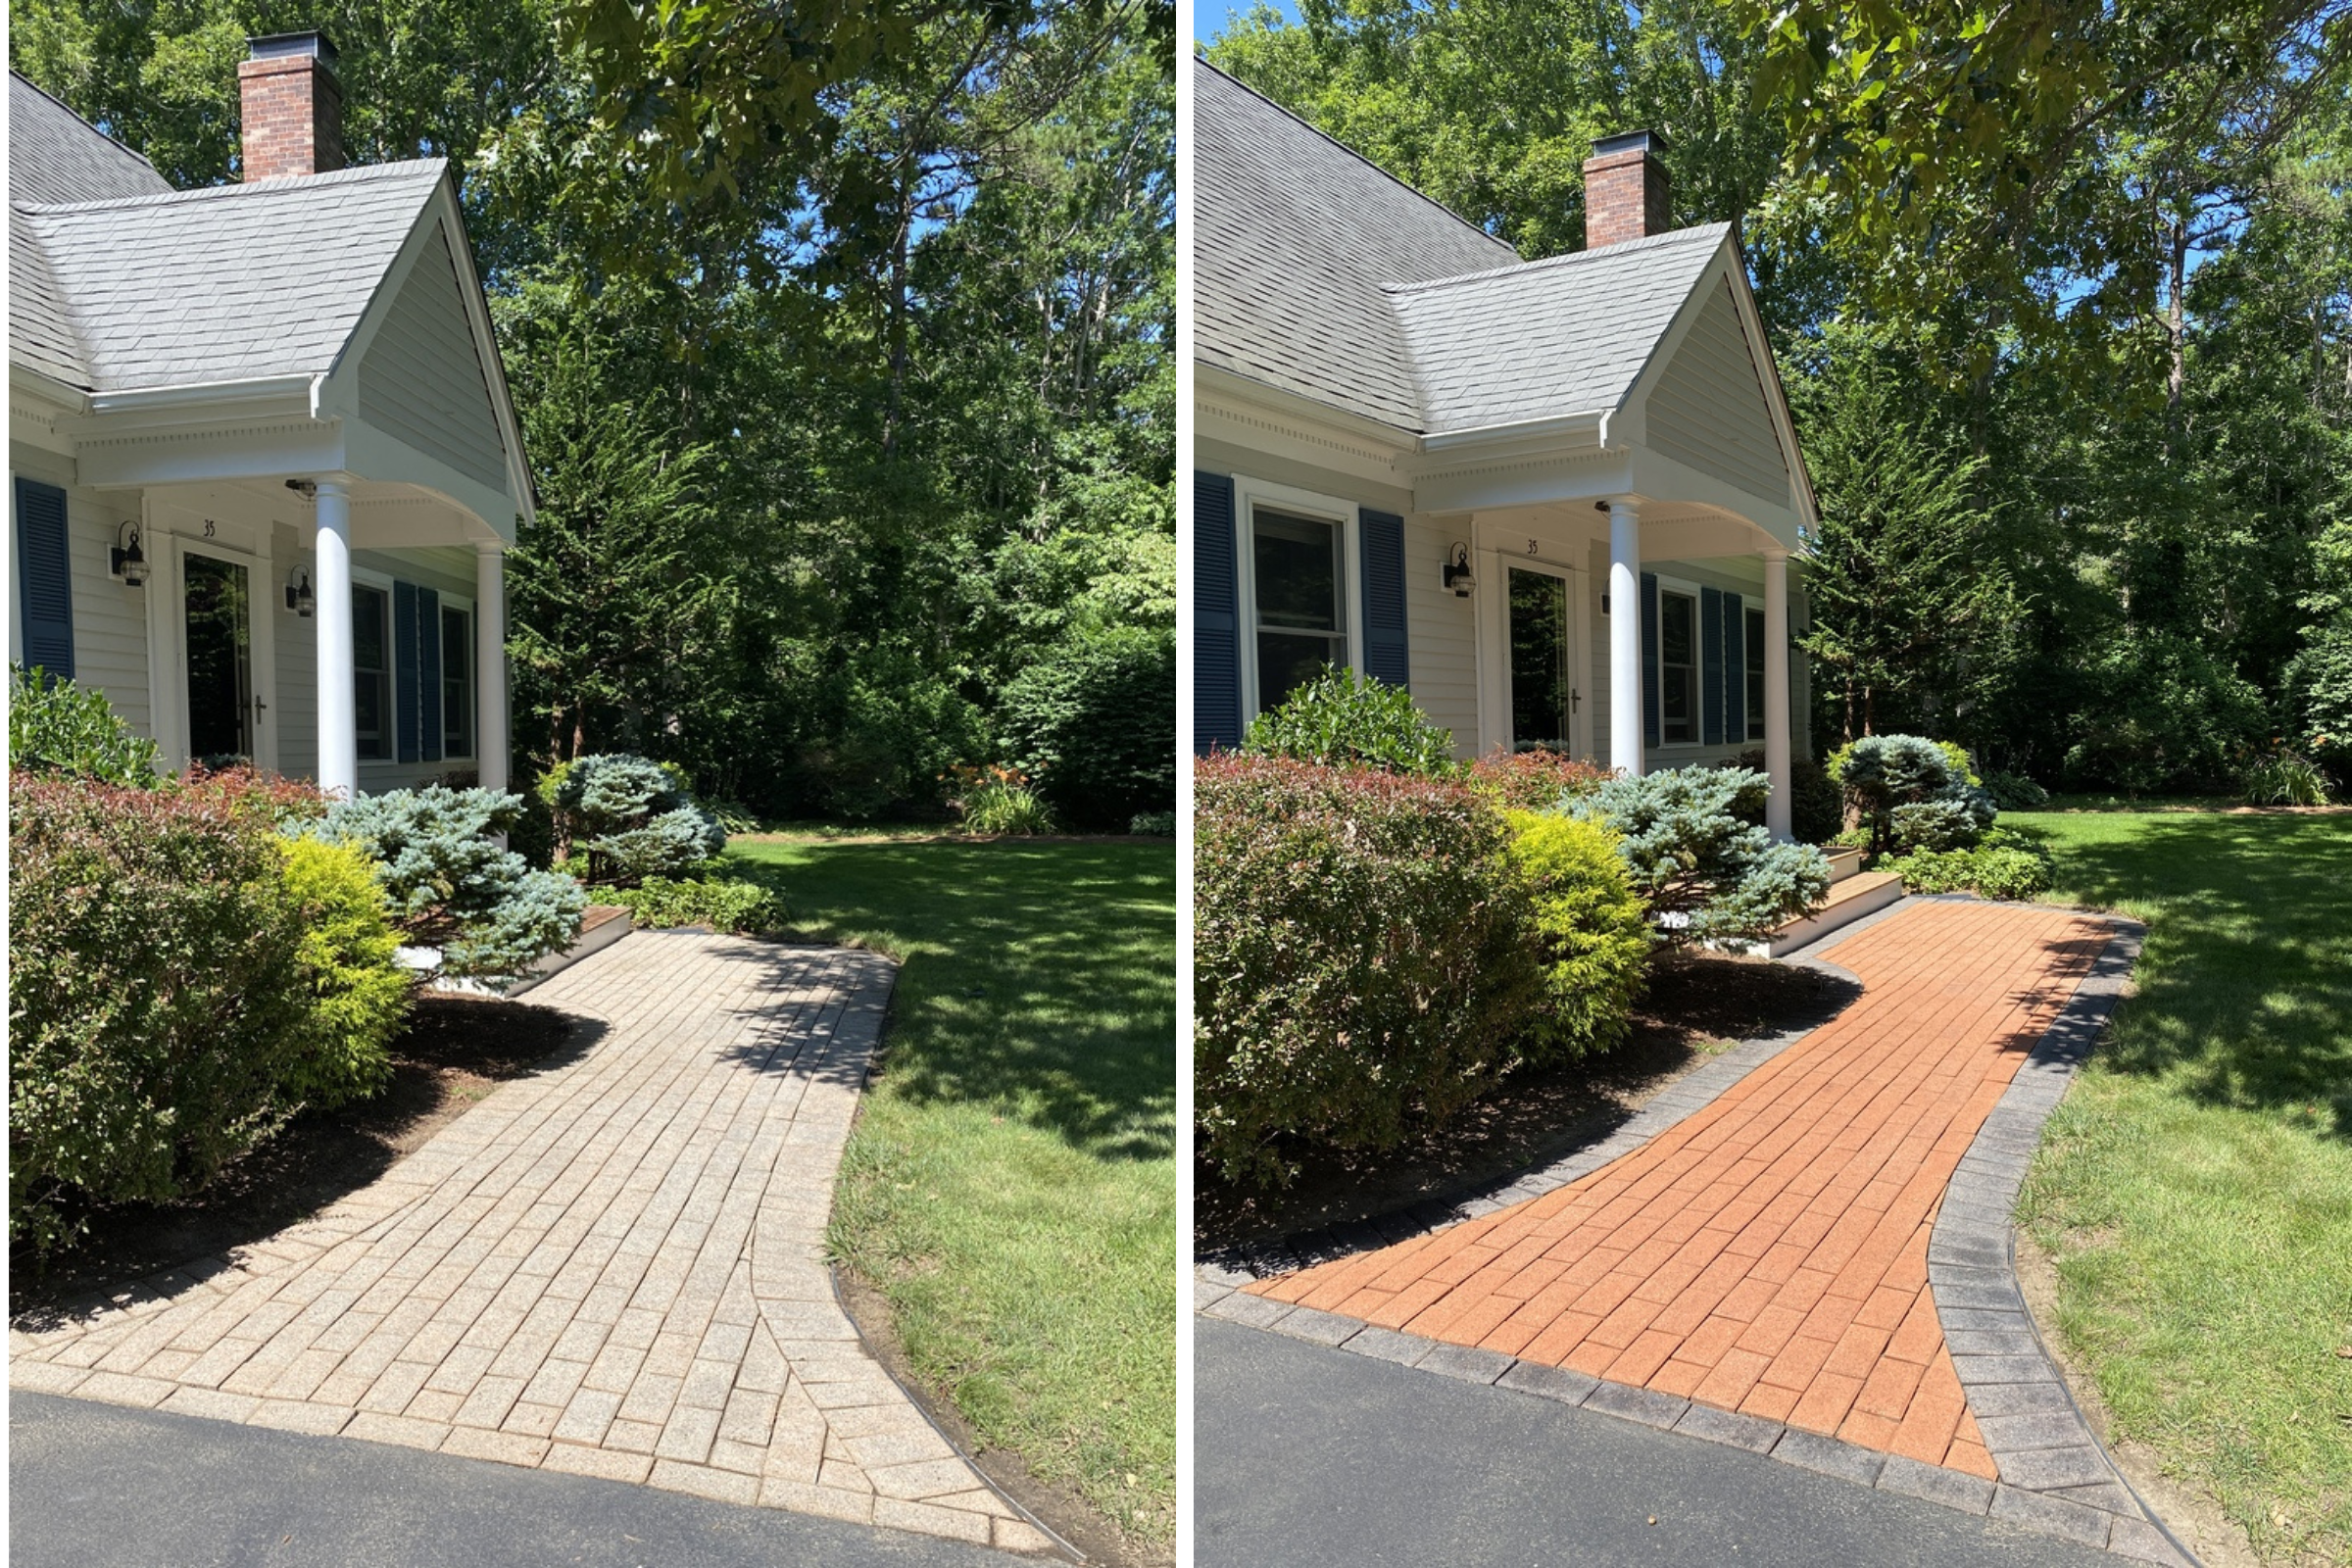
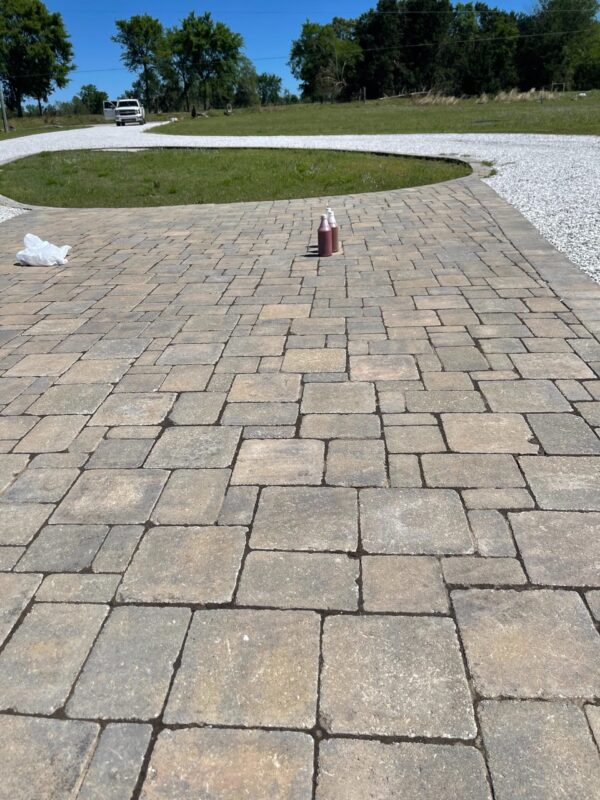
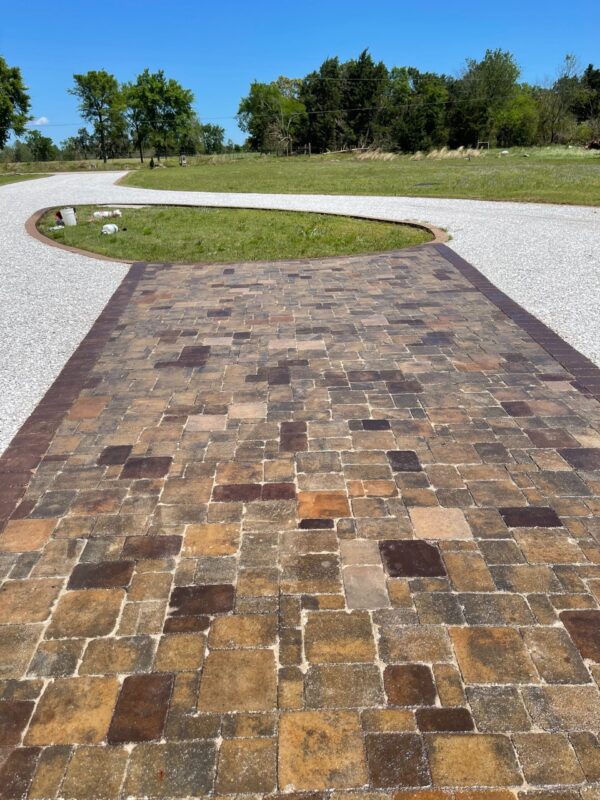
Terracotta Portico™ stained paver walkway with a warm, earthy hue, featuring an outer edge stained with charcoal Portico™ paver stain. The stained pavers and charcoal border create a beautiful contrast and add character to any outdoor space. To learn more about staining pavers, check out “Staining & Sealing Concrete Brick Pavers: Tips & Inspiration.“
Reviving a Faded Driveway with ColorWave Stain
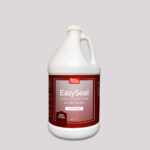
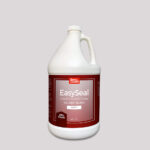
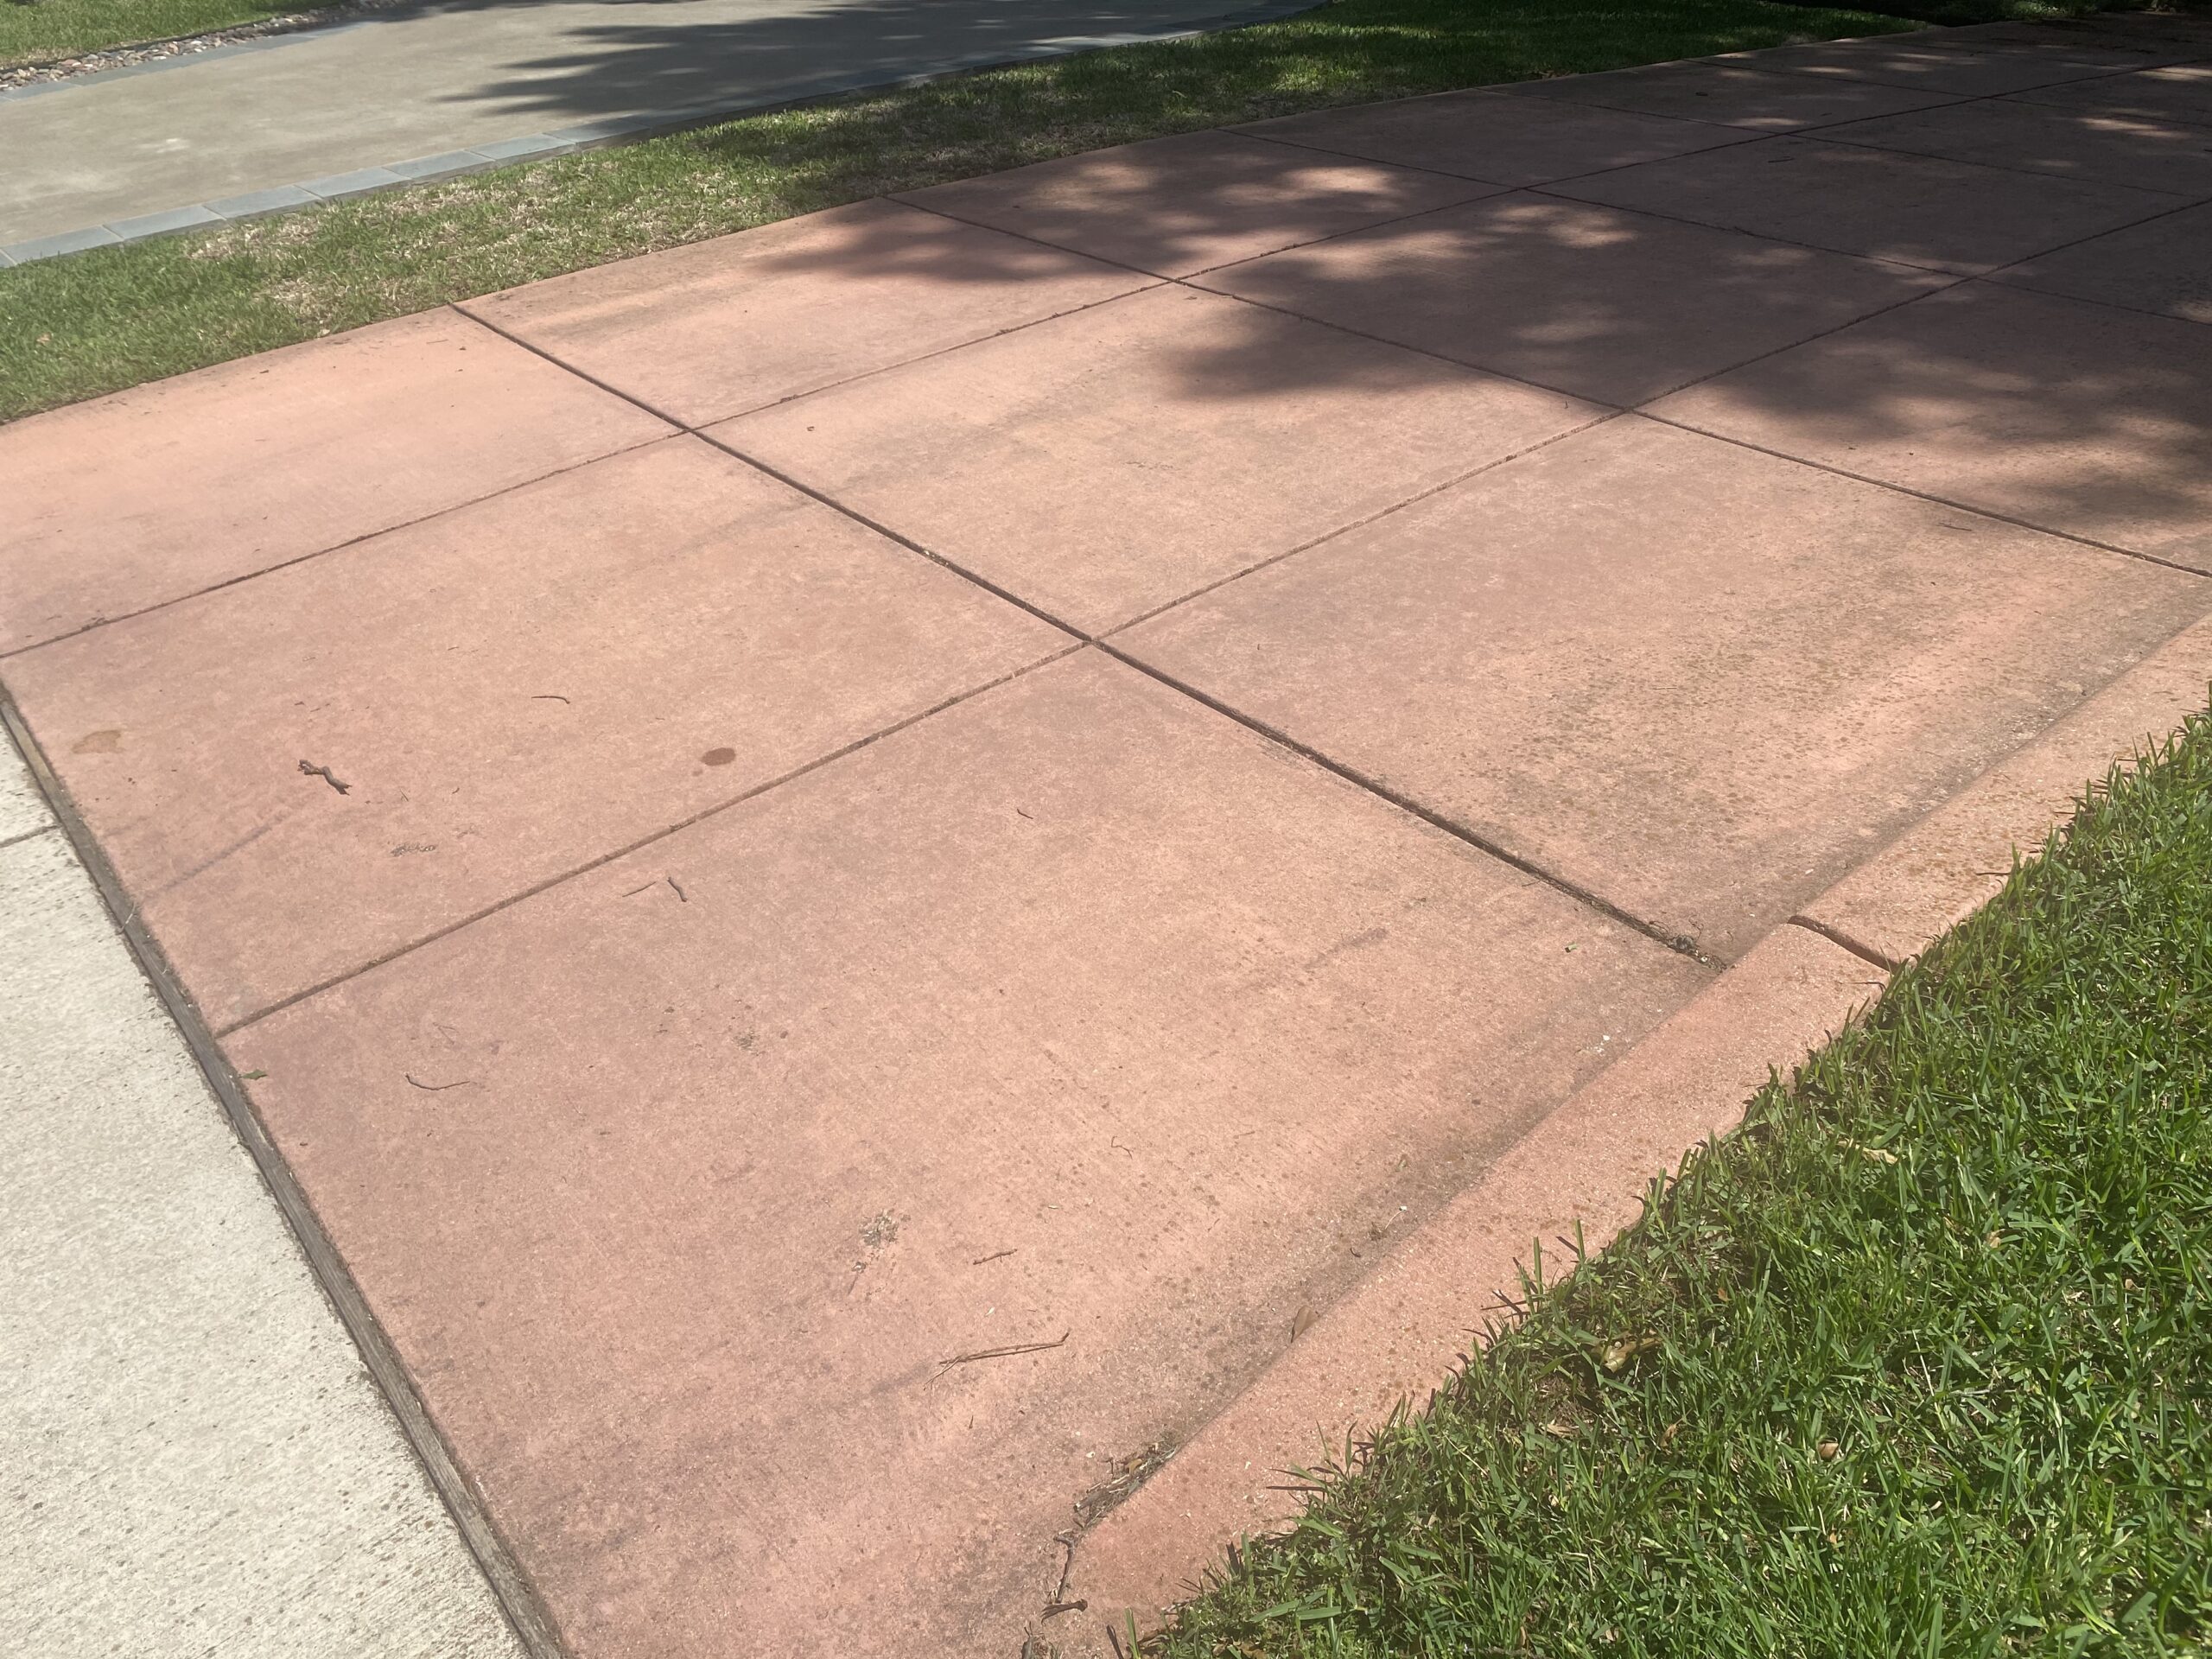
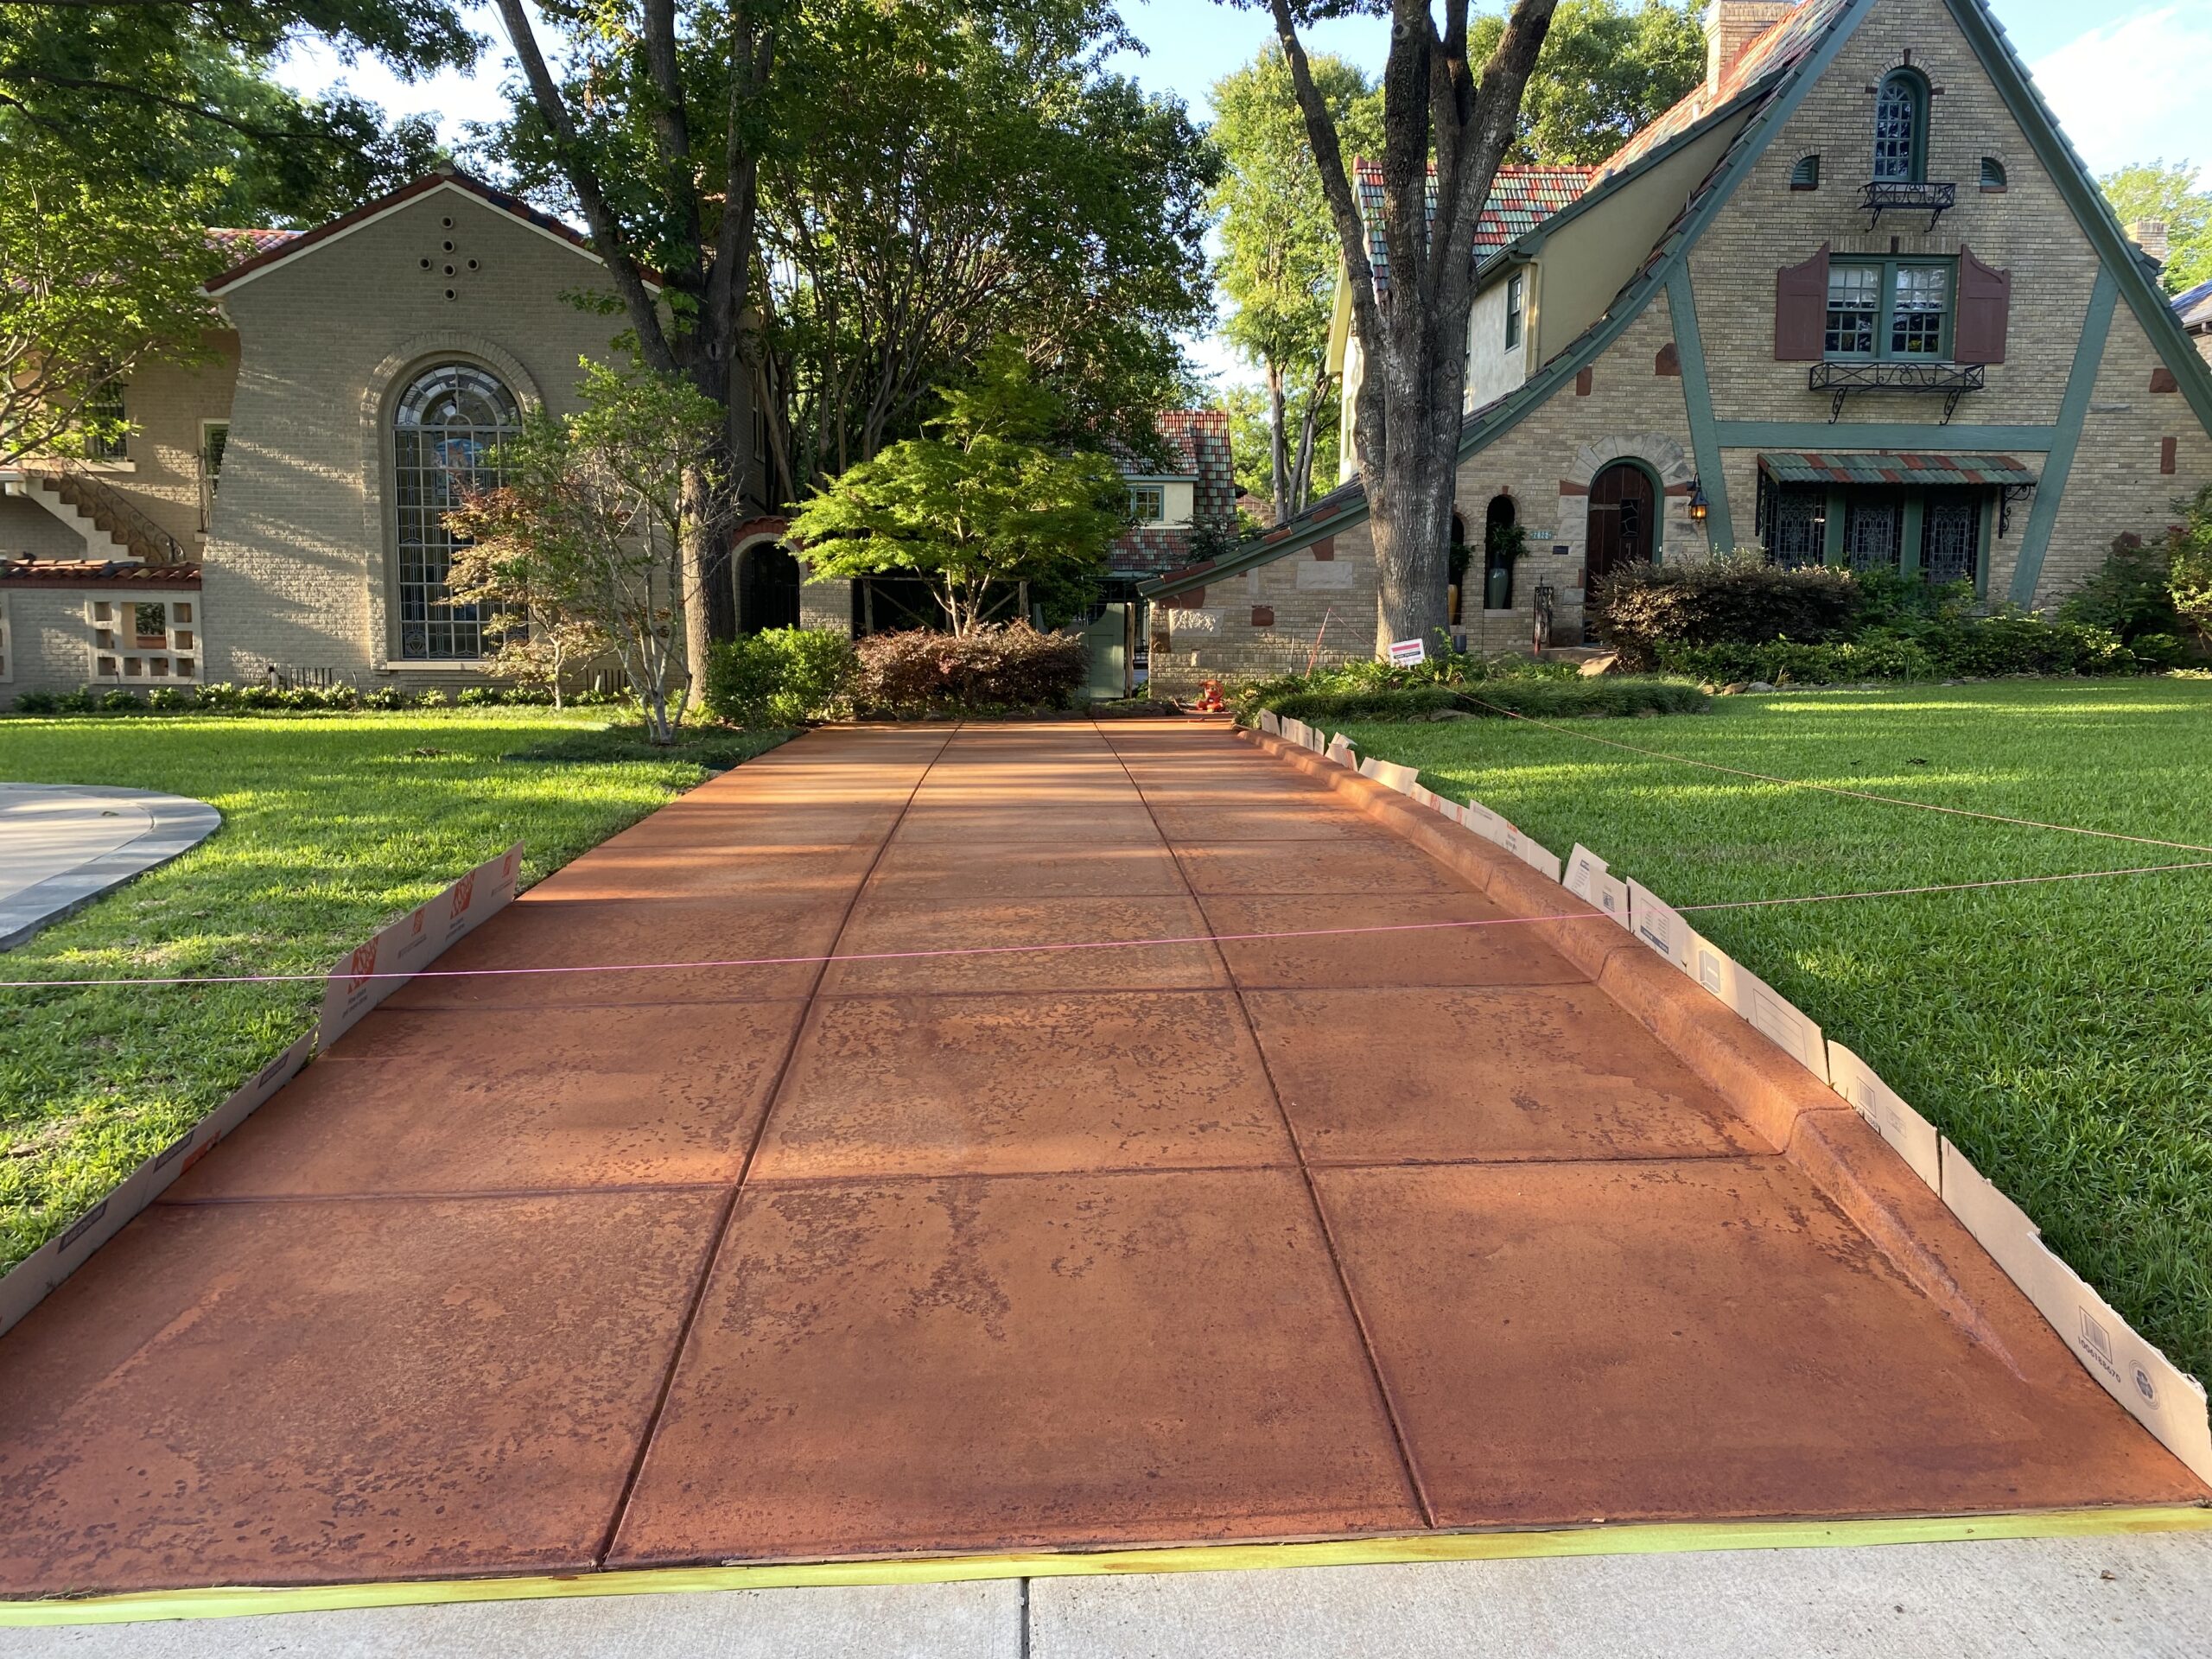
This driveway had previously been stained and had faded over time. To find the best materials for the job, the customer conducted extensive research and ultimately chose to use ColorWave® stain and EasySeal™ sealer. They started the project by thoroughly power washing the surface before applying two coats of stain and two coats of sealer. As a result of their efforts, the driveway was successfully refreshed and the results were excellent.
- Project Info:
- Project Completed In: 5 day(s)
- Estimate of Square Footage: 1000 sq. ft.
- Project Description:
Driveway was previously stained and faded over time. I did lots of research and determined the best material to use was ColorWave stain and a solvent based sealer. After power washing thoroughly, I applied two coats of stain followed by two coats of sealer. Results are excellent. - Personal Tips:
Make sure surface is properly prepared prior to applying stain and sealer. - Direct Colors Products Used:
Colorwave and EasySeal satin
Other Products Used:
Ecological based stripper.
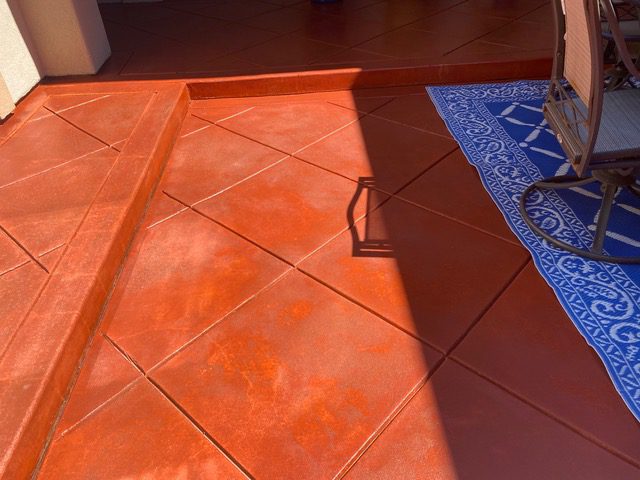
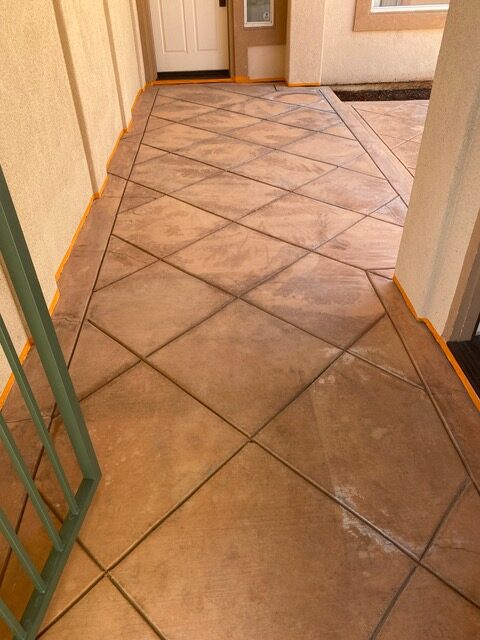
Dark Patterns Showing Through Stain and Sealer on Patio
Question: Why are dark patterns appearing on my patio stain and sealer after a few weeks, especially in areas exposed to direct sunlight?
Answer: This could be due to several reasons. One possibility is the presence of leftover chemicals on the concrete surface from inadequate preparation, leading to an unwanted chemical reaction. Another potential cause could be the application of too many coats of Antiquing stain, resulting in an excessive amount of pigment on the surface and causing adhesion issues with the acrylic surface. It’s also possible that moisture was trapped between the sealer and the concrete surface.
To address the issue, try lightly spritzing a small amount of sealer or xylene (if sealer is not available) on a small area off to the side of the patio. This can help emulsify the sealer and allow any moisture to escape or re-adhere. After it fully cures, check if the issue has been resolved. If not, consider applying a new coat of sealer. It’s crucial to be mindful of the pigment quantity and to ensure proper cleaning and preparation of the surface before staining and sealing.
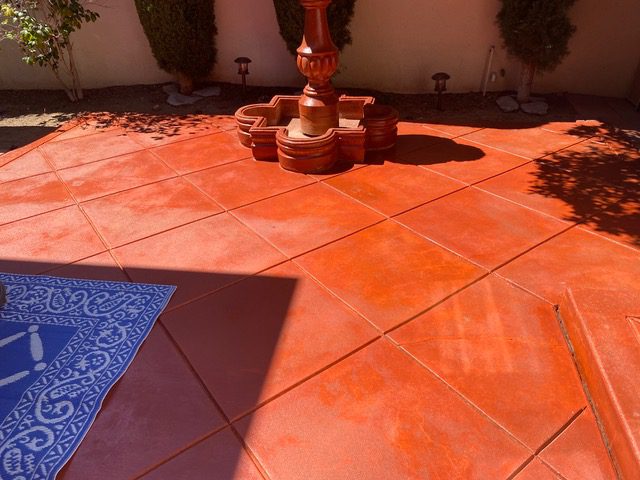
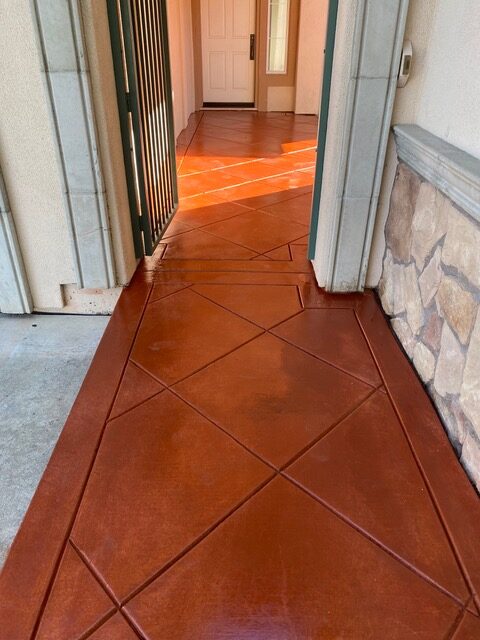
- My total square feet is around 180 sq ft. I haven’t started the other area yet due to the current issue with the stain.
- I started the project by cleaning the concrete patio area first with water rinse and then with a commercial concrete clean & etch solution using a stiff hand-held bristle broom brush.
- I repeated this step several times to make sure that I removed as much of the grime and dirt buildup as possible.
- I allowed the area too dry and after drying performed a water test to see if water would absorb in the concrete or remain on the surface.
- Water test was successful so I began to tape the area off with painters plastic and tape.
- Started applying the Terracotta stain with pump sprayer and using spike shoes. The concrete easily absorbed the stain but seemed to be very light in color that I applied a second coat after allowing the first coat to dry after 5 hours. Temperature was around 85 degrees so the stain was drying rather quickly.
- After allowing the second coat to dry overnight. I still needed to apply some more to certain areas that were not as dark as the other areas.
- So I ended up applying (3) coats of the Antiquing Terracotta Stain.
- After allowing the third application of the stain to dry. I noticed a fine power like dust on the surface of my concrete and was not sure if I needed to proceed before applying the high gloss sealer. I called Direct Colors and was told my product of Antiquing Terracotta can be applied without neutralizing the concrete area.
- I then proceeded to apply the EasySeal Gloss Sealer using a pump sprayer. Allowing first coat to dry before applying the second coat.
- The patio area looked great but after a couple of weeks dark patterns started to show through the stain and sealer in the area most exposed to direct sunlight.
- I must admit that I didn’t use a commercial power washer but hand scrubbing with concrete clean & etch solution and water from my garden hose with a turbo jet high spray hose nozzle.
Direct Colors Reply:
Hi Eric,
My first concern is that the concrete possibly having some of that chemical left on the surface, causing an unwanted chemical reaction. My next concern is having too much of the pigment on the surface with three coats. It is really hard to see the true color of our Antiquing Stain without sealer being applied, and sometimes customers will apply more than what is needed. Once the mineral spirits are dry and done off-gassing, you’re just left with powdered pigments nested on the concrete and in the pores. If there is too much pigment on the surface, this can cause adhesion issues with the acrylic surface. The sealer ends up attaching to the pigment and not the surface of the actual concrete, or it will “lift”, or lose adhesion quickly if not well-bonded to the concrete. It’s also possible that there was a bit of moisture left in the concrete and it has gotten trapped between the sealer and the surface.
So, let’s try something. First, if you have any sealer leftover, use it for this, and if not, pick up a small container of xylene from a local hardware store. In one of the smaller areas, off to the side, very lightly spritz a small amount of the sealer or xylene over it and walk away. This will emulsify the sealer and help it re-adhere or allow the moisture to escape. Allow it to fully cure and let me know how it looks, if it worked or if it goes back to the way it looks now.
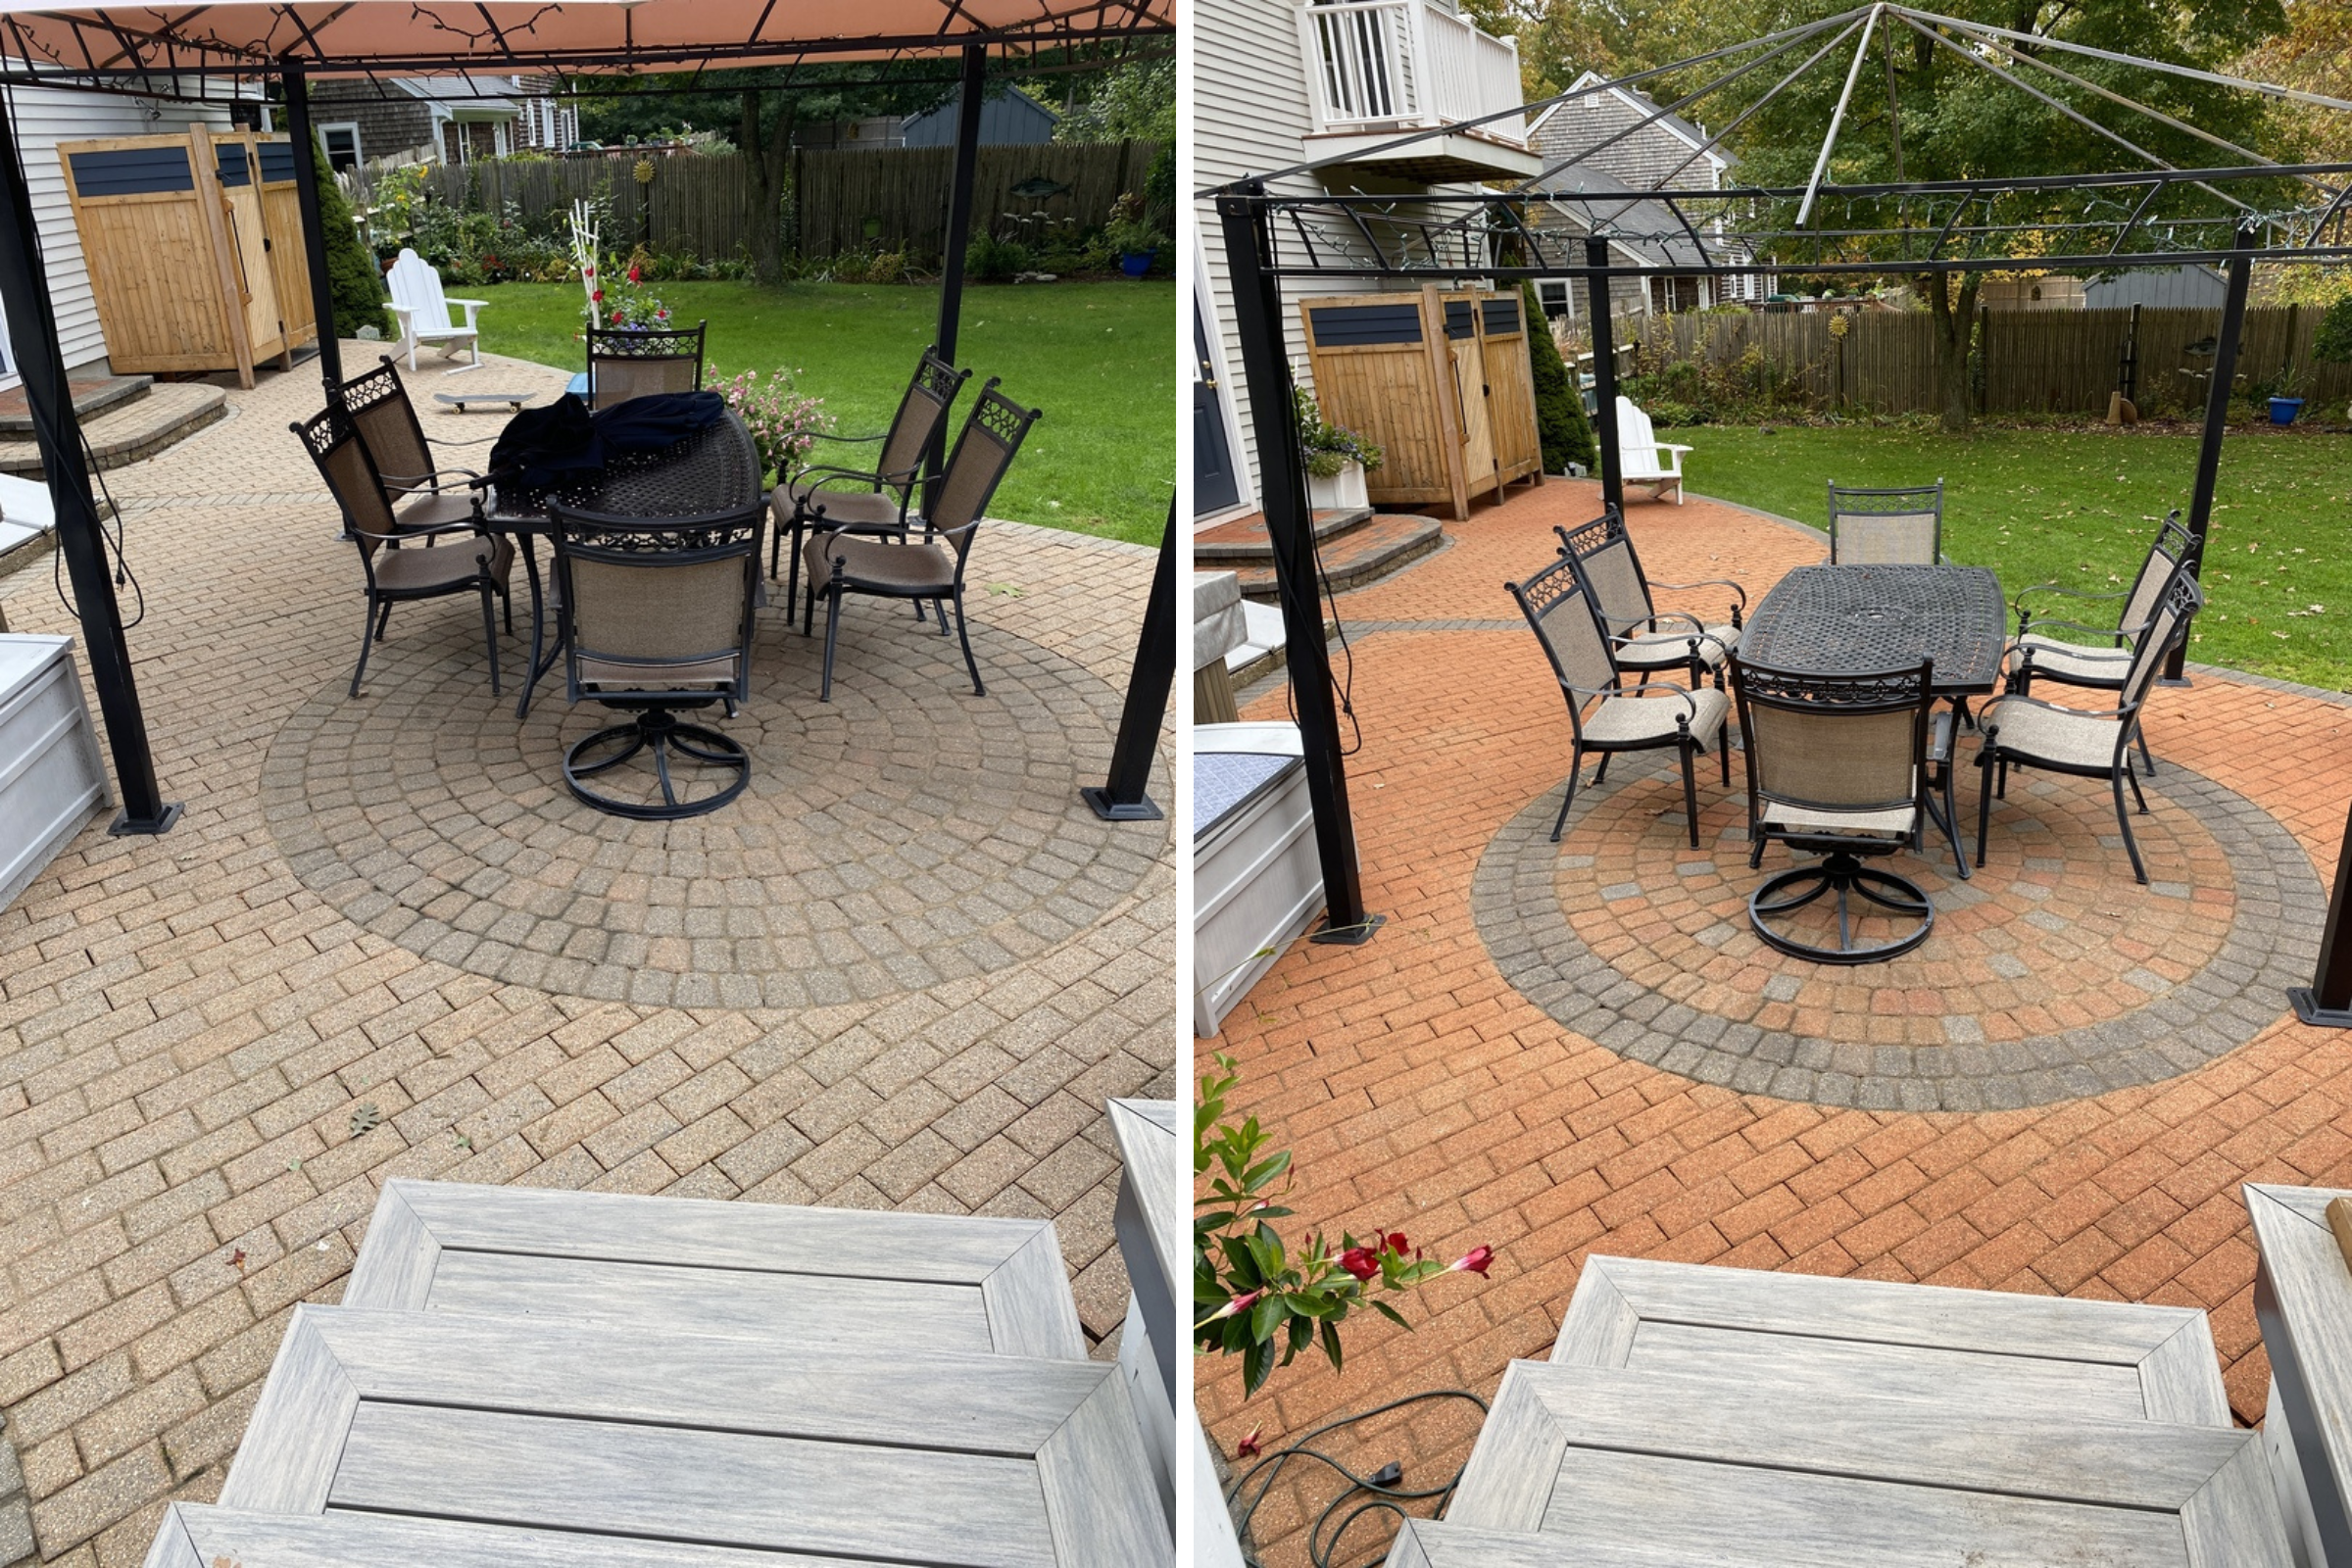
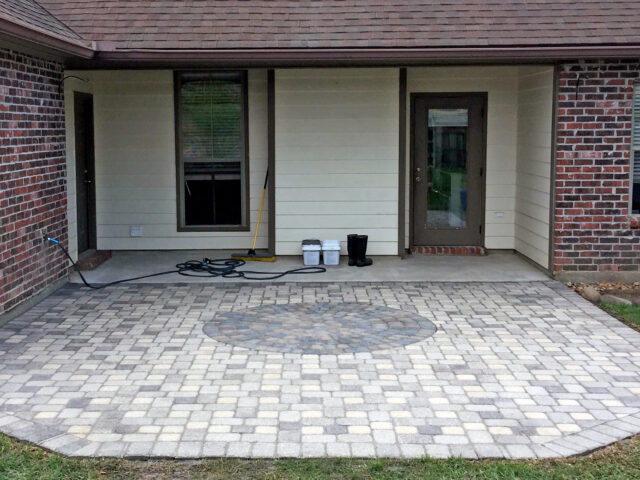
Transforming a Paver Patio with Stain and Sealer: From Failed Fire Pit to Cohesive Outdoor Space
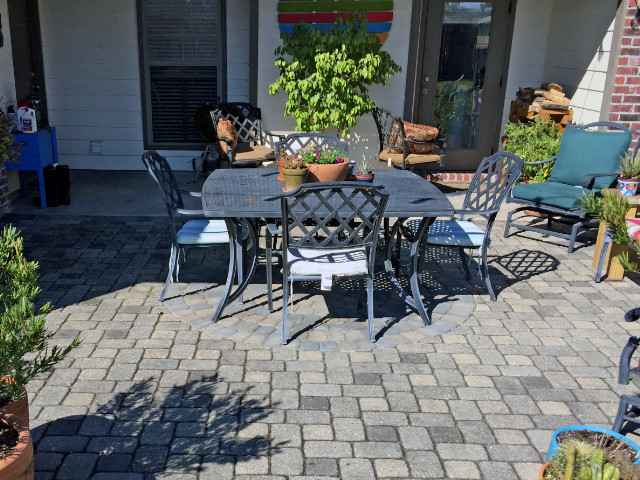
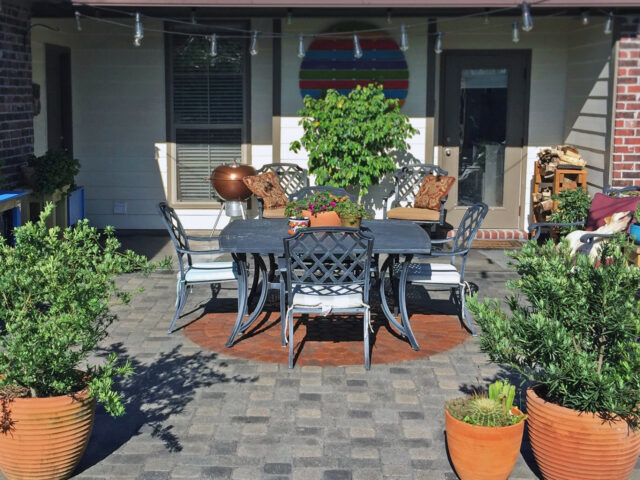
This project involved transforming a paver patio with a history of failed fire pits and river pebbles. After searching for circular paver kits to fill the hole, the customer found a kit that didn’t match the current pavers, so they stained the circle with charcoal and terracotta Portico™ paver stains to match the existing pavers. They also applied the stain to the concrete back porch and added multiple coats of sealer. The end result was a beautiful and cohesive outdoor space.
- Project Completed In: 5 day(s)
- Estimate of Square Footage: 400 sq. ft.
- Project Description:
Ten years ago we had installed a paver patio on the back of our home. At the time we had installed a brick fire pit in the center, but due to the shape of the back porch it was never workable at the corner caused smoke to swirl upwards and everyone hated it. After a few years I knocked down the brick firepit but was left with a hole that I filled with river pebbles with the intention of finding a circular outdoor rug to cover it under the table. I was never able to find a rug that we liked so we were left with pebbles constantly being kicked everywhere and a place our dog used to dig in. I decided to see if I could find a circular paver kit that could fill in the hole and found one and had it installed last fall. The pavers were supposed to have a reddish tint to them, but instead came mostly gray and they did not match the current pavers at all. I then found you guys and decided to stain the circle a red tint and darken the existing gray pavers. After consulting you guys I ordered a test kit and decided on Terra Cotta and Charcoal colors. I first pressure washed the existing pavers and then adding polymeric sand. After drying I sprayed on the coat of Terra Cotta in the circle and then followed with the Charcoal for the grays. I decided to do the concrete back porch as well. I came back later and added additional coats of Charcoal by brush to the darkest existing gray pavers as well as the darkest Red pavers to give it more of a cobble stone effect. After fully drying I began adding the sealant. Ended up with approximately three coats of sealer. - Personal Tips:
With no differences in color or places that you need to protect it’s an incredibly easy job. However, if the plan is to maintain an edge between two distinct colors, plan it out ahead of time. The pavers I was working with were VERY porous, so it absorbed and spread into them like alcohol would into chalk. Even when I was doing the parts by hand I needed to be careful to not get too close to the edge for fear of it bleeding. Also be aware of some overspray. Finally, even though I’d done the math I would have been happier had I ordered an additional bottle of Charcoal and Sealant. I ended up ordering a third bottle of sealer during the project because it was clear l I was not going to have enough to put down as many layers as I’d have liked. Because of that the project took a week longer because I had to wait for the order to come in.
Looking for inspiration on how to transform your outdoor space with stained pavers? Check out our Before and After Gallery featuring Stained Concrete Pavers, and get ready to elevate the look of your patio, walkway, or pool deck.
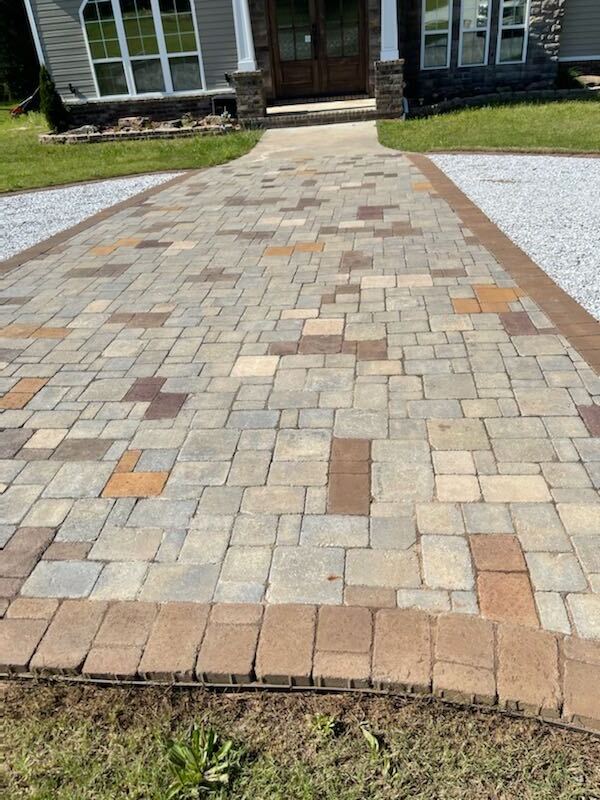
Stunning Stained Pavers Driveway
Check out what this DC customer created with four different Portico™ paver stain colors. Then, they followed up that earthy color combo with some acrylic sealer. The pavers on the driveway almost match the porch – how cool is that?
Check out our Stained Concrete Driveway Gallery, How-To Guide, and Staining Tips for a variety of driveway stain ideas to transform your driveway with ease.
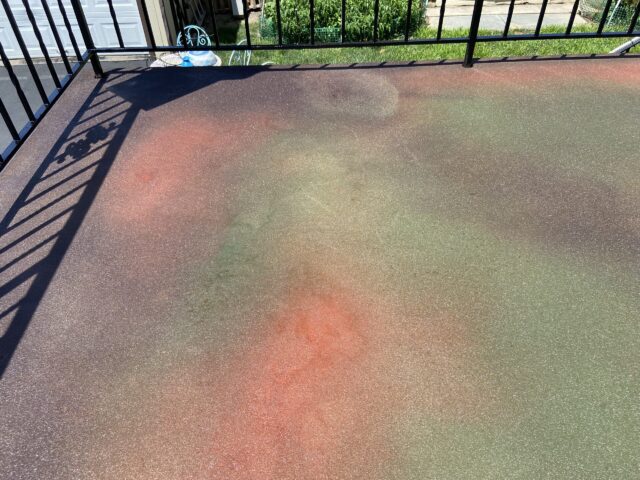
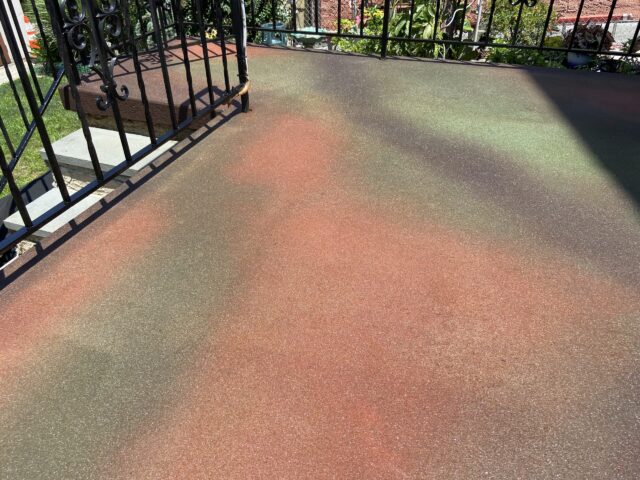
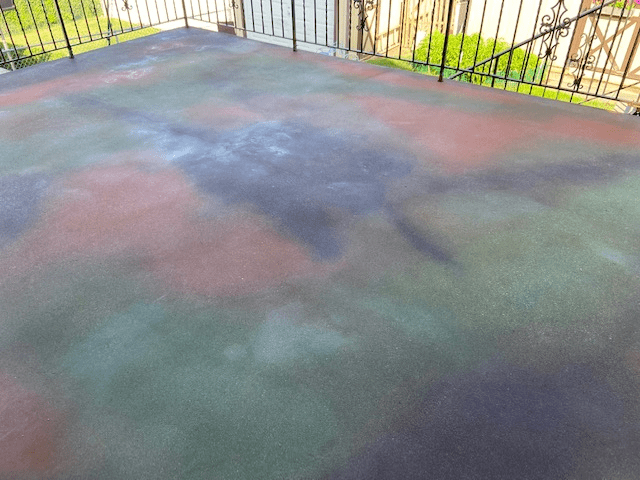
Staining an Old Concrete Patio: From Failed Acid Stain to Portico Stains Success
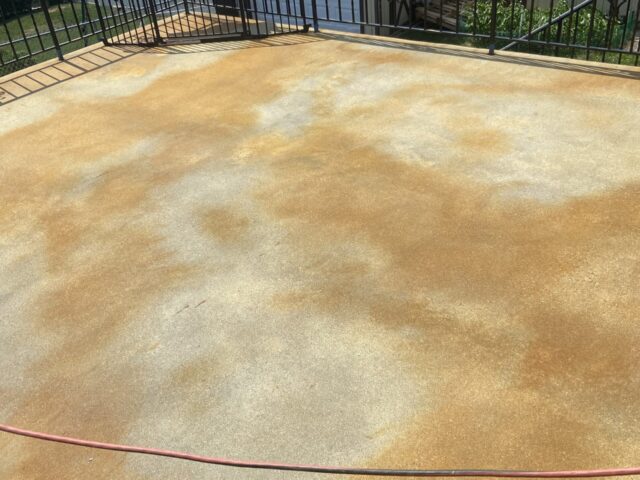
After attempting to acid stain a 30-year-old concrete patio with no success, Direct Colors suggested the customer try Portico stains as an alternative solution. By using the Portico stains, the customer was able to achieve the desired results and transform the patio with ease.
Project Info:
- Project Completed In: 3 day(s)
- Estimate of Square Footage: 285 sq. ft.
- Project Description:
this was a raised concrete patio on top of a wine cellar. It was roughly 30 years old. Tried acid staining Cola worked good. But avocado did not take. So I switch to Portico. What a great product!! It did everything I hope it would do plus more. Love this product. Everybody on your staff that I spoke to was so informative and helpful great bunch of people you have! - Personal Tips:
don’t be afraid to try the different colors. I preferred wet on wet worked really well. And you need to have the spike shoes. it is very important that you wear them! You cannot make a mistake with this product. However the color comes is the way it is and it’s beautiful no matter which way you look at it. You just have to have patience. And maybe in artistic flair. Again great product. But most of all you need to take your TIME! - Direct Colors Products Used:
Aztec brown, fern green, olive, Terracotta Portico stains & EasySeal satin.
Other Products Used:
Pro clean neutralizer, acid stain avocado, acid stain cola.
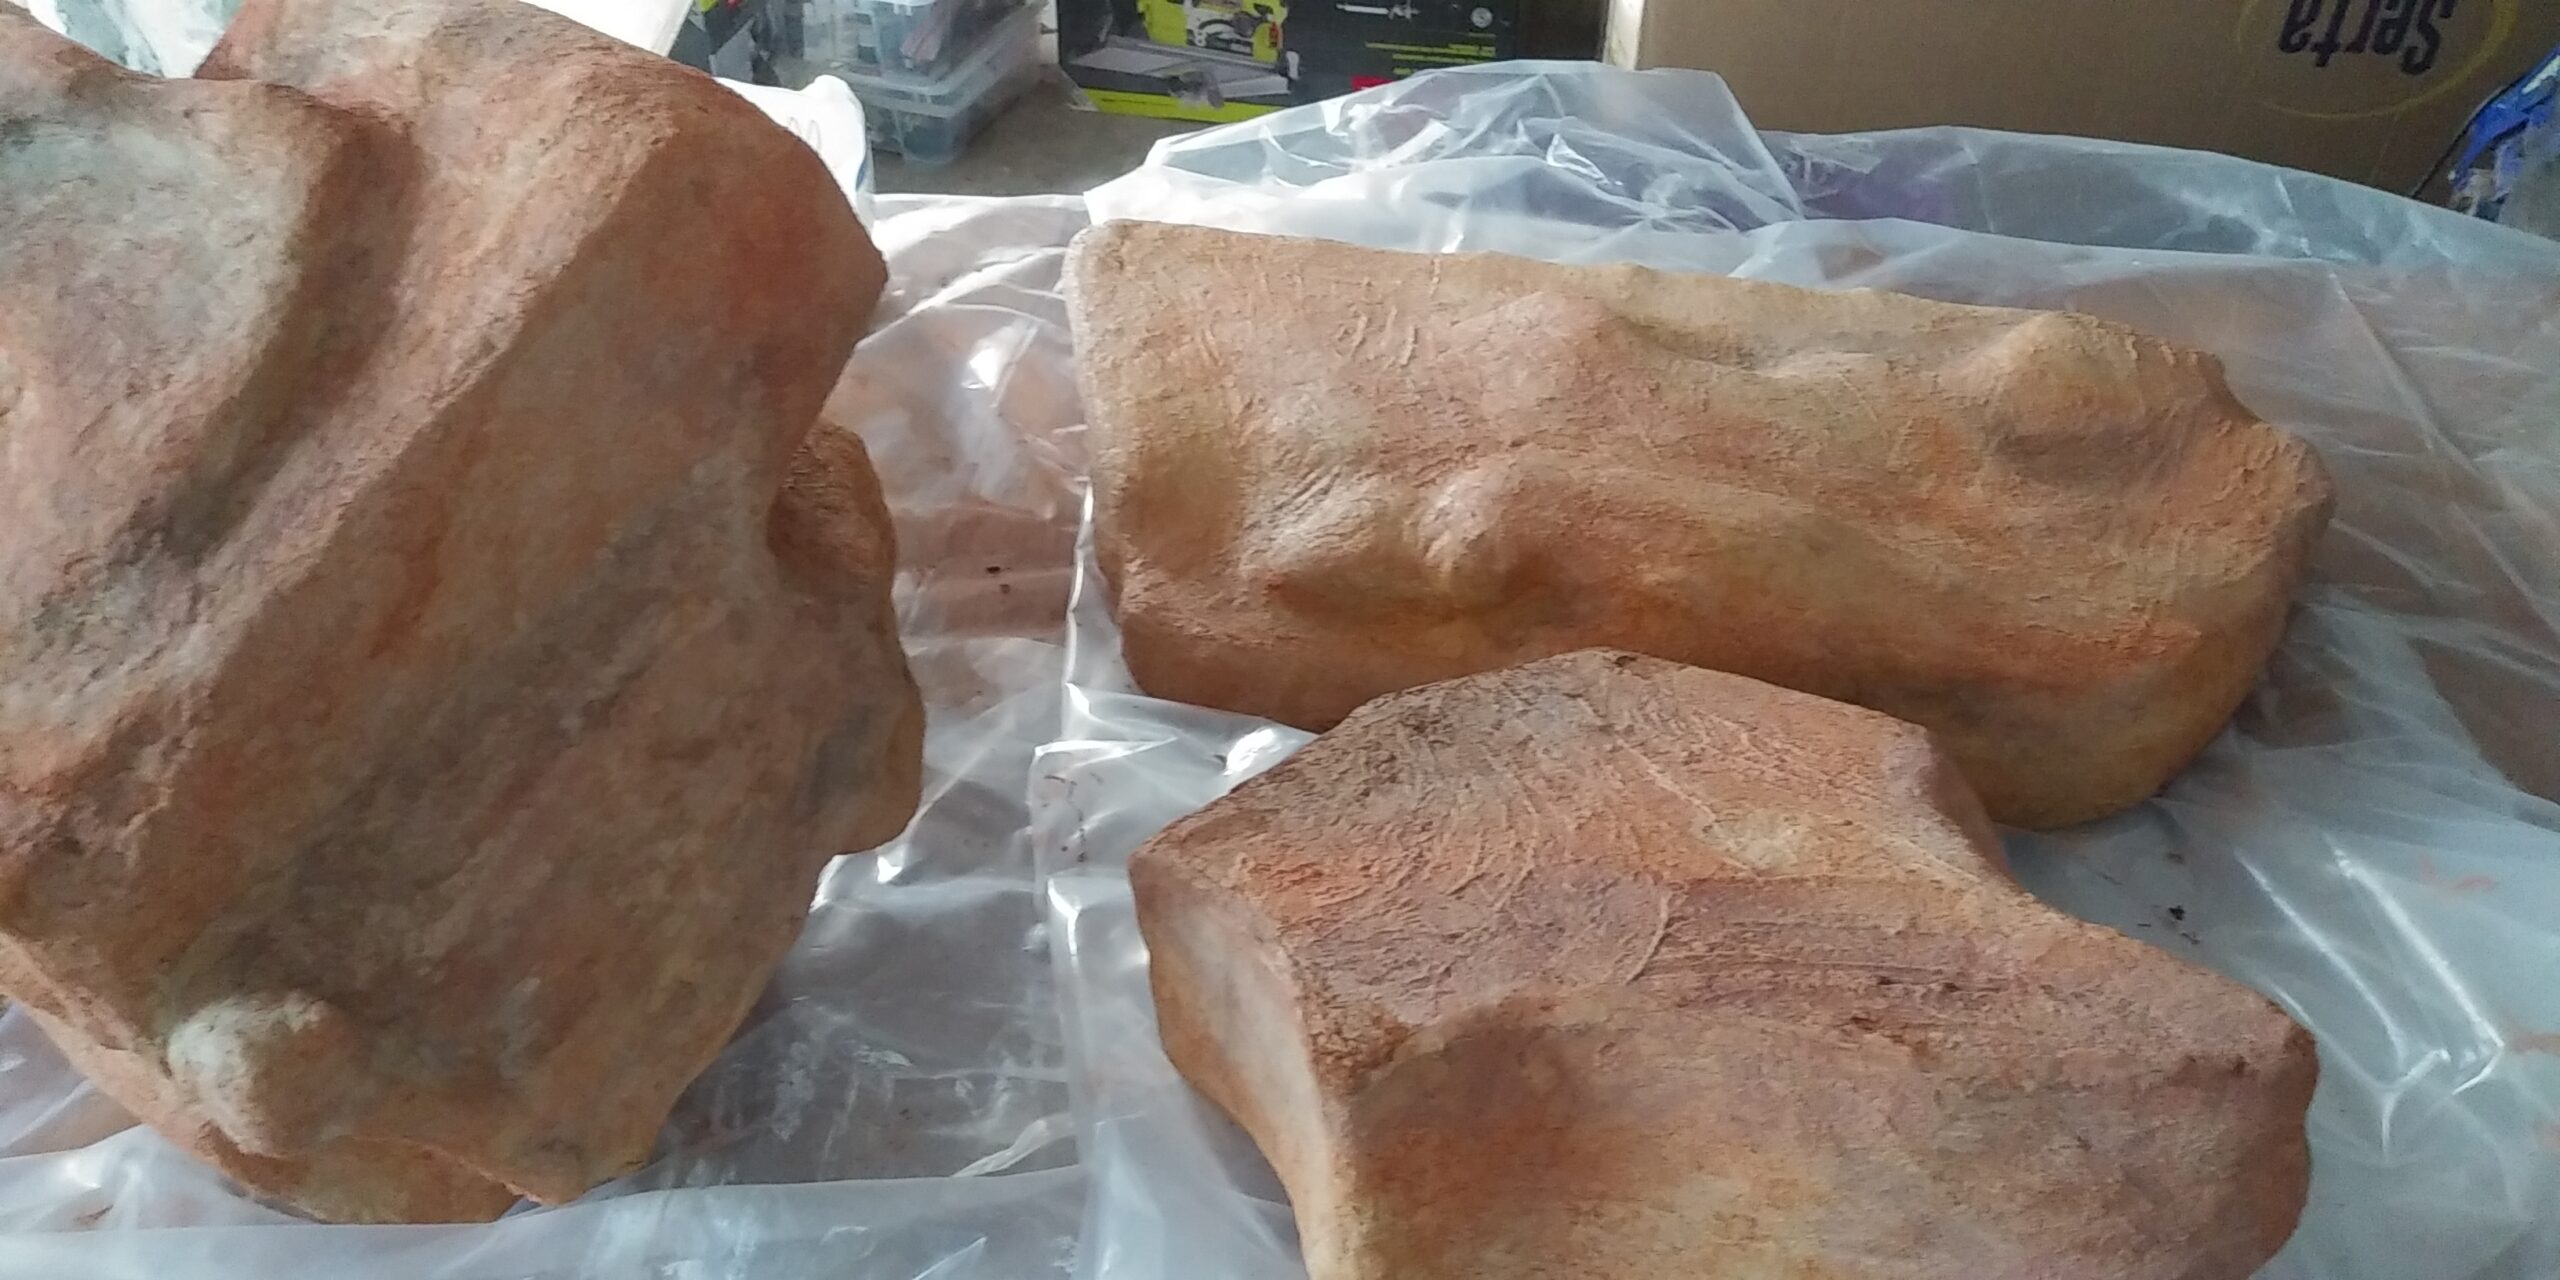
Adding Dimension to Concrete Landscaping Rocks with Concrete Stains
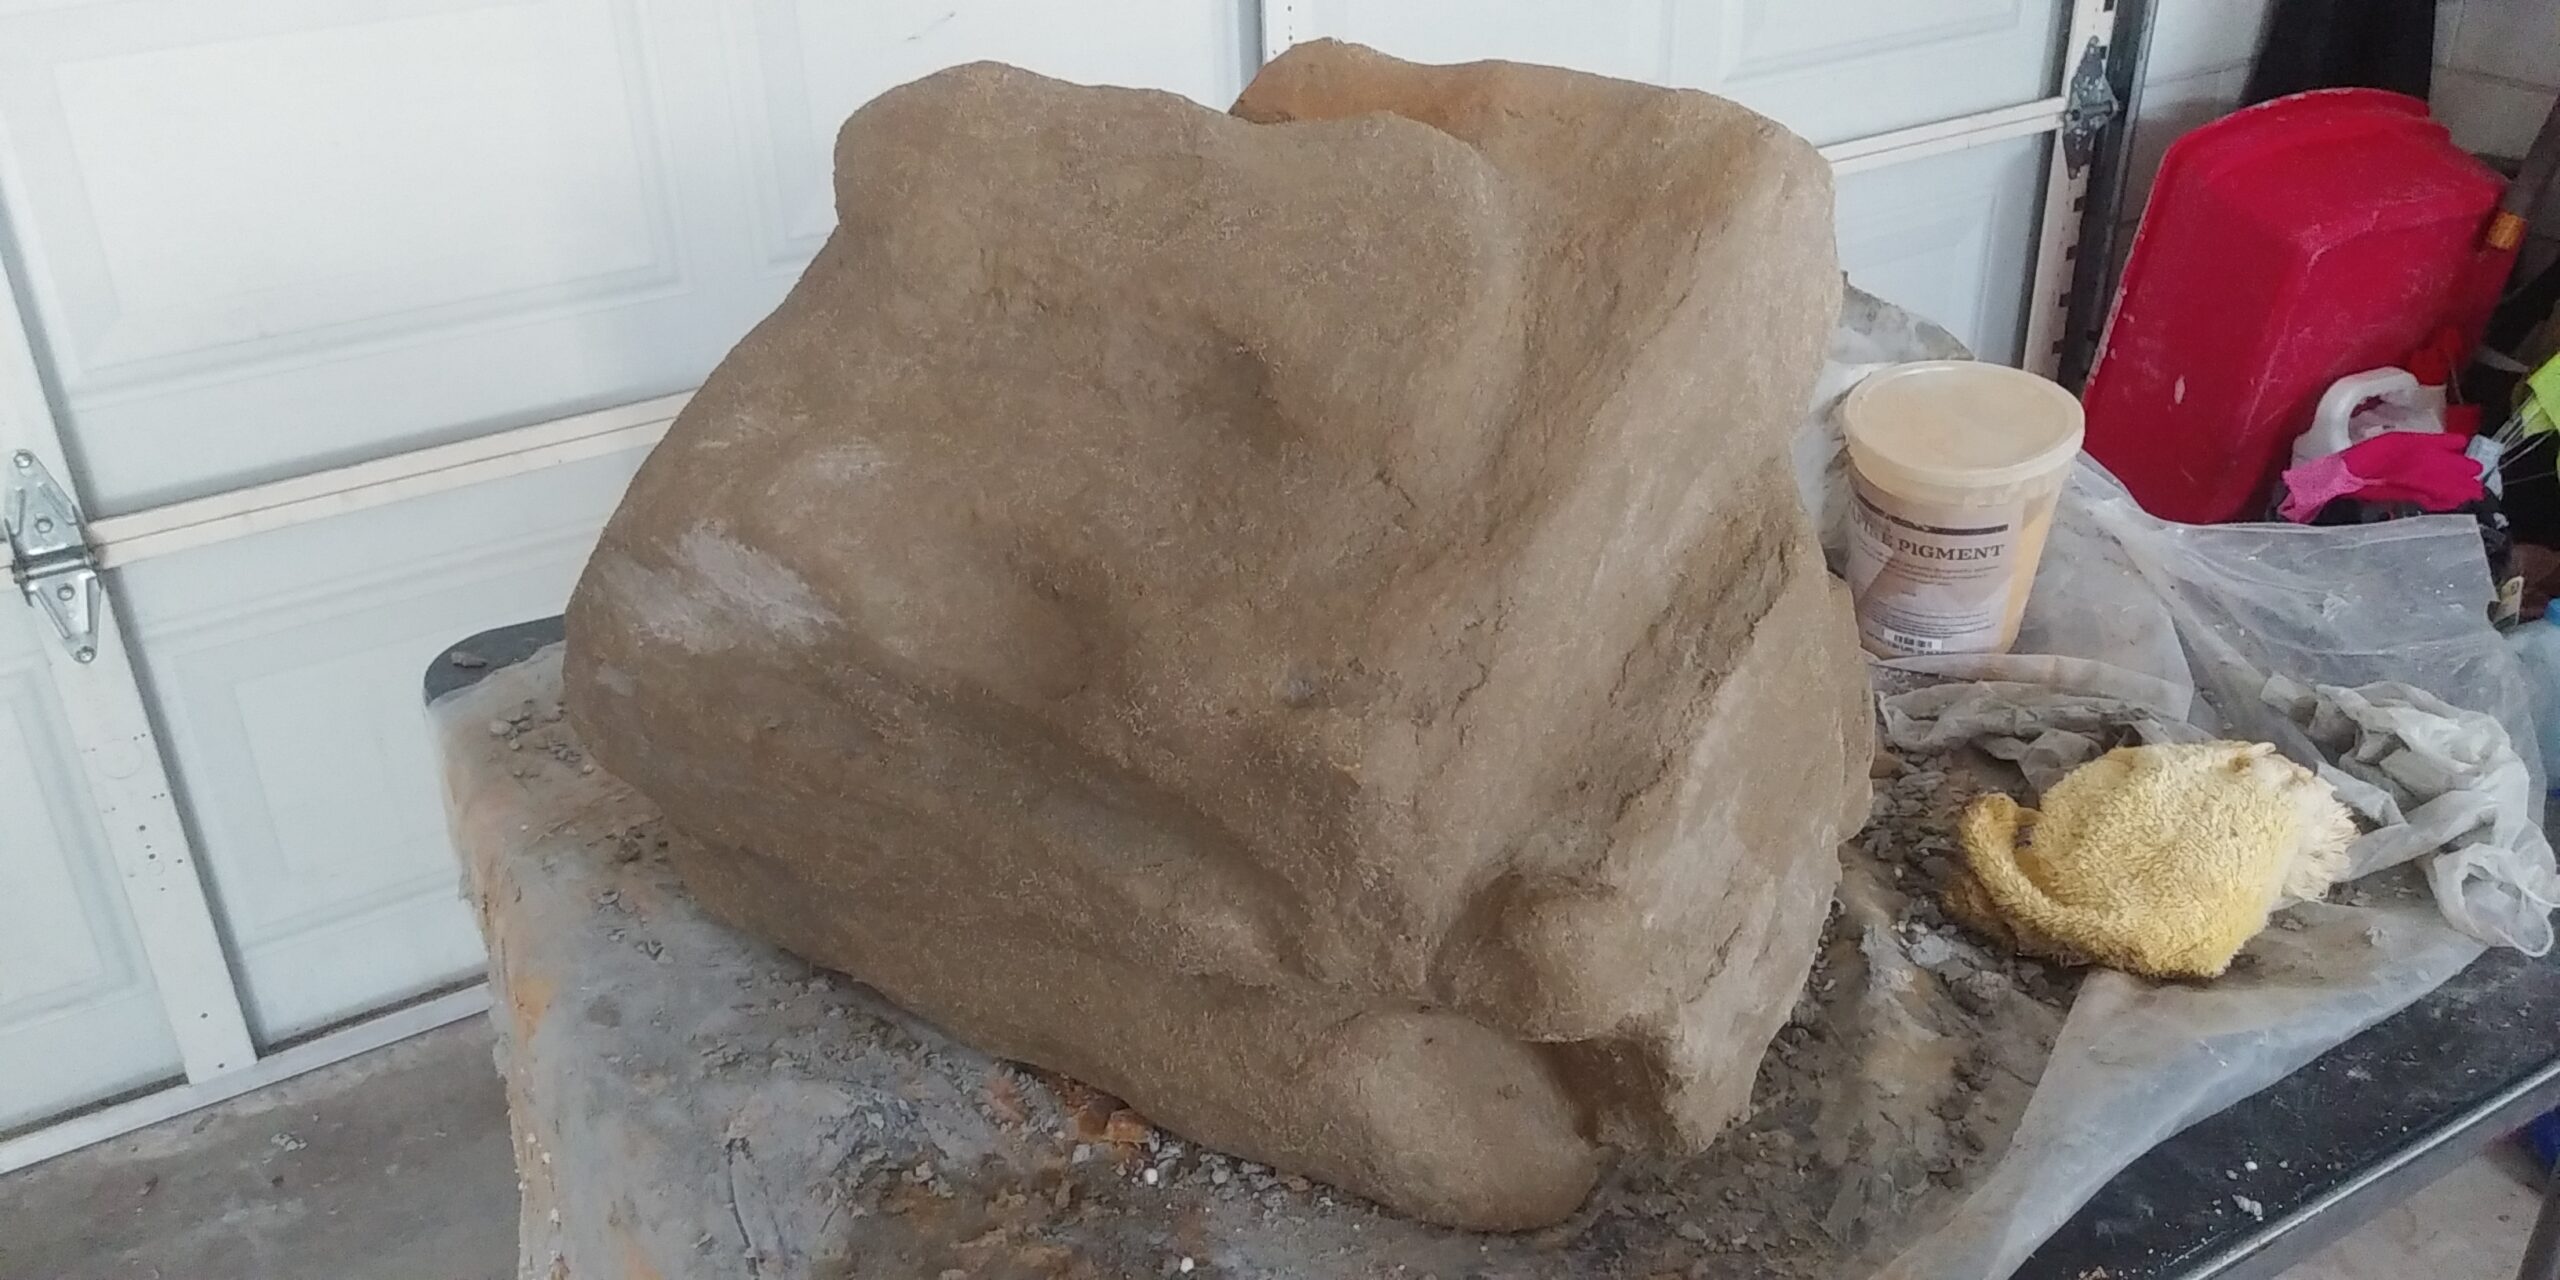
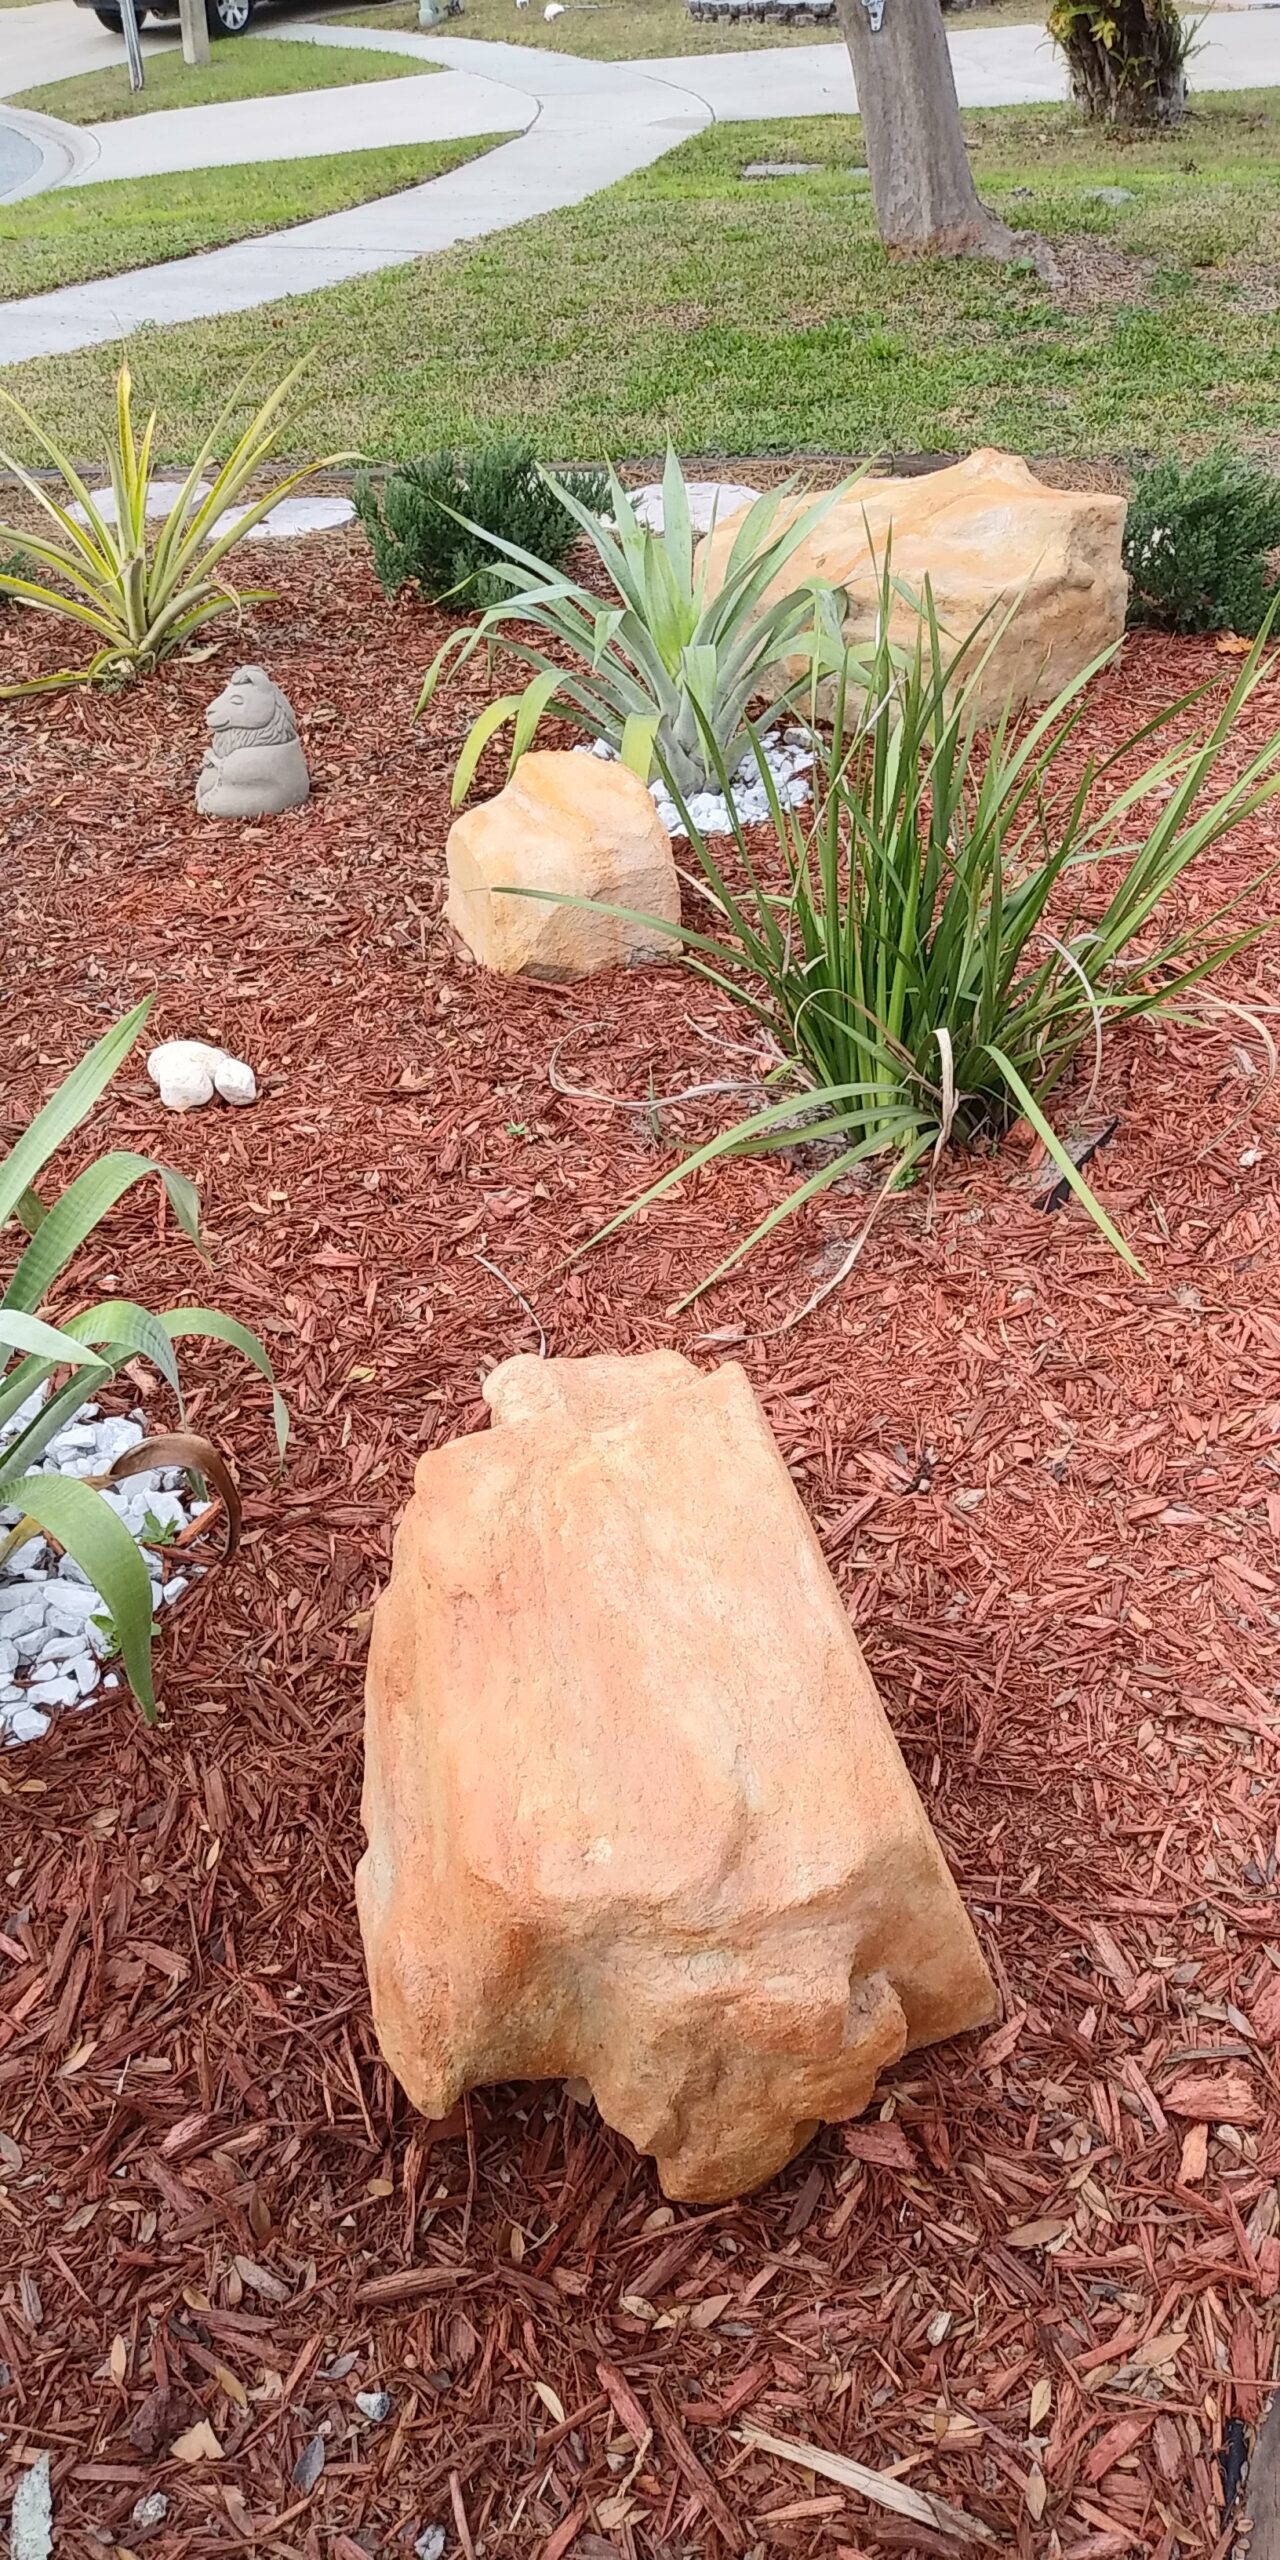
After creating concrete “landscaping rocks”, a customer wanted to add some dimension to them and found that Direct Colors’ DIY Trial Kit was the perfect solution. By using Terracotta concrete stain as the base and adding Eagle Grey stain for shadows, the rocks were transformed with a beautiful and unique finish.
Project Info:
- Project Completed In: 2 day(s)
- Estimate of Square Footage: 0.00 sq. ft.
- Project Description: I made some concrete “landscaping rocks” a while back and wanted to add some dimension to them. Direct Color’s DIY Trial Kit was the perfect amount for my project! I used Terracotta for the base, with a little Eagle Grey for some shadows. The whole project is sealed with the Satin Sealer.
- Personal Tips:
- Direct Colors Products Used: Portico™ Paver Stain Trial Kit: Terracotta, Eagle Gray, Satin Finish
- Other Products Used: Buddy Rhodes Vertical Concrete Mix Buddy Rhodes Concrete Pigment Colorant – Color Sand (for base)
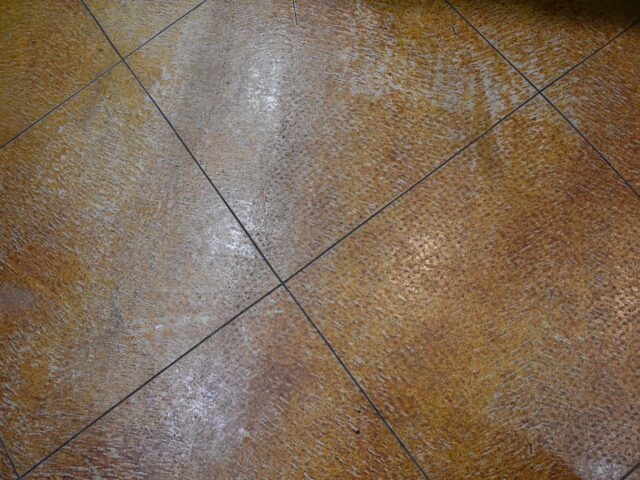
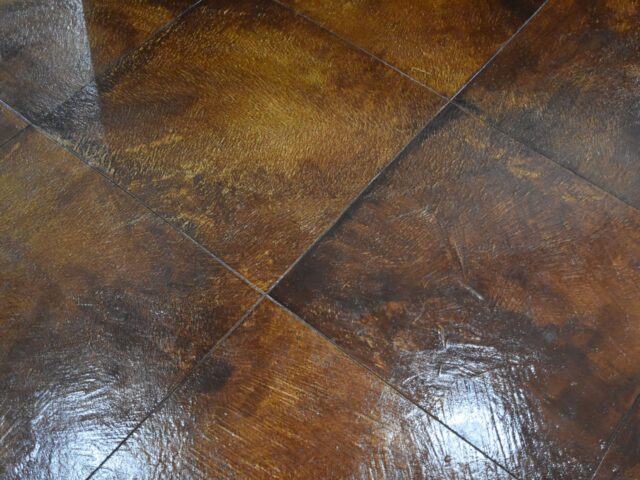
Restoring a Faded Scored Concrete Living Room Floor with Terracotta Stain
To restore a faded scored concrete living room floor, the customer utilized AcquaTint™ Terracotta concrete stain. The results were a stunning revival of the flooring’s vibrancy, bringing the room to life with warm and earthy tones.
