Expert Tips: How to Care for Your Acid-Stained Concrete Floors
Keep that beautiful marbled finish looking brand new for years to come
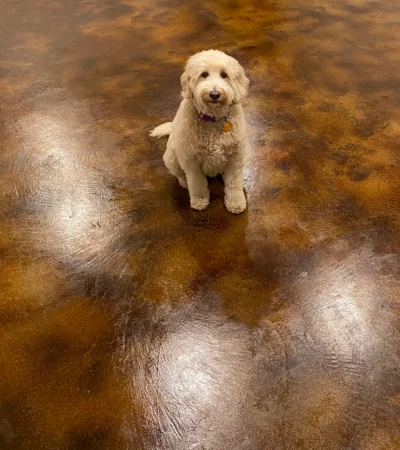
Acid stain gives your concrete floors a one-of-a-kind, marbled look that’s rich in color and full of character. Whether you’ve transformed a basement, patio, or living space, these floors are built to last—but like anything else in your home, a little upkeep goes a long way.
1. Clean It the Right Way
Keep it simple—no harsh chemicals needed.
- Routine Cleaning: Just use a mop with warm water. For light dirt, that’s all you need.
- Deeper Cleaning: Add a mild, pH-neutral cleaner (like a non-ammonia dish soap or organic concrete cleaner).
- Avoid: Steam mops, vinegar, bleach, ammonia, or any harsh household cleaners—they’ll wear down the finish.
2. Wax for Extra Protection

- How Often? Every 3–4 months for most homes.
- Heavy Foot Traffic or Pets? You may want to wax more often.
- Waxing Tips:
- Clean and dry the floor first.
- Avoid linoleum or floor waxes not made for concrete—they’ll dull the finish.
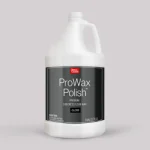
- Use a quality acrylic or polymer-based floor wax made for stained or sealed concrete.
Wax acts like a shield—and makes cleaning easier too.
3. Re-Sealing Acid Stained Concrete (If Needed)
With proper care, interior floors may never need resealing.
If your acid stained floor starts looking dull, patchy, or shows staining even after cleaning, it may be time to reseal—but this mainly applies to older or neglected floors.
Do I Have to Reseal?
Not always!
For interior floors only, if you regularly apply acrylic floor wax every 3 to 4 months, you may never need to reseal at all.
That wax layer acts as a protective buffer between daily wear and your acrylic sealer, extending the life of the finish for years—sometimes decades.
How to Remove Old Sealer
Do not sand stained concrete.
Sanding can damage the stained surface and lead to uneven color. Instead, remove sealers using the right method for your original product:
Solvent-Based Acrylic Sealer Removal
- Prep: Lay a cotton towel over the sealed area.
- Soak: Fully saturate it with Xylene.
- Wait: Let it sit overnight to soften the sealer.
- Remove: Pull up the towel and wipe away the softened sealer. You may need to repeat this process.
Water-Based Acrylic Sealer Removal
- Apply: Use a commercial stripper designed for water-based acrylic sealers.
- Scrub: Agitate the area with a stiff brush.
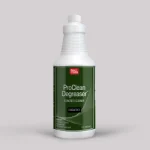
- Degrease: Clean with a concrete degreaser.
- Rinse: Use clean water and allow the surface to dry completely before resealing
Resealing Tips: Always Match Your Sealer Type
- If your original sealer was water-based acrylic, reapply with water-based acrylic.
- If your original sealer was solvent-based acrylic, stick with solvent-based acrylic.
4. Deal With Spills Quickly
Time matters—don’t let stains settle in.
- Mop up all spills within 30 minutes—especially oil, wine, soda, or pet accidents.
- White or milky spots? That could be wax buildup or moisture trapped under the sealer. Use a wax stripper to remove it.
Real Results: Before & After Inspiration
Want to see what’s possible with concrete stains? Check out these before and after photos from real customers who transformed their dull concrete into stunning stained floors.


